Follow along with the video below to see how to install our site as a web app on your home screen.
Note: This feature currently requires accessing the site using the built-in Safari browser.
We noticed you are blocking ads. DO THE TON only works with community supporters. Most are active members of the site with small businesses. Please consider disabling your ad blocking tool and checking out the businesses that help keep our site up and free.
I can cut a portion of the tank and weld in a new portion to sit over the new airbox, and split it to add 2 inches of width
or just hollow it out (which would be easier) and then learn how to weld plastic and make me an abs fuel cell to fit in the triangle. all of the electronics could then go under the faux tank.
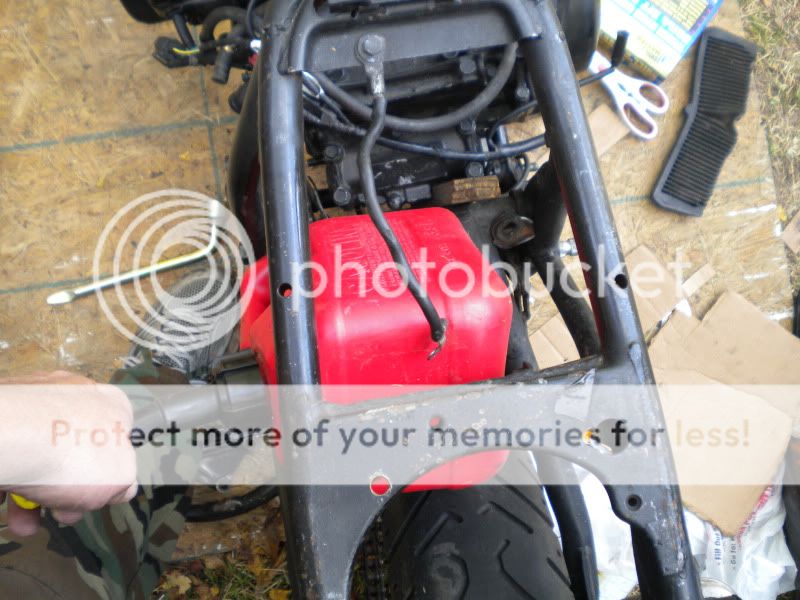
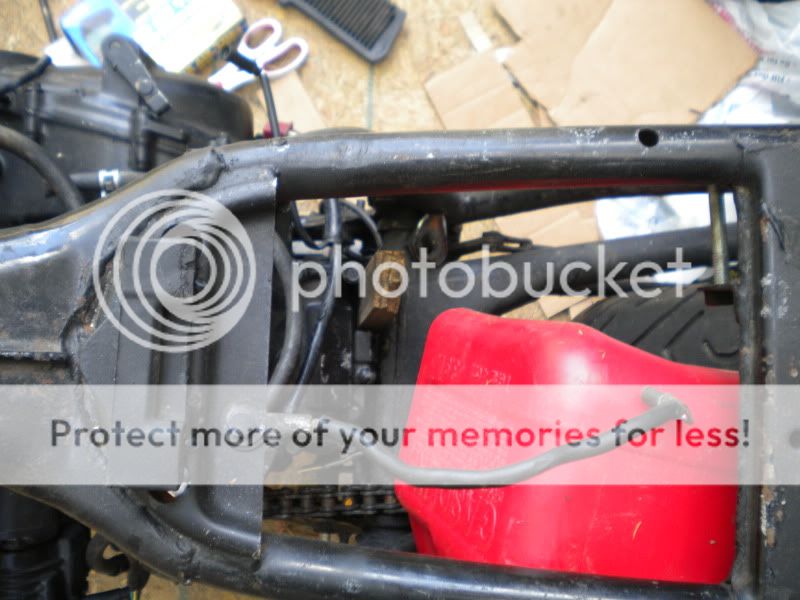
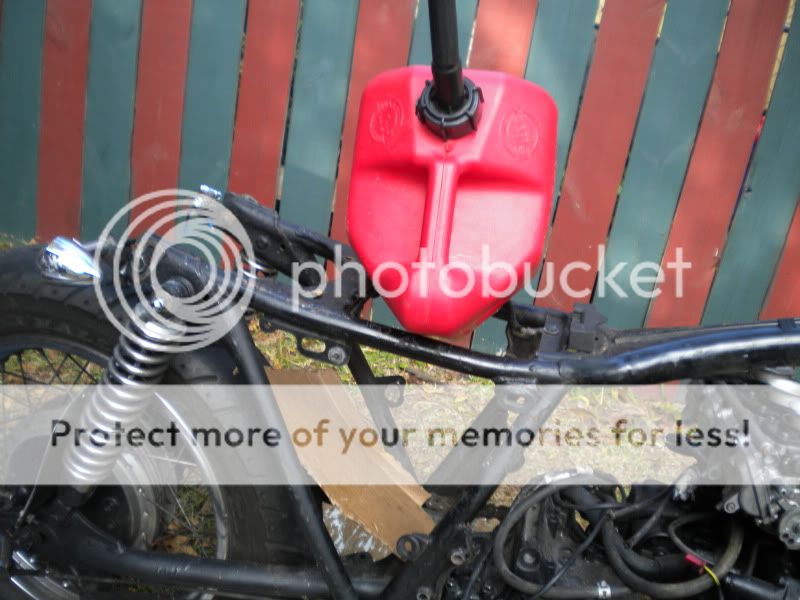
I roughly calculated a 2 gallon capacity leaving room for tire/chain/swingarm travel and I may be able to add more if I reach out onto the top of the engine. Wiring and space provided of course.
Ooor? give me a suggestion for a fuel tank that will resemble a cafe racer and do what I need.
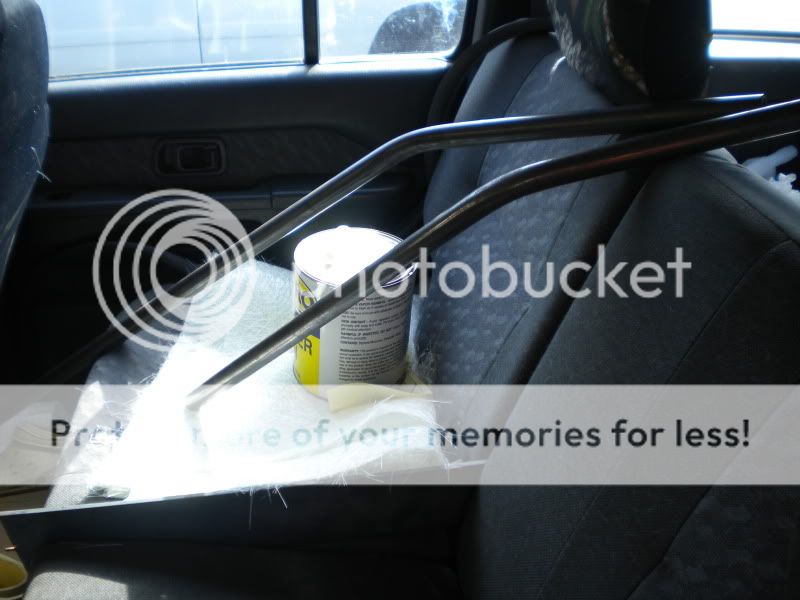
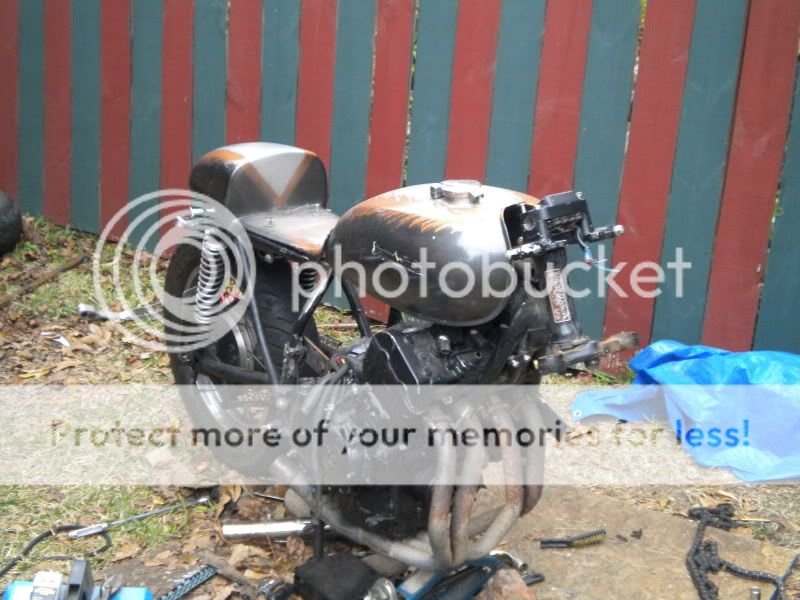
this is a one gallon gas can. I just barely couldnt fit the two gallon one in there because of its shape.
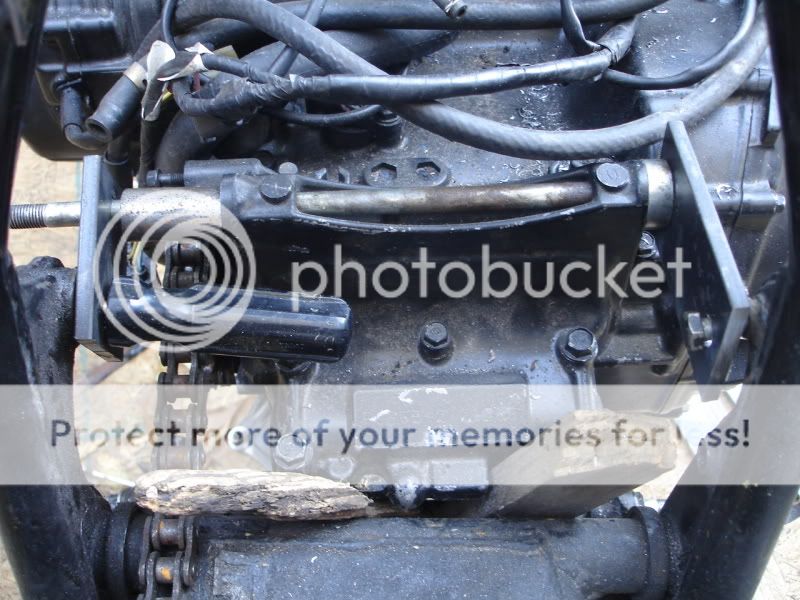
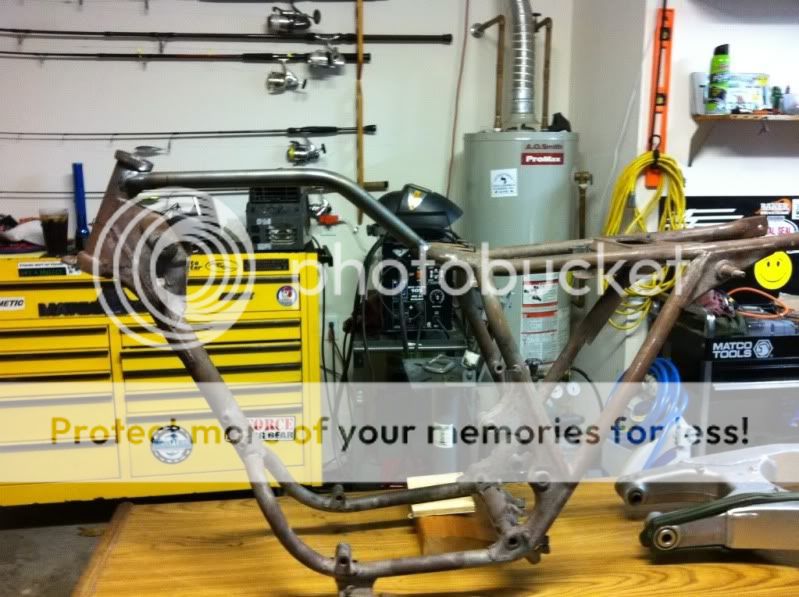
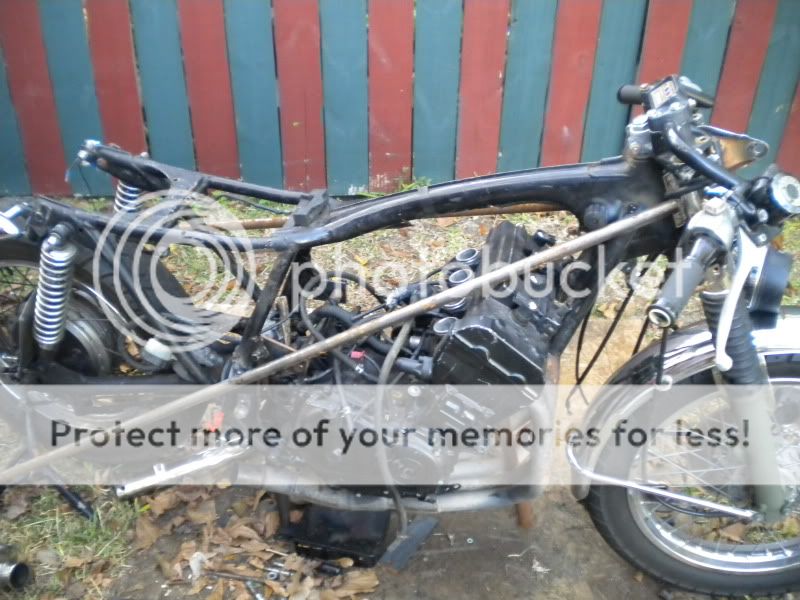
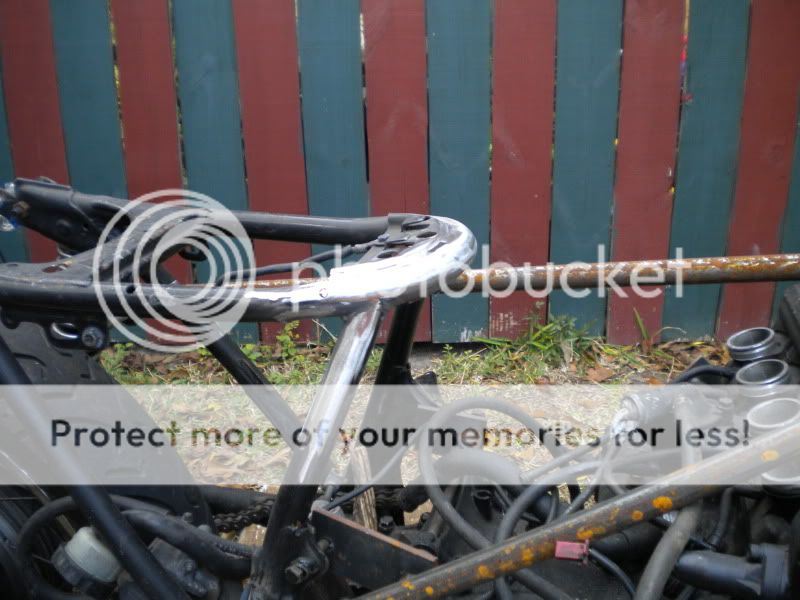
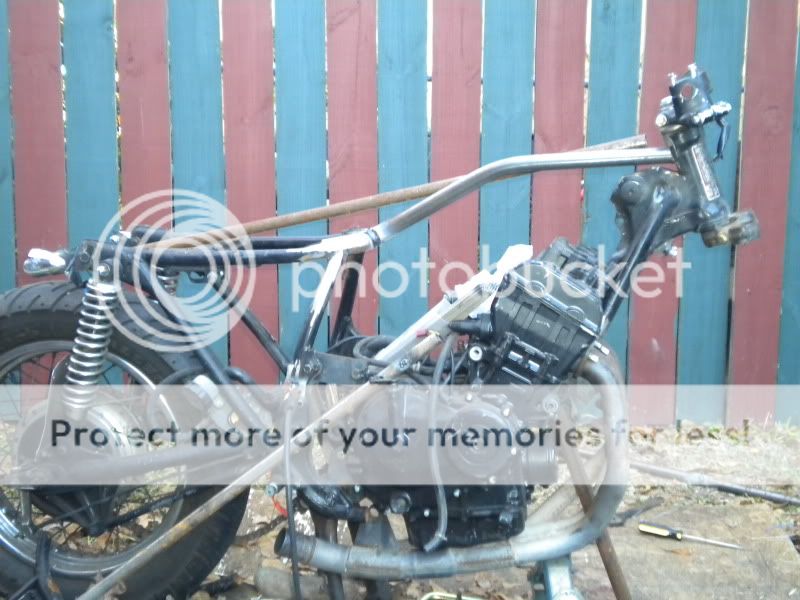
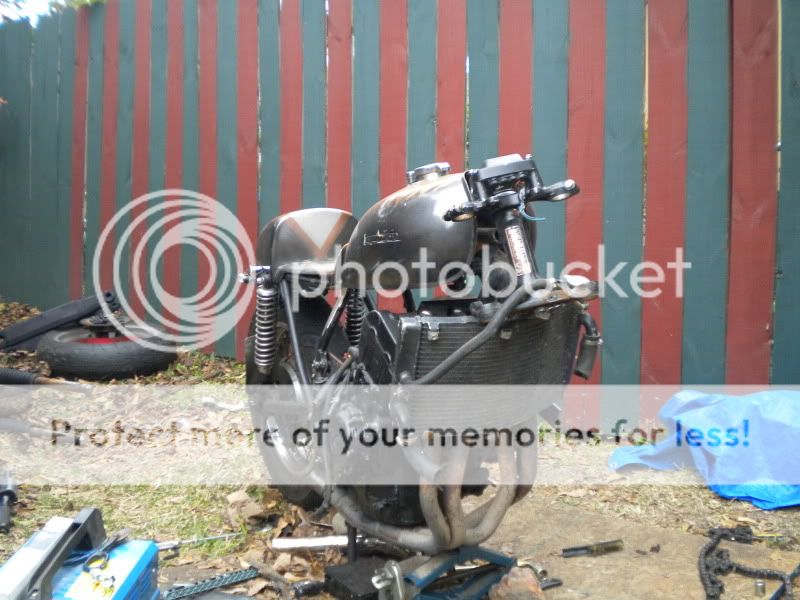
finished up fabbing of mounts. Now I need to get a whole new set of grade 8 bolts and some spacers that will bring up all of the slack. Will start on the backbone early and then start welding everything in place.
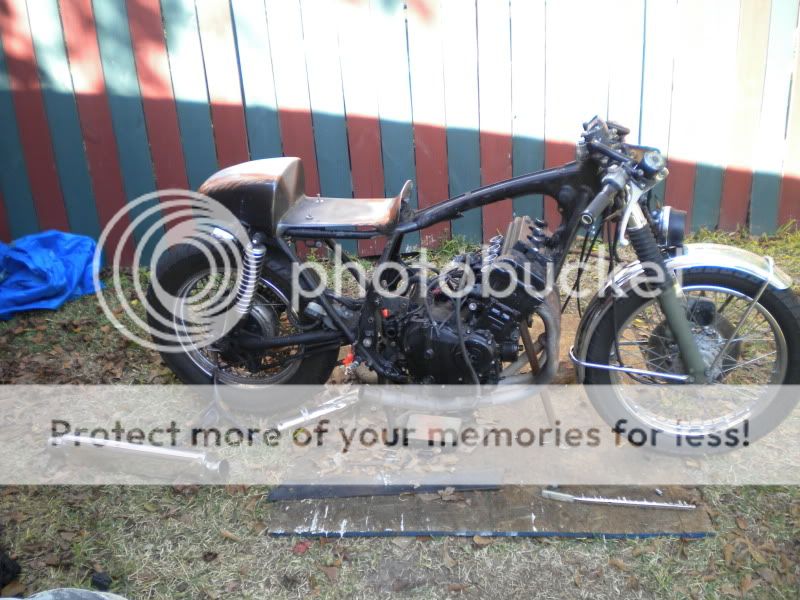
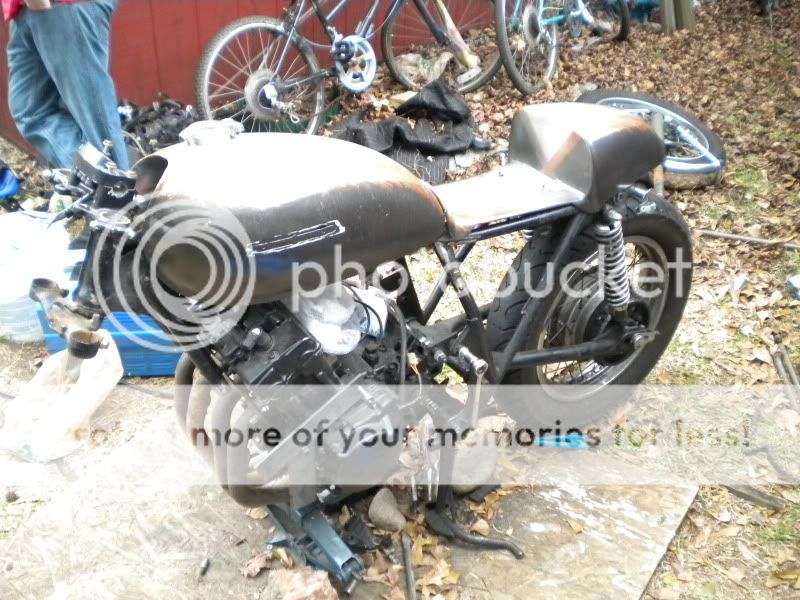
YAY! it isnt sitting on a jack anymore
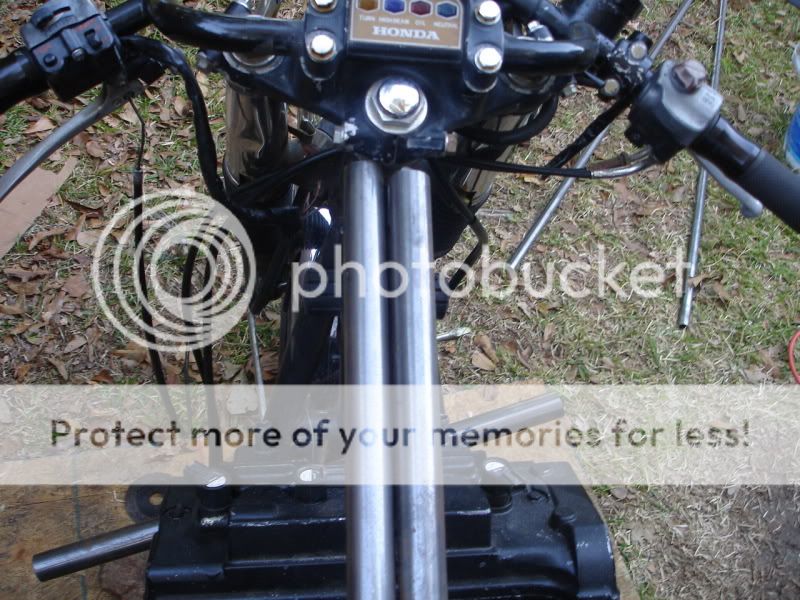
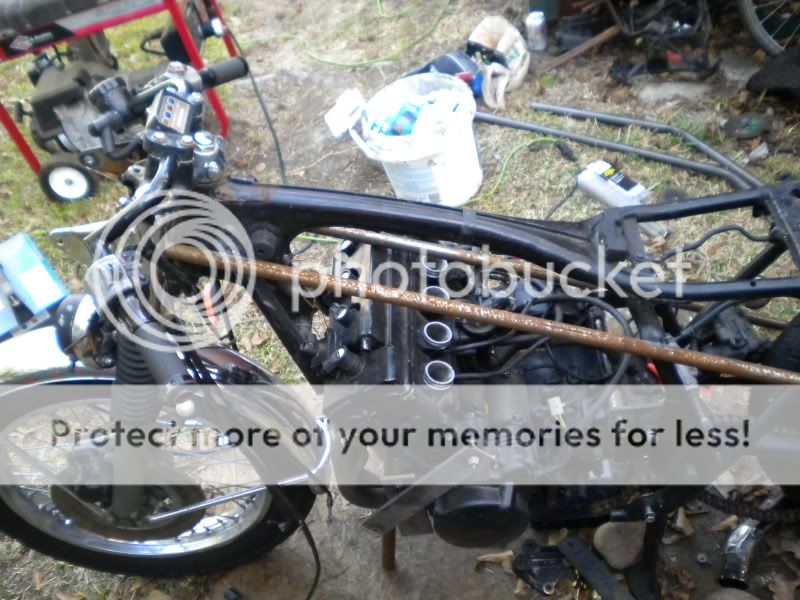
the factory did not make the pipe splice even from the factory, one side was a little lower than the other huh????
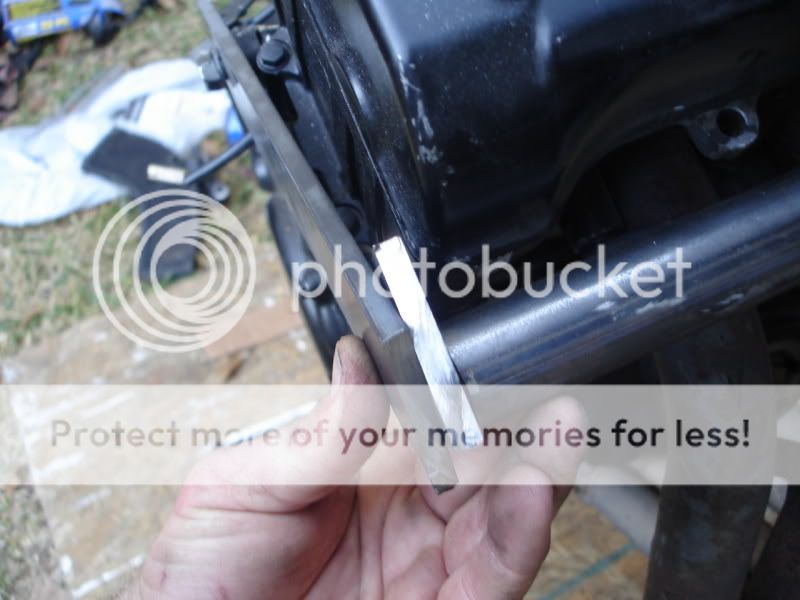
Well word to the wise dont ever try and find grade 8 bolts longer than 6 inches in south mississippi.
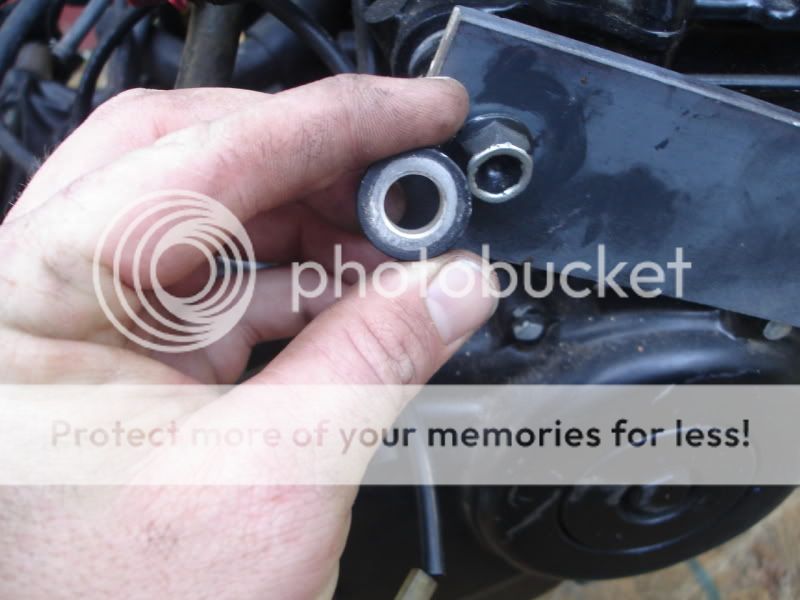
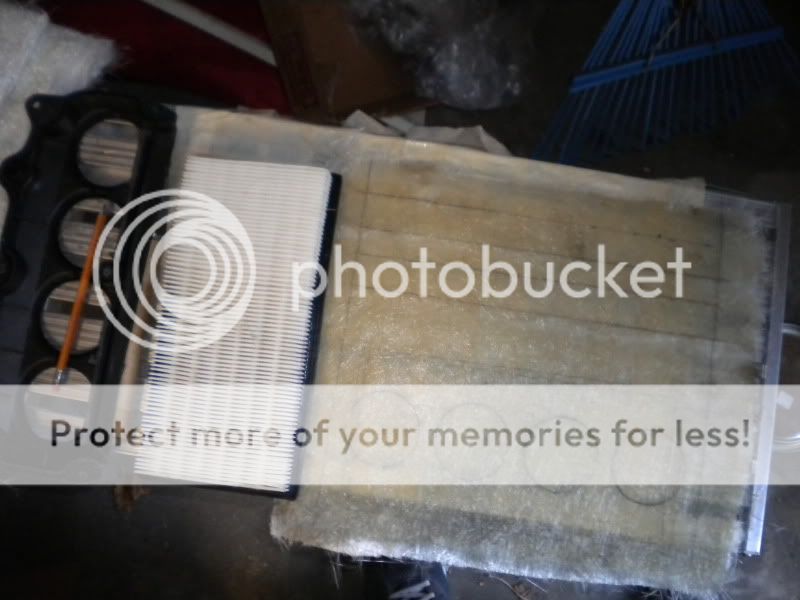
I had to cut down and rethread my old ones. and as for spacers go I had to use some 12 mm metric nuts and weld them together. really strong and took up all of the slack. later after I get it together and running I will replace all of this stuff with billet cnc ran equipment if I have to. I got a smokin deal on resin and glass at the marine supply here in gulfport. They had what you guys were talking about and I am going to get it later to use for the primary (inside) layer on my tank. It is a weave with chop strand on top of it. looks perfect for what I need but it also looks like it will soak up a ton of resin...
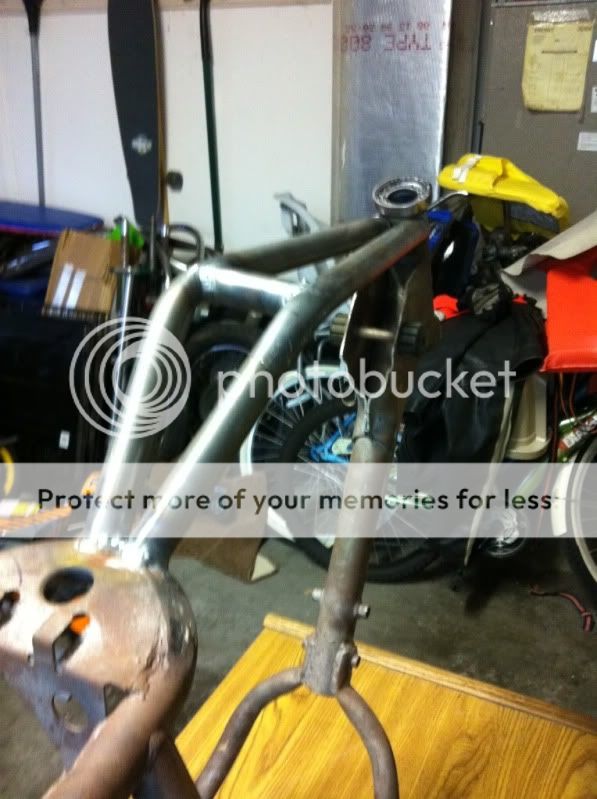
I see why this guy chose to do the backbone the way he did.
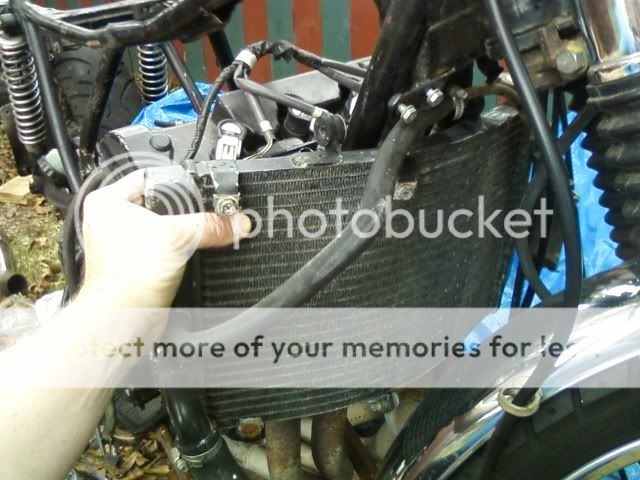
Well the radiator is huuuuge! Any ideas on something smaller (would I be flirting with danger due to diminished cooling capacity of a smaller rad??)
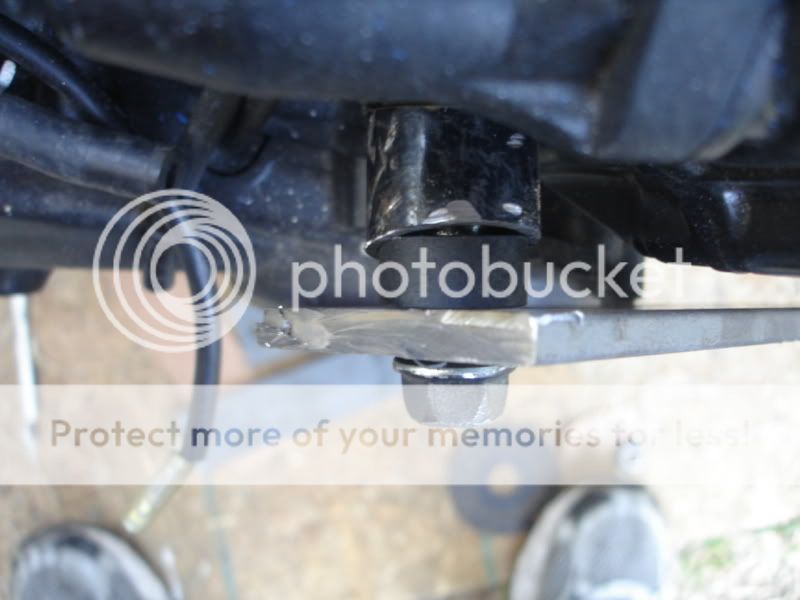
Time to clean up the mounts and make them look not so much like flatbar take out some of the rough edges etc
I have either misplaced some wires or just dont have them. I think redlined sent me the cdi and fuel pump but who knows where it is at. I just came back to the thing after about 3 weeks of just letting it sit.
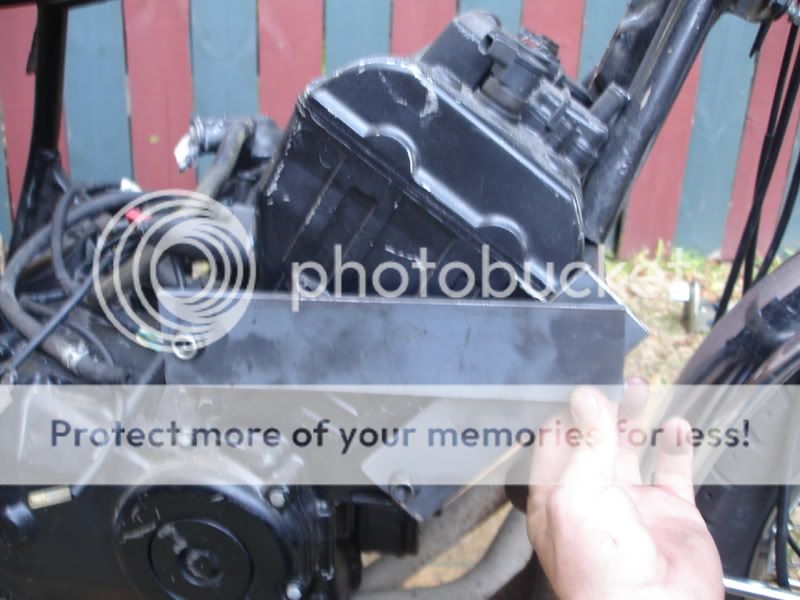
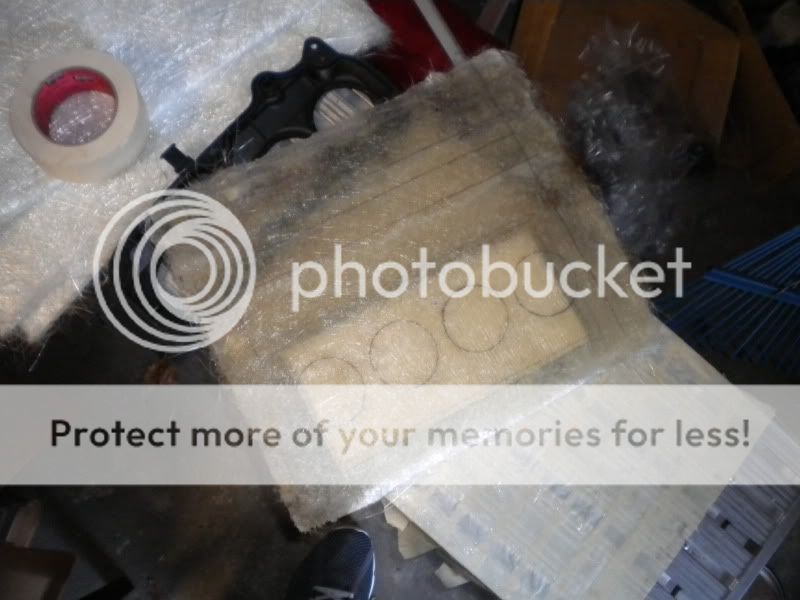
I started glassing up an airbox for it and it is gonna be sweet. here are some pics.
I so far only have honda parts and fiberglass put on it. I am thinking something else for the rearsets.
I will try and fit the rad inder the uprights where I sit. I was just putting the question out there while I am setting up the backbone.
I got 90% of the wiring sorted out but I am gonna have to splice and lengthen a majority of it to get it under my seat cowl.
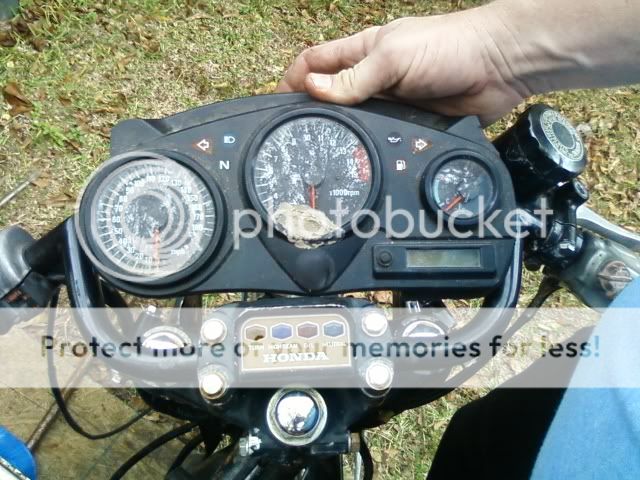
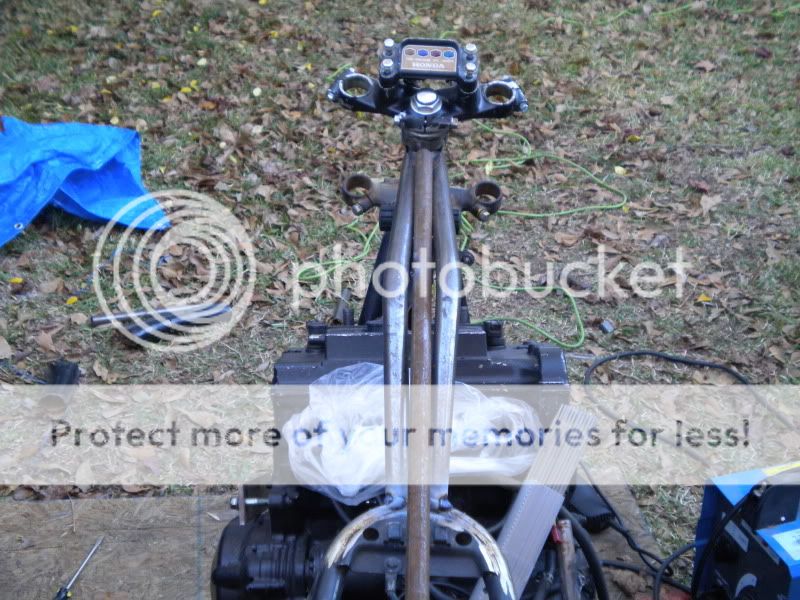
yeah how cool is it that the instrument cluster will mount right in there snug as a bug. lol
Can you elaborate on your fiberglass material there? I just finished building a fiberglass seat out of stuff I bought at Wal-Mart and your stuff look significantly thicker.
I actually bought this at the marine supply store. but The #number of layers is what is important.
for simple stuff you could slather on the resin pretty thick.
Also on my seat I had at least 6 layers, and then I put on some bondo to smooth it all out and the paint and primer.
Yeah, I think I have like 4-6 layers in my seat. It's the first fiberglass thing I've ever done so I was experimenting with materials a bit. The mat that I had was way too loose of a weave and a pain in the ass to deal with. It just wanted to pull apart when I tried spreading the resin on it. The cloth stuff was much easier to work with.
Wow that is thin. the stuff I used soaked up resin like a sponge. check out a boat shop somewhere around you and look at all the different types of glass they have.
O.K. got the mounts worked out, just have to move one hole (Yay!!!) and the motor should sit in straight and the chain will line up. I put the chain on it today and the sprockets are so different that the teeth dont line up between them on the same chain?? So I have to figure out how many teeth to get on whichever one I decide to swap out. ]\
fix one thing.....
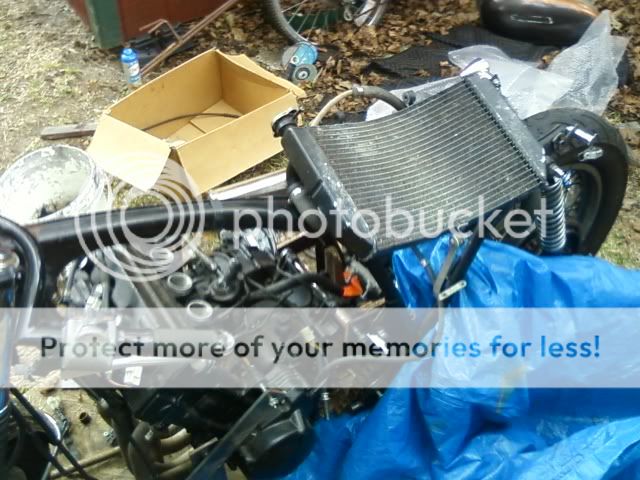
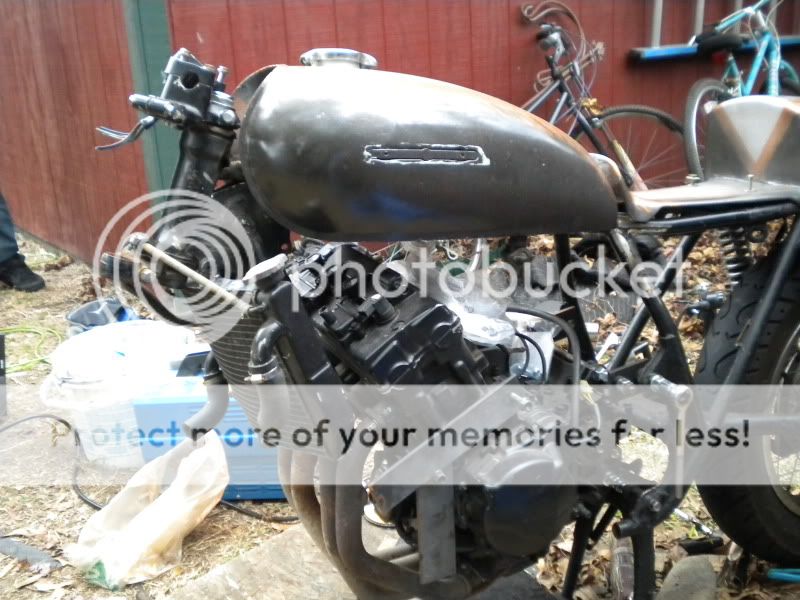
I kinda put it back together so I could feel as if Im getting somewhere and it looks pretty cool.
Dude, I gotta give you props for building outside. I have been there. I always say if you can build something cool sitting in the dirt.....imagine what you can do in a garage. Looking good. I am working on an engine swap myself, so this is motivation for me.
A few minutes on google put onto the idea of using a car heater core or two and using fans on that. I plan on putting side covers over the triangle section of frame so I could mount em there. I really wanna keep those classic lines.
This site uses cookies to help personalise content, tailor your experience and to keep you logged in if you register.
By continuing to use this site, you are consenting to our use of cookies.