'82 Moto Guzzi v50 Rebuild/Redesign

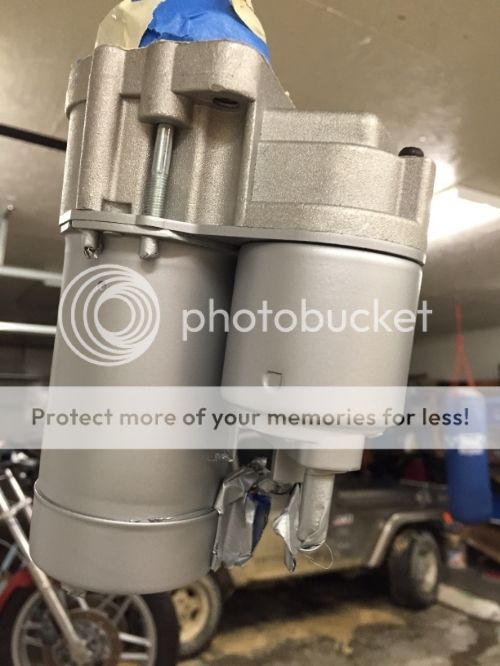
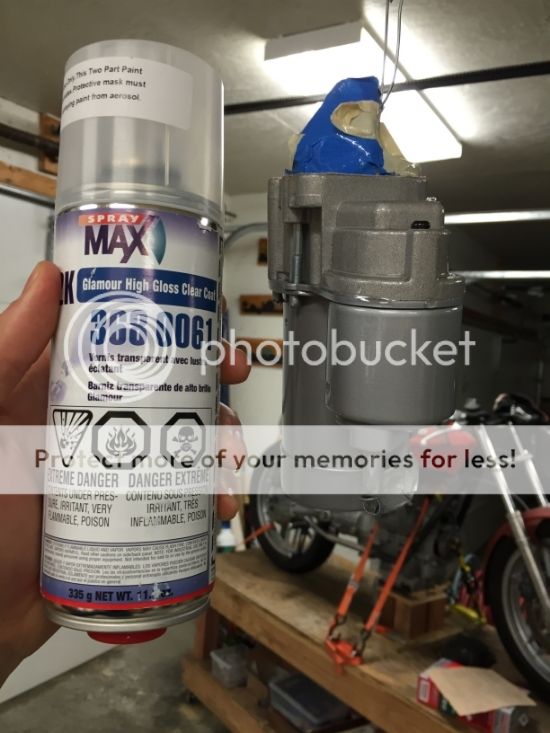
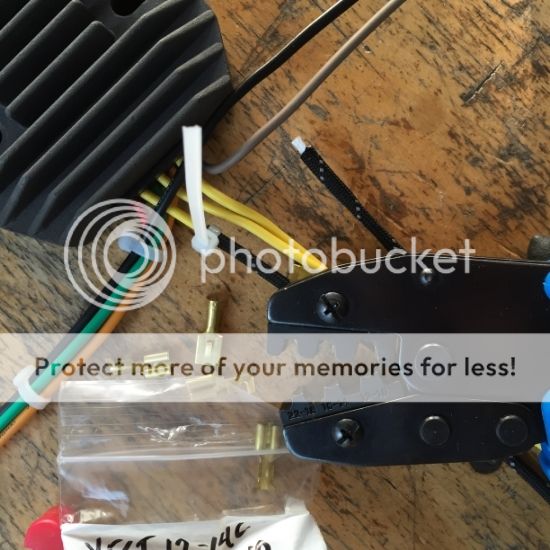
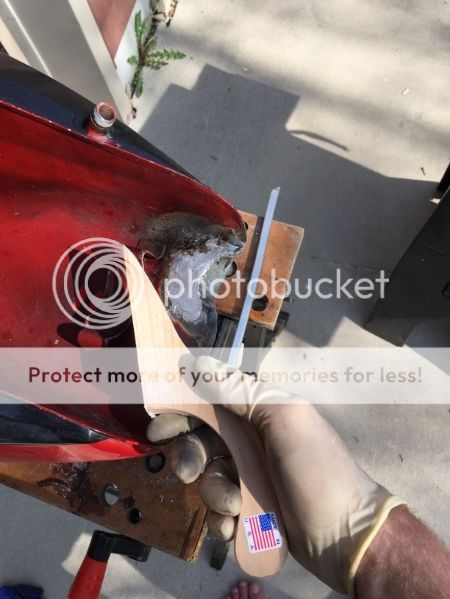
I have the wring more or less completed. Pics of that to follow some time soon, and now I am eager to start the guzzi. It is ready to ride, but man, I want to hear the engine run. I am concerned that something is wrong with the valve clearance settings, though. Hoping someone here can tell me if I they are correct or indeed accurate.

Details:

Here is what the shop manual says to do and I have done this:
1. Bring left cylinder to TDC on compression stroke.
2. Set exhaust valve clearance to .15mm
3. Set intake valve clearance to .10mm

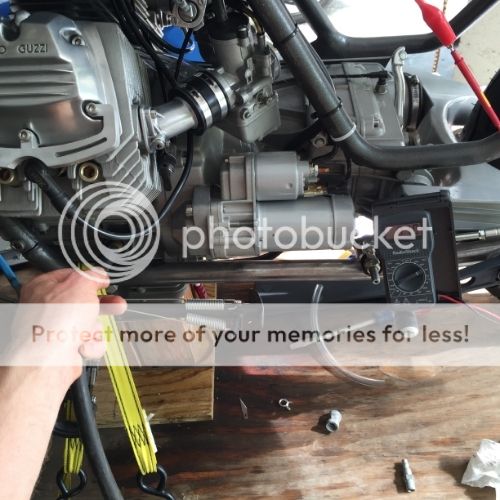
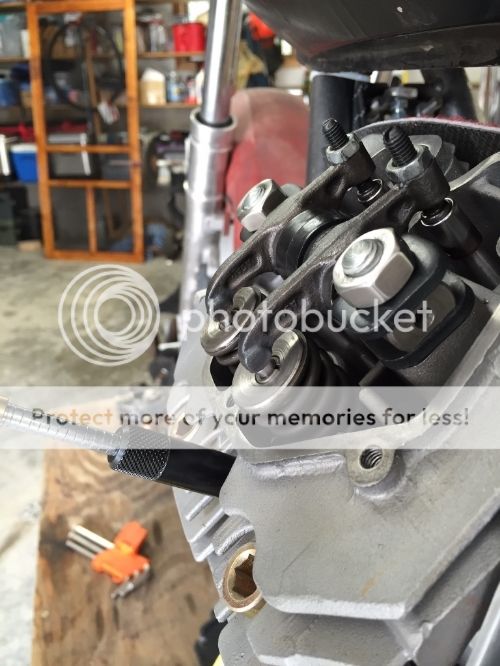
With the left cylinder at TDC the rockers are in a nice neutral position and it is easy to adjust the clearances. Pic:
IMG_0005_zpskxsh8vkk.jpg


Here is the seemingly odd part, though:

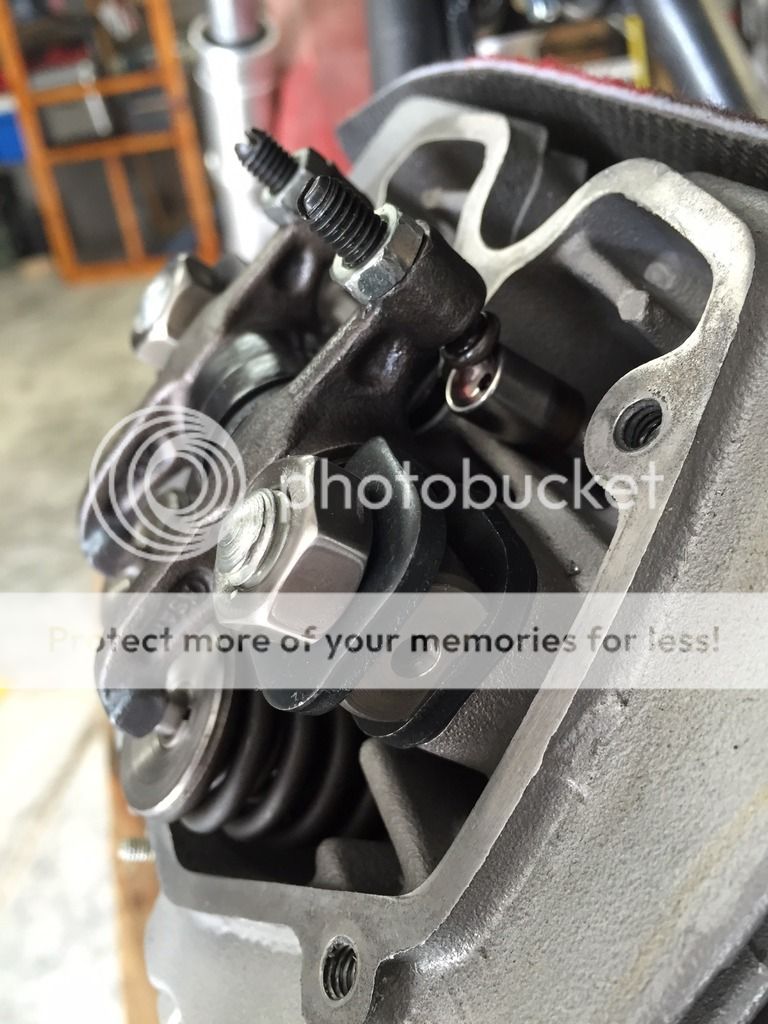
After setting the clearances as I have just described, if I continue to rotate the crank and cam the lift provided by the cam will further decrease from this neural TDC point, and it will decrease far enough that the push rod can actual fall out of of contact with the rocker arm. Pic:
IMG_0004_zps3jfkqhfo.jpg


This can't be right can it? I have never set valve clearances before, so I could be wrong. Please advise! Is there an alternative method that I should be employing to set the clearances?

Here is a pic of what the setup look like at this point
 
Either you are not on the compression stroke at top center (rotate the crank 360 degrees to be once again at TDC), or the camshaft is considerably incorrectly timed to the crankshaft (or there is some pretty massive damage to the cam - unlikely). Your adjusters appear to be a long way to the "loose" position, so maybe you simply adjusted on the exhaust stroke at TDC instead of the compression stroke.
 
Project update.

I believe this was previously mentioned, but there is finishing work left to be done on the frame, but before i get to that, and the painting that is on the far side, I need to see how all of the pieces will come together. Wiring holders, exhaust mounts, etc., etc., need to be sorted out, and the ride will need to be fine tuned. With all of that completed, I will then go back, put the final touches on the frame, and paint it. Following that I will proceed to the final finishing of all of the other elements. Basically, it needs to come together and run for a bit, and I have been at this for 3.5 years, it is time for some action.

Towards this goal, I spent last fall sorting out my strategy for the electronics. As i have previously show, i plan to hide all of the electronics and the two battery cells under the seat. I laid out and multiple sorted out under seat configurations that utilized the 30 y.o. electrical elements, before caving and buying an mUnit. Cop out? Perhaps, but the damn thing is sexy, it has made the wiring process a cinch, and the wire clutter running to the handle bar's has been greatly minimized due to the fact that the switch gear now merely just controls a relay as opposed to the actual current circuit. Oh, and as for switch gear, I am using two m-Switch mini's mounted just beyond the grip on the left clip on. The cylinder that they create actually visually balances out quite nicely with the tomaselli housing on the right. Pictures of this another time.

Other additions during the electronics work included switching to a gear reduction starter. I coated this with aluminum paint and clear coat to allow it to blend into the guzzi's drive train. I felt that leaving it black would distract the eye from the iconic cylinders. Pics from the painting of the starter and the effect upon installation:

after aluminum paint:
IMG_0002_zpstydonczw.jpg


after clear coat:
IMG_0003_zpsx9ke76xw.jpg


As I have been running the wiring, I have been a bit of detail to the build by running all wiring that will be visible upon complete assembly through the outer sheath of some carefully selected parachute cord. With the core stripped form the p cord, the sheath can easily be slid over a wire and secured in place by the terminal crimp. Pics.

Crimper and whatnot. You will see that I also purchased an updated regulator (now mounted under tank):
IMG_0132_zpsvwehfqsk.jpg


Crimped terminal top:
IMG_0020202_zpsyz4iwtd3.jpg

Crimped terminal bottom:
IMG_0019_zpsx9hqhd86.jpg


And, the finished effect of the wire sleeving and painted starter (although this really doesn't do the starter justice):
IMG_0027_zpscvig8tjs.jpg


Laying out under the seat took some work too. To fit everything under the shell I have created, I have made two 12v Li battery cells that will lay lengthwise under the seat shell.

One of the two homemade cells:
IMG_0118_zpsjwo9z92j.jpg

Both in place:
IMG_0123_zpso4zk9e0m.jpg


The mUnit and the fuse box, the two remaining pieces of electronics, nestle nicely between the battery cells. Since I no longer have access to a lathe, I had some one else turn up some metal posts to mount the fuse box and mUnit (and he did a much better job than I would have). BTW, I thought that the stock fuse box was really cool, so I invested a good bit of time cleaning it back up.

Mounting posts:
http://i1058.photobucket.com/albums/t408/zachattach1213/IMG_0124_zpscpfkwf2x.jpg

I actually secured the mounting posts to the seat pan with high viscosity cyanoacrylate (super glue) instead of welding them in, as I wanted to preserve the clean underside to the pan.

Mounted mUnit and batteries:

IMG_0129_zps7z5upq8s.jpg


Lastly, as I was organizing all of this I did so around two, effectively, battery posts, that actually run from inside of the enclosure down through nylon inserts in the pan. All all hot lines and grounds now converge at these posts, and with them running through the pan it enables ready charging access without removing the seat. I also would like to think that I pulled this off without. You can see them in the above picture, but here is what it looks like from underneath:

IMG_0121_zpssh0kpo8b.jpg


if I can work it out, I think I am actually going to put LEDs inside of the pan and around the nylon inserts so that they glow as they appear to in the picture. Would be a fun little detail.

Finally, the mUnit gives you a subtle bit of much needed encouragement as the system draws near to coming alive...
https://www.youtube.com/watch?v=iFjgvCH00u0

Will be updating more back logged material soon!
 
Hey man, haven't been on here for a good while. Nice to see your project still going. Re-kickstarted my build over the weekend. Just had a read through your last few pages and some really inspiring stuff here. Youre doing some pretty cool stuff with this v50!
 
Looks like a great build mate!

Query on the batteries, obviously they've got enough juice to turn it over but have you had it started? The quoted cca for stock is massive!

Would be perfect for mine if they work :D
 
In response to your inquiries Mr. Monkey (see final paragraph if you want direct thoughts),

I did a bit of work on the project two months ago (it is half a continent away, so access is tragically limited), and starting it has been the objective of all of that.

1st, I tried my hand at a bit of leading work too seal up the tank. Lead is actually beautiful to work with. The tank is far from done, but it is fuel-tight.

c66d898f-d15c-4625-b1fe-ecc7ef2207c8_zpsbtcnx8vn.jpg


I then cleaned up the pet cocks. You can still see a bit of the rust on there that I removed. I love how the steel cleaned up. With it clean and oiled hopefully they stay like this for years to come.
IMG_0222_zpsbcootlid.jpg


New sleeves from MG cycles to connect the carbs to the intake manifold got me one step closer. I then gave the factory hose clamps the same love the petcocks received. Being mostly stainless, they cleaned up quite easily.
IMG_0262_zpsogz5f24d.jpg


Then it all was assembled. Carefully selected filters were added in with the clear fuel line. The complement of the gold filters and hose clamps to the cadmium coated head nuts and posts, and brass drain plugs looks just fine. And I think it all complements the meticulous cleanliness of this project's drive train. Hope you all agree:
IMG_0263_zpshtolz7fm.jpg

Note: Trumpets will be added to the carbs eventually. I will also cut new intake tubes eventually to hold the carbs in a more stylish fashion than the factory versions permit. Oh, and the assorted zip ties will be carefully cleaned up.

This done, I filled the sump with oil. I then followed the seemingly brilliant sounding advice of a friend and hooked an air compressor up to the sump to drive oil into all of the various lubrication ports and lines throughout the engine. The idea was to pressurize the system until the oil (temp?) sensor triggered. Since I don't have any indicator lights mounted, I have a voltameter in line here:
IMG_0264_zpshply58fz.jpg

More than anything this brilliant solution served to coat myself and the engine in a spray of motor oil (sorry no pics) when the pressure drove the oil up the crankcase vent. Good idea. Was this operator error? I hope that turning the engine over a bit before it catches will serve to drive lubrication to the critical points before it is actually running. There is plenty of assembly grease in there, albeit not 2 years old. I hope all will be well? If anyone has recs, I am all ears. I would hate to mess things up at this point!

Anyways, this all done, all that was left to do was to push start! Well, maybe an H pipe would be advisable, but this certainly makes it easier to determine whether or not there is spark and fuel.

And here it is:
watch


Fail!

So, Mr. Monkey. I am clearly not getting great cranking power, but one of the Li batteries had its terminals mislabeled. This caused a serious near fire when I tried to charge the assembled 4-pack. The mislabeled cell turned into a giant, smoking blister (I was wearing a chemical mask thankfully), and I attacked the 4 pack with a side cutter to try to save the other cells. One of them seems to be compromised, but I left it in place when I rebuilt the battery pack in hopes that it would still function. Given the fact that one of the battery packs warmed up while I tried to start the engine and the other did not, I presume that the questionable cell is toast, and that all of this was running off of only 4 Li cells. If I am getting this much action off of 4 cells, I think that 8 will be plenty to spin it at an appreciable speed. I need to order a new cell, rebuild the compromised pack, and test this. Long story short, though, I think that you will be fine with an 8 cell Li battery. This said, I am using a gear redux starting (thanks to the helpful advice of other forum members), and I certainly have a more efficient starter than the giant old Bosch unit that is likely on yours (see prior posts for starter details).

Well all, that is it for present. I am dying to get this to start the bike. I am literally having dreams about it. Soon. Soon. Patience. Patience.
 
Sorry, the critical missing video link from the prior post:
https://www.youtube.com/watch?v=7GLrUp6hJSo

Noooo! So close!!!
 
Looking good. Be mindful of those plastic in-line filters, if the tubes are pulled too much they'll break down and bend and could cause fuel shortage (happened to me). Nice job.
 
Brilliant thanks for the reply! Yeh if you try and charge a battery the wrong way round very bad things will happen to the cells. Looks like 4 cells is giving it a bit of go, you'll probably find the duff one was dragging the entire lot down with it too.

Definitely looking to do something with the starter!
 
better check yer ign timing it would need to be way off in order to shoot a flame like that with no power stroke
 
I will be amazed if you can start your bike with those batteries. They do not look capable of delivering enough cranking current. I will be watching this with interest, thank you for posting.
 
Note that the video shows the cranking power from 4 cells alone (one of the packs is toast because A123 mislabeled the poles on one of the cells in that pack).

I don't see why it would be a surprise if this works. If you were to crack open the a Ballistic or other common Li battery you would simply find the same setup, only the cells are laid out side-by-side as opposed to linearly. Wish someone would make this design commercially. If it works perhaps I will have to go into business.

I do appreciate the interest in my little science fair project, though ;-), and I will be excited to see if it works too.

Just booked a plane ticket last night that will have me back at this for a few days at the end of August. Going to sort out the timing and whatever else is required to make this work using a conventional lead acid battery initially, but then will rebuild the pack and fire it up with the envisioned design.

Fingers crossed. Hopefully somewhere around Aug 22nd I will have a runner!
 
and use a real properly sized batt until you get the thing running riding and tuned trying to use a tiny batt is dumb enough on a good running bike
 
Others with V50's have found they need 8 cells. 4 cells will usually start it, but 8 cells makes living with the bike in the real world better.
Can you charge that type of cell with a regular starcharger?
I have a Ballistic mounted under the tranny of my V50, but I'm bypassing it with a regular battery when tinkering, just so I don't discharge it below the critical point.
 
Today was a good day.

https://www.youtube.com/watch?v=3HhGZUQCfv4

That is right, for the first time in 15 years my guzzi came back to life. I know almost everyone else on this forum has been here before, but forgive me while I enjoy a celebratory beer.

I got a timing strobe and inspected the at-idle timing. I can't quite make sense of it. The left cylinder is firing right on the idle advance mark, and the right is firing at TDC. This would seem like a scenario where I should be able to split the difference, but unfortunately if I advance things further to accommodate the cylinder at TDC I will just seriously advance the other cylinder. I can't come up with any explanation besides this just being error built into the Dyna ignition. Is this possible? Or does someone with more than an N of 1 experience with this have a better explanation?

Oh, and yes you can charge my crazy batter cells with a normal Li motorcycle charger. They are no different than charging a ballistic battery, just a different layout.

Thanks all for the pointers that helped me get here.
 
15 years since it was last running? That's a big milestone, timing it should be relitivly easy assuming the timing marks are accurate.
 
Back
Top Bottom