CL 360 'Beastie' Build

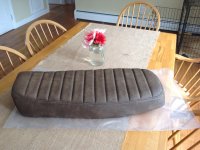
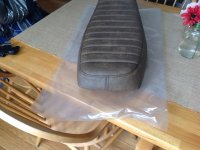
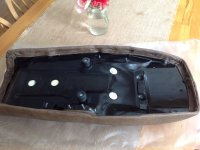
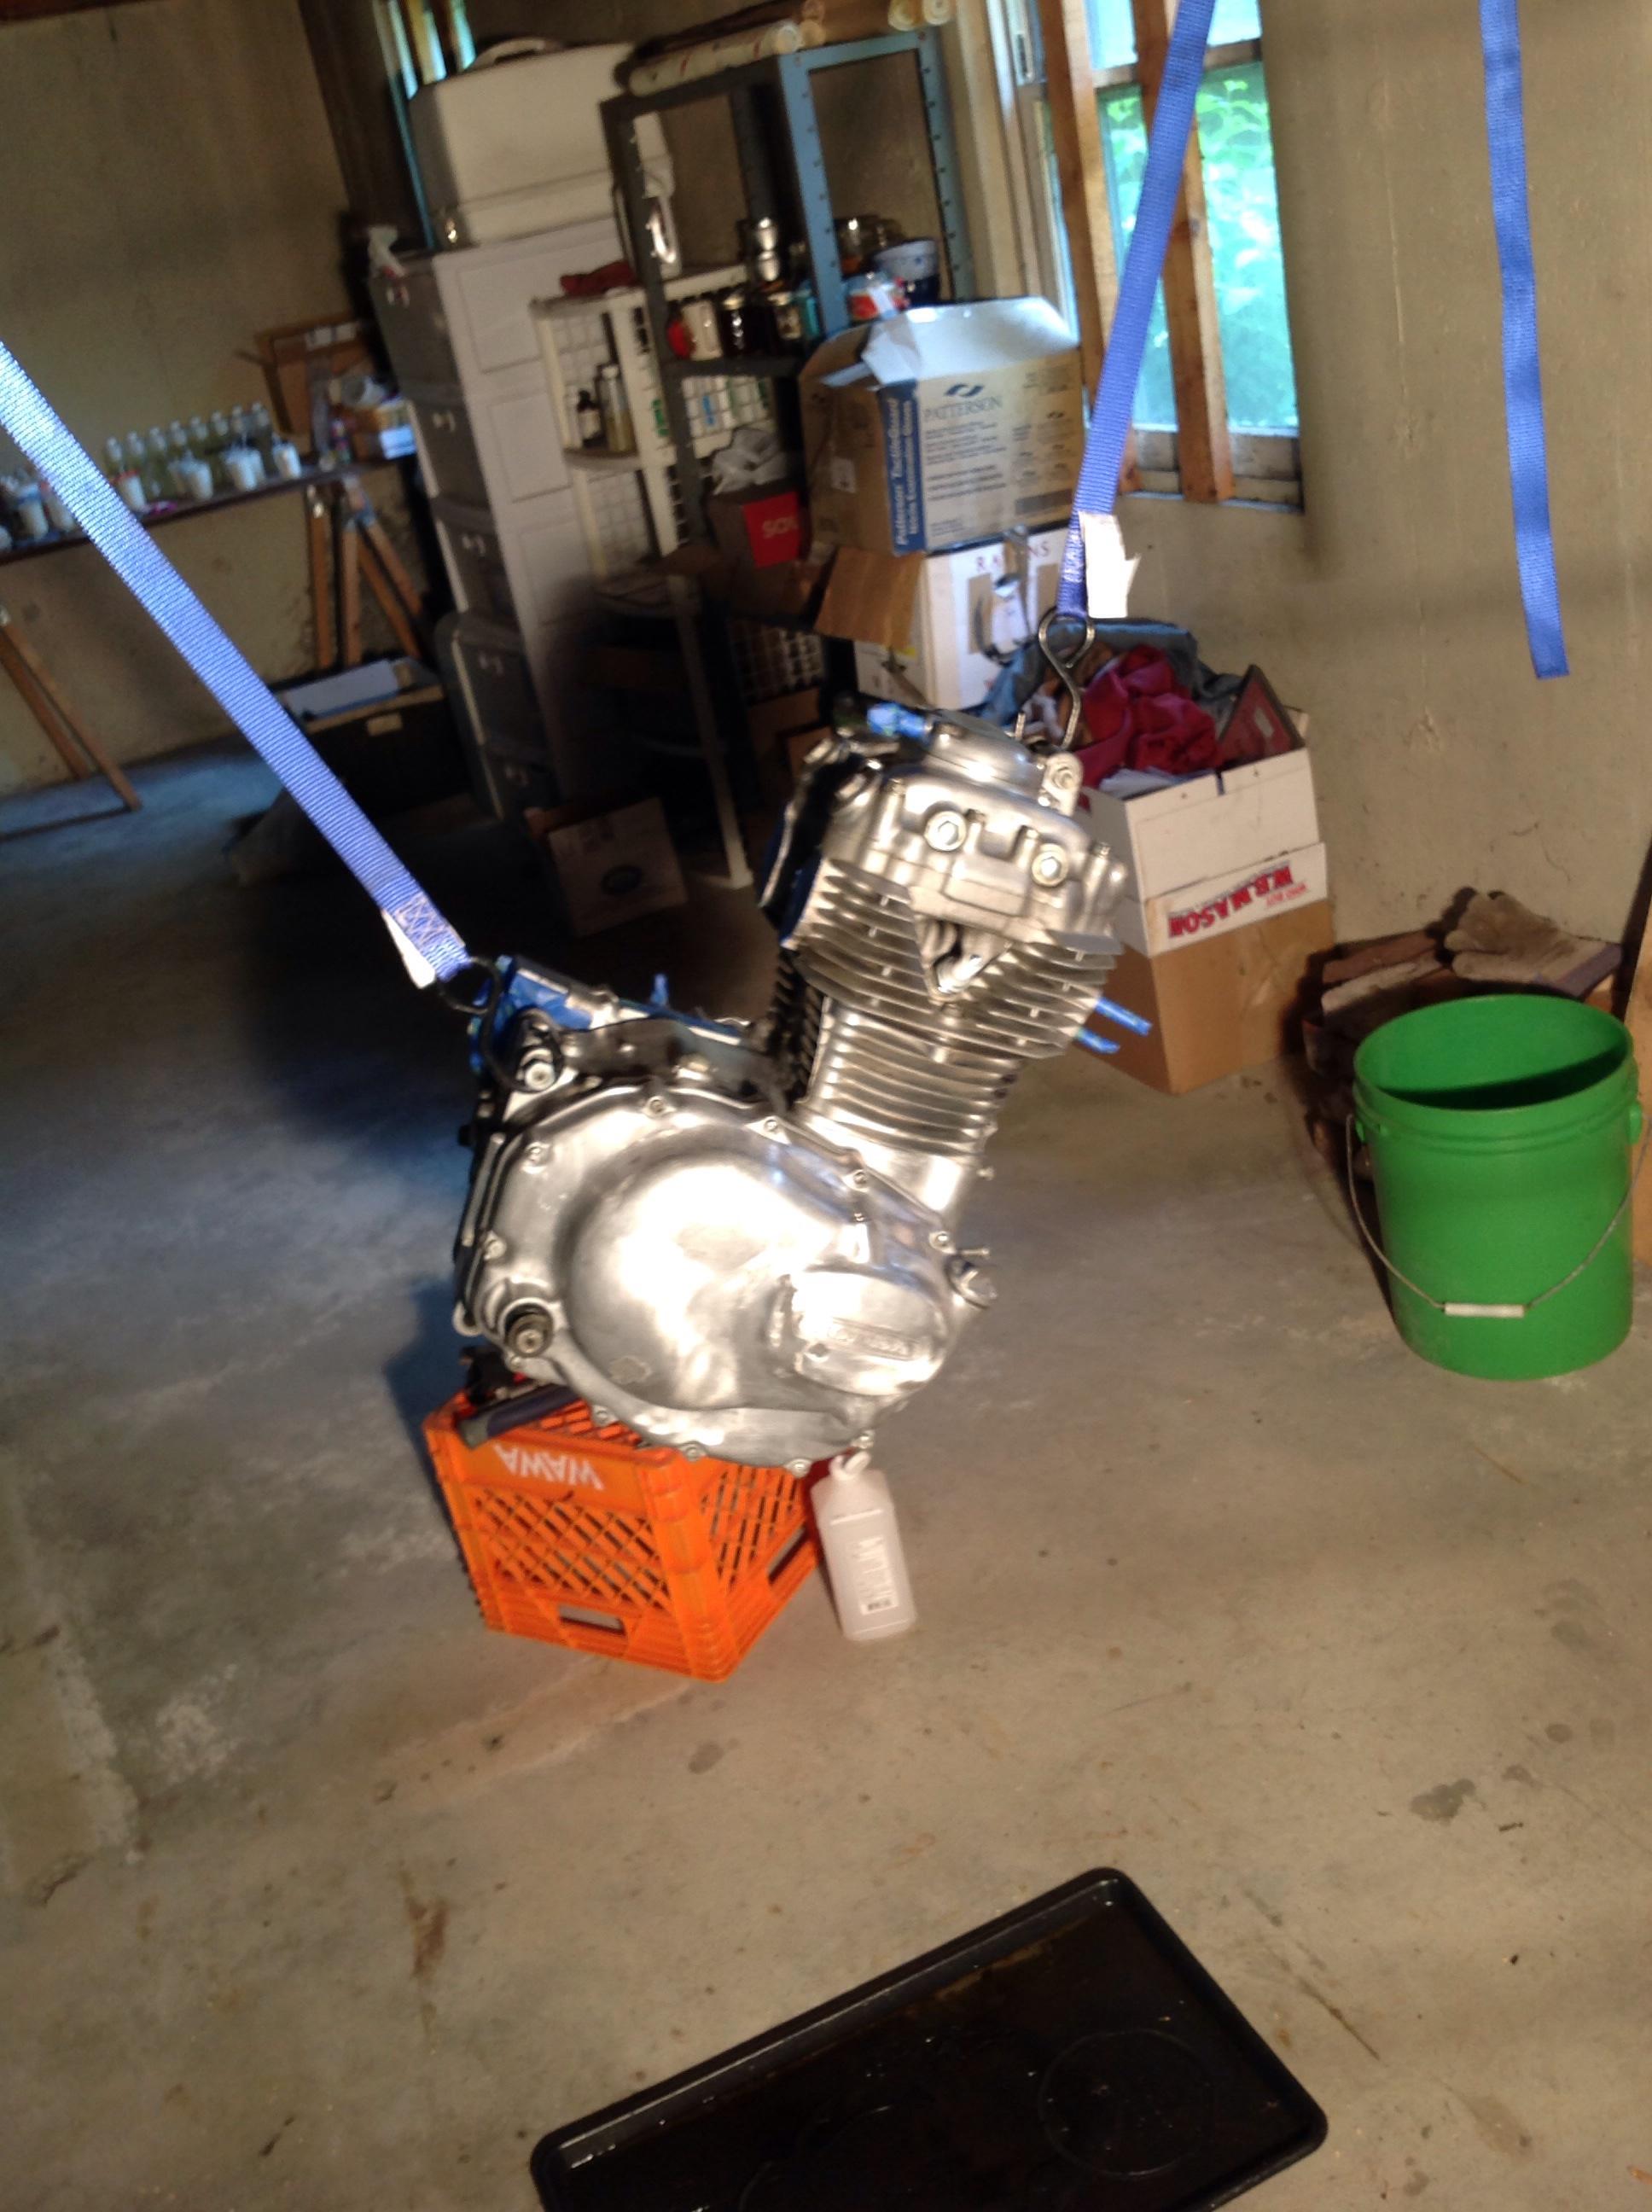
Went out and picked up my seat from the upholsterer this morning. I had it done at Ace Upholstery (http://www.aceupholsteryinc.com) in Salem, NH. I refreshed the seat pan as mentioned earlier (de-rusted, welded, sprayed rust inhibitor, primed, painted, cleared) and dropped it off to have new foam shaped and covered in vinyl. I left them with a seat pan, my old shaved down foam to get an idea, and emailed some pictures.

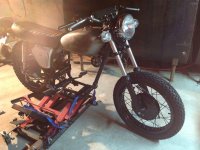
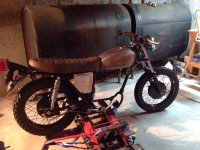
This is what I got back. And I love it.
 

Attachments

  • image.jpg
    image.jpg
    1.4 MB · Views: 320
  • image.jpg
    image.jpg
    1.3 MB · Views: 312
  • image.jpg
    image.jpg
    1.3 MB · Views: 298
Yep, I like that seat over straight black. Looks good. In fact, your whole bike is looking very nice. Good job.
 
Quick Sunday night mock up for your viewing pleasure. Fishing the wires through the bars was a pain in the ass. Should've gone the easy route of cutting the housing and keeping them external. Waiting on some gauge faces from Sonreir so I can complete my refresh. I think next up will be paint. Totally digging the seat I had done too. It's gonna look great against the white tank.
 

Attachments

  • image.jpg
    image.jpg
    759.7 KB · Views: 325
  • image.jpg
    image.jpg
    411.1 KB · Views: 307
  • image.jpg
    image.jpg
    653.5 KB · Views: 319
  • image.jpg
    image.jpg
    641.4 KB · Views: 330
You wouldn't think it would be that hard to snake wires through bars like that. But it is! Looks good. I think your right about the seat against the white tank. Hawt!
 
LEDs in, new faces on, and half way done putting the trim rings on. Had to borrow a min mixing bowl from the kitchen (the wide lip helped to grip) so I could recrimp. I scratched the first ring pretty good. I ended up using a dremmel to cut the 2nd ring off of a spare set. Good thing I had a spare/ semi crappy set of gauges as I was missing connectors, nuts, washers, etc. ended up picking the best of the two to hopefully end up with a halfway decent end product. More to come once I finish up.
 

Attachments

  • image.jpg
    image.jpg
    738.5 KB · Views: 322
Great build. Most of my fav cafe racer builds are 360s ;D

Some of your pics are upside down, which makes it hard to see :eek: :eek: :eek: :eek:
 
I noticed that the pictures don't all upload in the correct orientation. I'm posting from my iPad 90% of the time. The pictures look correct in the preview, then once uploaded appear sideways or upside down. Once posted however, when I click on the attachment to view it bigger, all photos appear normal again. Moderators, what am I doing wrong/ can I go back and edit the pics?
 
When opening the pics in a new tab they show on the right orientation. The gallery is still pretty new, maybe some rough edges still? I'd shoot Tim an e-mail at admin@dotheton.com


Great build and awesome name!
 
Wrapped up the gauges tonight. One trim ring was I crimped/recrimped. The other I scratched beyond salvage late last night when I became careless with the pliers. Went to the donor set of gauges, dremmeled the ring off, JB welded it while holding in place with a hose clamp. Not perfect, but then again nothing on my bike is. Tried to hide it in between the 2 gauges. I'm running out of the 'small' stuff to do.... Looks like I can't stall too much longer before I turn to paint for the tank, side covers and engine.
 

Attachments

  • image.jpg
    image.jpg
    946.2 KB · Views: 292
Carbs- what to do now. Bowls look decent, no tears in the diaphragms. Bike ran pretty well in the 2 miles that I rode it after getting it from the P.O. before I took the bike apart. Not sure how to go about cleaning/what needs to get cleaned.
 

Attachments

  • image.jpg
    image.jpg
    897 KB · Views: 274
  • image.jpg
    image.jpg
    909.9 KB · Views: 268
  • image.jpg
    image.jpg
    2.5 MB · Views: 278
  • image.jpg
    image.jpg
    768.2 KB · Views: 282
  • image.jpg
    image.jpg
    2.4 MB · Views: 289
  • image.jpg
    image.jpg
    1.7 MB · Views: 278
Nothing entirely new to report. I work at a prep school, and the kids all went home a week and a half ago. I'm doing the stay at home dad thing for the summer. It is near impossible to get anything done with a 4 month old around. Did some light sanding on the side covers and tank and they are now just about ready for paint. Messed around this afternoon with some tape for design ideas. I think 1/4" width will do it. Spent some time degreasing the engine and scraping years and years of fire road crud out of every nook and cranny. Need to hit it with a scotch brites and rinse thoroughly before painting as well. Mocked up some new mirrors, but can't seem to get them to tighten and stay in place- need to play around with the lock washers a bit. Gauges and all lights and signals are on. Still haven't decided if I really want to trim down the stock front fender or not. Carbs still need to be cleaned. I need a few days in a row without interruptions to knock out the paint then I think it'll be smooth sailing. Sorry if the pictures look a lot like some others I had previously posted- like I said, not a whole lot of progress.


65182-170614205829.jpeg


65182-170614205905.jpeg


65182-170614205929.jpeg
 
Mystery spacer/collar/part

Last spring when I was disassembling my CL360 I came across this spacer/collar on the floor of the barn once I was done. As I've been reassembling, I can't seem to figure out where it goes. Any help would be appreciated.
 

Attachments

  • image.jpg
    image.jpg
    1.4 MB · Views: 286
  • image.jpg
    image.jpg
    1.3 MB · Views: 268
  • image.jpg
    image.jpg
    878.8 KB · Views: 269
Back
Top Bottom