Follow along with the video below to see how to install our site as a web app on your home screen.
Note: This feature currently requires accessing the site using the built-in Safari browser.
We noticed you are blocking ads. DO THE TON only works with community supporters. Most are active members of the site with small businesses. Please consider disabling your ad blocking tool and checking out the businesses that help keep our site up and free.
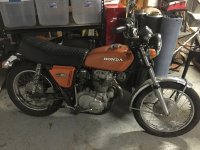
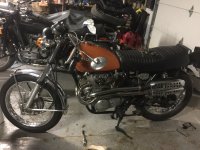
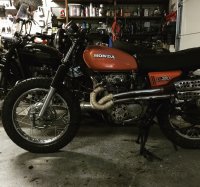
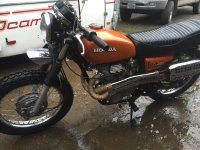
Hello everyone, been learching the site for a while now and thought it was time to start documenting my build.
It's been a hurry up and waiting process which i'm sure most of you know.
History:
Pick my Cl360 up about 6 months ago. I guess its been sitting in this guys living room for a couple years. I believe him because there was very little rust on this bike. It wasn't running and was having some points and carbs issues, pretty typical.
I have been tinkering with it trying to get the motor to run right. Learning a lot of these bikes and loving it. After sending my carbs over to CrazyPJ— which he did awesome BTW. I got the bike running. Now that it's running here is my game plan.
I live on a long gravel road and plan on using this to get to town and around gates to my local fishing holes.
Future Plans:
[X]New Tire - Dunlop K70 Vintage 4.00 x 18 front/back
[ ]modify front fender bracket to fit larger tire
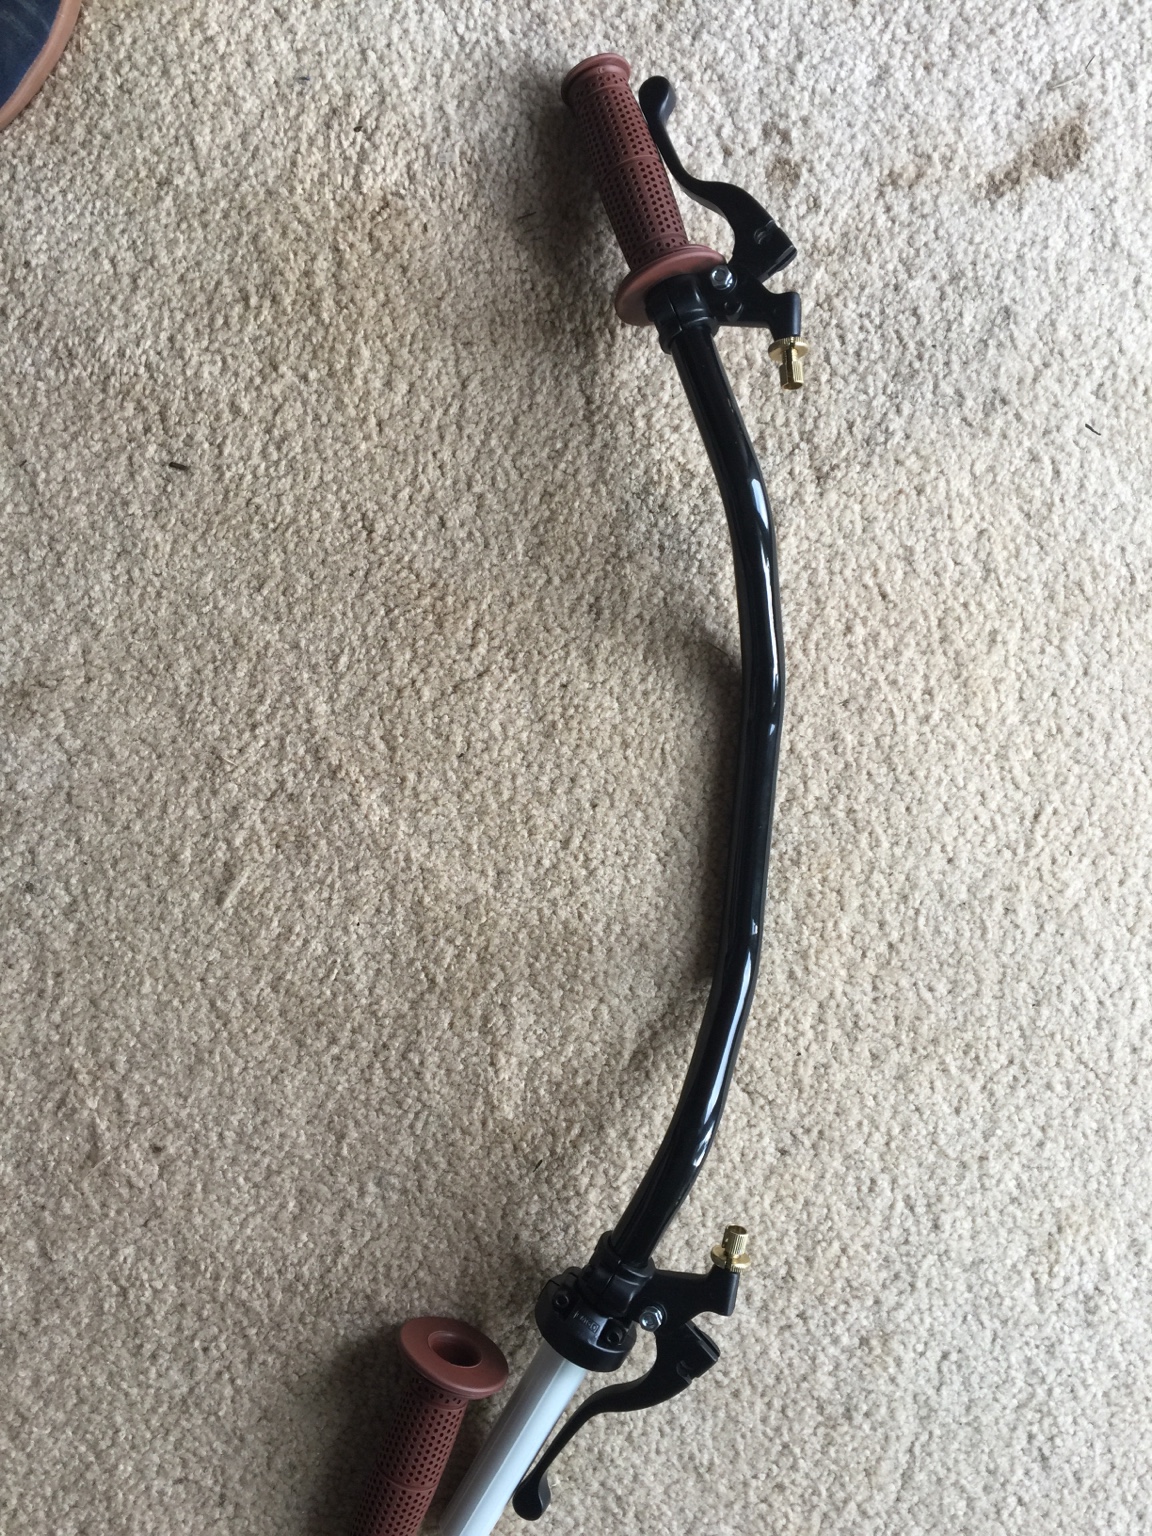
[X]New Handle Bars
[X]New Grips
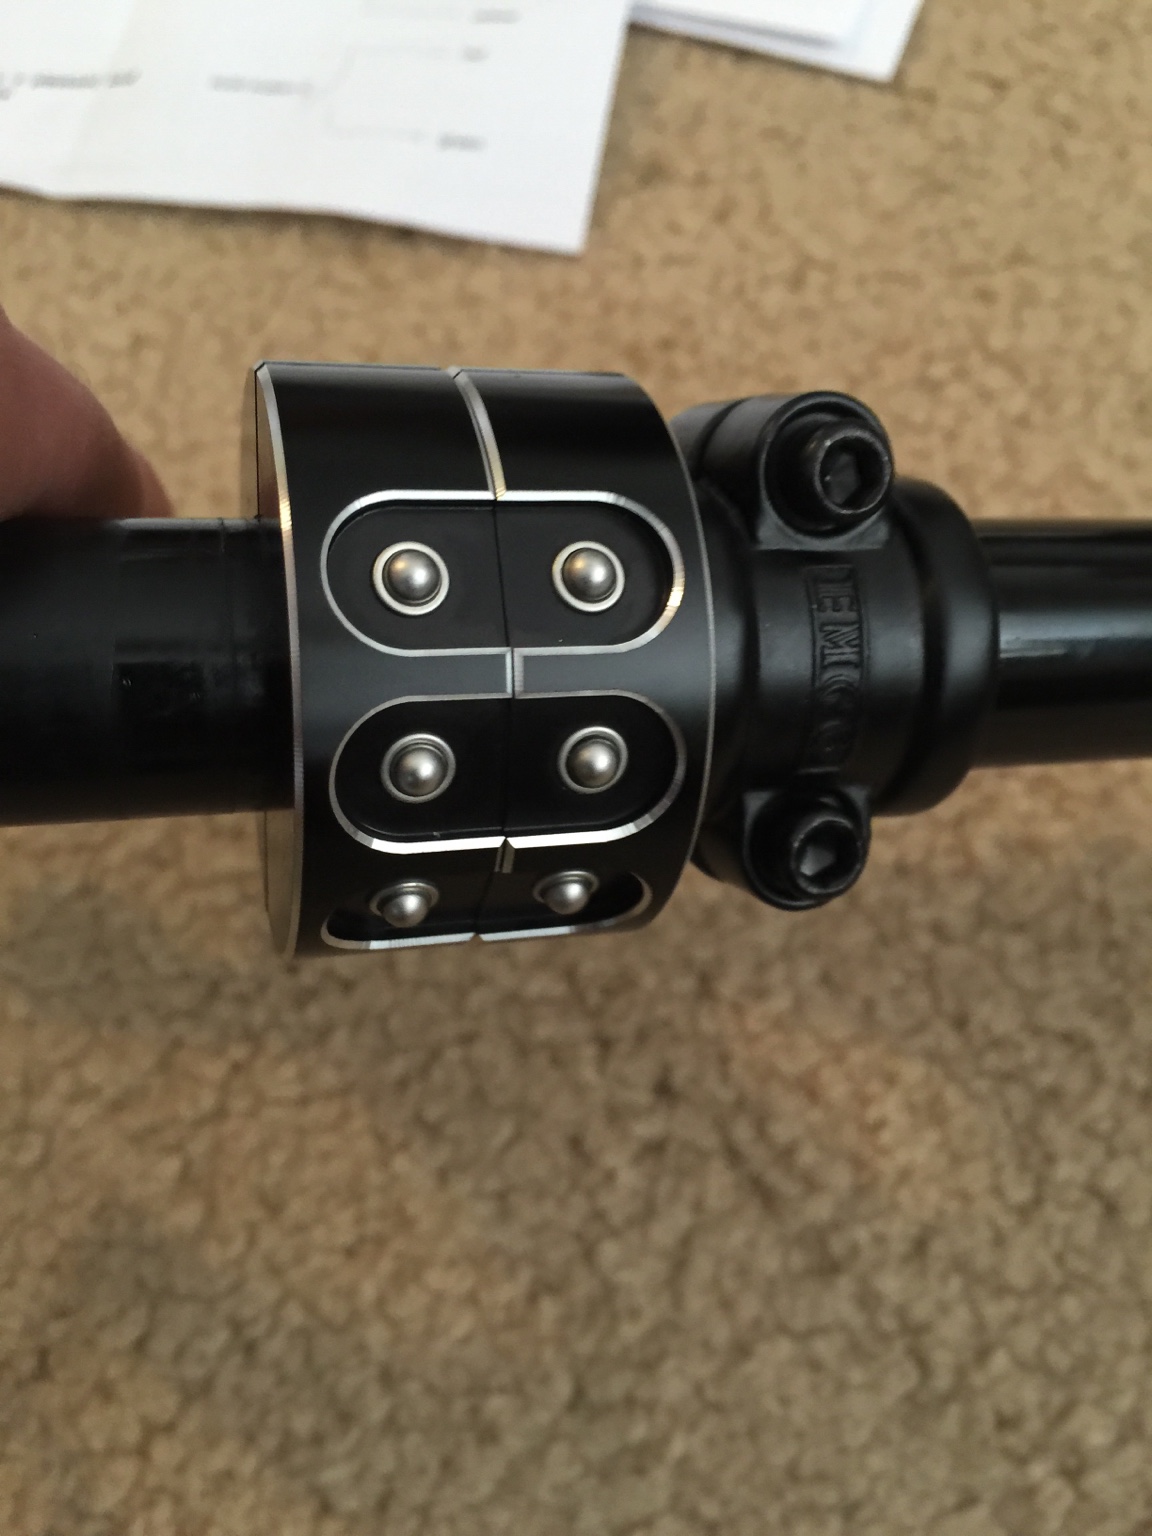
[ ]Motogadget Mini Control Buttons
[ ]Motogadget Unit
[ ]Motogadget m-button
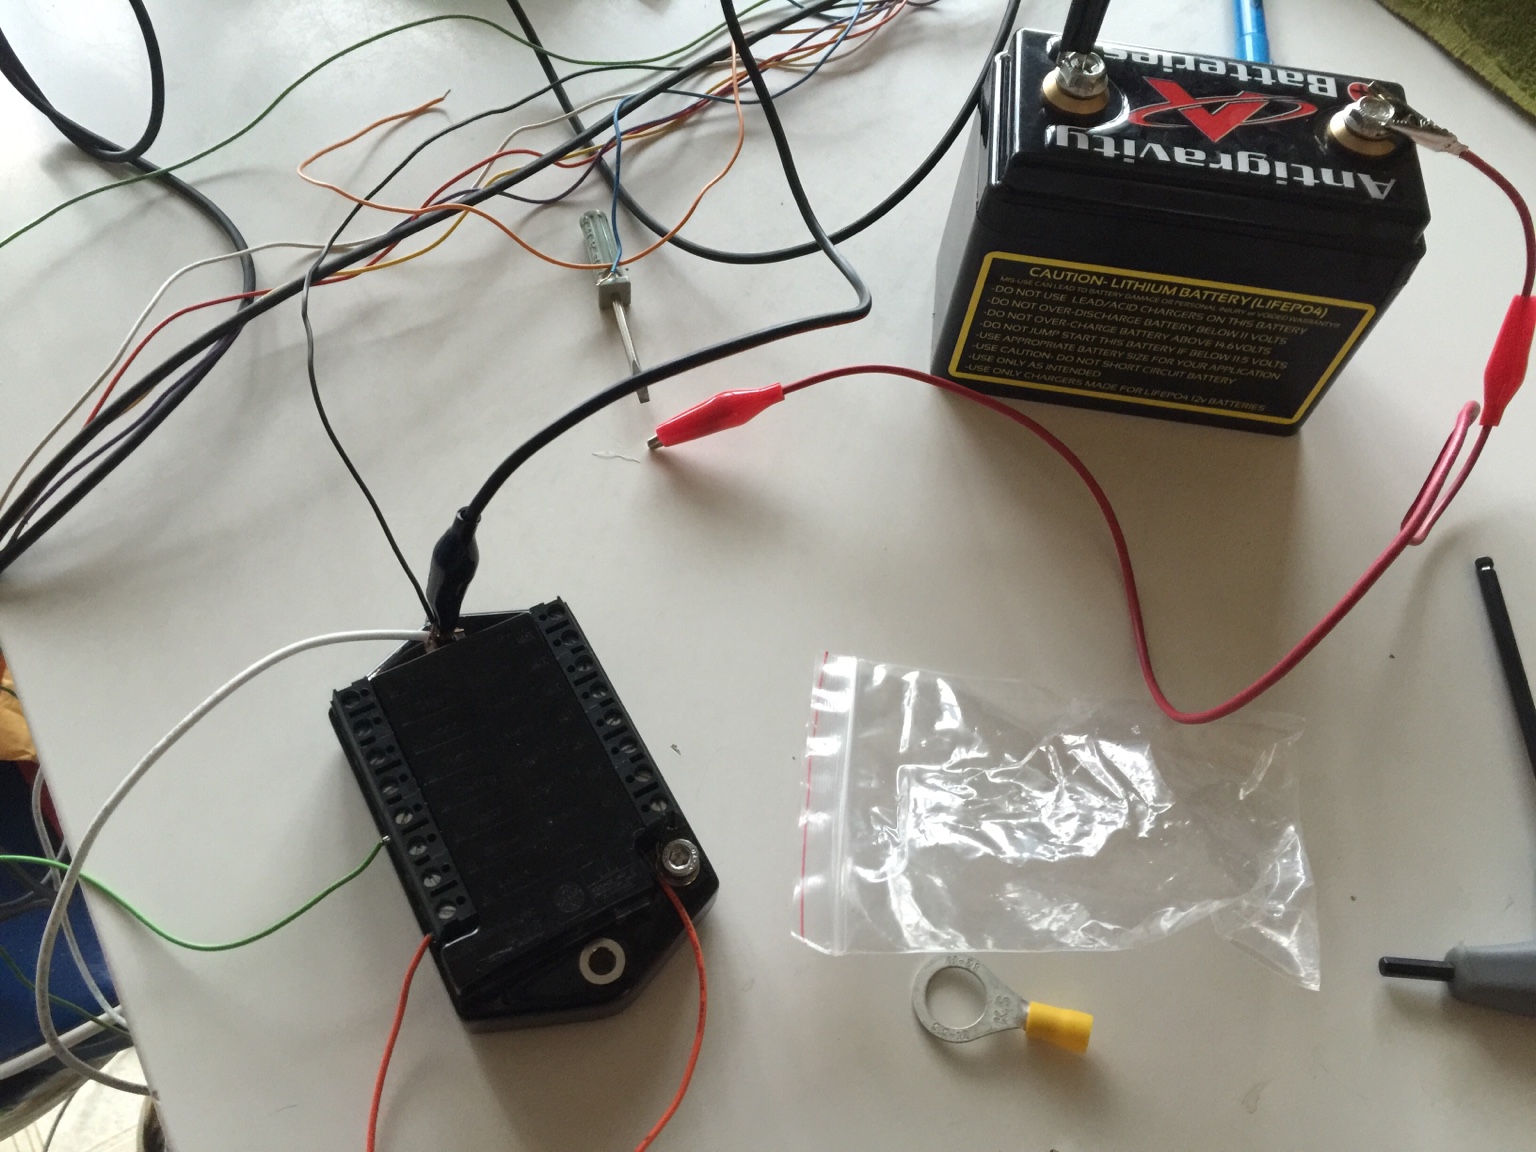
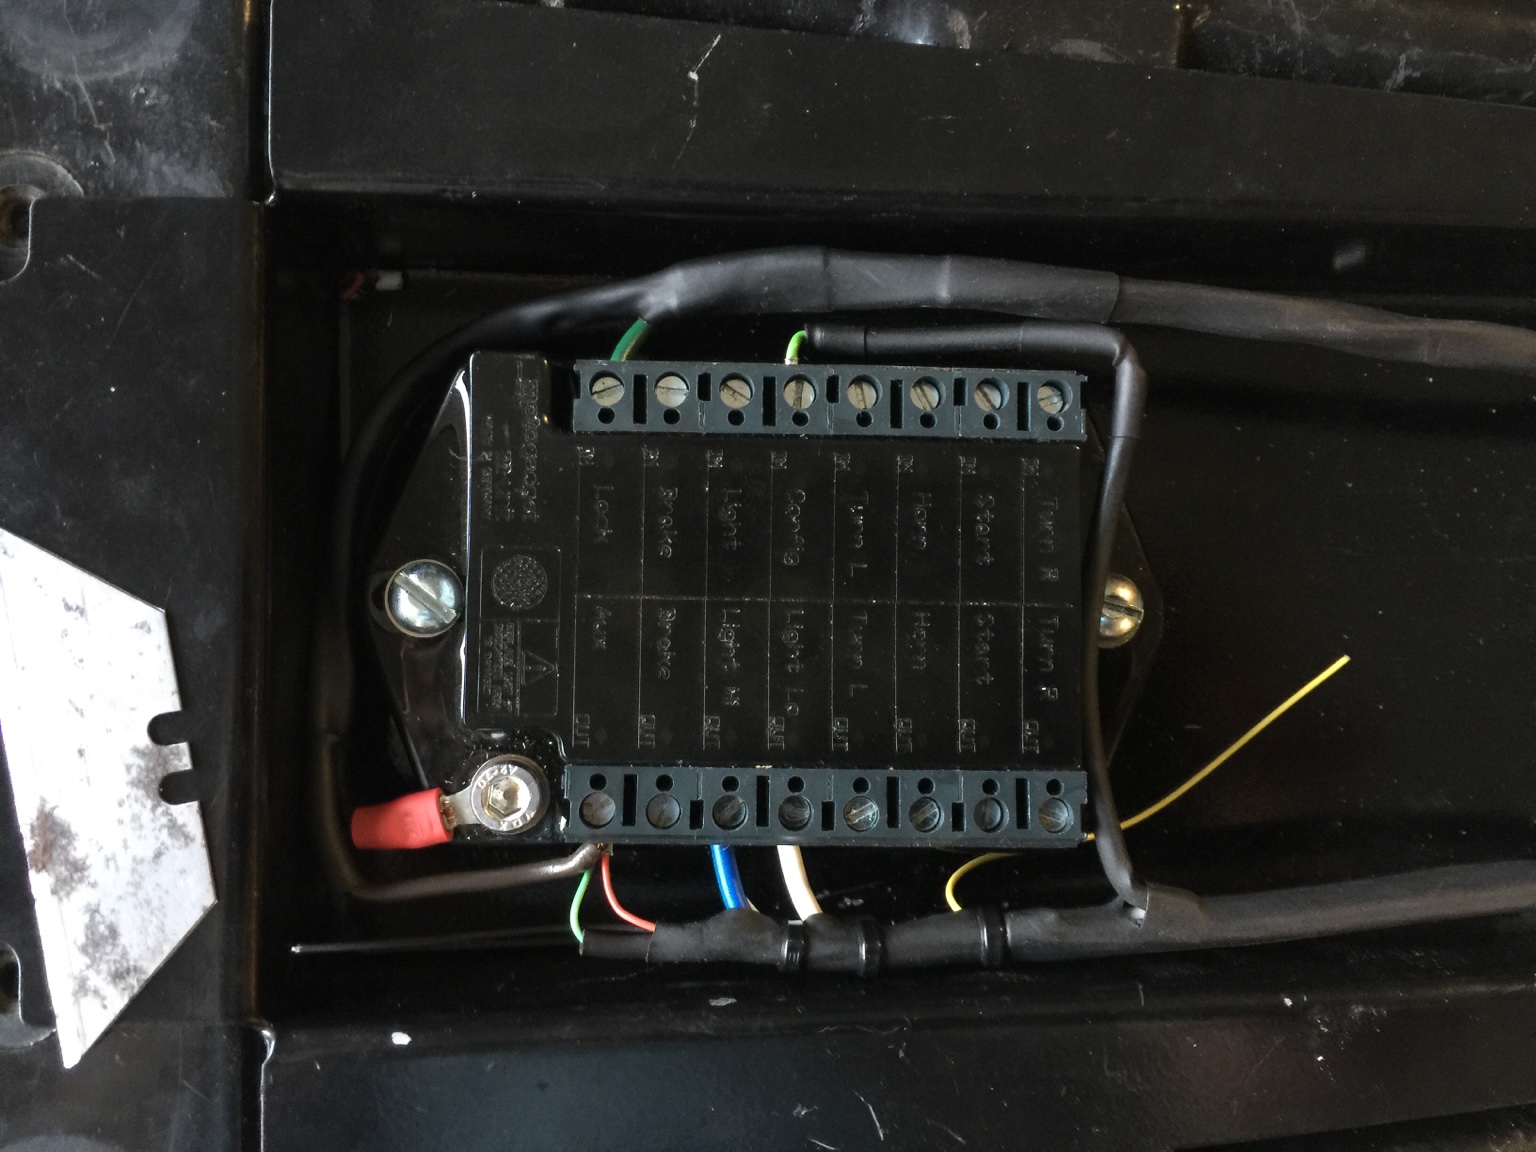
[ ]Build electrical box
[ ]re-cushion the seat and thin it out a little
[ ] Install New Headlight and Mounts
[ ] Install 2.5" Black Mini MPH Speedometer/Tach
[ ] Rick's New Charging Kit - R/R & Stator
[ ] Antigravity Batteries AG-801 8-Cell
[ ] Install Pamco Electric Ignition
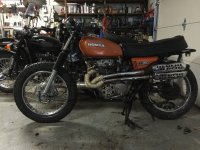
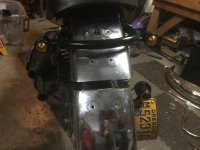
Thanks! Yes I do have the heat shield— however its missing the rear bolt mount from the exhaust. I think i'm gonna just float a metal bracket behind the exhaust and bolt it that way. I think i am going to get rid of the white exhaust wrap too, maybe paint it black so the chrome pops a little more.
I am kinda of in limbo right now— ditch the fat seat for something thinner and shorten it u, add a hoop. Or leave the stock seat and possible thin it down a little with some good memory foam.
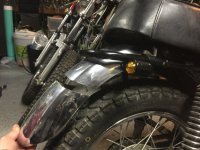
I wanted to ditch the use black light and after doing that the rear fender was just too long for me.
I thought it came out already there a few extra mounting hole that I am hoping to cover up with a smaller break light. if you guys have found anything similar to what I'm looking for please share a link.
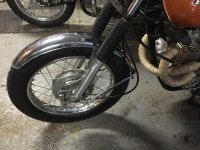
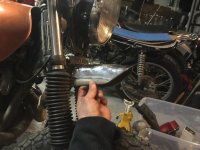
after driving around a little i really need to get that front fender remount, I need to extend it somehow. Time to learn how to weld cause i really hate eating mud! for now i mount the extra piece of the rear fender to the front with an "L" bracket, it'll do for now. But that support bracket is a must for me.
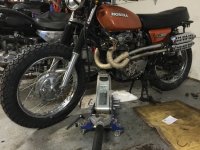
so i am waiting for my bike to get back from a local shop, should be tomorrow when i get it back.
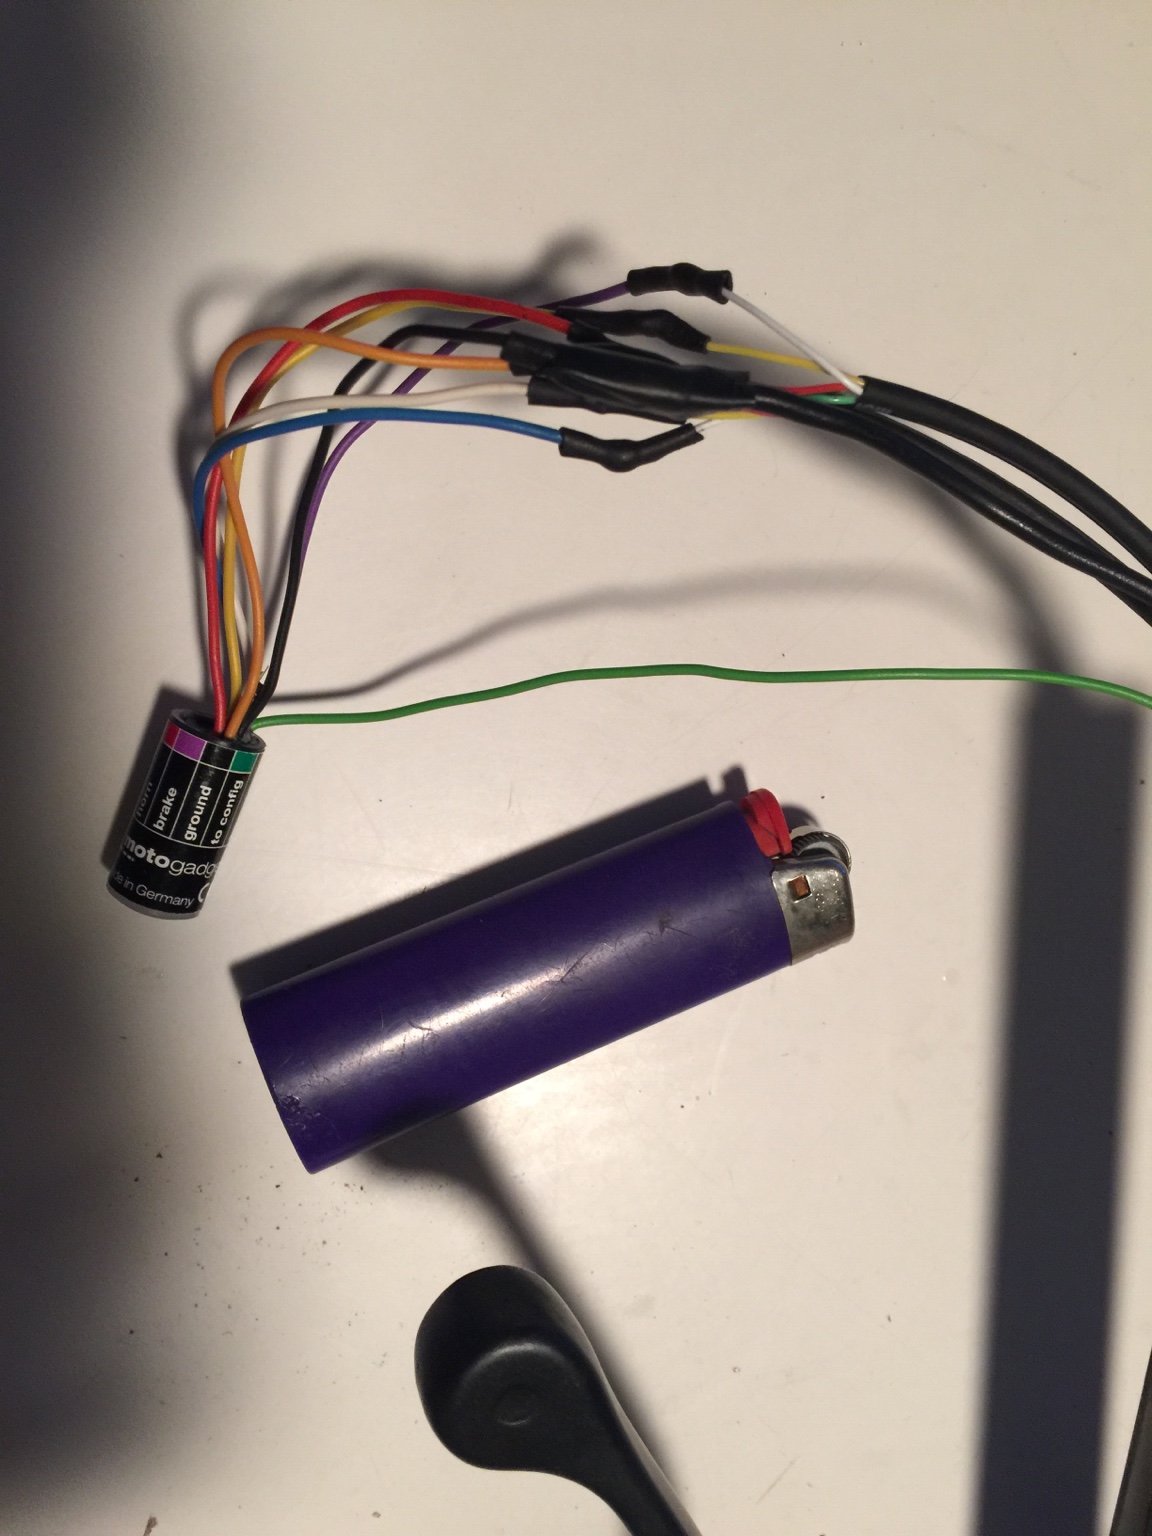
in the mean time still waiting on a backorder for all my Motogadget stuff to come in from Germany. I am doing some pre-wiring for the new gauge(s) indicator lights and headlight wires that will go directly to the M-Unit. The plan is to make these wire hidden as much as possible and clean. I bought a male/female connector plug kit from Radio Shack but i am not too stoked on the quality and its not water proof.
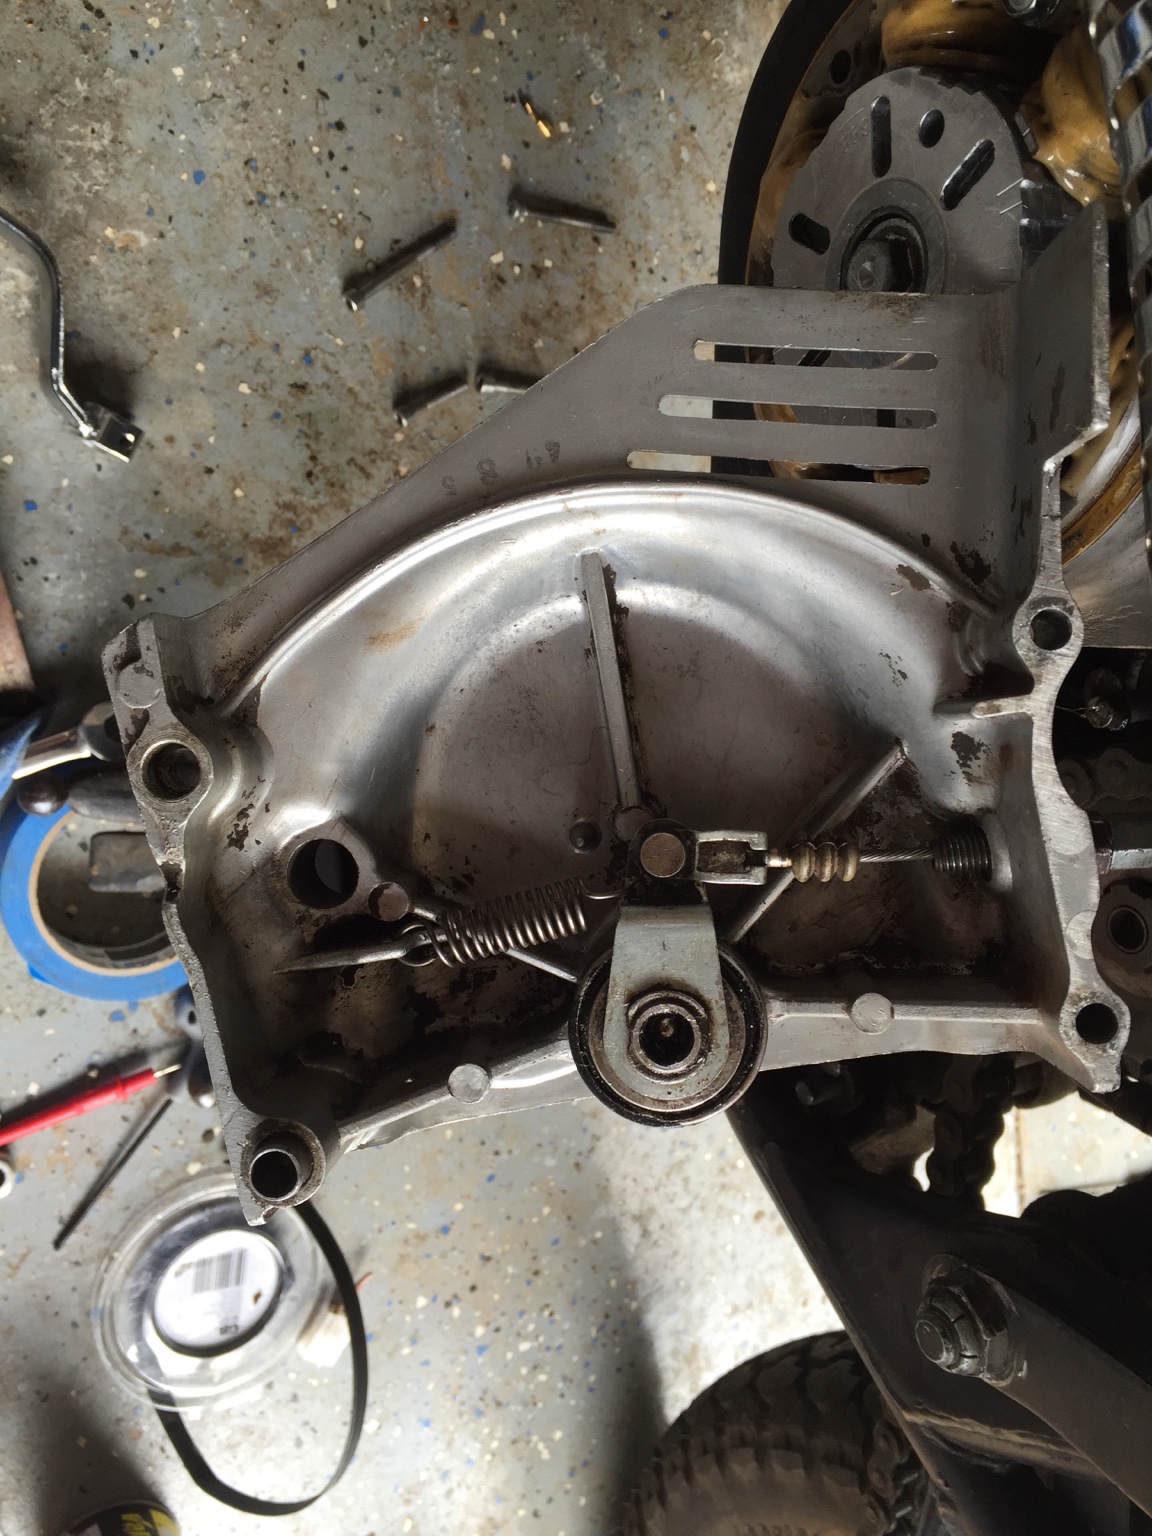
Well been waiting for the bike to get back from the shop. Stopped in the right for before memorial weekend and we almost had it off the lift until the the kickstart lever broke. Having issues with it only firing off of in cylinder. One the carbs diaphragm little piston wasn't moving up and down, it was jammed!
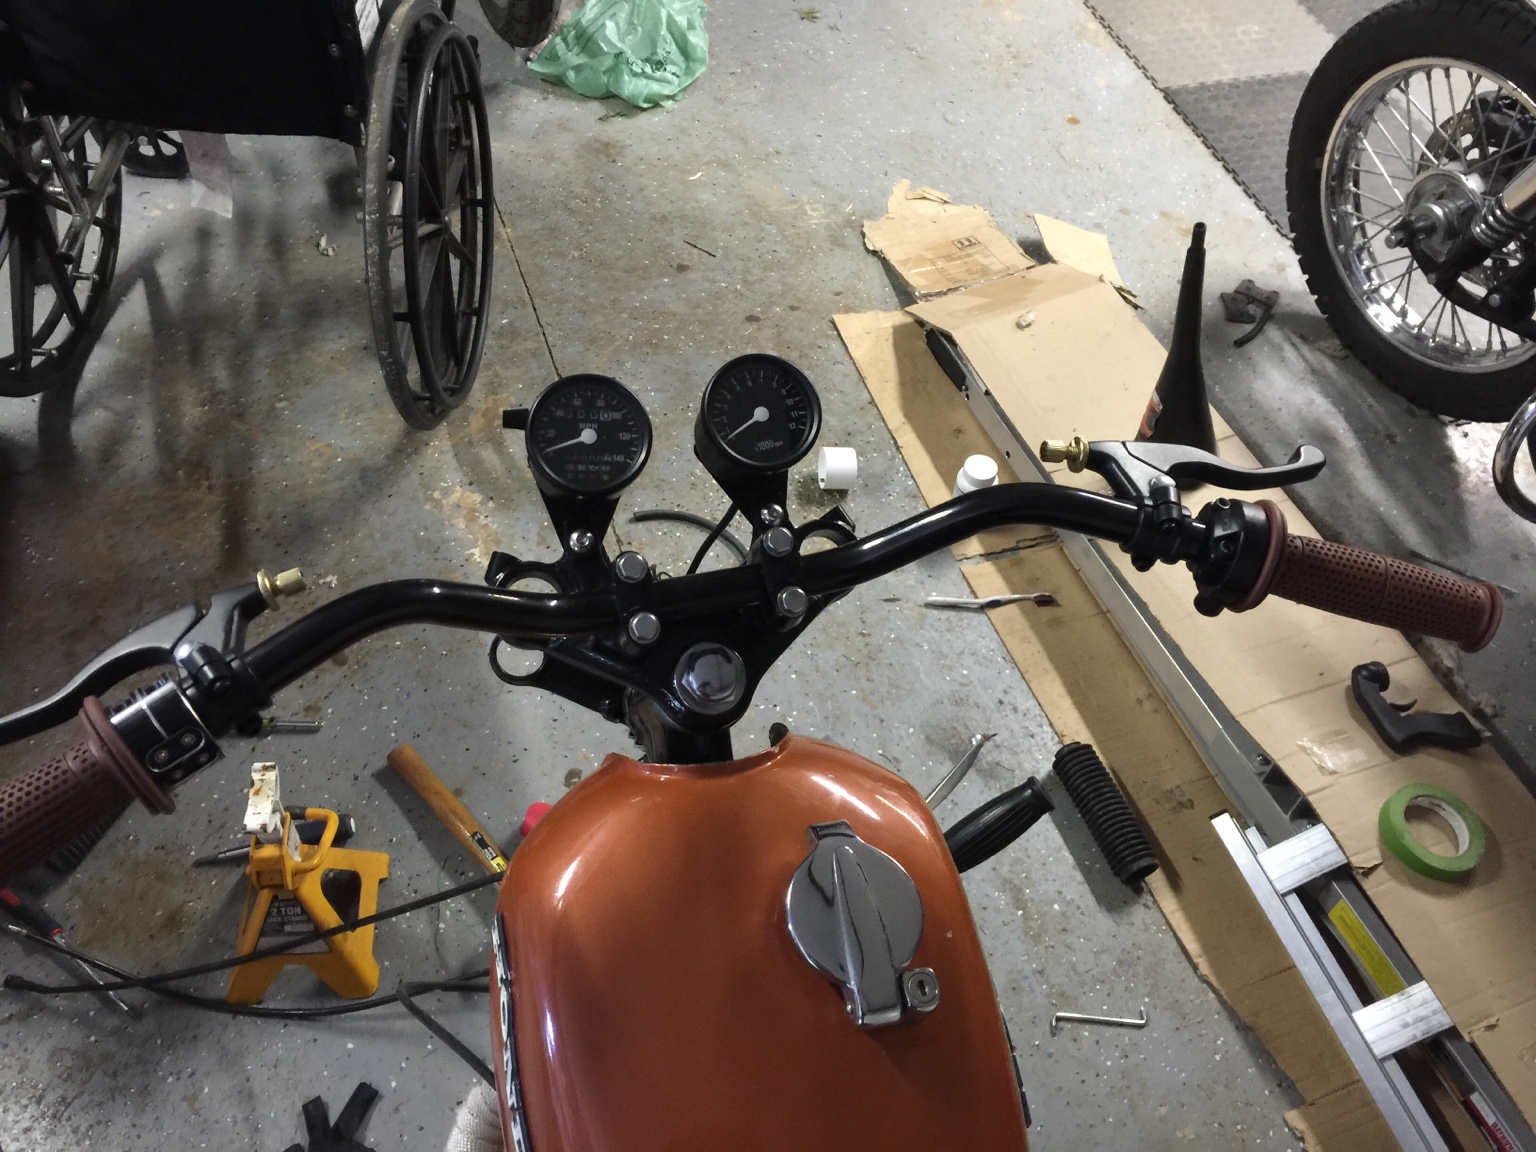
Started working on the new handle bars and electrical system. It's looking so sexy can't waiting to get this bars and motogadget items on the bike!
Status update: Had some compression issues so I took it to a local shop. Fixed that issue with a little fine tuning. I had a pamco electric ignition that I was also having problems getting to work with the bike so I had them do that too and they could get it working either and broke the kick start. Ordered a new one for them and it sat for another month so tired of waiting I took it back from them. Got it running better and decided to get started on adding all my goodies.
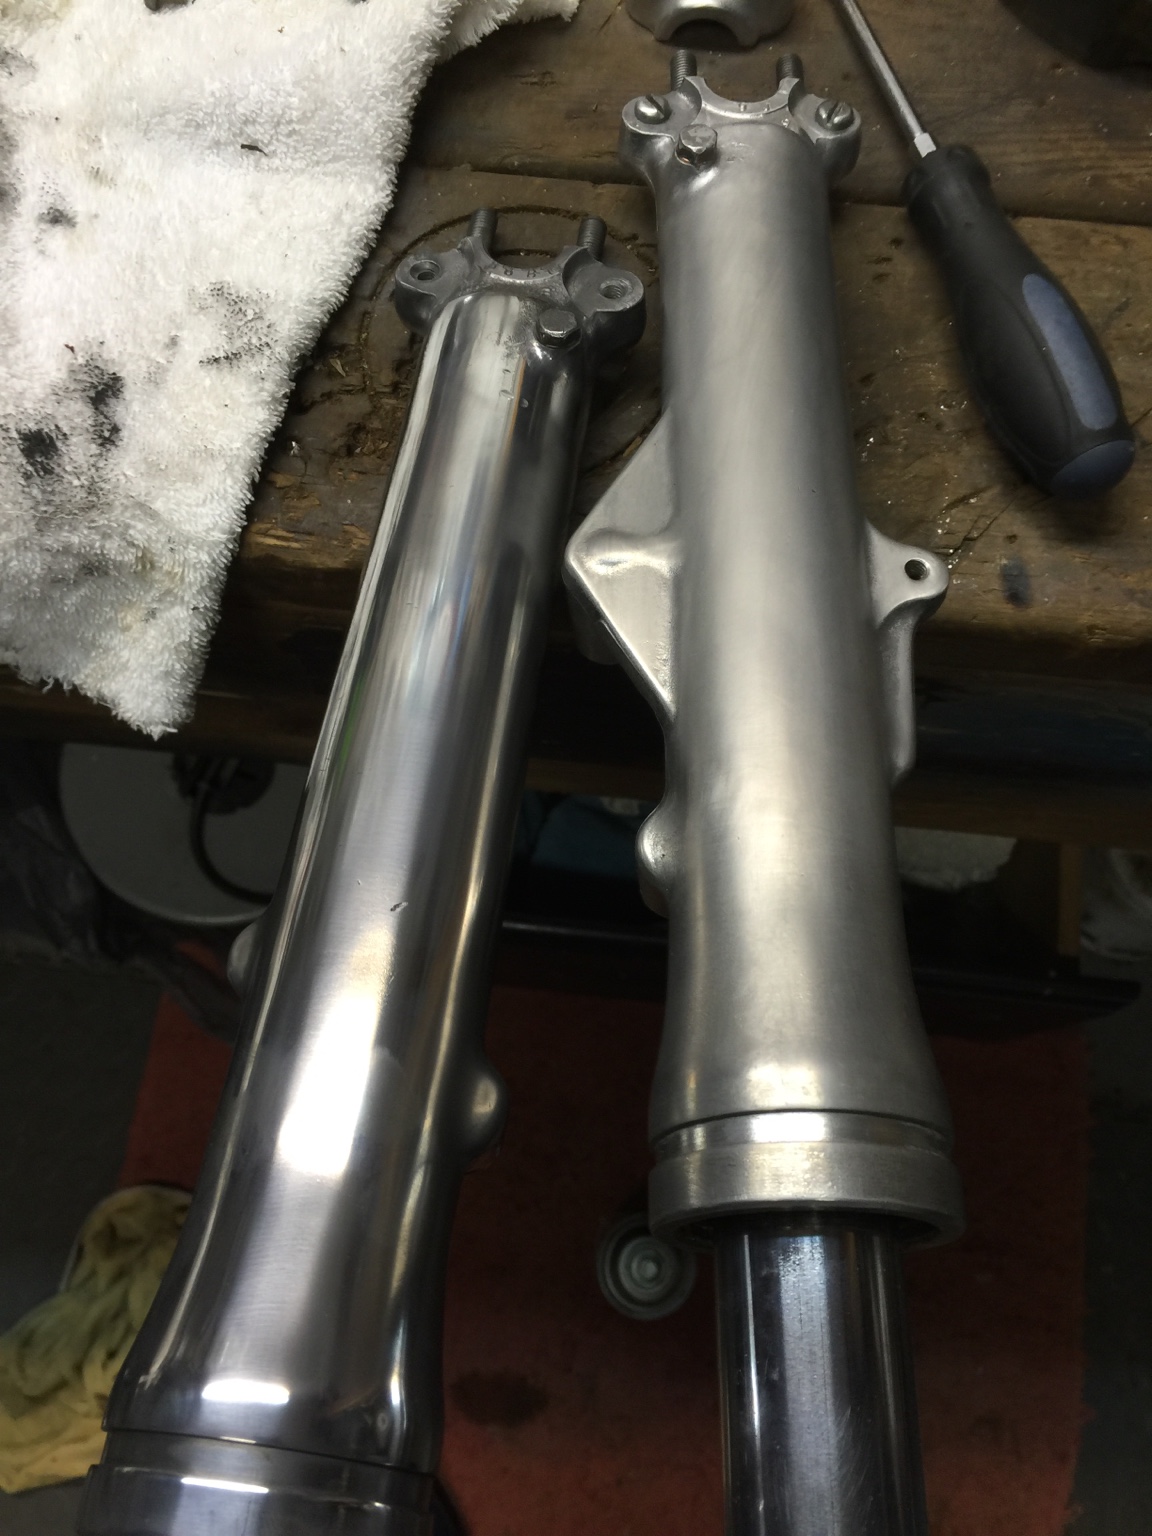
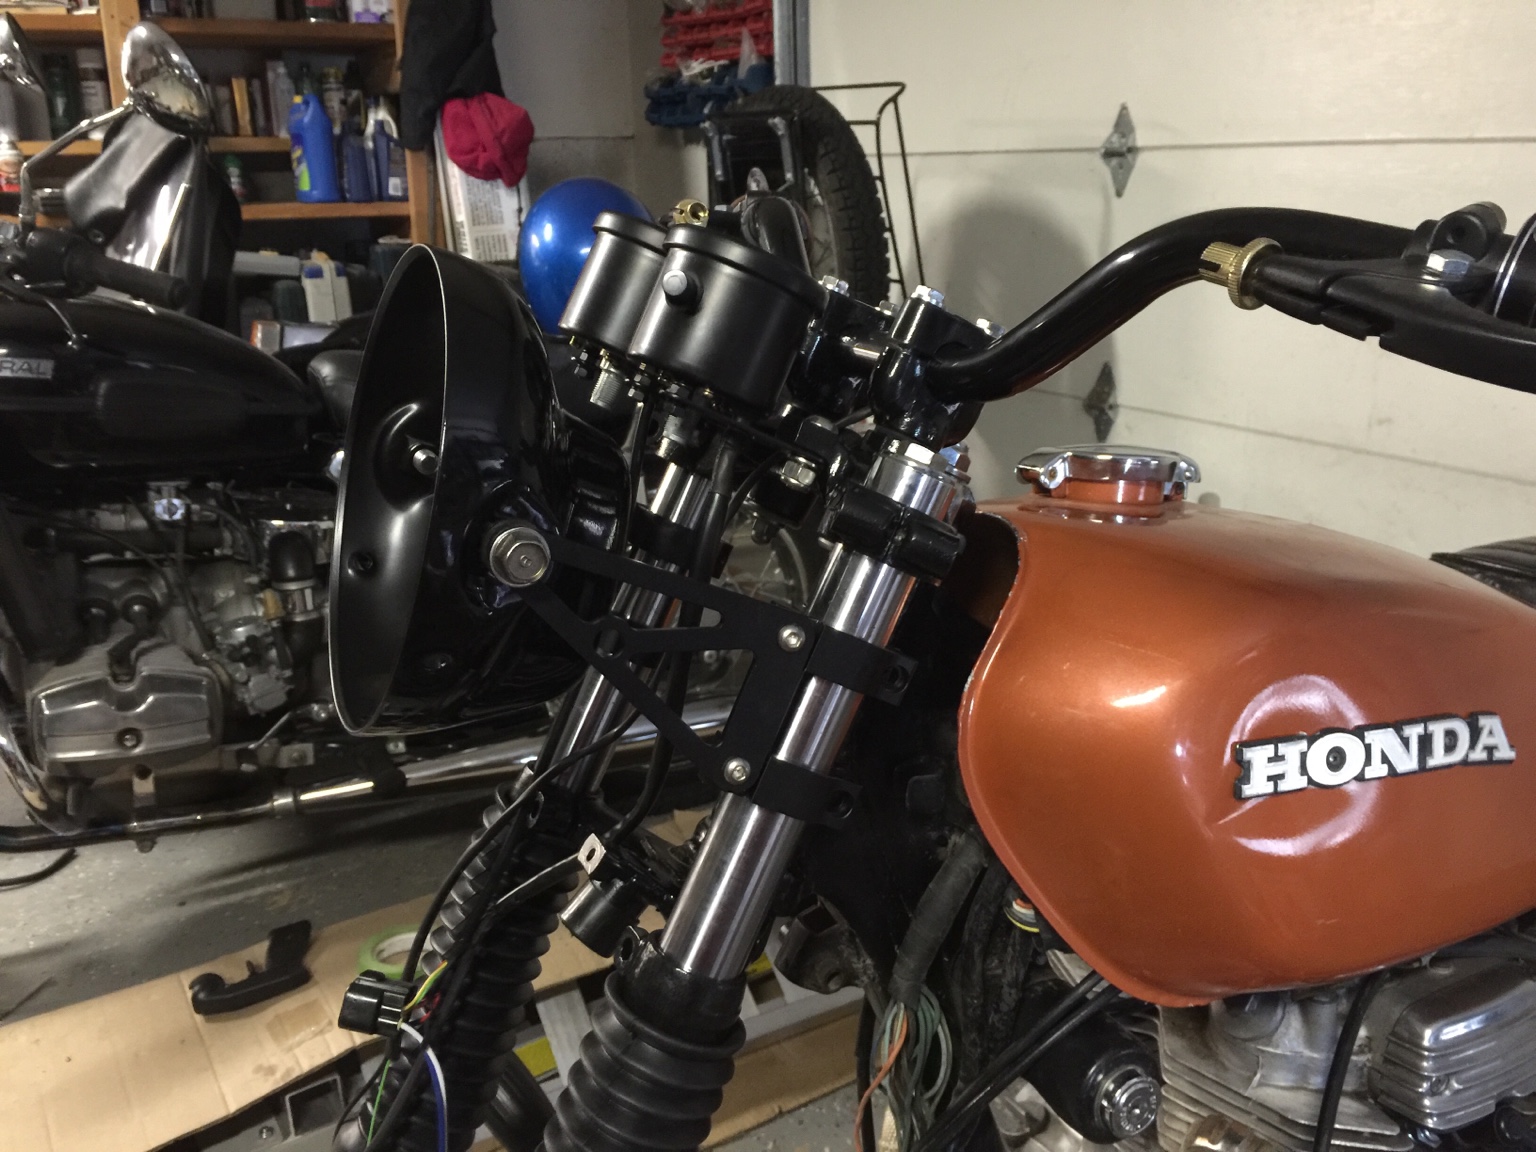
Got the forks polished and looking good still need to seal the aluminum. Installed new gators, hesdlight / mount, new DM gauges. Also installed my Moto gadget m-unit.
At this point I have every running. Still seems to be running on only one cylinder can't get it figured out no how many times I set the timing. Seem like the left bank points keep moving. Sonic waiting for a response from pamco and ditch the points all together.
Thanks El Barto, endless amount of work and waiting huh!?
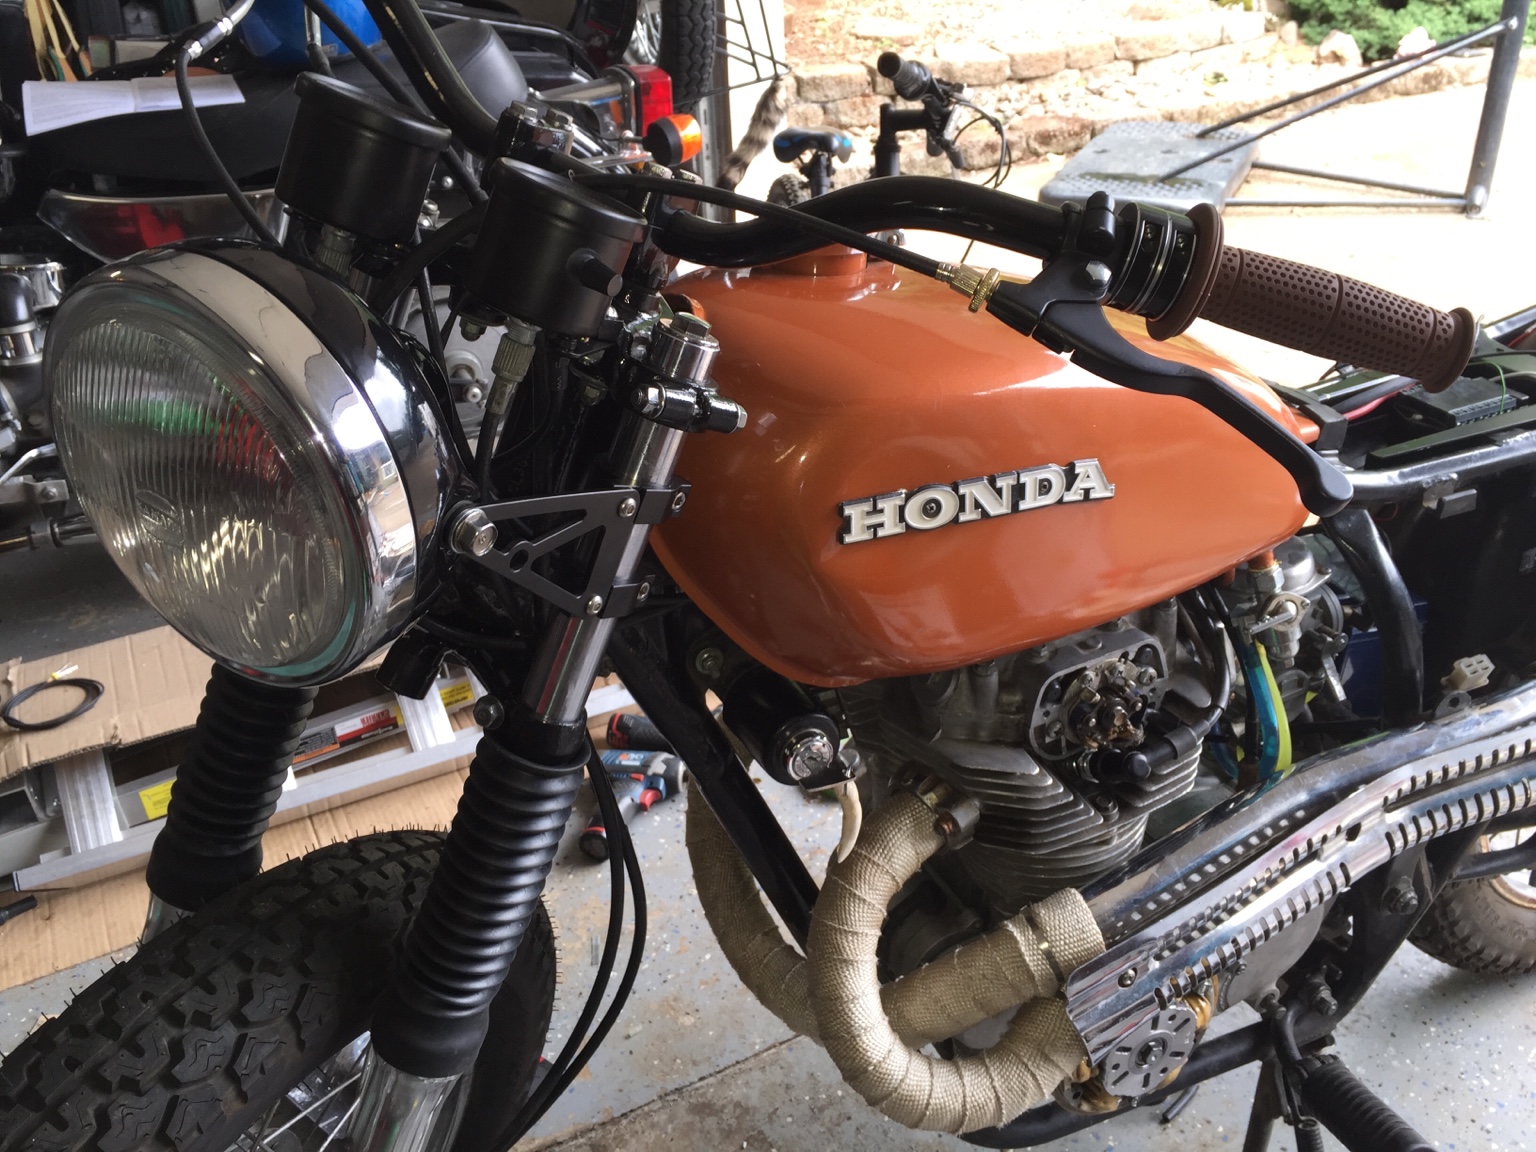
Started cleaning up the wiring for the m-unit. Almost happy with it think I will wrap it again with some plastic mesh wire covering to take it up a notch. Also got gas in the painted tray and it stripped it. Gonna powder coat he frame so I'll add that do the parts getting painted.
Figure out the neutral light and a ground wire of the neutral switch needs to come up to the elf rival box and use a extra wire I put in the hardness just in case to the gauge with the indicator light.
Having issues with the clutch assembly popping. I think the after marker clutch lever is giving me the issue. Gonna cut off half an inch of the clutch cable shielding and see if that enough slack for it
This site uses cookies to help personalise content, tailor your experience and to keep you logged in if you register.
By continuing to use this site, you are consenting to our use of cookies.


")