Follow along with the video below to see how to install our site as a web app on your home screen.
Note: This feature currently requires accessing the site using the built-in Safari browser.
We noticed you are blocking ads. DO THE TON only works with community supporters. Most are active members of the site with small businesses. Please consider disabling your ad blocking tool and checking out the businesses that help keep our site up and free.
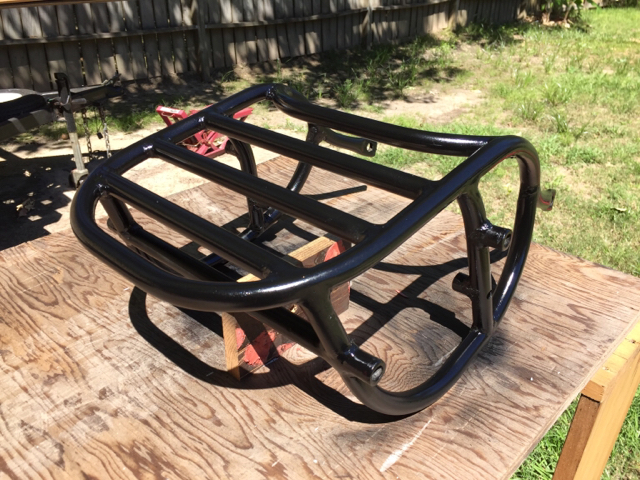
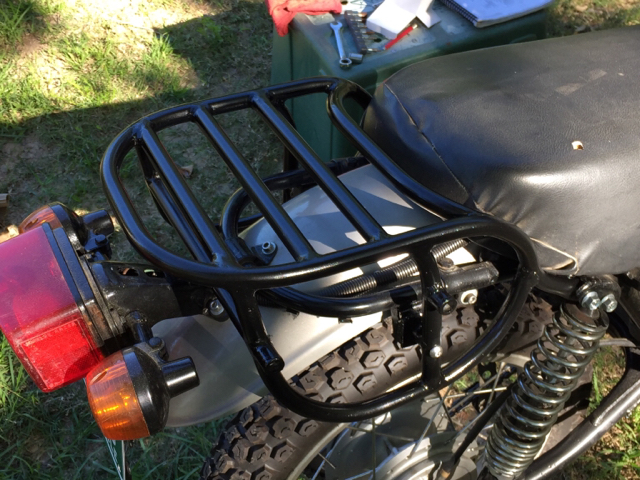
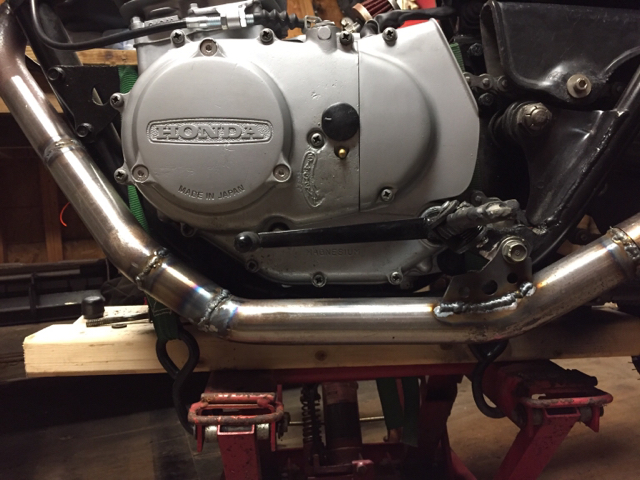
Thanks guys. It was an awful pain in the ass. I probably have 75 hours in the rack alone. I won't do it again without a pipe notcher.
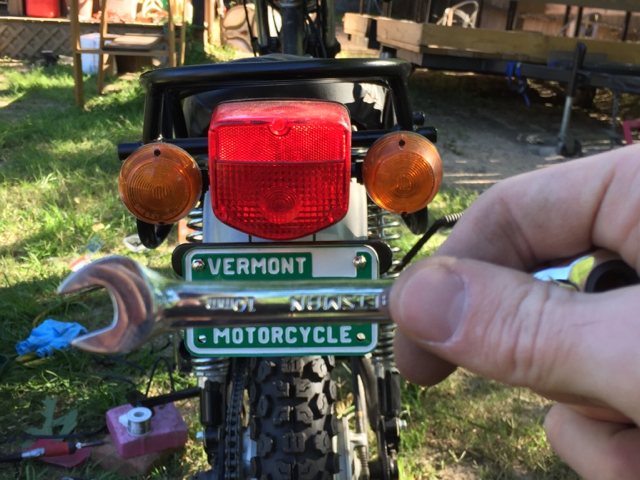
I ran out of gas on the welder and I've been trying to use up the rest of this spool of flux core before I go get the bottle filled...hence the splatter everywhere..hate the stuff.
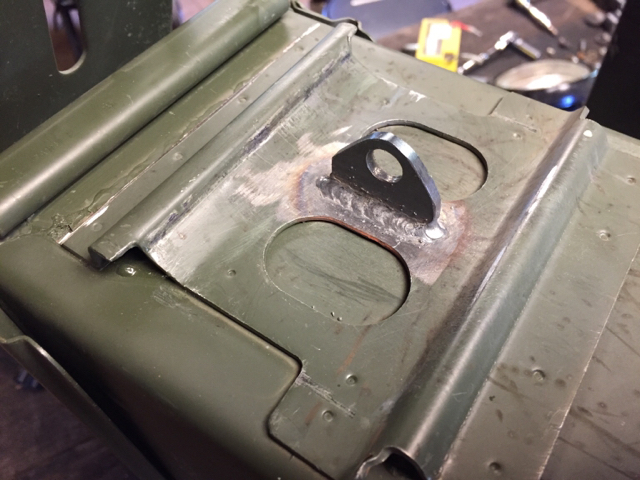
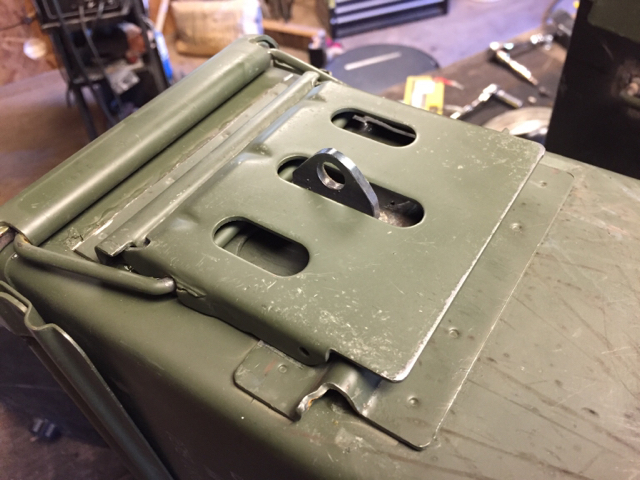
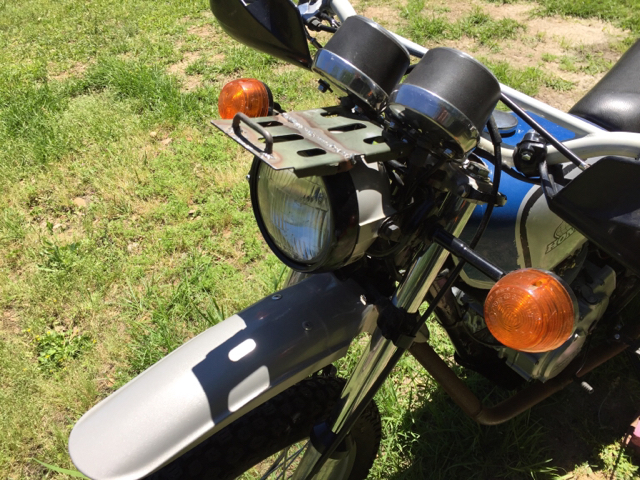
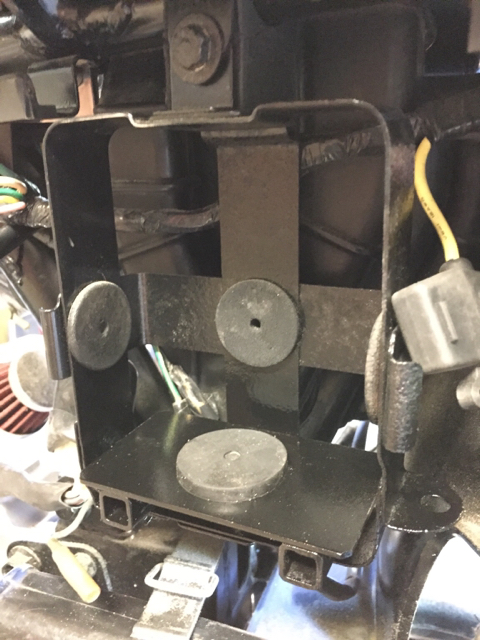
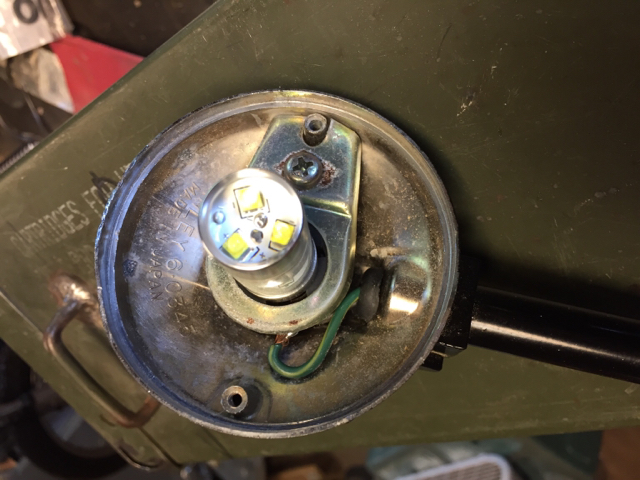
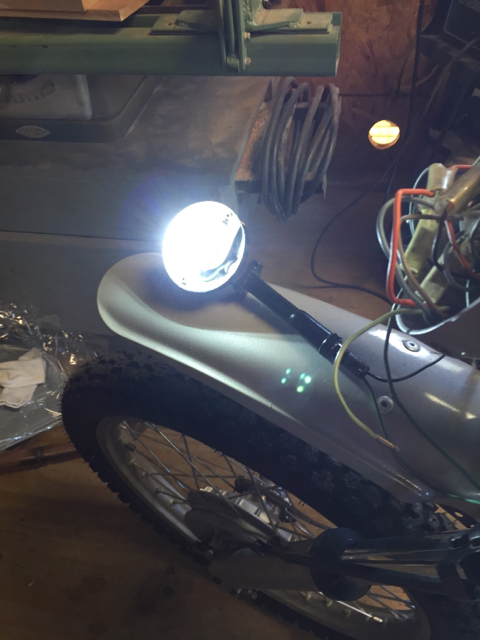
So I made up this little doohickey from the lock handles I cut off the boxes. I want to mount it on the front either to strap my phone or a map to (above headlight), or a tool roll (below headlight).
I think the above light placement would be more practical and it would be cool to bungee my phone to, but I think it looks better below. Might look better up top if I cut it down.
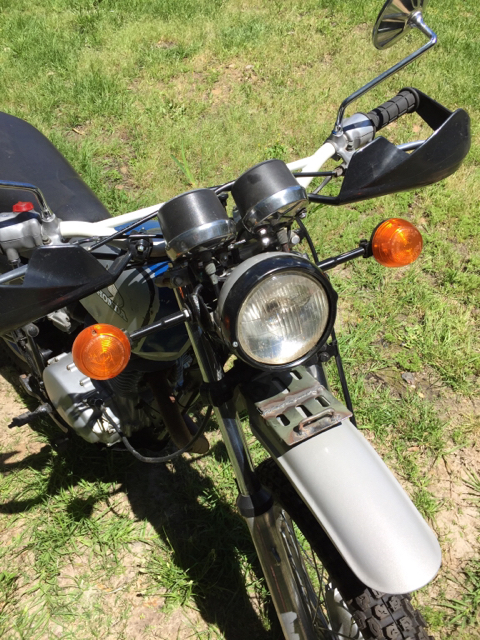
Would you mount the phone more-or-less flat on the plate? If so, I don't think you'd be able to see the screen well in the sun at that angle. A DIY RAM-style mount on the bars might be better.
I loooooove the Ram mounts. I run them on all of my bikes. Some, the phone replaces the speedo and there are apps that combine GPS mapping with a speedo. They aren't overly priced for what you get and the durability. Also a tank bag is a better place for your map, IMO.
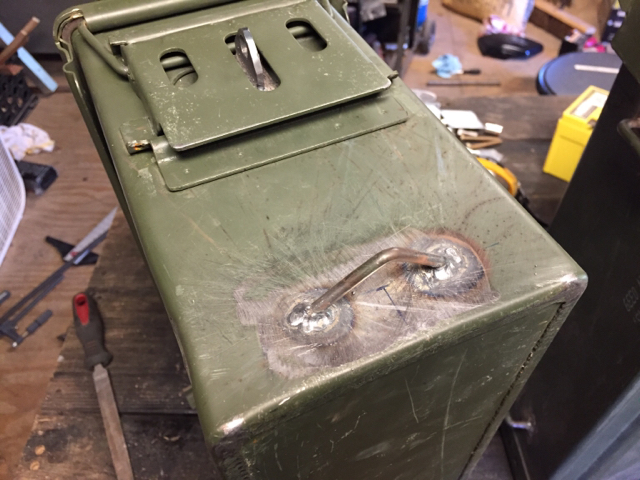
Thanks fellas. I'm quite happy with it so far. I managed to leave some metal shavings inside which is pretty annoying LOL.
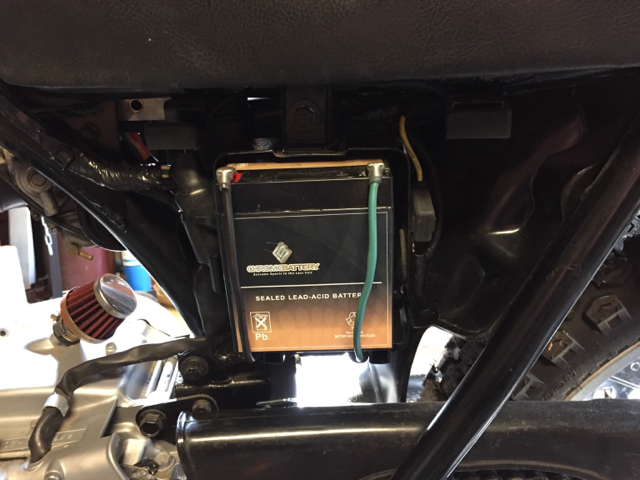
Modified the battery box to fit the new 12v battery snugly. Welded up a couple pieces of steel and used a big rubber grommet I had lying around.
Finally got the 12v RR hooked up and the battery wired in. I ran new positive and negative leads to the battery to clean up the wiring, and relocated the fuse to the right side of the battery box.
Waiting on some bulbs and the 12v conversion should be complete.
I sorted out some electrical issues yesterday. I had the headlight lead and black wire from the stator crossed somehow. The last time I left the old battery hooked up overnight it was dead the next day. So I got everything straightened out, left everything hooked up and we're still sitting at 13.00v today.
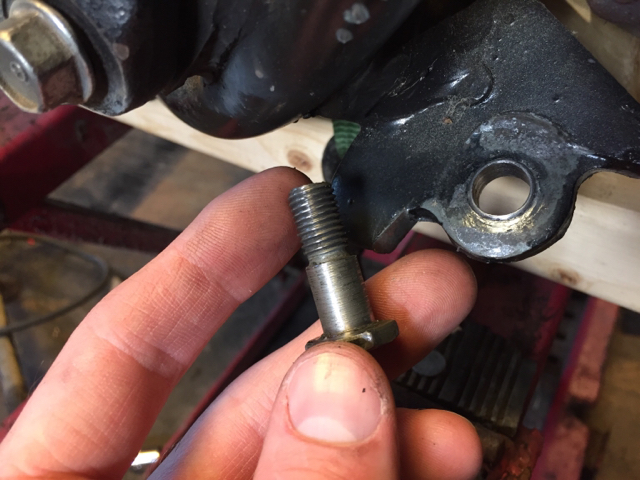
Pulled the header off last night to get to the kickstand. It's so worn out that the bike leans about 4-5" further than it should, and it's been bothering me since day 1 so I figure what better time than now to get that sorted out. I'll be drilling for a bushing and possibly replacing the bolt...
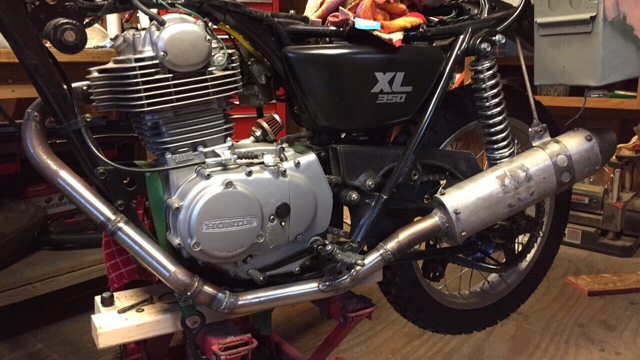
The exhaust is going to change a bit, was debating high pipes but I don't think I'm going that route now. I want to tighten up the section along the downtube and widen the radius behind the footpegs since my boots get hung up on it now. Pics to come tomorrow.
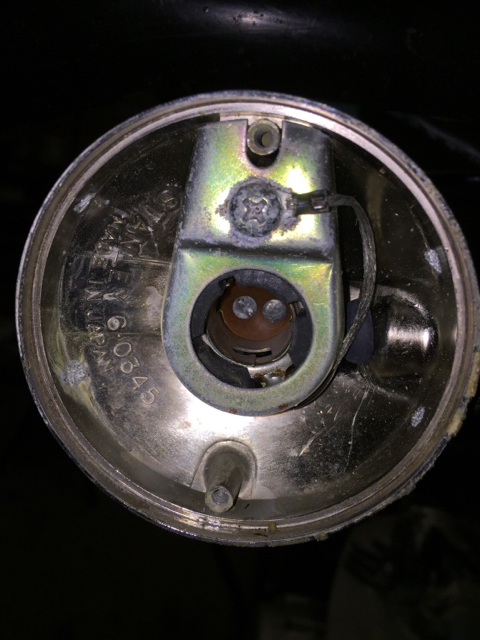
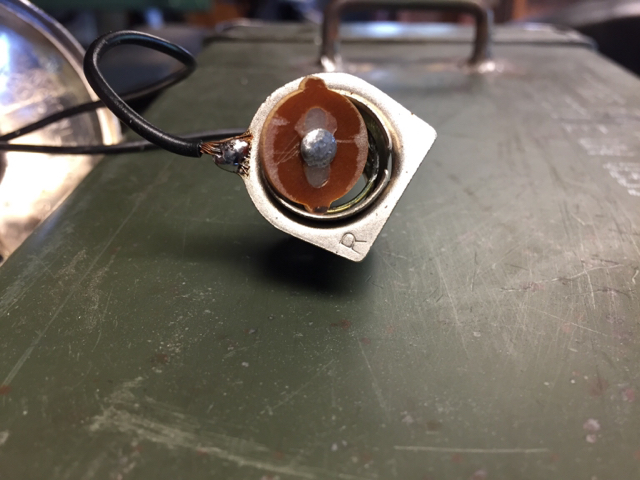
Here's a fun one. I got these sweet LED bulbs from Sparck Moto at the beginning of the week. Swapped the rears out fine, then I remembered the OEM front signals on the 360 use a dual filament bulb. Since I'm not using them as running lights, I decided to convert the sockets from dual to single filament.
To do the conversion, I clipped the wire to one of the leads as close as I could. Then drilled out the center of the little plate and filed it to relocate the main lead to the center. Stuck a piece of duct tape to the front to keep the solder clean, and epoxied in place.
Eliminated the ground strap and soldered the previously-clipped wire (now a ground) to the socket. Had to file down the pin slots since the original bulbs had offset lock pins.
Takes a bit of finagling to get the spring and plate back into place. Back together, fits like a glove.
Been doing a whole lot of work but not much to update. I ended up cutting the header apart since the angle on the downward piece was just not right and it bothered me every time I looked at it. Was able to tuck this one in nicely and can still get the LH cover off with it on. I swapped the can I had on there for a beat up old FMF powercore 4, it's lighter and looks a bit better than the old. It will surely need a baffle.
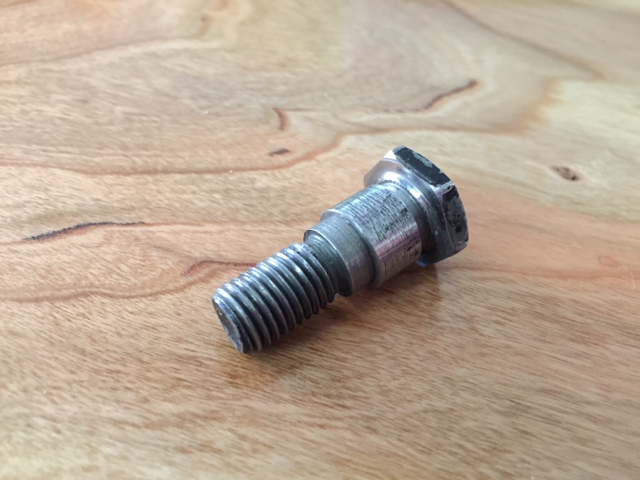
The kickstand had also been driving me crazy, the bolt and hole were so badly worn I had about 3-4 inches of slop at the foot of the kickstand. Mr. E was able to turn the shoulder on the bolt down and whip up a slip fit bushing to get this thing tightened up.
Down to a handful of items on the punch list. Getting closer now.
This site uses cookies to help personalise content, tailor your experience and to keep you logged in if you register.
By continuing to use this site, you are consenting to our use of cookies.