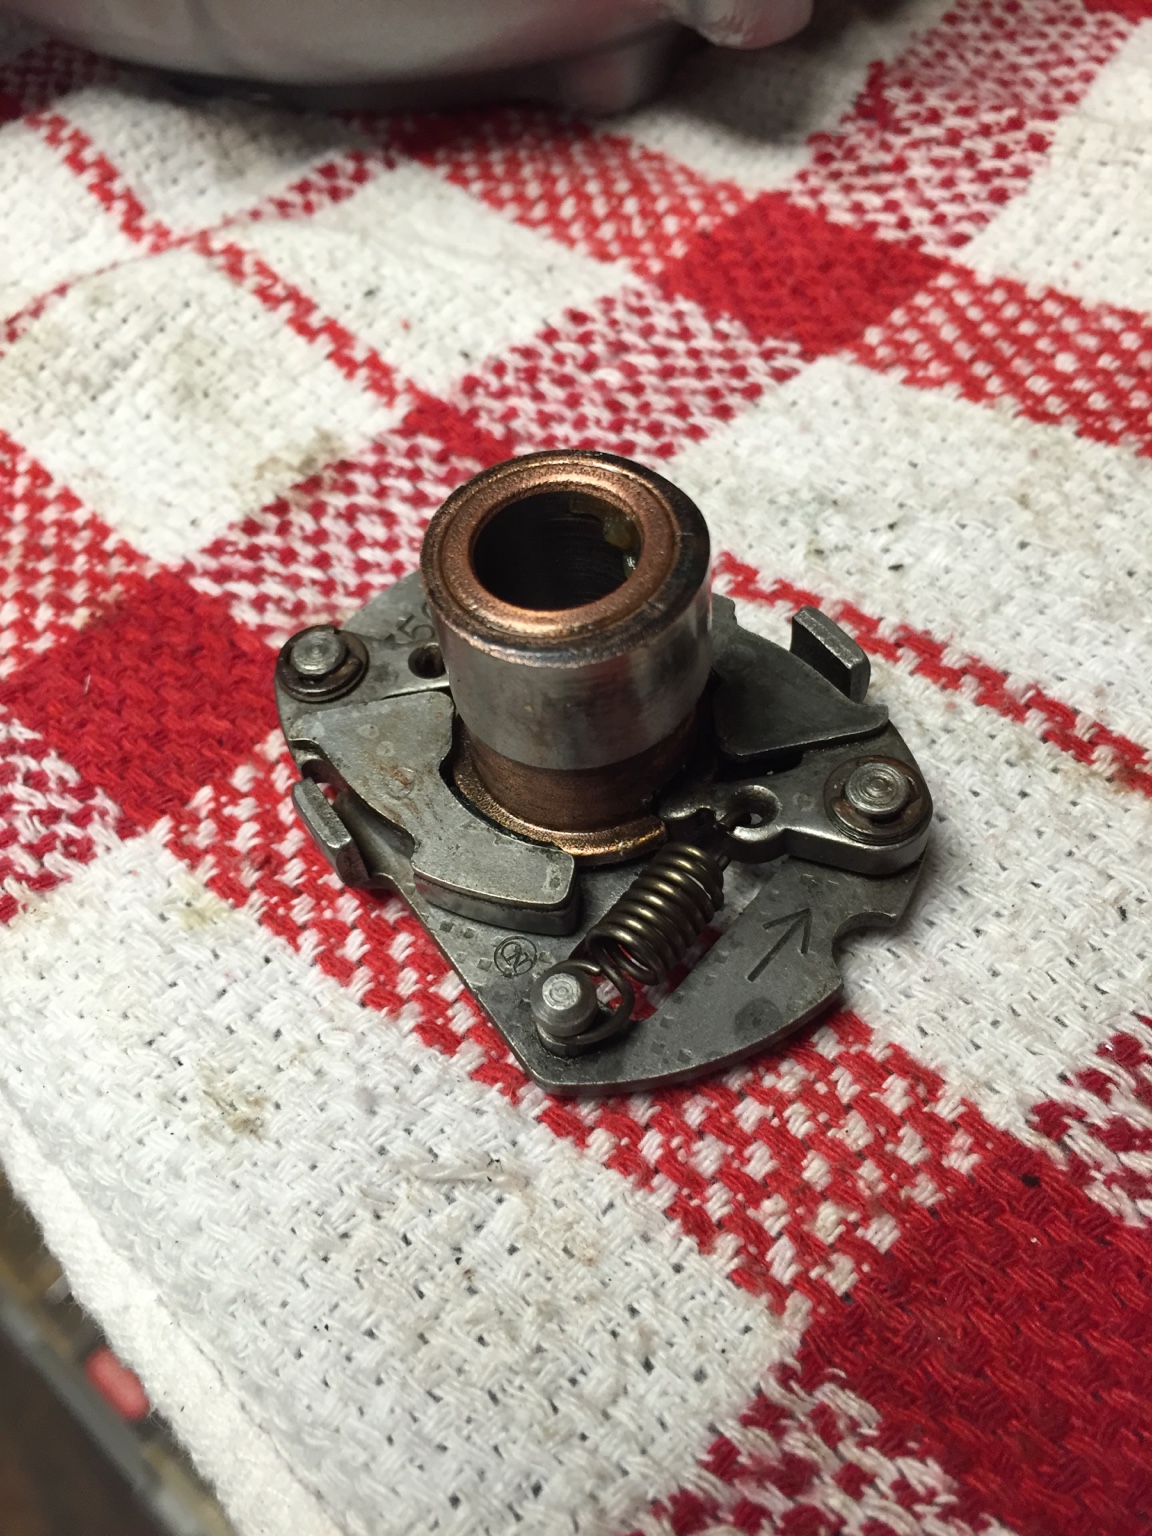
Been putting out little fires here and there. Got the advancer polished up and reassembled. I found that one of the posts had 3 little thrust washers below the circlip and one had 2, possibly to make up for discrepancies in mfg? Tough to see in the photo though but it's there.
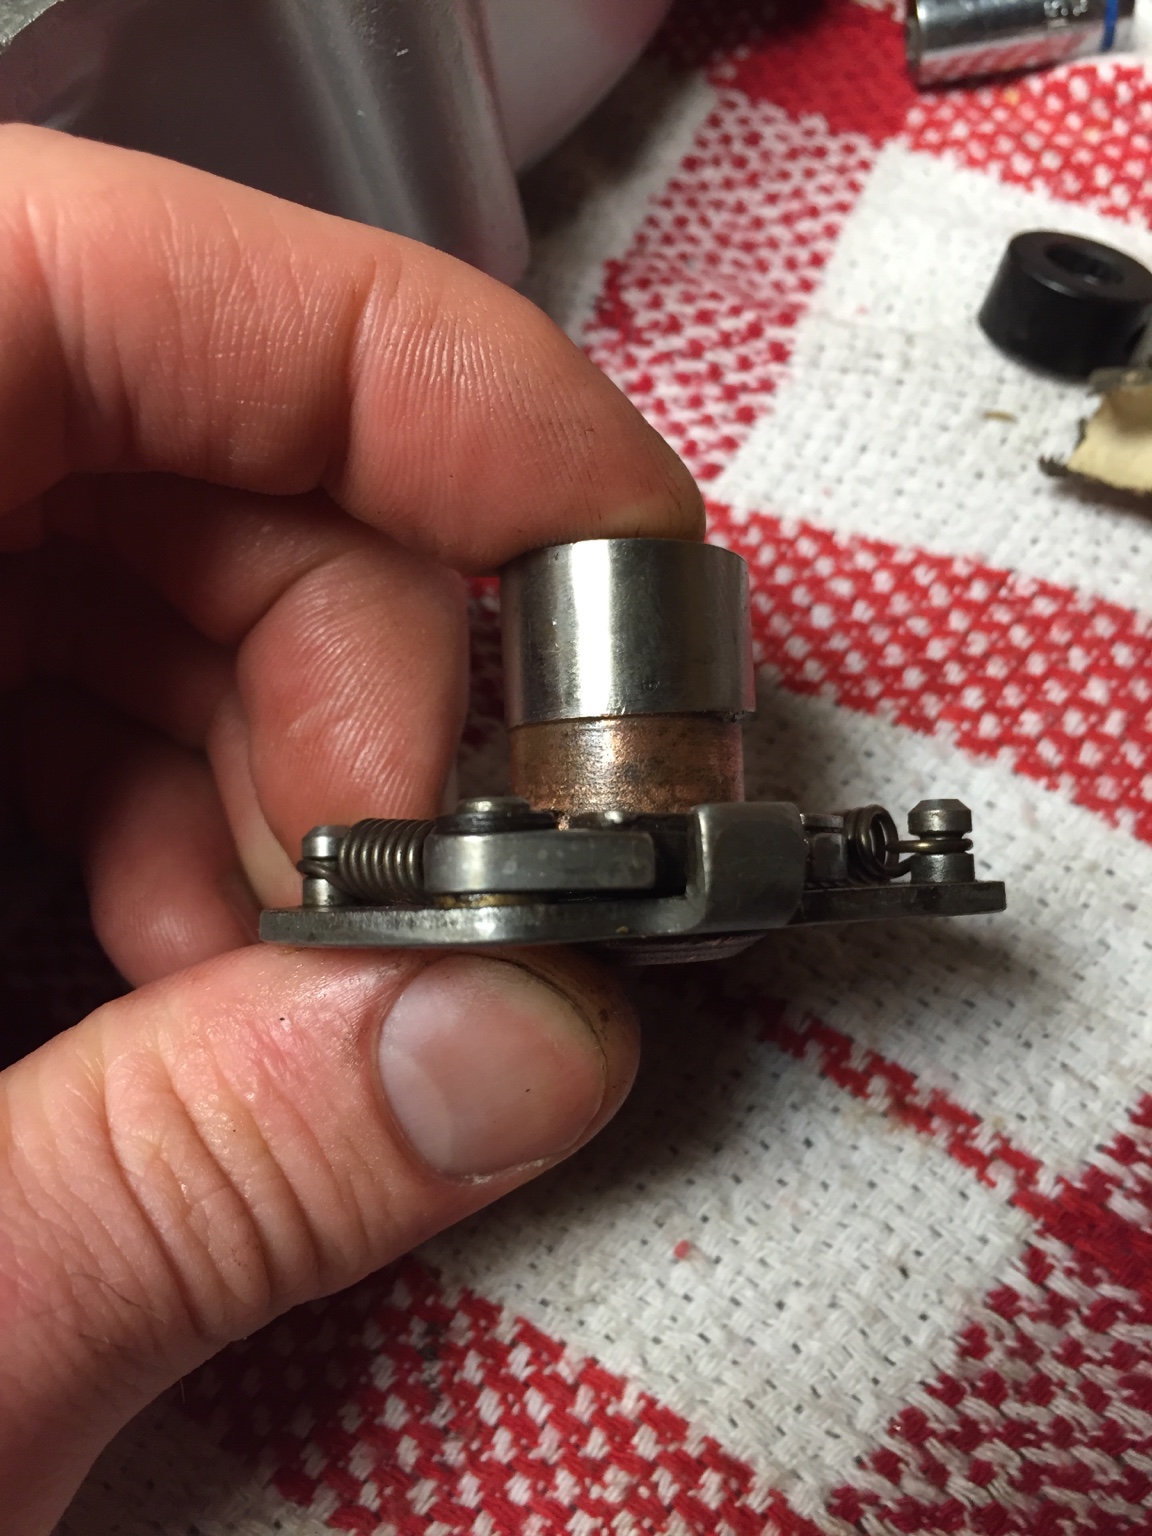
Put it all back together and greased, there's no slop on the hinges for the weights so I guess I've got it right.
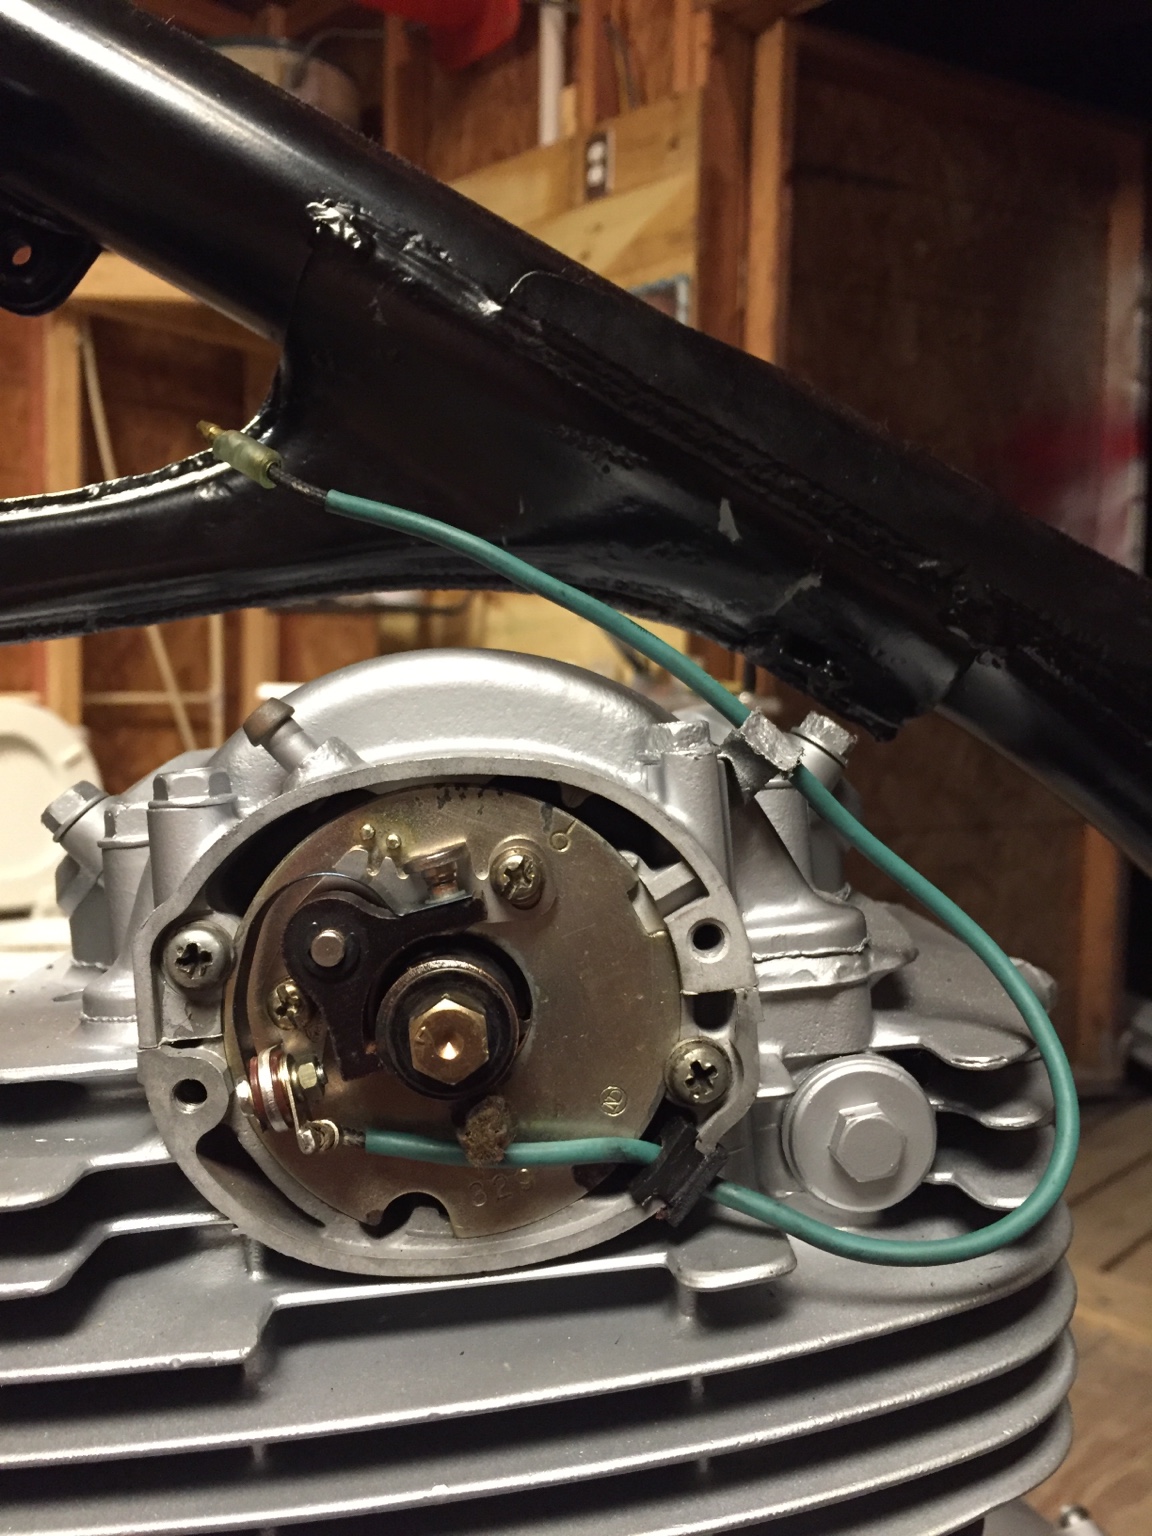
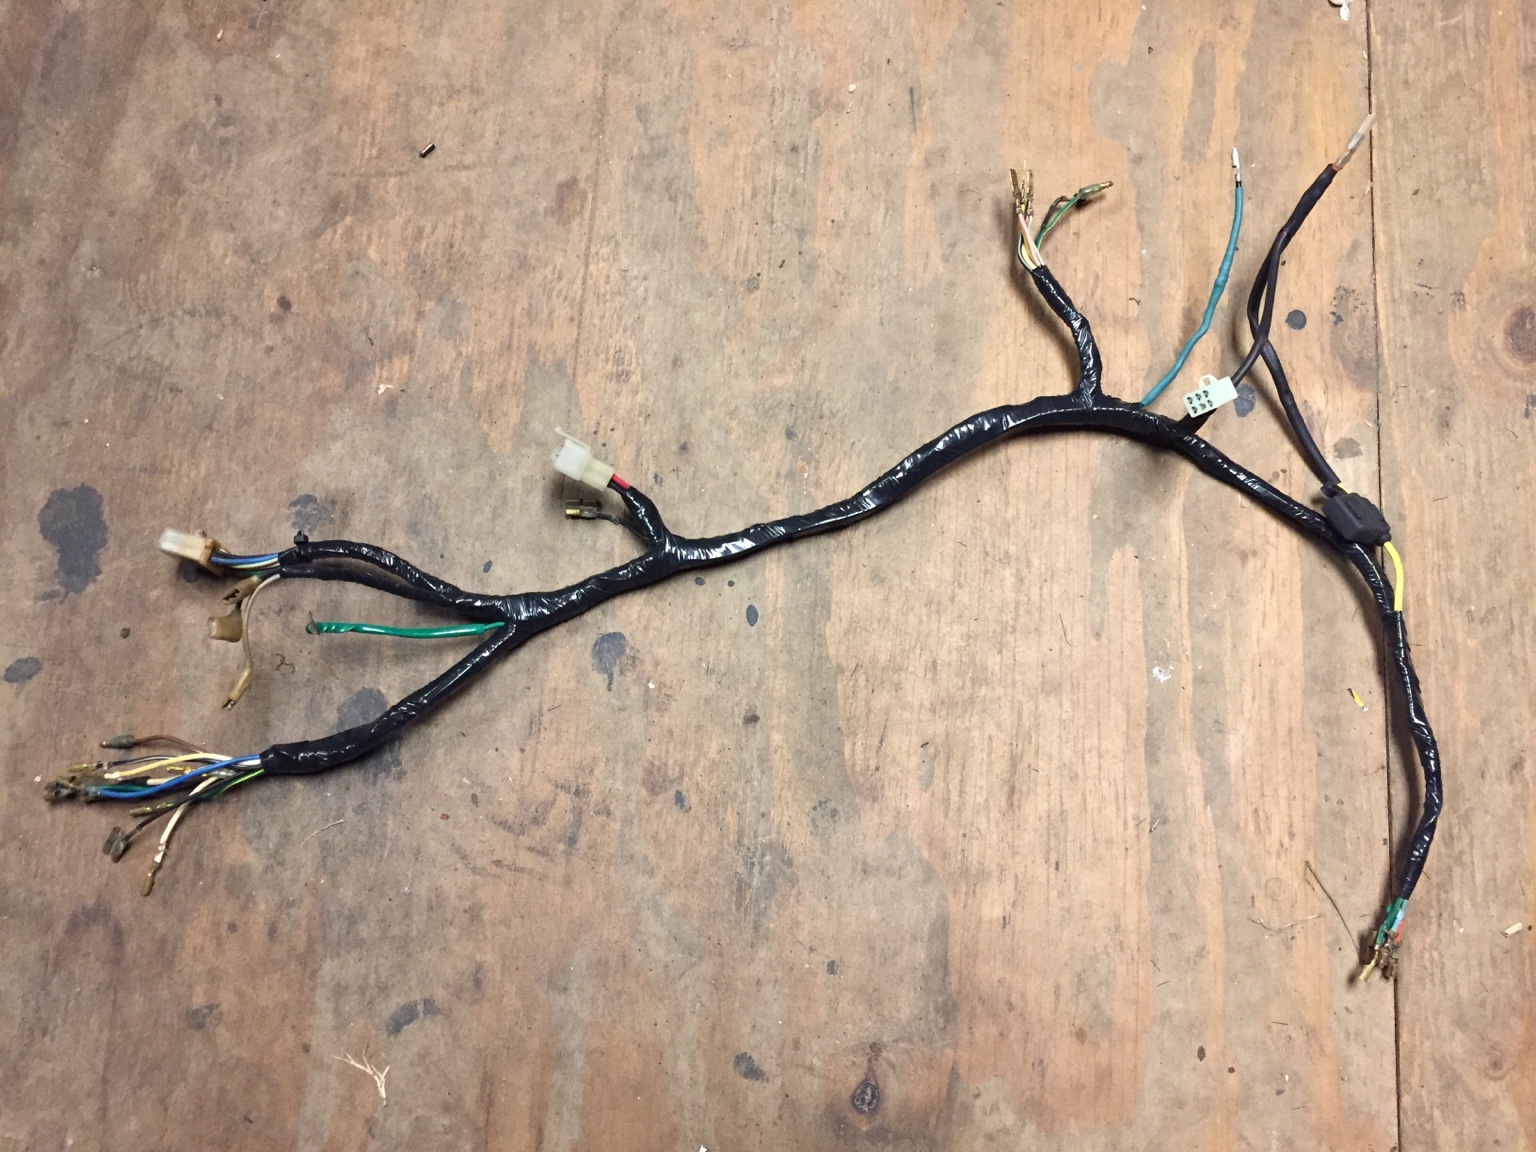
Points plate assembled and everything back in place. Using an aftermarket Denso breaker point, I've heard they're not the best but the stock one is shot. I found some OEM ones on eBay for short money I may pick up in case this one sucks. New heat shrink, etc etc. Not timed yet...
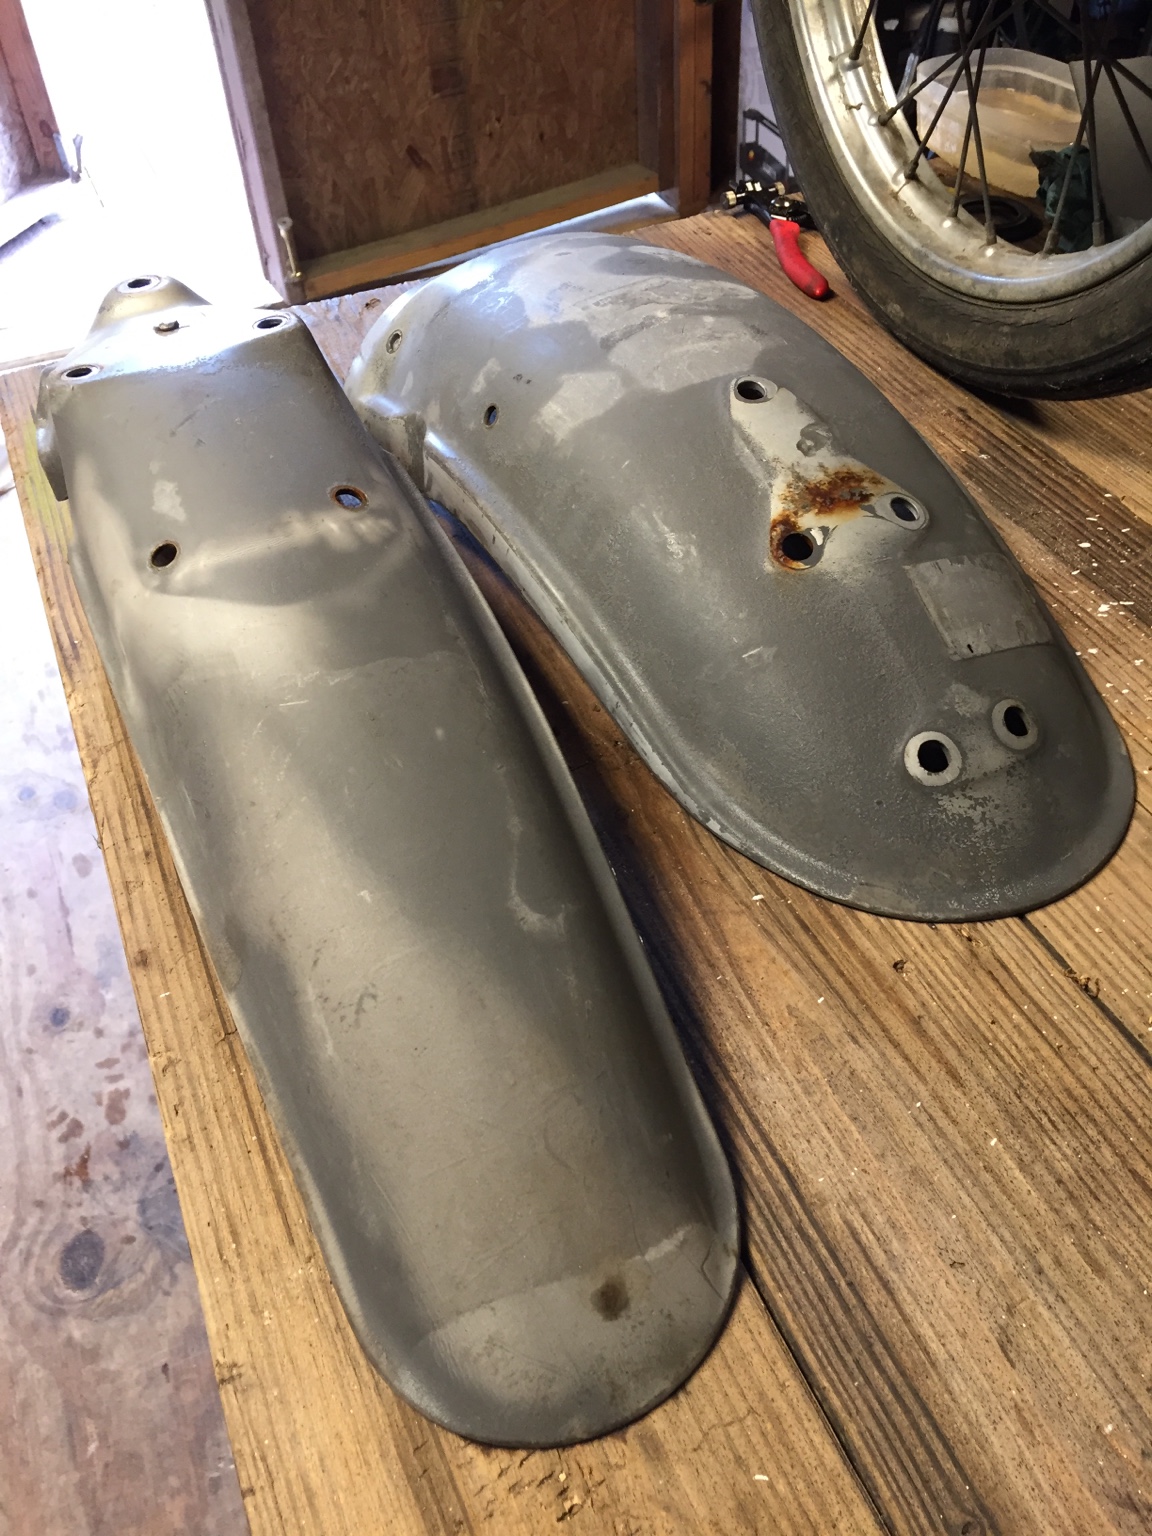
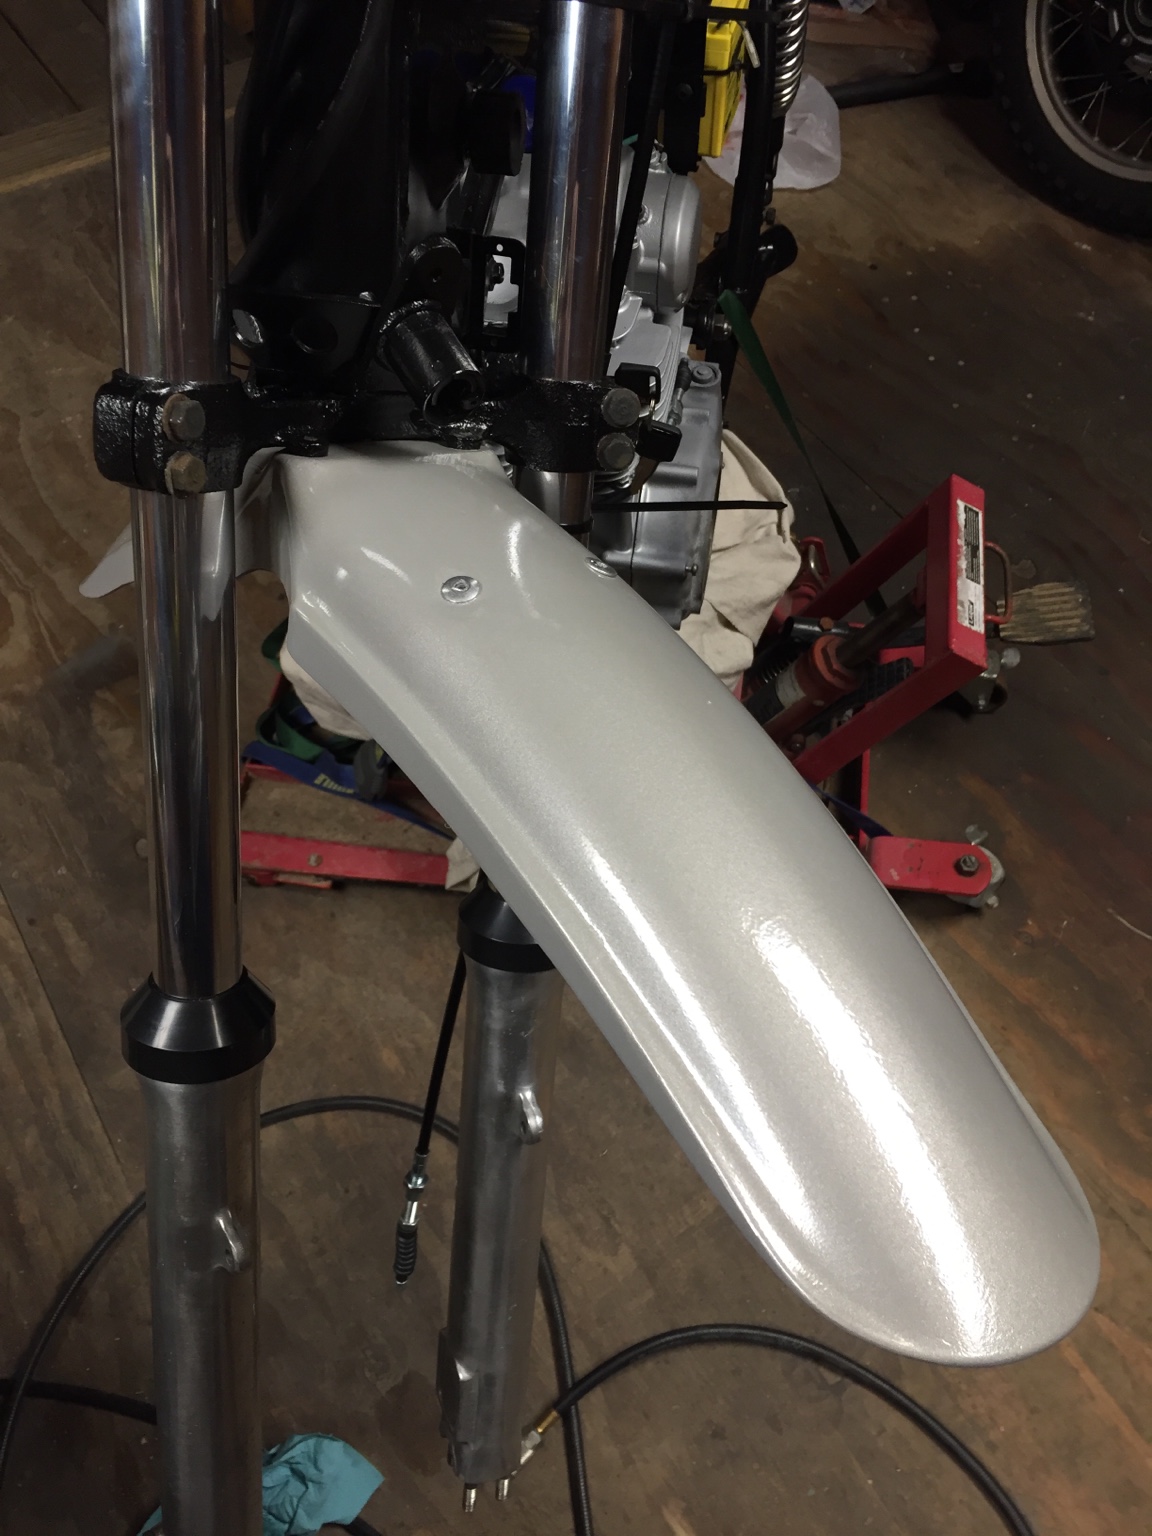
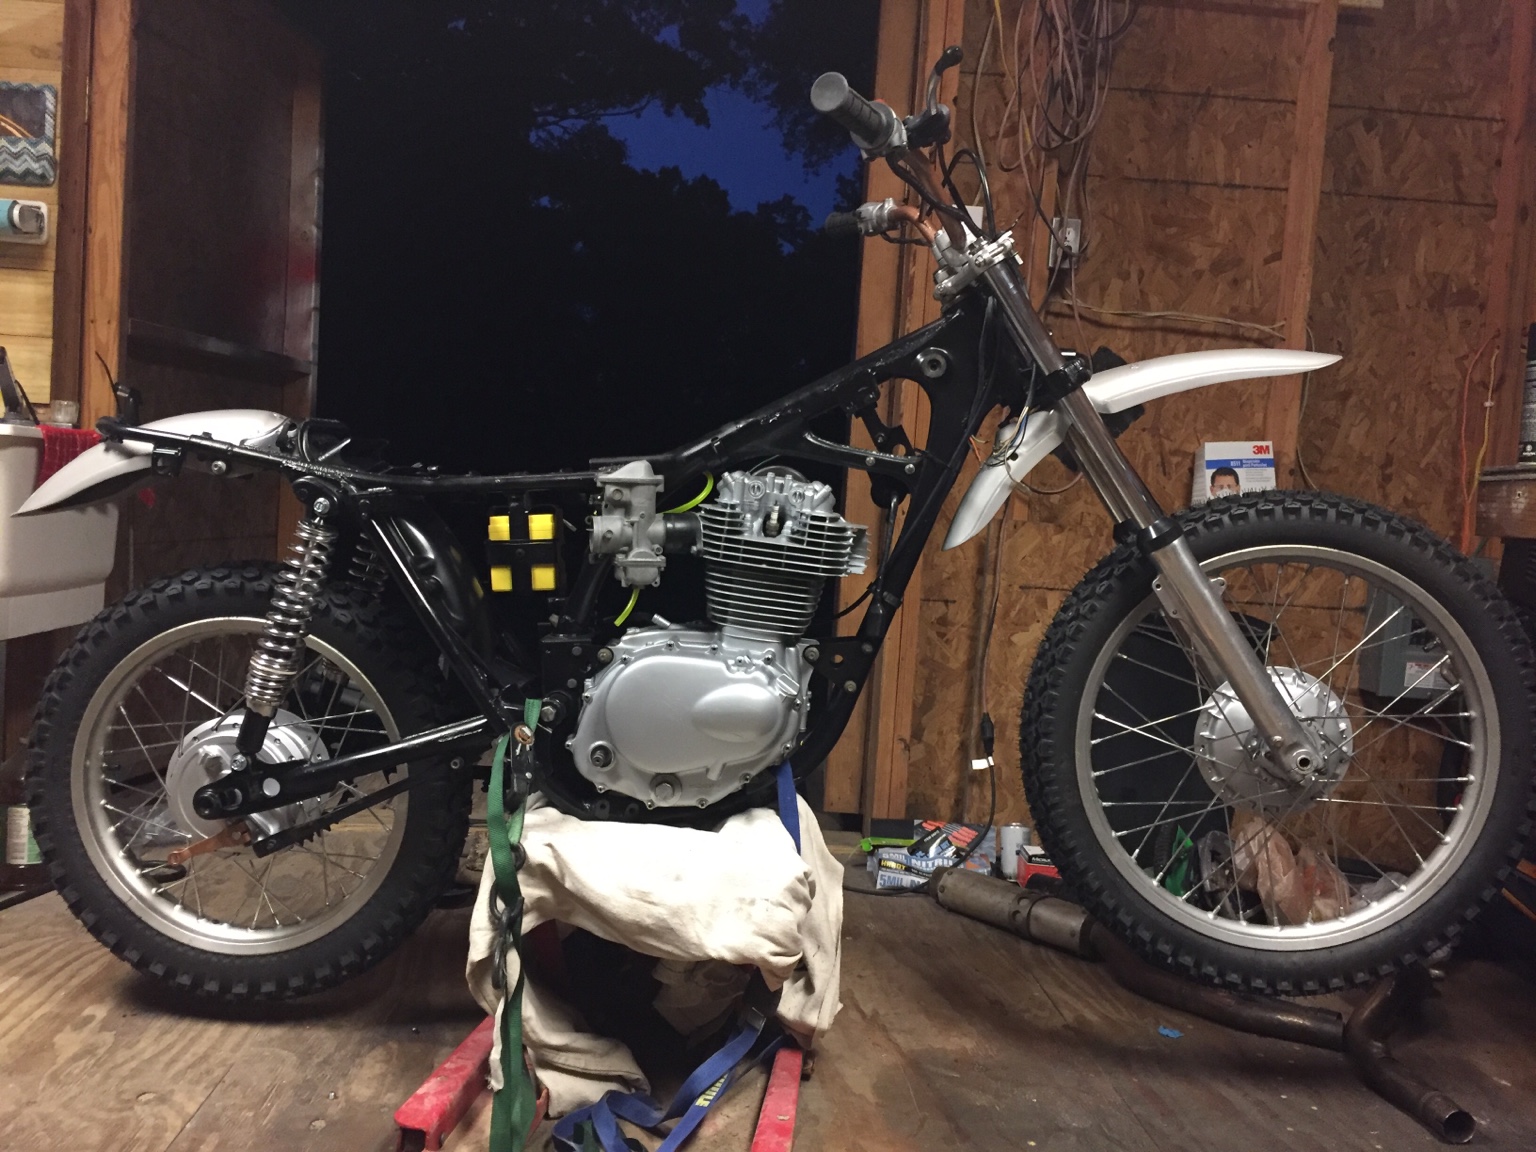
Got the fenders painted up and riveted back together. Ended up using some silver paint left over from a job, came out pretty decent considering what I started with.
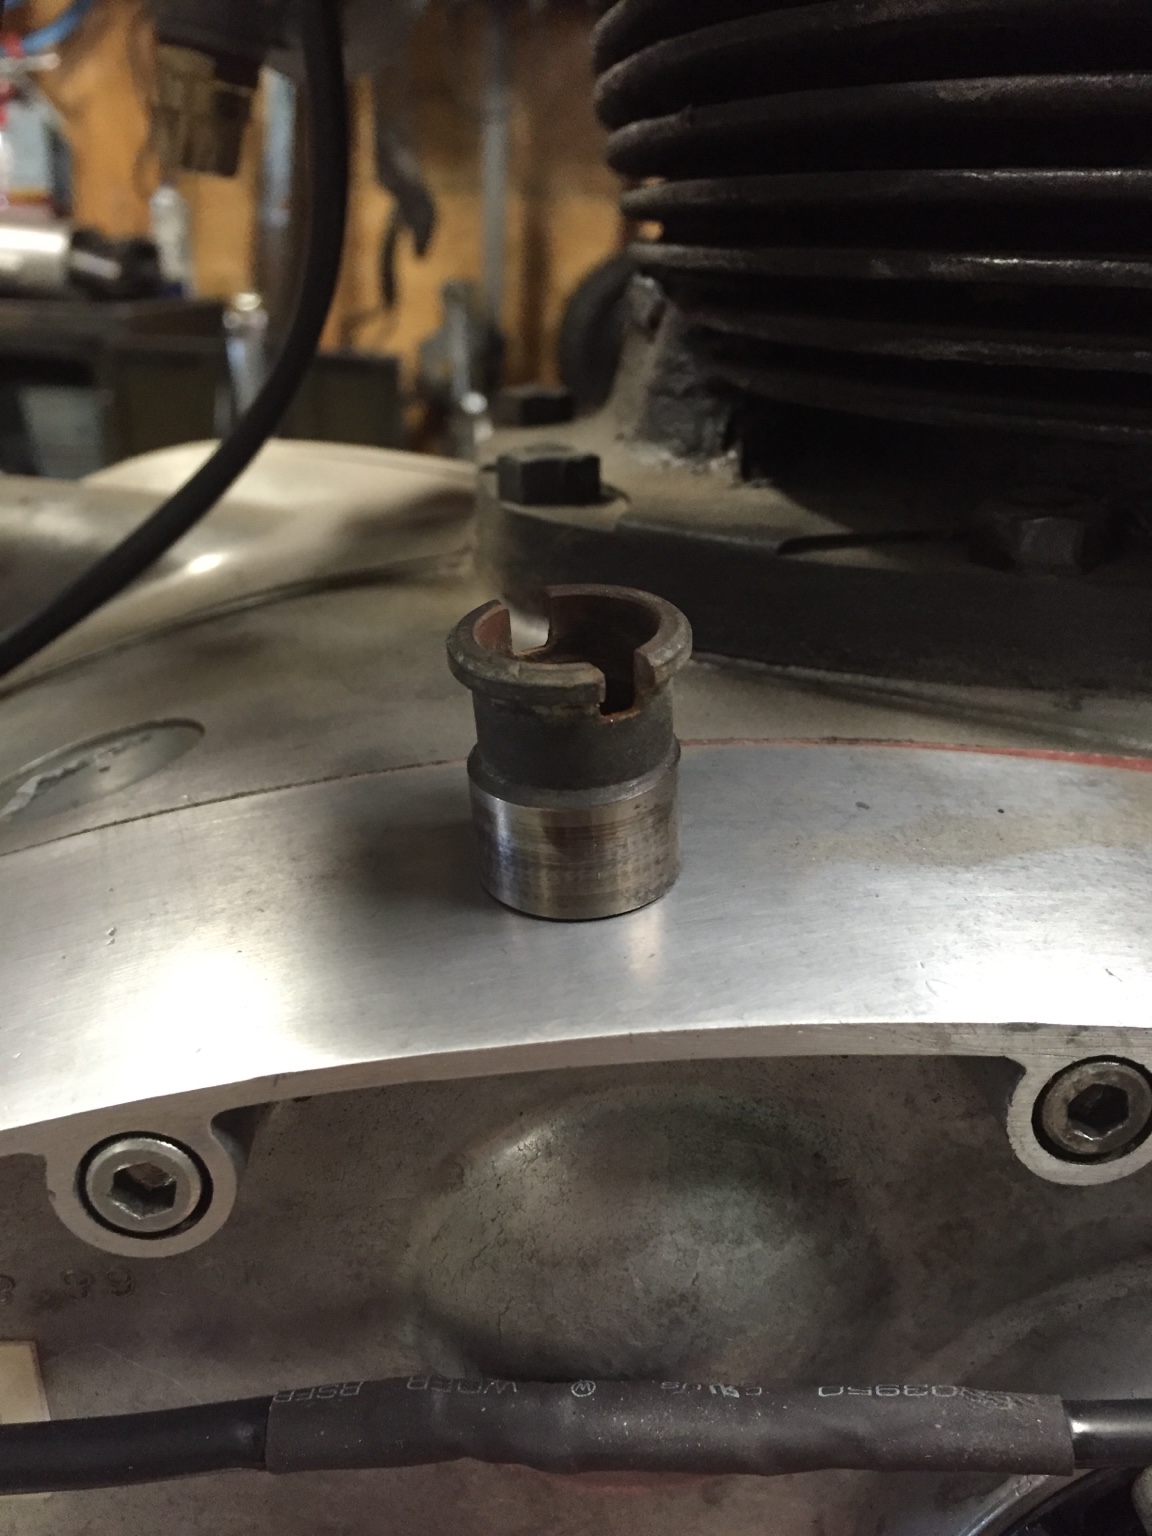
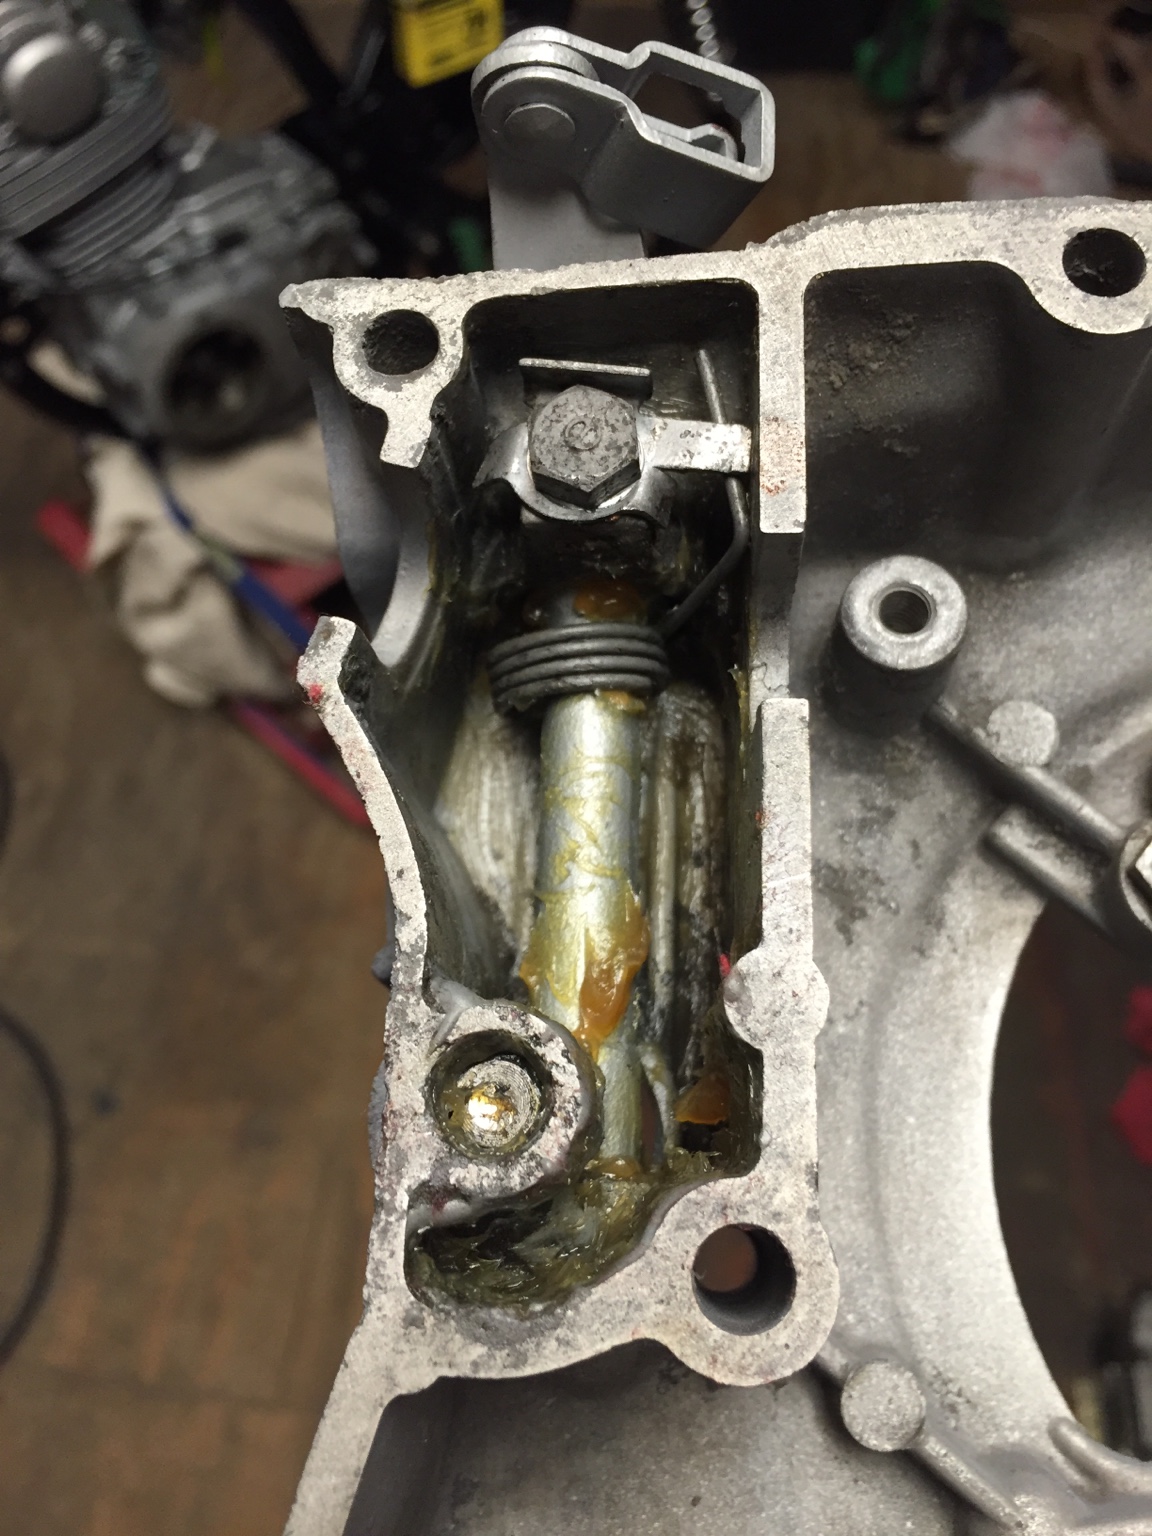
FINALLY got a left case cover that I can use. Had to JB weld some pitting on the outside. Had a cleaned up needle bearing and actuator from another case ready to go so fit everything together with some grease and a new dust seal and were in business.
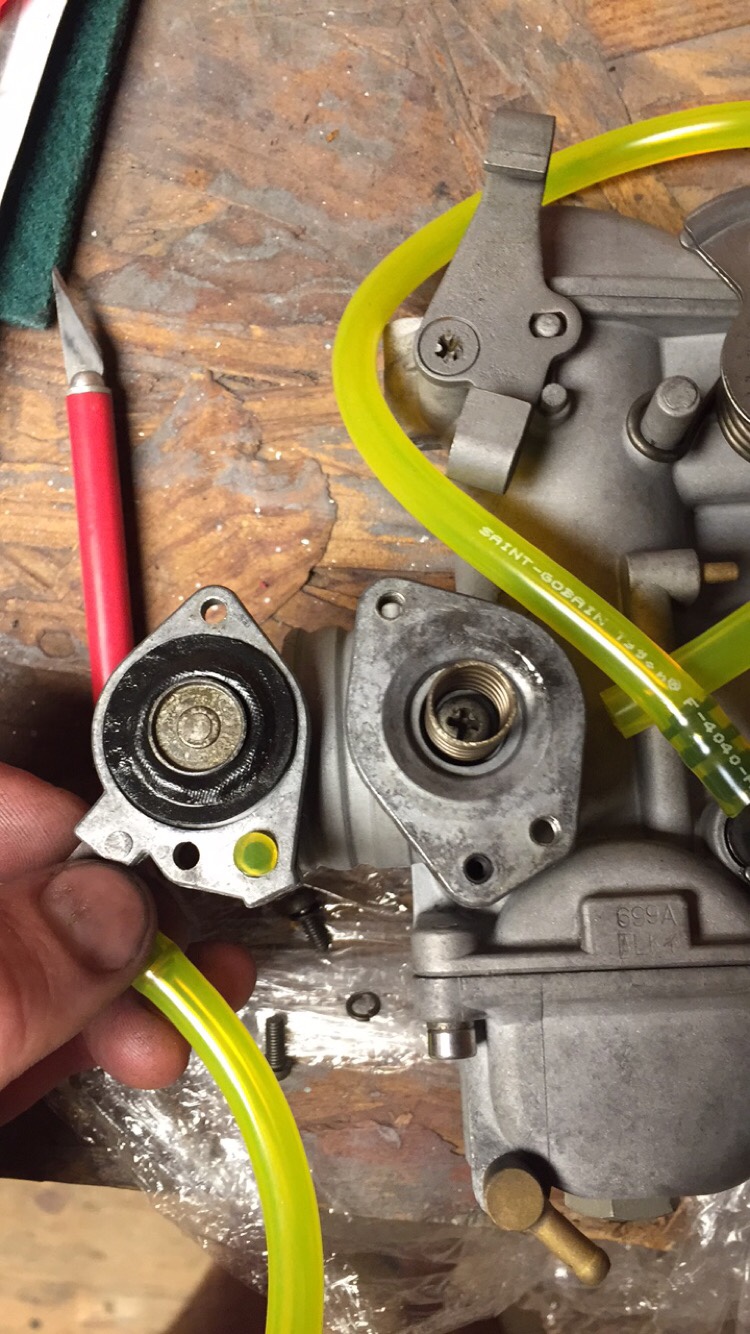
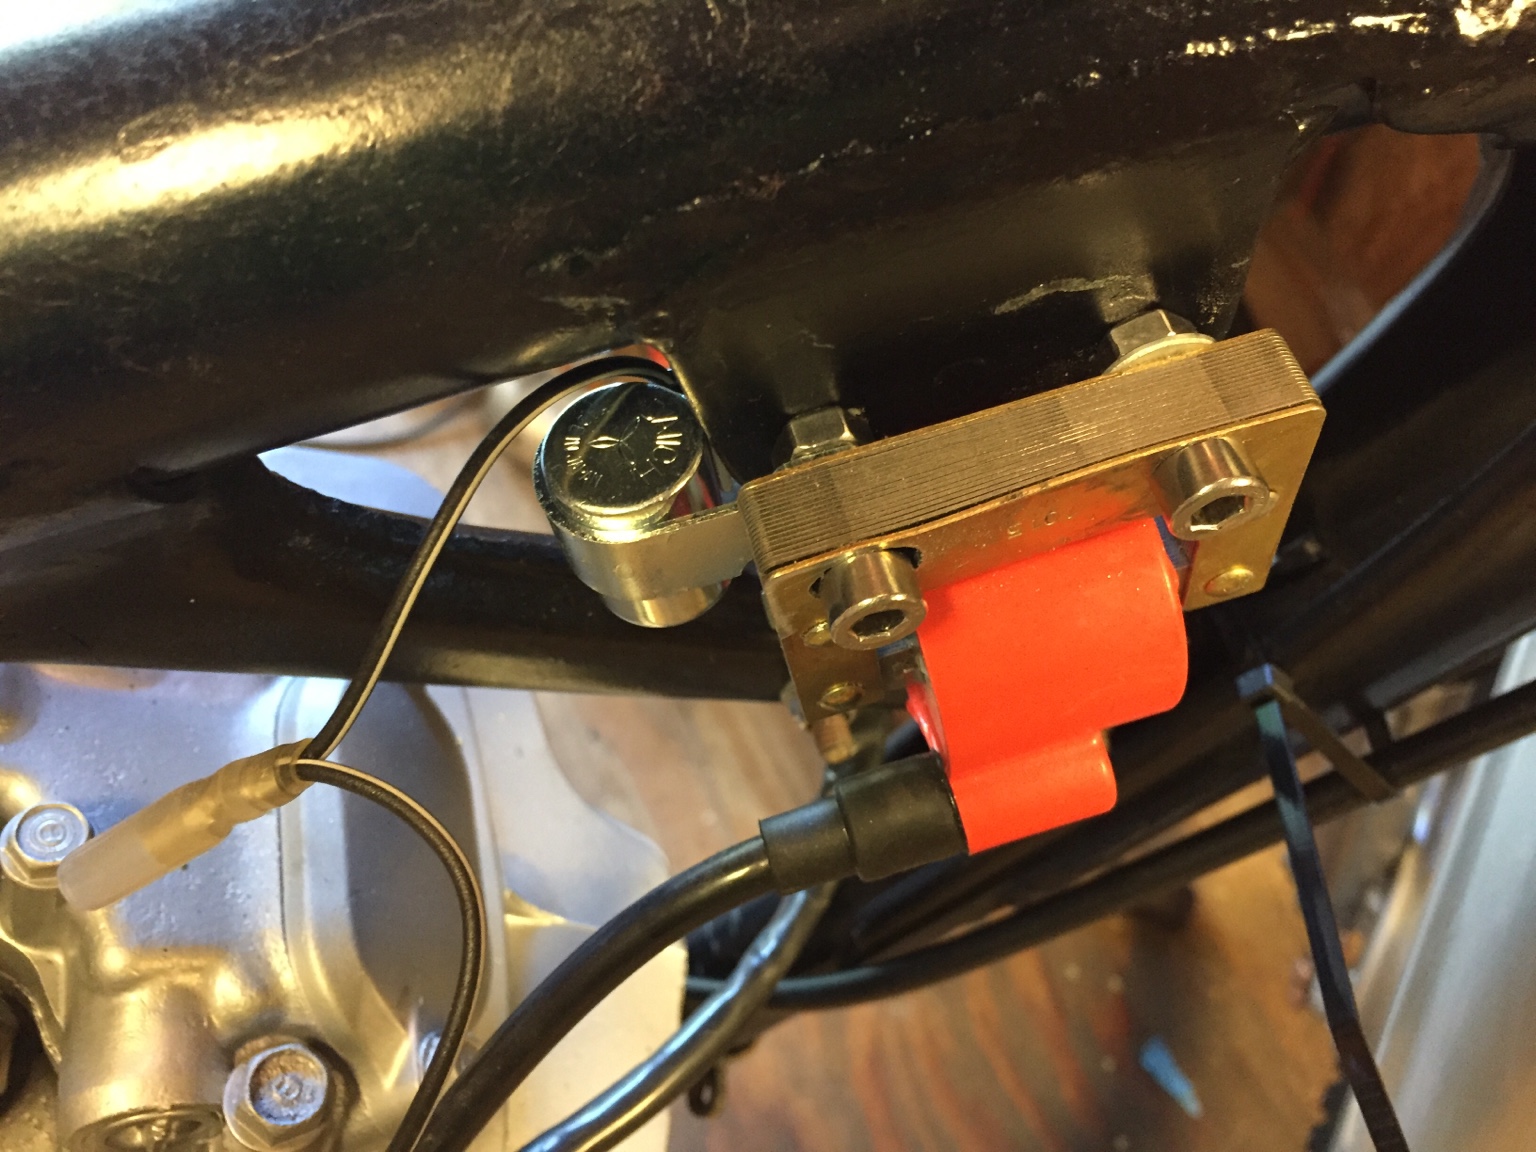
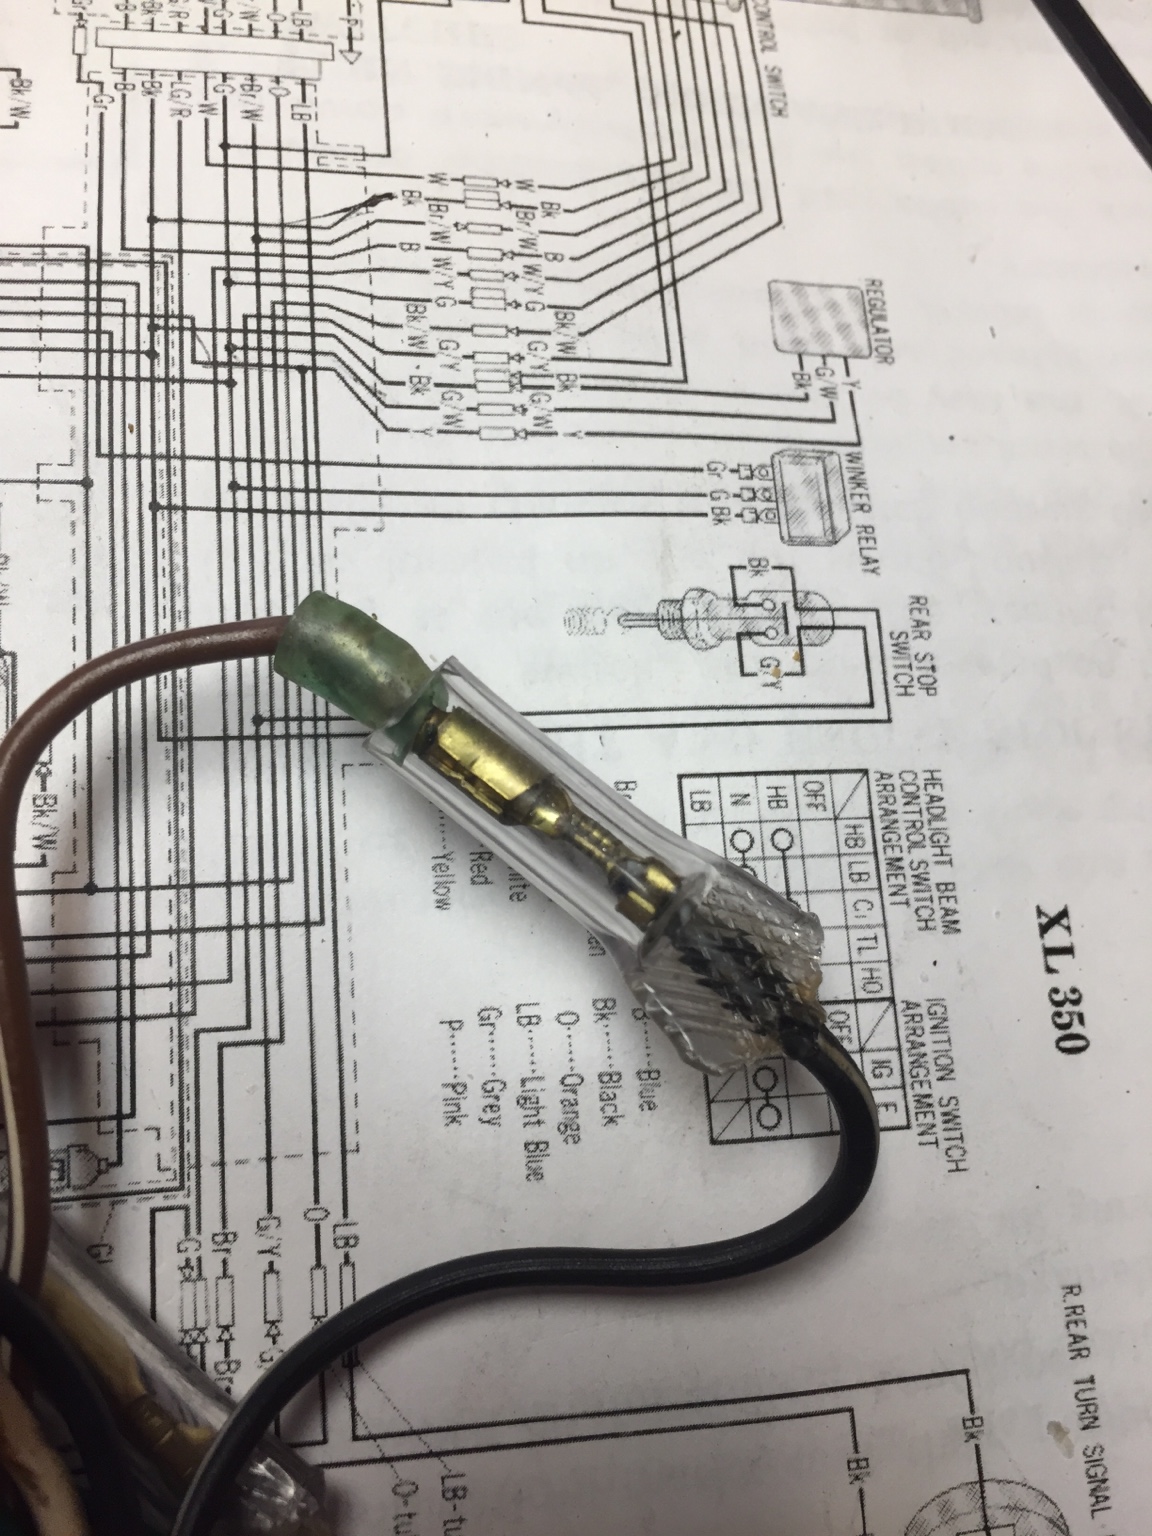
Blocked the air-cut valve on the carby. Pretty sure I've got this right. The documentation on this mod has pics with pretty poor context so I'm not 100%. I cut out a piece of fuel line with a punch, may be a tad thick so if I'm idling high on startup I know where to look. Anyone whose done this mod care to check my 'work'?
Sent from my iPhone using
DO THE TON