
Had to paint trim and doors in the house today, so that was...fun. Got a few hours in the shop so I decided to clean up the workbenches and organize my projects.
Made a punch list. And a parts list. Mostly no lights for the moment I'll address that after Barber. Let me know if I missed anything.
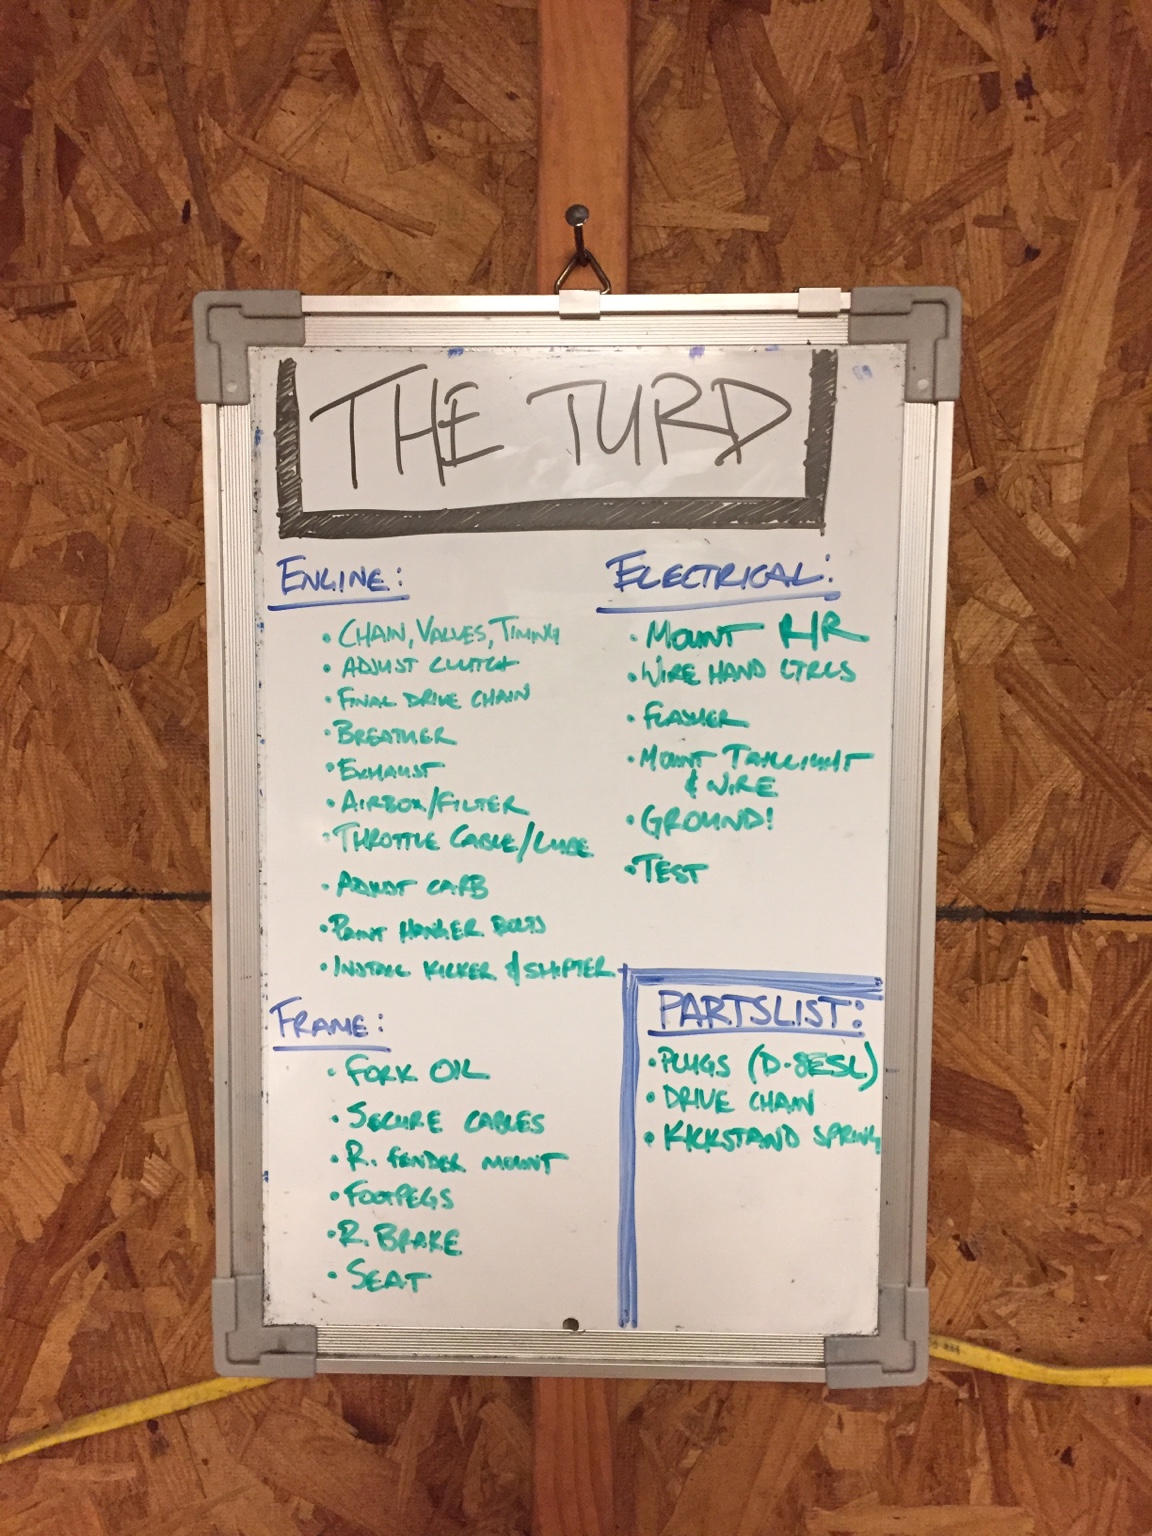
Sent from my iPhone using DO THE TON
Made a punch list. And a parts list. Mostly no lights for the moment I'll address that after Barber. Let me know if I missed anything.
Sent from my iPhone using DO THE TON


")


