
We noticed you are blocking ads. DO THE TON only works with community supporters. Most are active members of the site with small businesses. Please consider disabling your ad blocking tool and checking out the businesses that help keep our site up and free.
You are using an out of date browser. It may not display this or other websites correctly.
You should upgrade or use an alternative browser.
You should upgrade or use an alternative browser.
'73 CB350G: Project Sakura
- Thread starter Rimmy
- Start date
Re: '73 CB350G: Project Sakura, Tank question/opinions wanted
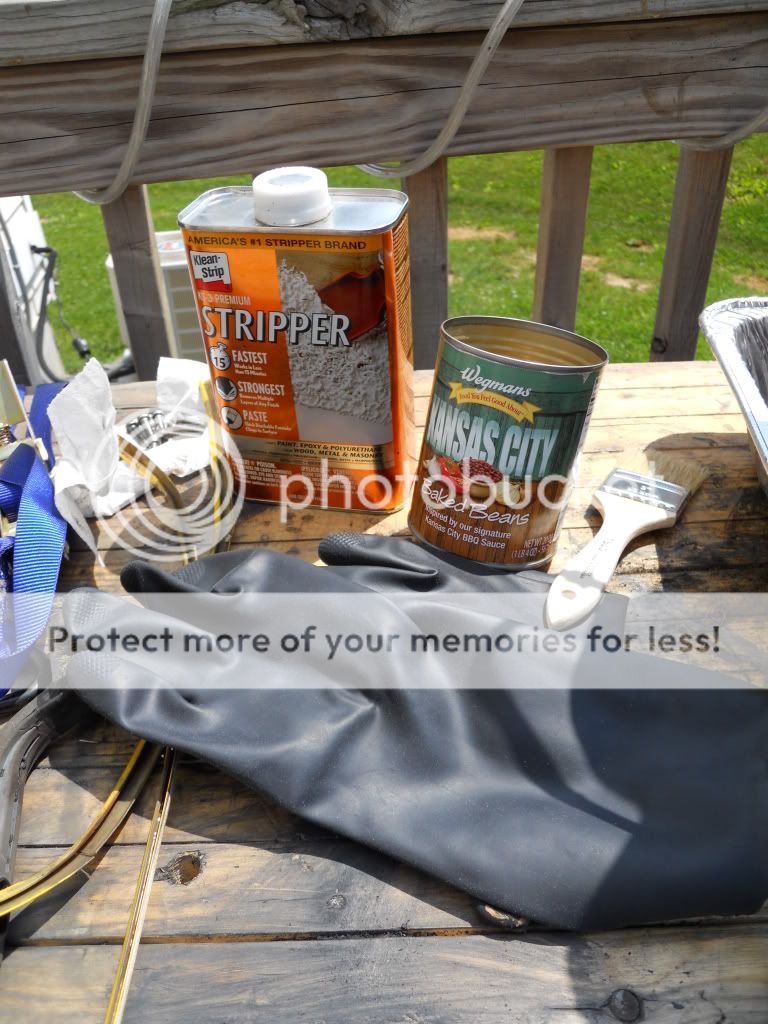
I can't let the motor be the only nice looking thing on this bike. Gettin ready for paint...
Who ordered the strippers?:
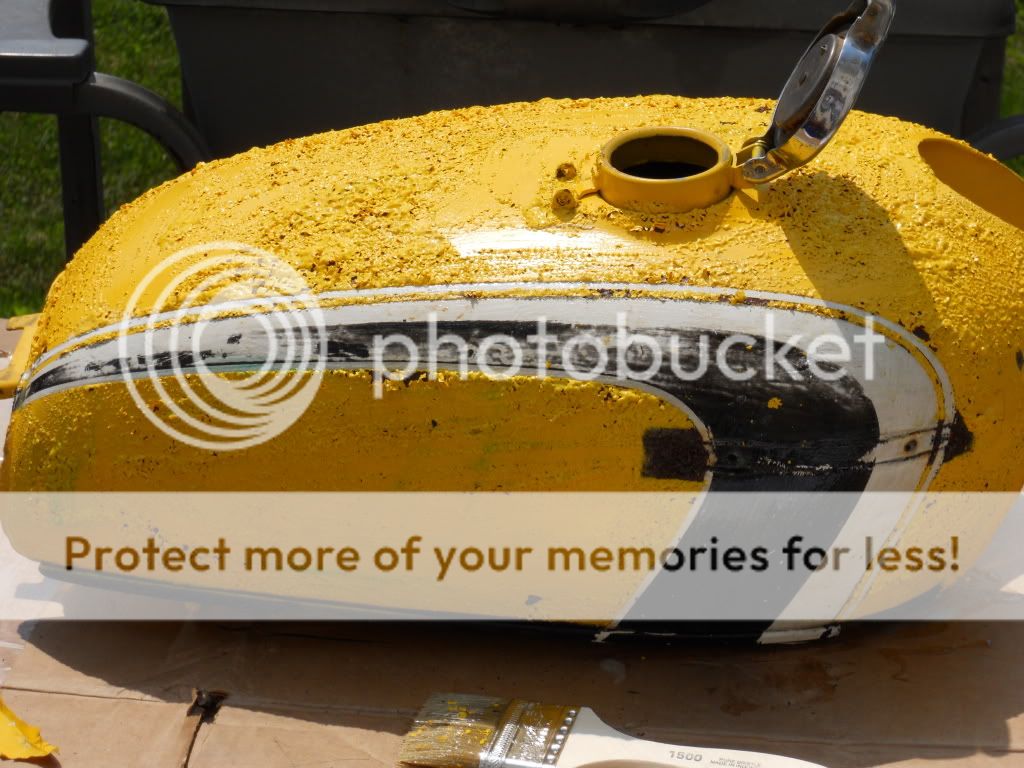
Before/During:
After:
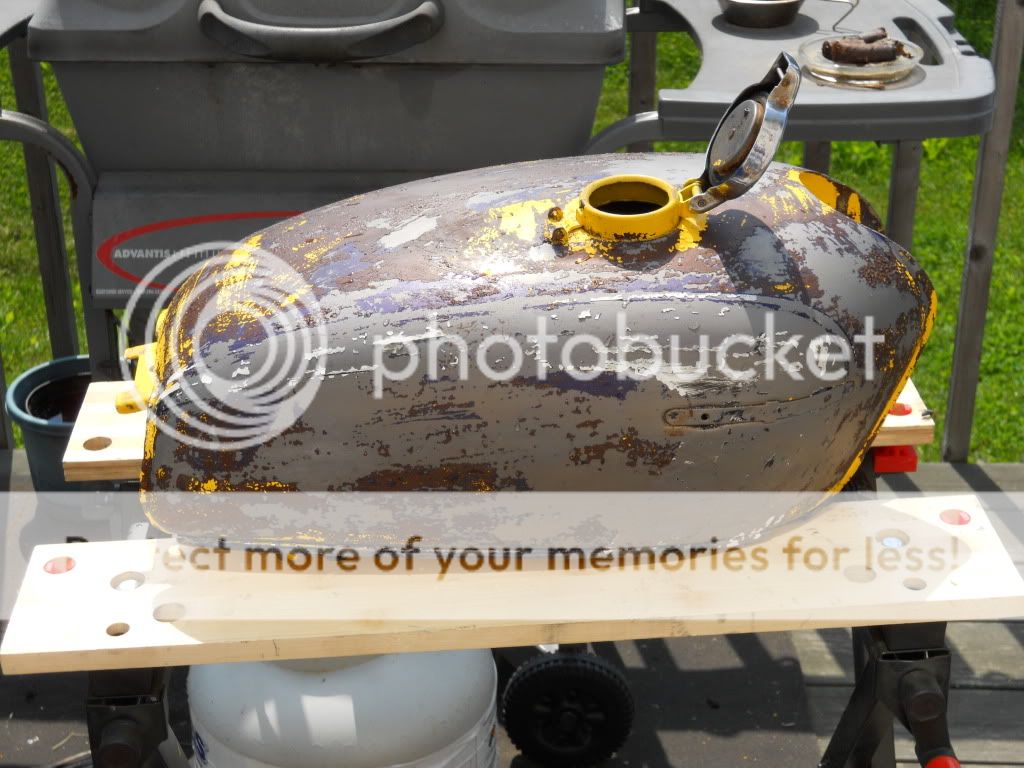
I hit it with my orbital sander and got most of the leftover paint off. I noticed a few dings that the old cruddy paint job hid so it looks like i'll be filling them in soon.
Question!
Does anyone have any suggestions on what to do with the lip at the bottom of the tank? There was this crappy looking piece of trim that I broke off while removing, so now I have a useless lip on the bottom of the tank. I kind of want to grind it down, but don't want to put any unnecessary holes in the tank. Does anyone have any bright ideas on how I can utilize it or remove it? Any suggestions would be greatly appreciated
-jordan
I can't let the motor be the only nice looking thing on this bike. Gettin ready for paint...
Who ordered the strippers?:
Before/During:
After:
I hit it with my orbital sander and got most of the leftover paint off. I noticed a few dings that the old cruddy paint job hid so it looks like i'll be filling them in soon.
Question!
Does anyone have any suggestions on what to do with the lip at the bottom of the tank? There was this crappy looking piece of trim that I broke off while removing, so now I have a useless lip on the bottom of the tank. I kind of want to grind it down, but don't want to put any unnecessary holes in the tank. Does anyone have any bright ideas on how I can utilize it or remove it? Any suggestions would be greatly appreciated
-jordan
Re: '73 CB350G: Project Sakura, Tank question/opinions needed
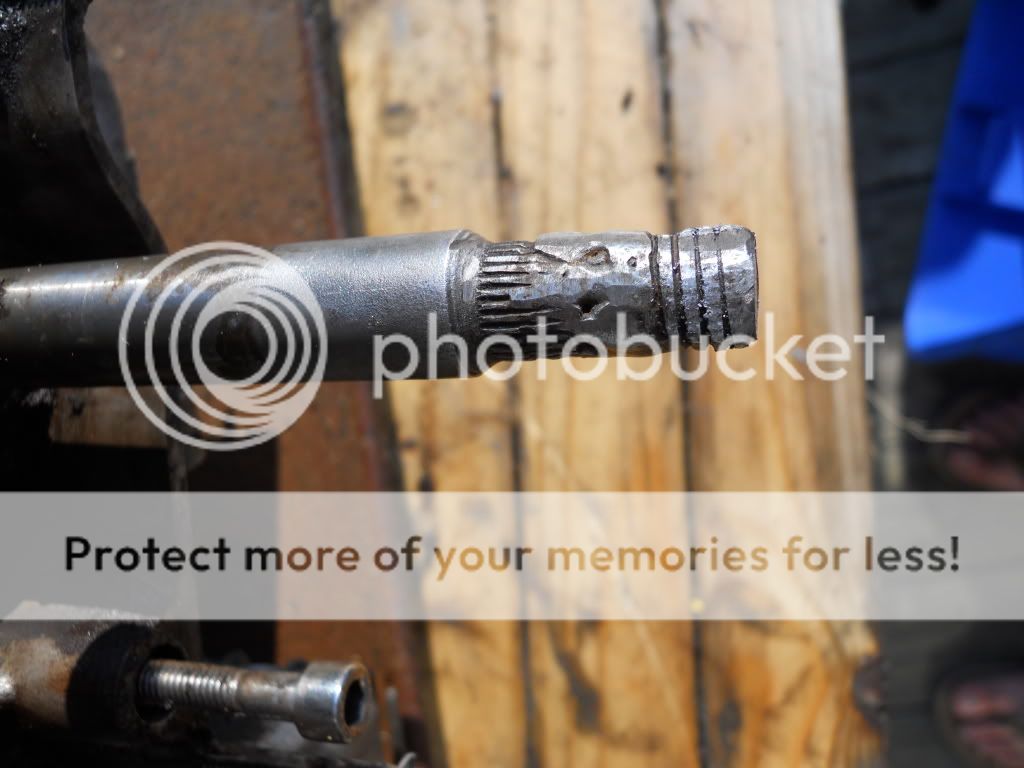
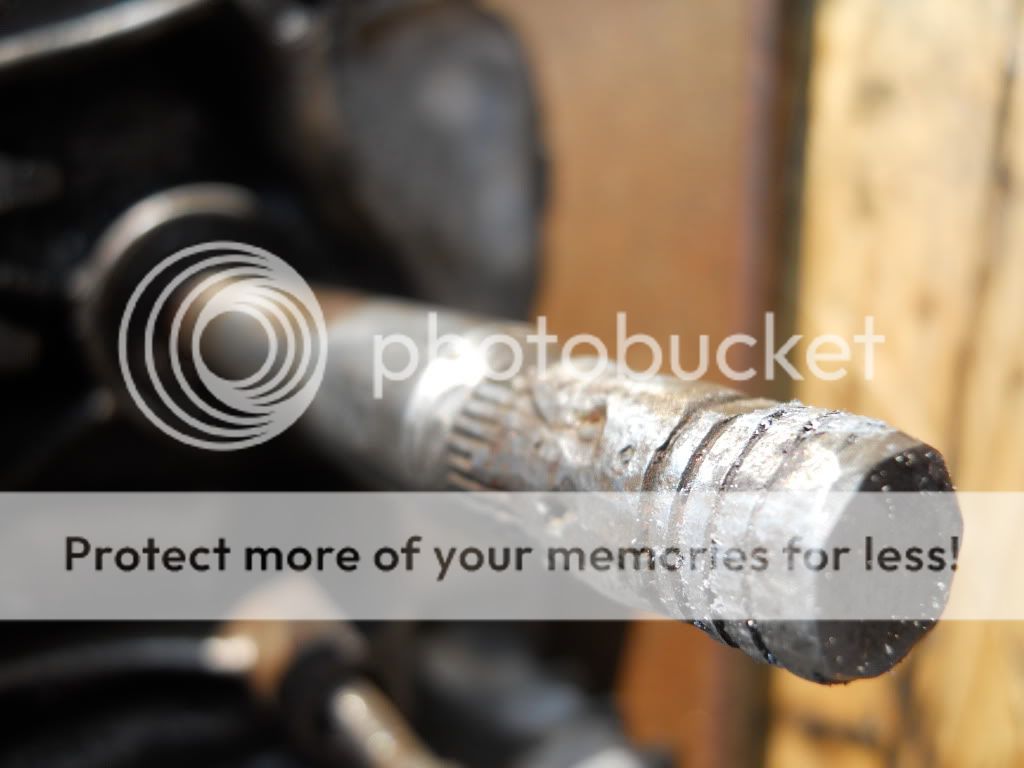
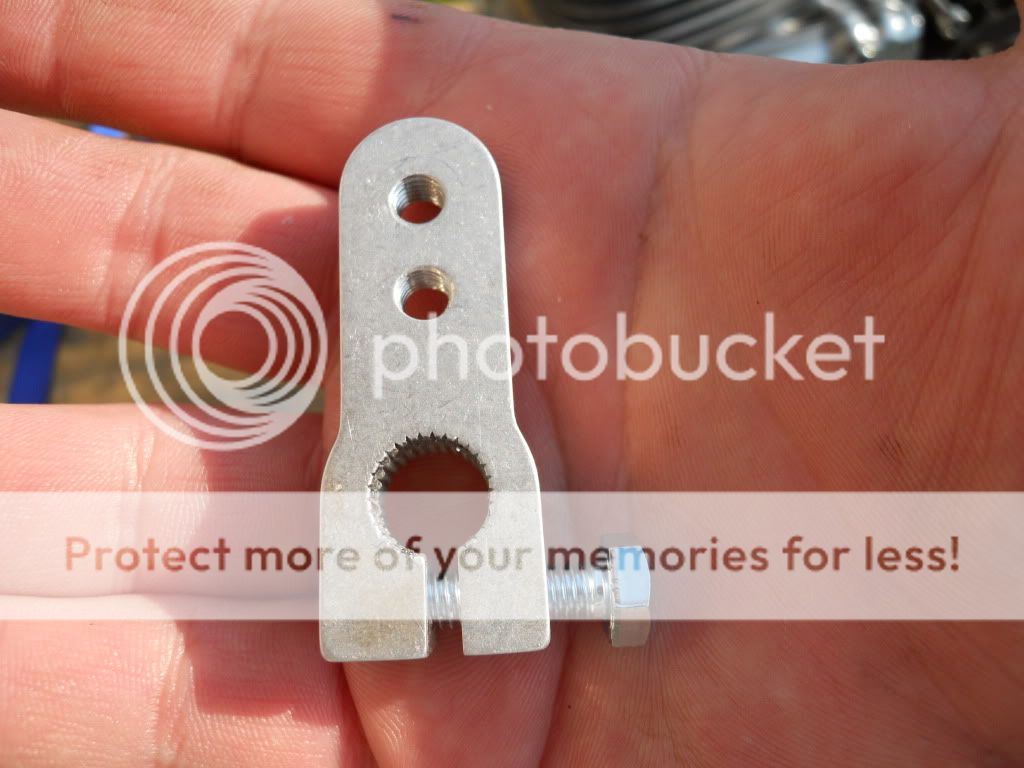
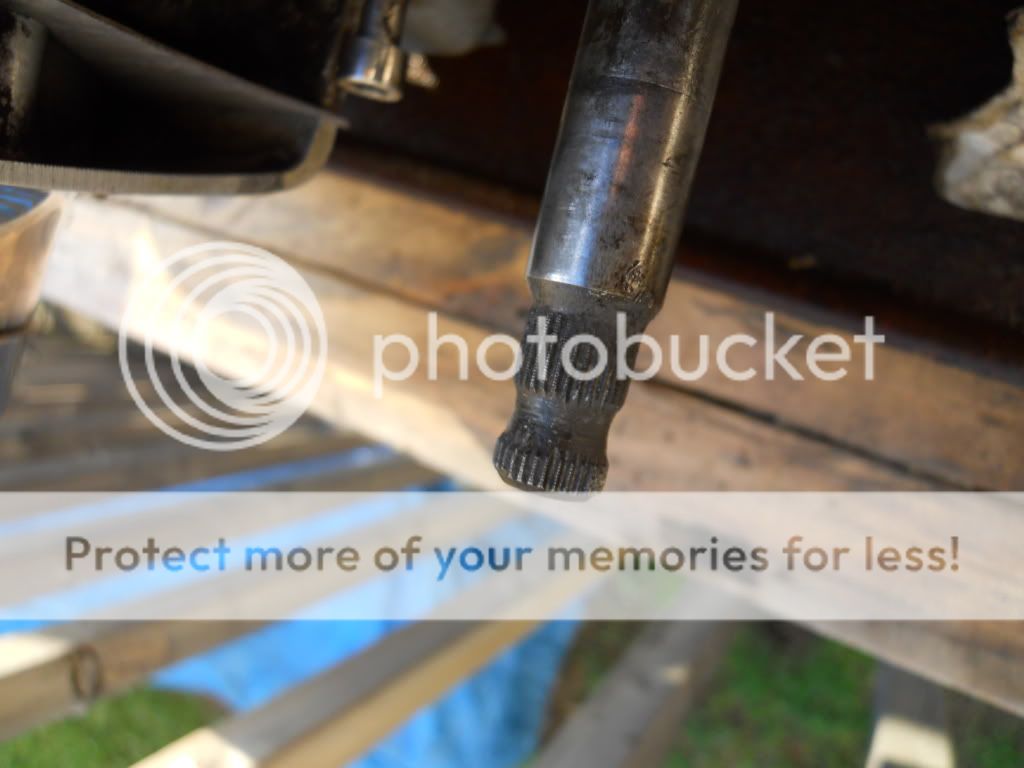
I've also got another problem. The shifter spindle is pretty mangled. I got a nice arm from Motobits with their rearsets but its soft aluminum. I tried forcing it on, but the nice teeth on the arm started to wear a tiny bit.
I was thinking about forcing it on and clamping, then drilling a small hole through the shift arm and the spindle and inserting a small spring pin or something. That way it'll have clamping action as well as a spring pin to keep it from moving. Would anyone advise for or against this?
Spindle:
Shift Arm:
-jordan
Erskine
Over 1,000 Posts
That gear change shaft is pretty much fucked really. can't you replace it?
However if needs must I'd mechanically fix the stub to the shaft as you've said.
But rather than ruin that new ally one, why not cut down the old lever and sacrifice that until you can fit a new shaft?
Great photo's btw")
However if needs must I'd mechanically fix the stub to the shaft as you've said.
But rather than ruin that new ally one, why not cut down the old lever and sacrifice that until you can fit a new shaft?
Great photo's btw
You have two choices with that shaft.
A Replace it
B Repair it
A is easier and cheaper, but if it's not possible, then it can be repaired. Get a shaft from almost any bike with the same splines. Cut that good end off the good shaft and the bad end off the crappy one and have them welded or silver soldered together with a center pin to make sure they stay aligned.
Thanks for the replies guys. I guess I knew I'd be replacing it, but didn't want to admit it to myself haha. I'm going to have to bust out the manual and see just how complicated this will be. I guess that will determine whether I replace the entire spindle, or just have someone weld on a new tip.
-jordan
-jordan
VonYinzer
Over 10,000 Posts
The lip on the bottom of the tank is where the top and bottom are welded together. Cant remove it. You can buy door trim at any auto parts store to cover it (use a little heat to aid in bending it) or you can use a high quality body filler to smooth the side of the tank out.
Erskine
Over 1,000 Posts
Rimmy said:New old shift spindle is on the way from eBay. I hate playing the waiting game...
-jordan
It'll be worth it in the long run!
platkeyboy
Been Around the Block
You need to tell Yamaha that they stole your bike's name...4 years ago, lol.
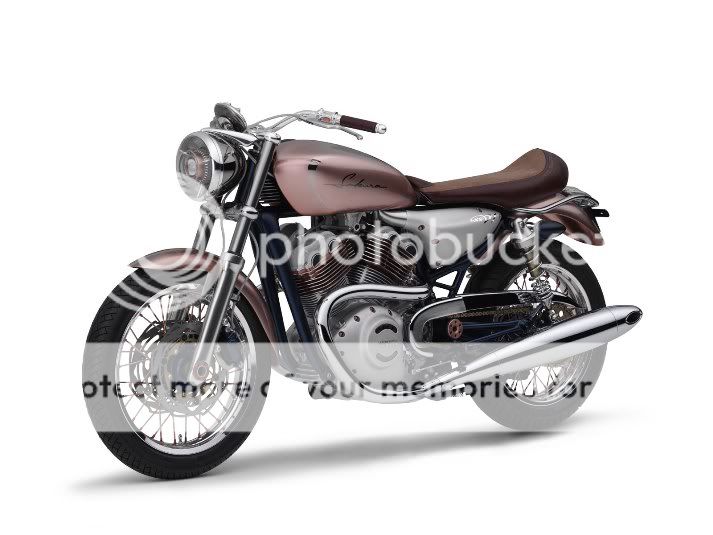
The XS-V1 Sakura was only a concept though, which means yours wins, because it will actually see the road. I think your bike looks like it will be a lot of fun. Good luck getting it done in time to enjoy some good rides this summer.
The XS-V1 Sakura was only a concept though, which means yours wins, because it will actually see the road. I think your bike looks like it will be a lot of fun. Good luck getting it done in time to enjoy some good rides this summer.
That concept bike is beautiful! Though I'm sure mine will be much more fun
VonYinzer, I hadn't even actually thought about putting new trim on it. I think that'll be a nice way of adding some color accent to the bike anyhow. I want to subtly add red to various parts to offset the white/creme white everything else. Now I just need to find time to paint...
-jordan
VonYinzer, I hadn't even actually thought about putting new trim on it. I think that'll be a nice way of adding some color accent to the bike anyhow. I want to subtly add red to various parts to offset the white/creme white everything else. Now I just need to find time to paint...
-jordan
I finally got all of the tools and parts I needed to replace the shifter actuator. I got one from a '72 on eBay. I checked the part # on it and from the '73 model and they are different. I figured for $5 I could at least give it a shot. It turns out that they I either got lucky and they are actually the same, or the eBay seller was a year off. Regardless, it worked perfectly. I have to say I was really nervous at first, but it wasn't too hard to replace. I am a little worried that it might seep oil in one of the pass-throughs but I won't know until I get the last cover polished and back on and put oil into the bike.
I've never been this deep into the motor before:
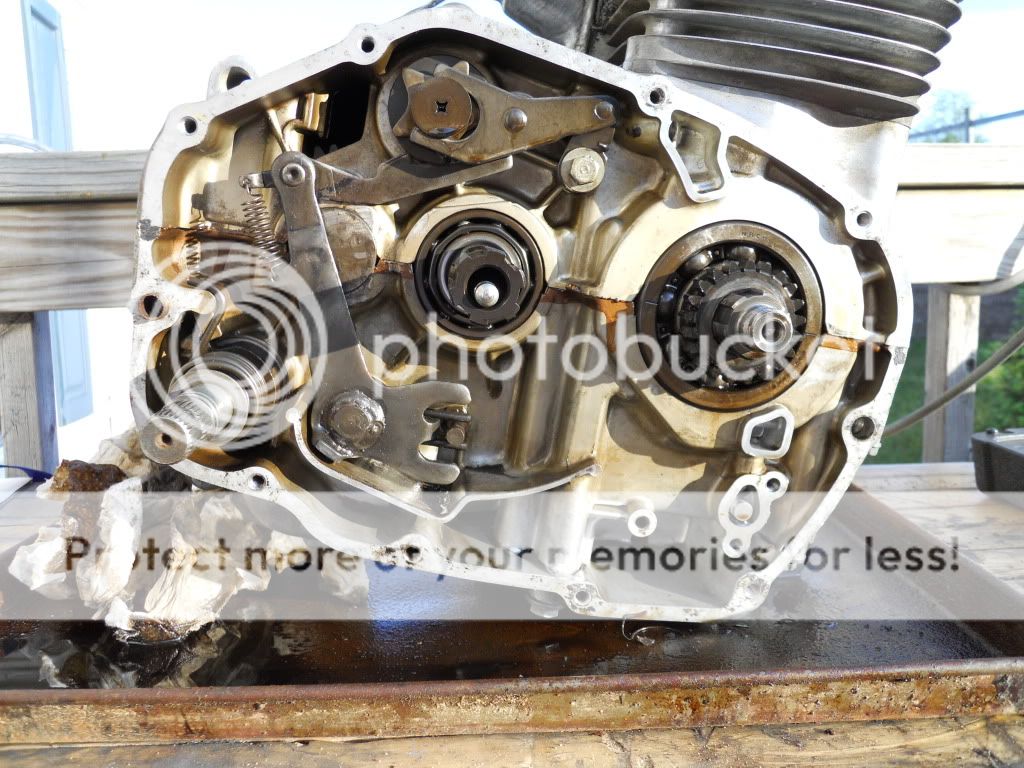
Much better than before:
A little more polishing and painting and I'll have a complete motorcycle again!
-jordan
I've never been this deep into the motor before:
Much better than before:
A little more polishing and painting and I'll have a complete motorcycle again!
-jordan
Also, thanks for recommending that I change it out guys. It was a great learning experience and it also reminded me that I shouldn't half-ass things on my build. And, pulling the clutch, oil fiter and pump has given me a much better grasp on how the 350's actually function.
-jordan
-jordan
platkeyboy
Been Around the Block
Rimmy said:Finished up the PA MSF program, and am now an officially licensed motorcyclist. Not quite an update for the bike, but a huge update for me!
-jordan
I'm glad for you--no more having to jump through the yearly hoops to stay legal. They used to just throw a permit at you in exchange for $10, but now they make you take a test that seems to have been constructed by someone who has never ridden in his/her life. So yeah, good for you.
Thanks for the compliment on the gauges. I just tossed a magnet onto one and it stuck, so yes they are steel. It took a long while to get them all shiney-like. But wet sanding all the way up to 1000grit then hitting them with the buffing wheel with red and white media then some mothers to top it off did the job. Good luck with yours!
-jordan
-jordan


