Hello all! First legitimate post on DTT. I hail from the "Nasty-Nati" and have always been interested in cafe's. I've been a Honda guy my entire life and have built a number of different rides, but have never once ventured into the 2-wheeled-world. I had a '99 EM1 Si which I sold for my '00 S2000. That got totaled, so I bought another one in the same color, year, etc., just with less miles. Anywho, Im always surfin' the net for cafe projects, and my wife asked me "when are you going to get one of those?" which put the process in motion.
A week later, we came home with this hog!

My wife jumpin' on the bike for a glamour shot. <3 her!

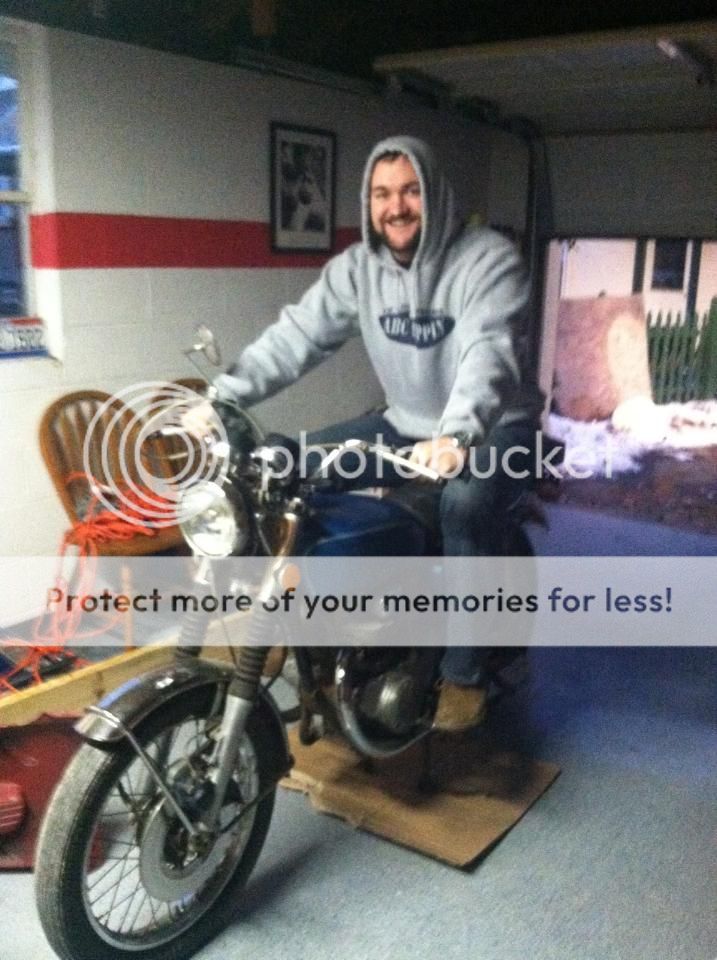
My not-nearly-as-attractive-mug
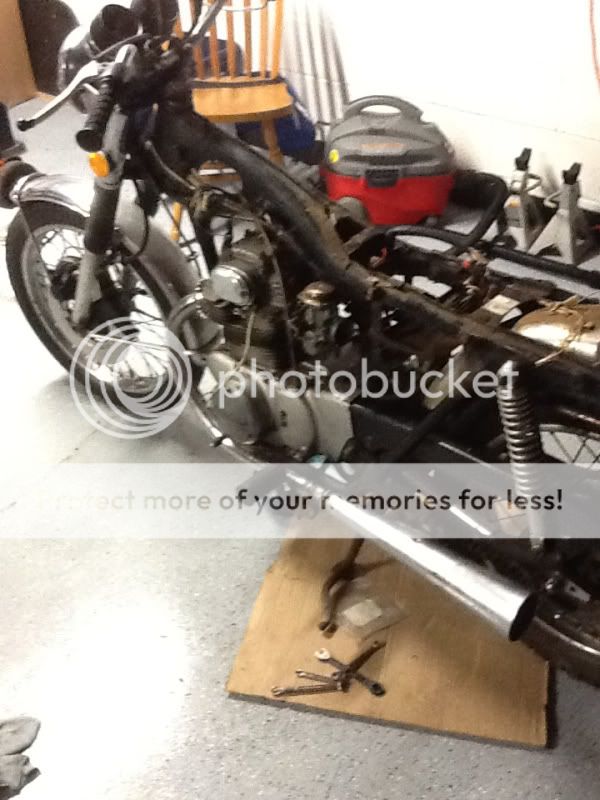
The bike has good bones. It kicks over, but doesn't run. Has minor surface rust on just about everything. Paint is in piss-poor shape, seat is torn, throttle cable sticks, etc. Order a ton of replacement parts including:
- New Battery
- New Throttle Cable
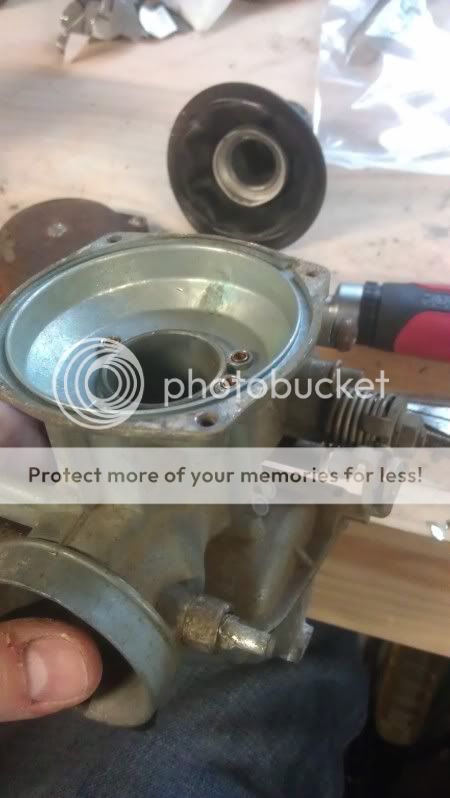
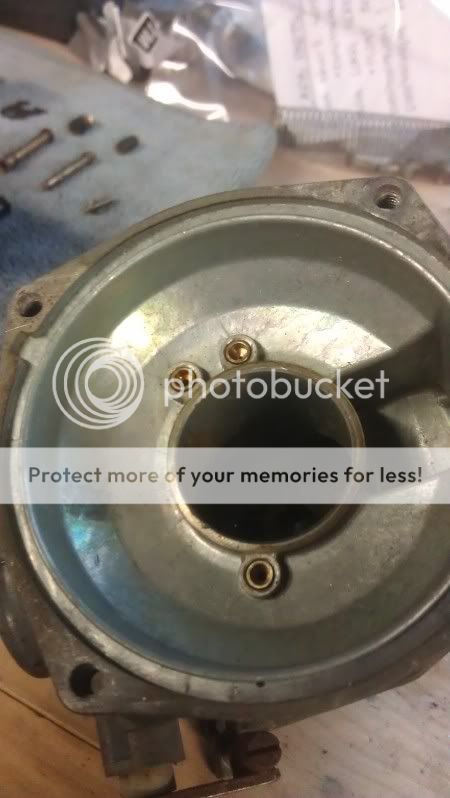
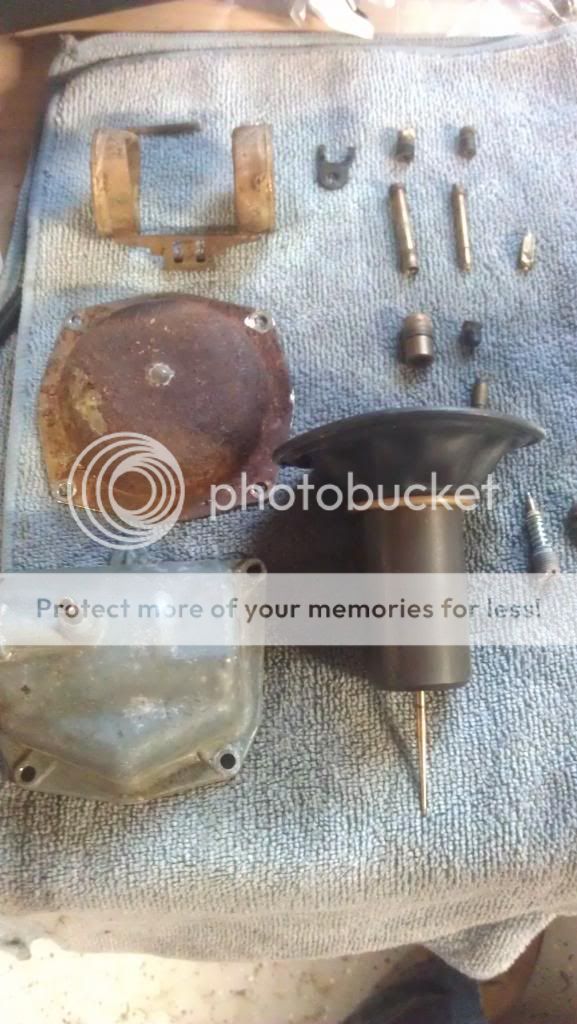
- Carb Rebuild Kits
- Carb stainless fastener kit
- 4ea OEM exhaust pipe joints
- New seat cover
- JIS screwdrivers
- Impact screwdriver
Let the fun begin! Now, full disclosure, I can assure you of the following:
- I will make stupid mistakes, but I will only make them once
- I will ask stupid questions, but I will only ask them once
- I will not always know the name for parts, so you'll have to interpret often
- I will only ask questions if I can't figure out myself first
That said, here we go! Tonight I was able to get the bike apart pretty much. Took the exhaust off and installed the 4ea new exhaust pipe joints. That was easy enough!
Before - Note the janky exhaust, loosely installed, loose exhaust flange, blah blah blah:
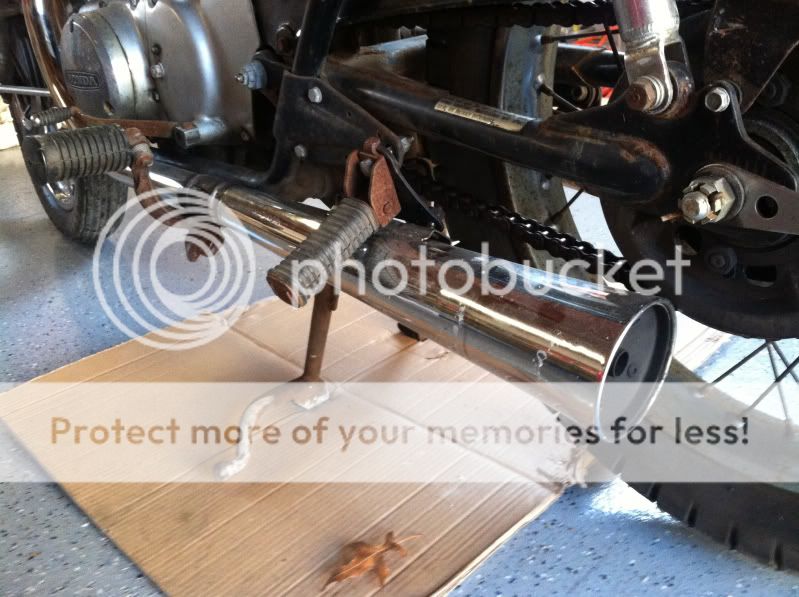
After - Pic sucks, but my camera died so this is taken with a potato.
Question #1 - Note the "before" pic has pass. footpeg installed in a dangling fashion. Now, when I installed everything correctly, I noticed the muffler, which I believe to be aftermarket, is too close to the mounting holes for the pass. footpeg. Could I remove the "L-tab" on the footpeg and install it upside down? Otherwise there isn't enough clearance and it gouges the mufflers.
Idiot moment #1 of 1,000,000
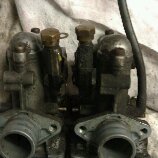
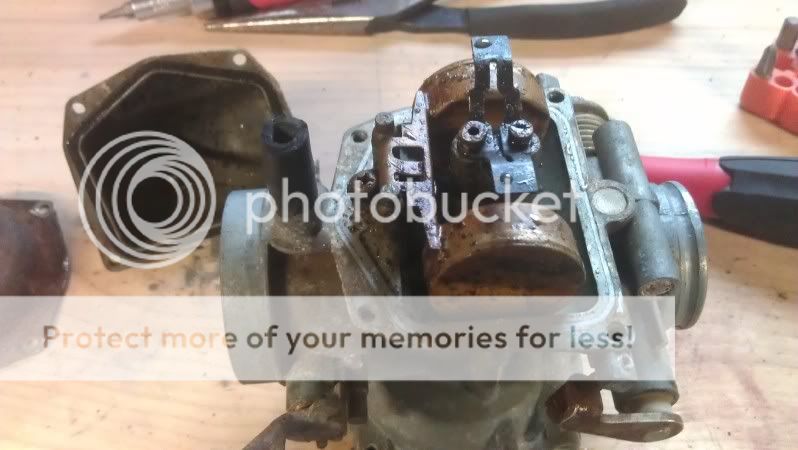
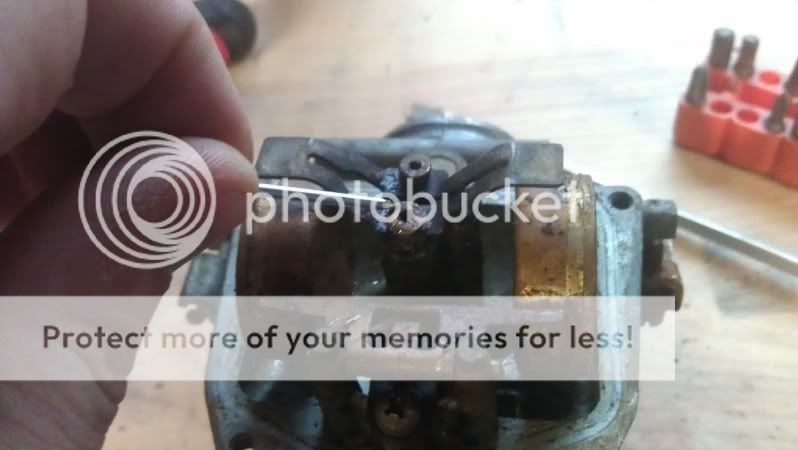
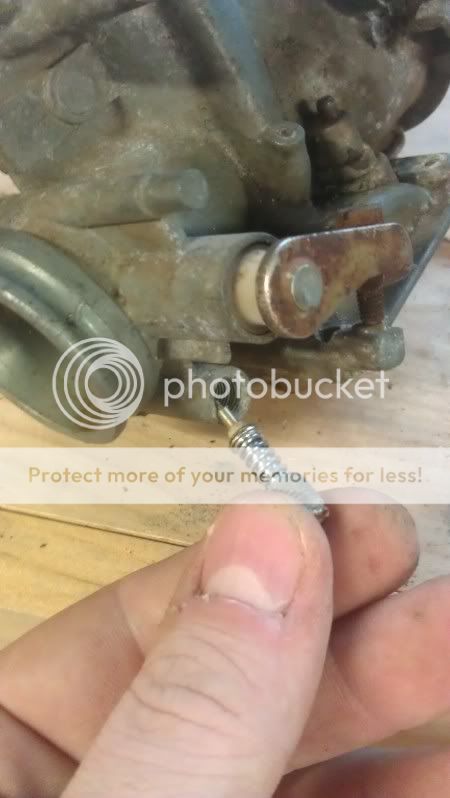
- I could not for the LIFE of me figure out how to remove the throttle cable from the carbs. /facepalm After incessant googling, forum searching, hair-pulling, beer-drinking, etc., I twisted the cable and out came the peg. I felt SO stupid.
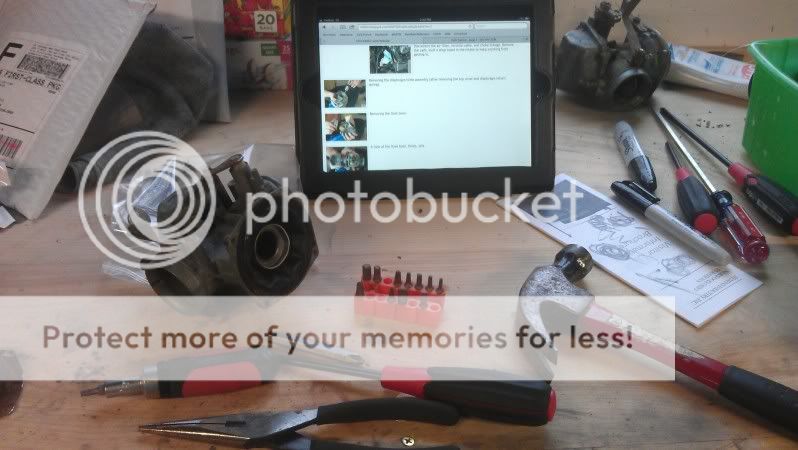
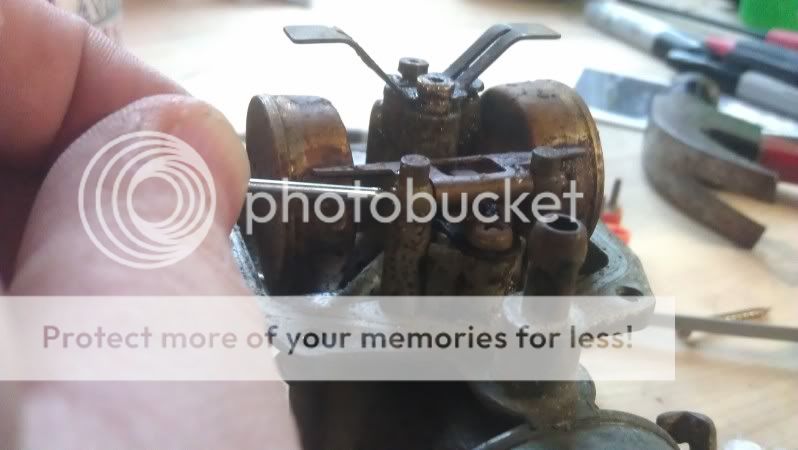
Anyways, carbs are off, rebuild (hopefully) coming tomorrow!
A week later, we came home with this hog!
My wife jumpin' on the bike for a glamour shot. <3 her!
My not-nearly-as-attractive-mug
The bike has good bones. It kicks over, but doesn't run. Has minor surface rust on just about everything. Paint is in piss-poor shape, seat is torn, throttle cable sticks, etc. Order a ton of replacement parts including:
- New Battery
- New Throttle Cable
- Carb Rebuild Kits
- Carb stainless fastener kit
- 4ea OEM exhaust pipe joints
- New seat cover
- JIS screwdrivers
- Impact screwdriver
Let the fun begin! Now, full disclosure, I can assure you of the following:
- I will make stupid mistakes, but I will only make them once
- I will ask stupid questions, but I will only ask them once
- I will not always know the name for parts, so you'll have to interpret often
- I will only ask questions if I can't figure out myself first
That said, here we go! Tonight I was able to get the bike apart pretty much. Took the exhaust off and installed the 4ea new exhaust pipe joints. That was easy enough!
Before - Note the janky exhaust, loosely installed, loose exhaust flange, blah blah blah:
After - Pic sucks, but my camera died so this is taken with a potato.
Question #1 - Note the "before" pic has pass. footpeg installed in a dangling fashion. Now, when I installed everything correctly, I noticed the muffler, which I believe to be aftermarket, is too close to the mounting holes for the pass. footpeg. Could I remove the "L-tab" on the footpeg and install it upside down? Otherwise there isn't enough clearance and it gouges the mufflers.
Idiot moment #1 of 1,000,000
- I could not for the LIFE of me figure out how to remove the throttle cable from the carbs. /facepalm After incessant googling, forum searching, hair-pulling, beer-drinking, etc., I twisted the cable and out came the peg. I felt SO stupid.
Anyways, carbs are off, rebuild (hopefully) coming tomorrow!