BUMP!
I dig it. I've done similar stuff for my old '82 CB750F Cafe project (lost in a fire 2013) and my new replacement "CB900K0 Bol Bomber" for that matter - and did more of the same, cut-down brake pedal stuff for my daughter's "KZ440LOL", but now it's getting some Tarozzi rear-sets - and I'm shopping for some ALUMINUM brake pedals of the OEM type for the DOHC-4, CB1100R etc - There'd be a huge market if somebody would do up a copy of the CB1100R brake pedal, but truth be told there are all sorts of VF1100S/V65 Sabre & CB900F2, CB1100F, CX650T/CX500T turbo, CBX etc alloy pedals, all of which would benefit from a quick cut & re-weld, heck I've been wondering whether it wouldn't work to just cut 'em down and BOLT the toe section onto the end, like some of the period's CR & other dirt-bike pedals used.
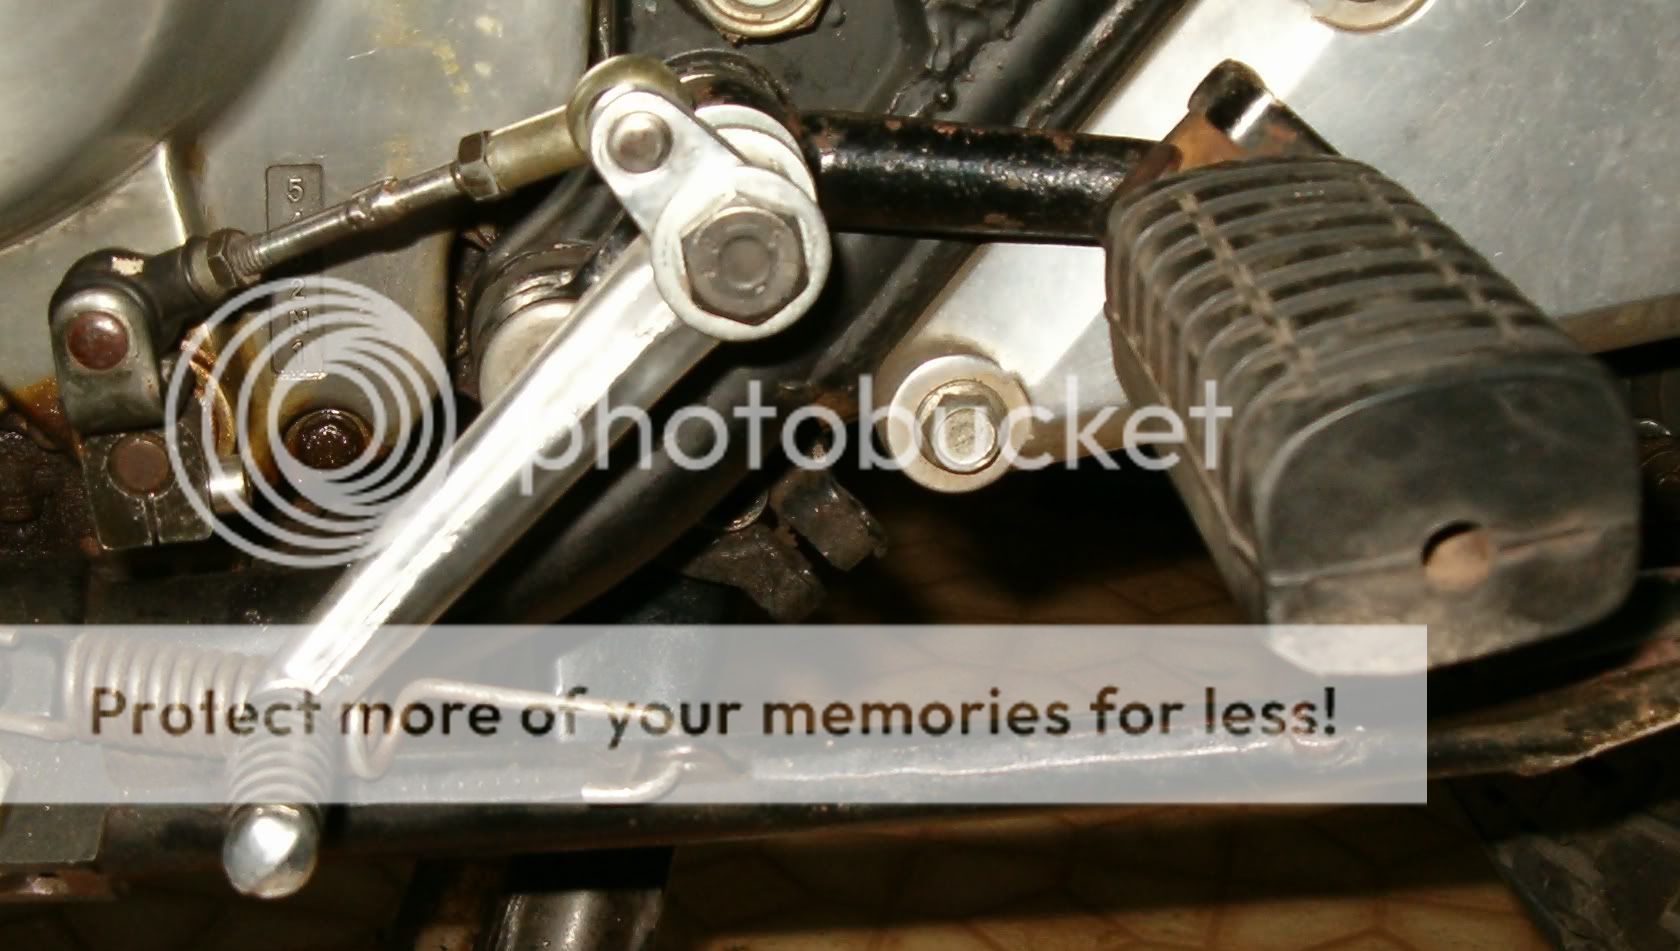
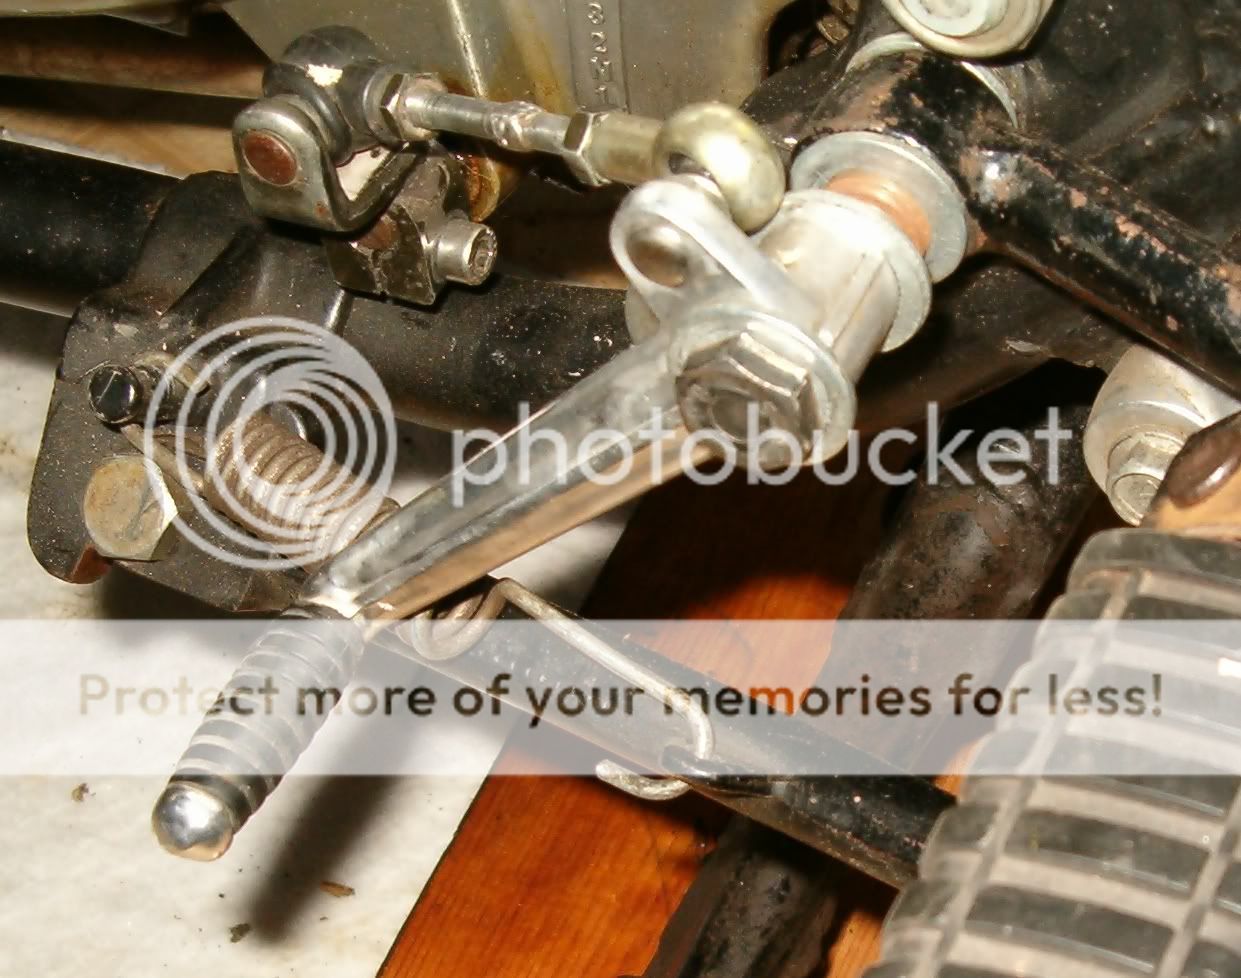
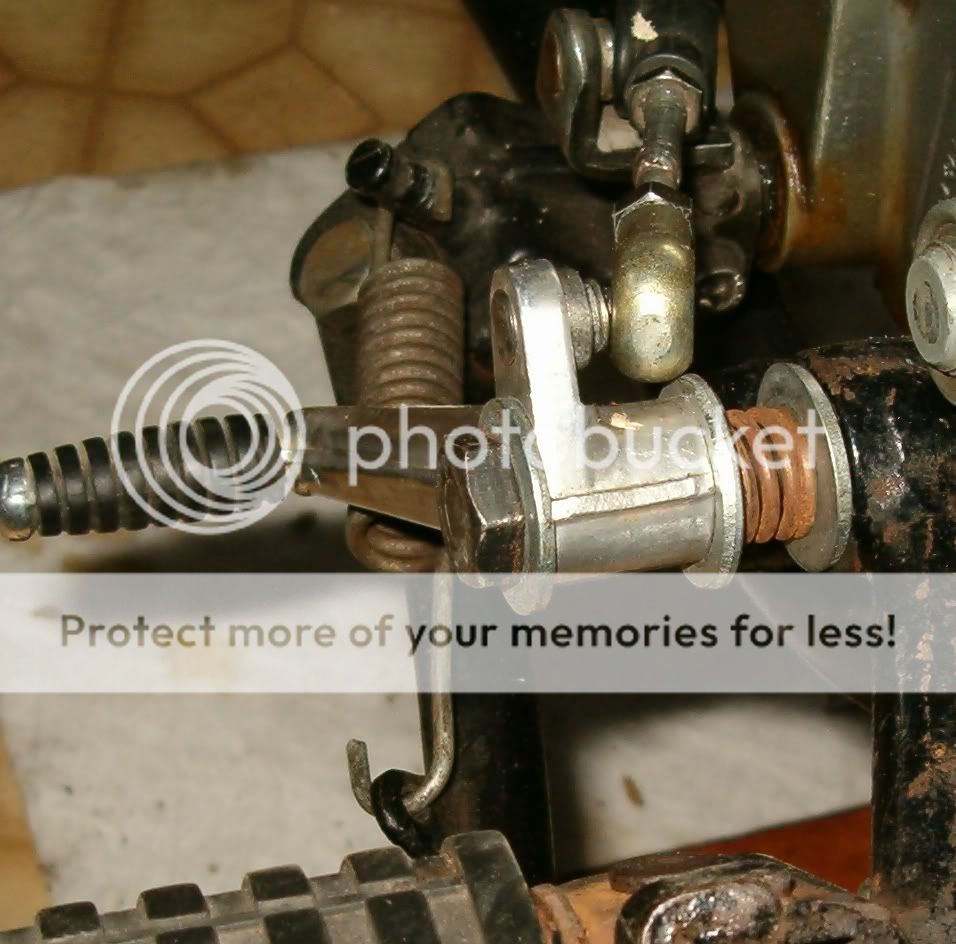
Well one tip on the DOHC pedals, is that there are plenty of 2LS drum hub linkages which can thread up to the shifter linkages, and that the cut-down brake pedal seems to make more sense if you "telescope" the parts together, by filing/grinding down the tip portion, such that it inserts into the thicker section of the arm. Plus if there's any question of failure, you'd wanna do the cut & weld at the DISTAL end of the pedal, so you've still got an ARM to stomp on even if there's no toe pad on it! It also pays to do it this way 'cause you can then HIDE the repair right under that toe pad, if you get the telescope just right. I've used the toe section from the C70 Passport aka Cub-clone, 'cause it's pedal arm has the correct bend directly underneath the pad, to align the pad & arm in the correct configuration, via the telescope insertion thing. It's the same exact toe pad shape & size, so it's the perfect fit and looks bang on.
By the same token, there are all SORTS of alternative pedals out there, many of which fit the same splines.
And more to the point, there are reverse spline pivot shafts with LUGS which fit on the inside face, such that you can create a TAROZZI style linkage using all OEM parts - I know of one on the Suzuki splines which matches, plus the Honda one mates the GL1200 & other pivot shafts of the same match to IT, with some VF750F type backside lugs, so that you can fit any other type of pedal you like and run either a rear-set from an aftermarket supplier OR a bolt-up pivot plate ala DOHC-4 Honda "Sport-Kit" etc, plus a free pivoting or smooth-hole type pedal - a good suggestion might be the Honda CB72/CB77 Hawk/SuperHawk, which uses a shoulder bolt which can mount that pedal just about anywhere. That's the nice thing about the later era ALLOY passenger peg brackets. Sure, they're actually HEAVIER than the previous tubular-steel versions, but they're intended to be FLEXIBLE, infinitely adjustable, in that you could place that peg pivot and rod-linked pedal just about ANYWHERE on that plate, within reason. IMHO they're a factory copy of the DUNSTALL rear-set kits for the earlier SOHC 'K0-'K6 series, which themselves were a copy of the aforementioned CB72/CB77 Hawk/SuperHawk plates, which had fully three positions for pegs to mount plus the "Hirth-Spline" adjustable peg hangers which were offset with an armature, such that you had about 12 or more different positions on each of those 3 mounting positions. Amounts to a HUGE degree of adjustment yet it's a very simple system. I really like the rear pair of passenger pegs, even though they're usually non-folding - they've got a really long arm and a "Hirth-Spline" to spin 'em around & adjust 'em, meaning even your passenger pegs can adjust to shorter or longer legs. Using THEM, you could cut off half of the rear end of the alloy plates, or at least down to the forward holes for the exhaust hanger brackets, just carve off the latter 1/3rd of the whole plate, then pivot the CB72/CB77 passenger pegs WHEN & IF you've got a passenger -
Not quite as simple as having entirely removable brackets for front & rear, like with later CBR/VFR-series passenger pegs, but as close to it as can be rendered from the OEM stuff, without looking too WEIRD that is. Though, some of the aftermarket brackets for these bikes, out of Japan for instance, THEY use a two-part bracket plate, where the whole latter half of the thing pops on & off with a couple of bolts. But they look quite convoluted.
Personally, I feel this mix of OEM parts, with the non-folding CB72/CB77 passenger pegs "pulling up the rear", is gonna look all the more natural & period-correct.
If I had my DRUTHERS, I'd find a way to fit the CB72/CB77 brackets THEMSELVES, or at least machine down the OEM plates to the same style as the '60s stuff. The trick being the '60s version had a cable-actuated rear drum - with a 2LS linkage no less - a right-side chain makes that 2LS plate unsuitable for the Honda CB series rear drums, alas - but perhaps some machine work with the pivot pins and actuating cams reversed, they could be flipped around to work on the opposite side? Well, IIRC there were some Yamaha 2LS plates from the mid-to-late '60s which were already on the right-hand-side of the wheel.....
But YEAH, like I say - the CB72/CB77 Hawk/SuperHawk had the CABLE actuated rear brake, whereas we're talking about hydraulics on the DOHC-4 - though to tell the truth, I'd really rather use a DRUM, and on my NEXT DOHC-4 project, that's exactly what I'm planning to do!
To make adjustable rear-sets far far more simple to adjust, I've dug up an old GUZZI GRIMECA bell-crank actuated rear master-cylinder, just like you'll see on the RCB & RS1000 Endurance Racers - IF this can be mounted securely & out of the way of a passenger's shins etc, then a long linkage rod could connect the bell-crank lever to any simple drum style pedal, especially the CB72/CB77 version. This could make simple work of an RCB/RS1000 replica build, but it's a bit complicated with a passenger on board. As such, I'm looking into some OTHER types of rear master-cylinders, without the integral reservoir of the Guzzi/Grimeca item, as such they can be oriented in ANY position not just horizontal - they're a bit hard to find, mind you. But now that there are more & different cheap knock-off bike parts out of China, including just this type of master-cylinder, - not to mention the rare & expensive Kawasaki Z1R master which was cable-actuated via a simple drum-style perch, and located under the top yoke - plus IIRC there might have been a YAMAHA version - it's a rare style of master for a Japanese manufacturer is my point, and I'd really prefer to avoid a HARLEY part on this whole build - But a bell-crank type master without an integral reservoir? Yeah - if they were more common on Japanese bikes? ALL of our rear-sets would look very very different~!
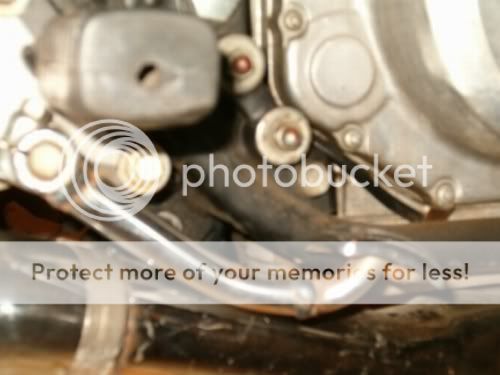
So yeah - this is what I'm throwing together NOW, is a system made from all OEM parts or close to it, to replace some rather DIY looking billet-plate rear-sets which the P.O. put on the bike, leaving the passenger seat but no passenger pegs -
What if you loaned the bike to your teenage kid like I'M planning to do, and one of their friends rides it with a kid on the back and they've all of a sudden got no damn pegs? I mean, wtf - if you're gonna miss one or the other, take off the passenger SEAT before you take off the PEGS!!! Sheesh.
So I'm looking to restore all of that, and I'll tell the truth I'd really rather weld up some tubular steel triangulated passenger peg hangers, ala SOHC CB750K0-'K6 etc, 'cause that actually weighs WAAAAAAYYYYY less than the alloy brackets from the DOHC-4 series! Hard to believe, but it's true.
I've grabbed rear-set type brackets from the Euro-spec CB750KZ-'KC and they've got the rear-most located pedal pivot hole, and no provision for a but at the same time they're really, REALLY damn heavy! I've cut a good chunk of material off of 'em, and they're still just beefy as all get out. So I'm thinking I might "lattice" 'em, all DIY style. Only THIS time 'round, (the 3RD time IF it comes around) I'm not gonna cut & file 'em into square flat edges, but rather a smooth rounded profile like a triangulated tubular assembly - should help with "stress risers" and make 'em stronger that way.
Hopefully they'd look like the Duck Sport-Classic "Biposto" passenger/rear-set hangers, which are more or less functionally identical, but welded from tubes - and what a difference!
The standard "DIY lattice" job has square corners & sharp edges seem flimsy, & don't suit the retro-fried aesthetics I'm going for.
That's actually something I did with my old '82 CB750F Cafe project, is I did some DIY lattice plates where I relocated that pedal pivot hole, using the middle section of a spare TOP YOKE if you can believe it
The outer ends of that top yoke were used for some DIY braze-welded CLIP-ON bars which I made using the bar clamp areas plus some bolt-up type bar clamps from KZ's - four full-sized bar clamp bolts per side, just ridiculous looking things -
They worked alright and I even tried "failure-testing" the braze-weld without thinking, and broke the CASTINGS so had to start over - and then I lost it all to a fire, (completely unrelated to my braze-welding just so you know!)
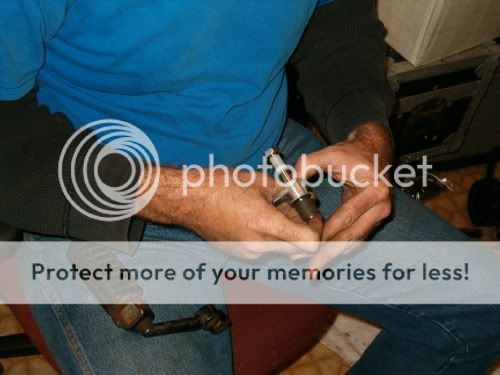
Ah, but ANYWAY, I DO still have some pics of the composite reconstructed re-located pedal-pivot-hole type "DIY LATTICE" peg plates. Crazy stuff. At the time, I had like ZERO budget, but a whole lot of TIME on my hands. In the end, I was spending as much on tools and braze rod etc as I could've spent on parts.
That is, if only I'd realized that a week or less after I'd finished my clip-on bars, eBay would debut those cheap made-in-China two-part clip-on bars. WHICH, by the way - are also adjustable, IF you use a cut-in-half BENT handlebar in those clamps, rather than the straight tube!
Another cool mod for 'em, might be to use a CARBON-FIBRE handlebar tube. The Carbon-tube bars from big-shot companies are still ridiculously expensive. And yet, if you look up straight tubes of Carbon, they sell 7/8th & 1" diameter lengths of three feet & more, for pennies on the dollar of what you'd pay for those tubes from the clip-on bar people. The only question being how thick of a WALL do you need on those tubes? Well, they sell 'em in various thicknesses. Worse come to worse, I could imagine myself sticking a small stack of Carbon ... "nano-tubes" if you will, STRAW-sized tubes of the same stuff, stack 'em all up inside of the main tubes & glue it all with compatible resin. Slightly sanded, of course. Just three or so straw-sized tubes inside the main one, and you've got a very strong tube compared to the straight THICK-wall tube. Then you might fill the ends with lead shotgun pellets in some RVT silicone, plug the ends with a simple bar-end mirror? I did my DIY bars using a cut-in-half "DRAG" bar, with the two simple 11-degree bends in 'em, but then I took a mirror mount off of a perch, which I'd cut down into a CAMERA mount (and this being about a week before the "Go-Pro Hero" came out, with IT'S own handlebar mount made from plastic for around $25ea ha-ha) - I took an old alloy camera tripod top, a quick-change lug system for popping the cameras on & off quickly - and some safety straps & strap clips, all attached to a filed-down flat KZ rectangular-reservoir MASTER type brake perch, minus the res' minus that mirror mount - WHICH I'd brazed into the end of the hollow alloy bar. A perfect fit & all, might as well have just dumped some braze rod all around some mirror stem threads, but this gave it a more ... "finished" appearance, it looked semi-"pro" - and then I used a short length of stainless bent mirror stem with new threads on both ends, with a threaded-on ball, just like a bolt-action rifle lever, with a standard round ball-pivot type mirror on it. So even IT looked so very OEM style.
It's ever SINCE then, that I've been playing around with different bars cut in half & fitted to the eBay Chinese clip-on clamps. What works the best is actually a cut-down CLUBMAN bar, ergo they're now called "CLUB-ON CLIPMAN" bars. Ha-ha. Poor Clip-Man - once the idea catches on, folks are gonna bonk him on the head with 'em.
Hmmm - like my old shop teacher in middle school, who assigned a project of making miniature wooden baseball bats, then named 'em after the class "clown" - more like the BUTT of everybody's jokes. What finally ended it, was my rather progressively minded middle school best-friend, who turned HIS bad with a PENIS head on the end of it. And then everybody else followed suit. And at least, I THINK they stopped using 'em on that poor kid ha-ha. Anyway yeah, I'm just worried that the same thing will happen to poor CLIPMAN if the name catches on!
Was actually thinking for the bike I'm building for my teenage daughter, (LATE teens mind you - she's an adult so it's not all THAT inappropriate, is it ... ???) that if she doesn't make some selections as to bars & ergonomics for her "KZ440LOL" that I'm building, well I might just go ahead and fit some DILDO SLEEVES on the twist grips! Ha-ha. Had a friend in high-school who had one on his stick shift. If nothing else, it kept passengers sitting well away from the controls! Needless to say, it was no longer called a STICK shift now, was it? Ha-ha. So yeah, I figure some veined style bar grips might just sneak by all stealth, if you put 'em together just right - Would be hilarious if it's subtle enough that folks only notice it when they put their hands on the grips! Ha-ha. If nothing else, it'll keep her BOYFRIEND from riding the bike!
AH, but then again - the thing we learned when my first-"wife" worked in an adult store circa early-mid '90s when I was in my mid-late '20s, (to paraphrase Hedwig) all of the so-called "JOKE GIFTS" ultimately wind up getting USED somewhere down the line. Like my progressively-minded middle-school friend, who's rather regressively-minded SMOTHER bought him a blow-up doll for his 13th b-day, well we dressed her up in clothes & parked her in the back seat of the car owned by these two high-school girls, older/young-honeys whom we were double-dating at the time - ostensibly for car-pool lane use, though no such traffic restrictions existed in our province at that time - ANYWAY, young "Nancy" suddenly disappeared - only to be found a year later under the mess under the bed of his younger brother - his two younger brothers who shared a room, with two twin beds parked some three feet away from one another..... YUCK. So yeah, poor Nancy, we had to put her down. Nobody had the heart to "kiss" her again, so he brought her to the gas-station and put her on the tire inflation hose, whereupon she popped and made a bit of a smelly sticky mess in the process. Ha-ha. ANYWAY yeah, maybe it would be funnier if I put the sleeves on her FOOT-PEGS? With studs on the bottoms of some killer disco-KISS style riding boots? Ha-ha.
BAH - I'm way more partial to the "WAFFLE" grips, myself.
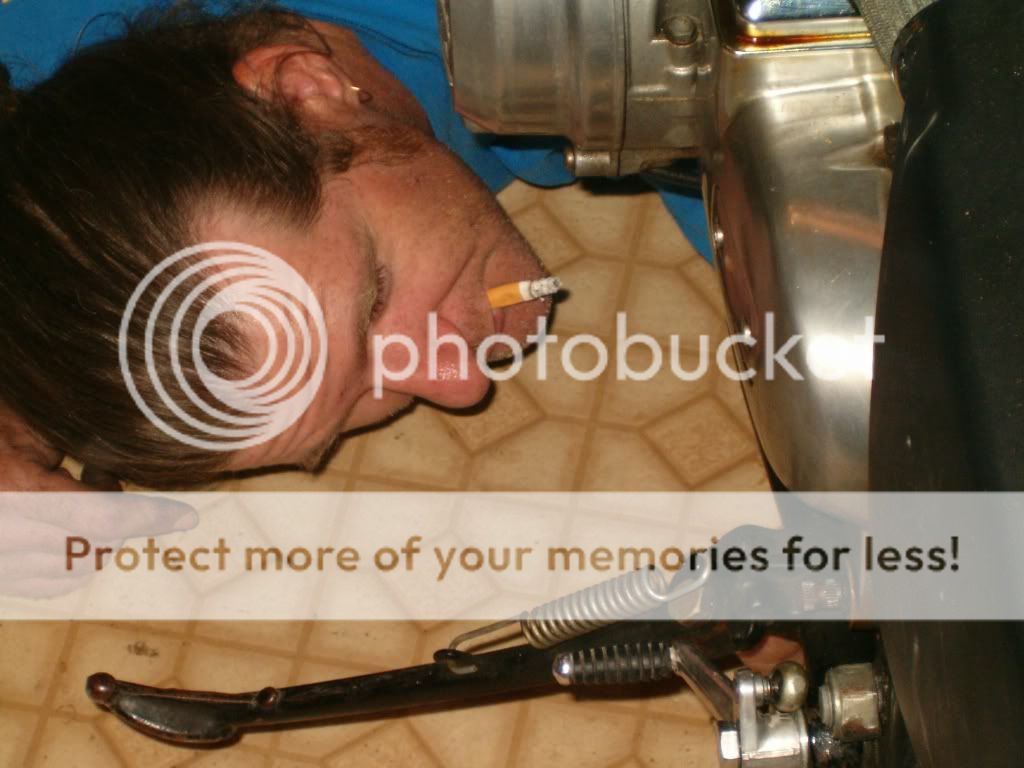
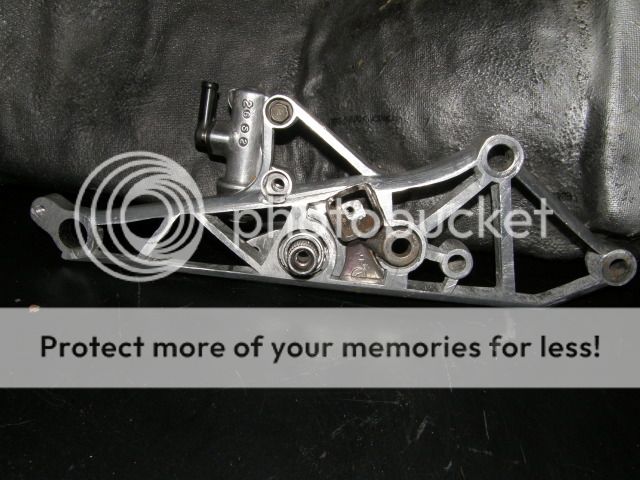
WHATEVER - here's a pic or two of the relocated pivot tube on my DIY lattice plates - pre braze-welding stage only, as I lost my digital camera & laptop etc in the same fire that destroyed the bike projects. Meh - You either laugh, or you cry!
THIS time 'round, I'm gonna do 'em completely differently!