
We noticed you are blocking ads. DO THE TON only works with community supporters. Most are active members of the site with small businesses. Please consider disabling your ad blocking tool and checking out the businesses that help keep our site up and free.
You are using an out of date browser. It may not display this or other websites correctly.
You should upgrade or use an alternative browser.
You should upgrade or use an alternative browser.
Yamaha XS400 Cafe Racer
- Thread starter .Spindat.
- Start date
.Spindat.
Active Member
jasonslackisrad said:Nice build. I ran a VW club in NYC for 10 years. I've had quite a few corrados back in the day.
Thanks. Corrado's were an awesome idea, but could have used a bit more effort in some of the designs haha. I don't run into a lot of the issues other guys do though mostly because I built mine from the shell up. Any problems I encounter with it is all my fault for doing it wrong when putting it together.
M.B Co said:Looks good, nice job on the polishing.
I noticed a few 20 inchers hanging on the wall. Do you ride?
Thanks, it's a lot of work but when it gets put together I won't second guess why i decided to do it to begin with. I've rode bmx forever, even though I'm only 21 I can never see myself giving that up. Too many good people and too much fun. I live in Halifax NS, Canada and this entire province is booming with stuff! Big things coming out of these parts in the coming years!
.Spindat.
Active Member
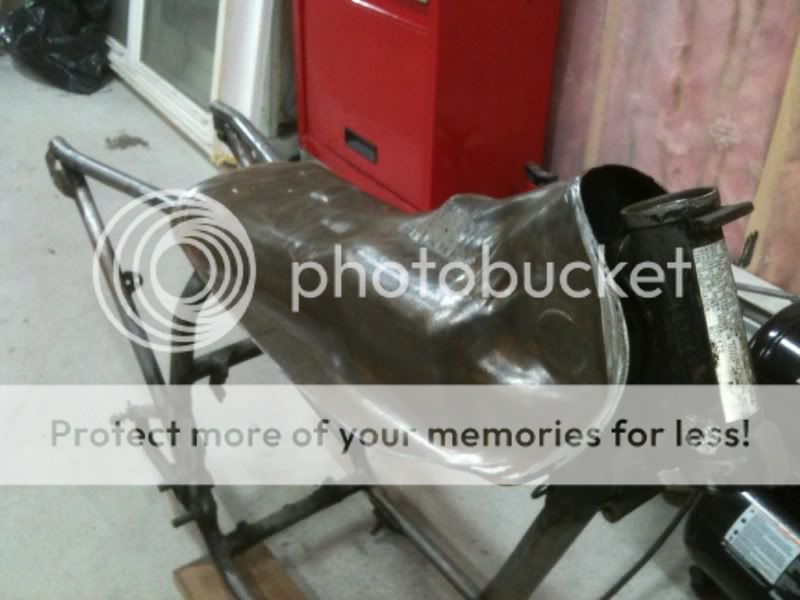
So I'm going to have to get around to to getting some epoxy resin to finally get pumped on starting my tank. Probably order some online as any supplier around here is awful to deal with.
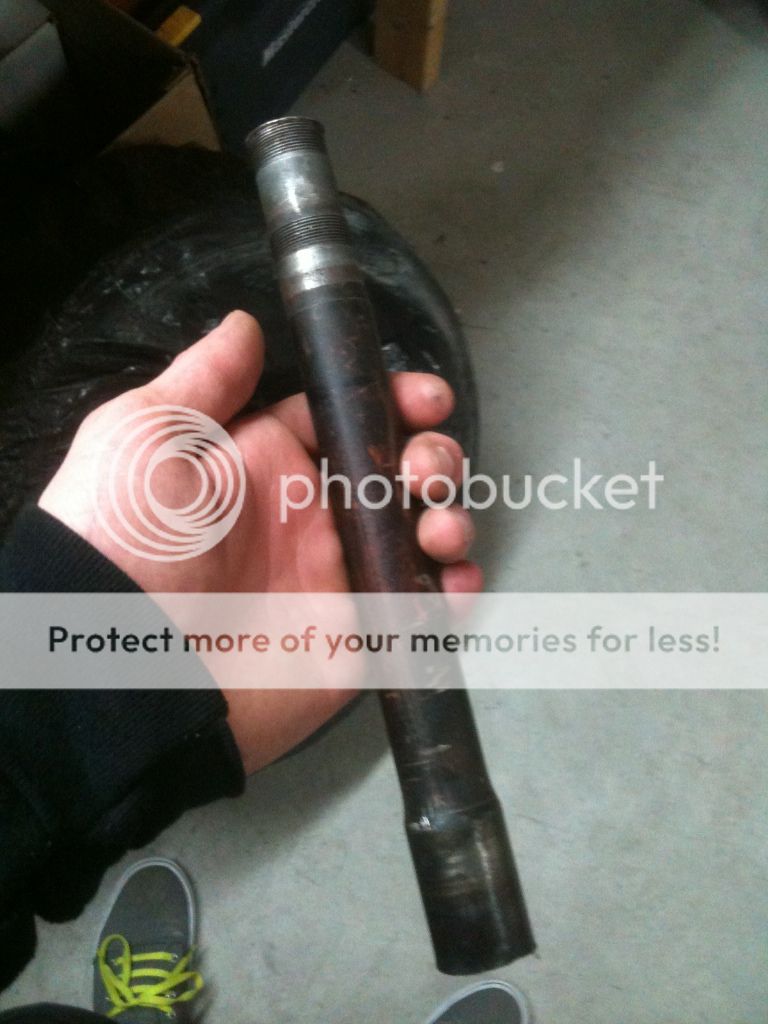
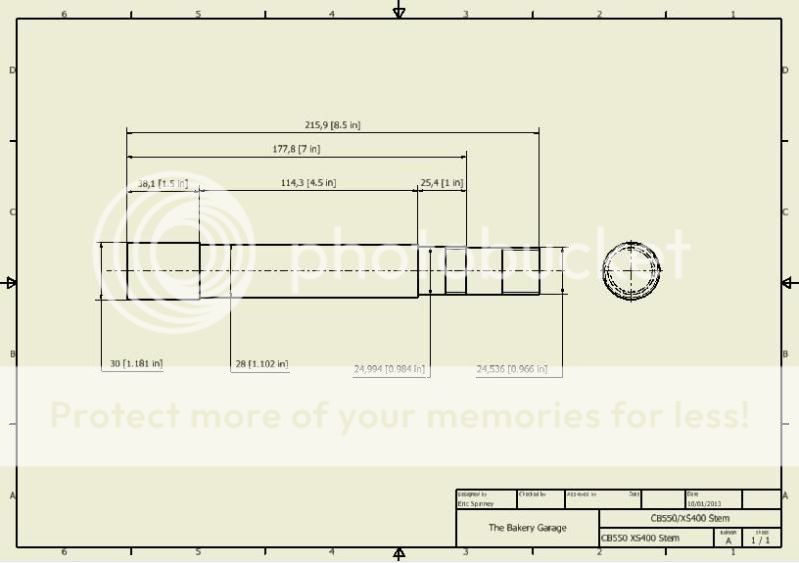
I will be machining the stem tomorrow to work in the XS head tube. Smashing these things is a lot easier than I figured it would be, which was a bit of a relief. Yes the top threads got destroyed, but the stem itself is getting machined to be an inch shorter and new threads are being cut so it's no problem. I modelled the stem in AutoCAD Inventor to make a drawing. Posting it here more just for the fun of it than anything else.
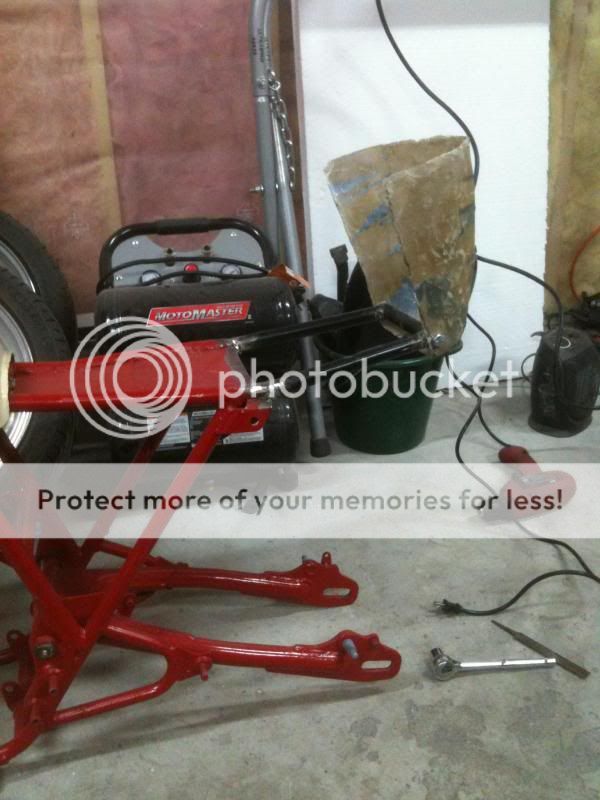
So beyond that, there is the issue with how to mount the battery/seat/hide all the wiring between the seat and...something. Well I've never really welded much before, just a bit of poopy tacks at friends of friends houses. So I figured.. WHY NOT BUY A WELDER AND DO IT ALL MYSELF!? So I did haha, I took the same route everyone else pretty much goes with in just welding plate into the rear subframe will drill mounting spots where needed when required.
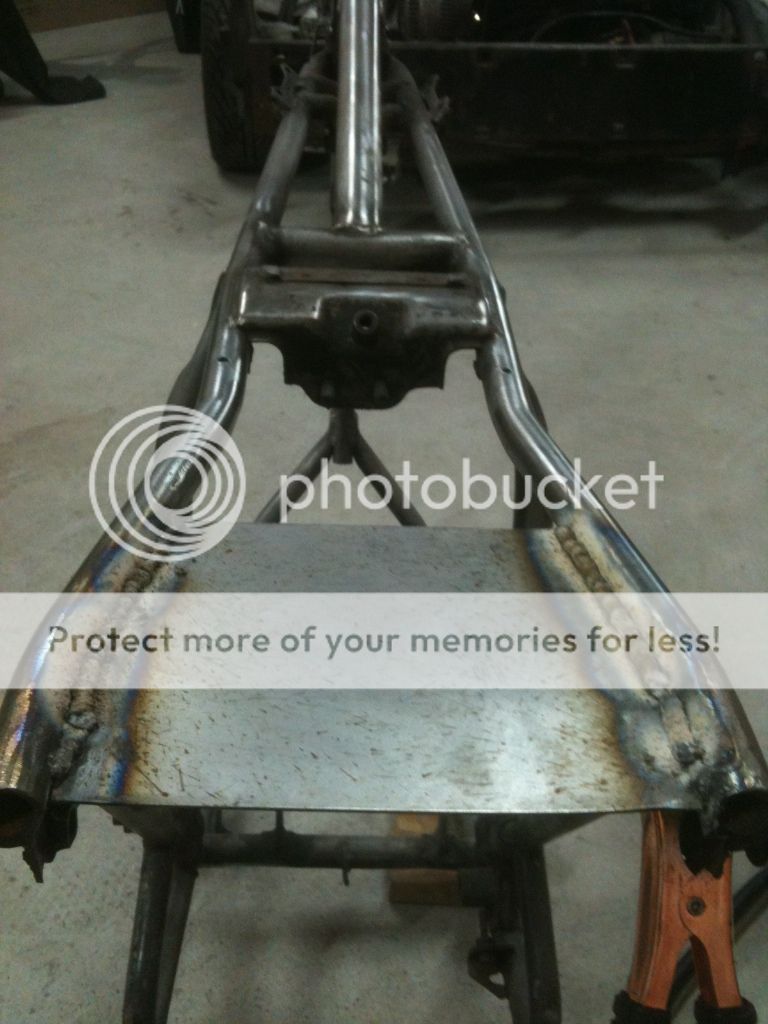
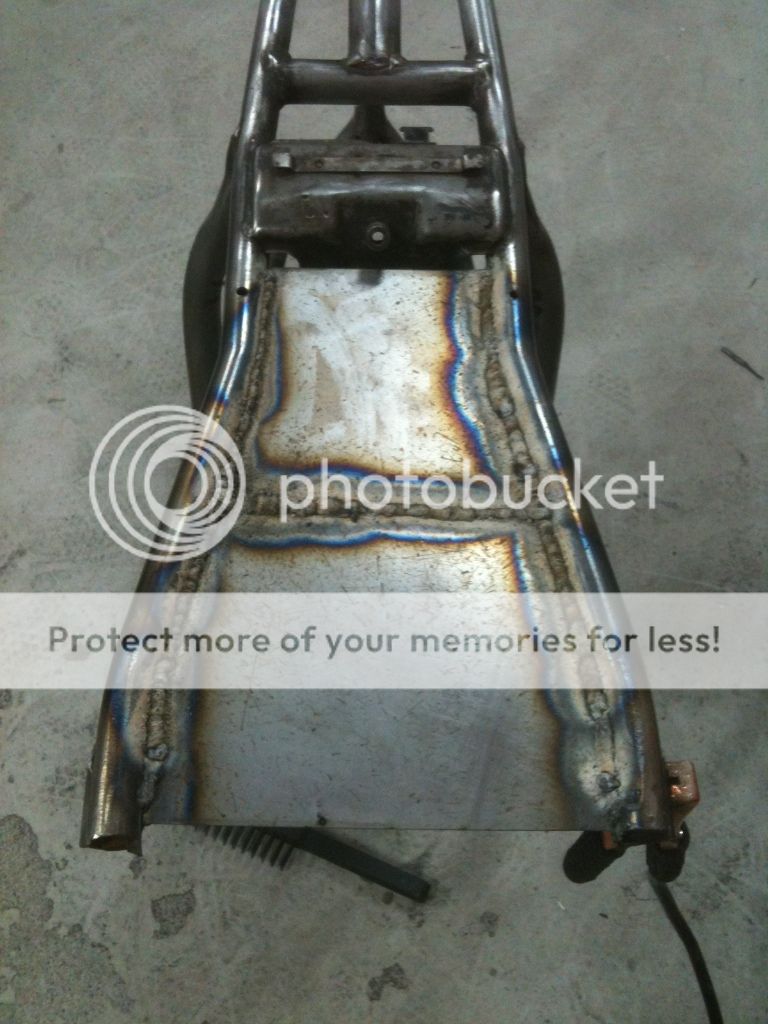
They are in there pretty damn solid! Keep in mind those are my first real welds, I'm still learning and they are going to be ugly as sin for a little while to come.
And an almost passable update is that I started to paint the engine. I orginally had a grand plan to do the bottom end black, the valve cover black and the head/cylinder walls(?) in a stock silver. The black on the bottom to kind of be broken apart by the few polished bits and the silver to add to breaking apart the black. But due to a spray happy hand and bad planning on my part, this is kind of where things went..
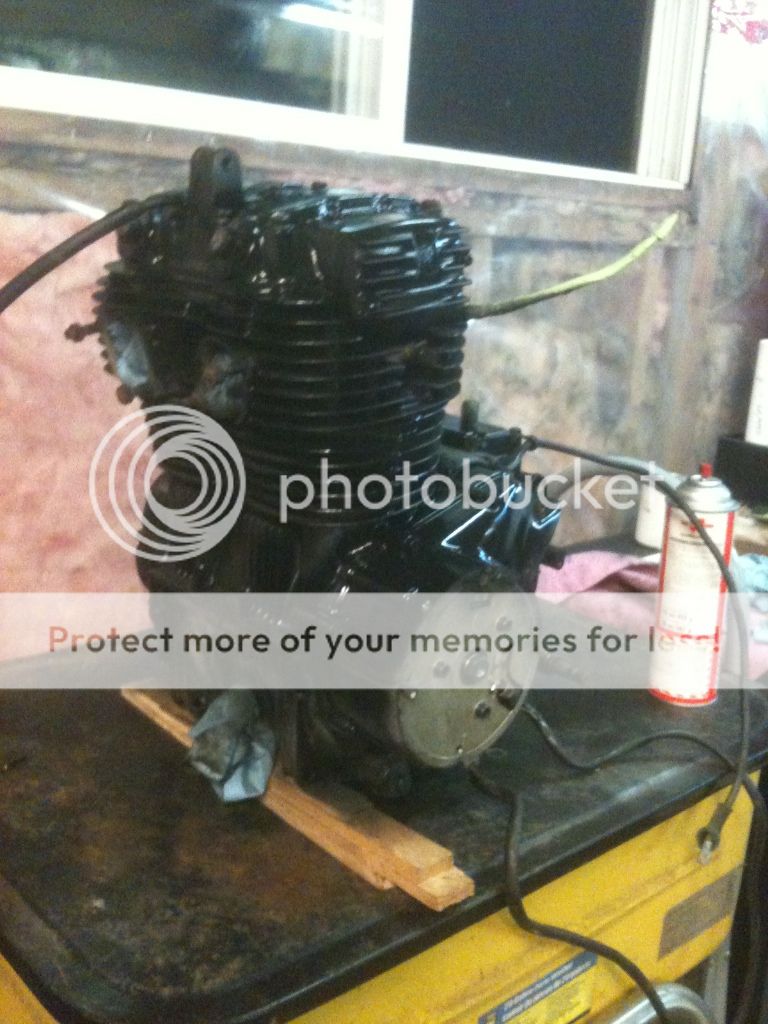
Oh well.. I'll take a file or dremel to the edge of the fins to get a little bit of silver in there. Should be a nice touch. And if not, spraying some more black on it isn't really that hard.
I will be machining the stem tomorrow to work in the XS head tube. Smashing these things is a lot easier than I figured it would be, which was a bit of a relief. Yes the top threads got destroyed, but the stem itself is getting machined to be an inch shorter and new threads are being cut so it's no problem. I modelled the stem in AutoCAD Inventor to make a drawing. Posting it here more just for the fun of it than anything else.
So beyond that, there is the issue with how to mount the battery/seat/hide all the wiring between the seat and...something. Well I've never really welded much before, just a bit of poopy tacks at friends of friends houses. So I figured.. WHY NOT BUY A WELDER AND DO IT ALL MYSELF!? So I did haha, I took the same route everyone else pretty much goes with in just welding plate into the rear subframe will drill mounting spots where needed when required.
They are in there pretty damn solid! Keep in mind those are my first real welds, I'm still learning and they are going to be ugly as sin for a little while to come.
And an almost passable update is that I started to paint the engine. I orginally had a grand plan to do the bottom end black, the valve cover black and the head/cylinder walls(?) in a stock silver. The black on the bottom to kind of be broken apart by the few polished bits and the silver to add to breaking apart the black. But due to a spray happy hand and bad planning on my part, this is kind of where things went..
Oh well.. I'll take a file or dremel to the edge of the fins to get a little bit of silver in there. Should be a nice touch. And if not, spraying some more black on it isn't really that hard.
.Spindat.
Active Member
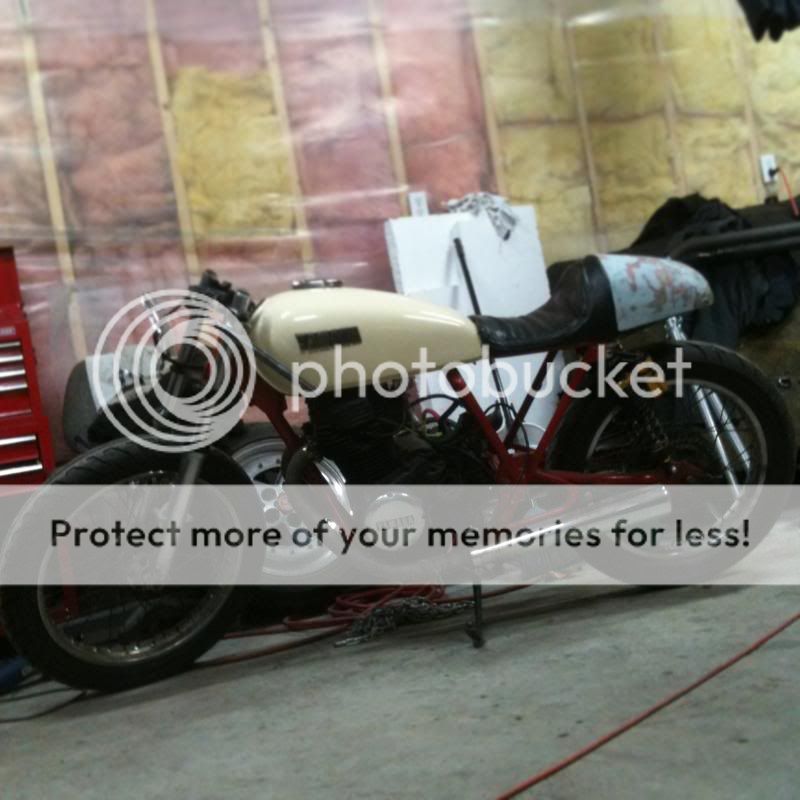
So I was out to finish the paint on the engine today just to get motivated about getting the frame done and painted so I can start getting it back to a roller! I'm actually impressed with how the non painted parts work with all the black.
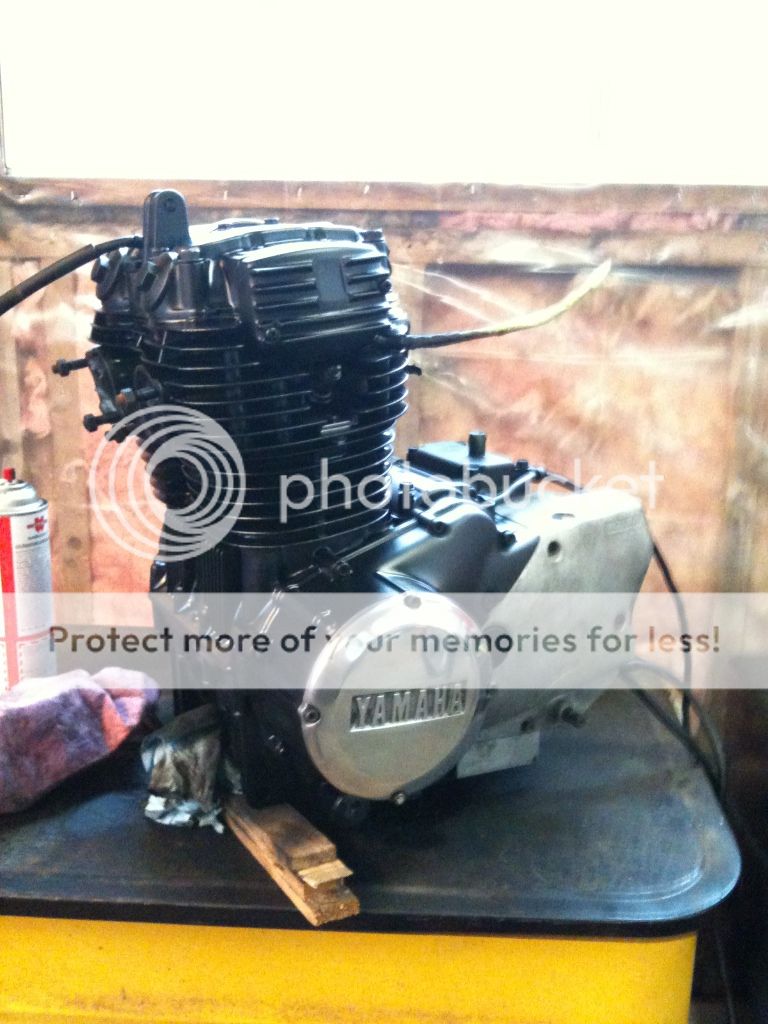
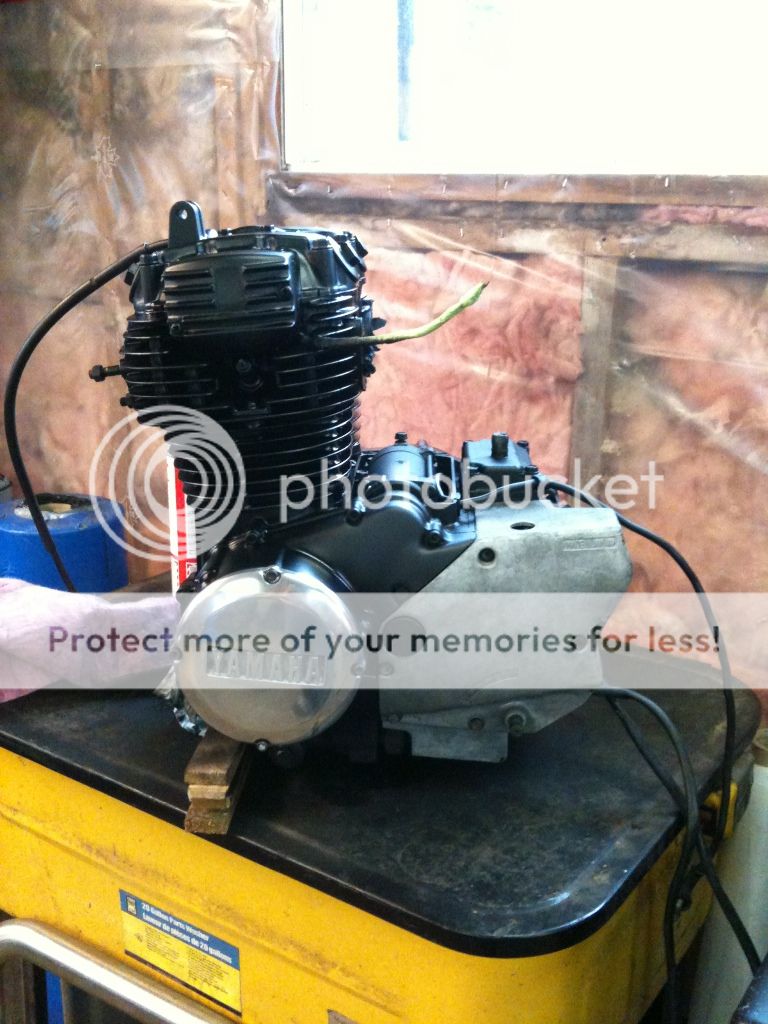
I'll polish the sprocket cover the same as the timing cover. It will look pretty.
I'm also unhappy with my seat. It looks off.. so I got some foam and will start shaping again. Similar idea with the indents and whatnot, just not so damn tall.
I'll polish the sprocket cover the same as the timing cover. It will look pretty.
I'm also unhappy with my seat. It looks off.. so I got some foam and will start shaping again. Similar idea with the indents and whatnot, just not so damn tall.
.Spindat.
Active Member
Hi..
Plenty to update on this one, follow along..
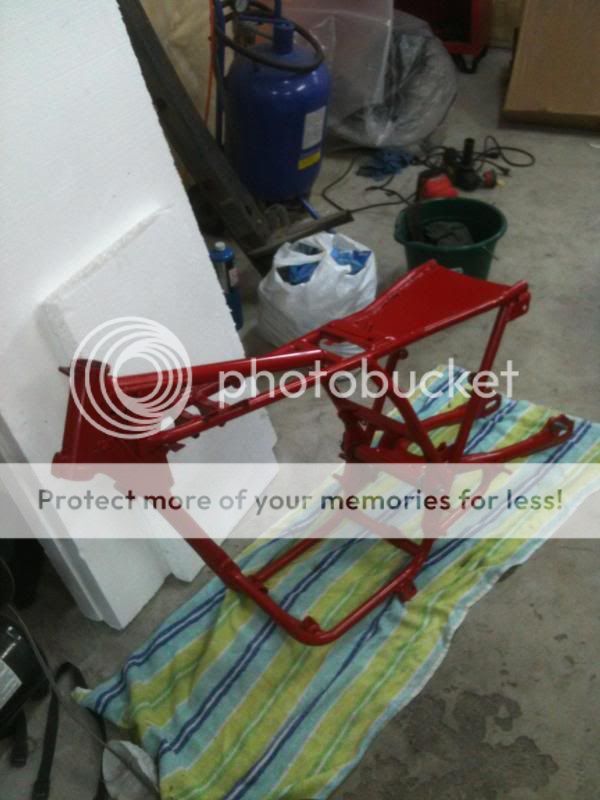
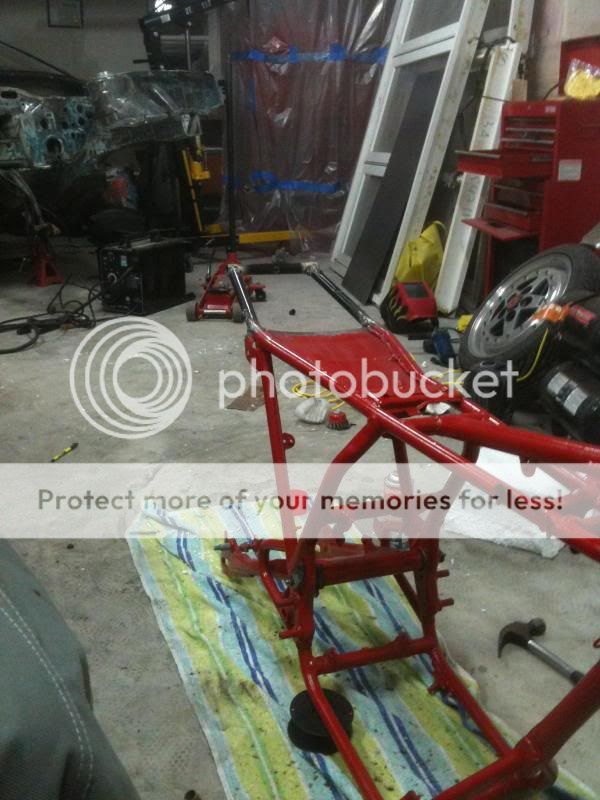
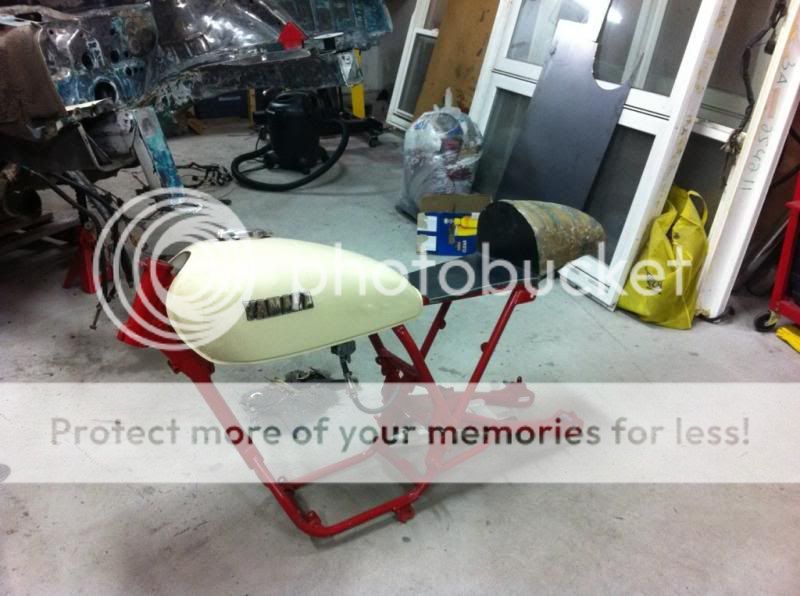
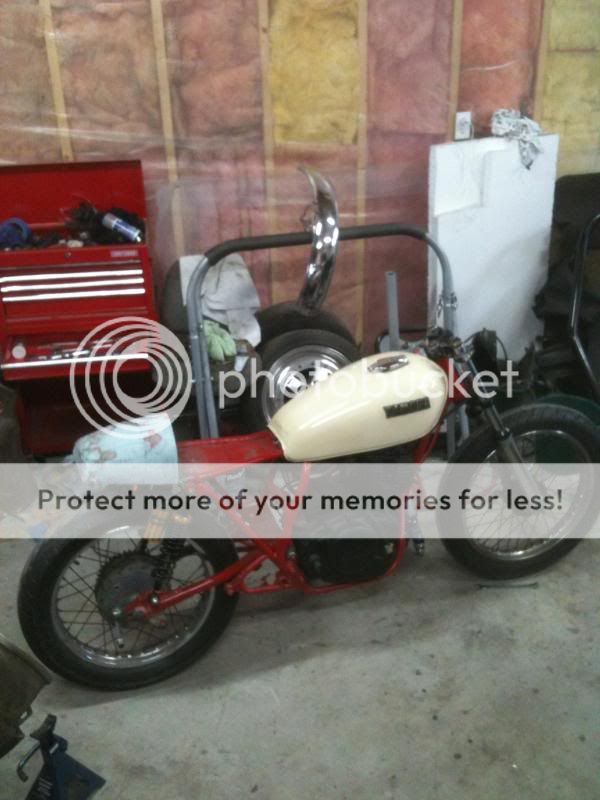
So the frame got painted fire engine red;
Before I decided I wanted to change the tail section design.. of course.
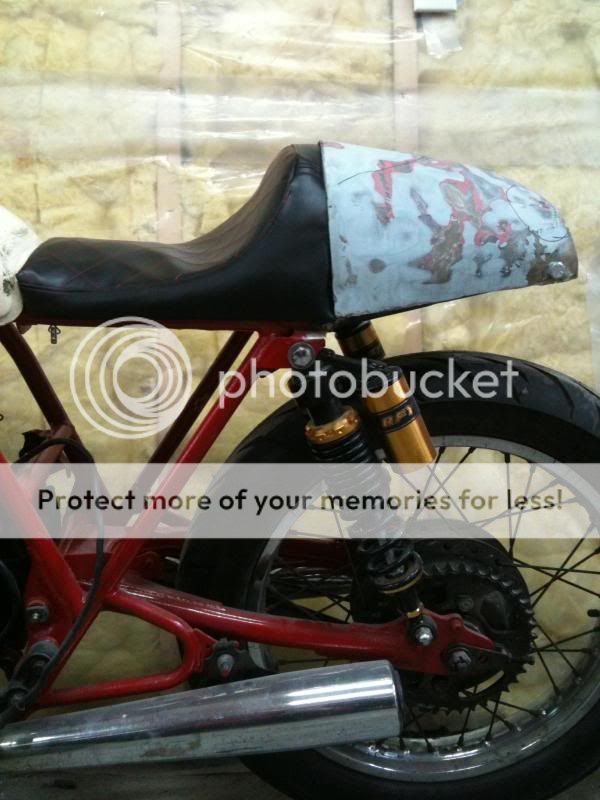
But for good reason as I had a great idea in mind for my rear seat cowl:

Gives me plenty of space to conceal all electrical goodies.
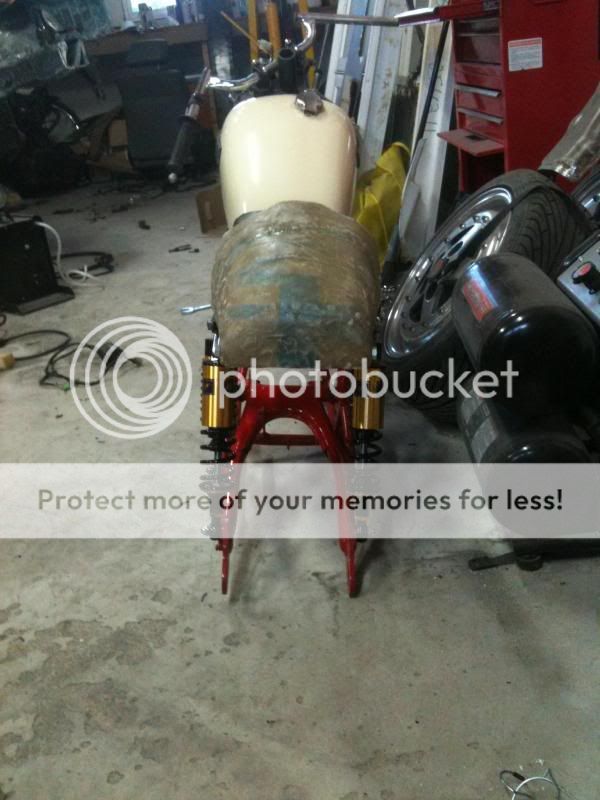
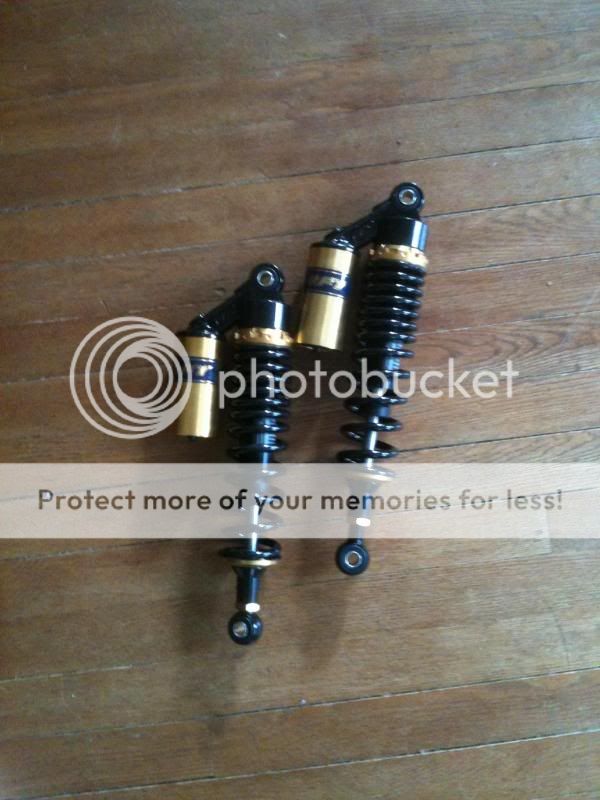
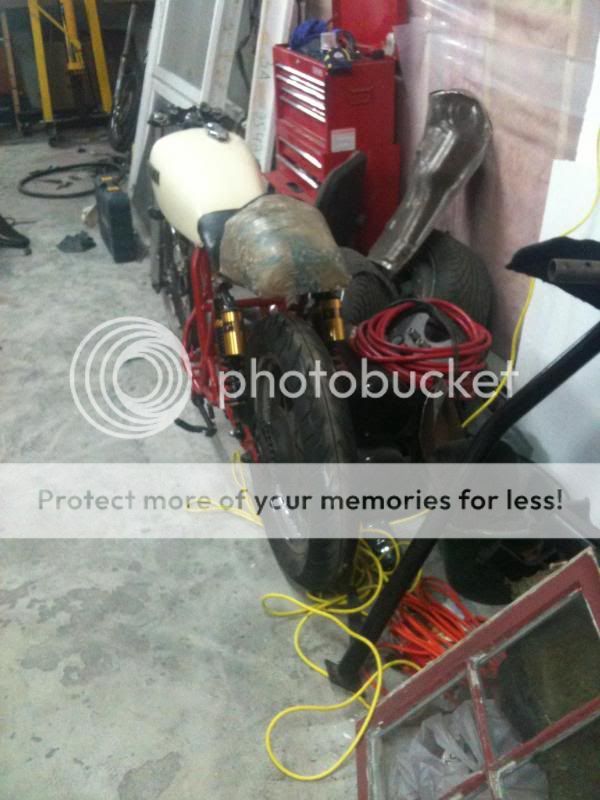
I ordered a set of nitrogen rear shocks to keep up with the beefy CB550 front end that would be going on:
I made a seat pan that I will eventually need to upholster, so that'll turn out like shit..
At least its a seat cover.. it sucks though.
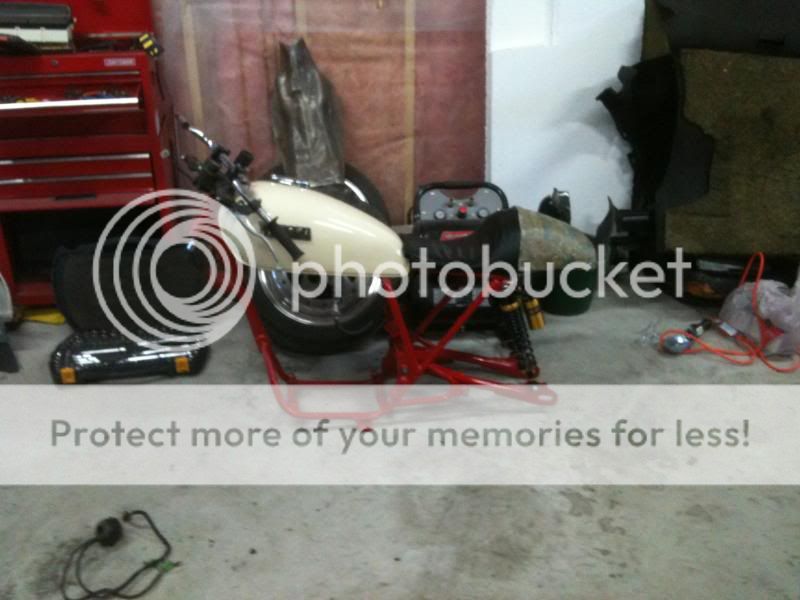
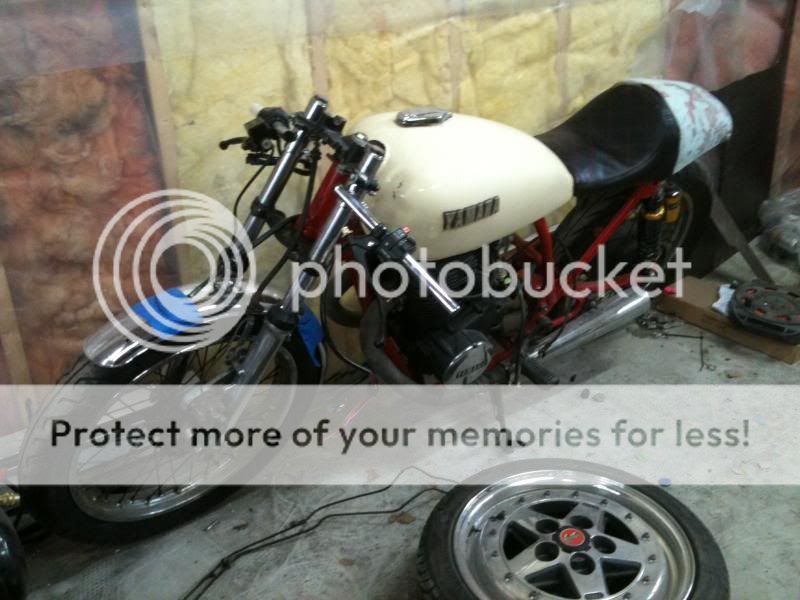
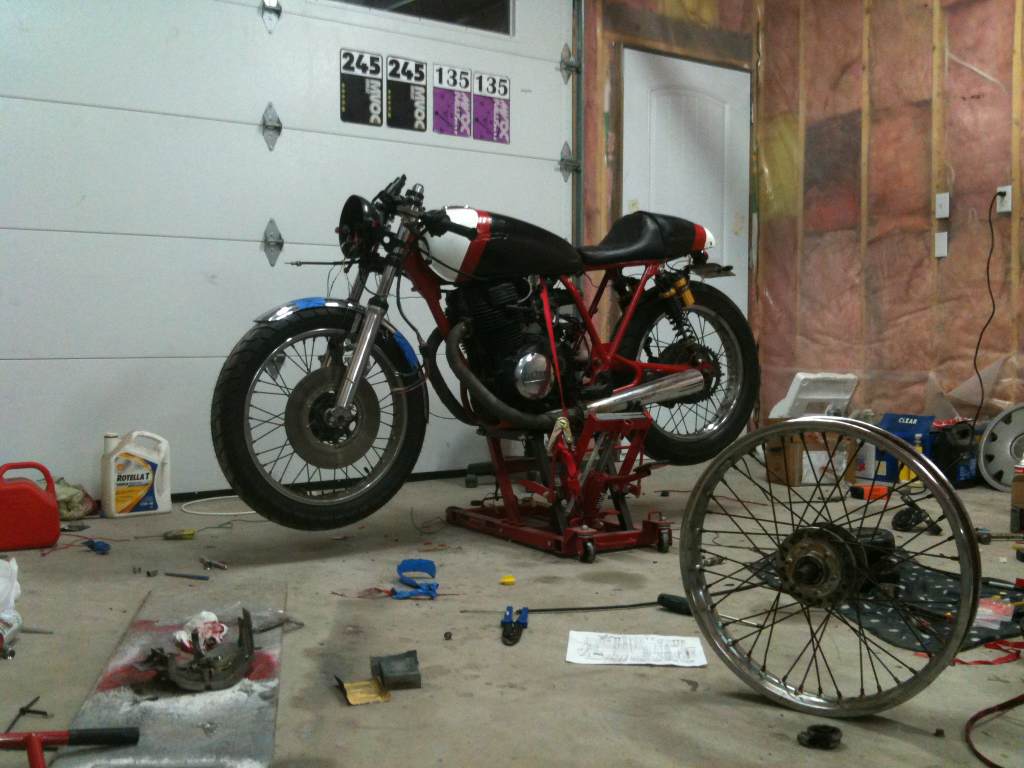
With the stem finally back from machining I mated the trees back together and welded as required. This step took the longest out of all of them but I now have a roller again:


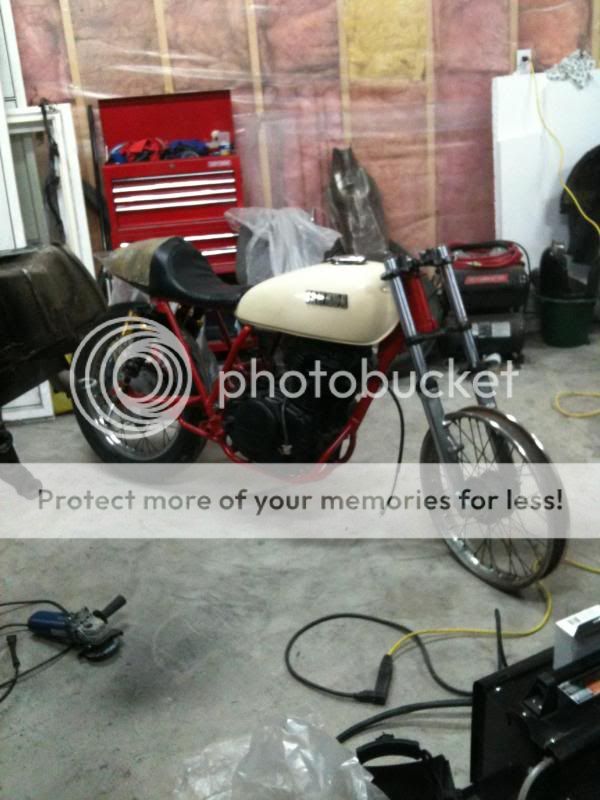
Few other parts arrived:
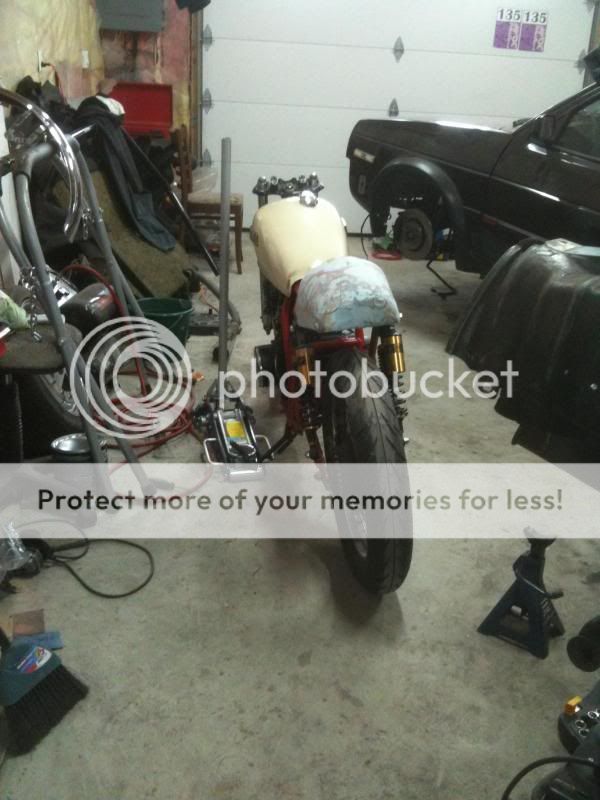
Looks like a dirtbike and I hate its stance. Ass needs to get up and face needs to come down:
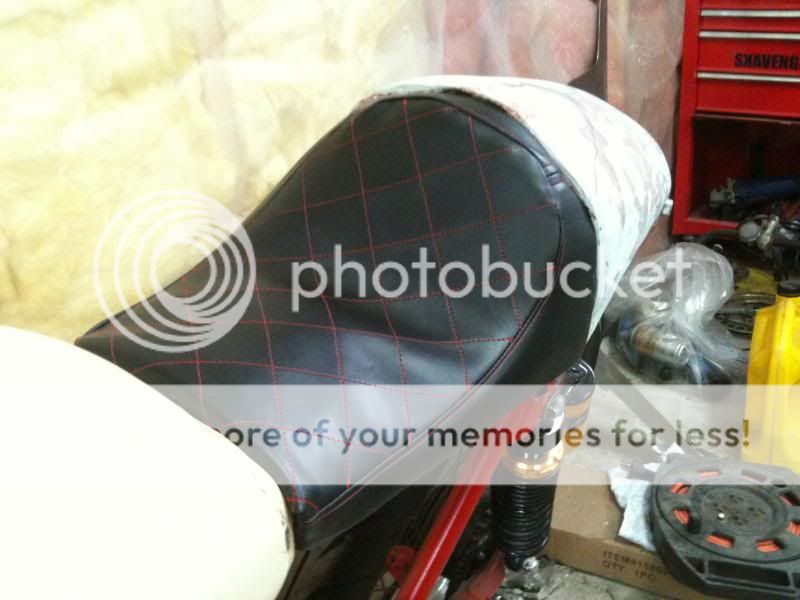
So I added a french seam around my seat cover to increase the strength, but at this point I have a pretty good handle with upholstery, so I had to make something better to showcase my skills.
Before

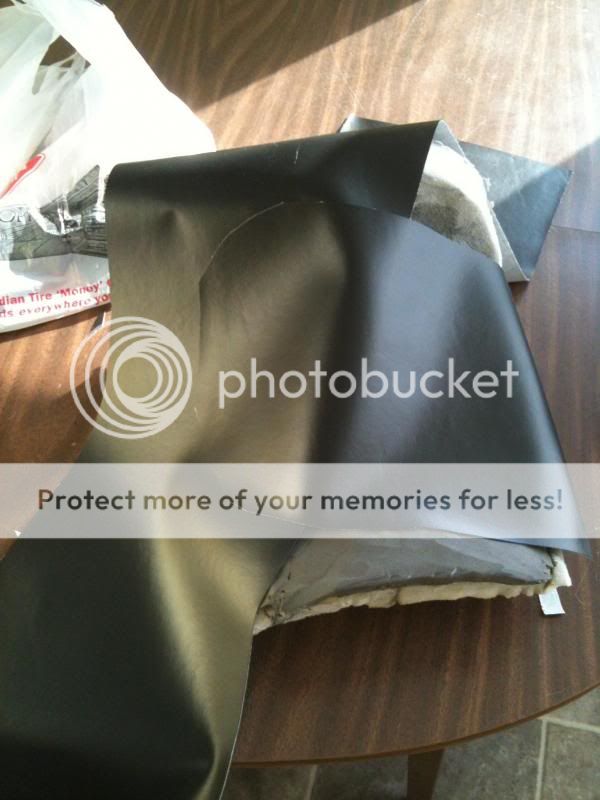
Cutting the facing and boxing material:
After:
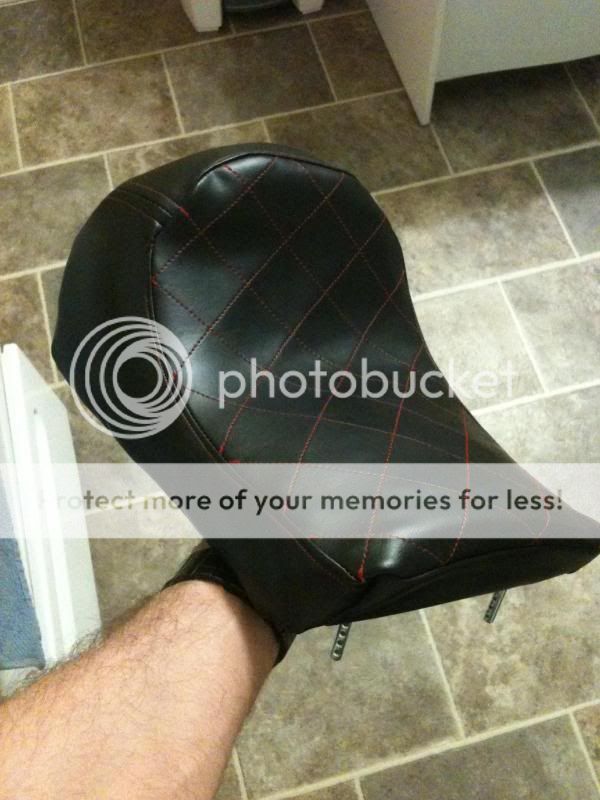
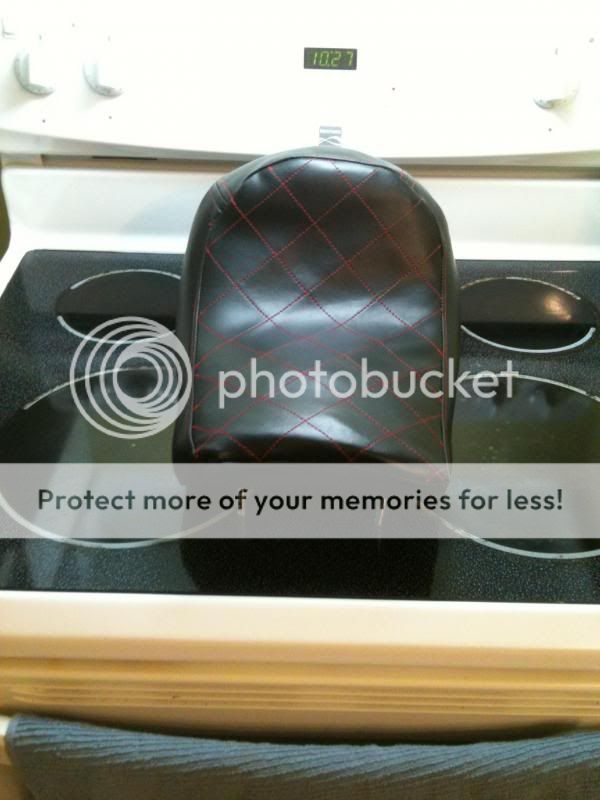
(still not a professional job, but I need to get my hands on an industrial machine to get through the thicker layers of stuff, and work on making marks so things line up proper.. happy for now.)
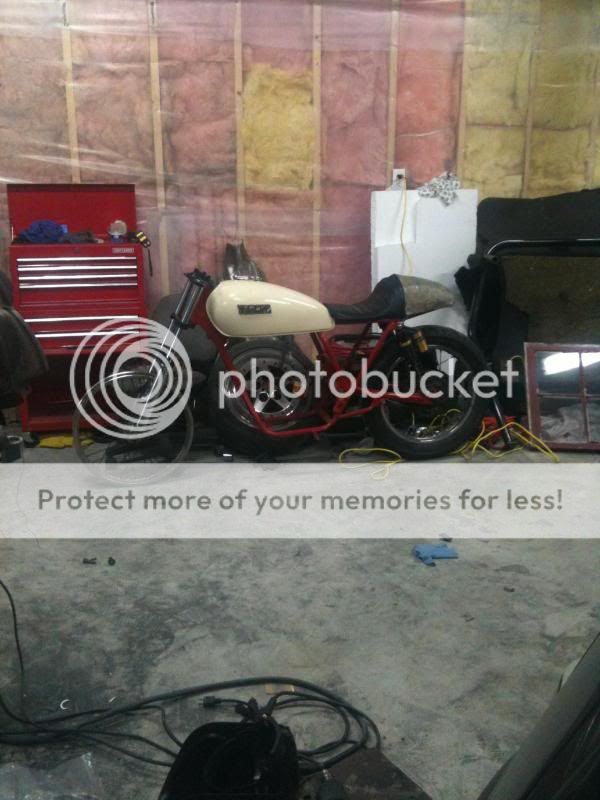
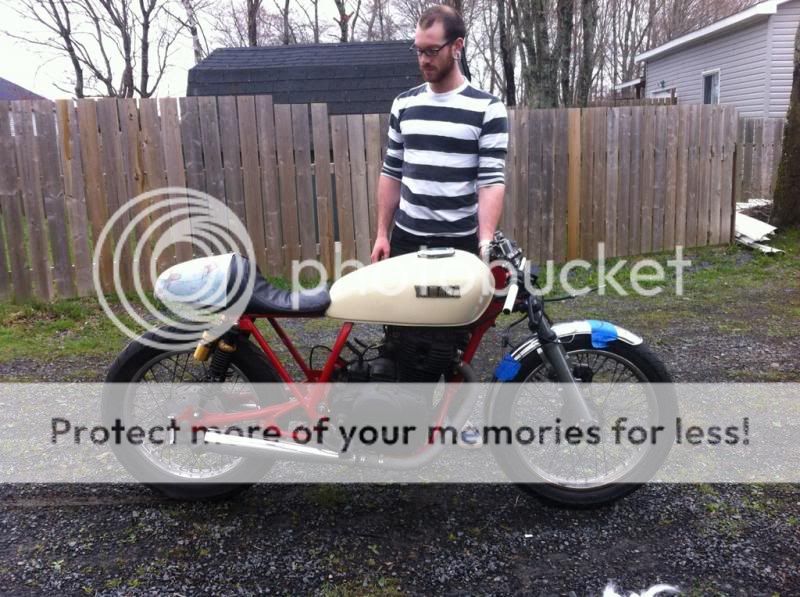
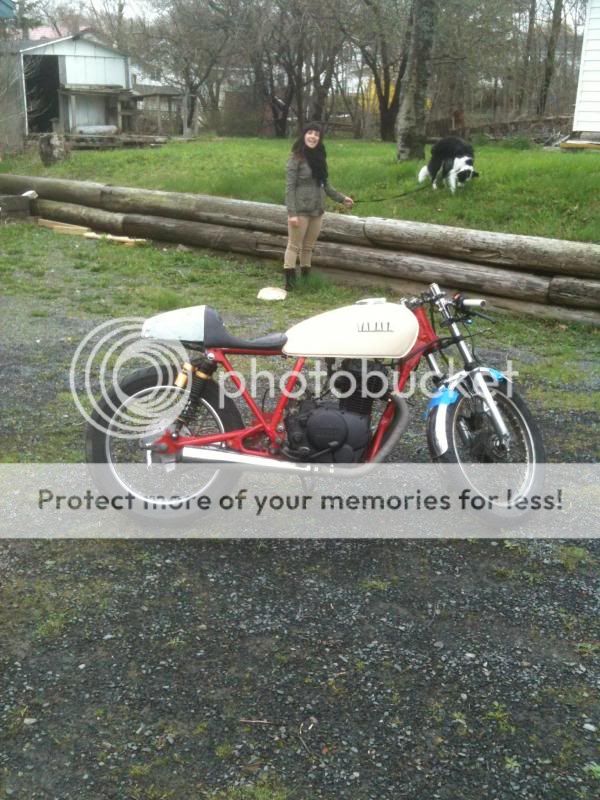
Installed (and where the bike sits today):
Plenty to update on this one, follow along..
So the frame got painted fire engine red;

Before I decided I wanted to change the tail section design.. of course.

But for good reason as I had a great idea in mind for my rear seat cowl:


Gives me plenty of space to conceal all electrical goodies.
I ordered a set of nitrogen rear shocks to keep up with the beefy CB550 front end that would be going on:

I made a seat pan that I will eventually need to upholster, so that'll turn out like shit..

At least its a seat cover.. it sucks though.

With the stem finally back from machining I mated the trees back together and welded as required. This step took the longest out of all of them but I now have a roller again:


Few other parts arrived:


Looks like a dirtbike and I hate its stance. Ass needs to get up and face needs to come down:


So I added a french seam around my seat cover to increase the strength, but at this point I have a pretty good handle with upholstery, so I had to make something better to showcase my skills.
Before

Cutting the facing and boxing material:

After:


(still not a professional job, but I need to get my hands on an industrial machine to get through the thicker layers of stuff, and work on making marks so things line up proper.. happy for now.)
Installed (and where the bike sits today):


.Spindat.
Active Member
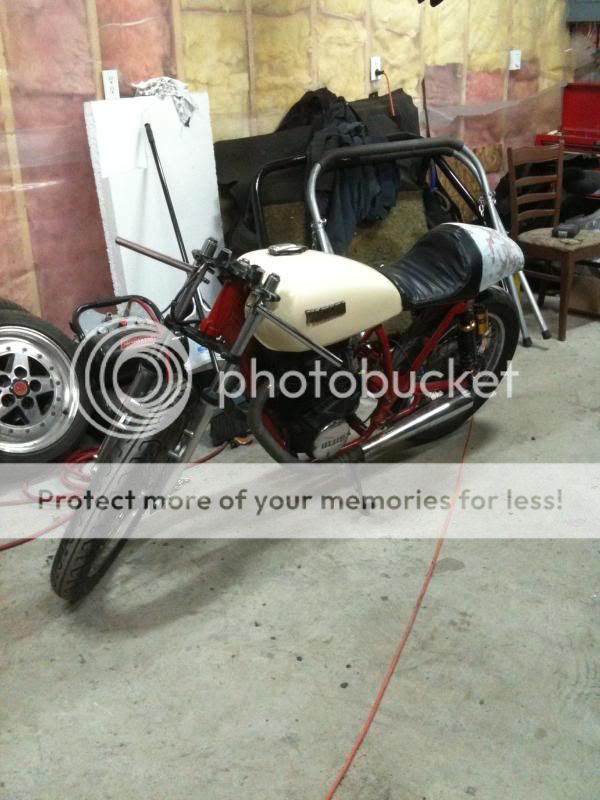
Another yawn inspiring update to my POS.
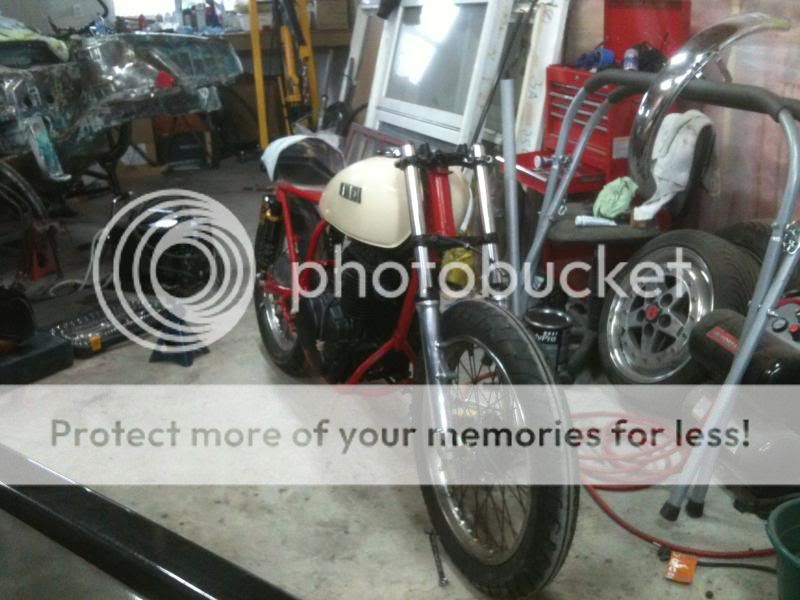
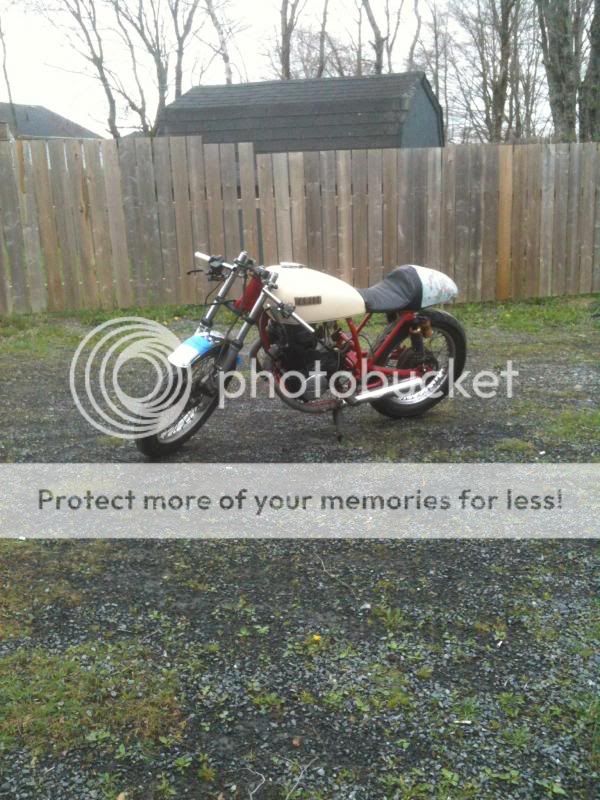
I quickly fabricated a plate and light mount, I don't like the size of the taillight but it will have to do for the time being.
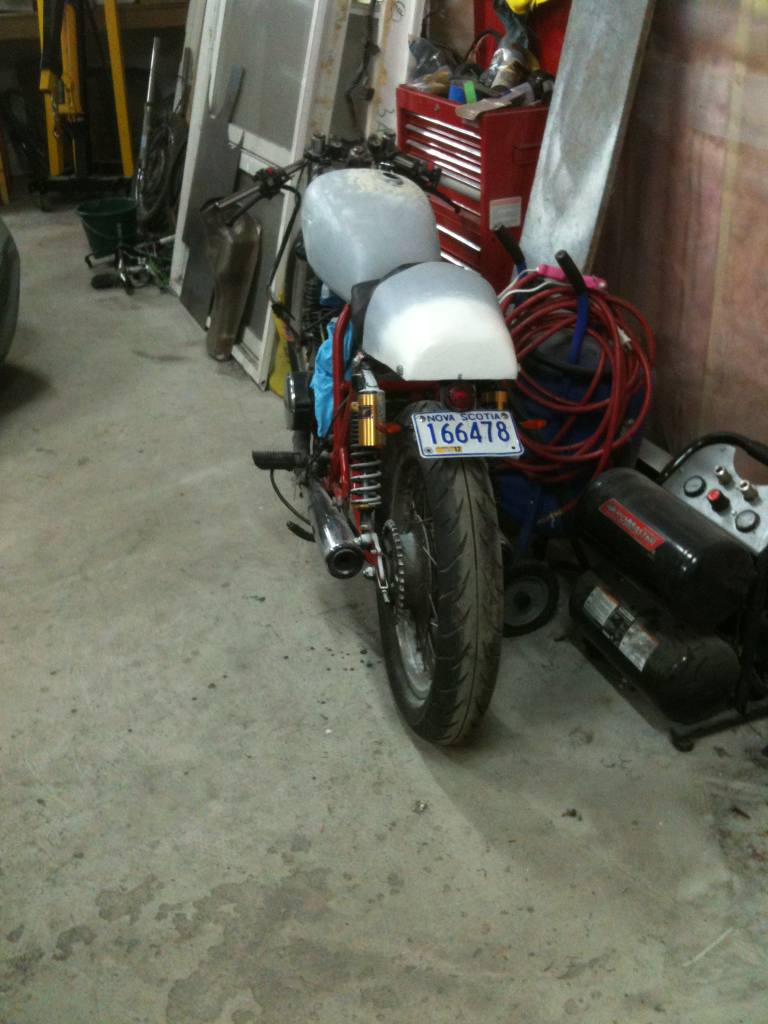
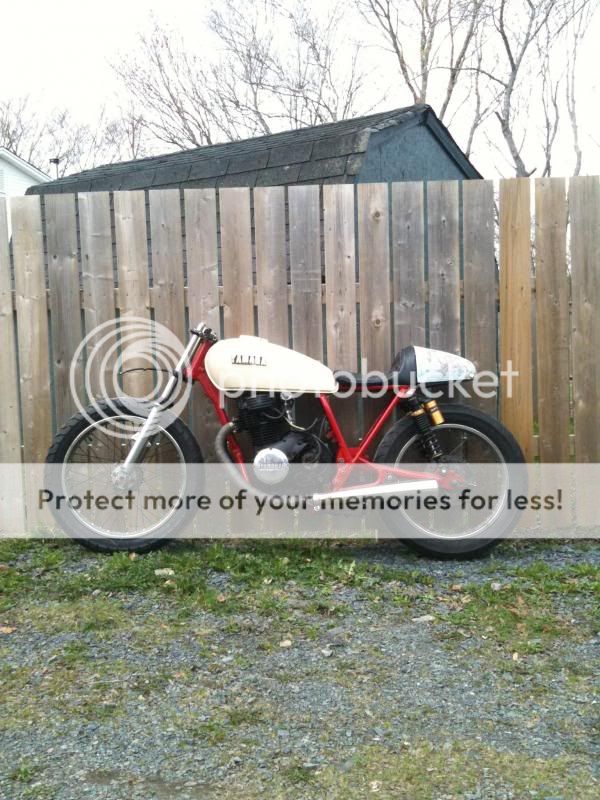
I really like the way the CB front end beefs up the look of this tiny thing, I'm happy I did the swap.

At this time I'm struggling with building a new harness from scratch and it's beginning to get a little "hacked". It's the best way I can think to learn the 12v systems though, eventually I'll have it all figured out with everyone on here's help.

I quickly fabricated a plate and light mount, I don't like the size of the taillight but it will have to do for the time being.
I really like the way the CB front end beefs up the look of this tiny thing, I'm happy I did the swap.
At this time I'm struggling with building a new harness from scratch and it's beginning to get a little "hacked". It's the best way I can think to learn the 12v systems though, eventually I'll have it all figured out with everyone on here's help.
Attachments

.Spindat.
Active Member
Rich Ard said:Very much digging the paint.
Thanks! I love the way it turned out, I think next iteration of the build will include an actual powder coat of the frame after I'm done what I have planned, and have the same or very similar paint done professionally.
.Spindat.
Active Member
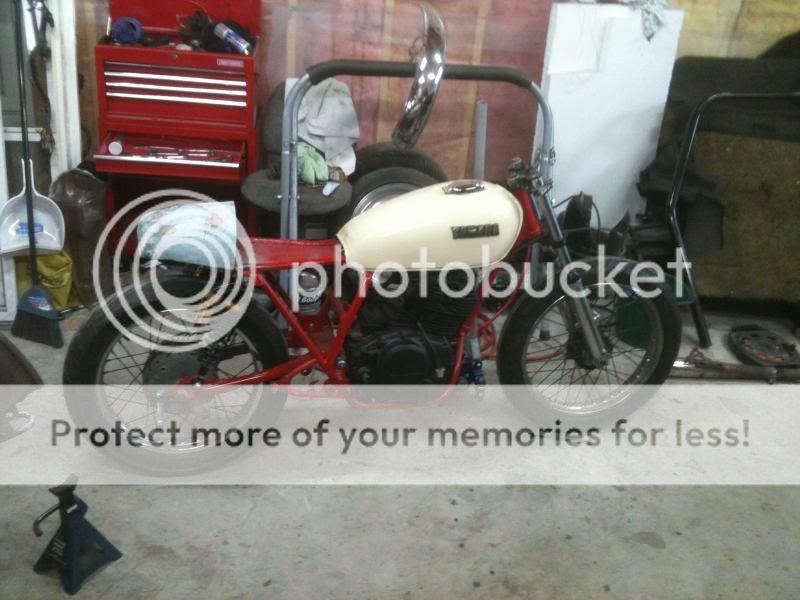
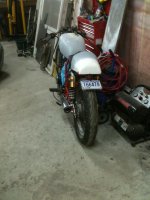
So here is an update of this build, I've been able to ride it up and down the driveway just to scratch the itch, but without a front brake and a little more work to do, I don't want to get too side tracked with thinking its "done"


I know no one really looks in here but hopefully some "new" builders see this as a learn from my mistakes;
A friend dropped of the forks/wheels/Caliper/fender for my cb550/750? Swap and was fairly certain it was from a 750. Going off that information I got a 750 rotor from the same friend and went to put it together excited as hell!

Well, that answers whether it was 550 or 750. I need a 550 rotor and I should be back on track. Or hell I could run a 750 caliper/bracket, pretty sure my caliper is ruined by now anyway. The bleeder was broken and we had to drill and tap it out and I have no confidence in it not leaking. Opinions welcome.
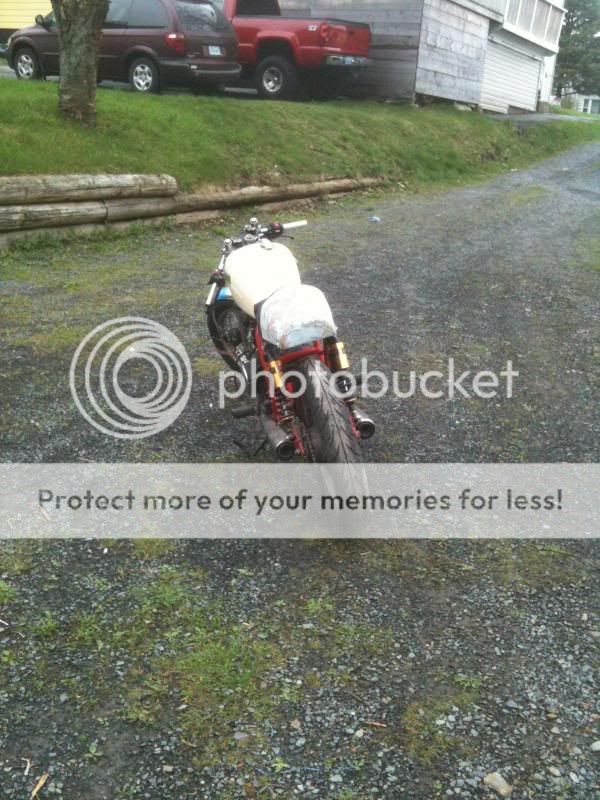
Here is a few other pictures because I love them.


I know no one really looks in here but hopefully some "new" builders see this as a learn from my mistakes;
A friend dropped of the forks/wheels/Caliper/fender for my cb550/750? Swap and was fairly certain it was from a 750. Going off that information I got a 750 rotor from the same friend and went to put it together excited as hell!
Well, that answers whether it was 550 or 750. I need a 550 rotor and I should be back on track. Or hell I could run a 750 caliper/bracket, pretty sure my caliper is ruined by now anyway. The bleeder was broken and we had to drill and tap it out and I have no confidence in it not leaking. Opinions welcome.
Here is a few other pictures because I love them.
.Spindat.
Active Member
It's been a really long time since I have bothered to update anything on here. More or less due to a lack of interest in my build and lack of anything really cool happening with it to keep anyone interested in it anyway.
However lately I actually have a good update to share!


Most of the pictures really do the talking here. All issues with the brakes are dealt with, a new calliper and pads got put on. After that, some cobwebs that required working out while riding it again were addressed along with lots of tuning to get it running properly again.
I ordered lots of stuff to change it completely once again over this winter.
It'll get a;
CJ360 Tank
DCC Seat
Subframe
Stainless Exhaust
Muffler
Fox Podium R dual shocks (which I couldn't wait to try)
Finally get around to putting pod filters on.
Anyway. Enjoy. Or don't! I don't care!
Sent from my iPhone using Tapatalk
However lately I actually have a good update to share!
Most of the pictures really do the talking here. All issues with the brakes are dealt with, a new calliper and pads got put on. After that, some cobwebs that required working out while riding it again were addressed along with lots of tuning to get it running properly again.
I ordered lots of stuff to change it completely once again over this winter.
It'll get a;
CJ360 Tank
DCC Seat
Subframe
Stainless Exhaust
Muffler
Fox Podium R dual shocks (which I couldn't wait to try)
Finally get around to putting pod filters on.
Anyway. Enjoy. Or don't! I don't care!
Sent from my iPhone using Tapatalk
I know that this is an old thread, but how did that DCC seat look on the bike? I just bought that seat for a Guzzi project and just bought a XS400 for the wife.


