framework

mysta2

Over 1,000 Posts
DTT BOTM WINNER
So I've been working on 69's frame for the last few days, removing stuff, and it's becoming time to start adding new parts. The first frame I did was for Loudbike and I wasn't really interested in stiffening it up all that much because I just wanted it to feel somewhat original. I did the same thing with the motor (balanced and blueprinted but no improvements really) With 69 though I want to go all out, I want to shave all the fat out of the motor and stiffen the frame as much as I can.

What do you all know about tightening a 360 frame?

frame052.jpg

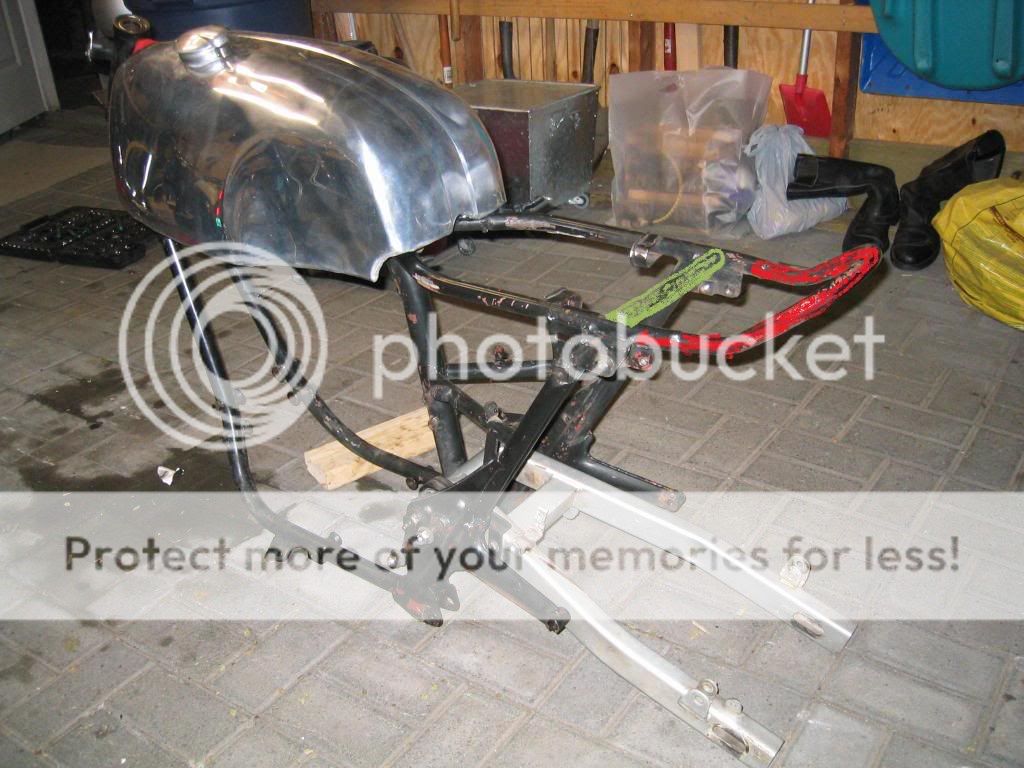
(this is Loudbike's frame, 69's is the same but without the pillion peg mounts)
 
Shoot, that garage looks like a clean-room at Intel! I don't know anything about stiffening frames however :(
 
Well excuuuuuuuuse me! Still cleaner than any paint booth I'd have :D
 
OK... not your garage... I hope not... otherwise you just became the official headquarters ;D

While I don't know anything about that frame... triangulation is the key word... as many corner gussets (tubular or thick sheet) as you can weld in without making removing the engine impossible.
 
Nope that's in the shop here at work. I do think it would be funny though if the official headquarters for a group of Canadian bikers was in Dallas Texas, you're welcome to come down :)

I ran across this page a long time ago:

http://www.eurospares.com/framemod.htm

Good info, but I want pictures and more info on utilizing the motor as a stressed member and the brace that I see a lot of people putting across the rear tubes.

Maybe something like this:
modification%20notes.jpg

The nearly straight tube across the back bars (not the 180 bend) is one I see a lot, but don't quite understand.

I'd love to do something like Team Incompletes airhead:
frame1.jpeg


but the 360 has 2 mounts right at the front lower corner.
 
That rear bent tube you added won't do too much. I'd keep it if you need it to support a seat or some other aesthetic reason. I think if you really wanted to go all the way, you could build a jig that holds the bike in place, including the neck. Then, chop it from the middle of the down tube throught the backbone. You have the tools, so you could spin up a new neck, then weld in some DOM tube for a new backbone, down tube and the neck. The jig will hold it all in place.

I could help build/weld the jig, and I could help tack weld everything up. I'd be comfortable welding in the backbone and the downtube, but the neck should really be TIGed (I know a great guy if interested).

Personally, I'd buy a very cheap frame with no title off eBay. We could experiment with that. if it works, perfect; you can stamp your titled VIN number on the neck and destroy the old frame. If it doesn't work as well as you'd like, well, you have a good spare.

I'd love to help. Let me know.

--Chris
 
So you guys seem to know your frames and bracing - let me ask a question.

I have an XS650 frame. The seating area has the closed rounded loop like the suggested addition to your frame above. However, there is no bracing across between the upper shock mount areas like you have in place.

If I cut out the closed loop - i.e. cut the tubes - should I add a straight box or round tube between the upper shock mounting areas? Will it help any? I need to remove the loop to make room for my seat.

I'll get a pic up shortly.
 
So here you can see the part of the frame I want to get rid of and the bracing I think might be warranted.

XS6502005-5.jpg
 
Yeah, at a minimum, there should be some sort of bracing there. I personally don't like to rely on a bent tube for structural rigidity because a bent tube is already pre loaded and acts as a big spring. Obviously, if it is made out of wide enough or thick enough tube, this won't be a problem, but it is so much easier just to add a straight tube.

Bracing under the seat should stiffen it up quite a bit too. A big X our of 3/4" (or maybe even 1/2") tube should work well. I used structural rivets and aluminum to do the same thing. The key with my method is to use the right rivets, space them properly and use the right aluminum.

Also, well, I just did a picture. The blue lines will really stiffen the frame up. The green lines will help too, but might begin to detract from whatever 'look' you're after. The pink lines are a luxury, but will go miles in stiffening up the frame. Just some thoughts...

Kit1.png
 
Back
Top Bottom