Follow along with the video below to see how to install our site as a web app on your home screen.
Note: This feature currently requires accessing the site using the built-in Safari browser.
We noticed you are blocking ads. DO THE TON only works with community supporters. Most are active members of the site with small businesses. Please consider disabling your ad blocking tool and checking out the businesses that help keep our site up and free.
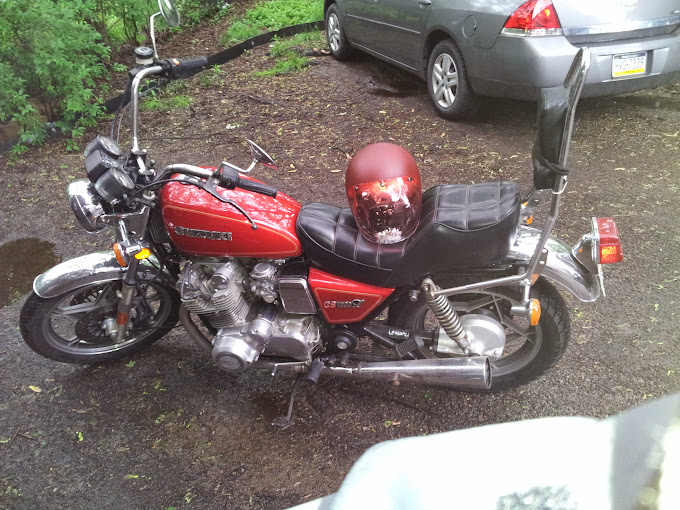
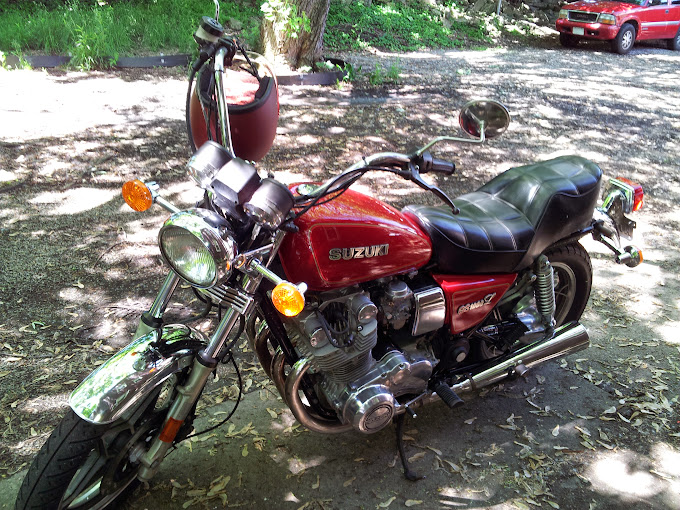
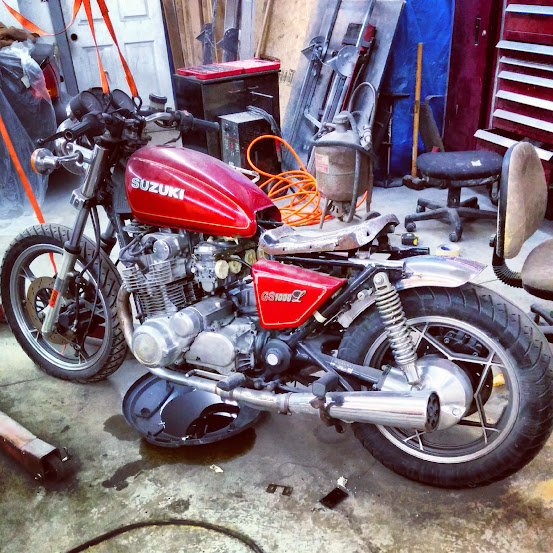
I picked up this bike last year in really great condition. I road it for the rest of the year with nothing but new handle bars. I didn't really have a game plan, but I knew that I thought the rear end was super saggy, and the seat needed to go. I also wasn't a big fan of the exhaust.
So the first think we did was pull the seat, fenders, side covers, and turn signals off to see what we had. Then we cut tail end off. No going back now.
I also had a small leak in the Magneto cover. I ordered a new seal and started looking for replacements. I couldn't really find one for a reasonable enough price, so we decided to repair it. We were planning on painting the engine anyways. I didn't really take any pictures of that, but I can take some post pics of how it turned out and what I did to fix it if anyone is interested.
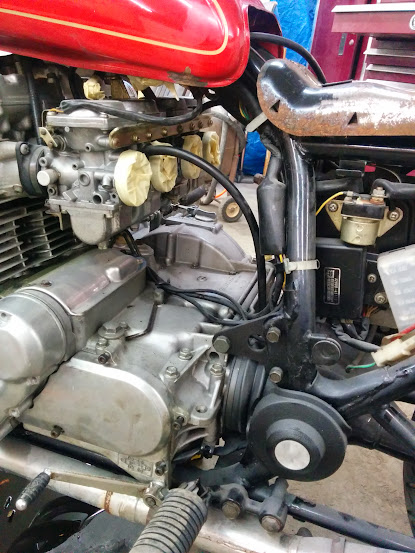
After that came the obligatory air box removal and the $25 ebay air pods.
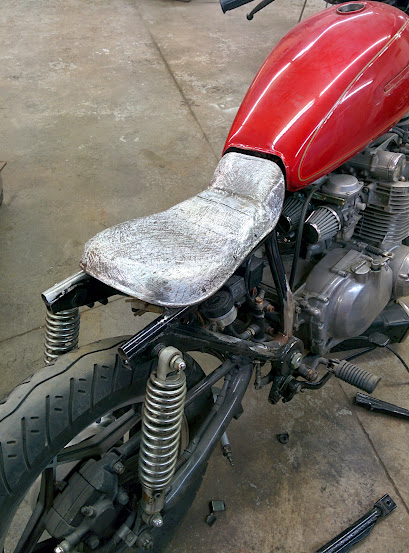
While I was tearing down the bike, cleaning parts and painting them, my father in law was busy working on the seat. He cut the seat pan in half vertically and horizontally. he thinned it out, then bent the ends in to make the back of the seat. We relocated the rear support bracket on the frame to use as a mounting bracket for the seat. The old seat had a lock system used to access the battery. We wanted to reuse this to keep it easily accessible.
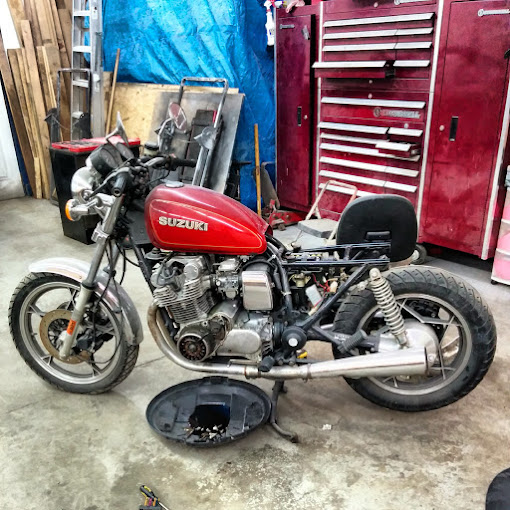
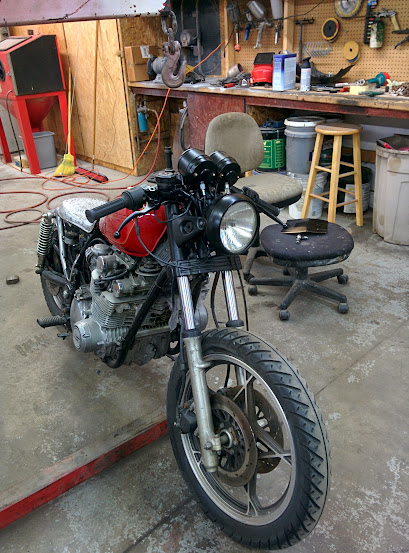
Here is a pic of the bike with the roughed in seat.
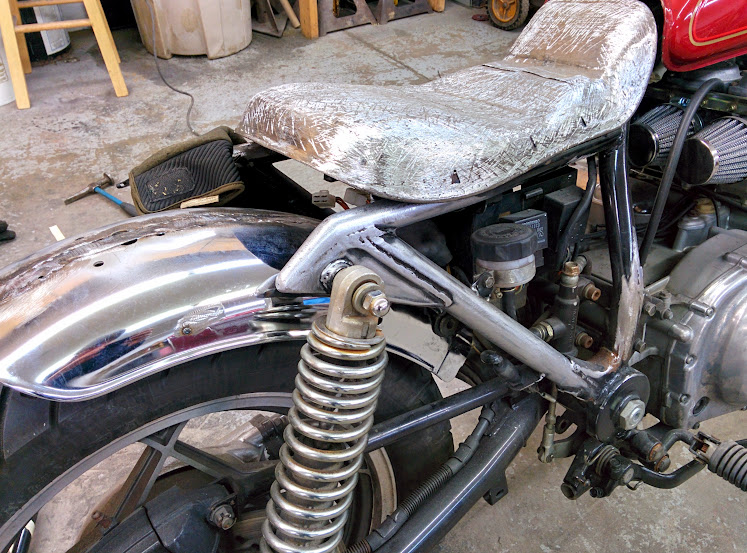
Once he got the basic shape set up, he cleaned it up some more and added a metal rod around the base of the seat to keep the edge from cutting in to the leather when it gets upholstered.
After that, he cleaned up the ends of the frame by using some of the frame we cut off to weld points on the frame.
Then we split the rear fender and widened it to fill the some more space up.
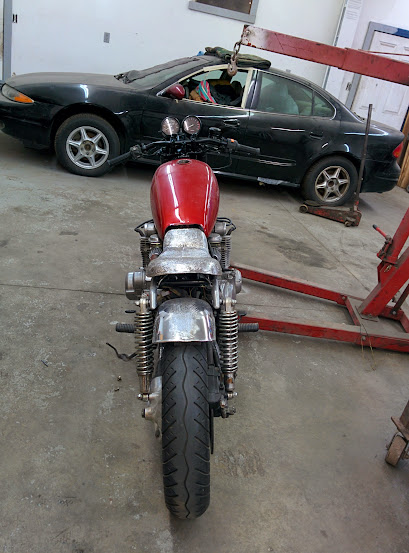
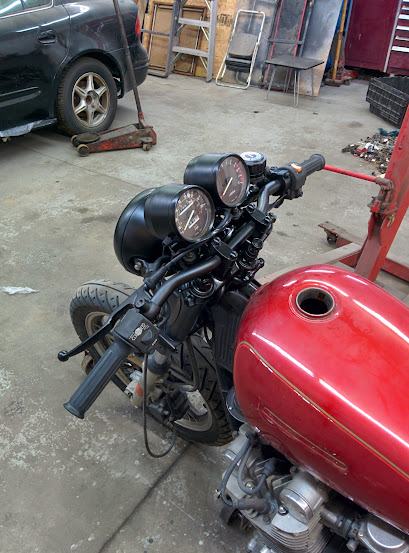
I started pulling the headlight, mounting brackets, speedo/tach, bars, triple tree, and controls off to sand blast and paint. We decided on a satin black paint.
any plans on getting a dynojet kit after taking off the airbox? They supply a properly profiled needle along with jets. Your mainly buying it for the needles.
Im working on a 850 at the moment and have heard that these bikes are ridiculous to tune after the airbox is removed. Hell the guys on the gs resources site say they have issues when the airbox is leaking.
Just wondering. I am in the same boat as you where I would love to get rid of the airbox, just dont know if its worth a $100 dollar kit.
I was honestly probably going to take it to a local shop to get a quote on a re jet. I heard that they are really tough as well. We will see. I still have the airbox just in case.
I got ya. most people end up going with a dynojet stage 3 kit when they remove the airbox. Doing so changes the airflow into the carbs and since these are cv carbs the increased airflow really messes with them.
The main aspect that needs changed is the needle, the dynojet kit includes a properly tappered needle and jets to adjust for the increased airflow. Re-Jetting by itself wont ever fully help.
I got my head ripped off by asking why the kit was necessary..... so now you know. Maybe a pro shop would be able to get it running sweet for you.
Just passing some info along to ya. one gs'r to another 8)
Thanks! I was actually watching some videos on this. I was going to try going up 5 on the jets and shimming the needle first. Maybe I'll just get the Dynokit instead.
This site uses cookies to help personalise content, tailor your experience and to keep you logged in if you register.
By continuing to use this site, you are consenting to our use of cookies.