Follow along with the video below to see how to install our site as a web app on your home screen.
Note: This feature currently requires accessing the site using the built-in Safari browser.
We noticed you are blocking ads. DO THE TON only works with community supporters. Most are active members of the site with small businesses. Please consider disabling your ad blocking tool and checking out the businesses that help keep our site up and free.
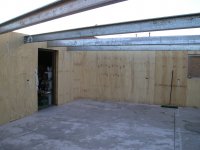
Re: Workshop, all walls and perlins up! (with pic's)
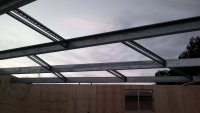
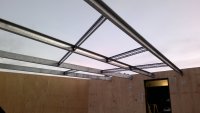
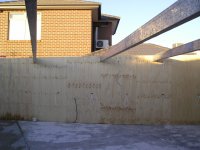
so today I got all the perlins up with help from 1 of my neighbours, tomorrow i'll put in the stiffners and the side braces, then I hope to start putting on the roofing iron ;D ;D ;D ;D
Re: Workshop, all walls and perlins up! (with pic's)
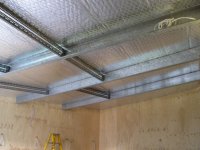
thanks for the support and interest all, wanting to post regular updates for you all certainly helps my motivation on cold winters days. had a sleep in today (was sunday after all) however I did manage to get all the perlin stiffners in today, so next weekend I can put the roof on without having things to finish up..couple of pic's of the stiffners
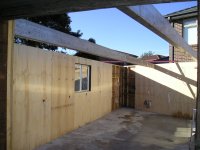
Re: Workshop, even with the threat of a thunderstorm, most of the roof is on!
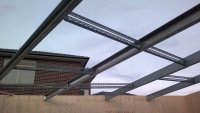
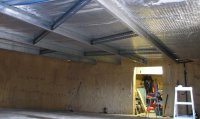
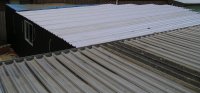
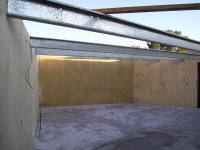
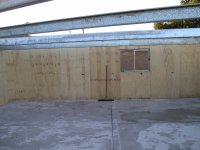
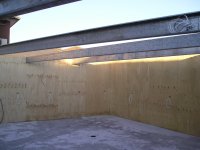
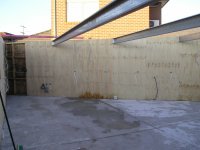
So today I've managed to get most of the roof on, including the supporting wire mesh, the sarking insulation paper and insulation batts. Now i'm stuffed! There has been the threat of storms all day but made good progress regardless! so tomorrow I have some wall stuff for the corner to take care of (can do if its raining cause I have mostly roof! ) and once thats done hope finish putting the roof on. I still need to trim the edges and add the flashing & guttering but it will be dry ;D ;D ;D ;D ;D ;D ;D ;D
0 skylights, 8 fluros from the roof and 7 energy saving lights on the walls, however with most of the roof on and a tarp over the rest, there was a good deal of light coming through the window I installed
Re: Workshop, even with the threat of a thunderstorm, most of the roof is on!
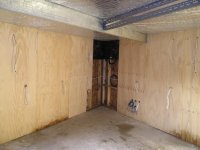
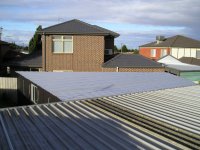
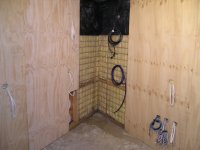
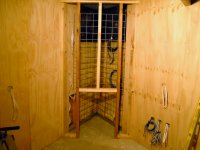
So I got up this morning and was greeted by blue skys ;D I started on finishing the roofing and the corner for the compressor and tv.. Had a visit from jaderd who came over to check progress and see and talk bikes for a bit (nice to talk bikes for a change lol) after that I finished putting on the roofing and buttoned it all down, gave it a trim then a sweep and here we are! couldn't be bothered cleaning up today so ill get to that during the week, anyway heres a coyple of pics from today cheers Andy
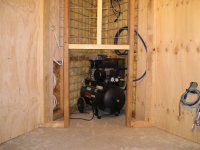
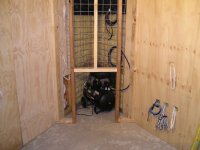
So a little update nothing to exciting, have been putting in the rest of the roofing screws and the last 3 joist supports, I did pick up the flashings for the edges on the weekend so I hope to get them all buttoned on this weekend which means I can start painting. I've just about finished up the corner unit for the "sound reducing compressor inclosure" (lol) which will also hold the head for the reverse cycle heating cooling and the HDTv. Still need to put the last bit of sound deading in and finish with ply (tomorrow ) Anyway heres a couple of pic's for ya ;D ;D cheers all Andy...
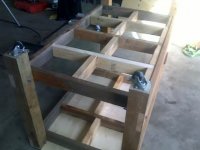
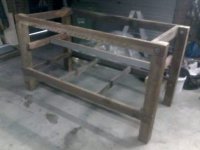
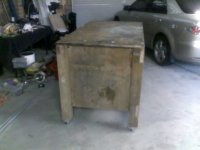
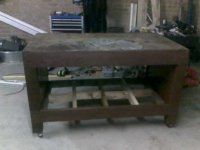
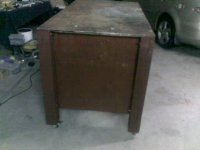
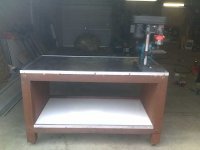
couldn't do any of the flashing due to the weather, so last night I started rebuilding the steel topped work bench so it would be ready to use when the shops finished. This bench came with the house and is bloody heavy! apart from the legs the rest of the frame is made of hardwood. I started pulling it apart as the plan was to trim it down from 1800mm wide to 1600mm and to add some heavy duty castors to make it easy to move around. after getting the main frame in order (replaced the 2 front beams with 150mm beams compared to the 95mm originals ) I gave it 3 support beams and the brace them through the middle, then i added some of the 12mm ply i had left over from the walls to the top to help support and densen up the steel top. I managed to get some ceramic coated steel (whiteboard) to make a new lower shelf and I have some angle alloy to trim the top. Stained the timber after finishing up the frame today so Ill be able to complete the bench up tomorrow, still need to sand back the steel top and coat with anti rust and after that strap on the bench grinder to the left side and ill pick up a new vice during the week for the right. anyway heres a few (crappy) pics of the job so far....
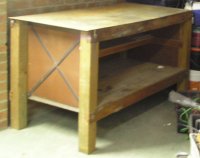
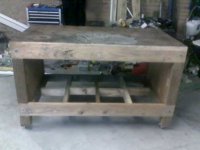
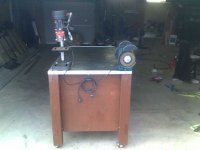
And finished apart from a vice which ill get during the week.... oh I also put my drill press on in the dead space behind the grinder, I was going to make a pedestal for it but made sence to put it there especially since the bench is on castors and is easy to move ...
also added a few of the obligatory old bike number plates to the bottom..
This site uses cookies to help personalise content, tailor your experience and to keep you logged in if you register.
By continuing to use this site, you are consenting to our use of cookies.


")