1975 CB550 K Rebuild & Minor Mods

Haha, it's still a long way from looking anything like a motorcycle, but at least the parts boxes seem to no longer be breeding...

Checked the new piston ring end gaps in cylinders, all came within spec at 0.200 - 0.230mm.
Installed new pistons, rings, piston pins, and clips.
IMG_1033_zps42667ff2.jpg


Got the jugs painted, next up will be throwing on a new base gasket, o-rings and installing the cylinders.
 
Polished the ring lands with some fine steel wool, then the cylinders got blown out, washed with warm, soapy water, and wiped clean with a white rag. Lastly they got a light coat of oil.
Did one last check to make sure all the piston rings were the right way up.
I bought a Vesrah full gasket and o-ring kit. Installed new base gasket, with a light coat of oil. Installed new oil feed o-rings and outer sleeve o-rings, and made sure they seated down into the recess.
IMG_1037_zps1526f3f1.jpg

IMG_1038_zps452cf8b4.jpg


Next up I installed the cylinders. Made sure to space the rings gaps about 120 degrees apart.
These cylinders have been bored and honed to 59mm, to suit the CB500 +3mm pistons that have been installed. It was a little while ago that I got the cylinders bored, but from memory I think the machinist setup a bore to piston clearance of either 0.0010 or 0.0015".
IMG_1040_zps664acd1a.jpg

Installed a new cam chain guide. I also have a new cam chain tensioner blade to install. Does anyone happen to know if there is a specific orientation at which these go into the tensioner assembly? One end seems to have more of a bend, but I can't remember which way the old one was in, as I've had it out, and didn't check...
Cheers
IMG_1041_zpse4792169.jpg
 
Pulled the oil pump apart, had to mount it back on the motor to get the countersunk cover screws undone.
I'm not sure if someone has had this apart before me, the manual says that the punch marks on the inner and outer bodies should both be upwards, but the punch mark on the outer ring was downwards...Not sure if that means much.

All the o-rings look good, no cracks or tears, still soft. Should I replace these anyway?
All the clearances are good. There's some tarnishing on the pump bodies, though are smooth to touch, this normal?
Also the relief valve seems to be stuck, how does one go about unsticking it?Got the valve out with a magnet
IMG_1046_zps2da35b93.jpg

IMG_1048_zpsa6791b20.jpg


Got around to taking the valves out of the head. They all came out easily, and spun smoothly in the guides, so I'm assuming this is a good indication they aren't bent.
Next I'm going to clean up the ports, remove all the carbon, and smooth out any casting marks. Found some brilliant threads on doing this.
Clean up the combustion chambers, try to tidy up the spark plug thread on #4, lap the valves, new valve seals, and hopefully it should be sorted.

IMG_1060_zps17611345.jpg

IMG_1059_zps5dd2f6a5.jpg

IMG_1054_zps27a95437.jpg
 
Nice work!

I also bought the Vesrah full engine gasket kit, so that does not come with the oil seal kit you purchased? Even though my new project 78' CB550 has 130 compression accross the board I still am doing a full break down restore/powdercoat/paint/new seals/etc the whole motor so I was curious. Also, where did you purchase the new chain and guides? Thanks and keep up the good work!
 
Cheers buddy.

The full Vesrah kit comes with the gaskets and o-rings, but not the seals. You have to buy a separate engine oil seal kit, you can find them on eBay or on CMSNL.
I got the new primary chain, cam chain and guides from David Silvers. That was the cheapest for me being in Australia, but there might be other options depending where you are.
That the 550 in your signature?
 
I applogize, I actually have the Athena full kit. I will for sure look into those seals though!

That's my old CB550K we built last year that I never should've sold. Just sold my minty 77' CB550F Super Sport and picked up (3) 1978 CB550K's but I am selling two of them and building one.
 
canyoncarver said:
GV1390 - I like your avatar.

Thank you! That was my old 77' with old ugly exhaust setup on it.

Building something nicer this time around though!

I don't think I will be powdercoating my engine actually, read up on the cooling issues with them, may just prep it a lot and use some Duplicolor Engine paint.
 
canyoncarver said:
I was talking about the parachute avatar. But hey, cool bike too.

OH! Duh, avatar, not signature lol sorry!

TY though! Haven't jumped all year yet, I need to get back out if I ever find the time.
 
Progress has been slow and steady, whilst I waited for a few bits and pieces to come in the mail.

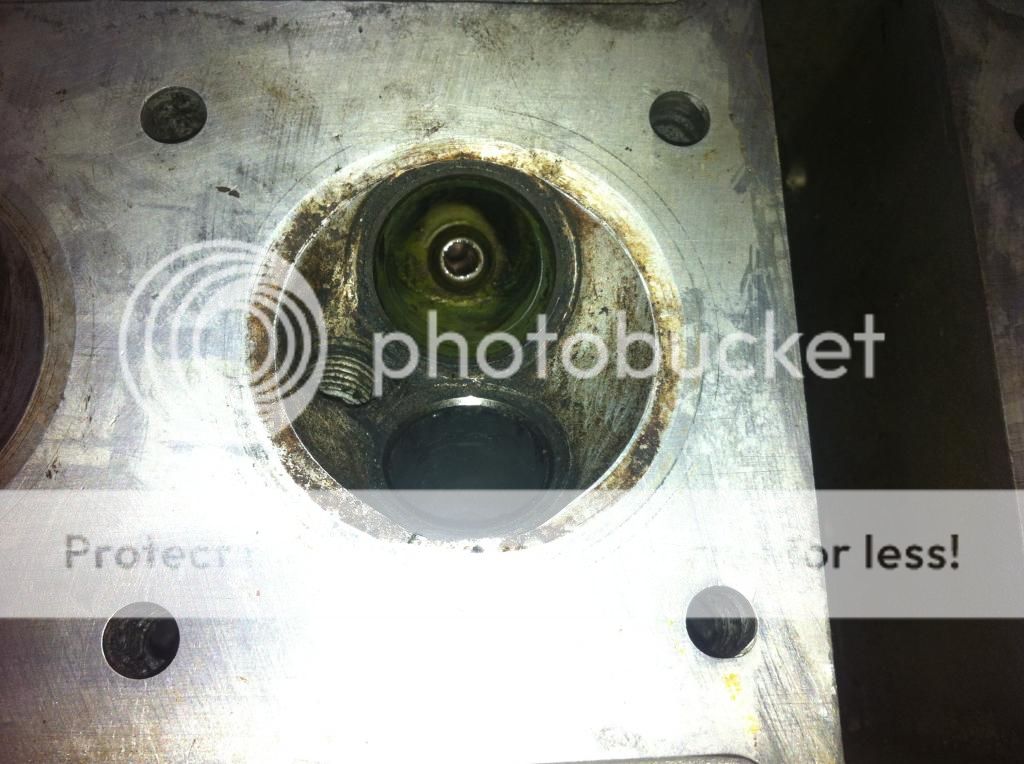
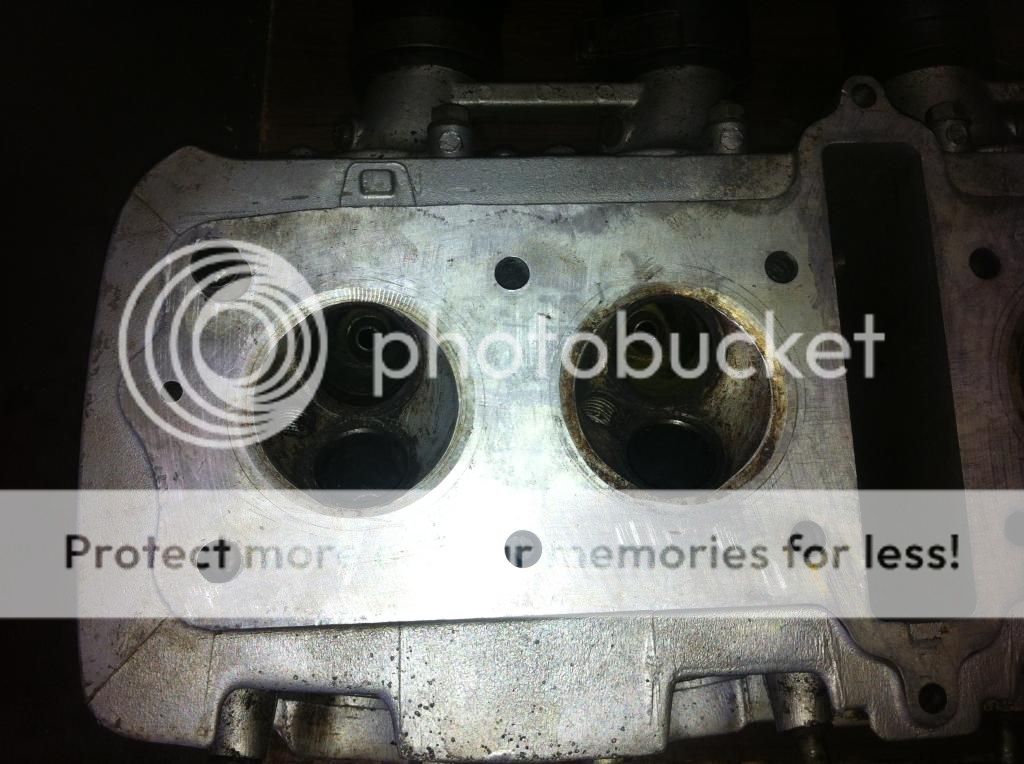
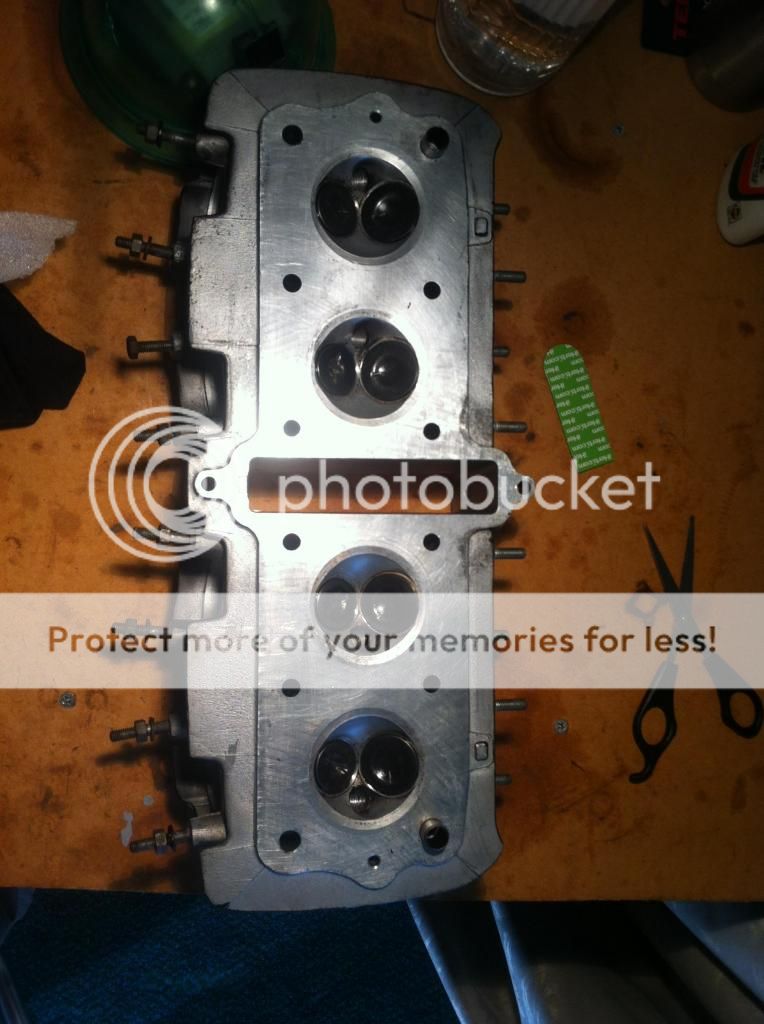
Started cleaning up the head, decided to do a little work on the ports. Exhausts ports got a clean, and some smoothing out of the casting marks around the valve stem guide boss.
IMG_1087_zpsf1275b2b.jpg


Didn't reach touch the intake side, other than to smooth out some very obvious casting marks, and to match the intake runners.
IMG_1092_zps36441ff6.jpg

IMG_1094_zpse1dec8db.jpg


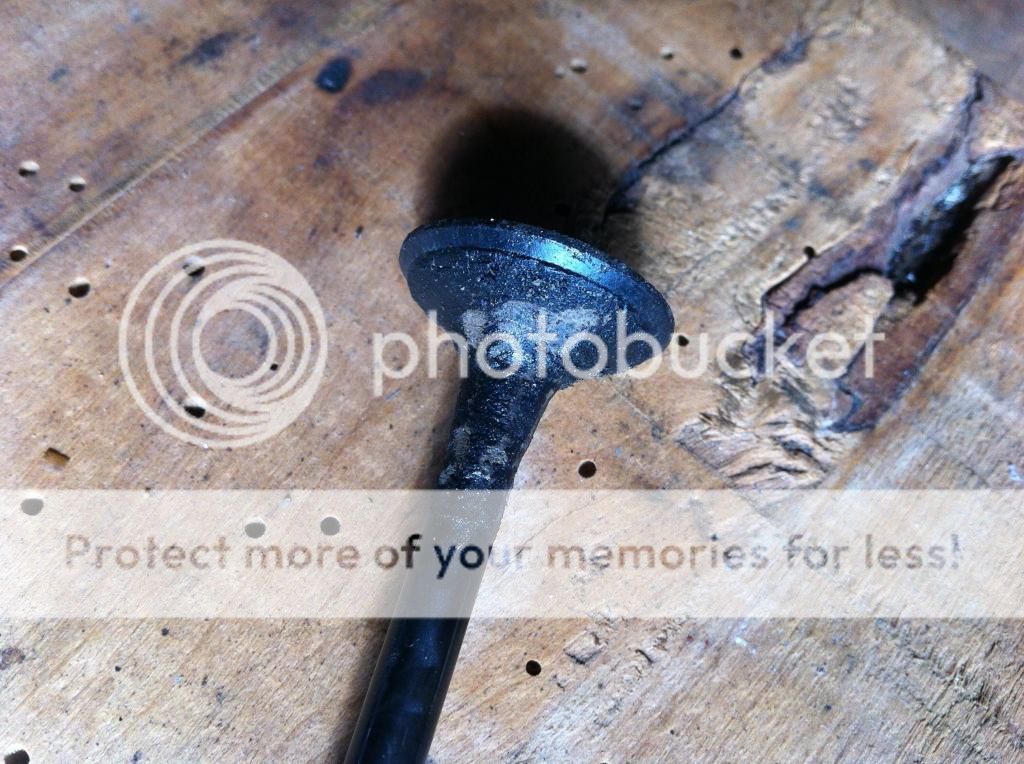
The valves were pretty crusty, the exhausts in particular. Soaked them in diesel, then cleaned them up with the brass wire wheel on the bench grinder. The faces and the seats in the head looked OK, so I gave them a light lapping. Just enough that they had a clean, even ring, then reinstalled them, and checked they didn't leak, with some kerosene. All good.
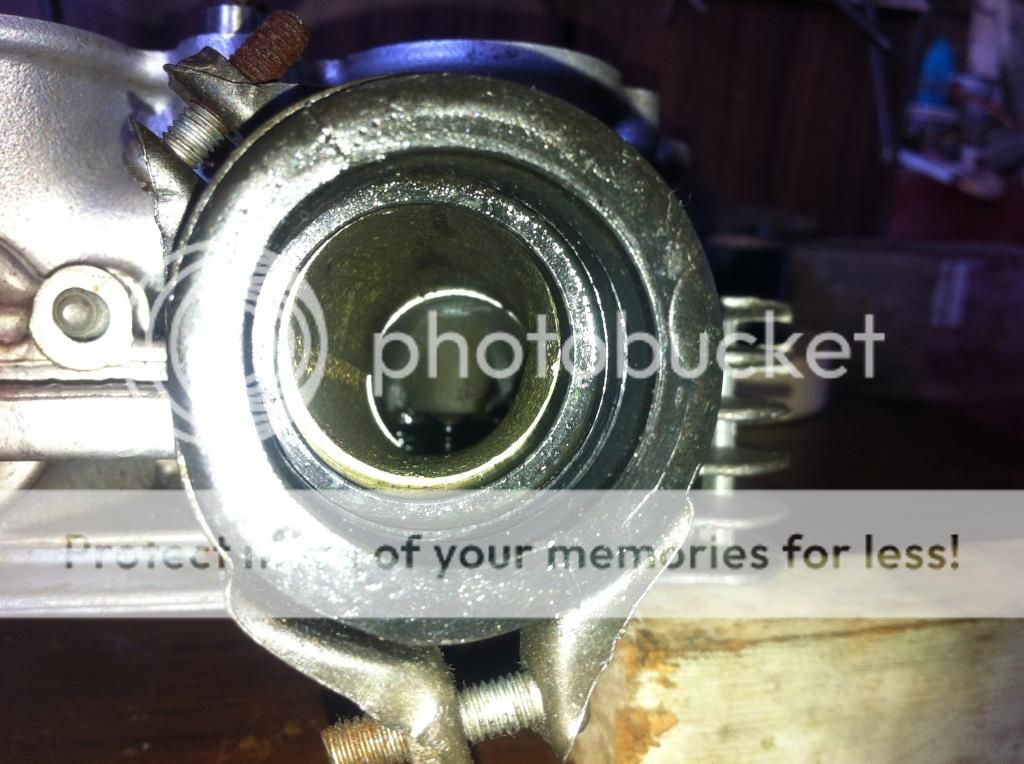
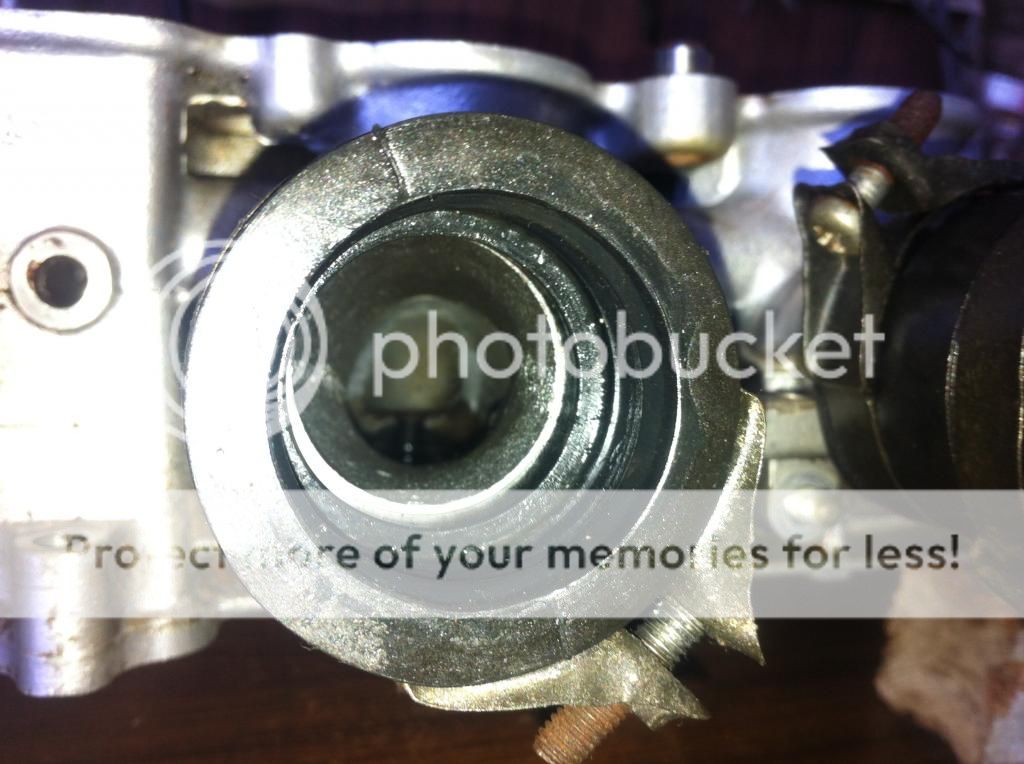
Slightly chamfered the oil feel holes too.
IMG_1081_zpsd81010b2.jpg

IMG_1114_zpse02d5db8.jpg


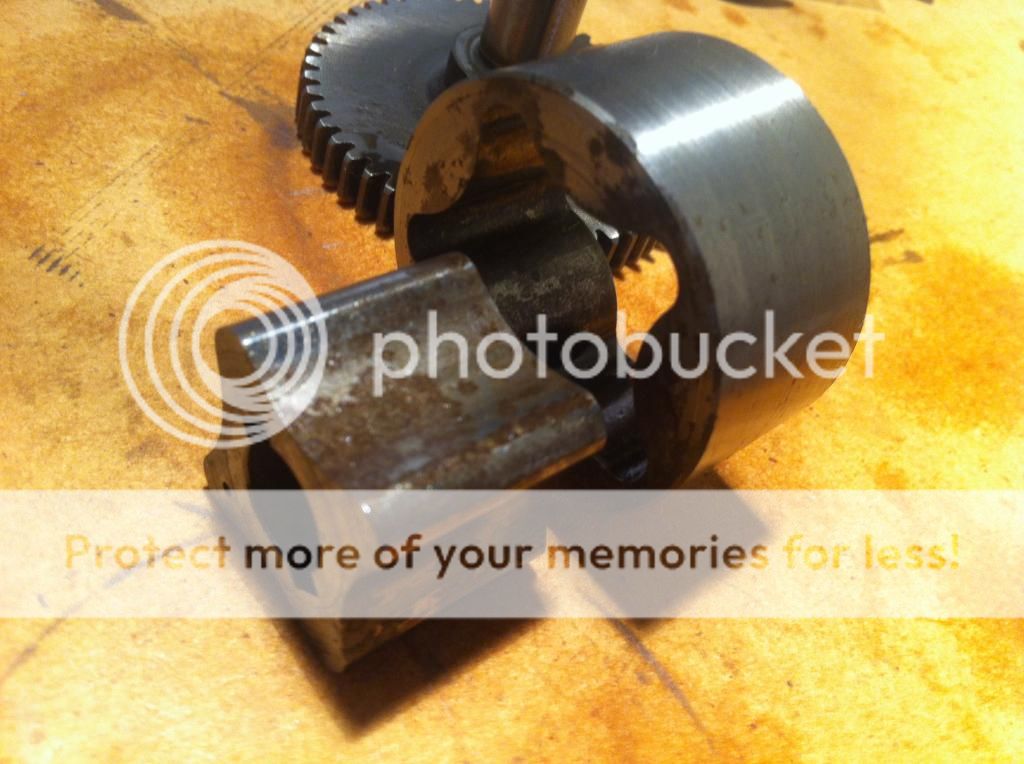
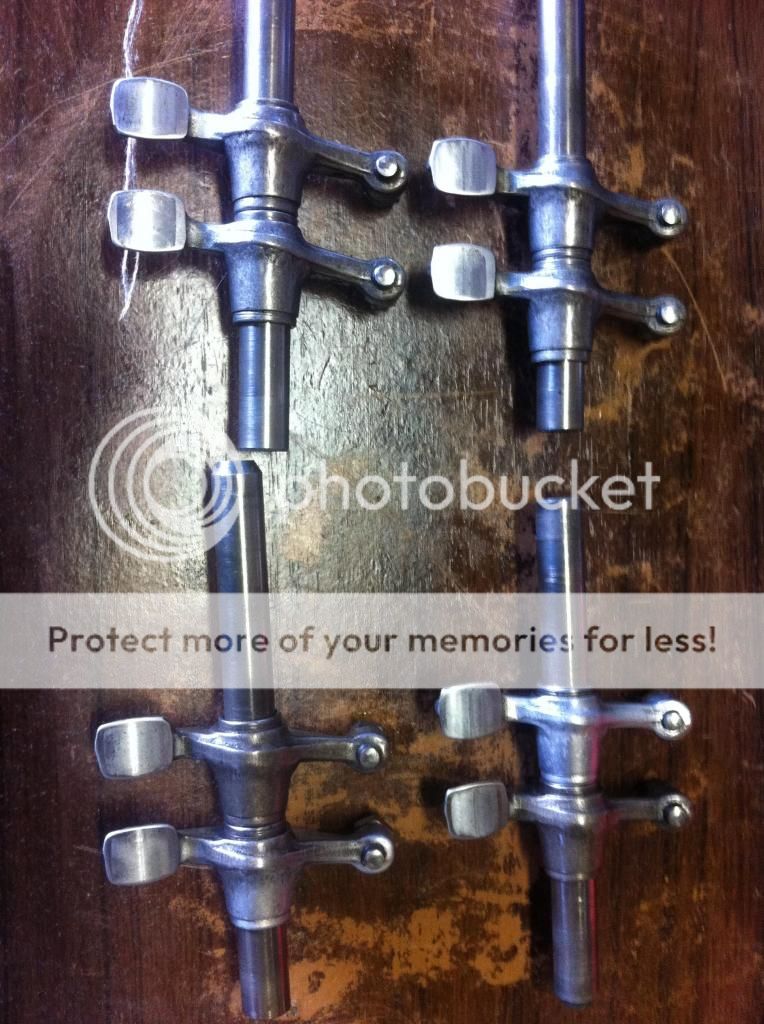
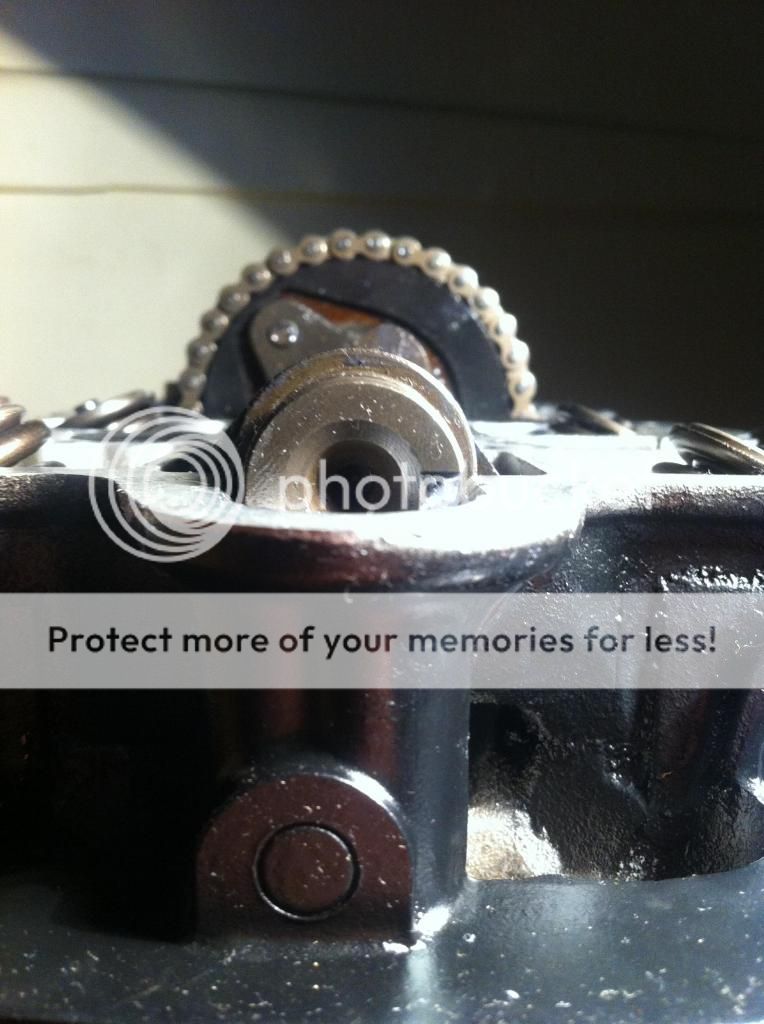
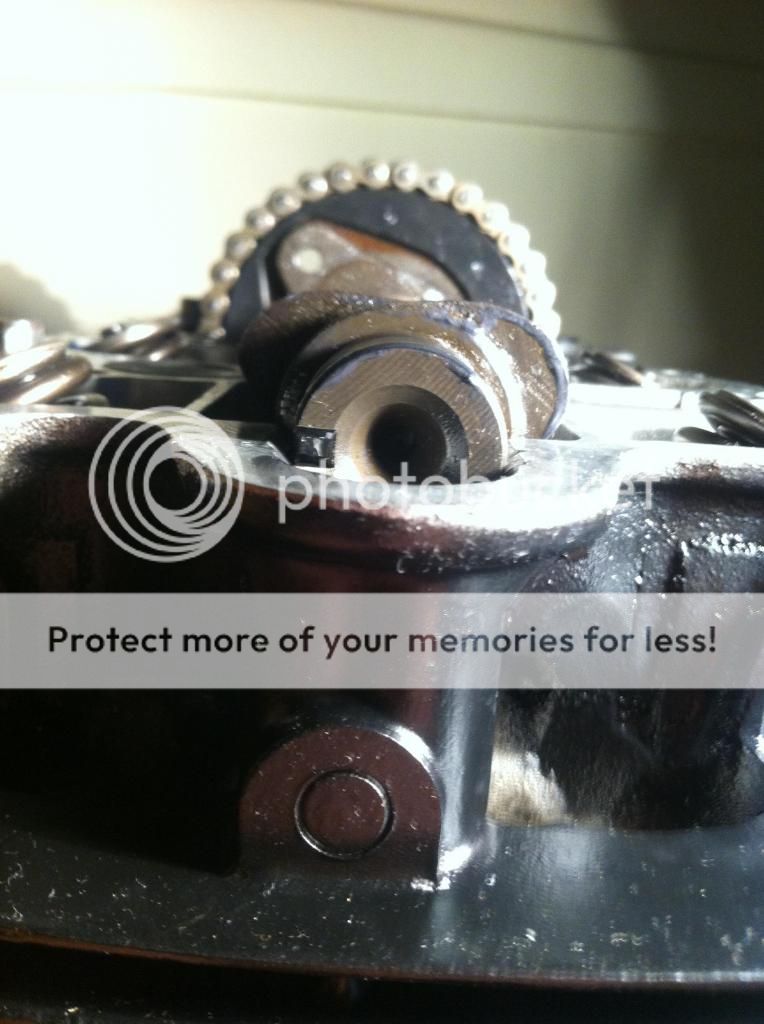
I purchased a 650 camshaft to drop in, off another member. Checked it fitted, and didn't foul anywhere. Also got a used set of CB500 rockers & shafts, as a couple of my rockers were pitted. They were cheap, and I thought it would be good to fit the longer shafts, to hopefully negate any future wear of the rocker cover.
IMG_1101_zps5c189d2b.jpg


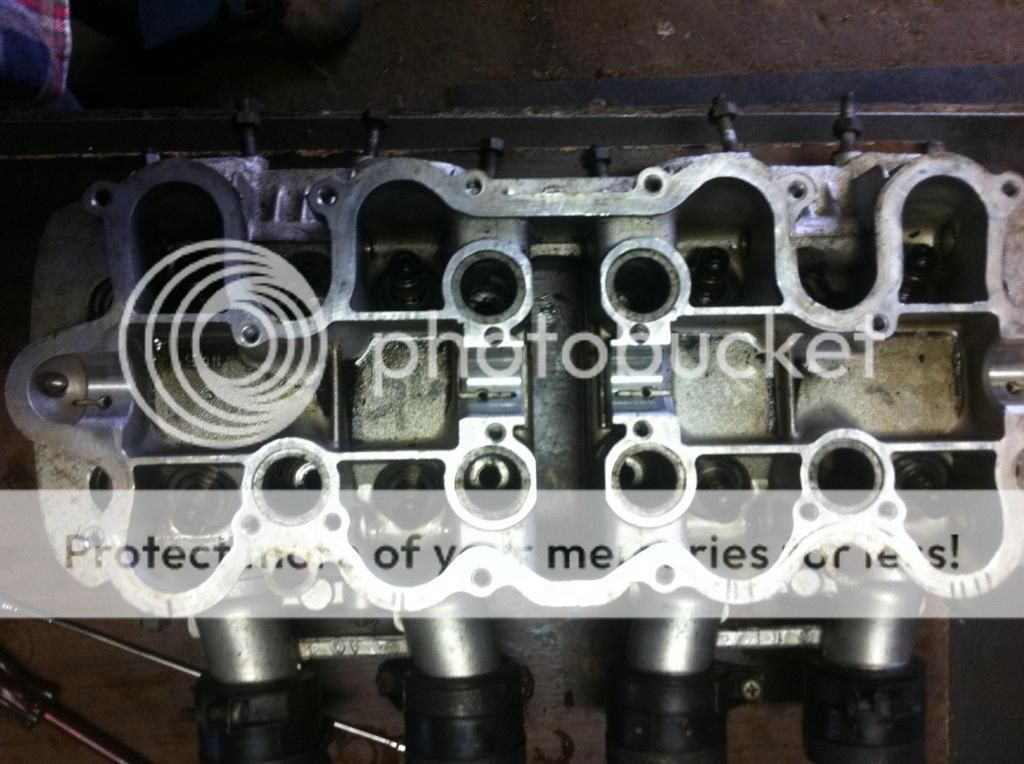
Then, whipped the valves out, washed the head in warm soapy water, dry it off, oiled the seats, and painted the head.
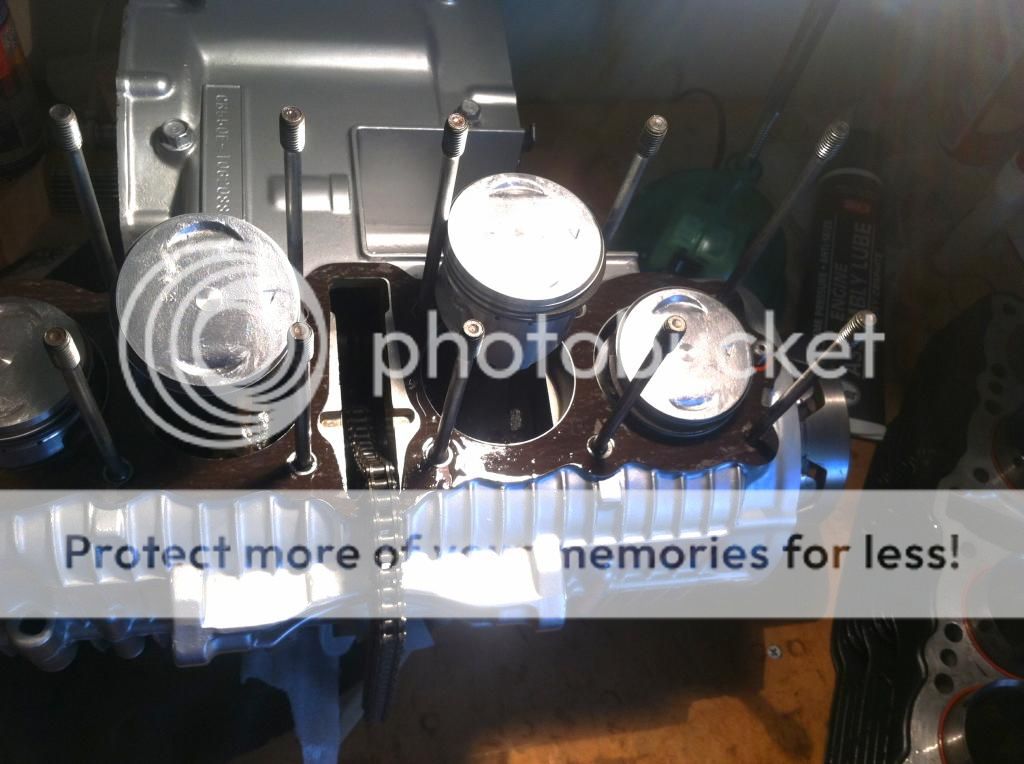
Reintalled the shims, new valve stem seals, and the valves. Gave them a whack with a plastic mallet&cloth, to make sure they were seated.
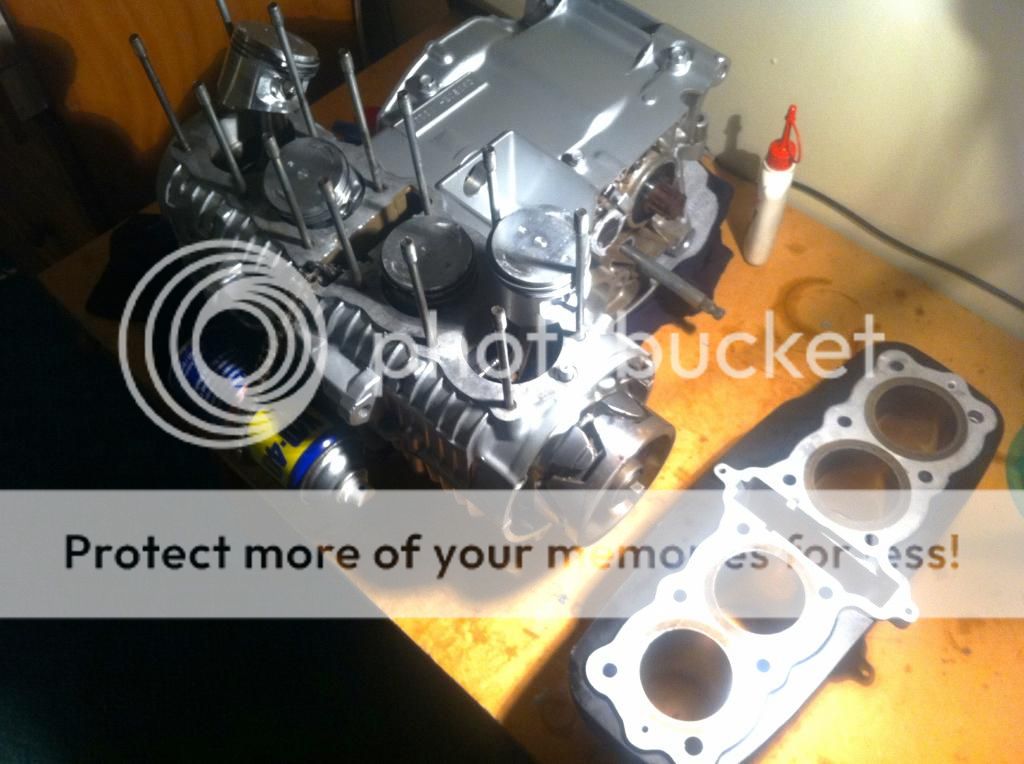
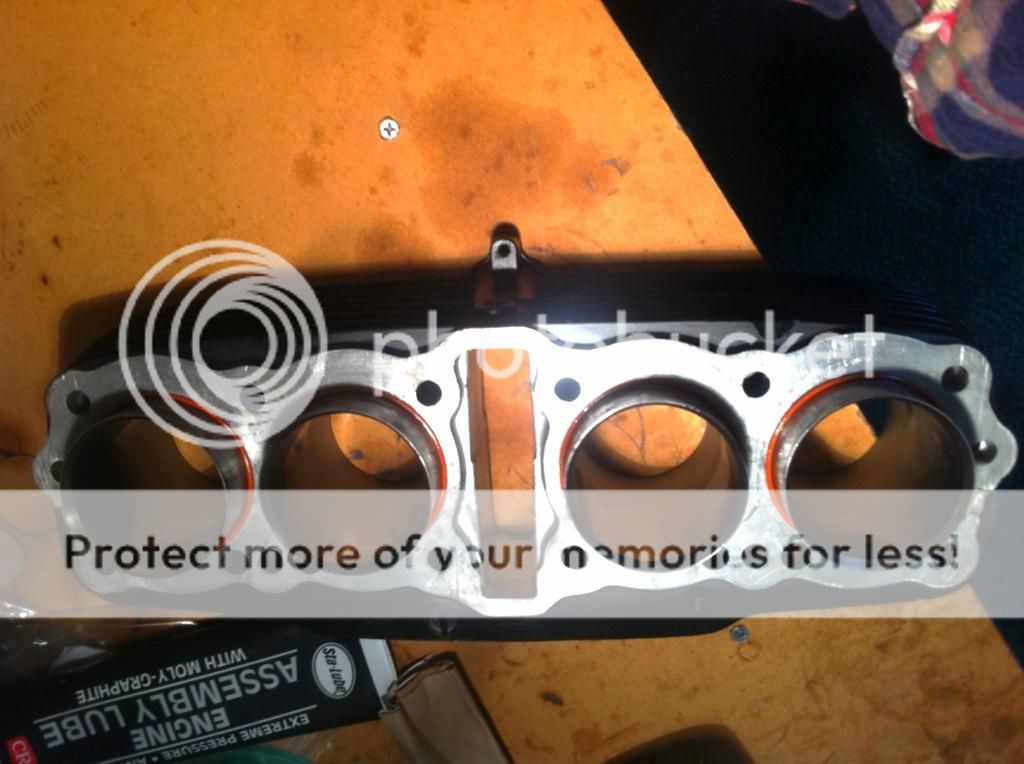
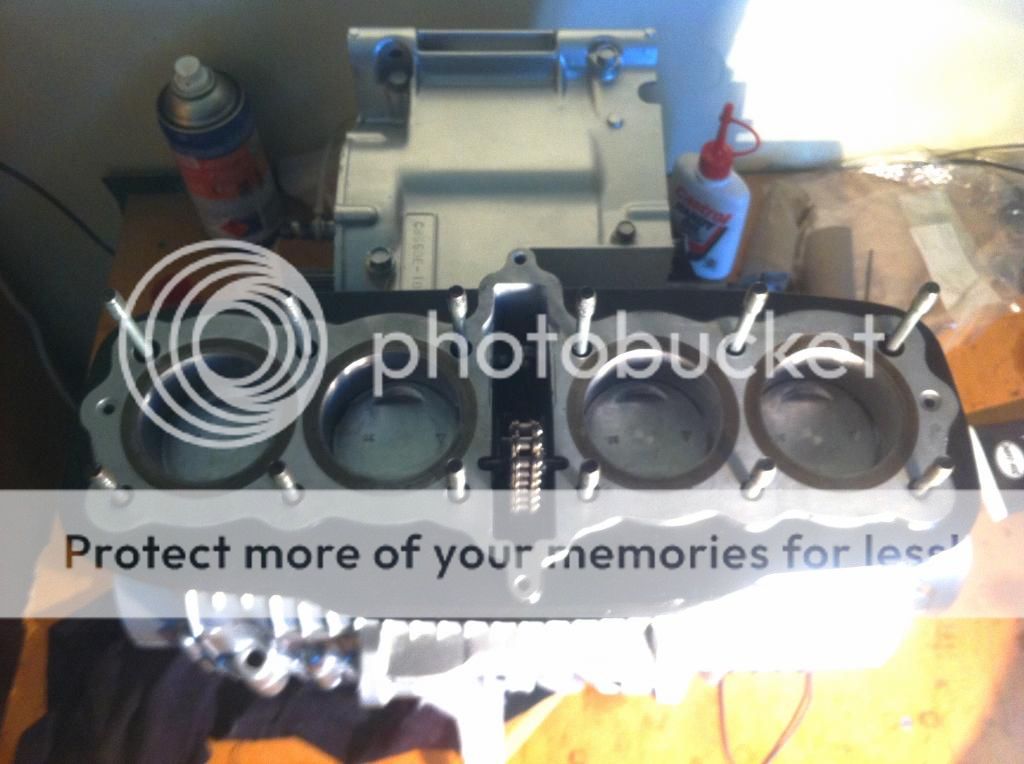
Head gasket got a light coat of Permatex Copper seal, installed new o-rings, and installed the head. Torqued it down, will probably back it off and re-torque again tomorrow. Starting to resemble a motor again...
IMG_1115_zps17616948.jpg
 
Had to clean up the advancer, the bike had sat without a point cover for some time, so it was worse for wear.
IMG_1124_zpscb9b612c.jpg


Installed the advancer. Put the cam in through the chain first, chain on the left side of the mounting flange. Then fed the sprocket on, and used the mickey mouse ears on the sprocket to get enough wiggle room.

Set the cam to the timing mark for 1&4, and checked with a pencil that it was at TDC.
IMG_1130_zpsb839d1dd.jpg

Rotated the cam so that the slot was parallel to the head, and facing forward.
IMG_1129_zpsdf6a48c7.jpg

Rotated the crank 360, so that the T for 1&4 was lined up again. The slot in the cam was parallel and to the rear. So I'm thinking I'm good to go there.
IMG_1131_zpsc36b6072.jpg


Cleaned up the front sprocket. Should I add a dab of loctite to the sprocket bolts?
IMG_1126_zpsd54c392f.jpg
 
GV1390 said:
What did you paint the head with?

Painted the cylinders and head with Duplicolor Satin Black Engine Enamel with Ceramic. Don't mind the crappy pictures, where its covered with lint after I cleaned up some oil, I think the paint comes up a treat.
 
Got the engine all finished up. Replaced the copper washers on the rocker cover, and set the valve clearances.
Replaced the pesky screws in the intake runners, and ground them to the shape of the manifold.
IMG_1276_zpscd06dbd6.jpg


Then got to installing the engine back into the frame. Plastic binder folder covers work well for protecting the frame.
IMG_1271_zps0819fbc9.jpg

307d975b-c0e6-4418-bb88-c6dd0bfb4df0_zpsd7ff559f.jpg


Installed new tapered roller bearings on the triple tree. Forks have been stripped and rebuilt with new seals and gaitors.
IMG_1252_zps74e2d526.jpg


Pressed out the bottom swingarm bushes, with the vise and sockets. Waiting on replacement bushes before painting.
IMG_1267_zps1391034e.jpg
 
Back
Top Bottom