1982 Yamaha XS400 Seca

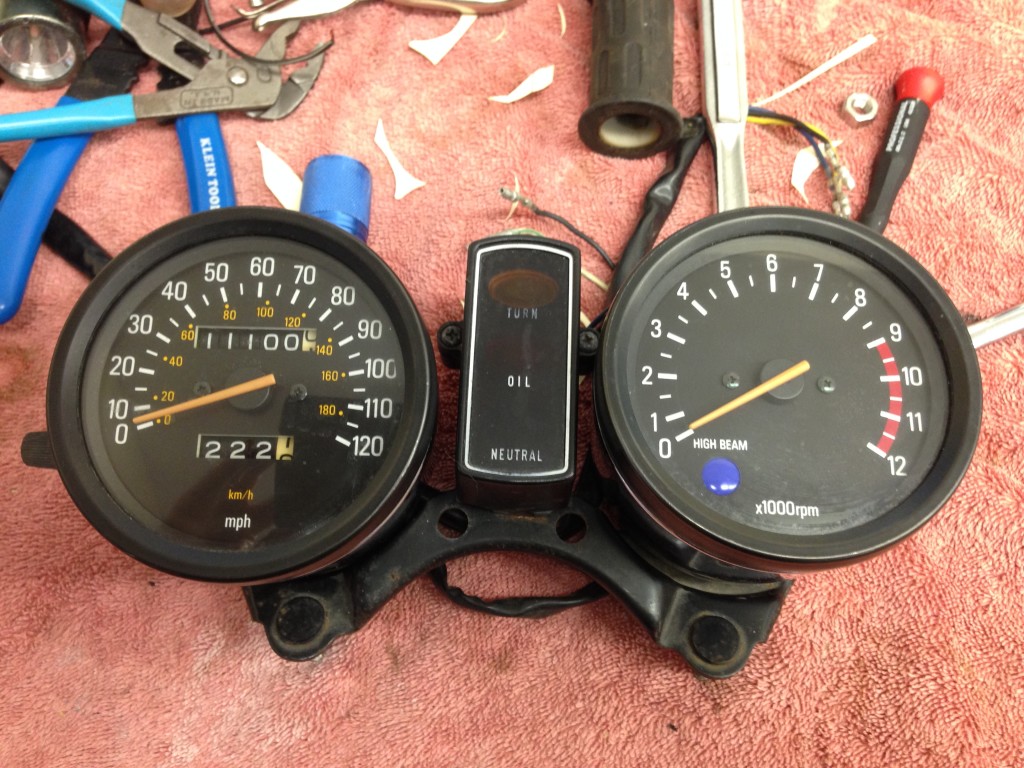
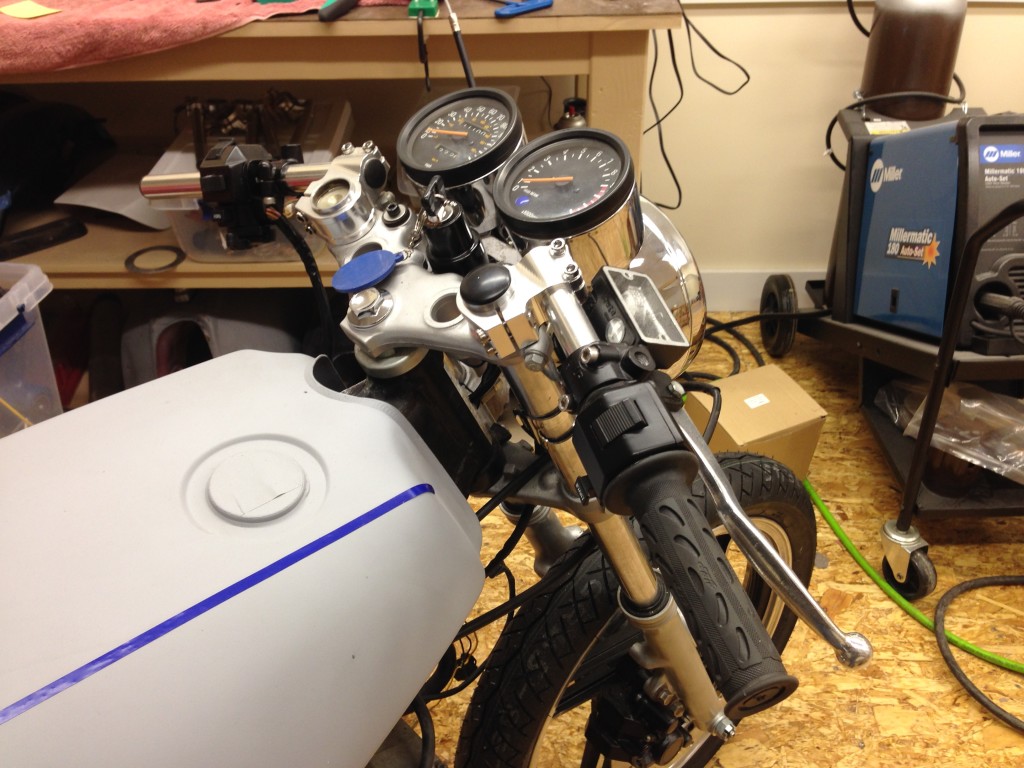
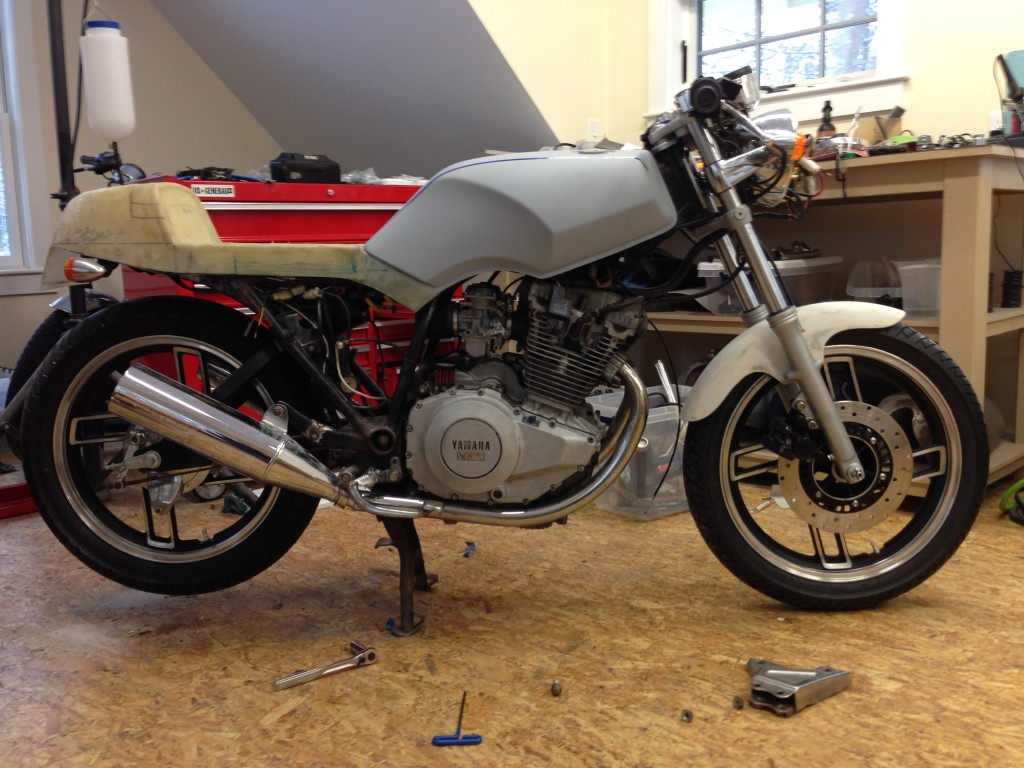
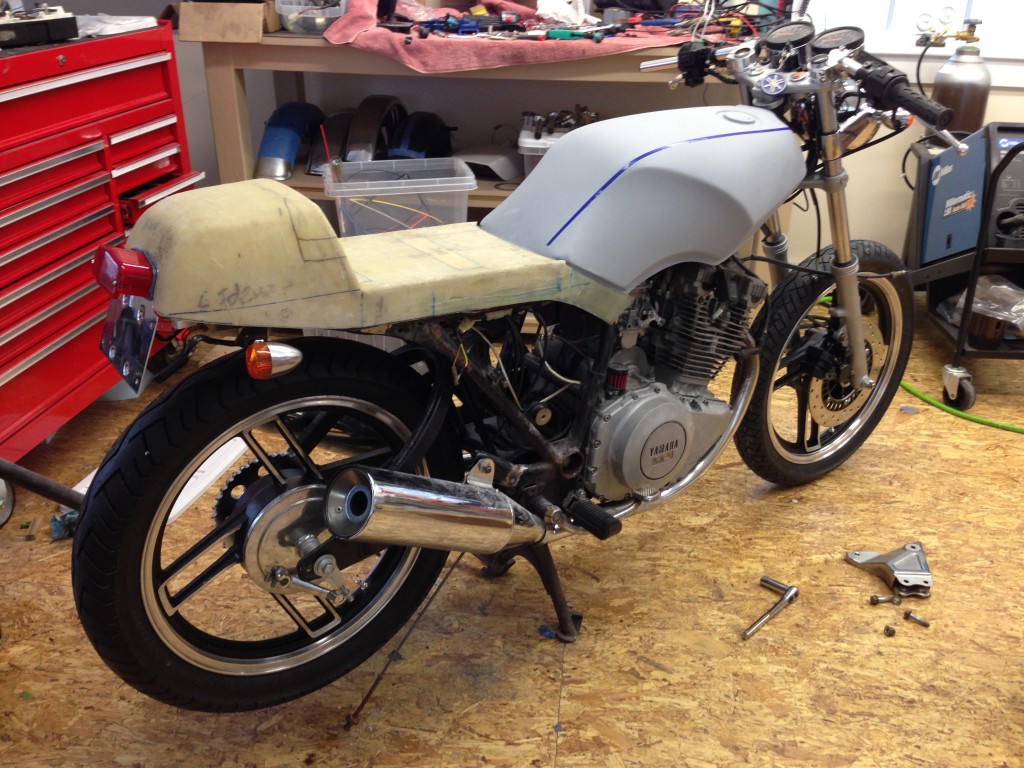
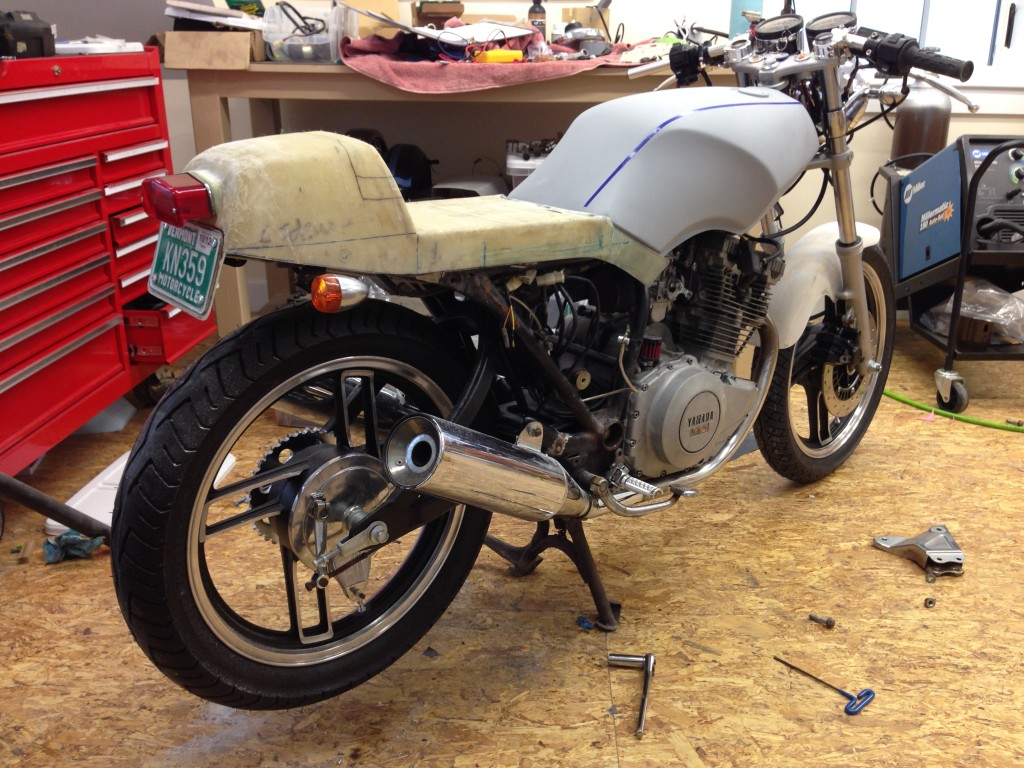
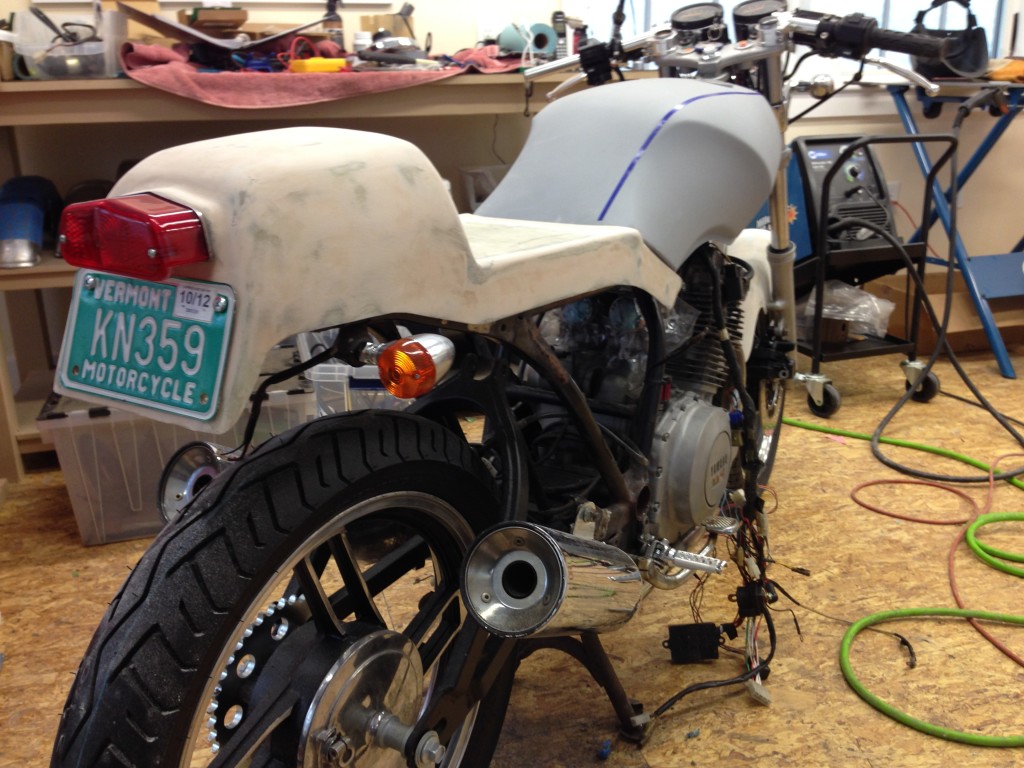
Purchased the instrument cluster from a 78 XS400 and installed it. The speedo and tach are individual gauges in round chrome housings. The original gauges are a single pod in a plastic rectangular housing.

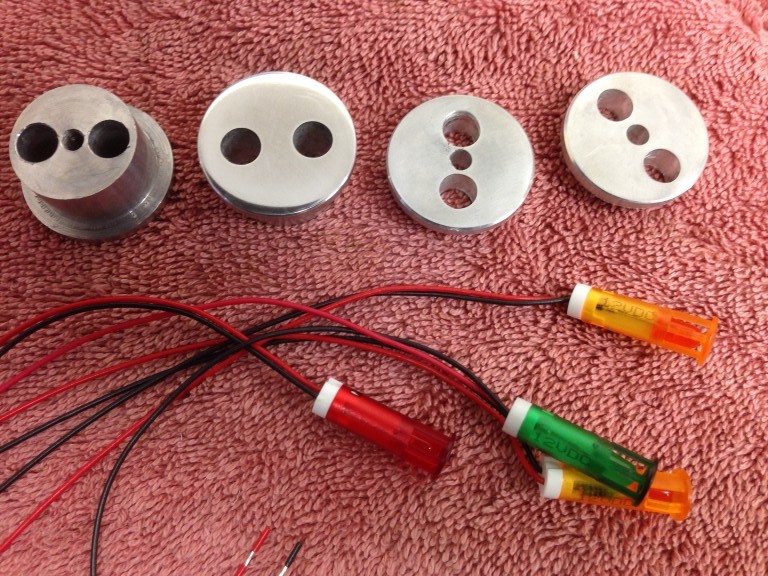
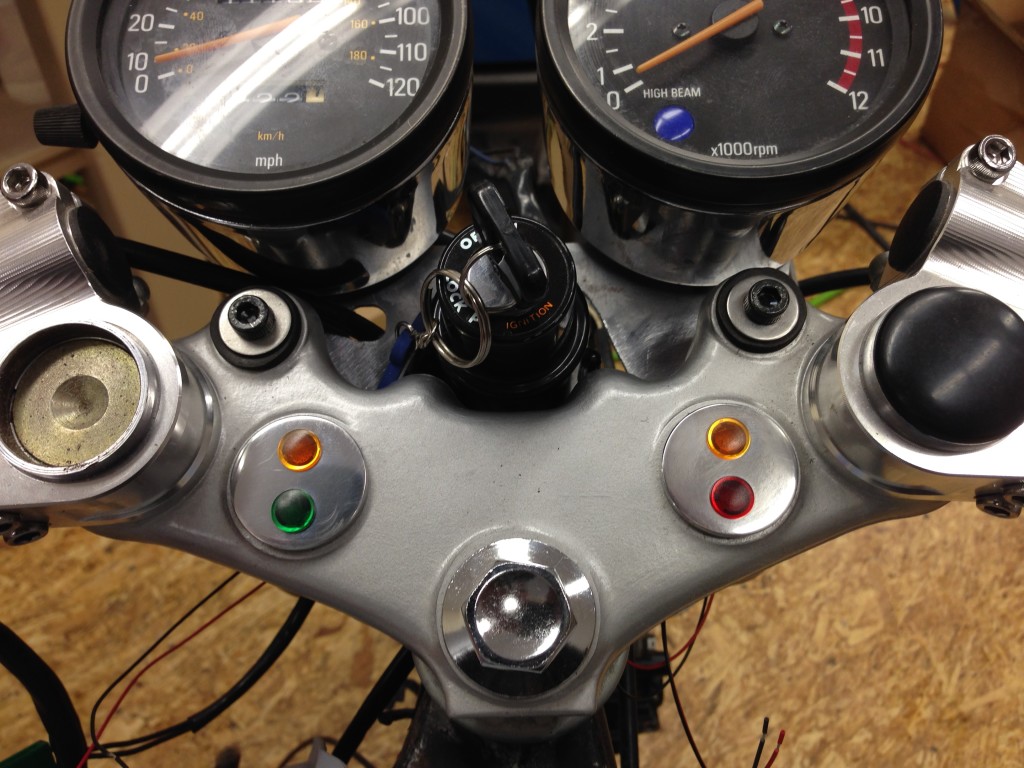
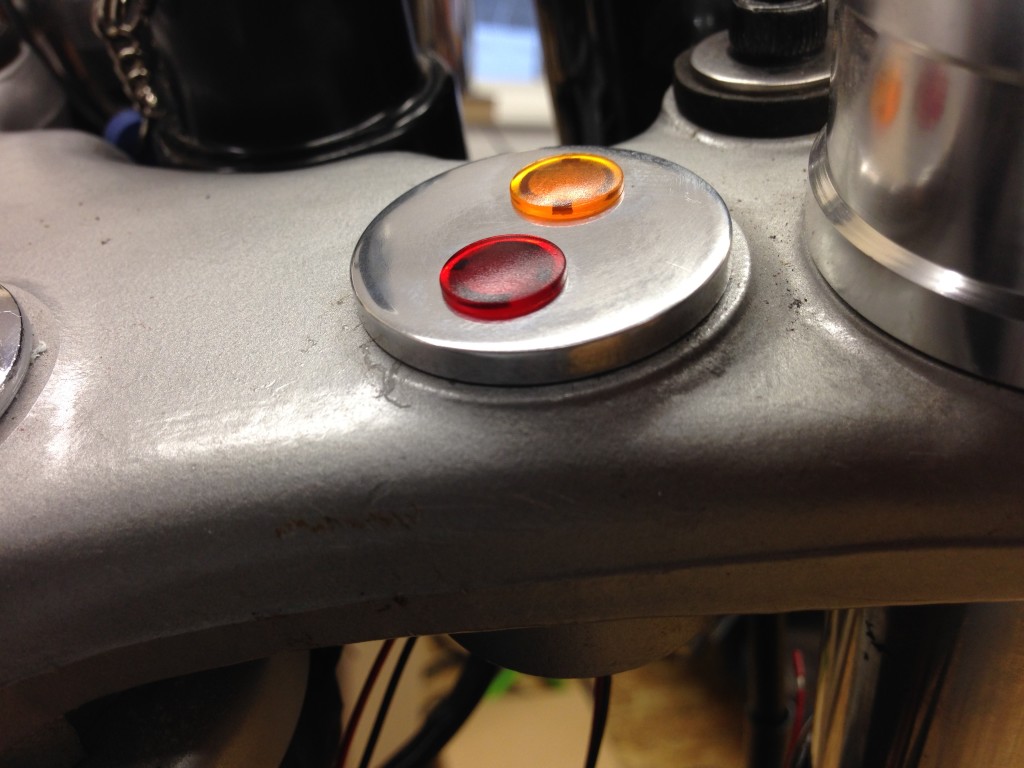
I'm planning to make aluminum plugs cover the holes left by removing the handlebar bushings. I hope to install LED's in the plugs for the turn signal, neutral and engine indicators.

20150124_143407.jpg

20150126_204556.jpg


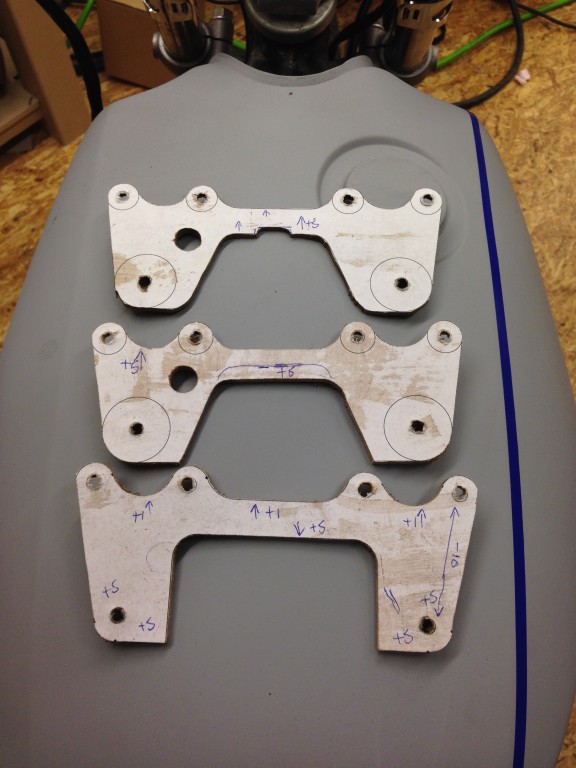
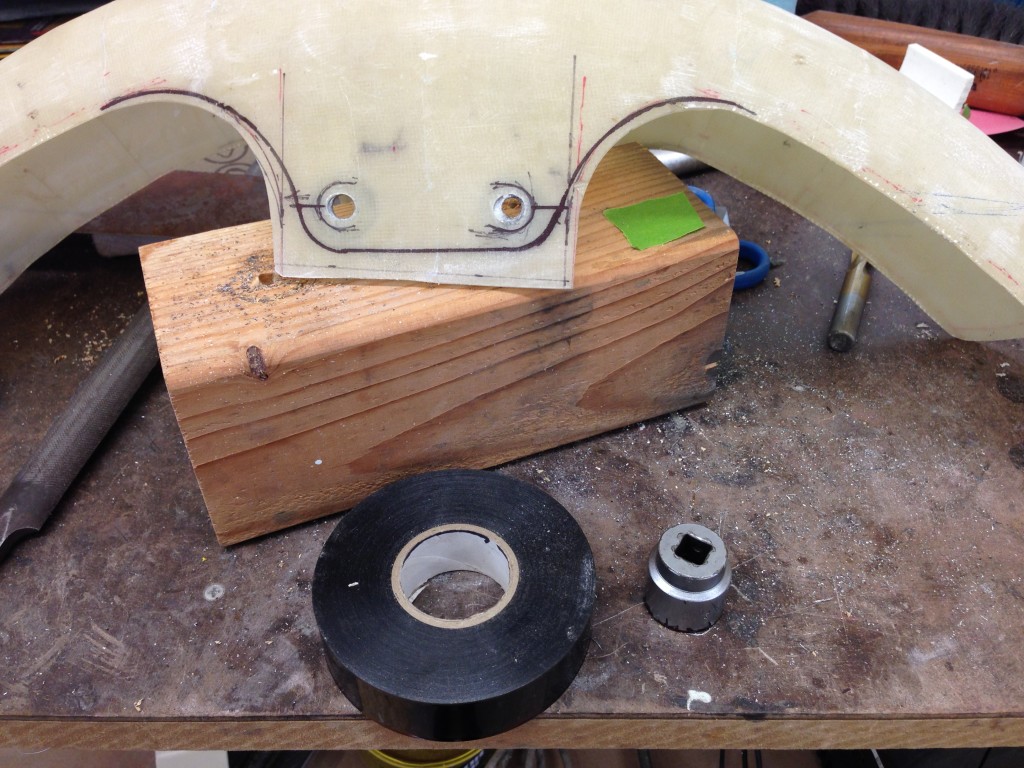
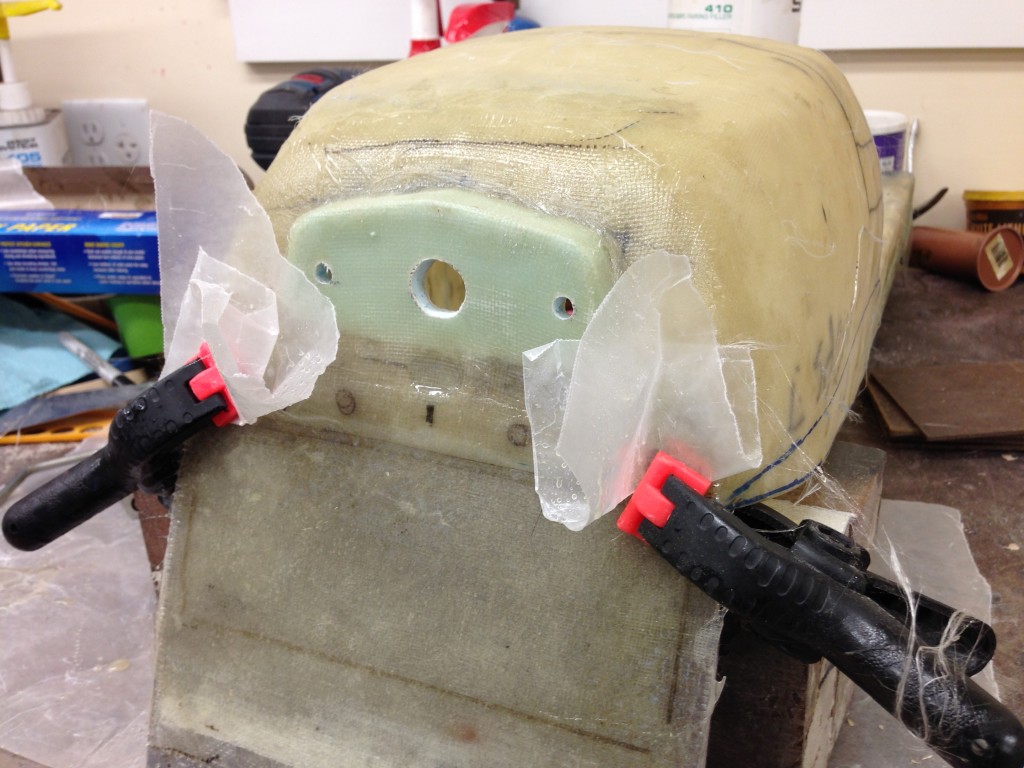
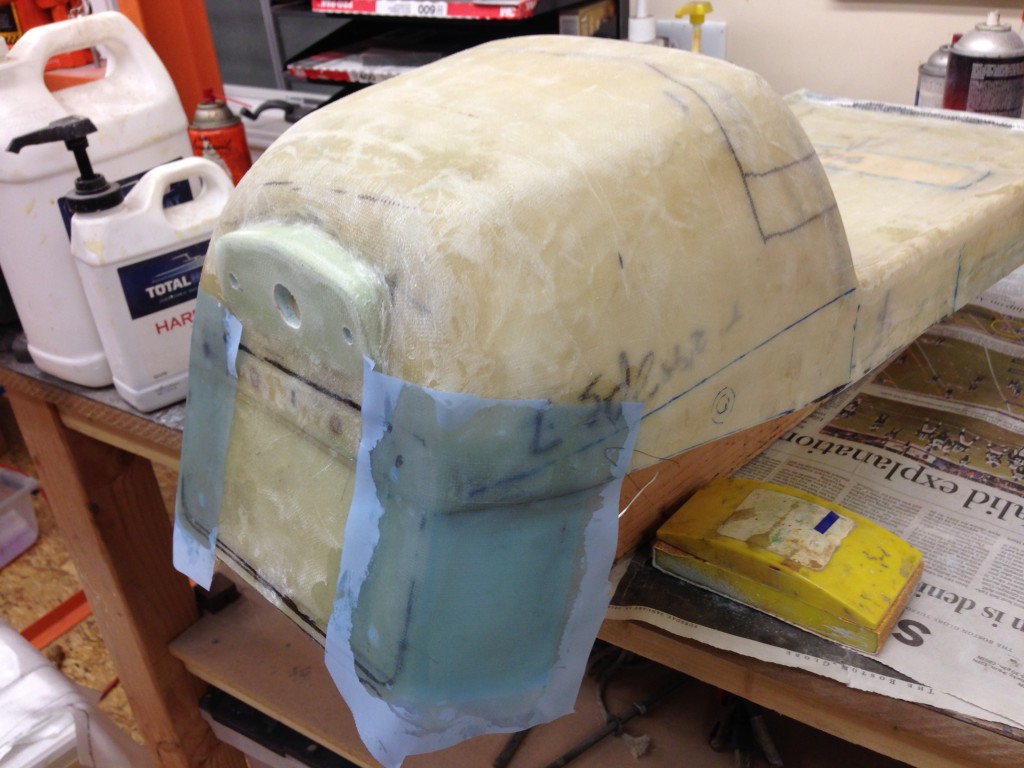
Prototypes leading to the mounting arrangement that I like. The big hole is for the clutch cable.
20150126_204730.jpg
 
Made plugs to fit in the now empty handlebar mounts. I mounted the instrument LEDS in the plugs. The top plug is threaded so it is held in place with a screw that goes up though the bottom mount.

After wiring it all up and having nothing work, I discovered that for both the neutral and engine lights the colored wire is negative and common wire to the lights is positive. This is backwards from wiring for the turn signal and high beam lights.

20150130_155306-e1422757097918.jpg

20150130_155644.jpg

20150130_155717.jpg

20150130_162655.jpg
 
Finished up the front fender that I made a while back.

The roll of tape and socket are what I used to layout the rough trim lines on the fender. After the fender was
trimmed, I made a paper template of one "quadrant" and used it to refine the other three.

To get the fender mounted straight, I first drilled rough holes for mounting and then tweaked the openings as necessary to get the fender straight and level. Then I removed one mounting bolt at a time and epoxied a fender washer to the inside of the fender and replaced the bolt to hold the washer in place until the epoxy dried.

20150203_113827.jpg


A couple of photos of the fender on the bike. I did two layers of fairing compound to get the fiberglass smooth and then finished up with a coat of glazing putty.

20150208_132605.jpg

20150208_132644.jpg
 
Made some progress recently on the seat. I didn’t like the look of the Lucas Style taillight mounted directly to the back of the seat. Having the taillight tipped upward looked “shade tree” to me, so I fabricated a brackets into the seat for both the taillight and license plate.

After seeing the taillight and license mountes, I decided to add sides to the license plate mount to better integrate it into the seat. I tried a bunch of ideas for blending the seat and license plate bracket together and eventually settled on the one shown in the last couple pictures. The bottom of the seat was trimmed to expose a portion of the top frame rail all the way back to the end of the frame.

Taillight with chrome plated license bracket mounted directly to seat.

20150202_1145221.jpg


License plate holder being added to seat.

20150207_155003.jpg


Taillight and license plate holder before adding sides.

20150208_142155.jpg


Sides being added to license plate holder.

20150208_195524.jpg


Seat after trimming.

20150212_094019.jpg

20150212_093935.jpg
 
Man, you have a ton of work in that seat! Always encouraging to see someone keeping at it until they are happy - so many of us (including myself) get to a point and just say enough! Have to say, loved the lines before you added that tag architecture. Looks awfully heavy now to my eye - aesthetically speaking - just my 2 cents. I did one very similar a while back and this is how I ended up mounting the tag- sorry for the crappy pic. I have struggled with the same issue on numerous occasions - always seem to end up with an aluminum bracket to hold just the top of the tag. Interesting how a small change can impact the visual balance. Any notion to continue that big body line from the bottom of the tank on to the seat? It would make a really nice factory-like detail.

Awesome work - looking forward to more!
 

Attachments

  • maroon seat.jpg
    maroon seat.jpg
    648 KB · Views: 365
jpmobius said:
Man, you have a ton of work in that seat! Always encouraging to see someone keeping at it until they are happy - so many of us (including myself) get to a point and just say enough! Have to say, loved the lines before you added that tag architecture. Looks awfully heavy now to my eye - aesthetically speaking - just my 2 cents. I did one very similar a while back and this is how I ended up mounting the tag- sorry for the crappy pic. I have struggled with the same issue on numerous occasions - always seem to end up with an aluminum bracket to hold just the top of the tag. Interesting how a small change can impact the visual balance. Any notion to continue that big body line from the bottom of the tank on to the seat? It would make a really nice factory-like detail.

Awesome work - looking forward to more!

Thanks. I sorta agree with your comment about the butt looking heavy. Hanging the tags below the seat is certainly a nice clean look and perhaps what I should have done. I had dim recollections of a Norton Dunstall seat when I was working on this design and though it'd look good with the big fat tank. I'm going to leave the tail as is for now. It can always be fixed later with a saw. :)

I added extensions to the front of the seat to try and tie the seat and tank together. I've played with this connection endlessly using cardboard and tape.
Nice job on your seat. How'd you get the curved sides? Foam?
 
Right, same as your seat, epoxy over urethane foam. Fender and intake manifold are of the same construction. I just noticed that weirdly, the angle of my pic shows a similar front surface that I was suggesting for your seat. My tank does not have a body line to continue like yours does, and the boundary between the side and pitched in front edge on mine is fairly rounded, but the general shape is there. It is hard to see in the pic, but that aluminum mount for the tag is actually the surface the tail light mounts to - the whole works is inset into the back of the body work, so the aluminum is just a flat plate with a slight bend in it to get a little pitch to the plate. The light is off of an old Kawasaki S-3 I think. Construction-wise, I had the back flat and vertical and made the assembly with the aluminum plate just stuck on the back. Sorted out the light mounting, took the light back off and lightly glued on another block of foam. Shaped it to blend in, glassed it over, then just cut the glass to wrap around the light and scraped out the foam - job done!
Only rarely do I use an alternative technique. I spend a lot of time carving up foam, hacking of sections, adding it back on and staring at it over beer(s) before I start up with the glass, but the cool thing is that you can shift gears at any time and hack off some of the glass and go back to sculpting foam. Fool proof as long as you are willing to spend more time!
 
I'm thinking of trimming the bottom of the seat. Which looks better: Picture A or Picture B.

Picture A: Pencil marks show roughly the trim line.

20150214_131155.jpg


Picture B: Ignore the slight curve on toward the back of the seat, I meant for the line to be straight, but the electrical tape didn't cooperate.

20150214_131121-e1423940242642.jpg
 
Sorry - I would recommend that you actually lower the seat line to conceal the upper frame tube; maybe even having more of a "S" curve (a little lower than the seat bottom) linking the bottom of the tail area with the bottom of the seat area and blending into the front curve meeting the tank. The Seca tank (and now the seat "hump") has too many curved lines to not echo that with the seat bottom.
 
Maybe something like this?
 

Attachments

  • seca seat lines 2.jpg
    seca seat lines 2.jpg
    270.2 KB · Views: 376
needs to come down a lot more and cover up the hole through the frame,or are you using seperate side panel covers ?
 
jpmobius said:
Maybe something like this?

I like your idea and it wouldn't be too hard to do either. It's painful to think about cutting off the license holder at this point. Gonna think on it for a bit.

Thanks for taking time to create the image mockup. I spent a bunch of time making cardboard cutouts and never came up with anything this good.
 
xb33bsa said:
needs to come down a lot more and cover up the hole through the frame,or are you using seperate side panel covers ?

The mono shock, rear fender and air filters are not installed in these photos, so the frame interior is not so barren looking in the assembled bike. I am not planning to do side covers.
 
That's some nice fiberglass your doing, looks real good on bike, nice lines.
Several years ago I 'helped' a friend do a 500cc conversion on one of those XS400's. He said it went real well when finished.
Used Suzuki GS500 pistons and liners, 1mm oversize for a 75mm bore 8)
 
crazypj said:
That's some nice fiberglass your doing, looks real good on bike, nice lines.
Several years ago I 'helped' a friend do a 500cc conversion on one of those XS400's. He said it went real well when finished.
Used Suzuki GS500 pistons and liners, 1mm oversize for a 75mm bore 8)

Cool. Did he do a writeup on this anywhere? I'm guessing the original cylinders had to be bored to accept the suzuki liners. Any other mechanical hurdles?
 
Sorry, I can't remember.
I was teaching engine repair/machining at the time and Chris was a student.
Moved back home before I saw it finished.
I'll try and contact him, we are still loosely in touch on Facebook
 
Back
Top Bottom