crazypj
Split personality, I fake being smart
Pete12 said:. And what's wrong with Firestones anyway? ;D ;D
Absolutely nothing wrong with them- if your riding a 1940's motorcycle
")
Pete12 said:. And what's wrong with Firestones anyway? ;D ;D


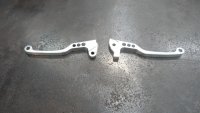
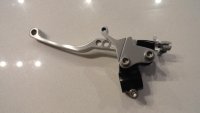
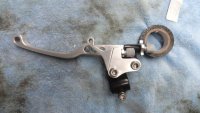
crazypj said:Really like the 6061 levers, not only stronger than stock but won't break when bike is dropped plus easy to re-straighten.If cost isn't too high I'll bet there's a market for them with vintage racers (and others?)