
We noticed you are blocking ads. DO THE TON only works with community supporters. Most are active members of the site with small businesses. Please consider disabling your ad blocking tool and checking out the businesses that help keep our site up and free.
You are using an out of date browser. It may not display this or other websites correctly.
You should upgrade or use an alternative browser.
You should upgrade or use an alternative browser.
Bridgestone M2/SS 200cc Motorcycle Restoration! She Is Still Winning Awards!
- Thread starter joeyputt
- Start date
joeyputt
The green flag sets me free
Re: Bridgestone M2/SS 200cc Motorcycle Restoration
Brothers you are all too kind, thank you so much for the compliments however a lot of the credit goes to Brother casi85 as well, he has a very nice vision for what he would like for this motorcycle and has truly been offering absolutely beautiful parts to work with!
She is a shining star, I hope a lot of people will enjoy getting to see her at the shows!
joeyputt
The green flag sets me free
Re: Bridgestone M2/SS 200cc Motorcycle Restoration
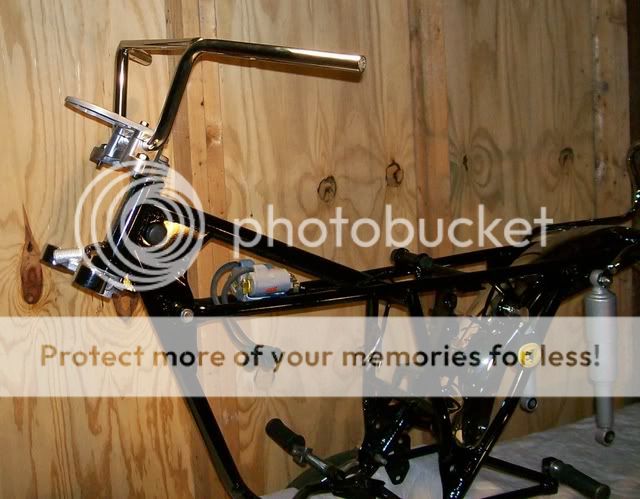
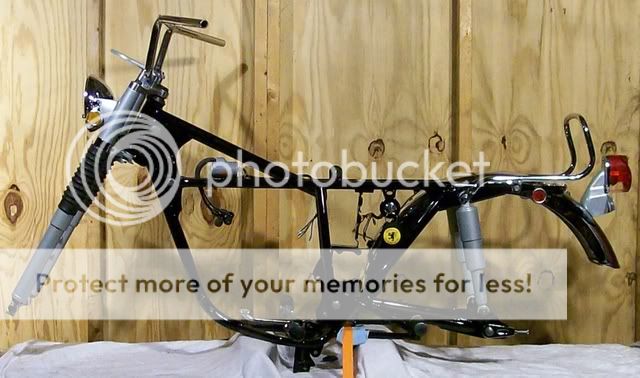
This photo shows the handle bars that Brother casi85 had rechromed for the Bridgestone!
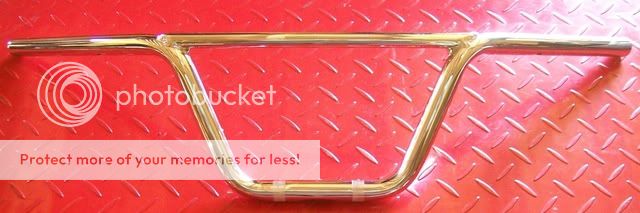
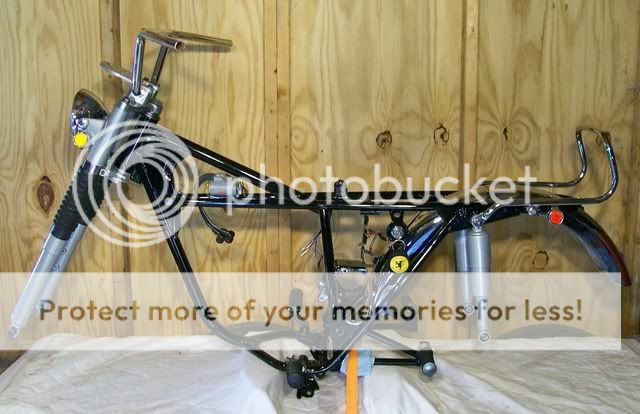
I installed the triple trees with their bearings, the newly chromed handlebars with their clamps, and the speedometer bracket to the frame. I will have to take the frame outside to get some really nice photos however this is how she looks now!
This photo shows the handle bars that Brother casi85 had rechromed for the Bridgestone!
I installed the triple trees with their bearings, the newly chromed handlebars with their clamps, and the speedometer bracket to the frame. I will have to take the frame outside to get some really nice photos however this is how she looks now!
joeyputt
The green flag sets me free
Re: Bridgestone M2/SS 200cc Motorcycle Restoration
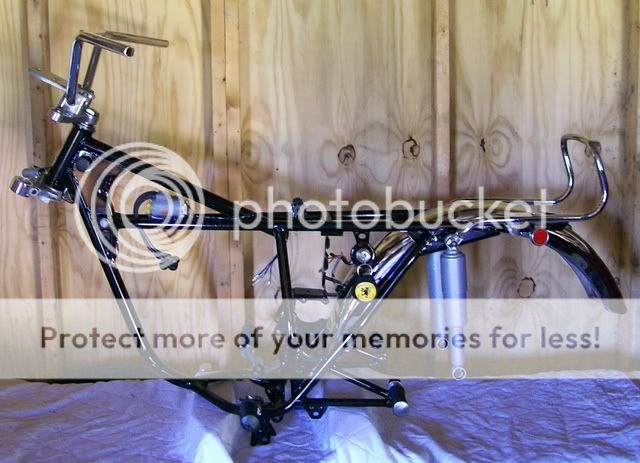
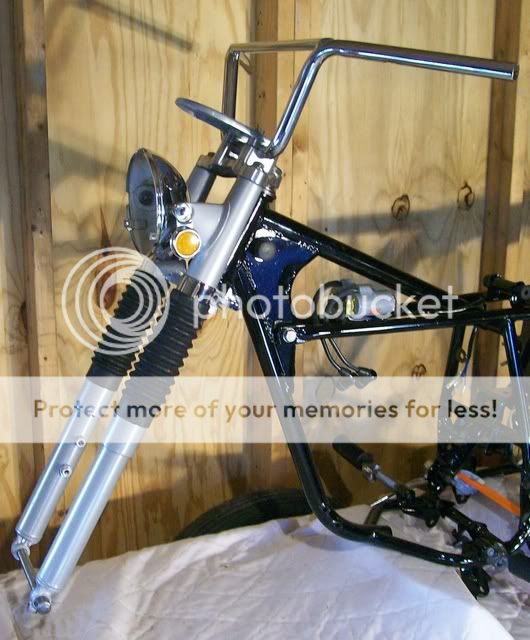
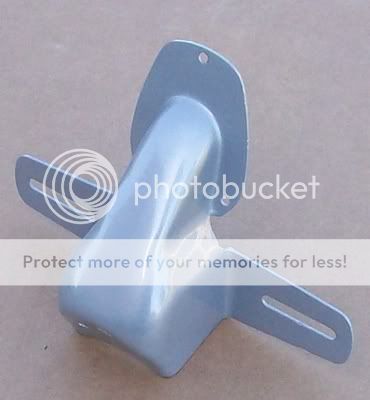
I got a lot of work done on the Bridgestone today, I sprayed the final silver basecoat and clearcoat on the chain guard and tail light bracket and I was also able to spray the black on the speedometer, the front engine mounts, toolbox, center stand, and the swingarm. The paint is still drying on these parts so I will add photos of them in the morning.
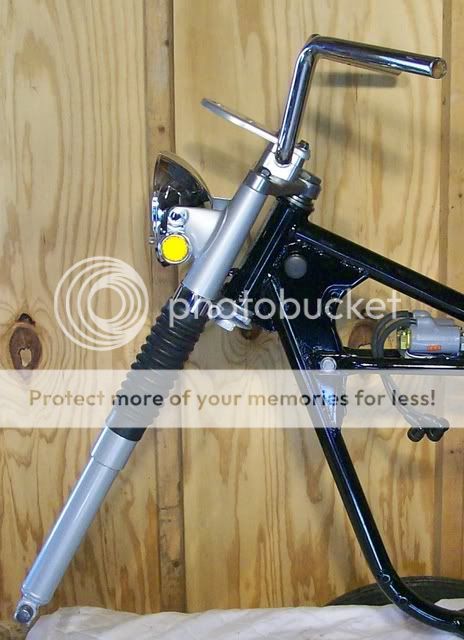
After I painted today I filled the forks with oil and started assembling more of the front end components and was able to install the front forks, springs, spacers, boots, lower triple tree chrome collars, head light mounts, new front reflectors, the newly chromed headlight bucket, the axle, etc. to the motorcycle.
Here are a few photos of how she is resting this evening!
I got a lot of work done on the Bridgestone today, I sprayed the final silver basecoat and clearcoat on the chain guard and tail light bracket and I was also able to spray the black on the speedometer, the front engine mounts, toolbox, center stand, and the swingarm. The paint is still drying on these parts so I will add photos of them in the morning.
After I painted today I filled the forks with oil and started assembling more of the front end components and was able to install the front forks, springs, spacers, boots, lower triple tree chrome collars, head light mounts, new front reflectors, the newly chromed headlight bucket, the axle, etc. to the motorcycle.
Here are a few photos of how she is resting this evening!
joeyputt
The green flag sets me free
Re: Bridgestone M2/SS 200cc Motorcycle Restoration
The parts that I painted yesterday dried enough to handle so I bolted the swingarm to the frame and assembled the newly chromed tail light housing to the bracket and mounted it to the fender. I also started polishing the tail light lens and mounted it as well.
I am planning on trying to finish the sanding and polishing of the front brake plate and hub within the next couple days so that I can build the front wheel and mount it as I would like it in place for measurements as I reshape and restore the stainless steel front fender.
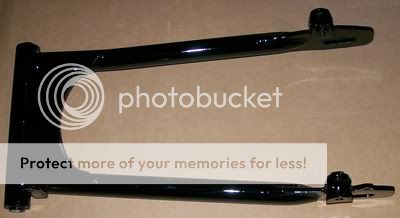
joeyputt
The green flag sets me free
Re: Bridgestone M2/SS 200cc Motorcycle Restoration
Thank you Brother! You know your support means a lot to me!
VonYinzer said:Beautiful Joe!!!!!
Thank you Brother! You know your support means a lot to me!
joeyputt
The green flag sets me free
Re: Bridgestone M2/SS 200cc Motorcycle Restoration
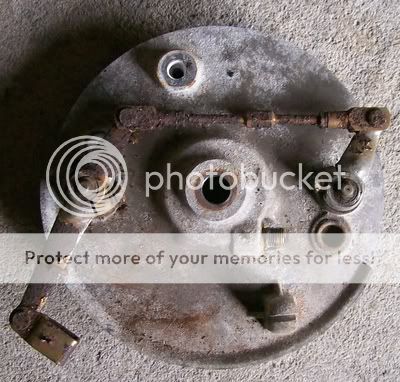
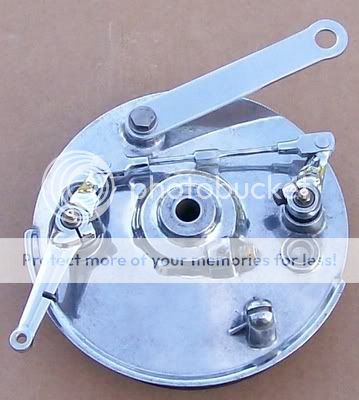
Today we worked on sanding and polishing the front brake plate and hub some more, as I mentioned previously Brother casi85 asked me to leave the factory casting marks, imperfections, etc. and lightly polish the aluminum to retain as much of the factory appearance as possible so I lightly hand polished the brake plate and reassembled it with the shafts that I cleaned and the levers that Brother casi85 had rechromed. Dad also came for a visit and spent a lot of time sanding the hub so as soon as we polish it I will post more photos and start building the wheel with the new spokes and chrome rim.
I am going to polish the plate some more to remove the very fine scratches however this is how it looks so far.
joeyputt
The green flag sets me free
Re: Bridgestone M2/SS 200cc Motorcycle Restoration
Brother casi I am so happy that the brake plate looks like you wanted it to! You have a beautiful vision for this motorcycle and I am so very proud and truly honored to have been provided the opportunity to work with you on it!
Thank you Brother 56_oval!
Brother casi I am so happy that the brake plate looks like you wanted it to! You have a beautiful vision for this motorcycle and I am so very proud and truly honored to have been provided the opportunity to work with you on it!
Thank you Brother 56_oval!
joeyputt
The green flag sets me free
Re: Bridgestone M2/SS 200cc Motorcycle Restoration
Dad sanded the front hub on Friday so today I started polishing it, I also laced the hub to the new chrome rim with new spokes. I still have to true the rim so the spokes are loose in this photo and I am going to polish the hub some more however this is how the rim looks this evening.
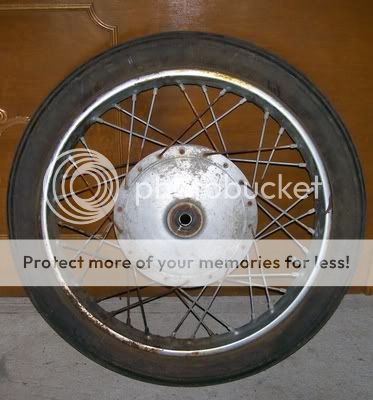
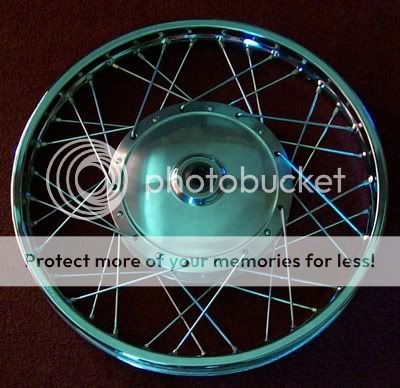

Dad sanded the front hub on Friday so today I started polishing it, I also laced the hub to the new chrome rim with new spokes. I still have to true the rim so the spokes are loose in this photo and I am going to polish the hub some more however this is how the rim looks this evening.


