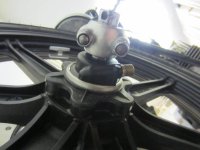
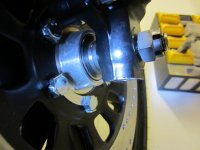
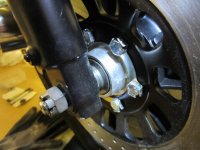
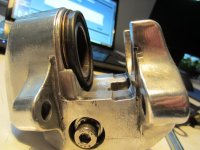
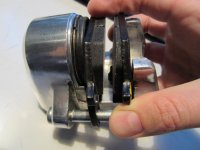
so heres the story i put my front axle of my Yam RD bacck together,every step was well documented by me when I took it apart but i can´t tell if the axle is installed properly...
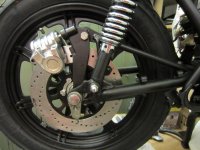
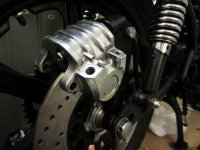
Is it normal that the left side of the axle is just "grabbed" by the holding bracket which is held by 2 nuts...doesnt seem safe")
there is no "ridge" where the axle would grab onto or something...its jsut grabbed by the holder.
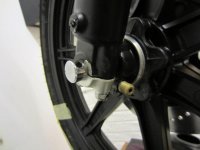
on the right side there´s just the nut.
Please help!
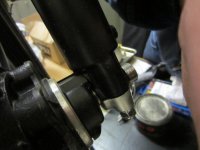
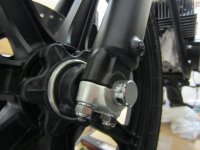
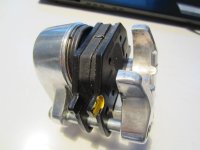
Is it normal that the left side of the axle is just "grabbed" by the holding bracket which is held by 2 nuts...doesnt seem safe
there is no "ridge" where the axle would grab onto or something...its jsut grabbed by the holder.
on the right side there´s just the nut.
Please help!