
We noticed you are blocking ads. DO THE TON only works with community supporters. Most are active members of the site with small businesses. Please consider disabling your ad blocking tool and checking out the businesses that help keep our site up and free.
You are using an out of date browser. It may not display this or other websites correctly.
You should upgrade or use an alternative browser.
You should upgrade or use an alternative browser.
Project Ground Pounder -1981 Suzuki DR500
- Thread starter Kanticoy
- Start date
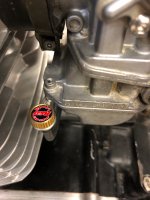
I put one of those on my dr650 for the same reason, though it was a royal pita to remove the old flexible one that had seized into the carb. Like trying to break a bolt loose using a wet noodle as a ratchet extension lolKanticoy said:Whoever invented these adjustable fuel screws for the FCR is a genius. The factory location is ridiculous .
Sent from my SM-G920V using Tapatalk
Hurco550 said:I put one of those on my dr650 for the same reason, though it was a royal pita to remove the old flexible one that had seized into the carb. Like trying to break a bolt loose using a wet noodle as a ratchet extension lol
Sent from my SM-G920V using Tapatalk
Hahaha! That makes me want to put a dab of anti seize on there.
Do it. Do it now lol I did (on my second one) and have had no issue since.Kanticoy said:Hahaha! That makes me want to put a dab of anti seize on there.
Sent from my SM-G920V using Tapatalk
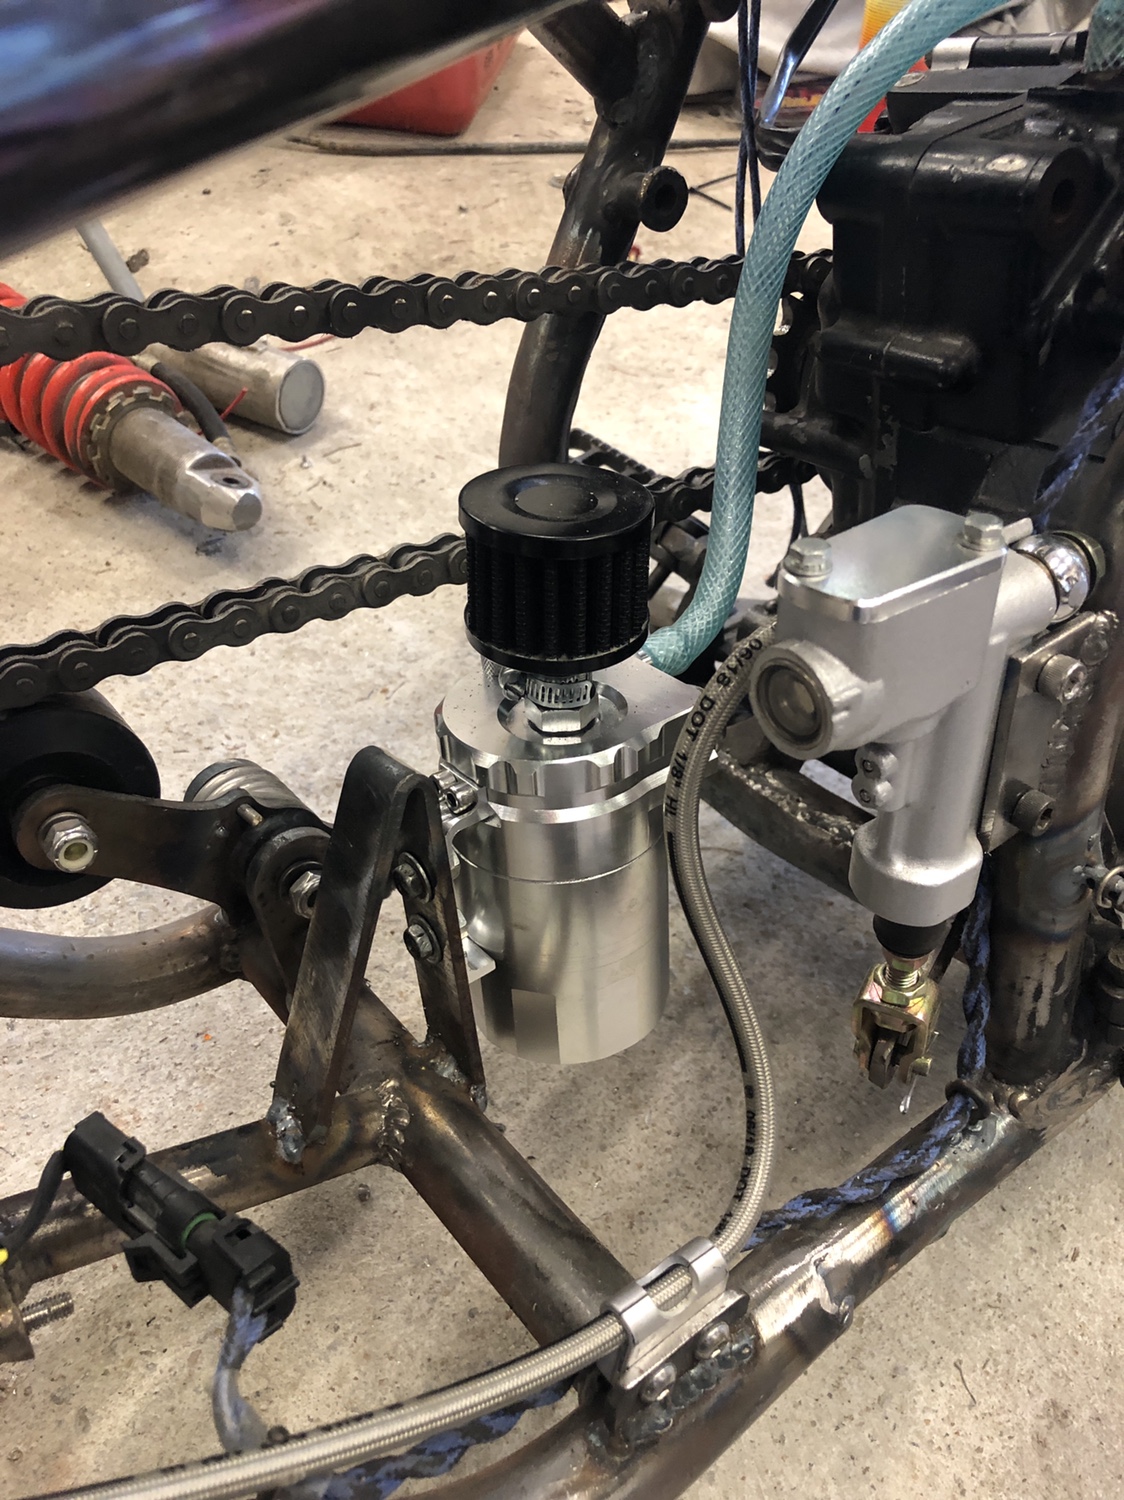
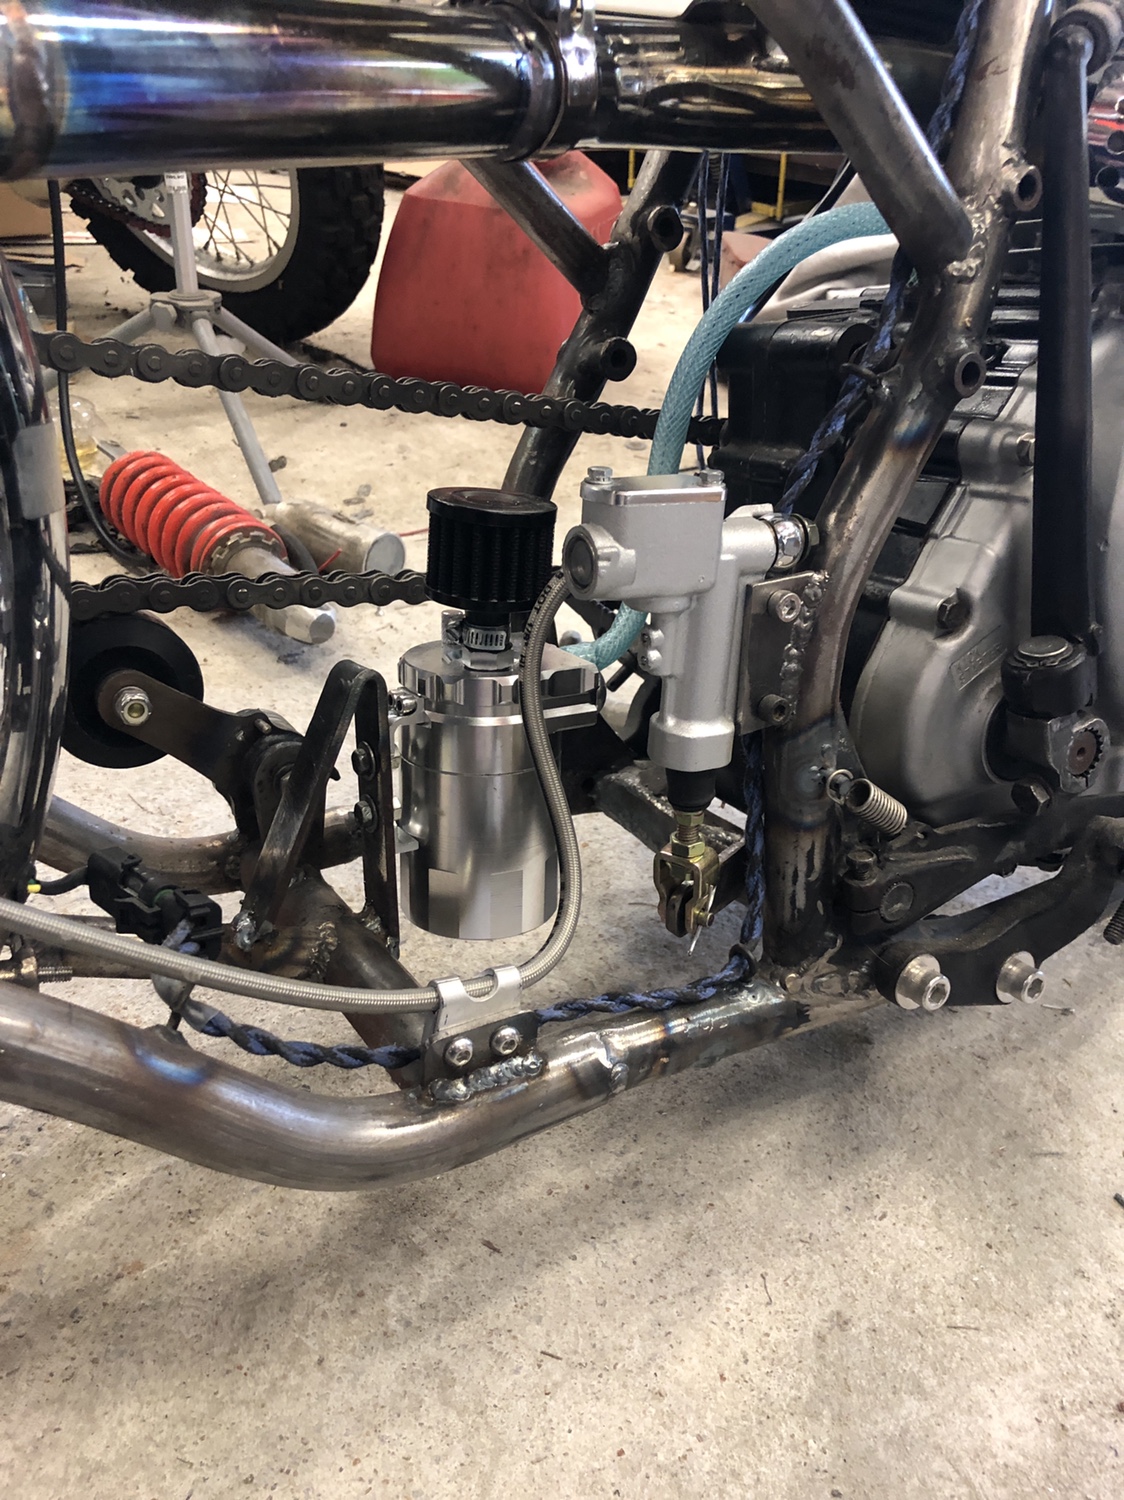
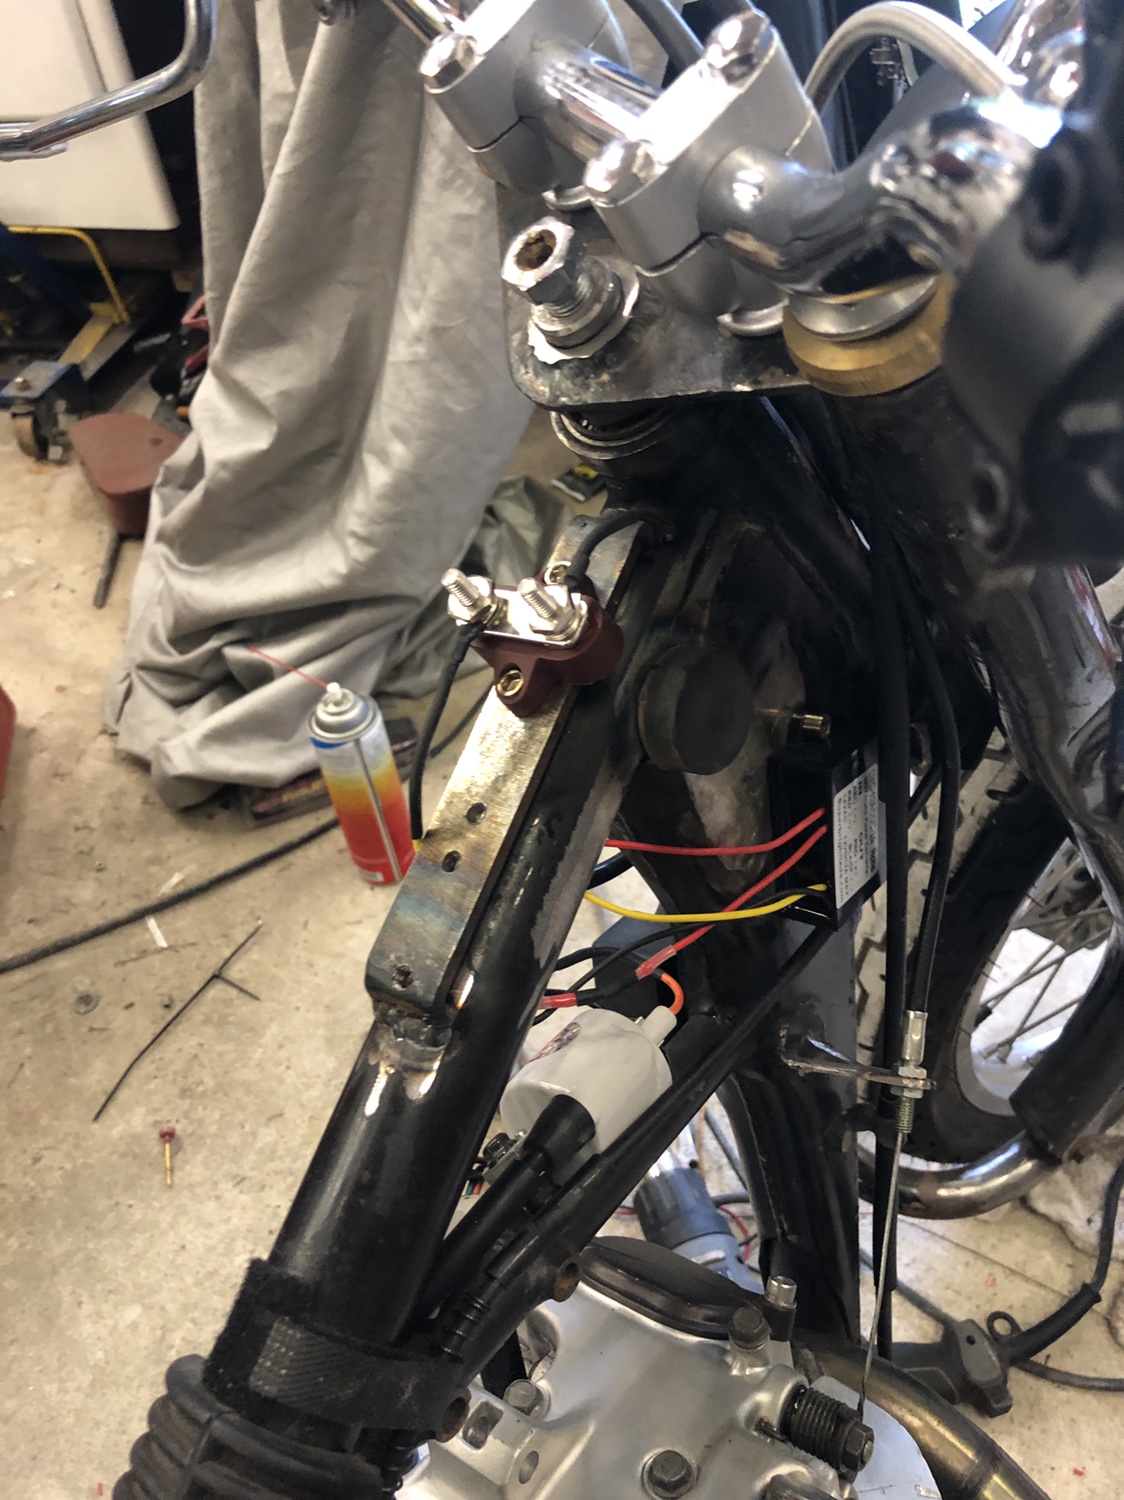
Sorry for the lack up updates guys, life and all of that! I have finally gotten motivated and re-committed to getting this thing done. Been working away and I believe that I am ready for tear down and prettying up now. Today I finished the last of the fabrication. Added an oil catch can with a PCV for the crankcase breather. I learned on the dual sport version that if you don’t you’ll definitely make a mess! Built a bracket and made it happen:
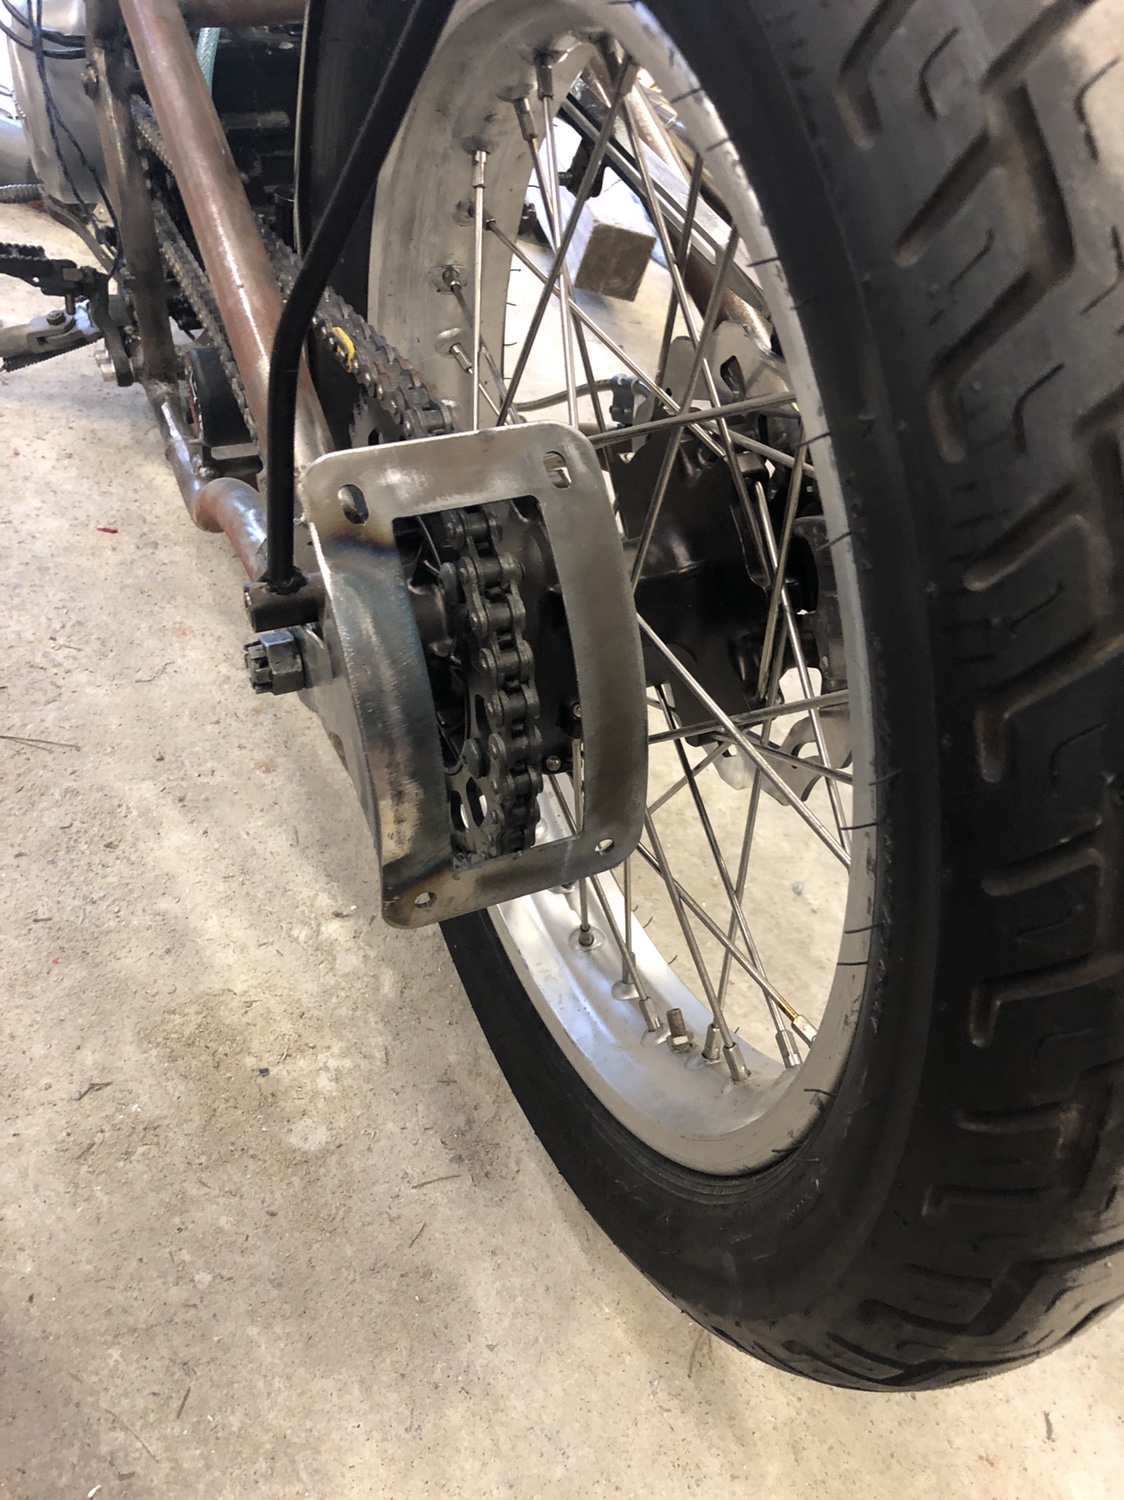
I needed a license plate bracket but I hate the ones that stick off the side like a tumor so I built one that hugs right behind the rear sprocket. I dig it.
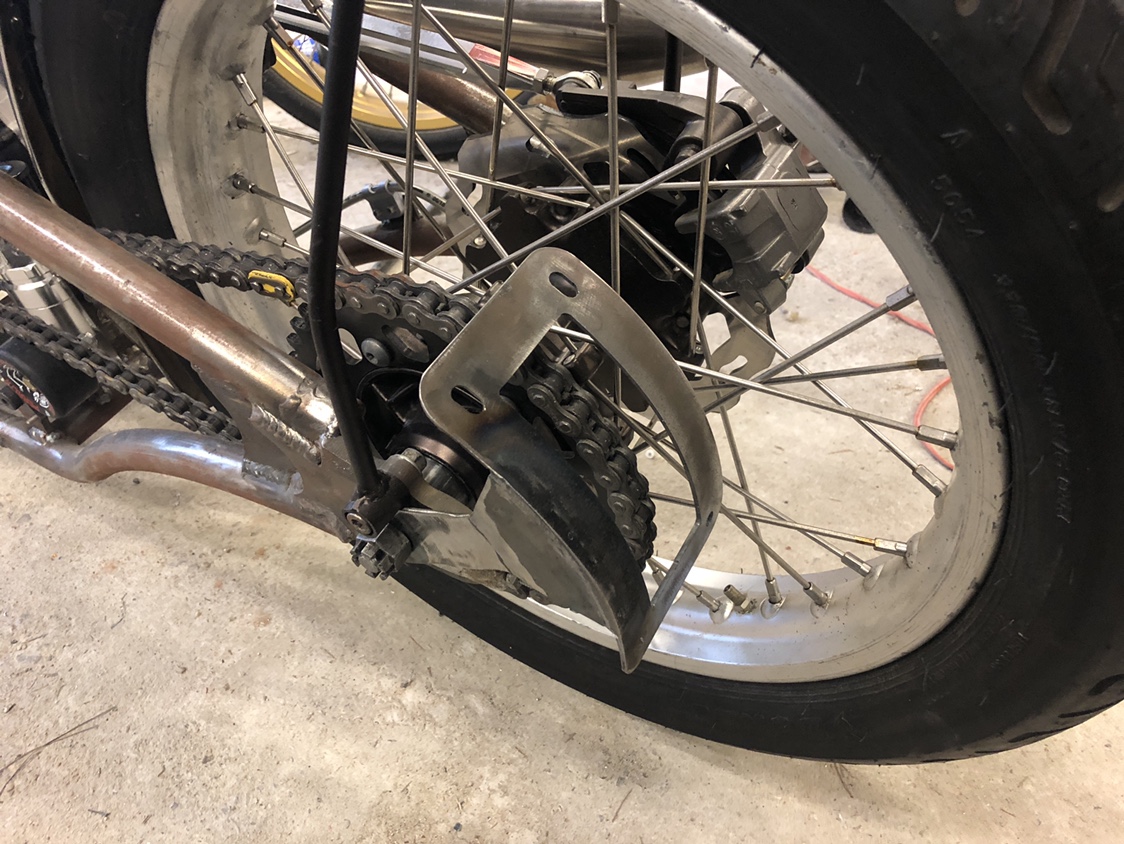
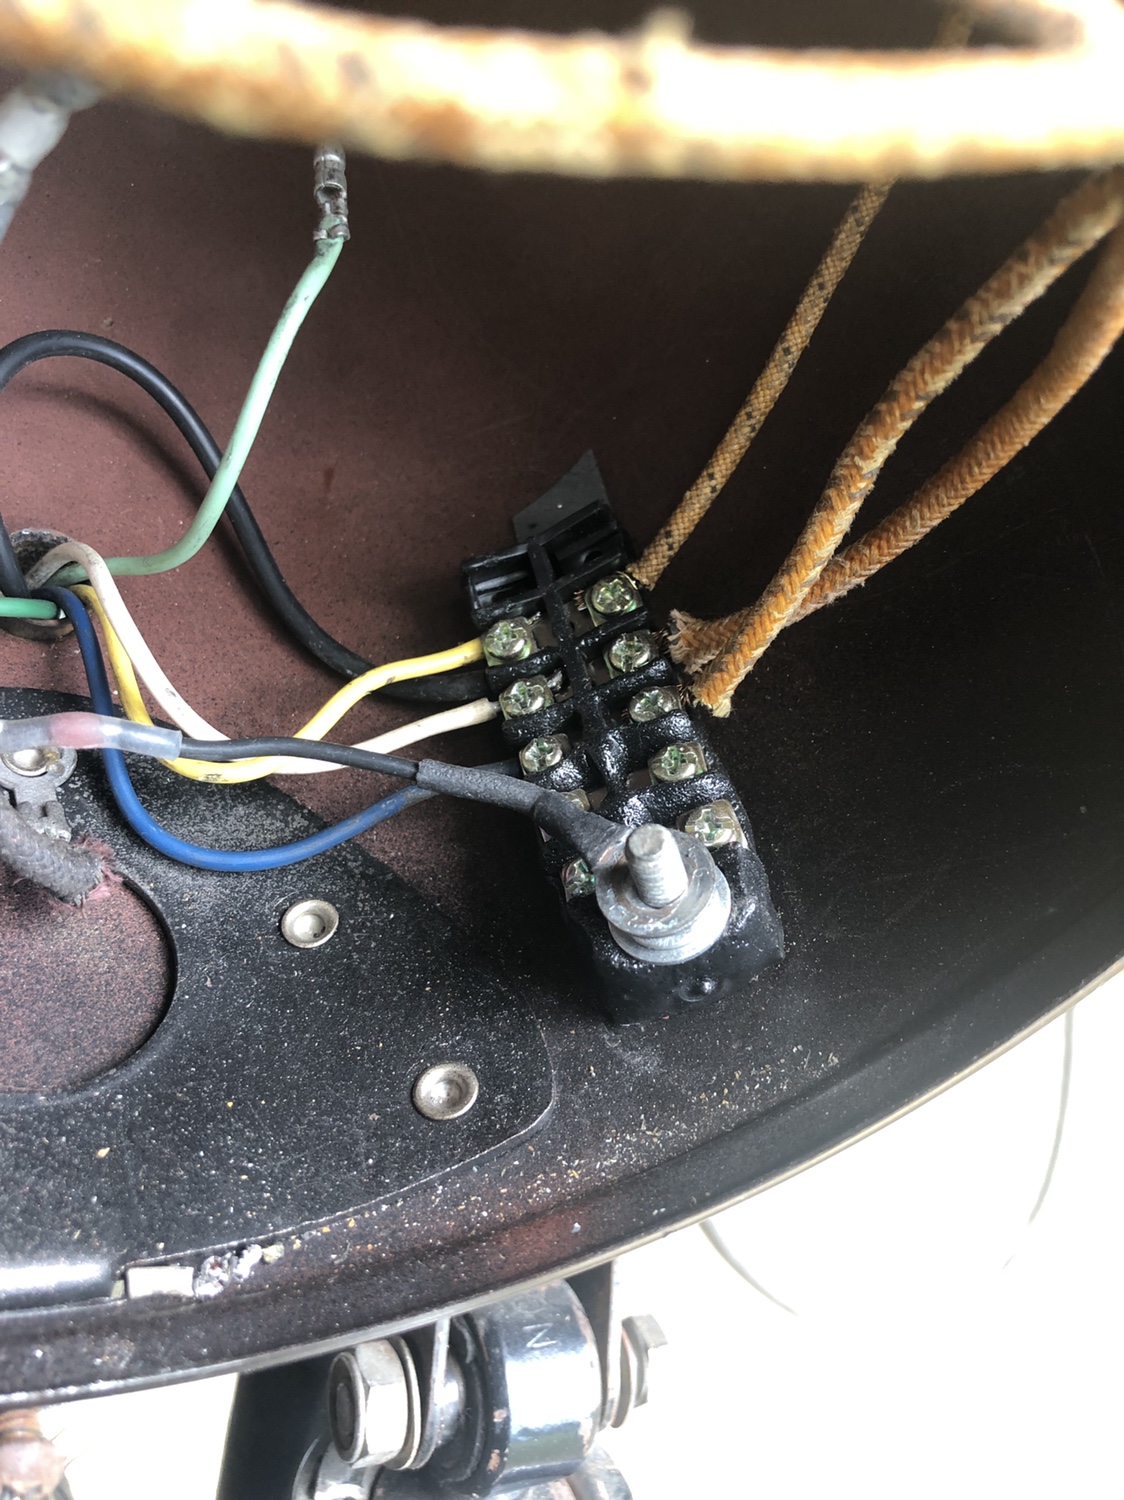
And I got all of the wiring set and finalized. Used a regulator and an AC/DC converter to use all LEDs since this is a dirt bike and runs off of a magneto. Wanted as much light as possible in the very minimal lighting.
I needed a license plate bracket but I hate the ones that stick off the side like a tumor so I built one that hugs right behind the rear sprocket. I dig it.
And I got all of the wiring set and finalized. Used a regulator and an AC/DC converter to use all LEDs since this is a dirt bike and runs off of a magneto. Wanted as much light as possible in the very minimal lighting.
pidjones said:Looking great, but I fear it won't be finished before riding season is over. Time to make two wheels a priority!
Oh it’ll be way finished before riding season is over. Not to mention I’m in Alabama, we can ride all the way into November

Sonreir said:Looking good.
Thanks buddy!
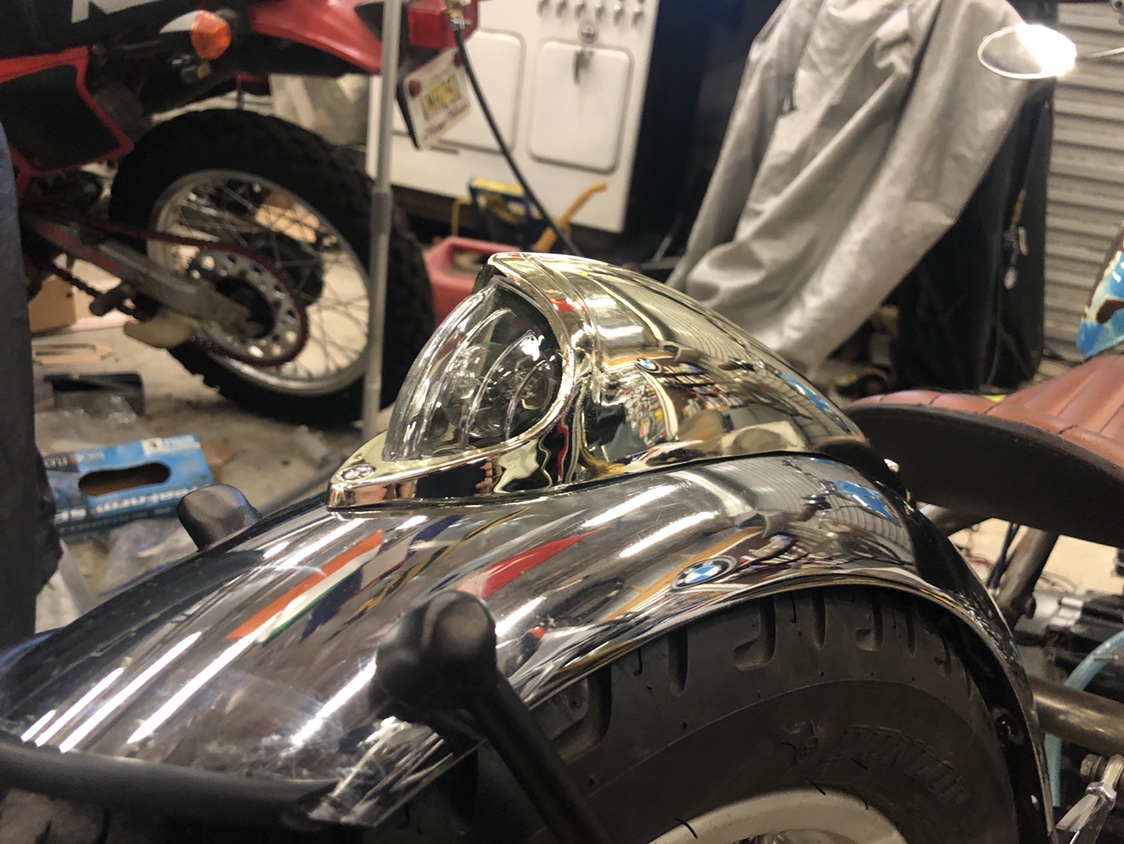
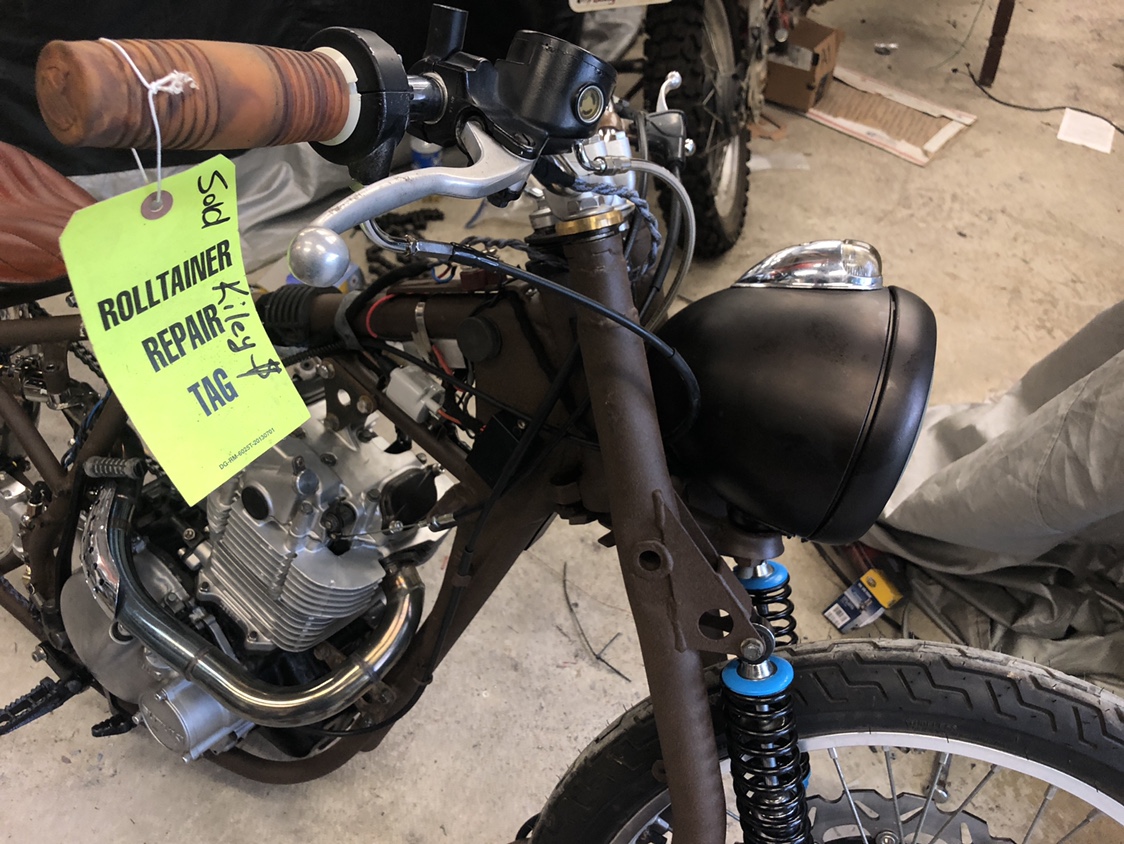
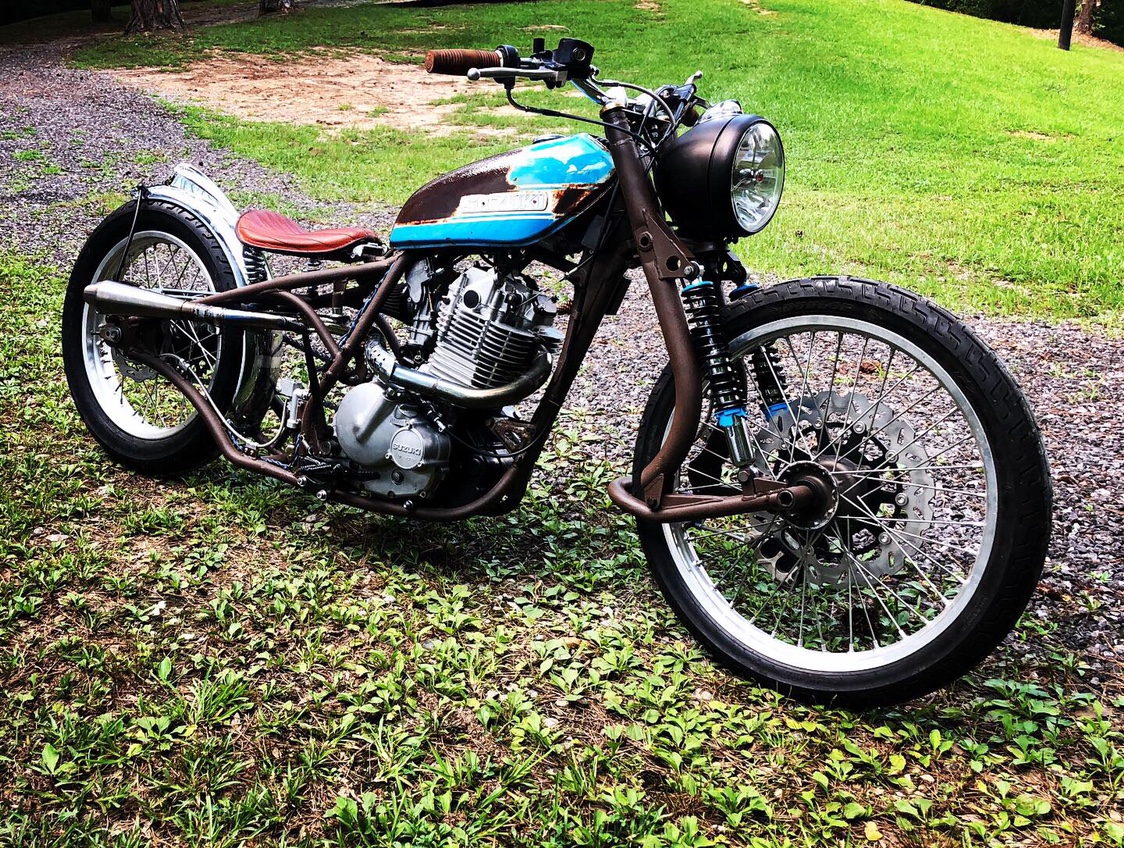
The way that my tail light fit always bugged me because it didn’t match the skinny contour of the rear fender and left some unsightly gaps that I couldn’t remedy. Took a gamble on a vintage bicycle headlight and it’s absolutely perfect. Contour was like it was made for this bike. I love it.
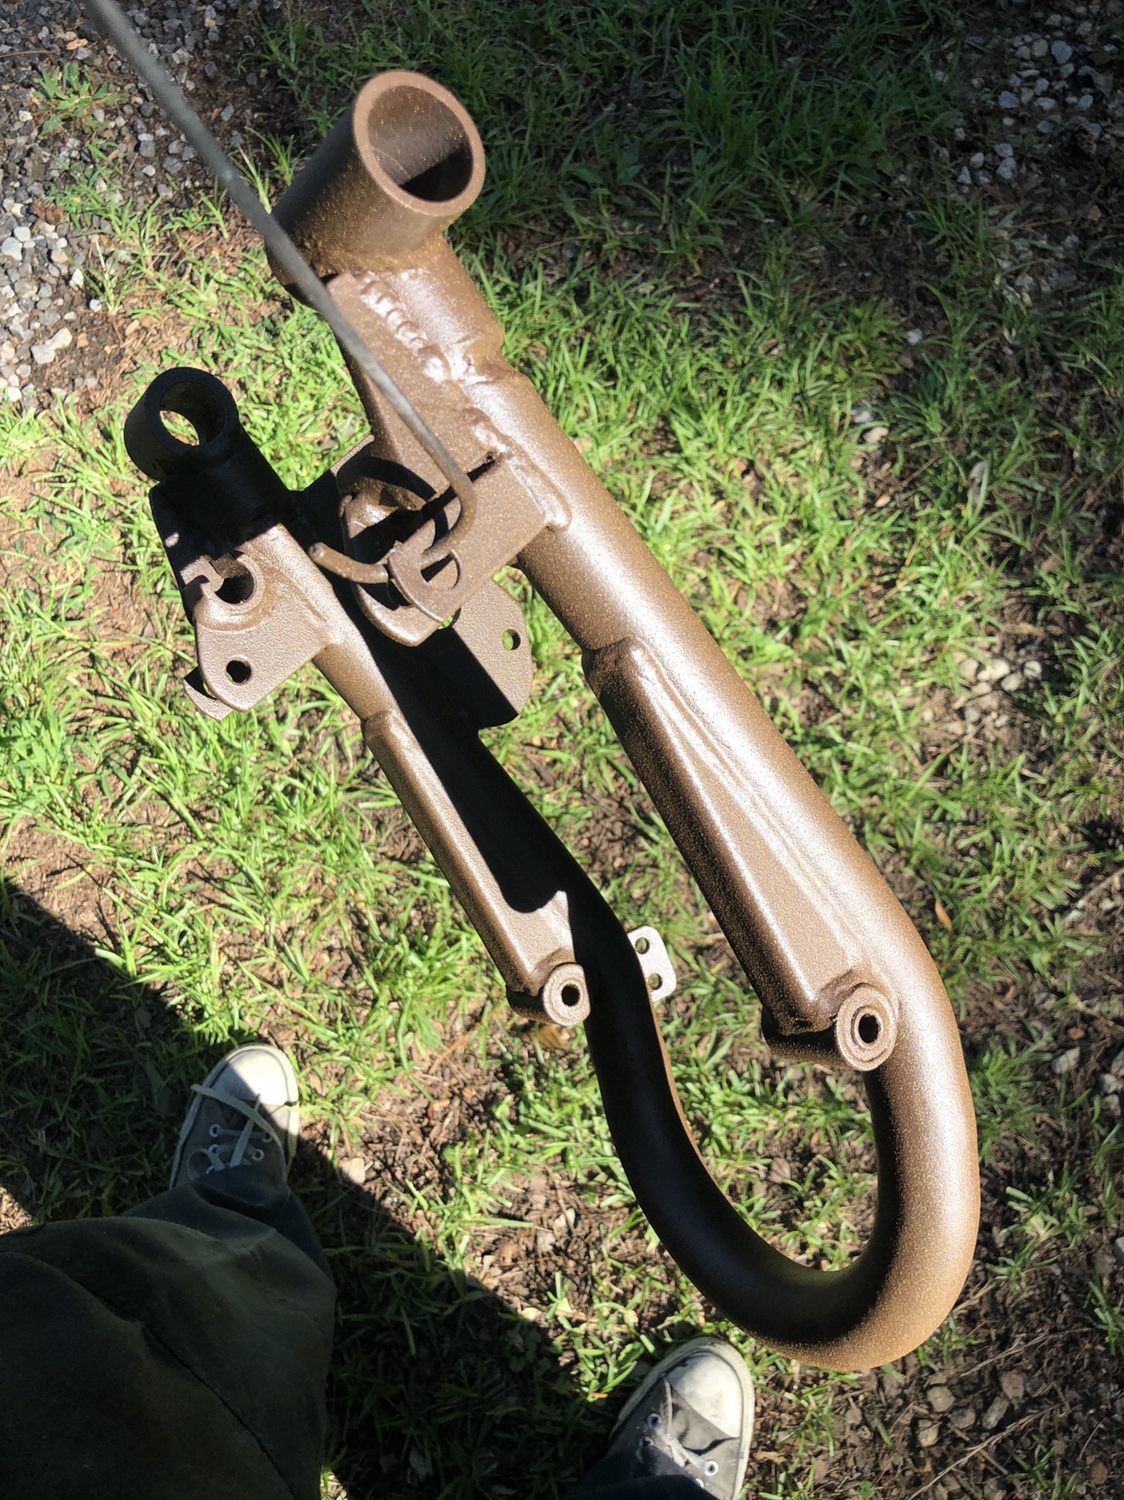
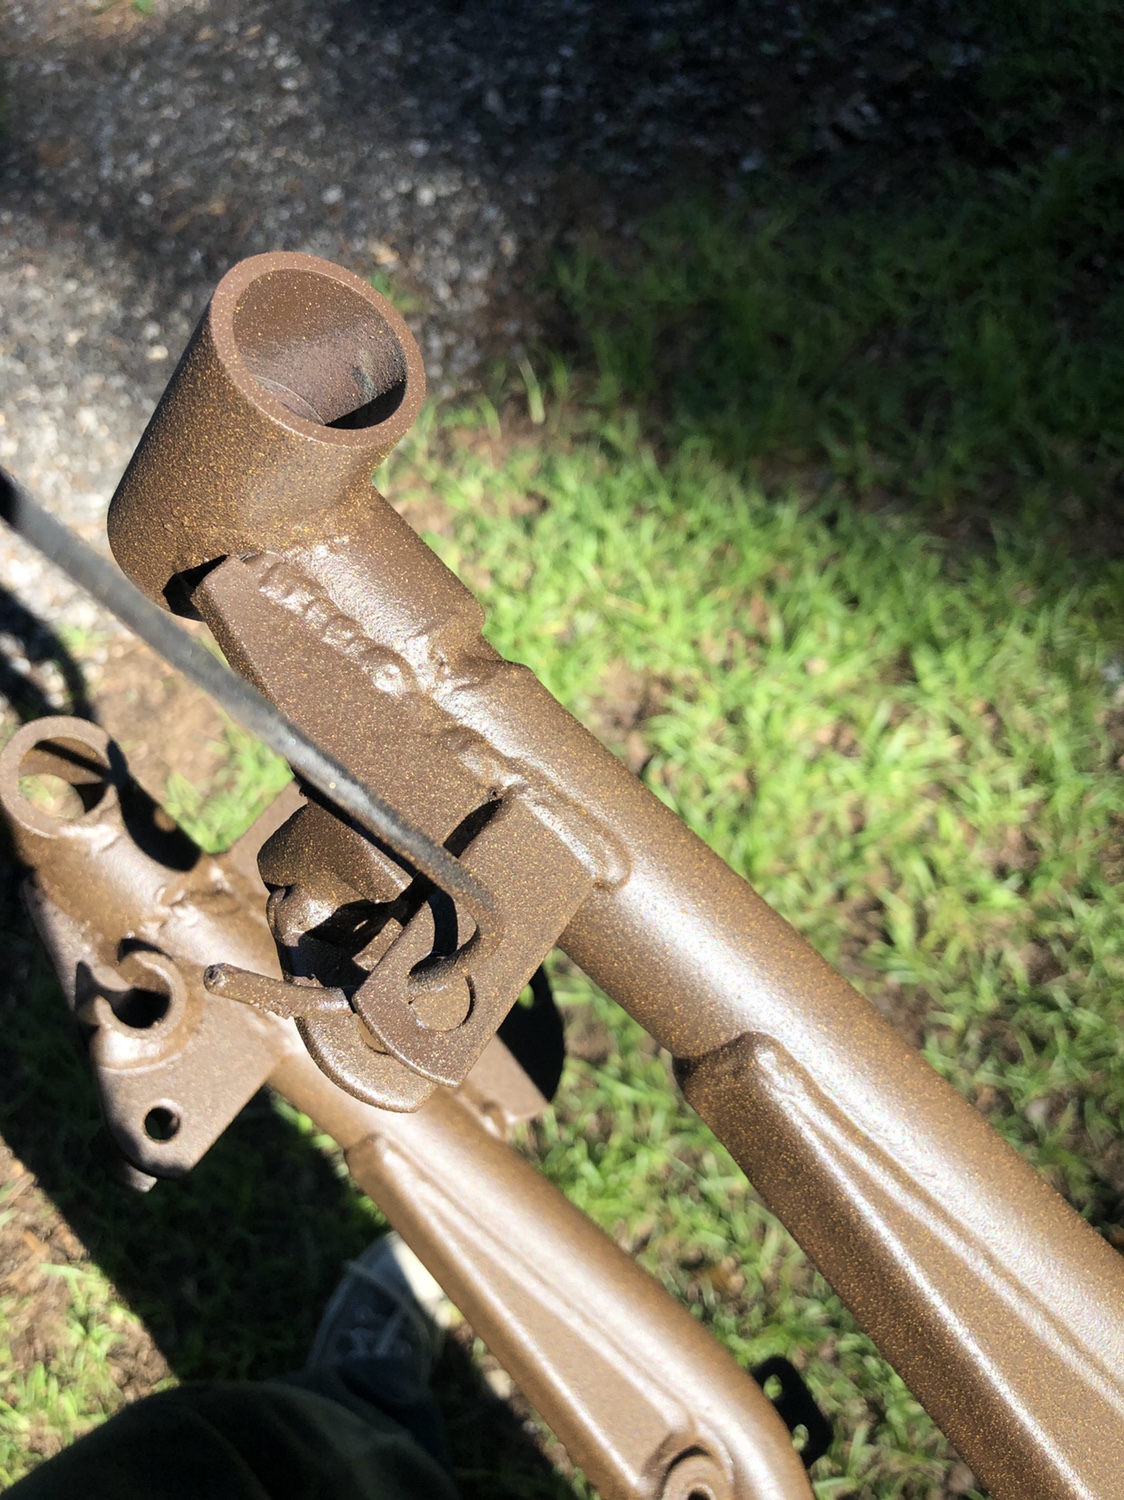
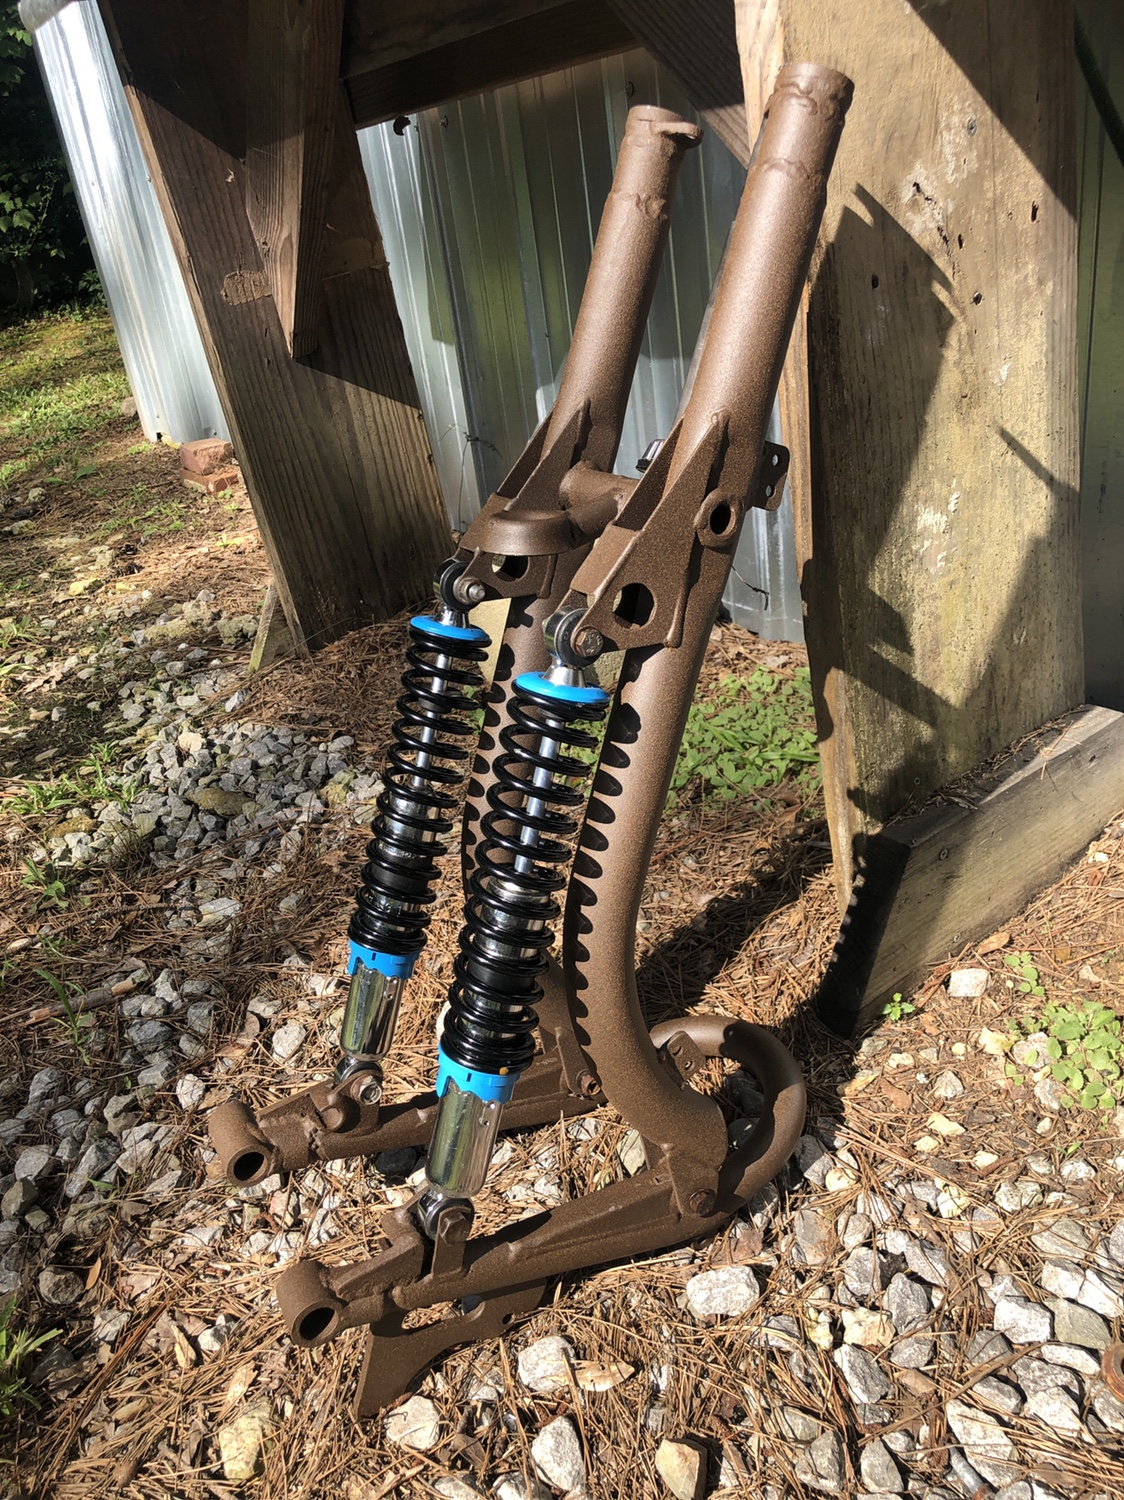
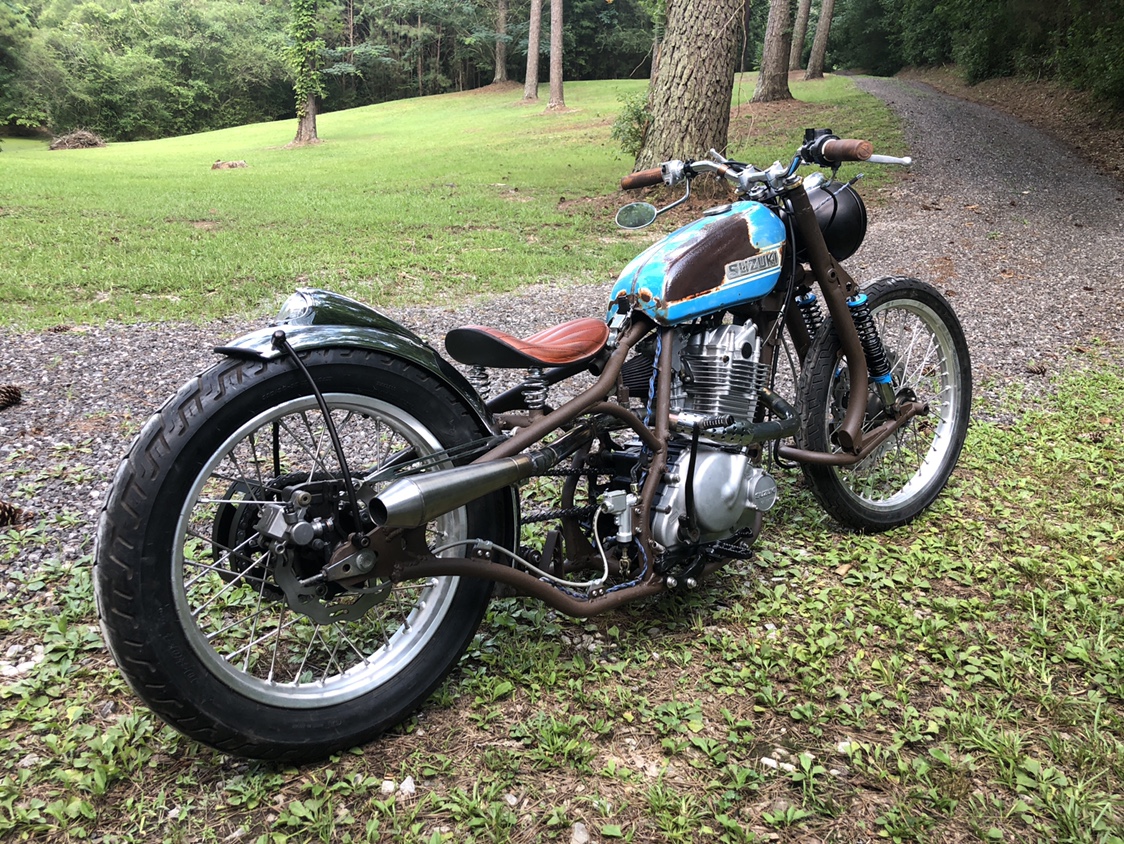
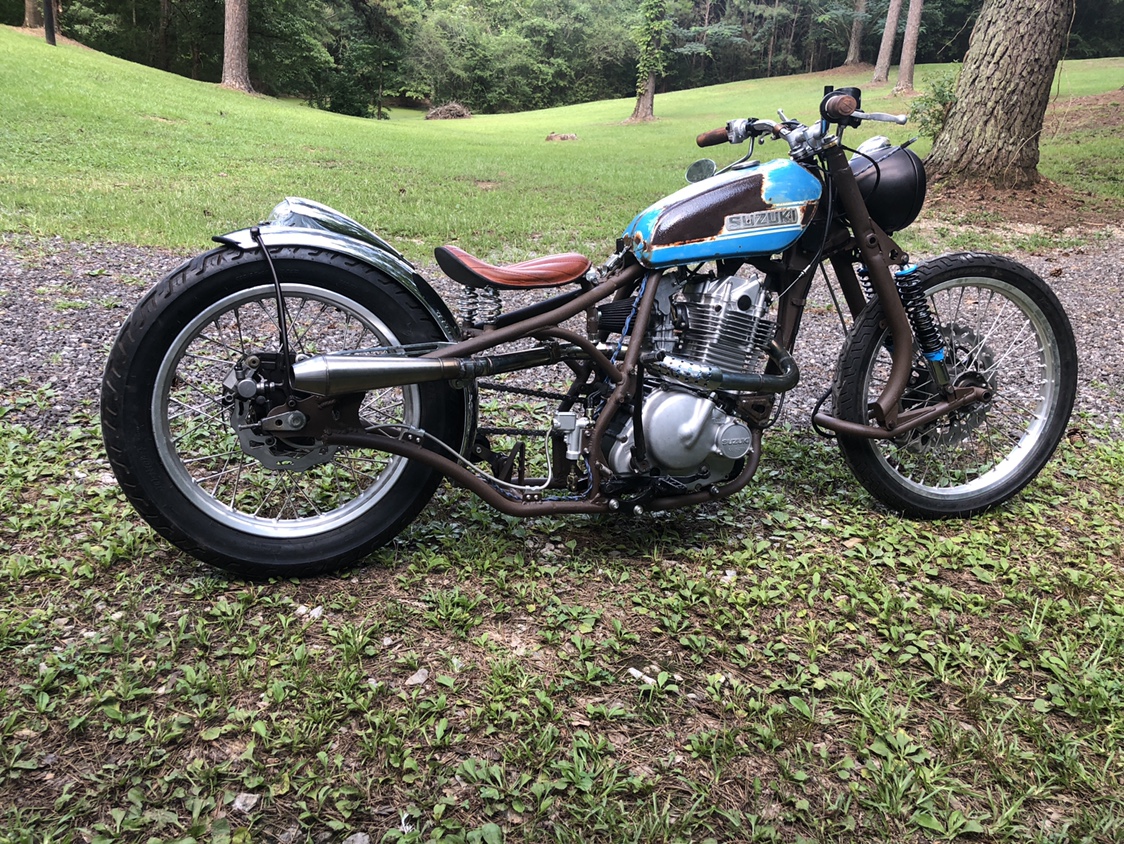
The last two days have been brutal. I spent a total of 24 hours in the shop over 2 days. 9 32 ounce bottles of Gatorade to keep the sweat flowing. I stripped the entire bike down to the frame and finish welded everything that wasn’t done. Then I media blasted everything down to bare metal and powder coated the frame, forks, and who knows how much other random bits and bobs. This morning started reassembly. Along the way the brakes were bled, the wiring was finalized, all of the pivots were greased and the chain was stripped with kerosene and lubed up with motul. Everything is now done, and I’m waiting for my caswell liner in the tank to cure so I can take her for the maiden voyage and take some real pictures. I’m quite pleased with the way all of the colors intermingle and compliment each other. You’ll notice I finally assembled and put on my NOS pair of S&P shocks on the front. The retaining collars are a dead on match for the tank paint. Here’s a good progress photo dump!
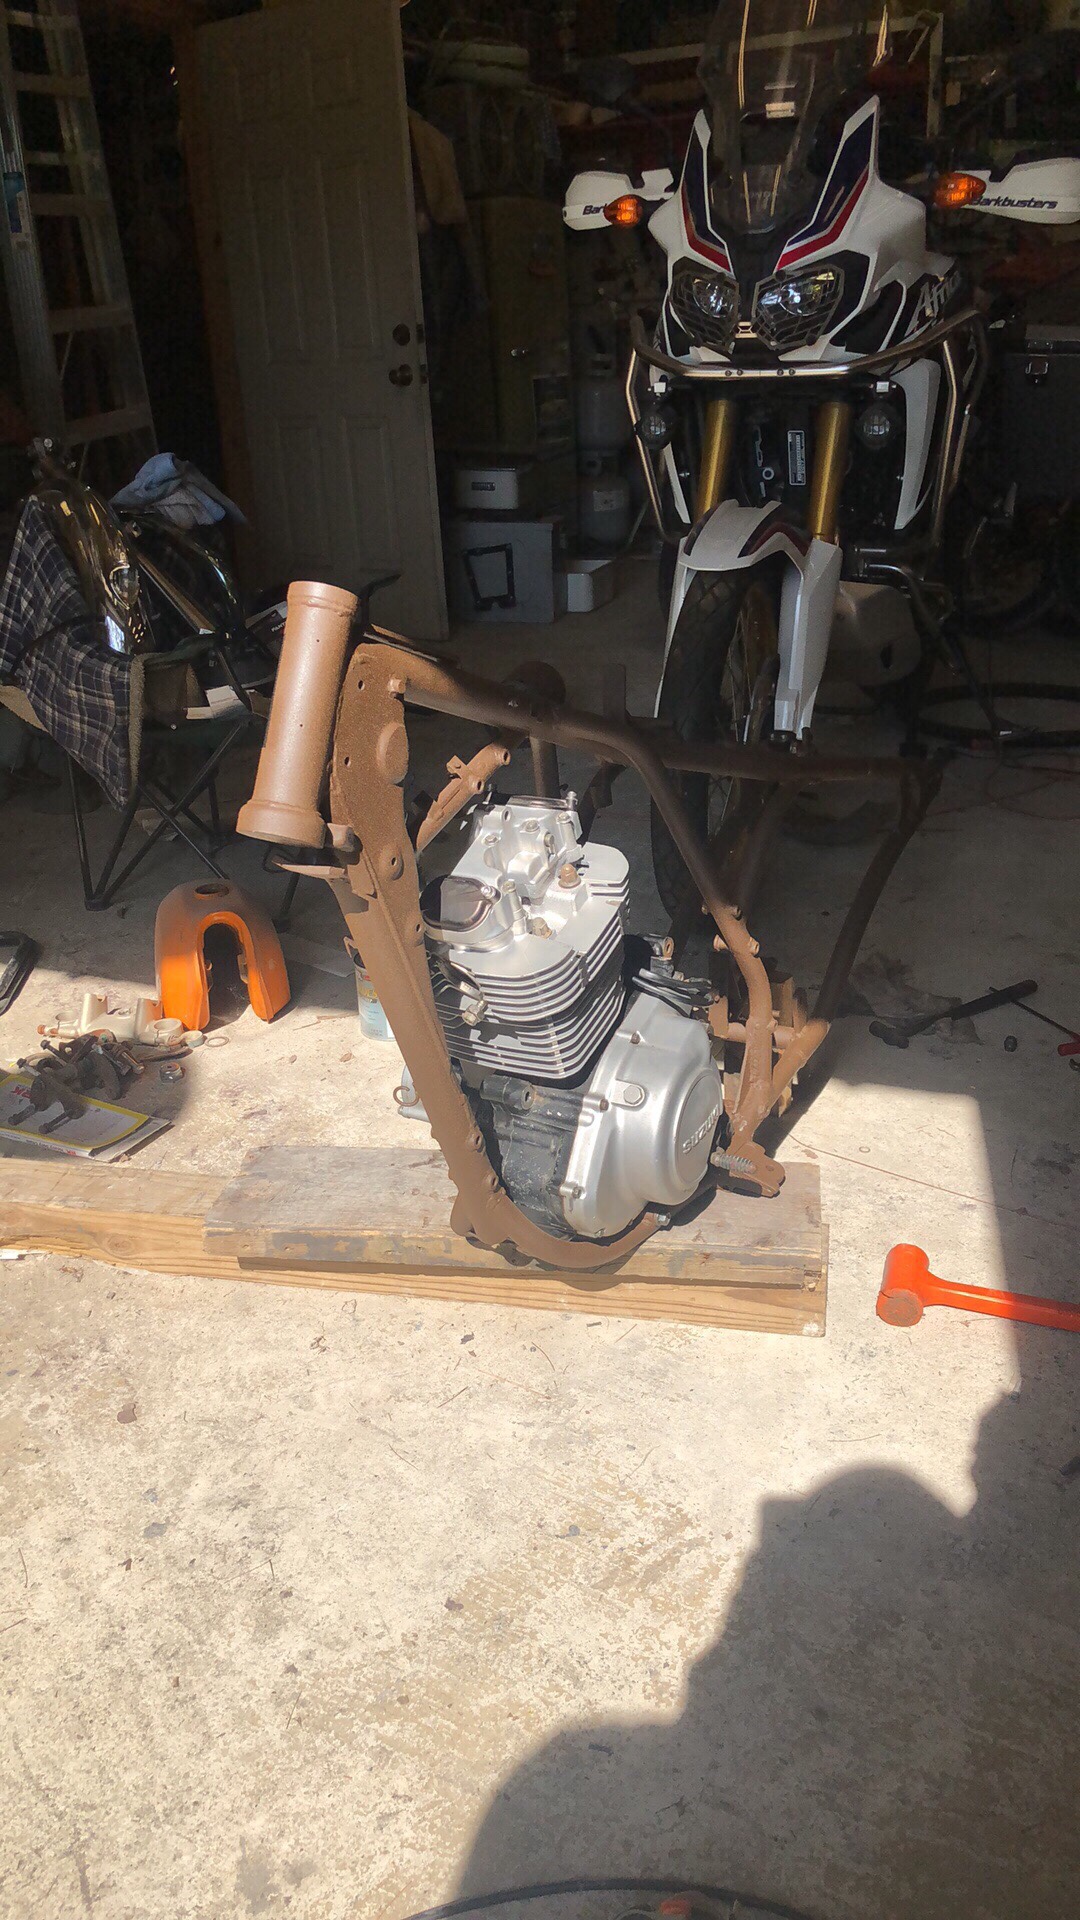
The original sale tag from when I bought the bike from the scrap trailer at the swap last year
Some outside shots:
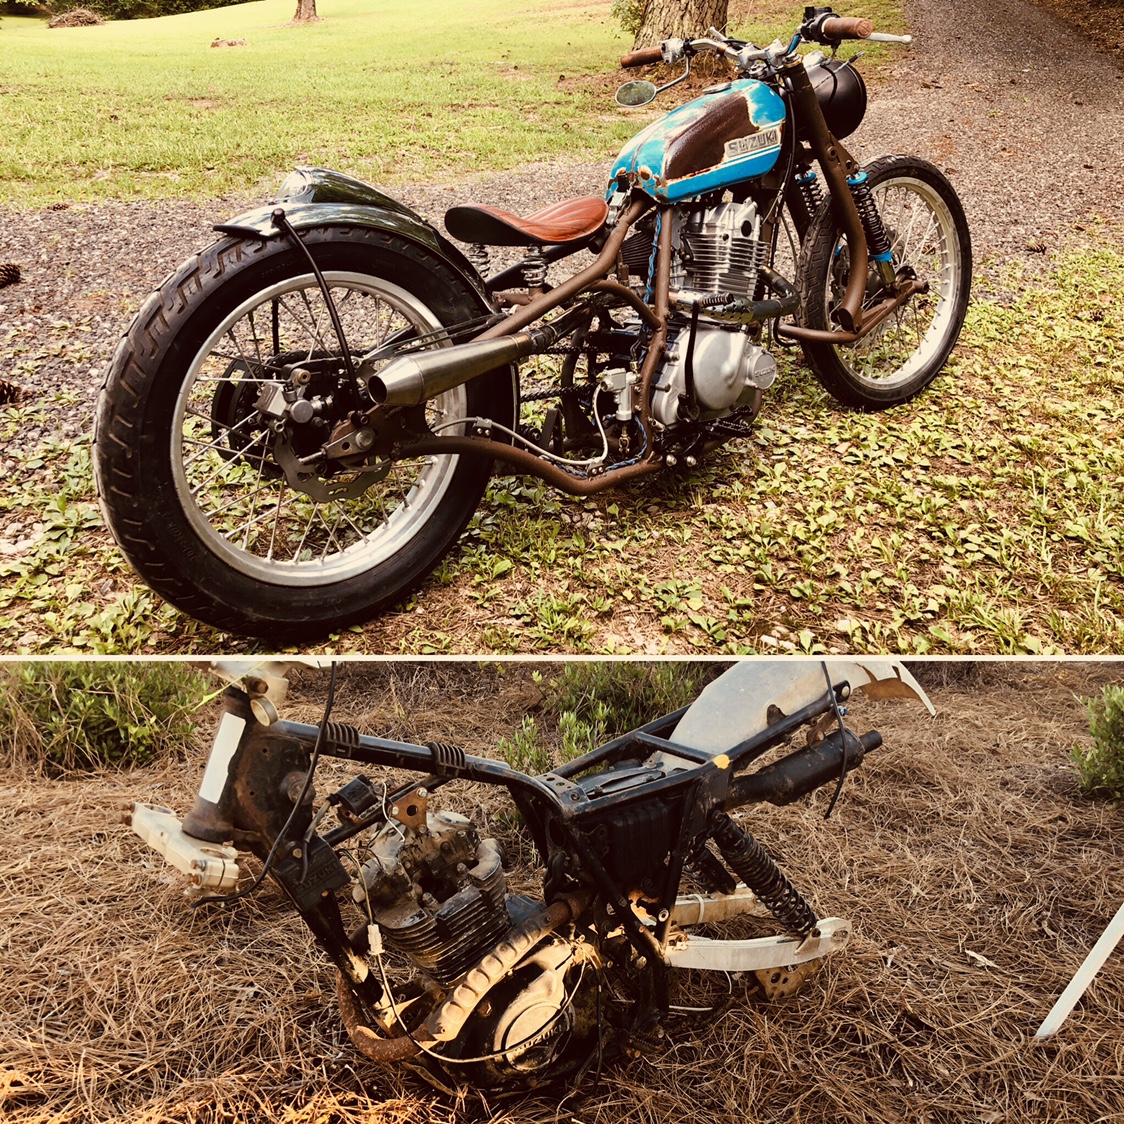
And a little before and after for fun:
The original sale tag from when I bought the bike from the scrap trailer at the swap last year

Some outside shots:
And a little before and after for fun:
Maritime said:A pile of trash to a treasure for sure.
Thanks buddy!
cbrianroll
Coast to Coast
Very rad man! How's the ride?
cbrianroll said:Very rad man! How's the ride?
I’ll find out soon! Tank liner is curing as we speak, hopefully give it a try tomorrow.


