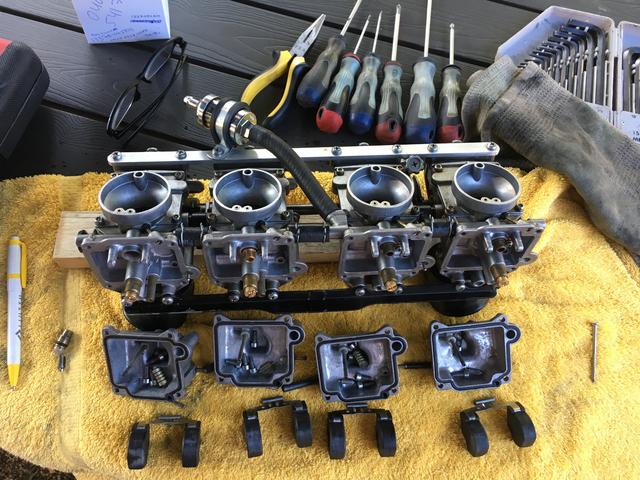
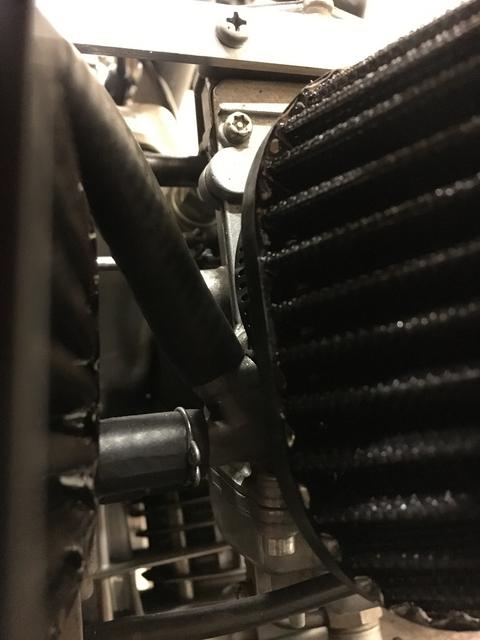
Fuel lines done
Fuel line from the tank -> fuel filter -> carbs.
It was little tricky to figure out where and how to put fuel filter without too much "uphills" and turns to the hose.

I used pipeclamp with rubber insulation to hold fuel filter in its place
 Coating the tank
The fuel tank is old and has little rust inside. When I filled it with water, it was all over rust-colored when I poured it out.
Also you could hear little crumbles rolling around at bottom of the tank.
I bought Por15-kit.
First I have to say you all who are planning to do this: the process is from hell and takes huge amount of your time ;D
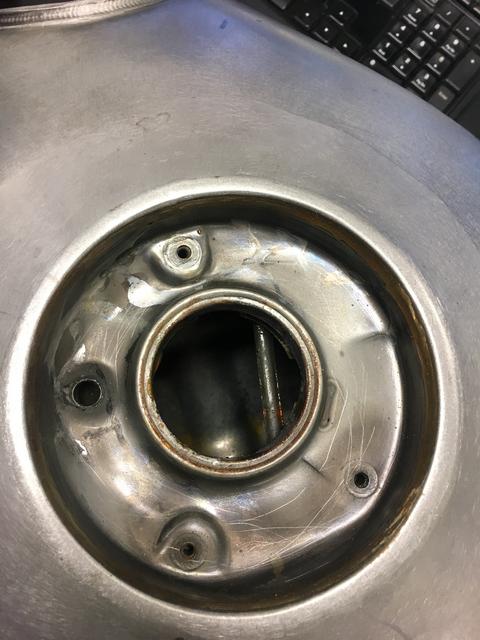
First instructions advice you to flush the tank with fresh water to get bigger particles out straight away.
Remove every removable part (petcock, fuelcap etc.)
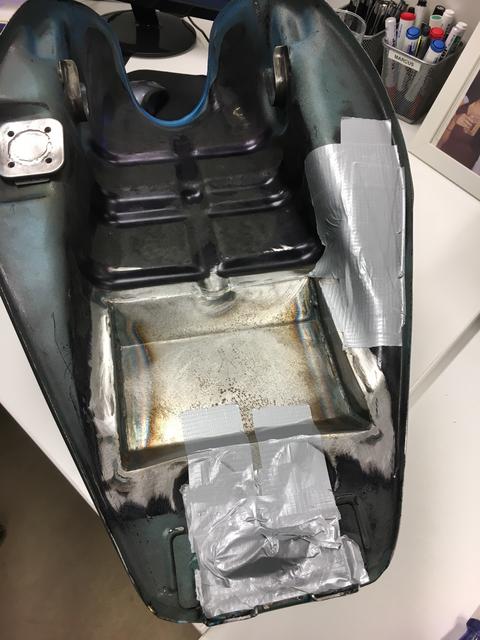
After that you have to clog all holes excluding filling hole.
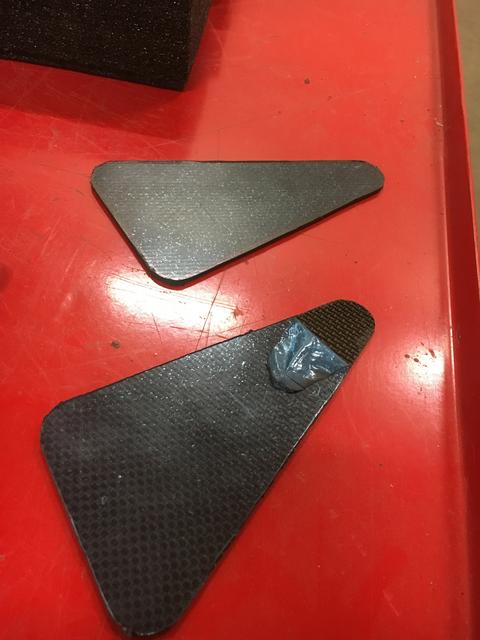
First issue comes at this point. As you may know or guessed, these duct tapes doens't hold when you are going to use hot water...
My advice to you is to fabricate pieces from a sheet metal or something that you could bolt tightly to cover holes.
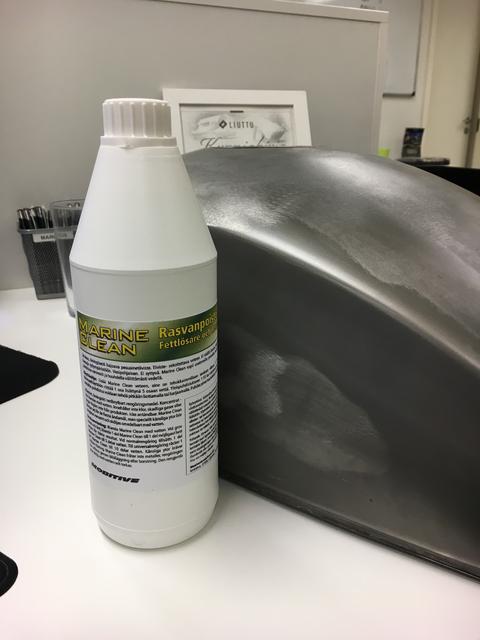
1. step in the real process is to put Marine Clean in. Add same amount hot water.
This will remove grease and other not-wanted-stuff.
After that seal filling hole and pray it will hold ;D
I shaked the tank about 15 to 20 minutes and after that I let it stand 10 minutes on its each side.
Finally flush it with fresh water to get all cleaner out
2. step is to put Metal Prep in. It will prepare metal to receive coatingliquid.
Same process again. Clog holes, metal prep in, seal the filling hole.
I shaked the tank approx. 20 minutes and after that let it stand 20 minutes on each side of it.
Finally flush it good with fresh water. Even the last drop of metal prep has to get out.
After this you should get the tank 100% dry and fast as possible.
I took the tank outside to the sunlight... (its been crazy May in Finland. Temperature between 24 to 28 celsius. Normally we would talk about 15 celcius)
I shaked most of the water out and finally put hot air blower to heat up. (you are not allowed to use compressed air)
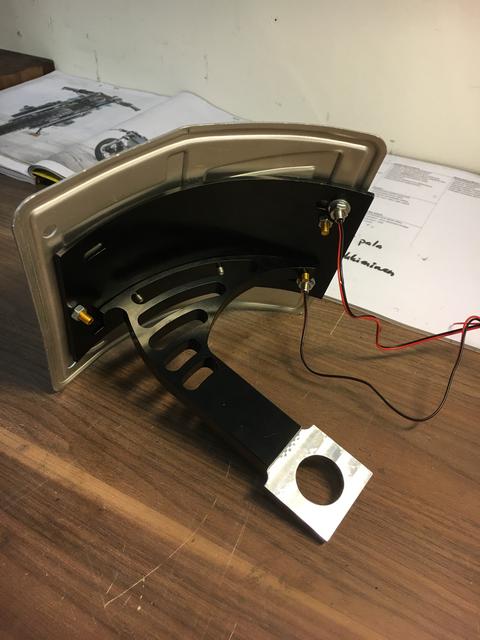
Last phase its coating
Before you clog holes one last time, you should put bolts in, because coatingliquid will coat up threads also.
You should not shake the canister, because it would produce some air bubbles and you don't want them. Although you have to stir it well before using.
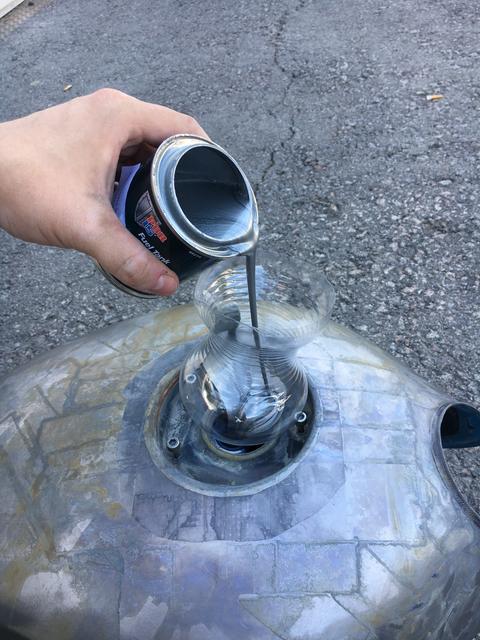
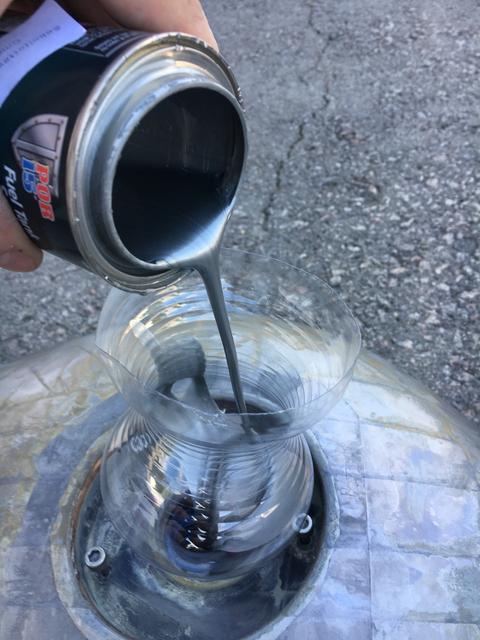
Liquid in, seal holes and gently rotate tank all around.
Many times I thought will this work and will it cover all edges and sides of the tank.
Apparently liquid is pretty "smart" and will expand all over the tank.
After rotating 15 minutes I poured excess liquid out and cleaned outside spills asap.
You should use gloves because this stuff will be in our hands atleast two weeks :
")
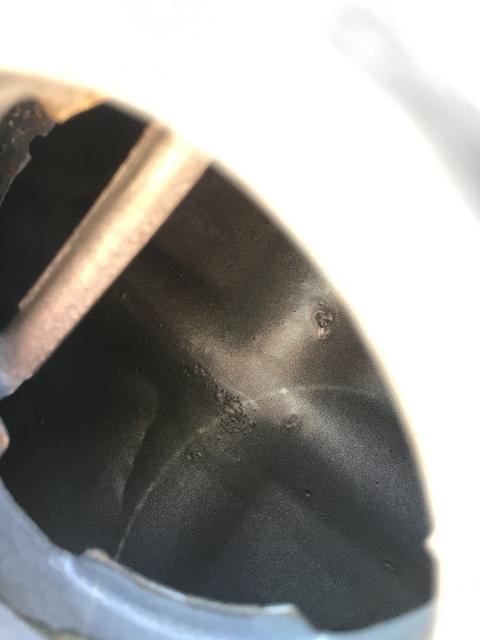
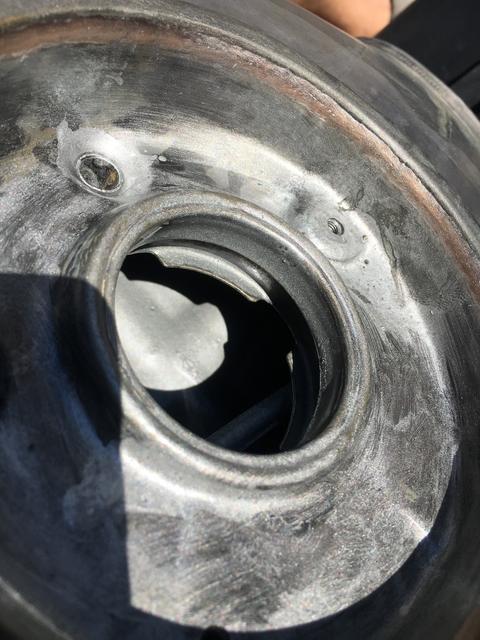
It will dry 96 hours and after 7 days you can put gasoline in.
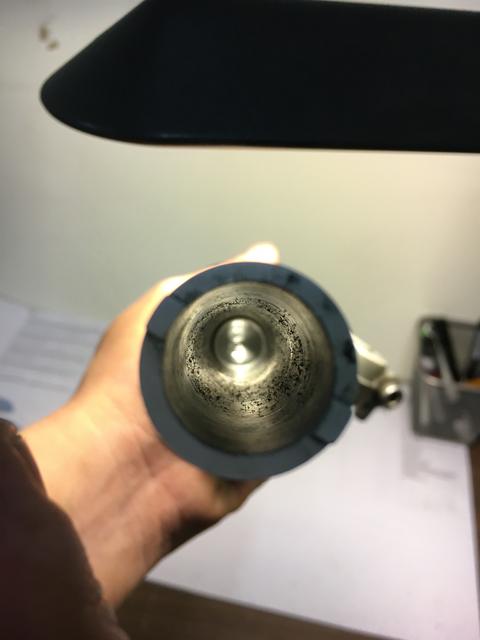
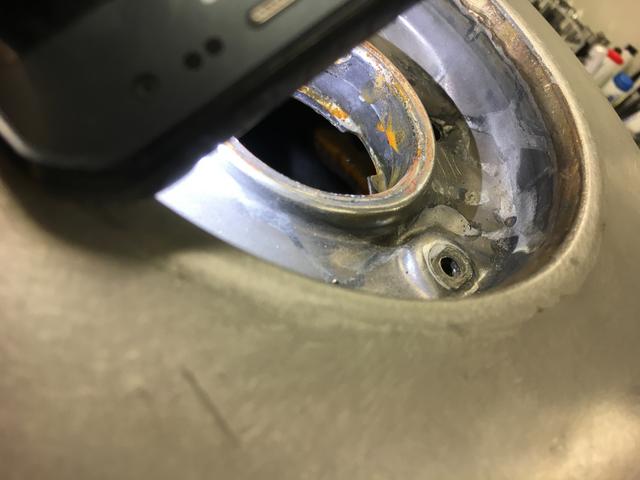
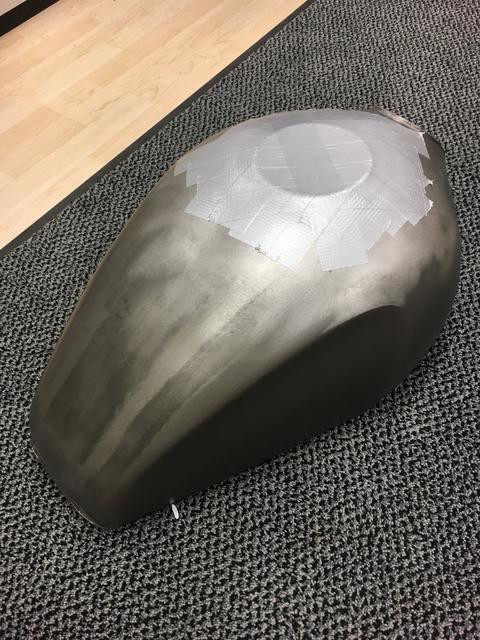
These pics are after two days of drying and as you can see, some air bubbles formed during the last phase.
Surface looks good
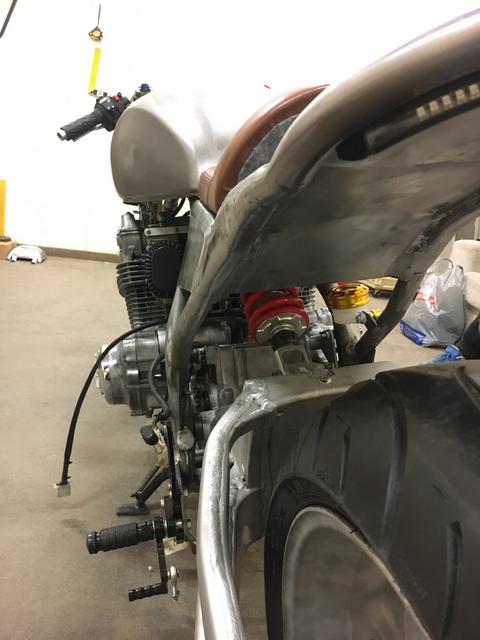
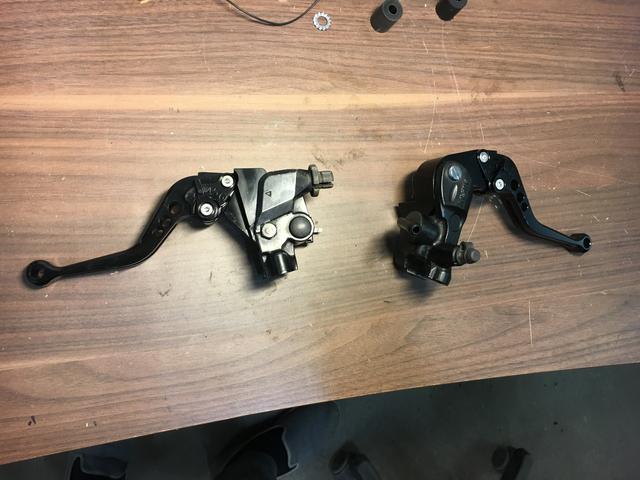
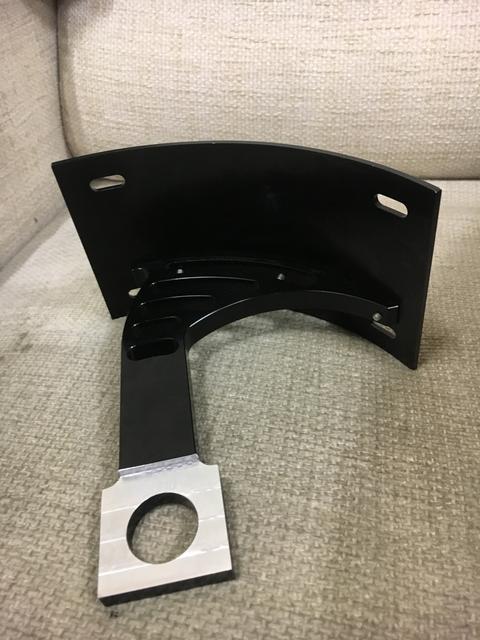
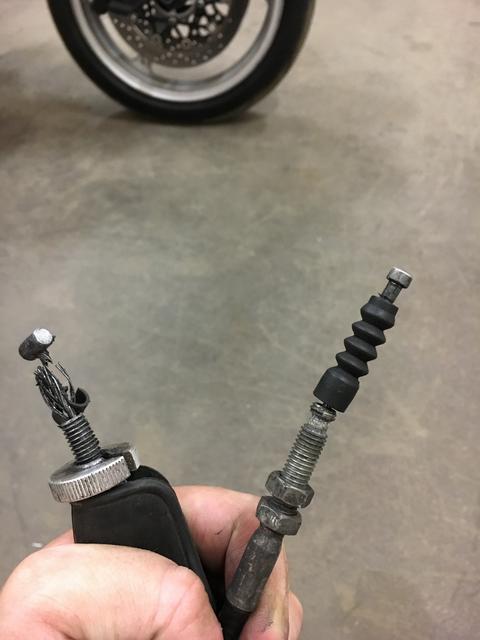
I'm not sure did I post picture of this already, but my friend from the states dropped me cognitomotos gearlever adapter.
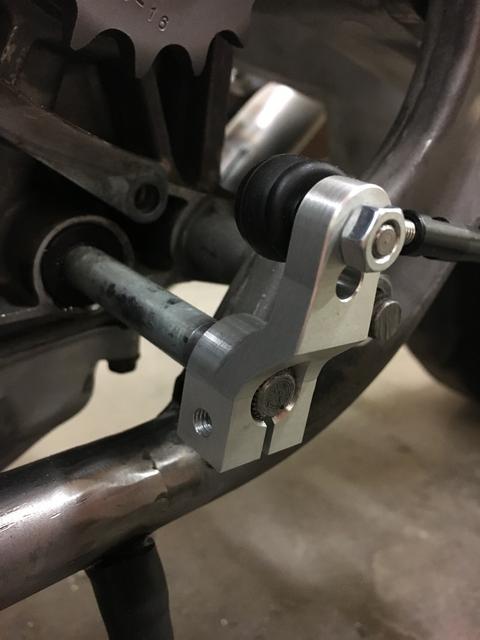
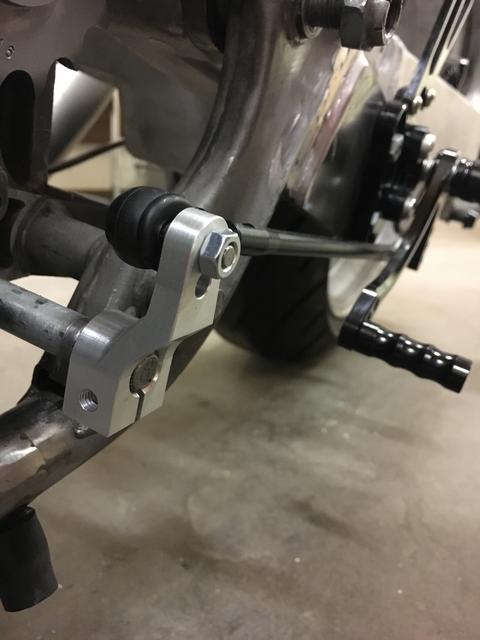
In these pics adapter is in wrong way because gear selection order is upsidedown.
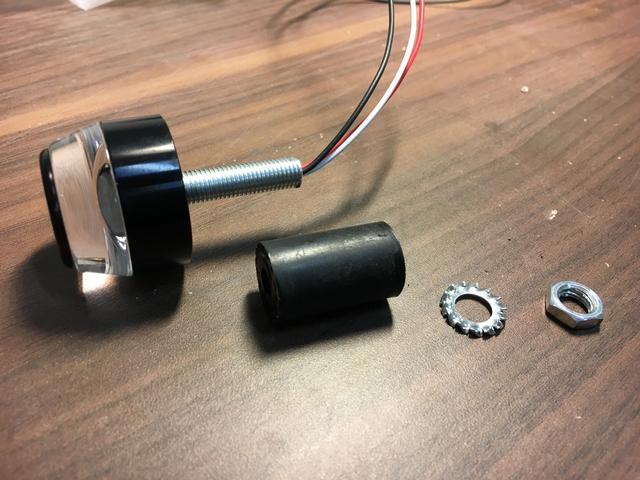
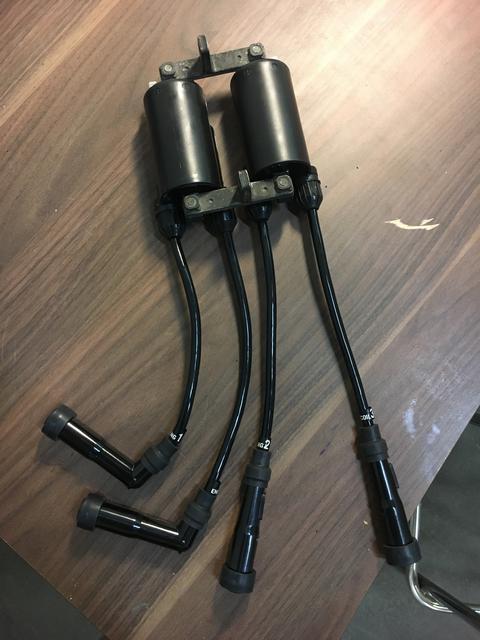
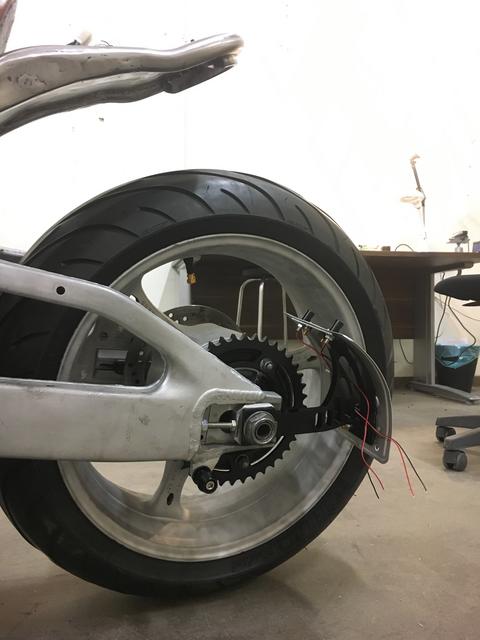
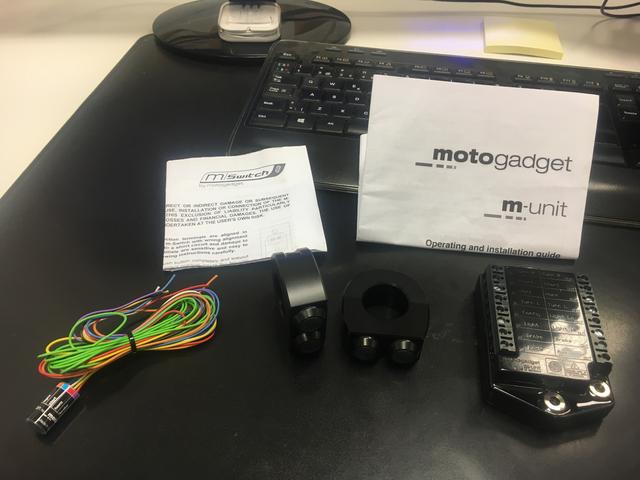
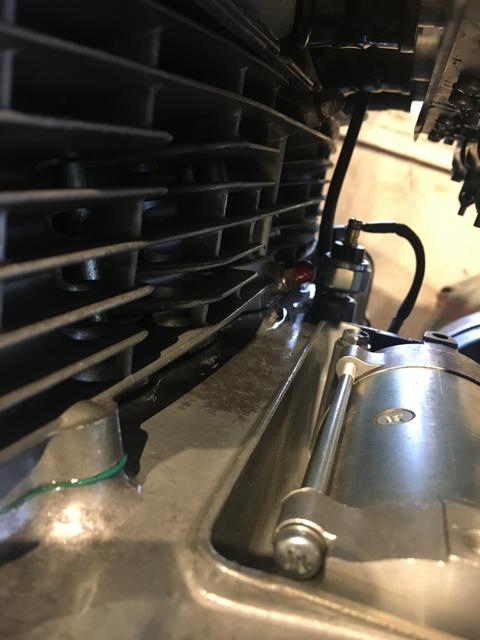
What comes to wiring this beauty, new diode arrived...
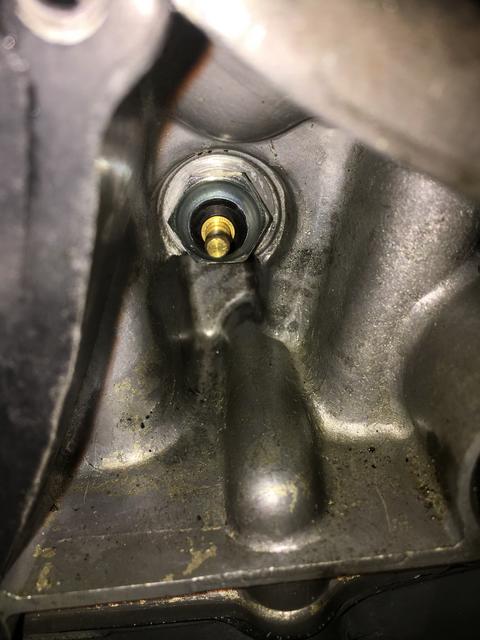
...new neutral switch...
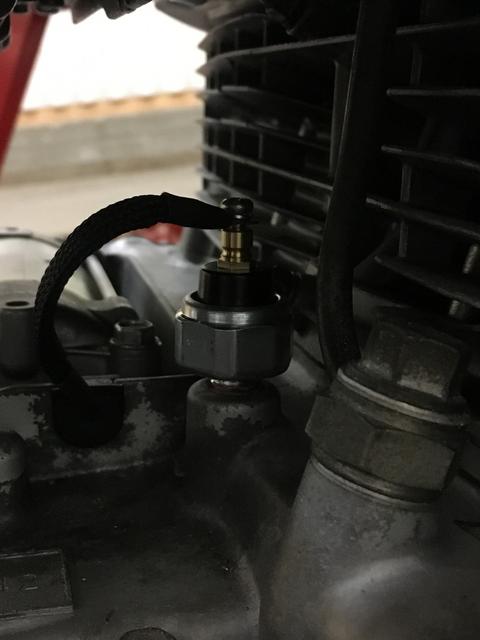
...and new oil pressure switch.
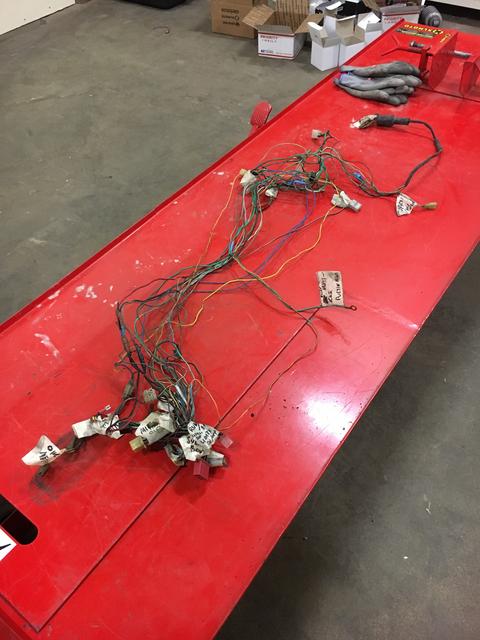
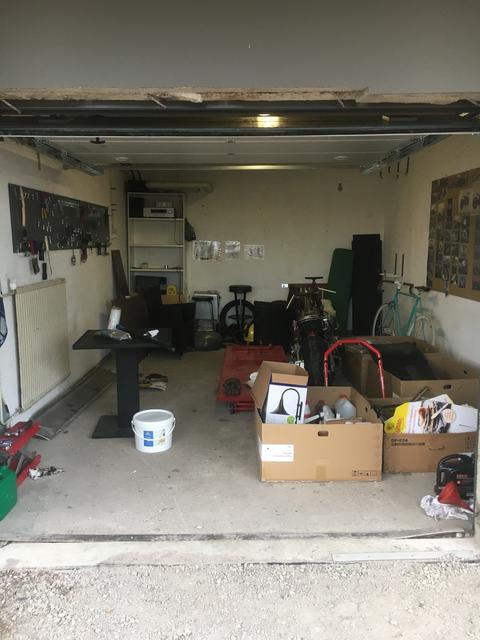
We are now going through wiring and this picture shows my mood atm
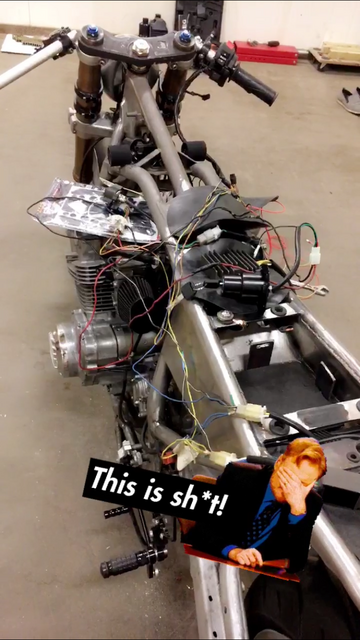
This wiring sh*t is not my cup of tea.
But will see...