Follow along with the video below to see how to install our site as a web app on your home screen.
Note: This feature currently requires accessing the site using the built-in Safari browser.
We noticed you are blocking ads. DO THE TON only works with community supporters. Most are active members of the site with small businesses. Please consider disabling your ad blocking tool and checking out the businesses that help keep our site up and free.
Ian who did your boring and which 466 kit did you go for? Going to do the same on mine and currently looking at the $150 deal rather than the Aussie $300 one.
My mechanic organised the boring. The going rate is about $100 per pot. This kit is the max you can do on standard sleeves. I went the cheaper option as well. Time will tell I guess, but she runs fine at the moment.
Also any more info on the front end swap? What hub did you have to use? Does it sit higher than the original? Do you use the same triples?
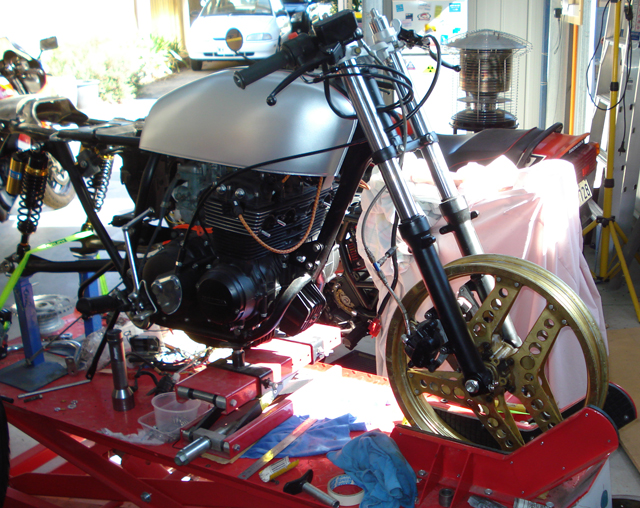
Sure. Its from a cbr600F2. Just did the old swap the stem trick on the 600 triples and badda bing there you have it. Changed the bearings in the hub to take the bigger axle, and had some spacers made for my dual disks. Was able to raise the forks in the clamps to maintain the original height, and used the 600 clip-ons. You can just see the amount in the pic on page 1.
You thinking of swapping forks Ed? I have those lowers all set to post (tomorrow), but if you're thinking of something else let me know.
Not for a looooong time. Going to finish it as it is, ride it for a while then think about a modern front end. Can't afford it for this build unfortunately as the forks seem to be a good $500 on their own.
Also didn't budget nearly enough for the barrel bore which is required. Keep us posted on that 466 kit, seems like the price isn't a negative factor vs the more expensive Aus option.
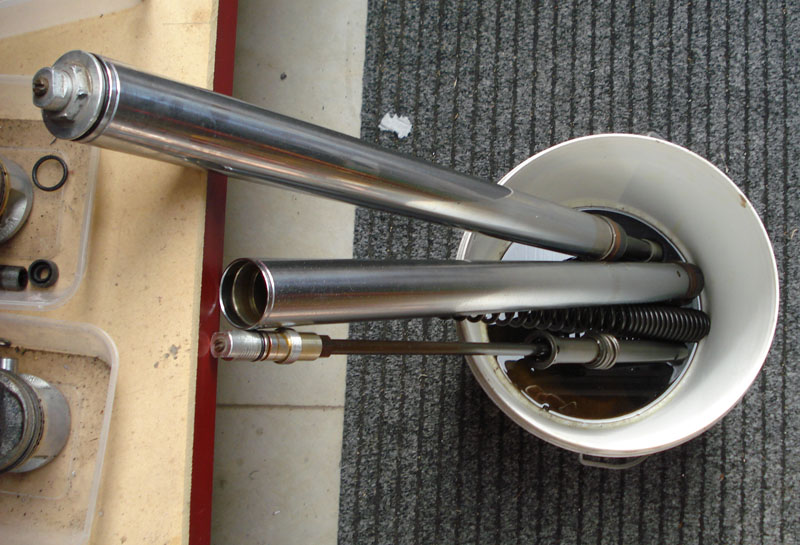
Time to tackle the fork rebuild. Just had to wait for the appropriate manual and seals.
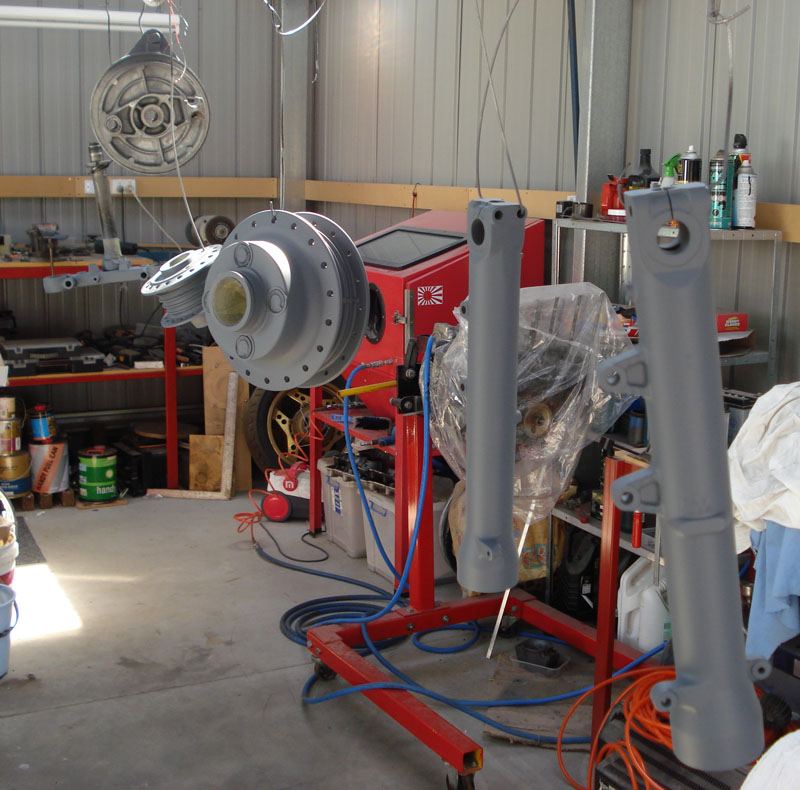
Good weather for painting today, so that's what I did.
Coat of etch primer on the fork sliders, lower triple and hubs
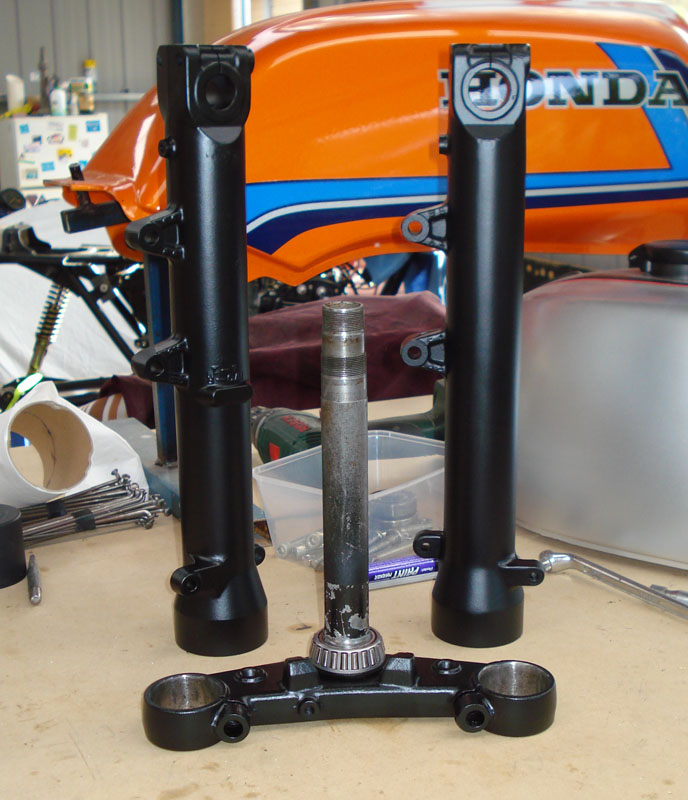
Forks/triple got the satin black epoxy
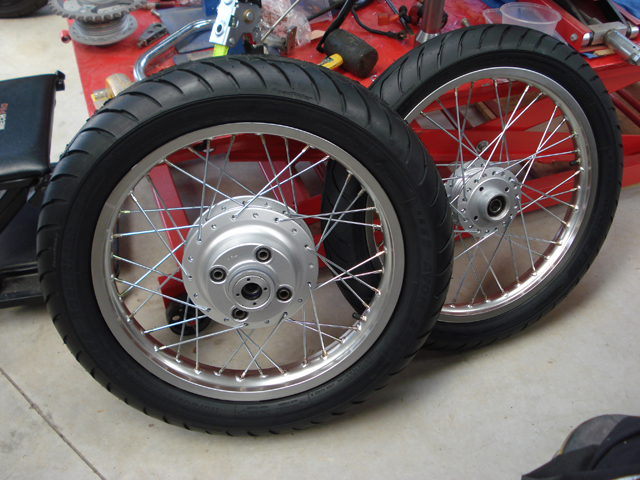
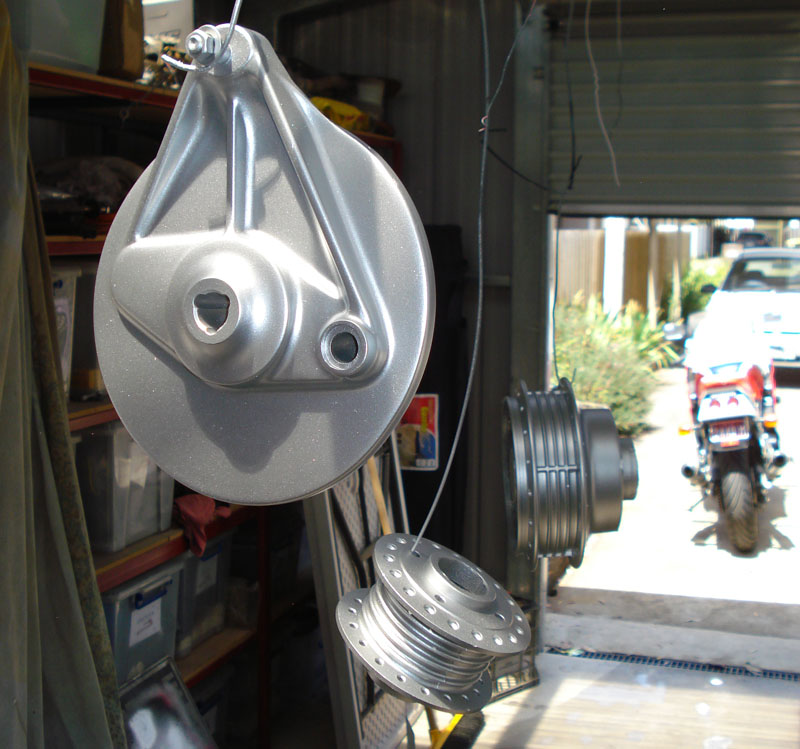
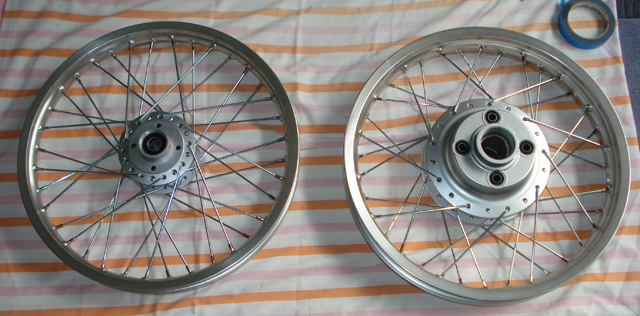
Hubs got the silver. Just need to clear coat them.
I should be able to start re-spoking soon, although I will need to replace the rear bearings first. Don't want to be pounding on my new paint. Onwards and upwards.
Haven't tightened the rear up yet because I'm waiting for a proper spoke spanner and some bearings, but the front is trued to about 0.2mm which is within spec, but the tension still needs tweakin'.
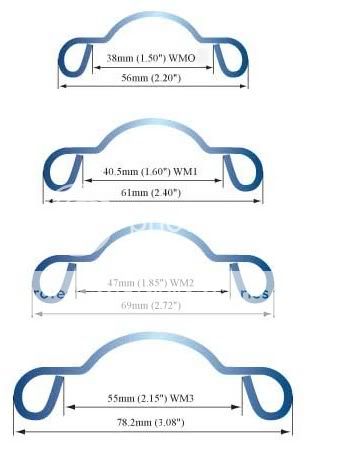
hmm. you could be right pj. can't find a stamp on it other than the DID one. It's pretty rusted, but it does seem fractionally narrower than the new one.
Don't panic. I've spent too much on new rims/spokes/tyres to go back now
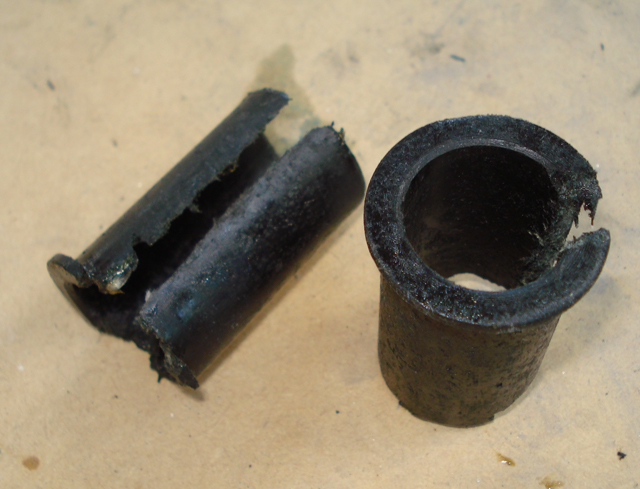
...and what the hell were Honda thinking when they came up with these? "I know guys. we can use plastic swing-arm bushes. They'll be really cheap and... Well, they'll be cheap anyway"
This would have to be at the top of the list for anyone who's just picked one of these up as a project. My guess is they were used on a lot of other bikes of the period as well?
Ian with the swingarm bush, is yours 1 piece all the way through? Mine was and I am looking to replace with bronze, just not sure if it should be empty in the middle.
Ian with the swingarm bush, is yours 1 piece all the way through? Mine was and I am looking to replace with bronze, just not sure if it should be empty in the middle.
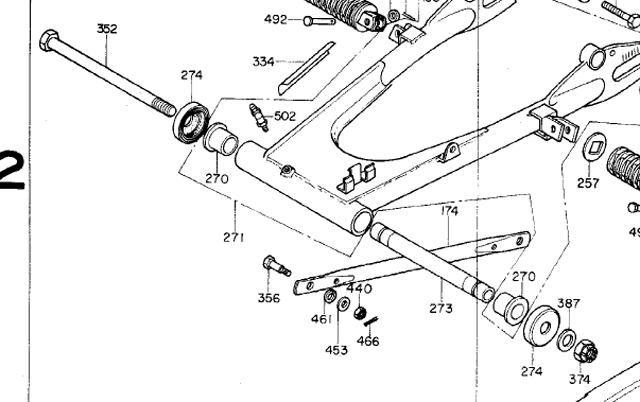
There are two bushes, one in each end. number 270 in this diagram:
These have been now replaced with bronze.
Are you thinking of part number 273 (the "collar") that sits inside the bushes? The pivot bolt then goes through this. It's the interface of the collar and the bushes that wears first, and it should just slide out from either end.
This site uses cookies to help personalise content, tailor your experience and to keep you logged in if you register.
By continuing to use this site, you are consenting to our use of cookies.

")