83 GR650 chop

r.s.hutchinson

Active Member
Hey guys, been lurking for a bit before posting anything but figure I should get something up here for others to see.

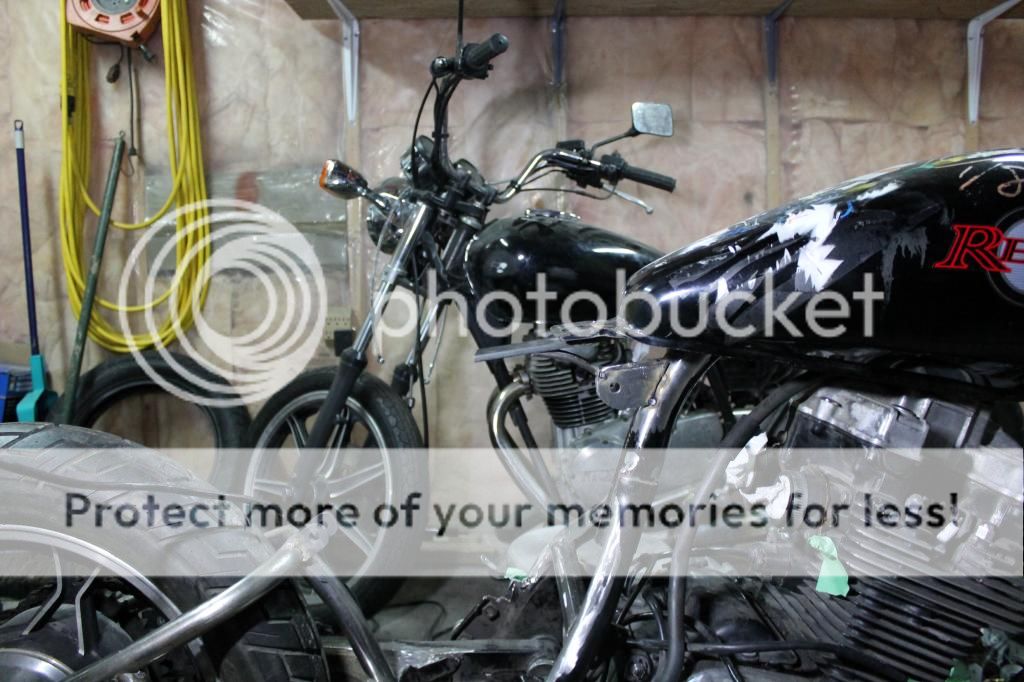
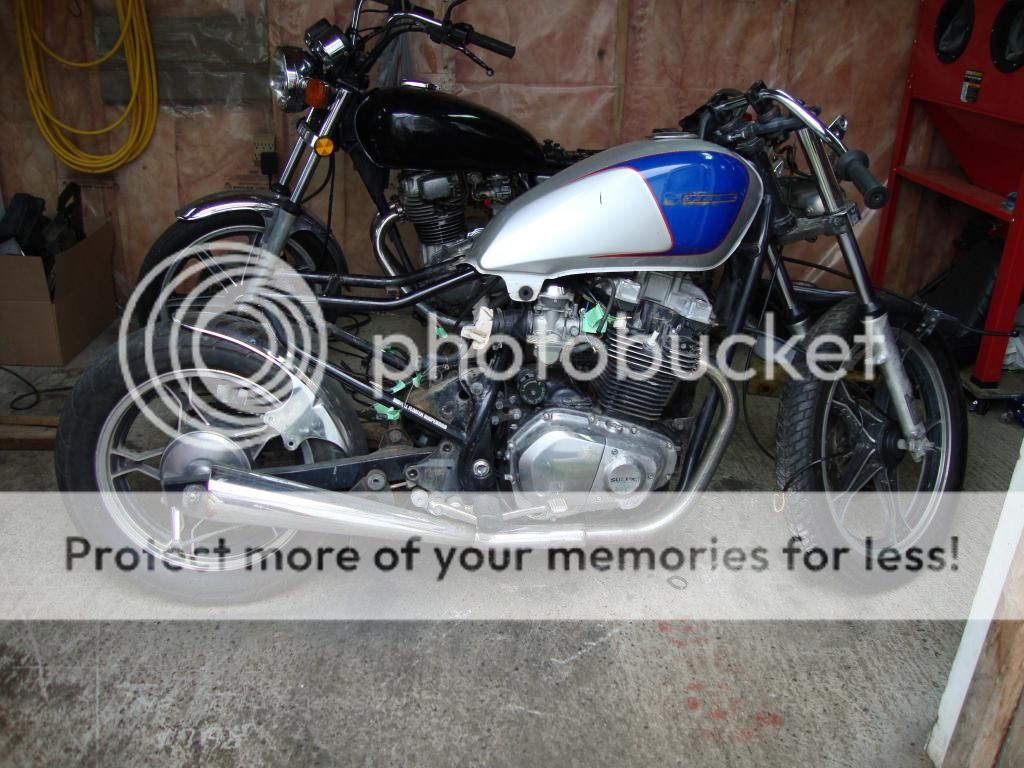
I found and picked up an 83 Suzuki Gr650 for myself as a project bike to chop and clean up. I've been juggling between this, an 81 xs400 I'm cleaning up for my dad and an 81 Maxim 650 for my father-in-law for christmas this year.

Well, firstly the tempter seems like a solid bike. Under all the ugly plastics is a decent looking frame and motor. It has the 'full-floater' suspension which did make for a nice ride what little I did actually ride it. My initial vision for the bike was as bare-bones as I could get it but through the build I'm sure I will be keeping some things to make the bike easier to ride such as turn signals, some switches, etc. Time will tell.

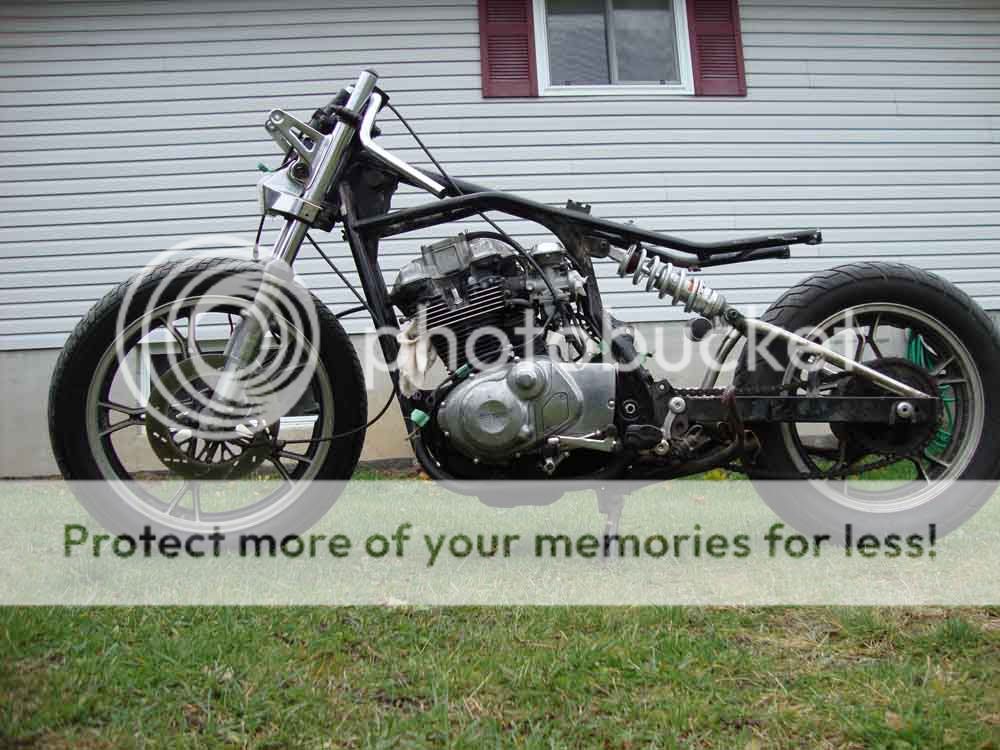
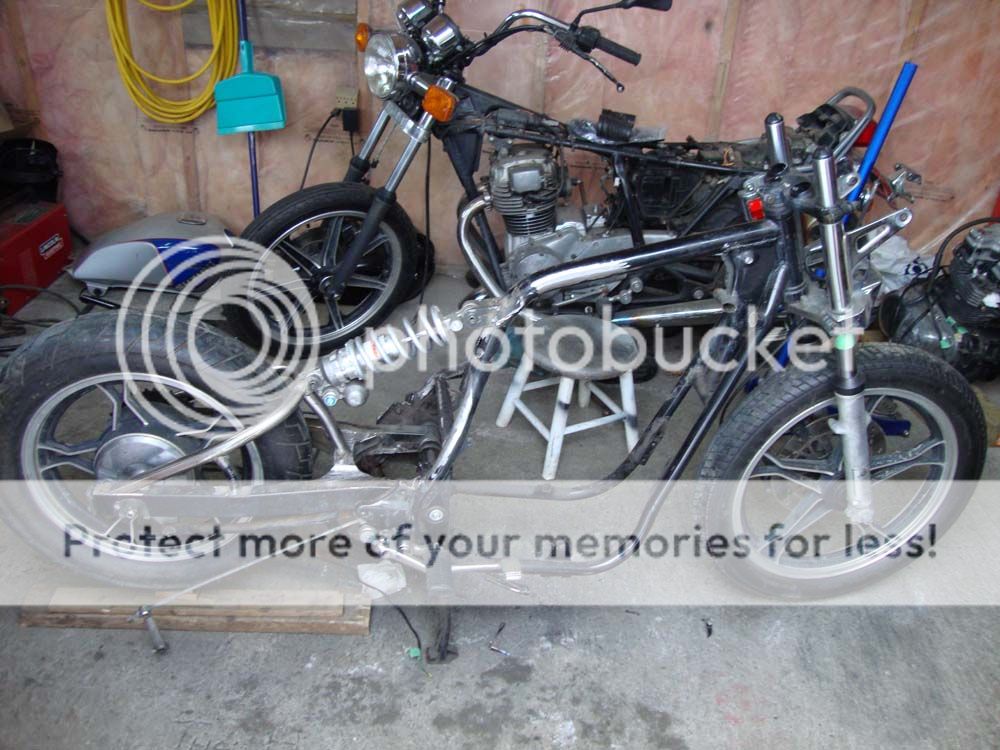
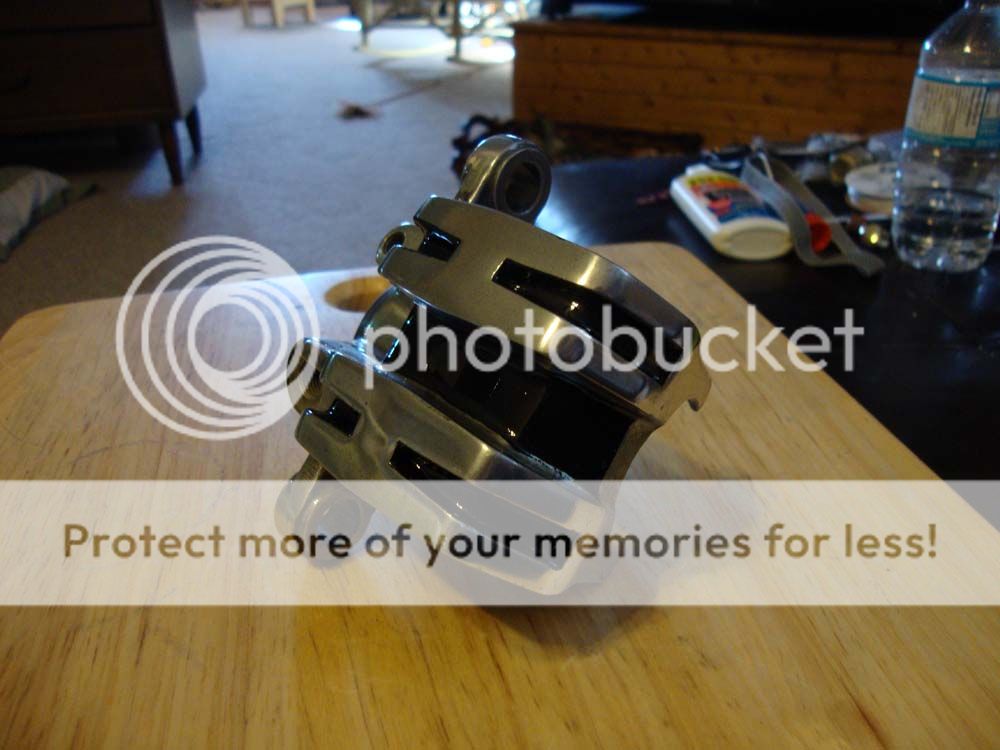
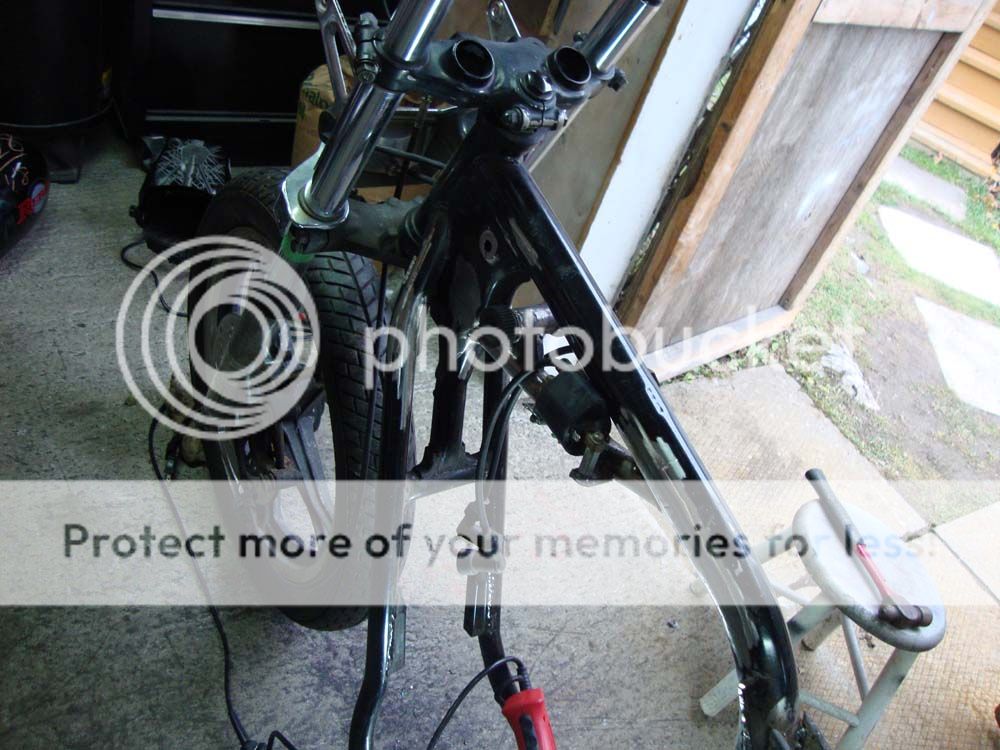
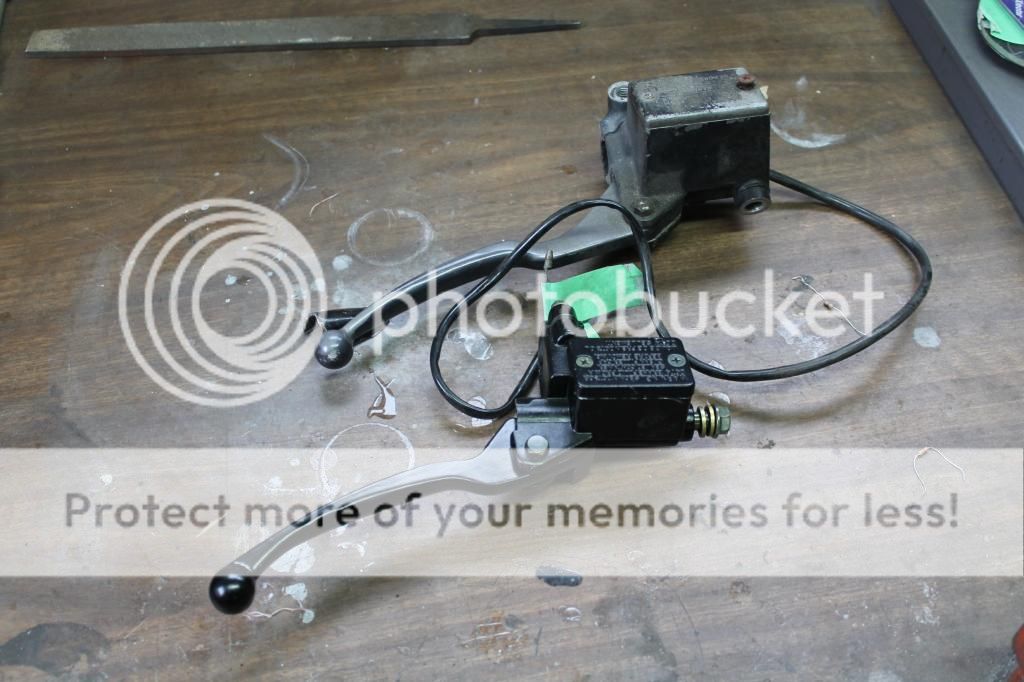
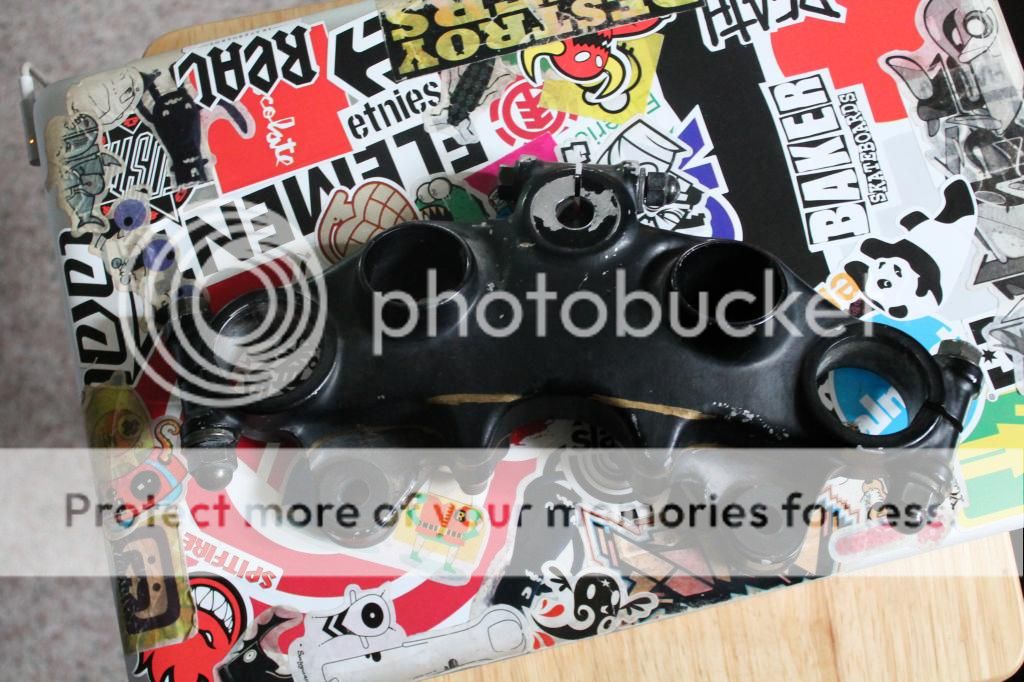
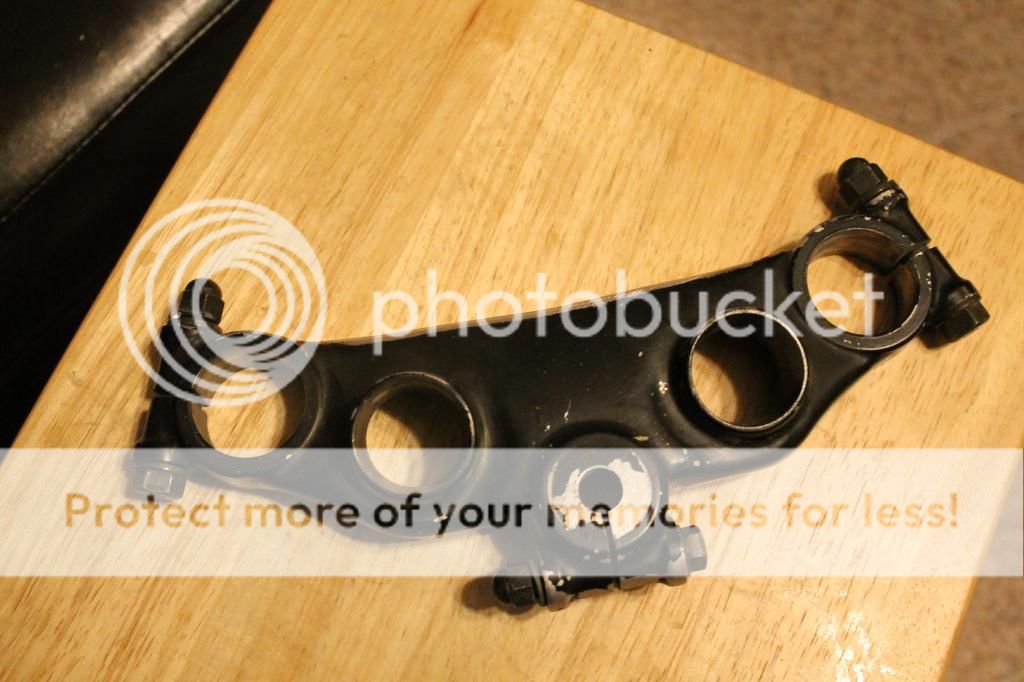
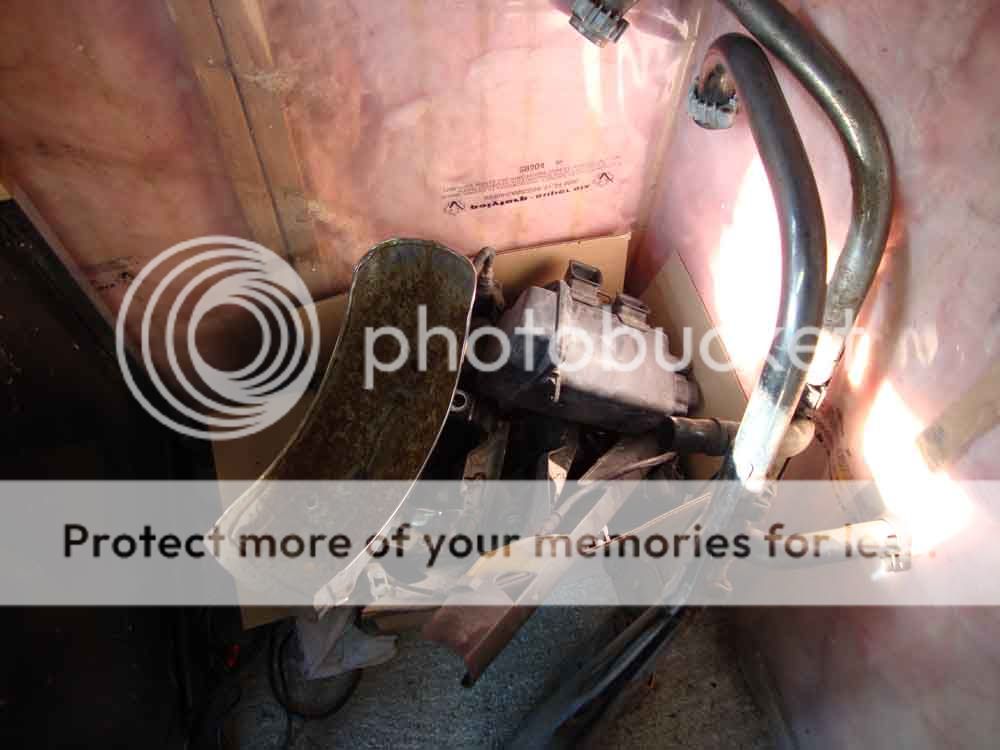
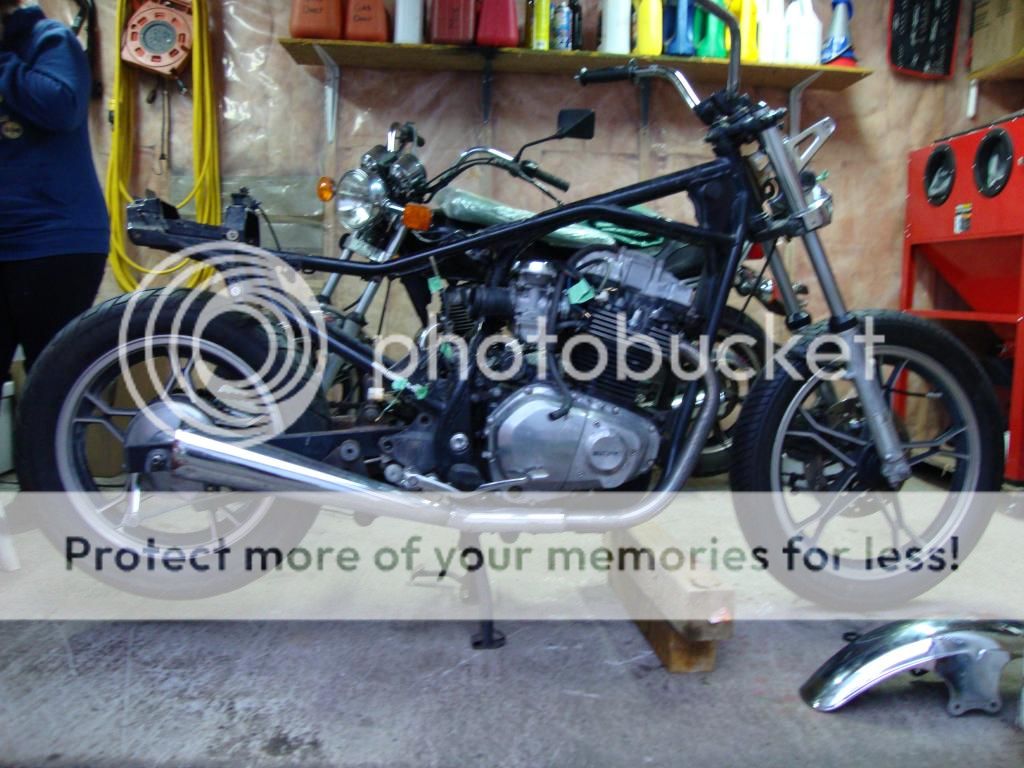
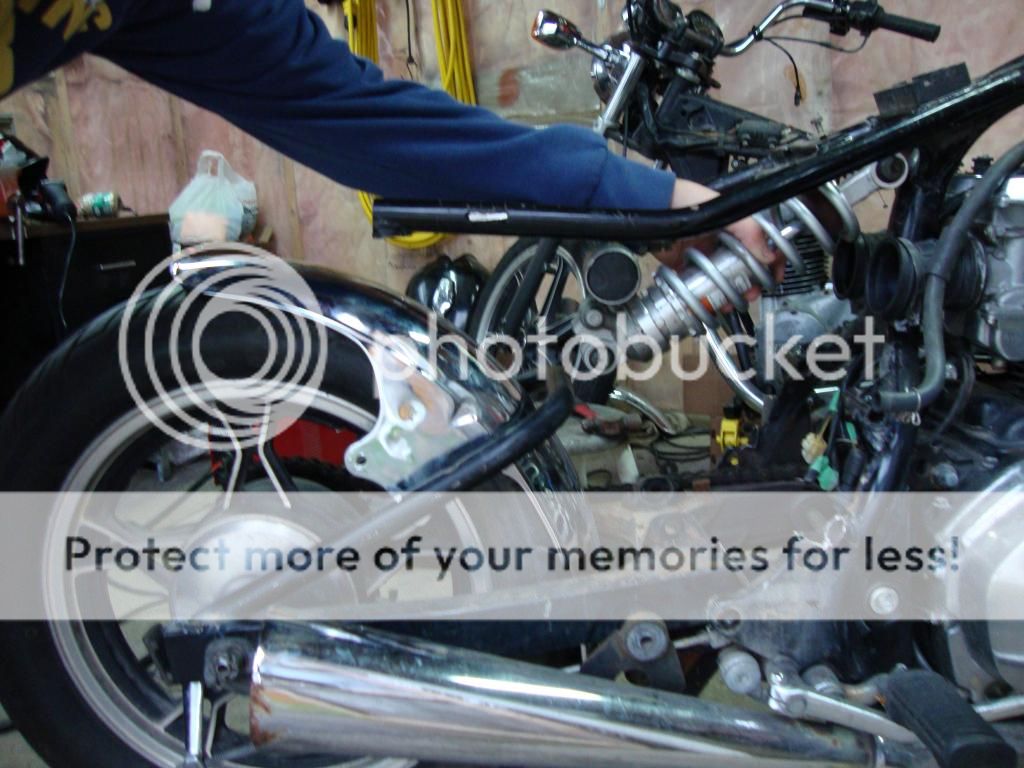
I never took a picture of the bike when I got it but it was in good shape. Even came with some saddle bags and a windsheild. SI started with tearing the bike down and removing the wiring so I could get started on cleaning up the frame and removing the pieces I wasn't going to need any longer. Quickly ended up with a box full of heavy junk and a bag full of bolts.

DSC02004_zpsc2cd67e7.jpg


DSC01990_zps7033a5a2.jpg


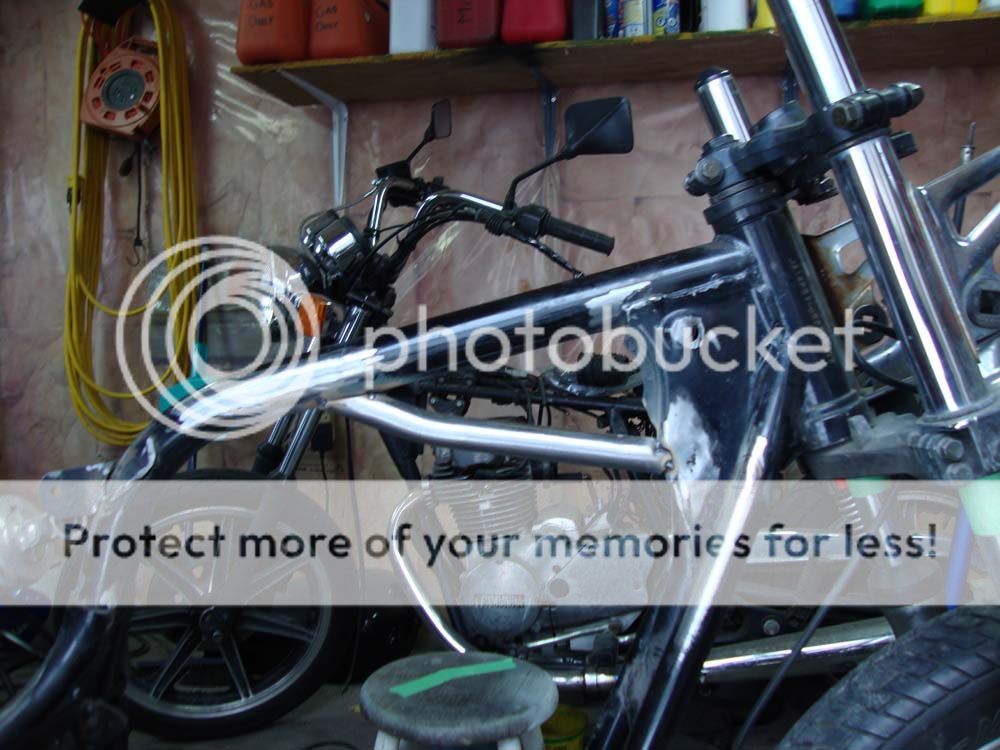
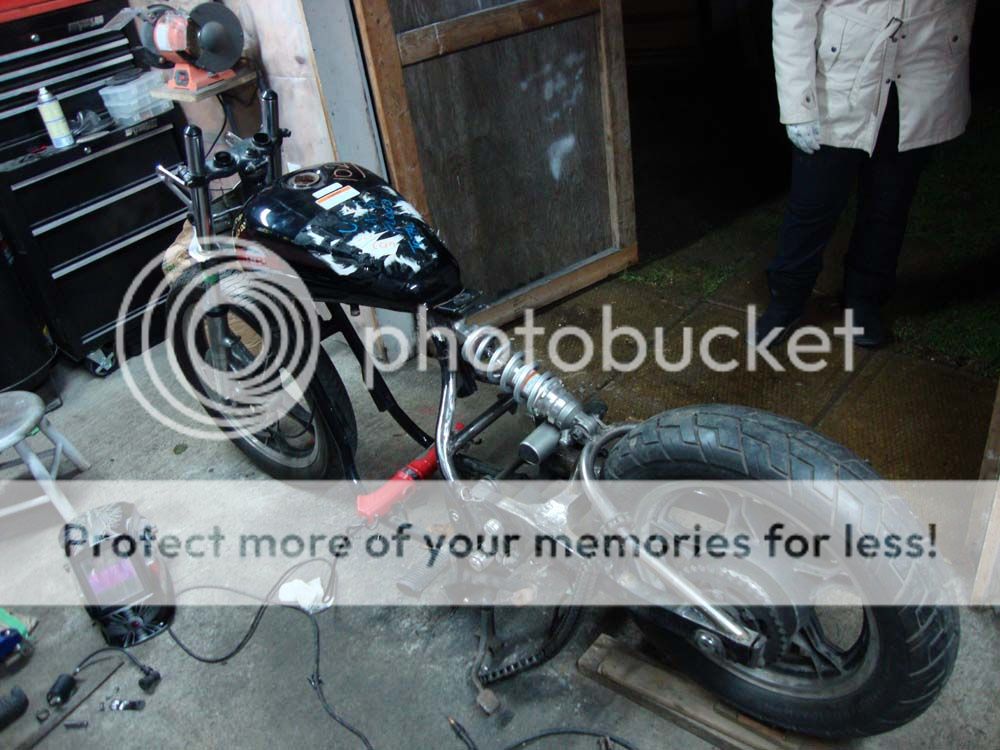
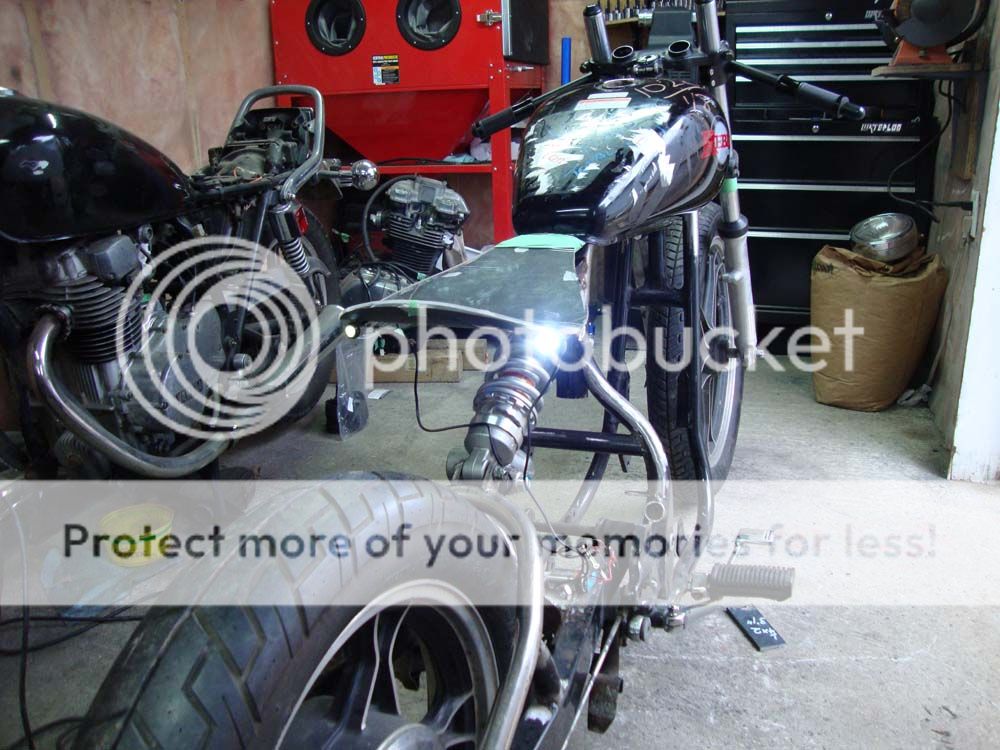
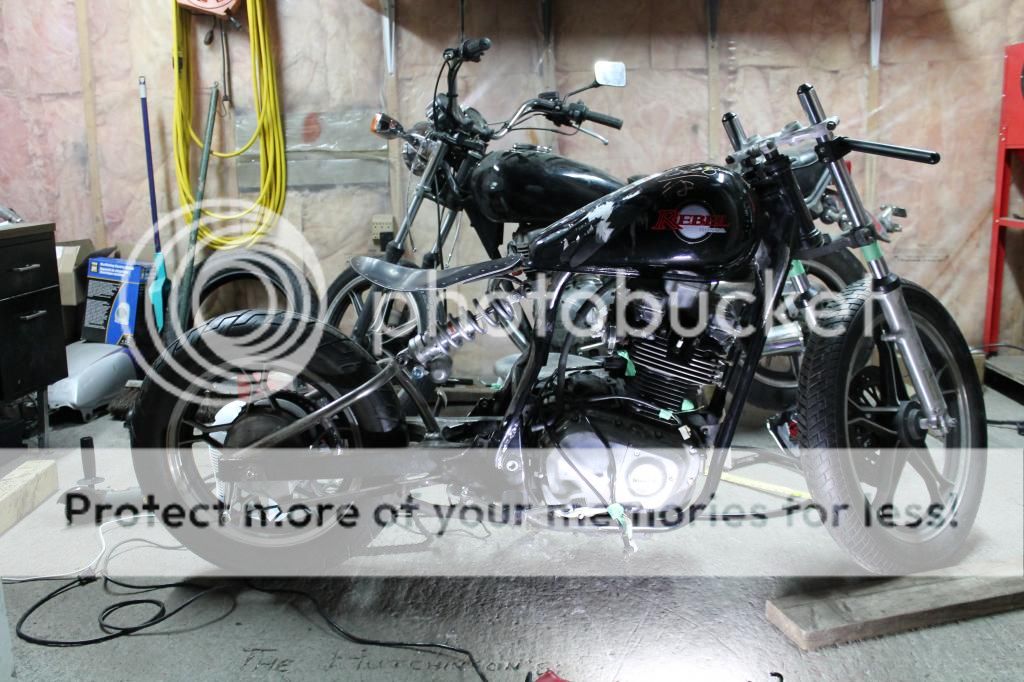
That tank just won't do....

DSC01996_zpseb743012.jpg


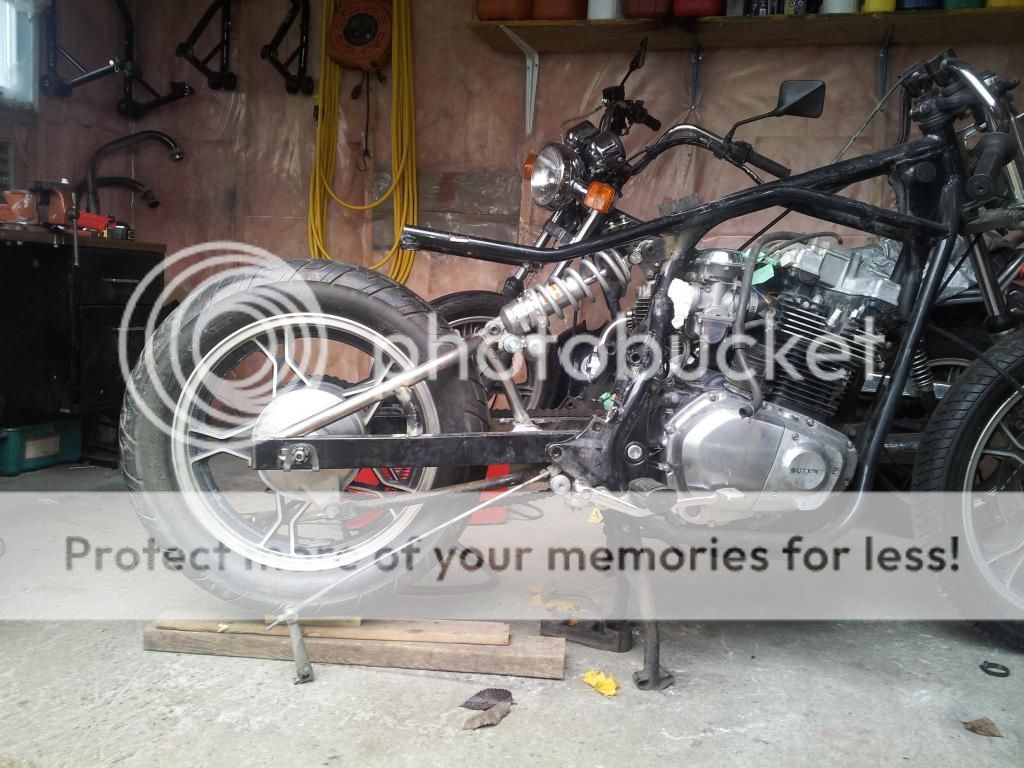
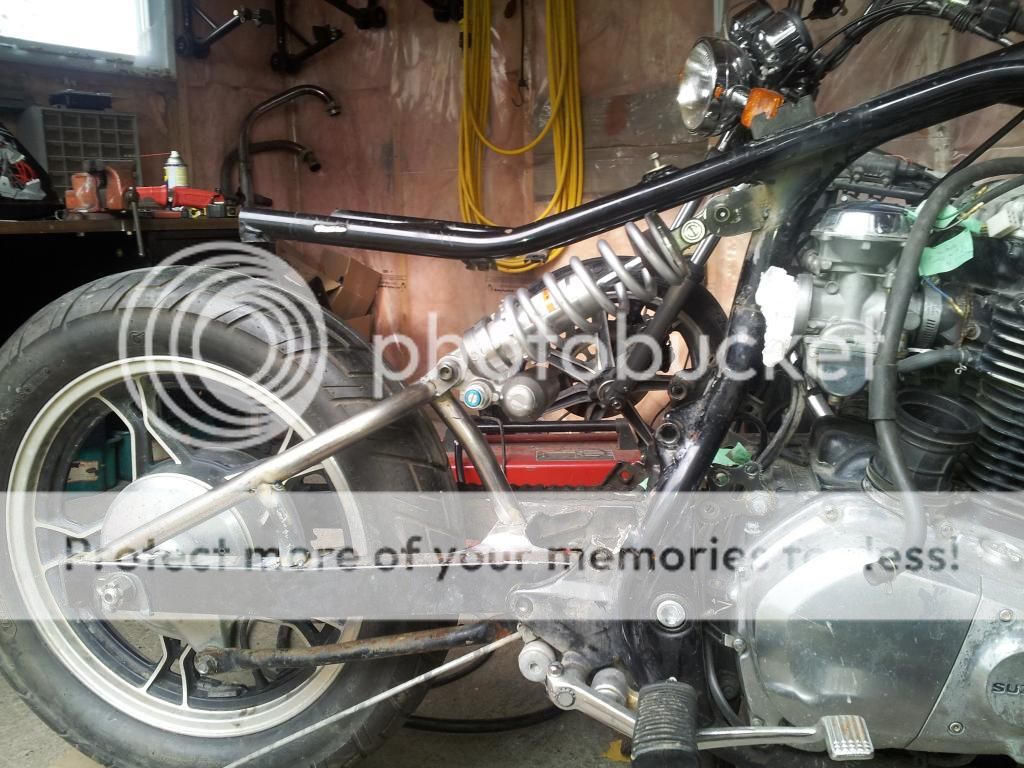
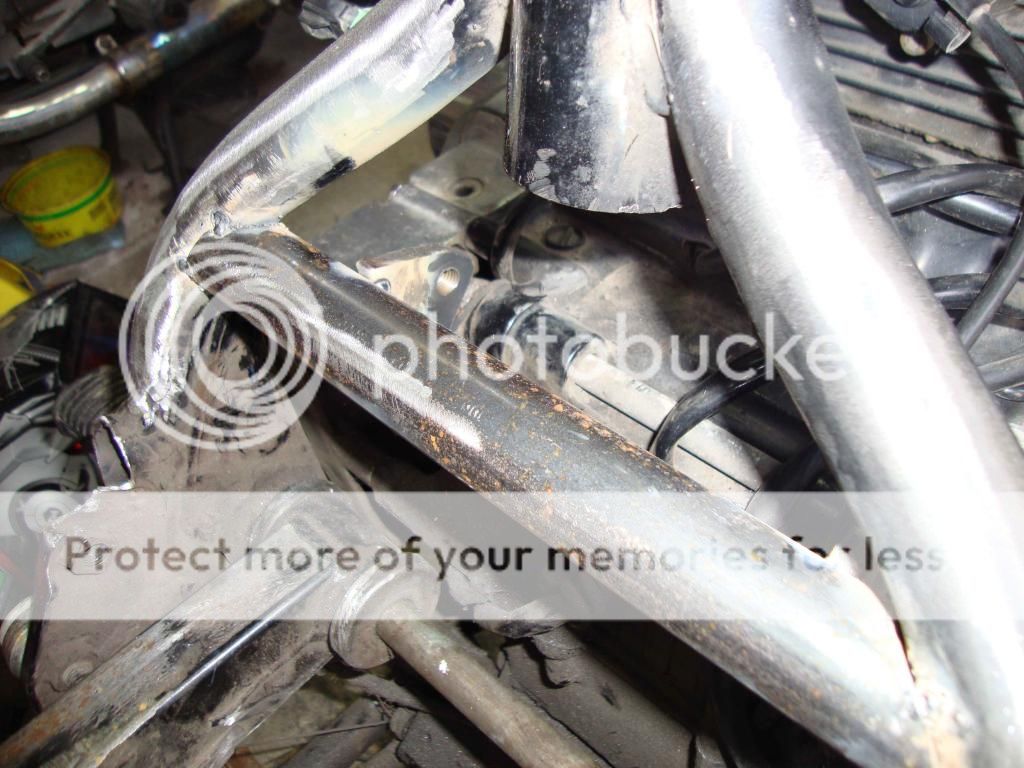
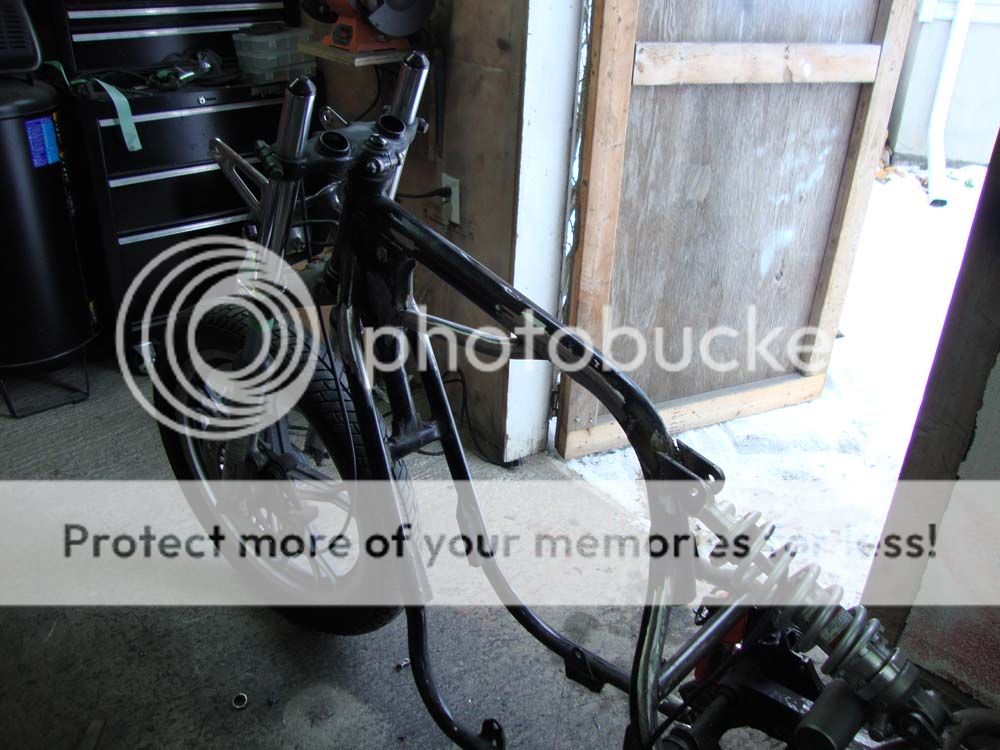
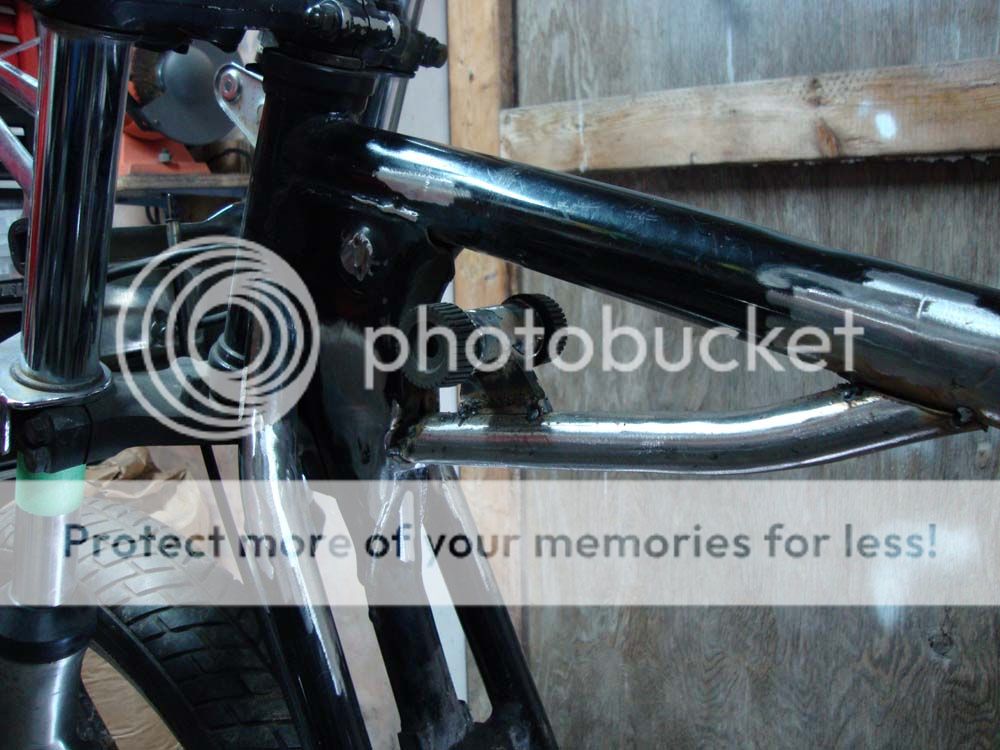
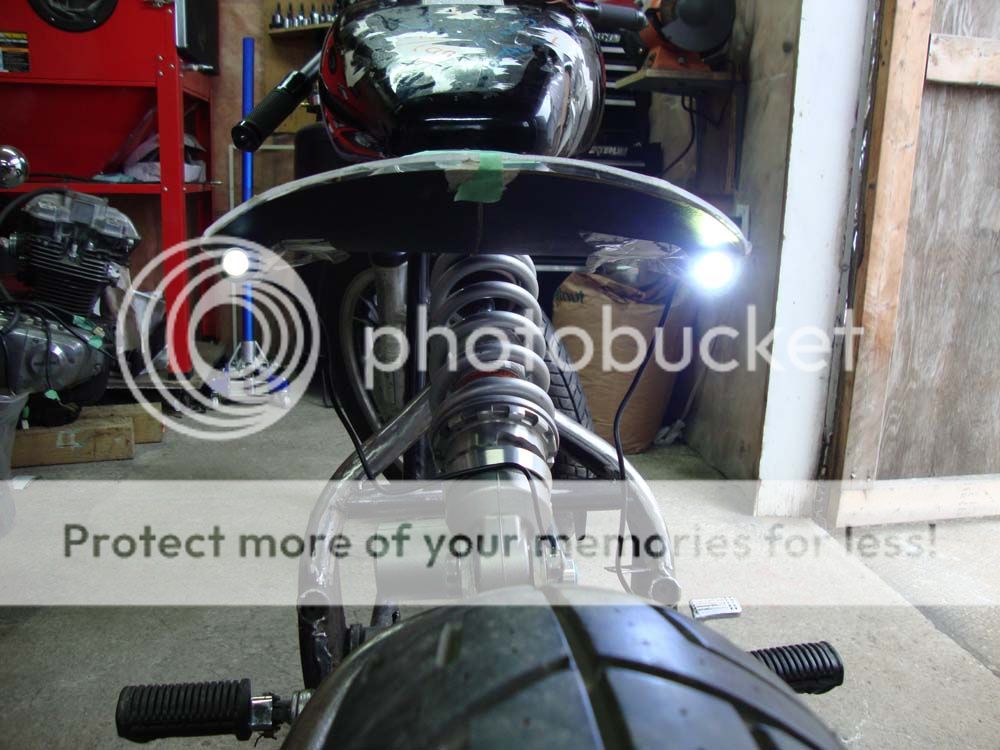
Decided to start on the swingarm first. Keeping it monoshock with a slight change. I tacked on the test piece I made and liked it so bent up some 1" tubing. Cut off the old mounts and cleaned up old welds. Then cut a brace for the middle and I will be using 2 of the bends from the stock subframe tubing as supports for added structural support.


DSC02002_zps9bc3a356.jpg


DSC02008_zpsf43baaaf.jpg


DSC02006_zps31fa7953.jpg


DSC02011_zps7fb5b0b9.jpg


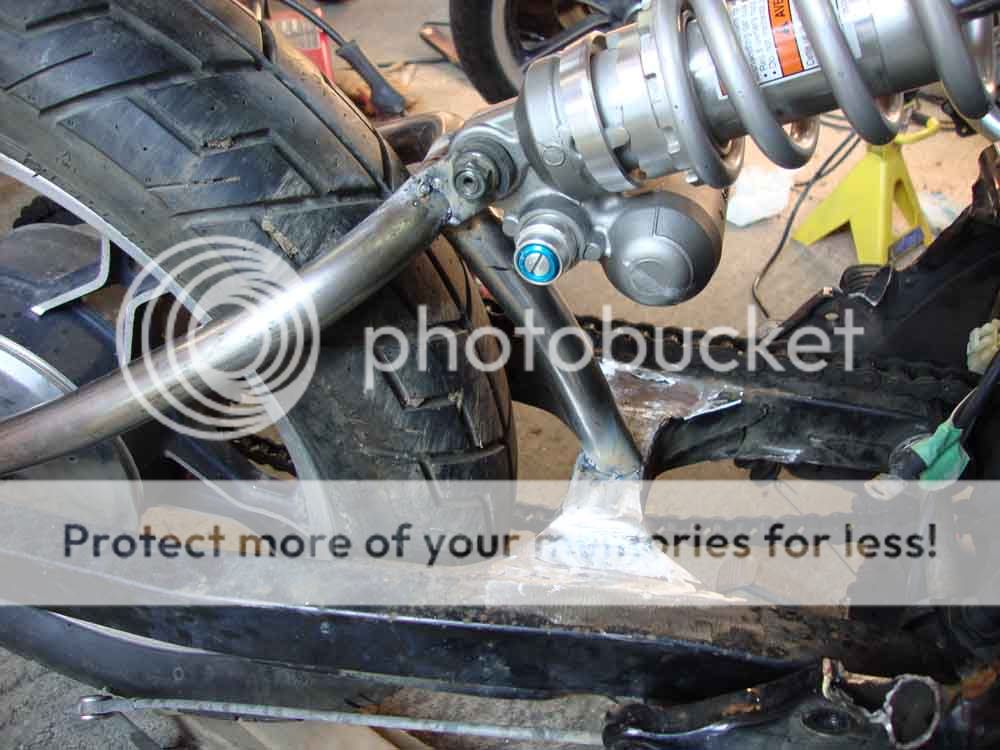
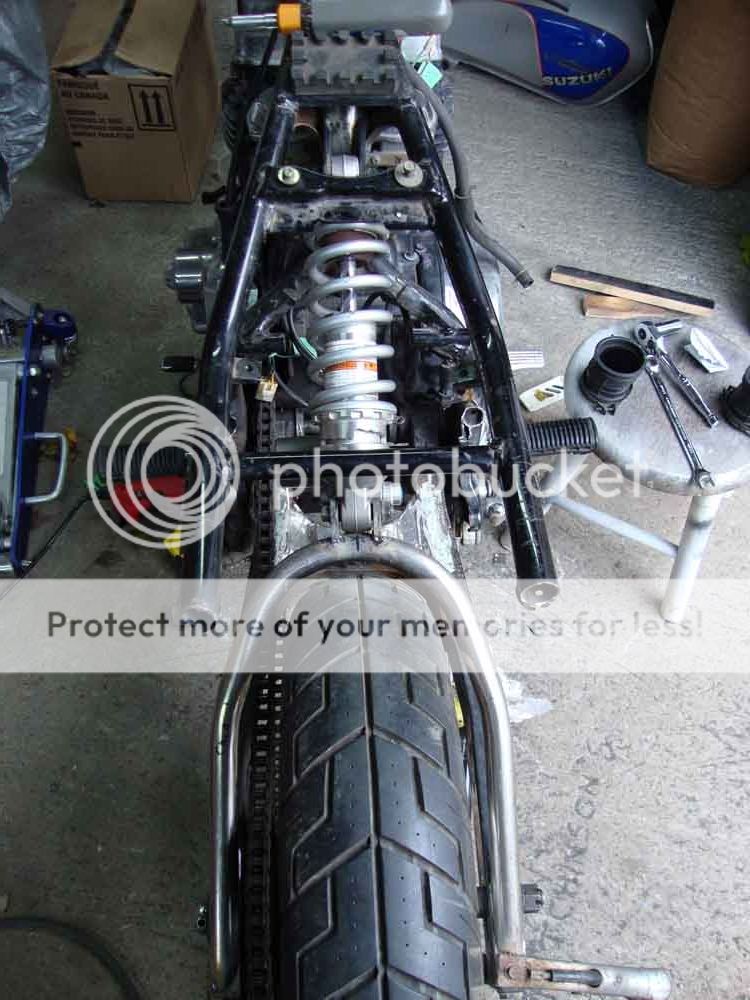
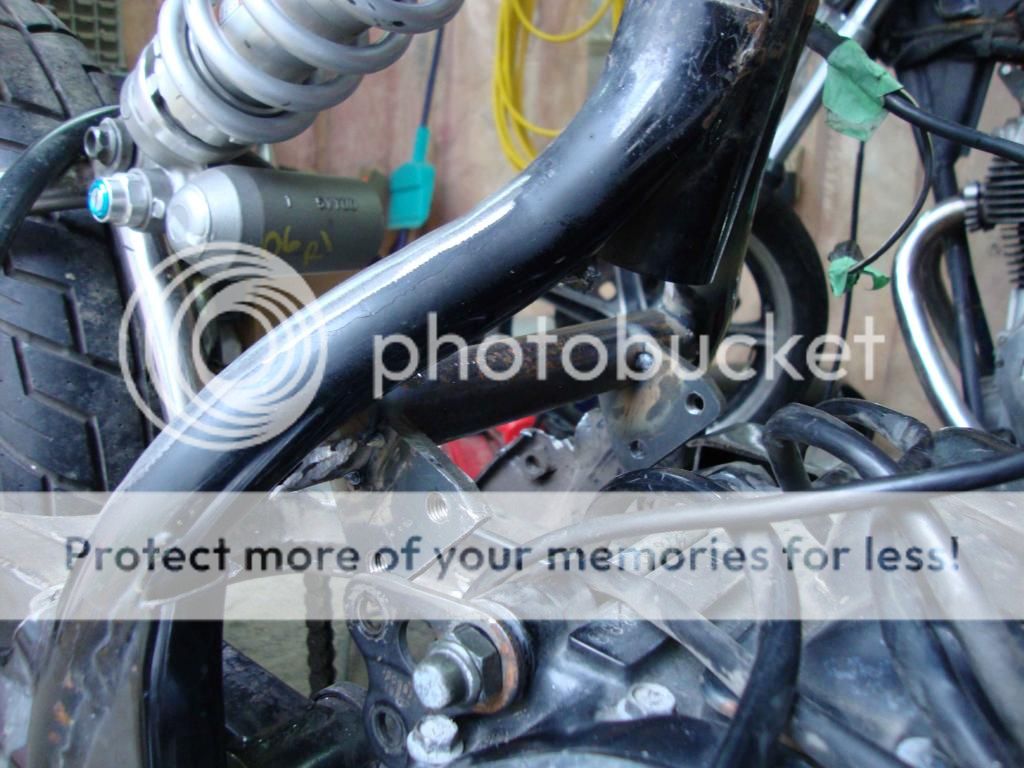
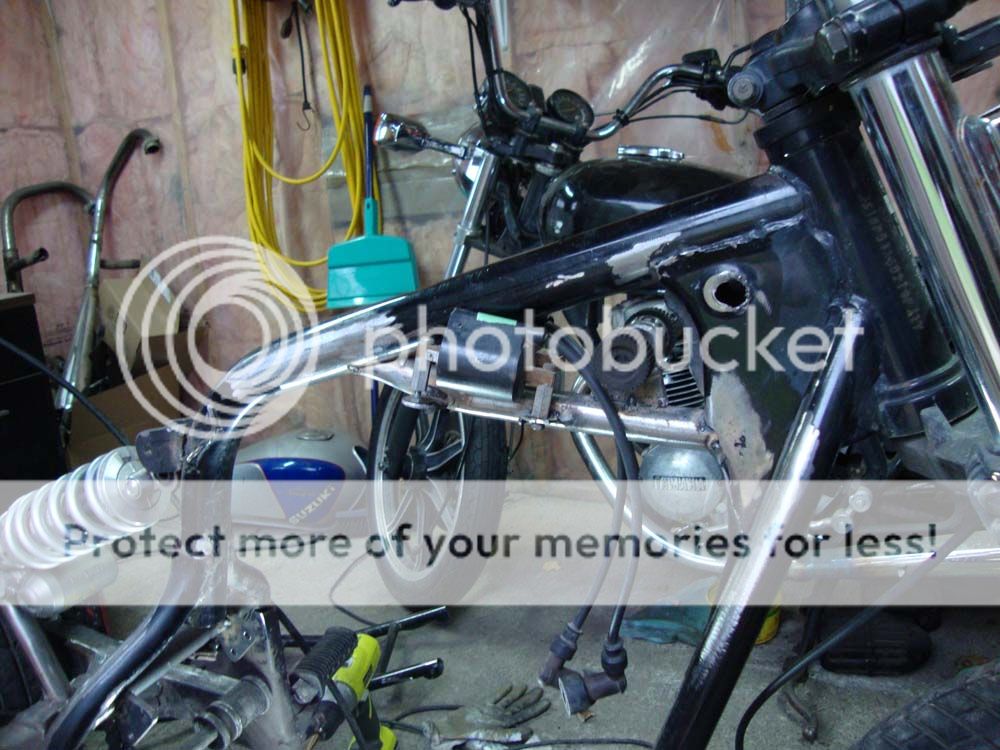
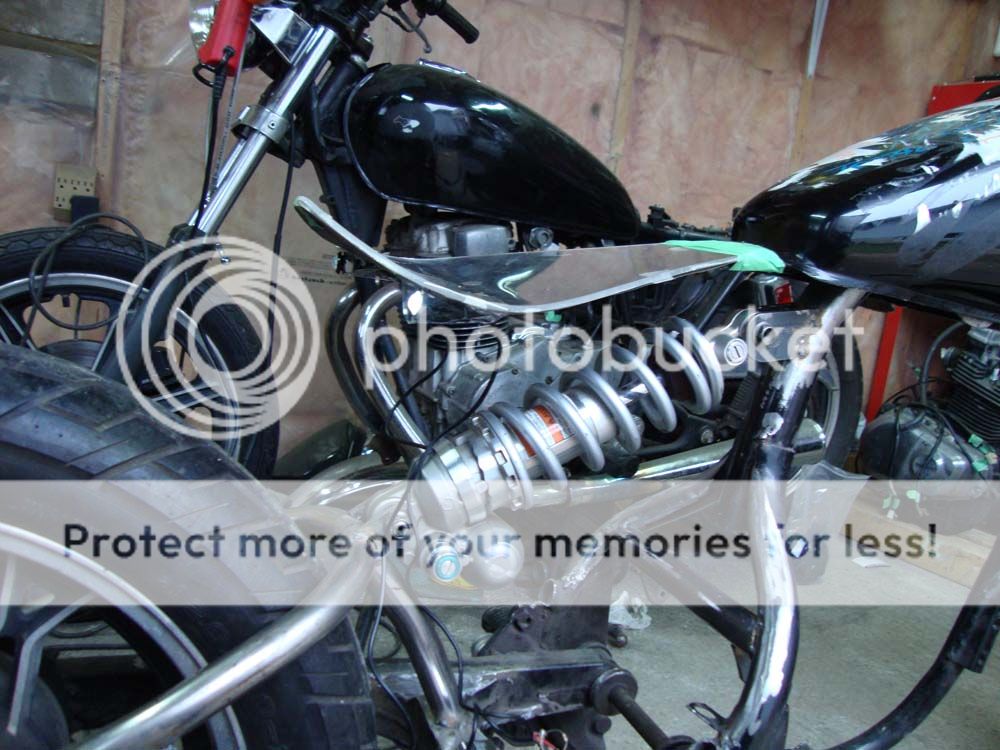
Yesterday I started on some mounts out of 1/4" flat plate for the new rear shock (from an 06 R1) and lined the shock up with the swingarm and main frame. Today I finished up the main frame mounts.

DSC02010_zps9cd21cb6.jpg


DSC02009_zps771c4ca2.jpg


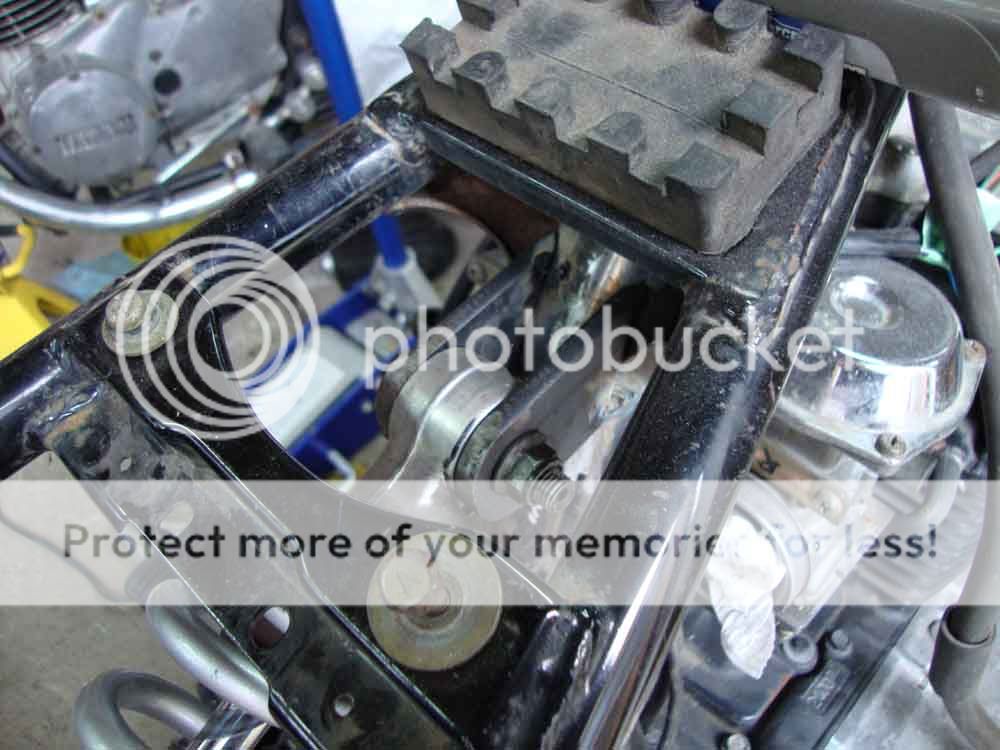
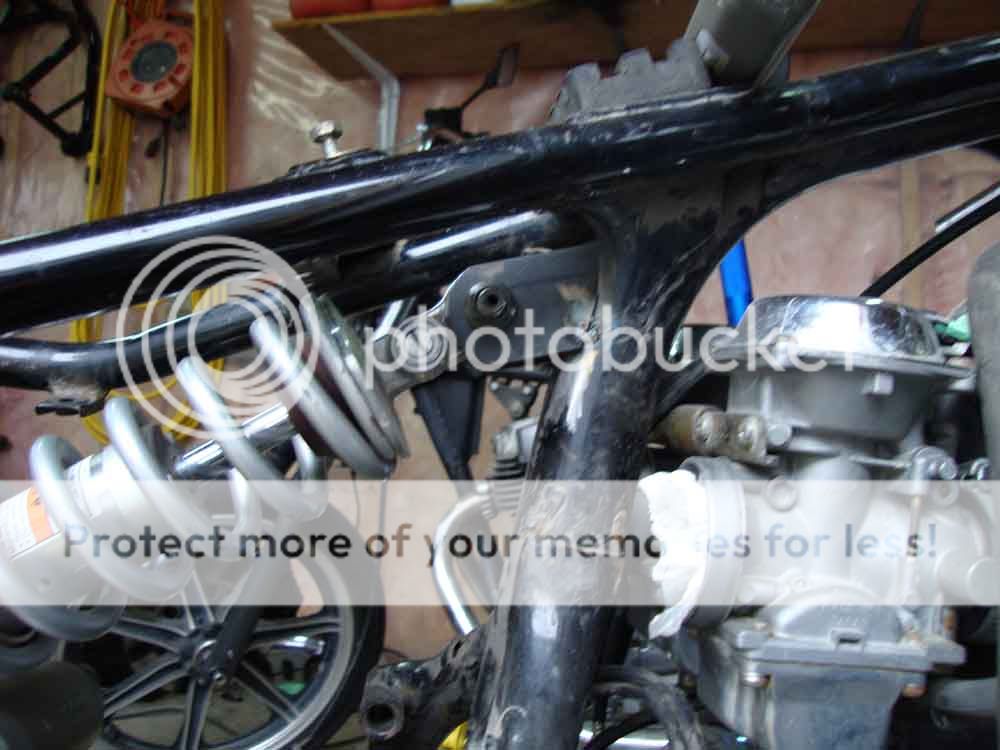
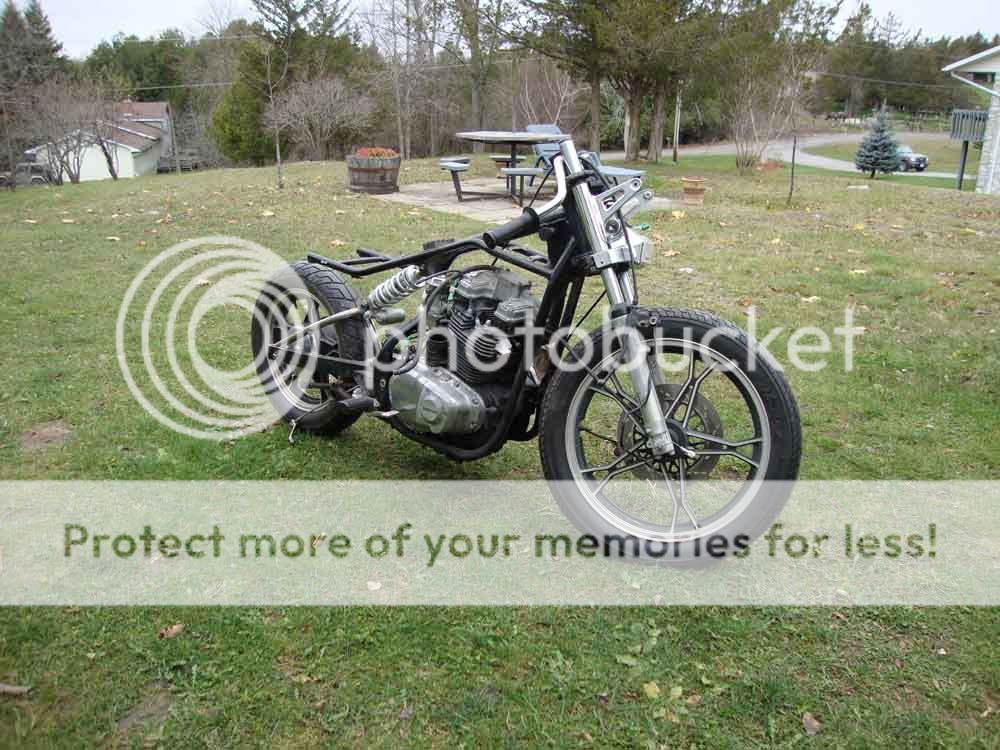
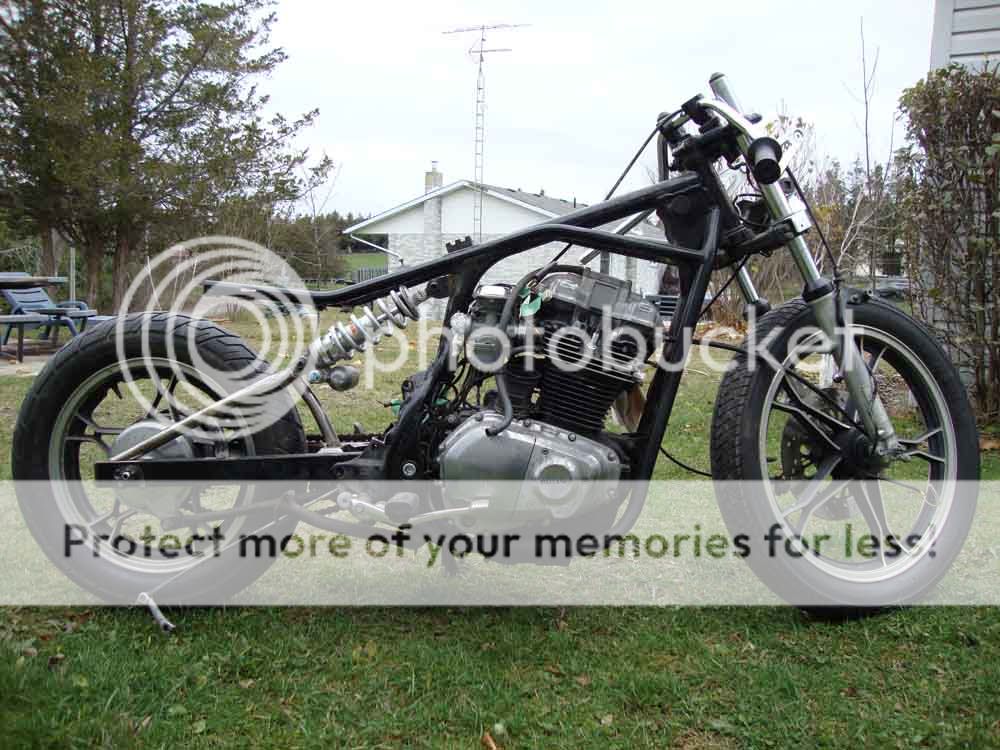
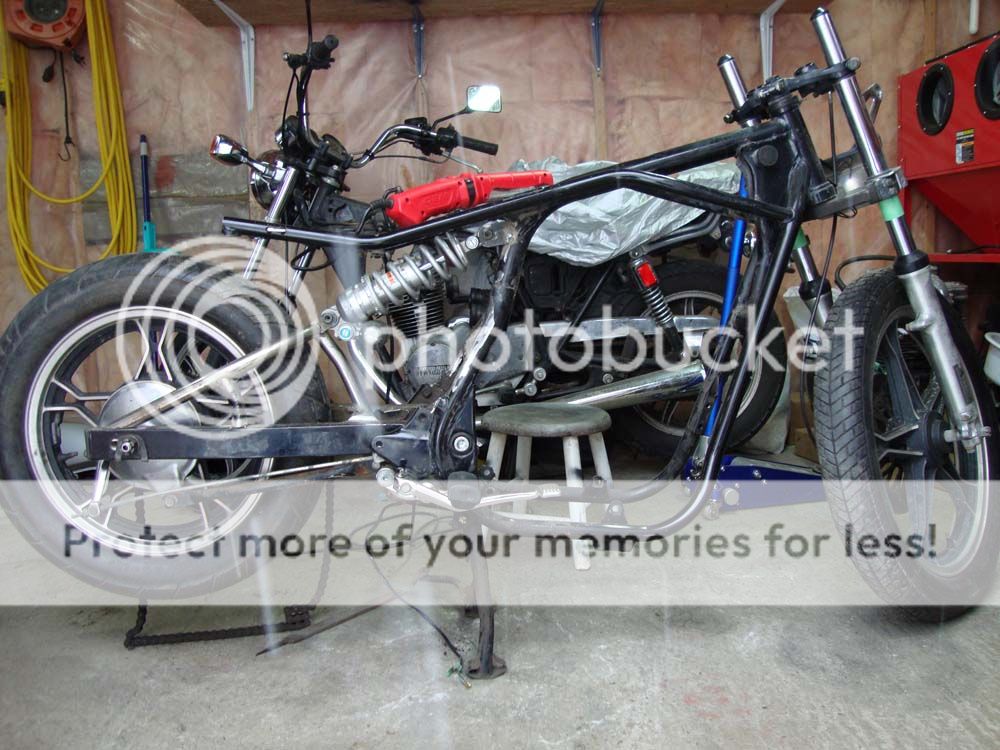
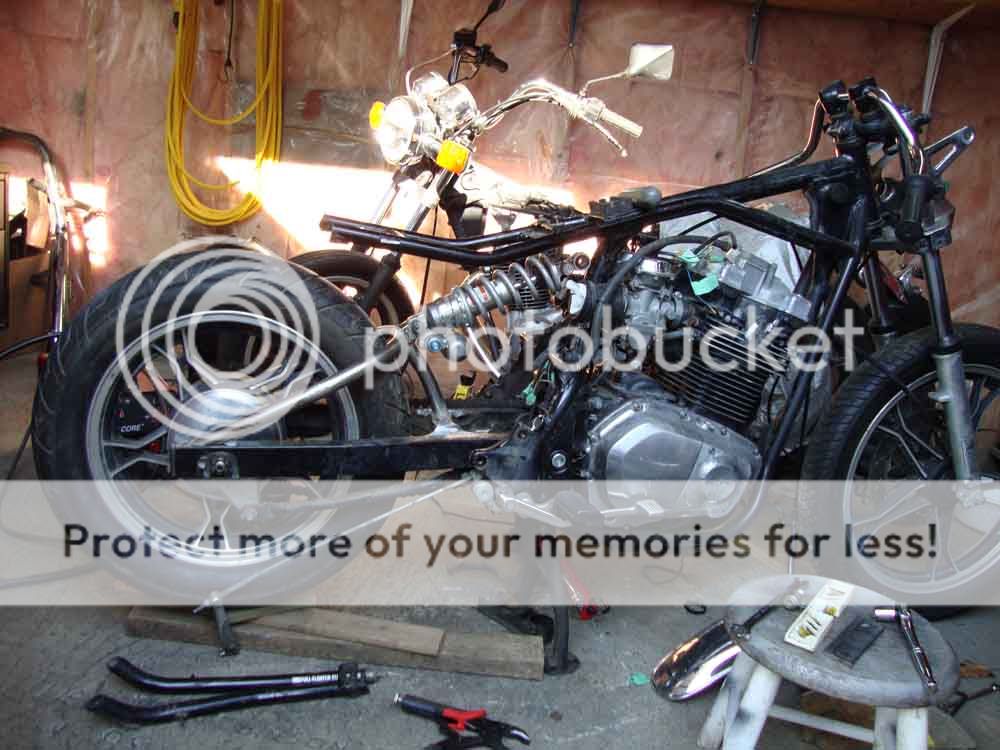
That's where I'm at so far. Almost done with the swingarm then will fully weld it all.

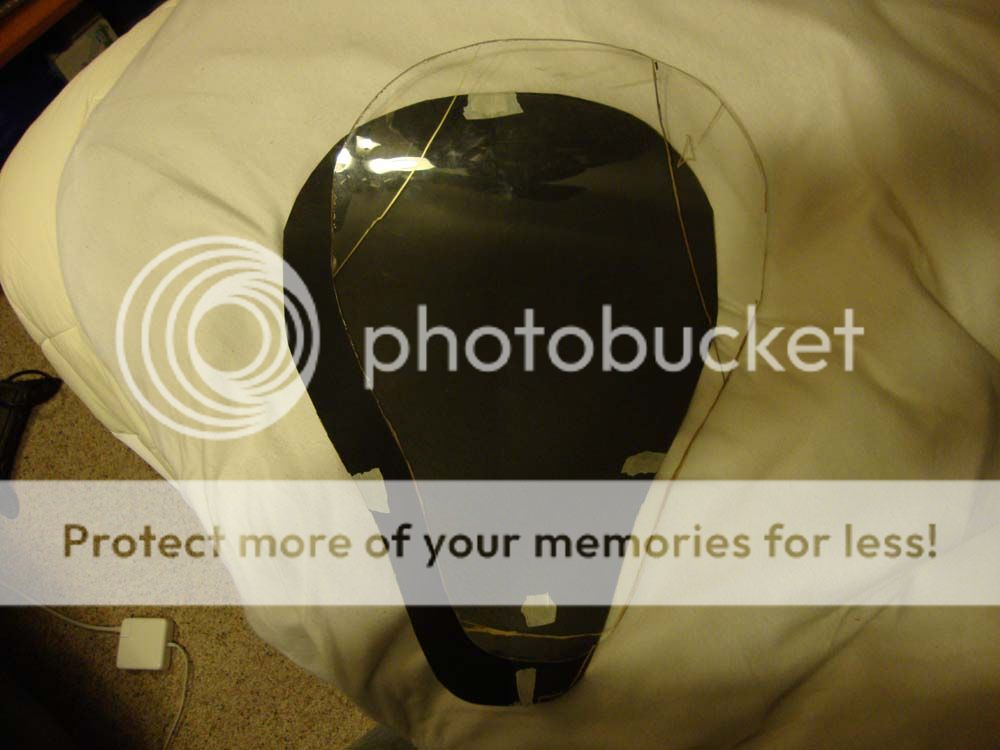
Thinking of using a 250 Rebel tank if I can find a stock one and then making a seat. Also use the factory rear sets I have leftover from my track bike but I'm torn between some drag bars or clip ons.

More to come :D :D :D
 
Re: GR650 build

Lowered the forks through the trees to see how much I want to lower it. Might go just a little higher than in the pics so they don't bottom out. Will cut the springs and go with a heavier oil.

DSC02014_zpse742683e.jpg


DSC02016_zps9eda5381.jpg


DSC02020_zps1db65947.jpg
 
Re: GR650 build

Welcome to DTT. Couple things you'll need to know as a new GR owner...

BigR here on Do The Ton owns all spare GRs and GR parts in the US. His grandfather actually designed the GR motor. His grandmother designed the rest. Mr Suzuki gave Richs family sole ownership of every GR sold in America. I don't know how you got your hands on one but be thankful that Rich is a generous god.
 
Re: GR650 build

VonYinzer said:
Welcome to DTT. Couple things you'll need to know as a new GR owner...

BigR here on Do The Ton owns all spare GRs and GR parts in the US. His grandfather actually designed the GR motor. His grandmother designed the rest. Mr Suzuki gave Richs family sole ownership of every GR sold in America. I don't know how you got your hands on one but be thankful that Rich is a generous god.

Haha, well i live in Canada so he must not have made his way up here yet.

Ive been following his builds, looks better every rebuild.
 
Re: GR650 build

^^ Pic didn't work?


Not too much to update really yet. Ordered a tank and clip ons so I'll have to wait for them to show up before I can do much else. I'll make a seat after I get the tank modded to fit the frame nicely.

In the mean time I made some rear engine mounts since they were originally bolted to the old monoshock bracket. Also cut a brace to hold the rear engine mounts that will also hold the fake tank to hide to the electronics and battery in.

DSC02086_zpsa16a8389.jpg


DSC02085_zps4feb4654.jpg
 
Re: GR650 build

Engine removed. Going to lower the shock mounts on the frame a little so I can lower the seat and also cause it looks off right now.

DSC02089_zps470c651c.jpg


To fit the tank I had to cut the 2 sides off the triple backbone. So I added a little structural brace between the neck gusset. The tank mounts and coils will go on that as well. I'm thinking I may need to add 2 short braces that will fit with the tank and run from the front downtubes to the main backbone to help stiffen it since I've cut the stock ones out. All the stock tubing is 1/16" thick so it's got me nervous. What are your opinions on the strength of the single thin wall backbone? Will adding the 2 braces really help if they only run to the new brace I added from neck gusset to back bone? I'm not an engineer so I've no idea.

DSC02109_zpsadf11681.jpg


DSC02110_zpsa1785f0d.jpg


DSC02111_zpse515dd97.jpg


In the meantime I polished most of the caliper, powdercoated some black then cleared the whole thing.

DSC02102_zpsbe8db9cd.jpg


DSC02105_zpsb3d69d3c.jpg
 
Had some time today so made some front tank mounts for the Rebel tank I picked up on ebay. It was in a flood and is full of rust. Going to try the electrolysis method to clean it out. Tomorrow will have the coil mounts done as well which are going on that same bar under the tank.

DSC02113_zpse05387ed.jpg


DSC02118_zps1b927b6f.jpg


Need to find some 1-5/8" tubing locally so I can finish the rear tank mount and have something to bolt a seat to.
 
I've been re-purposing as much of the old cut off pieces as possible and don't really have any scrap frame left over so that is good.

Used the old coil pack mounts to make new ones. Hidden up under the tank.

DSC02122_zps07491522.jpg

DSC02123_zpsa749b512.jpg


Made a seat pan as well. May leave it bare for now and stitch some leathers together for it later. Not quite sure yet. Haven't saw a clear seat before, may look nice with the monoshock showing below it.

First roughed out a sketch of the shape with the dimensions I wanted. Then folded in half and cut it out to make it symmetrical.

DSC02136_zps51c3c9b1.jpg

DSC02135_zps05900448.jpg


Then taped that to a piece of plexiglass I had laying around and cut it out. I may remake it out of thicker plexi but this seems pretty sturdy.

DSC02137_zps04a88cdd.jpg


Then put the heat gun to it and bent it around a paint can to get the rise in the back I wanted.

DSC02138_zps8caff536.jpg

DSC02139_zpsf619de37.jpg
 
Signed up.

I'm no engineer either, but I would definitely have somebody look into those frame modifications. I know my grandparents (right Von?) over built the frame and suspension components because they were groundbreaking at the time. So it's tough to say if you removed "too much". Just don't want you munching asphalt, that's all.

But if there are some parts you're looking for or questions I can answer, just let me know. Oh yeah - check your rake and trail when dropping the front that much, and remember how low the engine hangs down too. Lowering the suspension gets aluminum close to the ground quickly with the GR.
 
With the tank it's going to be very difficult to run some tubes from the engine downtubes to even the brace I added between the neck gusset and backbone. I'm going to have to keep thinking on how to stiffen it up.

I was already planning on making a skid plate because of how far the oil pan sits below the frame.
 
Found a seat pan I like so going to order that, just not worth trying to make one myself I don't think. Don't have the tools for the bends to come out nicely. So that's why it's slow going, waiting on parts.

Rear signals and brake/running lights. Can't tell because of the tape but I'm going to angle cut some pipe and weld it to the seat, then weld a nut inside for these LED 'eagle eye' bolts I have. Will be seamless and blend in with the seat well. I've ordered some red ones instead of blue/white though.

DSC02215_zps700842af.jpg


Still playing with resistances but the left side is roughly the running light brightness, right side will be brake light and turn signal brightness. Pictures don't nearly show the difference in brightness but they are noticeably different. Trying to make the running light as bright as possible while still having a distinct change between running and brake lights.

DSC02217_zps4117ee97.jpg

DSC02216_zps604096dc.jpg

DSC02220_zps2af8f665.jpg


Will also be shortening up the clip ons but they're hitting the gauge mounts on the factory trees right now. Waiting on headlight, battery, pegs, lights, levers and a few other little things.
 
Haven't made much progress lately. New smaller master came in, really tiny and clean looking.

IMG_1578_zps8c969124.jpg


IMG_1579_zps48ff47ea.jpg


IMG_1585_zps2cadbb3b.jpg


Shaved the trees of the gauge mounts. Will be using the old riser cutouts to mount some small digital gauges.

IMG_1625_zps4bfb7d42.jpg


IMG_1627_zpsbde78377.jpg


Seat pan finally came in so I can work on the mount for it. Not sure of a good way to do it for the look I want. Will likely reinforce what I have now though and use that.


Using 1/4 flat stock and some 1/4 round stock for as a brace. Thinking of adding another straight brace in the middle to keep it from flexing.

IMG_1632_zpsaa675fe3.jpg


And the seat pan. Going to move it back slightly and angle the seat to be a little more level with the ground.

IMG_1651_zps4f21e061.jpg
 
Back
Top Bottom