Follow along with the video below to see how to install our site as a web app on your home screen.
Note: This feature currently requires accessing the site using the built-in Safari browser.
We noticed you are blocking ads. DO THE TON only works with community supporters. Most are active members of the site with small businesses. Please consider disabling your ad blocking tool and checking out the businesses that help keep our site up and free.
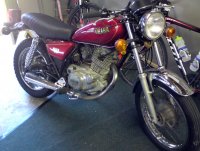
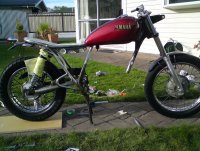
Hi Everybody, thought I would put up some photos of my Yamaha SR250, which I got late last year.
Originally bought t with the intention of just tidying up and riding around but soon enough it was in pieces and decided it was going to be the winter project. Started out by skimming down the seat to get rid of the ugly stepped seat and recovered it,also put some drag bars on to lower the front of the bike. Havn't really set out on a style but took some inspiration from various bikes. Gave a time-frame of about 6 months to get it done, so ill put up some photos of the process as its all finished now.
Its my first foray into motorbikes so I appreciate any feedback comments/criticisms(maybe) ha Cheers!
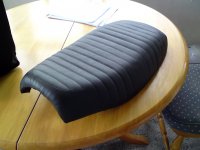
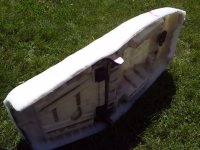
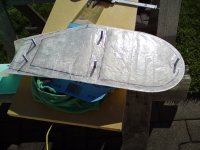
Didn't want to make any structural changes to the frame just yet, just wanted to see how the stock seat could be made to look a bit better, bought some upholstery foam, reshaped the original foam and sewed up a new cover for it, quite basic but changed the look of it a lot.
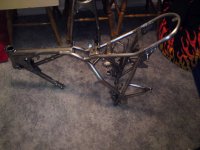
Cut the tail posts off, had a tail loop bent up then had it welded on, wanted the edge of the frame to be visible underneath the seat.Now its was rolling I could start to get an eye for how the frame/tank/seat would sit,
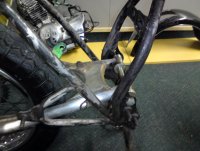
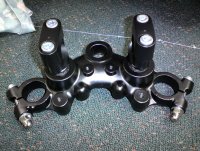
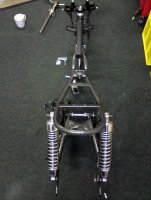
also lowered the tank mounts on the frame to drop it down at the front a bit. Also serviced the forks with new seals oil seals etc. Also painted the triple tree upper while it was off with new bolts as well, the rear shocks are off a triumph which I got for a bargain. Brackets are for the rear mudguard.
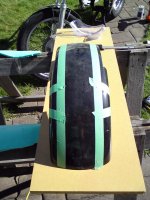
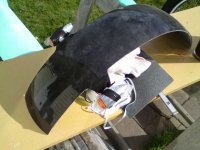
The rear guard was a left over fiberglass trailer guard that I cut the general shape out of, left in some tags to fit the rear indicators to but decided to change their position later on, also fitted it up to check how the rear tail light would fit.
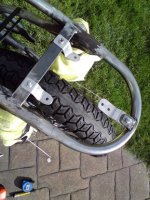
Also didn't want to keep the large front chrome guard so we welded up a new fork brace and cut a small front fender to bolt on.
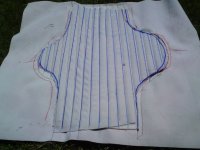
Now the tail loop is on, I had ago at a fiberglass seat pan. Put down tin-foil, and made the tank mount hump by molding playdough around it. First experience with fiberglass happy that it turned out ok. At the same time put some reinforcing strips of alloy in the layers and glassed in a few mounting bolts.
Just getting done building one of those as well. the frame isnt setup for a cafe like the dt250 is. Its more of a bobber stlye frame. So mine is becoming more of a flattracker bobber type. fun lil bikes tho. Good luck
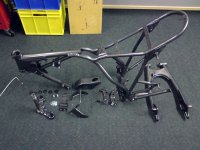
Frame and swingarm, triple tree, kickstand and bits are all stripped of paint ready for powdercoat. Knocked the swingarm bushed out with a large punch, amazingly they came out quite easily. Knocked out the headset races before paint as well. Had the frame soda blasted, there was a lot of surface rust still to remove after though.
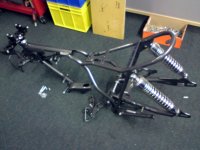
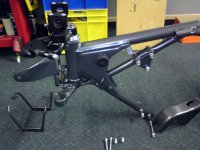
Back from powdercoat, it came up really nice. Its a charcoal grey sparkle, seems to change colour depending on the light which is cool. Fitted the rear shocks, have had the headest locknuts etc rechromed and zinced. Thetool on the floor in the second picture is a bicycle headsetpress which I borrowed from work, worked perfectly on this as well!
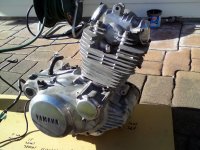
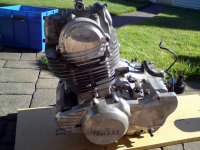
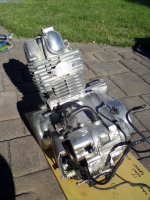
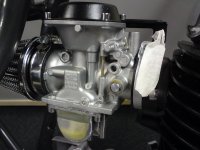
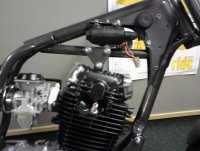
Next up was the engine, it still ran really well so I decided to just give it a tidy up, paint and polish, then maybe pull it to bits next winter if ive still got the bike. Cleaned up the fins and case with drill mounted wire brush, painted the head with a high temp vht spray, and kept the case silver, polished all the sidecovers by going through the wet and dry grits then s spinning polisher on the drill. Fitted new gaskets on the sidecovers as the old ones were toast. New screws for all the covers as well.
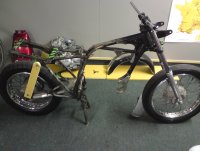
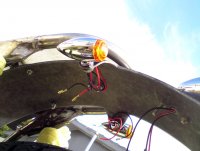
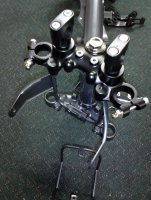
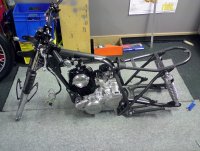
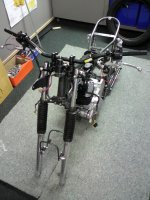
Shes back in the frame and its starting to look like a bike again! Picked up a set of pro taper bars through work, similar to the renthal ultra low shape. Bent the levers back into shape, also polished them, painted the lever body, with the barrell adjusters re zinced. Tried mounting the indicators underneath the brake levers but kinda went of the idea after a while, ended up making a bracket and fitting them to the forks. Mounted the horn under the tank but moved that later on as well. Also picked up a new ignition as the old one was pretty beaten up. New fork Gaiters also. Next up is the wheels.
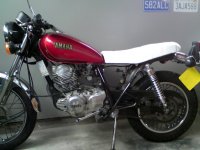
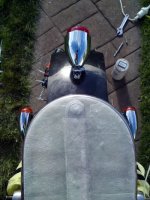
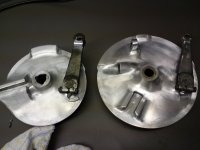
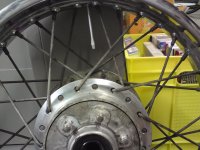
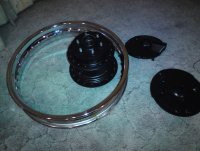
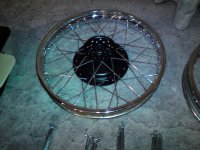
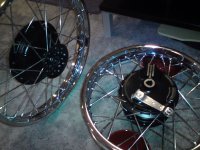
The wheels were in pretty good nick, the rim chrome was great so I decided to leave it, the black rims look sweet but the chrome seemed to go well with the frame colour, I had the spokes and nipples re zinced, and painted the hubs the same colour as the engine head.
Had the brake arms re-plated. I re laced and rebuilt the wheels myself using the rear swingarm and front forks as a truing stand. Have built a few hundred bicycle wheels so these use much the same principal just on a larger scale!
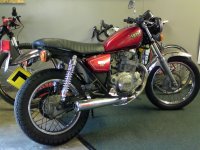
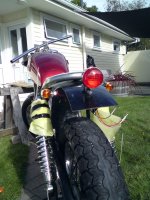
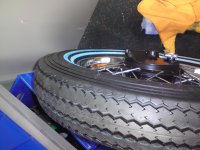
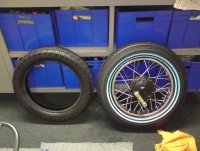
Thought a long time about what tyres to fit, wanting to keep the cost down I kept the front one but decided to get a bigger rear to fill out the back of the bike better, the original one looked a bit puny on it. Came across the white wall style, kinda took a punt on it and as the bike came together it started to fit in with the scheme.
This site uses cookies to help personalise content, tailor your experience and to keep you logged in if you register.
By continuing to use this site, you are consenting to our use of cookies.