Follow along with the video below to see how to install our site as a web app on your home screen.
Note: This feature currently requires accessing the site using the built-in Safari browser.
We noticed you are blocking ads. DO THE TON only works with community supporters. Most are active members of the site with small businesses. Please consider disabling your ad blocking tool and checking out the businesses that help keep our site up and free.
Re: 1975 Yamaha XS500B Cafe Project (TX500) - Paint: Your Vote is Needed. 5/1
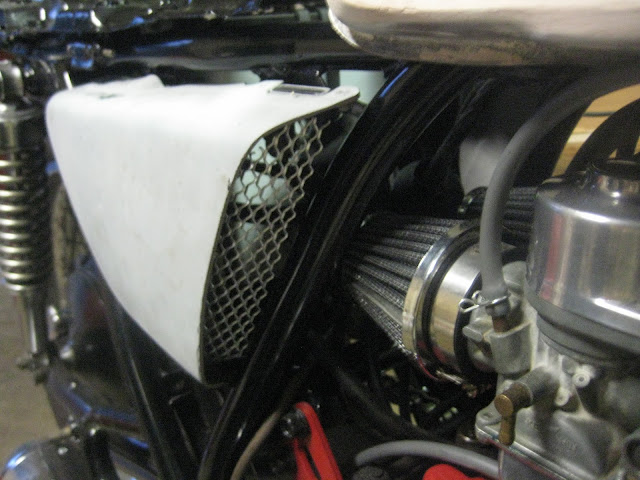
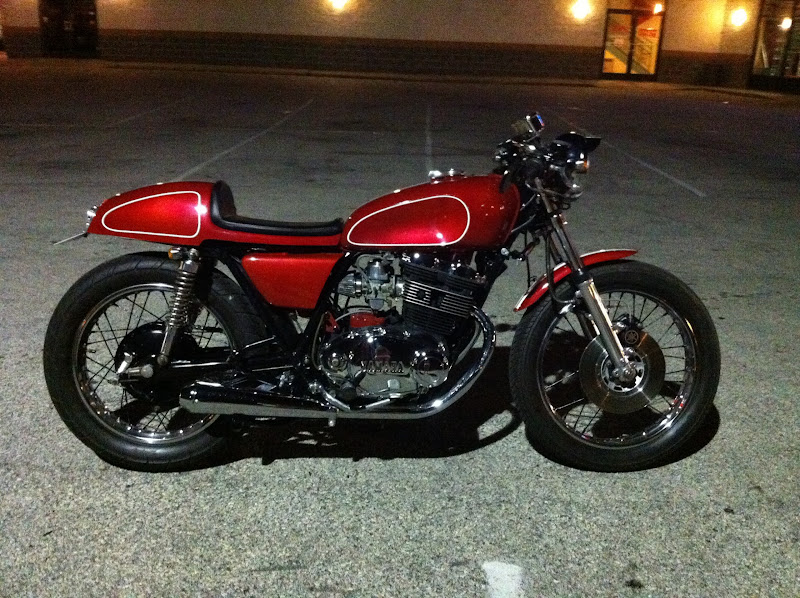
Timing and Carbs Synced this weekend thanks to this bad boy. A little jump and hesitation when down shifting and slowly rolling on the throttle. The culprit is probably the the pod filters on the CV carbs. Very minor though to the way she rides and feels now. All smiles.
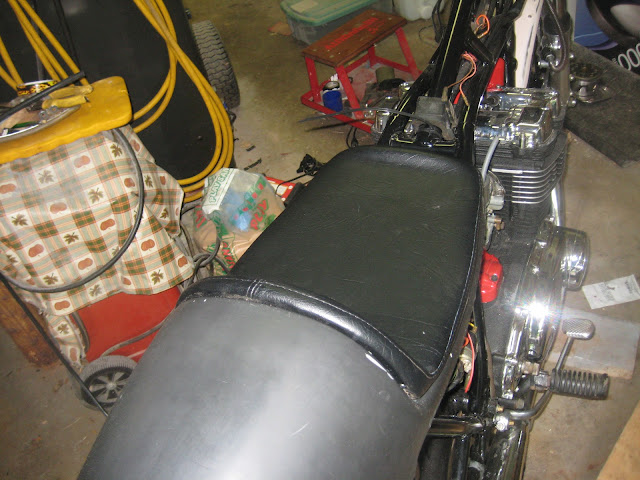
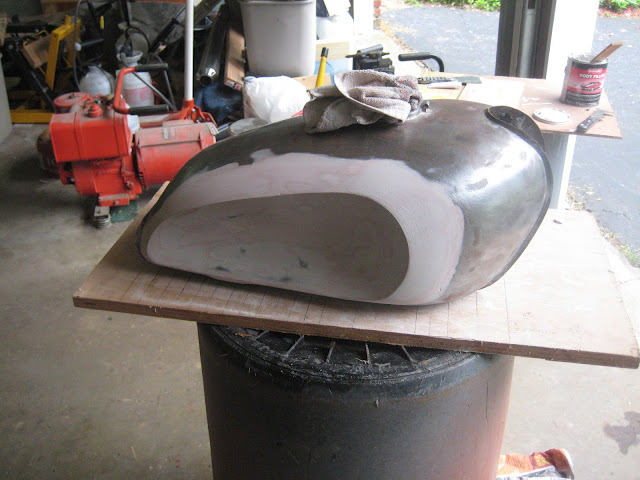
Called my upholster on the seat situation. Another week! That's 4 weeks total. :'( In the meantime, I did a little of work on the side covers and went thru some test sprays.
So with out delay here is a little preview of things to come in the next few weeks!
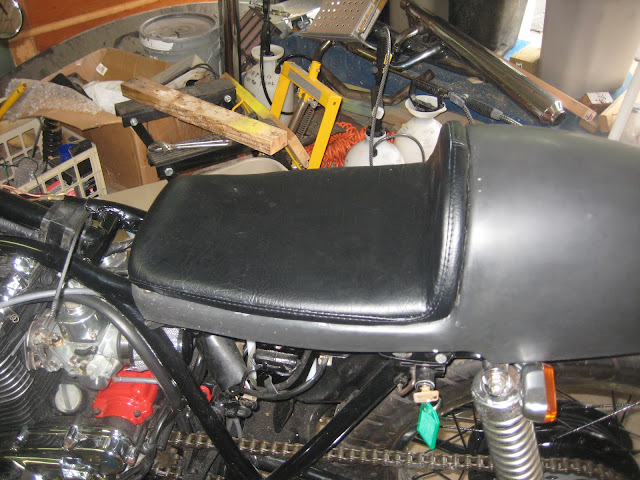
Upholster finally finished up. Now I got a seat. Now the only thing remaining is bodywork and paint. Next time I post this nearly 2 year project will finally be done!
I was hoping to post final pictures but unforuntely I've had some delays with having to work and a weekend weather forcast with 87% humidity. So for now the bike is on hold until a have a nice humidity free weekend.
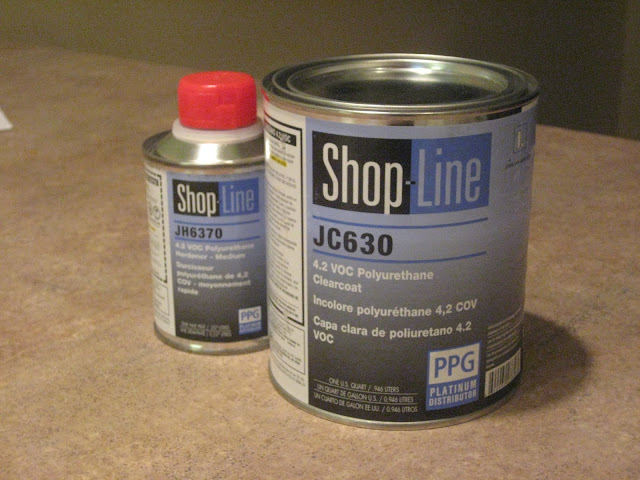
I decided to go with Duplicolor PaintShop system. However after some test sprays I have noticed the candy was too thick. I sprayed a gold base and a silver base. After I sprayed the candy I couldn't tell the difference due to the thickness. Since then I have bought some Laquer Thinner and will play around with some test spray. In addition, after reading much about the cons of laquer I have decided to purchase a ppg polyurethane clear that will hopefully protect it a little bit longer when it comes to the durability and chemical resistance.
Here is a little preview for now and my latest purchase:
Solid man!!! please keep us updated... i was planning on shooting the gloss black and clear on my fairing and saddle bags this weekend for my harley... would love some feedback... what tip are you using?
Solid man!!! please keep us updated... i was planning on shooting the gloss black and clear on my fairing and saddle bags this weekend for my harley... would love some feedback... what tip are you using?
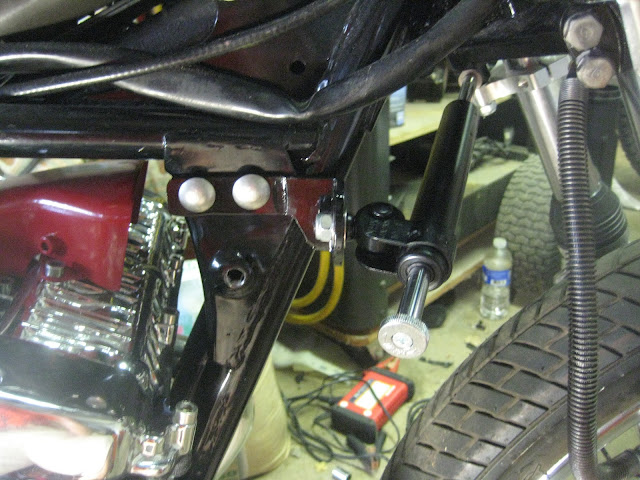
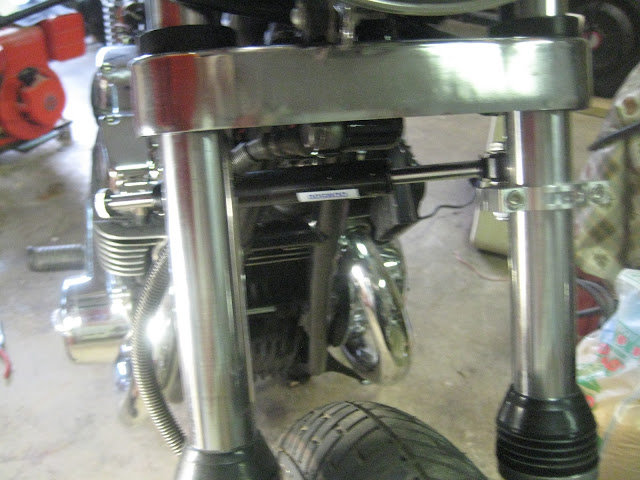
Last minute addition. Motivated by Joe's Flat Out Steering Damper. Installed this NHK 7-way steering damper and 34mm fork bracket from MikesXS.net. A little annoyed that neither part came with any bolts except for clamping portion of the fork bracket.
Anyways the damper installation took about a day and half. Fabricated 1 bracket but it was too weak. Then finally figured out a way to fabricate a stronger bracket to mount right inside the tank area. Don't ask me how I did it because it was too painful mentally and physically to explain and create. The bracket itself is pretty sturdy but it does show a little weakness on the dampers max stiffness. It's pretty close to the durability and strength I was looking for. It will have to do for now.
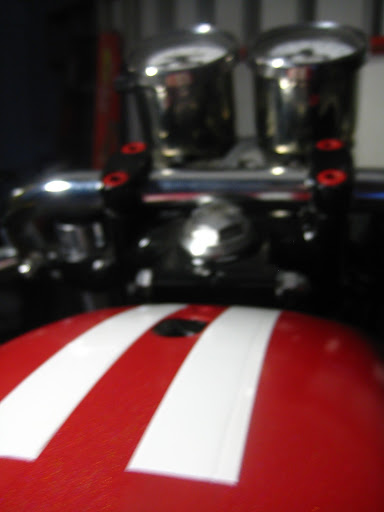
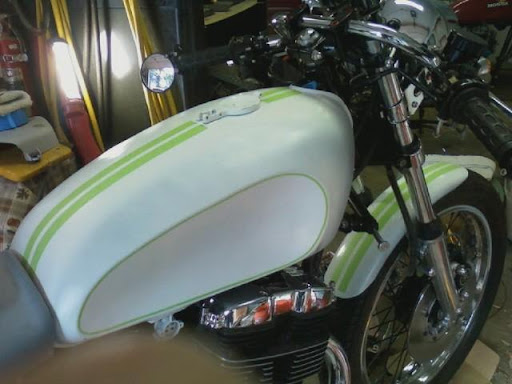
Re: '75 Yamaha XS500 Cafe Project - 6/20 - White Base for Strips & Frog Tape
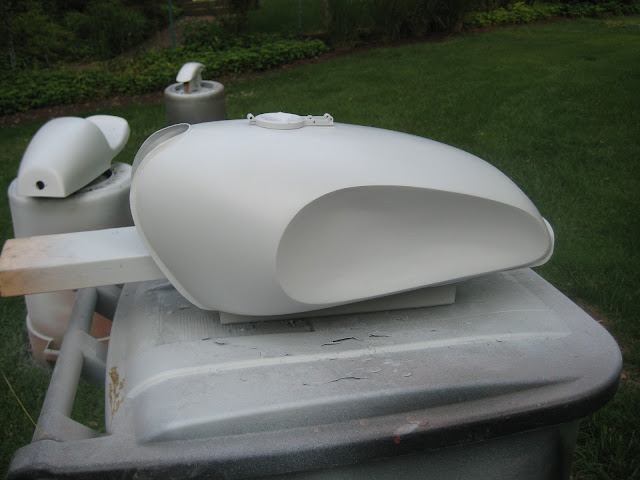
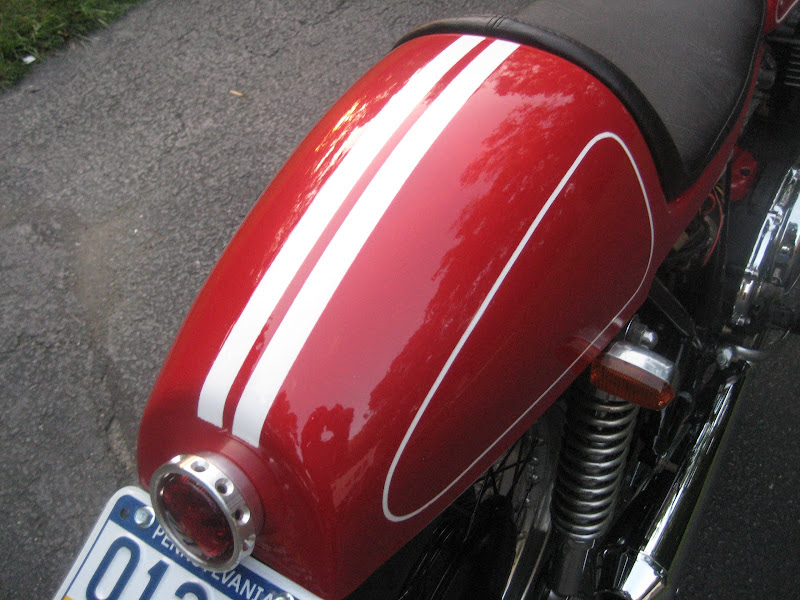
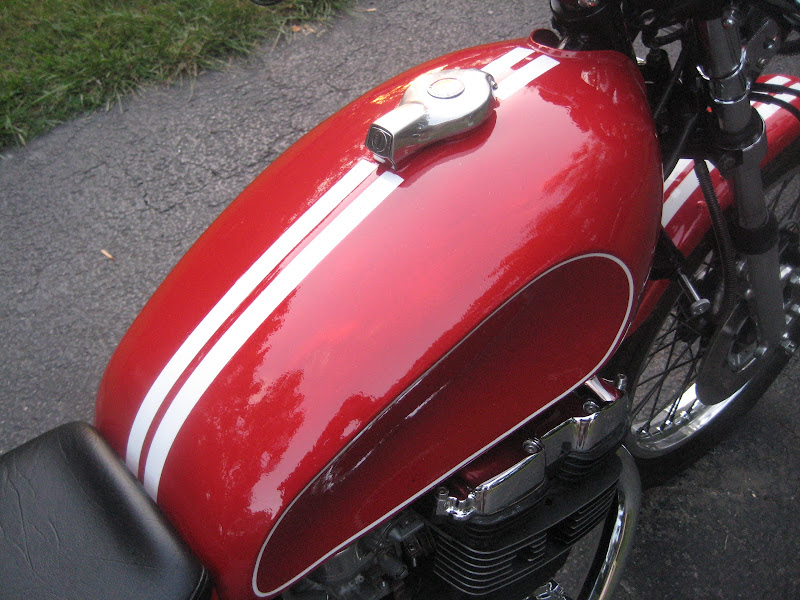
Laid down White Base for Stripes & Frog Taped the racing strips. I'm only going to give you a preview of the tank and front fender for now. You'll get the see the rest when it's done.
ha that's what all my friends are saying. I already bought my supplies soo I'll save the white and lime green or black and lime green for the next build. :
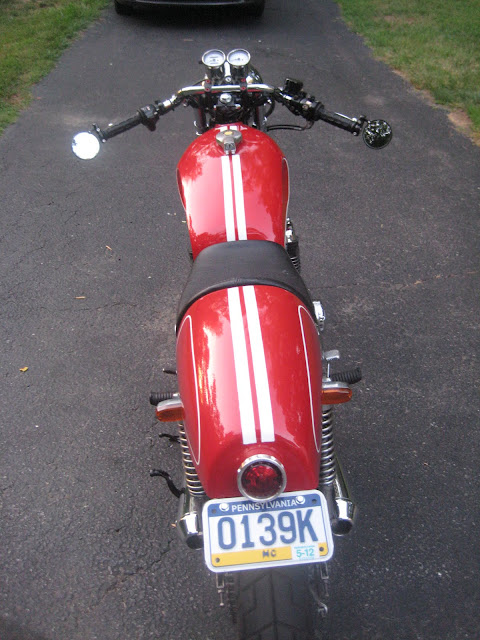
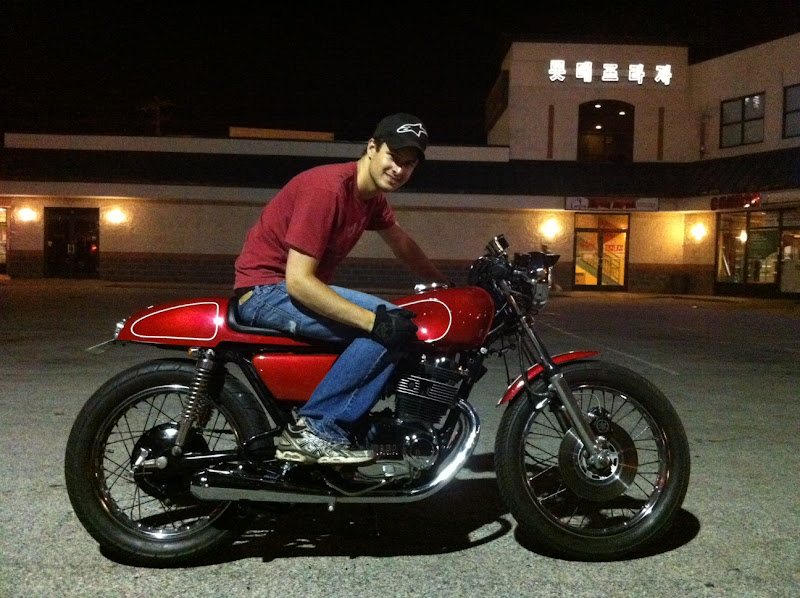
Well, here it is. Everything is here minus the kick starter. Have to pop off the clutch cover at some point to fix the spring. I was hoping to get a professional photographer but here are some pics in the meantime.
This site uses cookies to help personalise content, tailor your experience and to keep you logged in if you register.
By continuing to use this site, you are consenting to our use of cookies.