
TheProspector
Active Member
ducatiboy: Thanks brother! Yeah definitely glad I split the cases and inspected everything... Should've known I was going to find some broken things in there too... That's been the way with this engine, so it really doesn't faze me anymore. As for the decals, they are 1960's Honda Wings and I got them from xtreemdecals.com. I'll put the link below. They're the ones on the bottom of the page and I know they are expensive at $49, but they are really well made... I love them. Another idea I had (since I'm going for a 70's Paul Smart Ducati inspired look) was to have someone design the old Ducati white with black outline letters, but have it be HONDA...? I've never seen one like that but thought it might be cool looking. I dunno... But I also didn't wanna be "Ducati-wannabe-guy" either... ")
http://www.xtreemedecals.com/default.tpl?cart=133636312711864256&id1=170&id2=181&startat=1&--woSECTIONSdatarq=181&--SECTIONSword=ww1
frogman: Awesome tip, thank you! I'll have to try that. As it sits, loosening that bolt with the engine out is difficult to say the least... Might actually do that job when I have the engine mounted again and can use the rear brake to lock the crank, because I've even tried the "penny in the gears" trick and that didn't work. Just ended up chewing up the pennies... :-\ So, I'll see what I can do, but thanks again for the advice. Very appreciated.
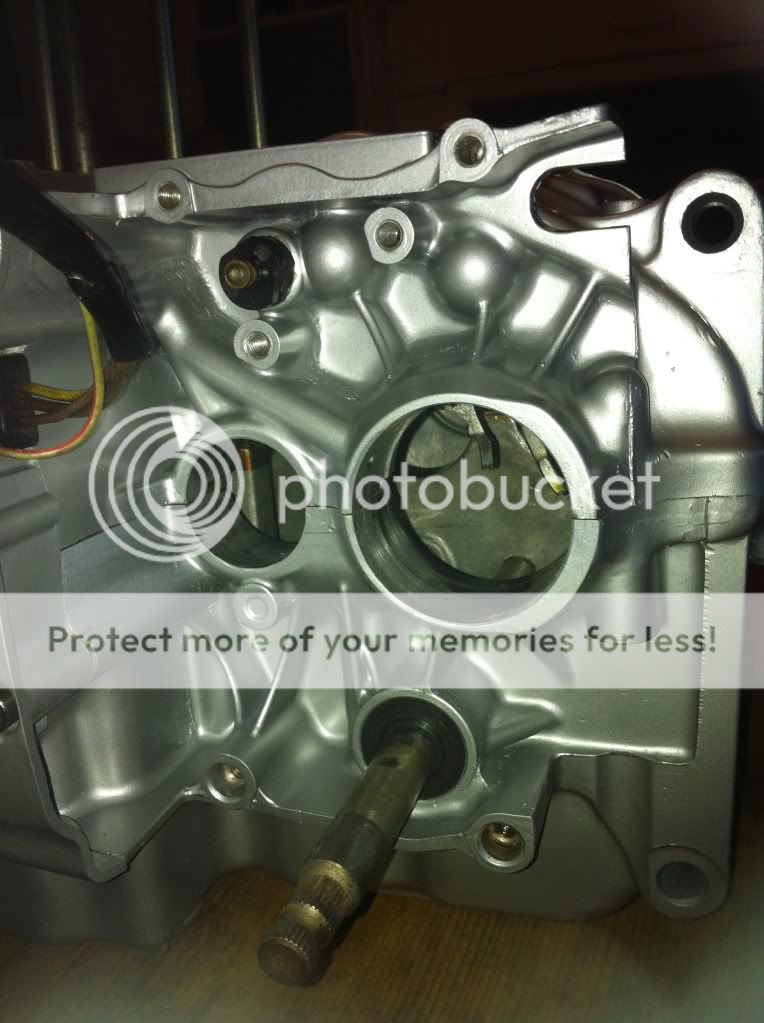
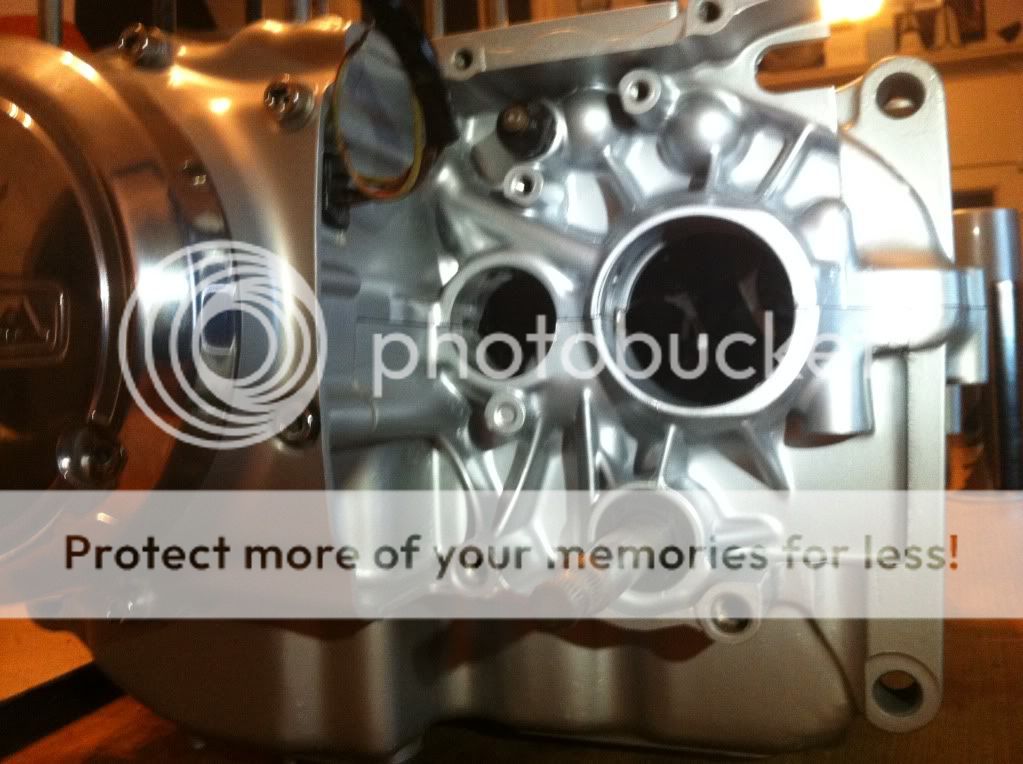
Update: Today was a big day for me... Finished cleaning the bottom case last night and woke up today and started prepping and painting it. Then did the top case (was already mostly clean and definitely wasn't as bad as the bottom). Baked them both and they came out great, I think. That should be it for cleaning and painting engine parts. Was dreading doing those cases, but I'm so glad I did since I came across other issues inside and they turned out looking awesome. Just glad they're done. Couldn't help mocking some things up just to see how it's looking. Very exciting day for me.
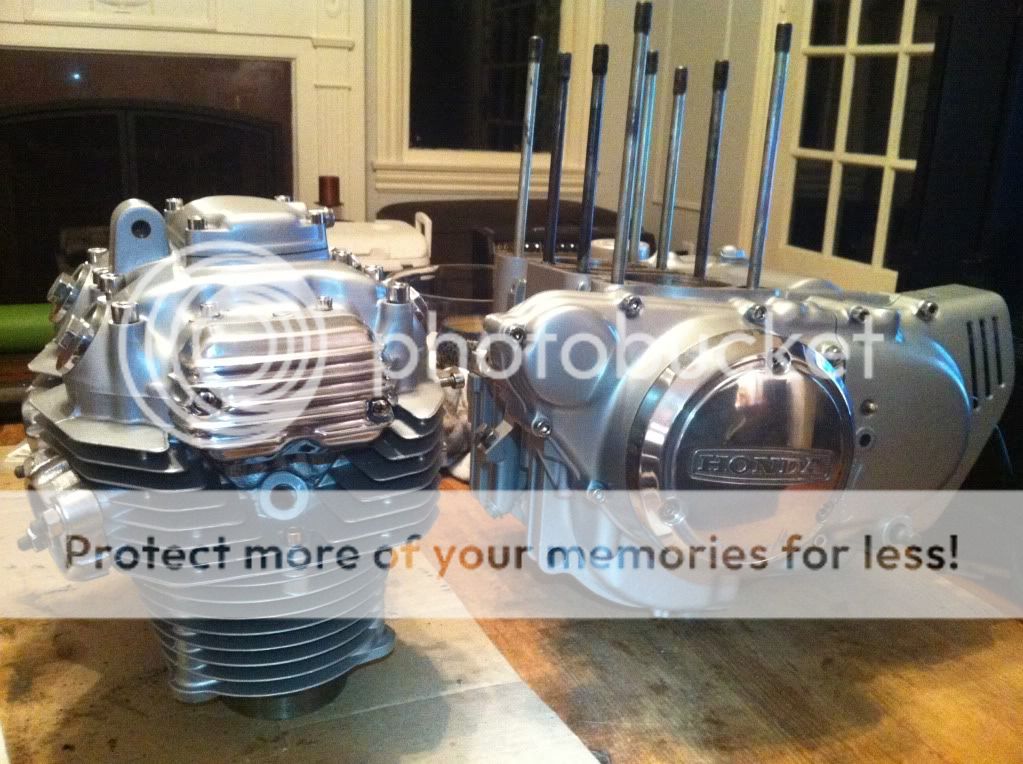
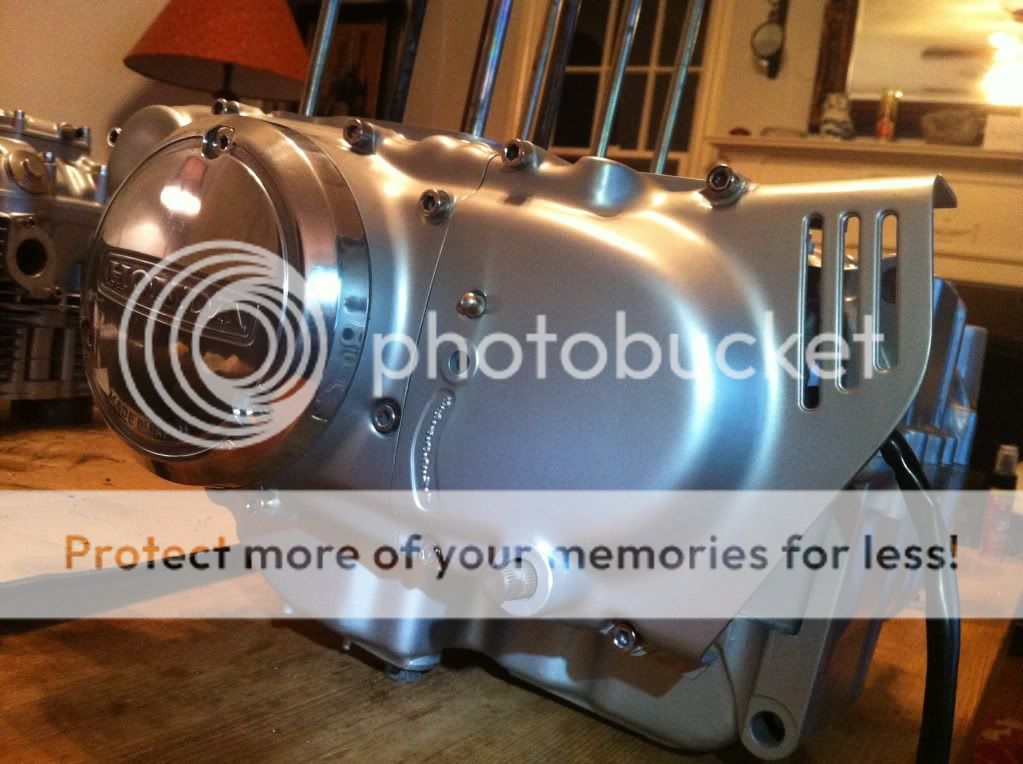
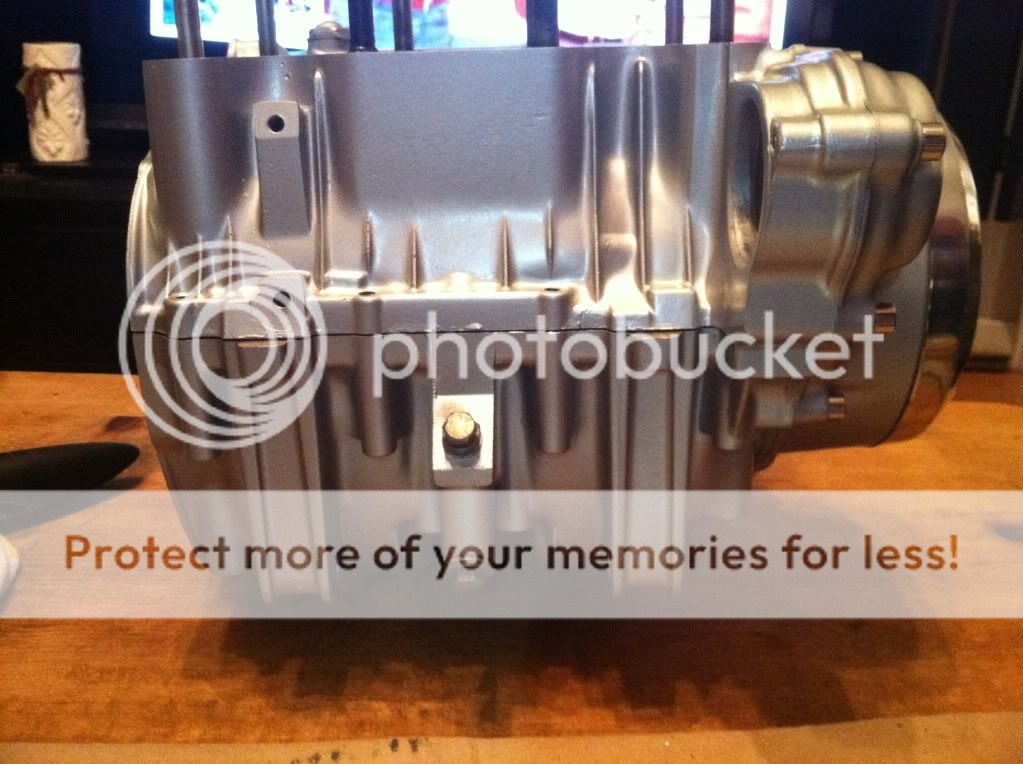
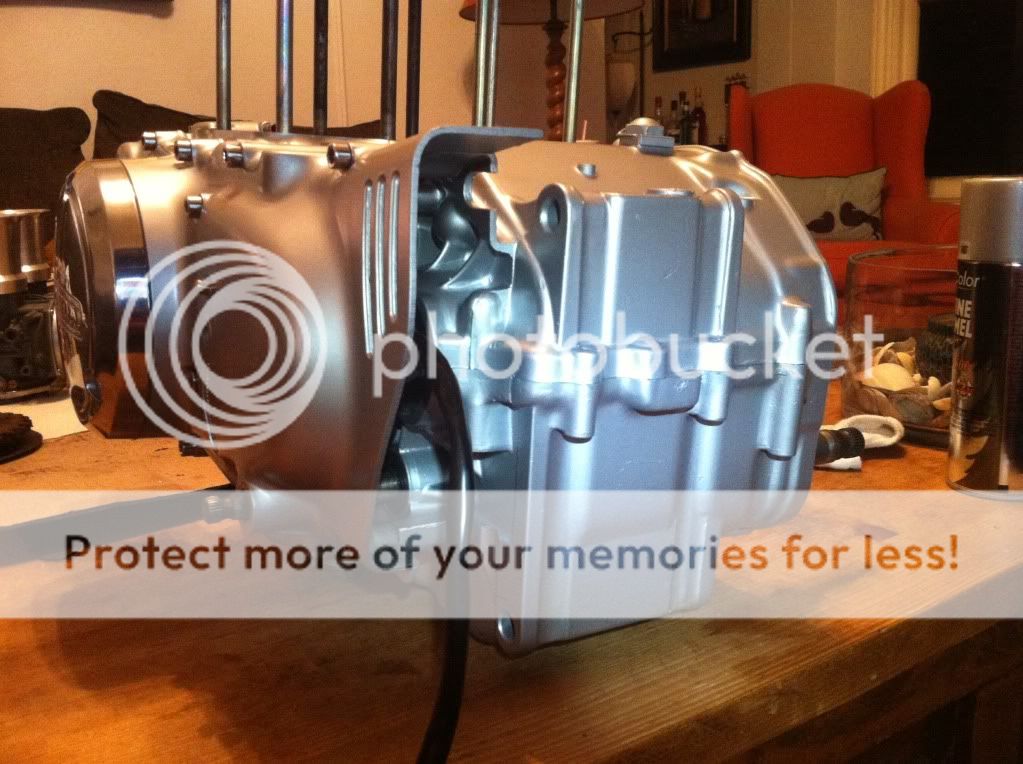
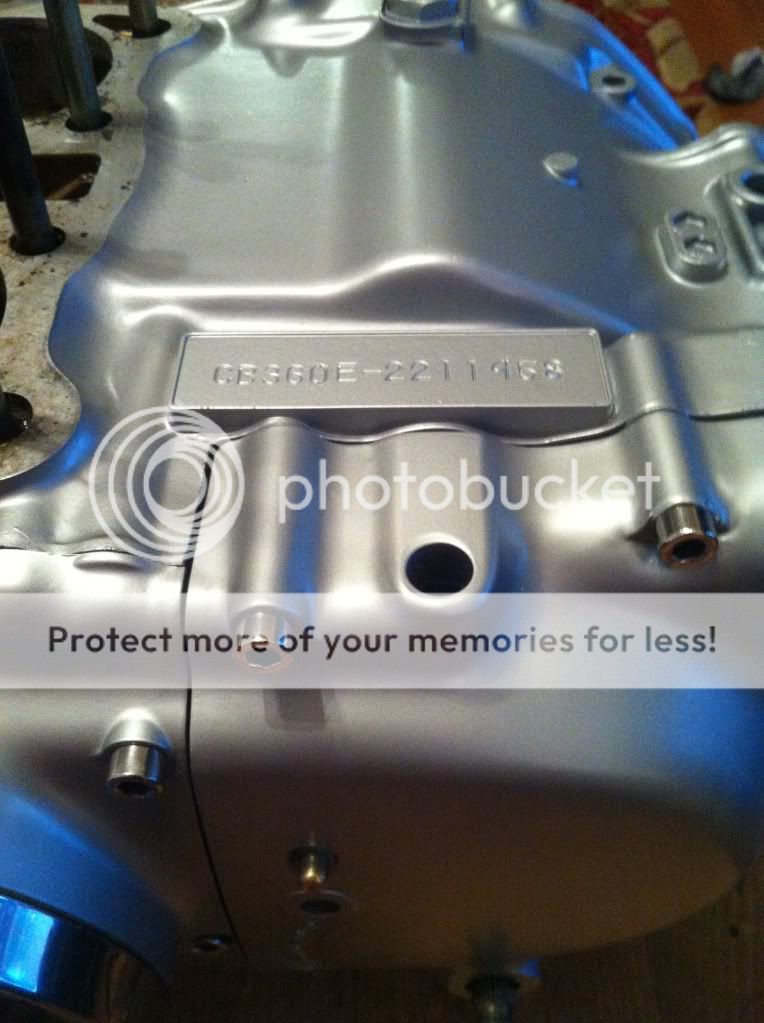
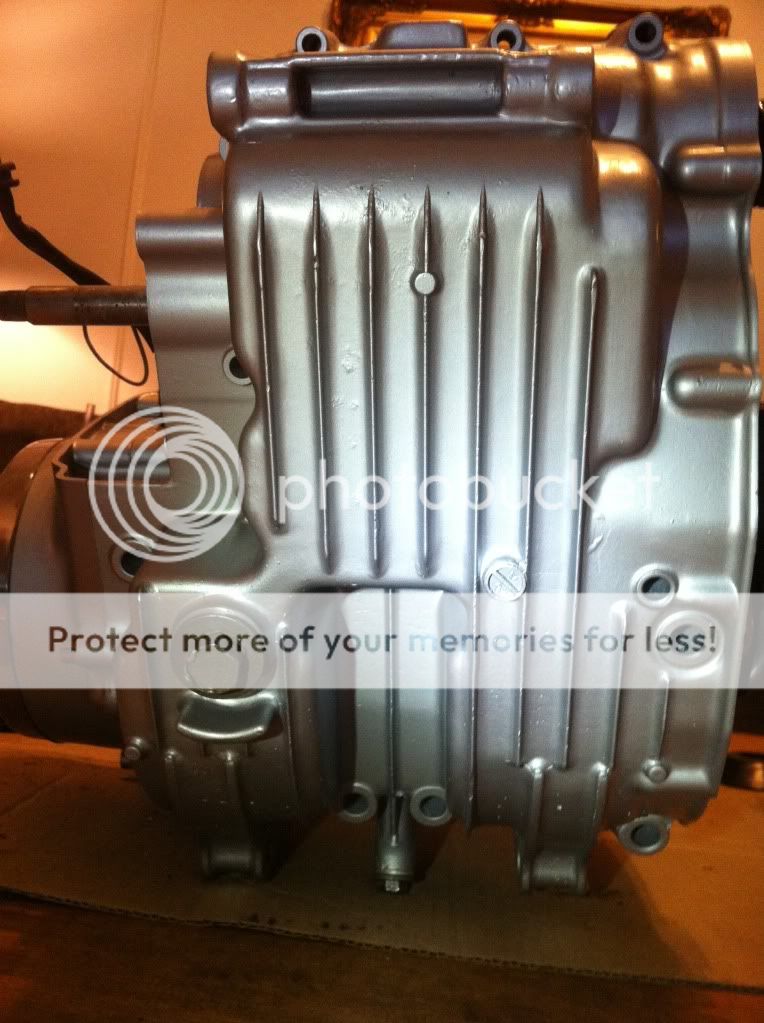
Before:
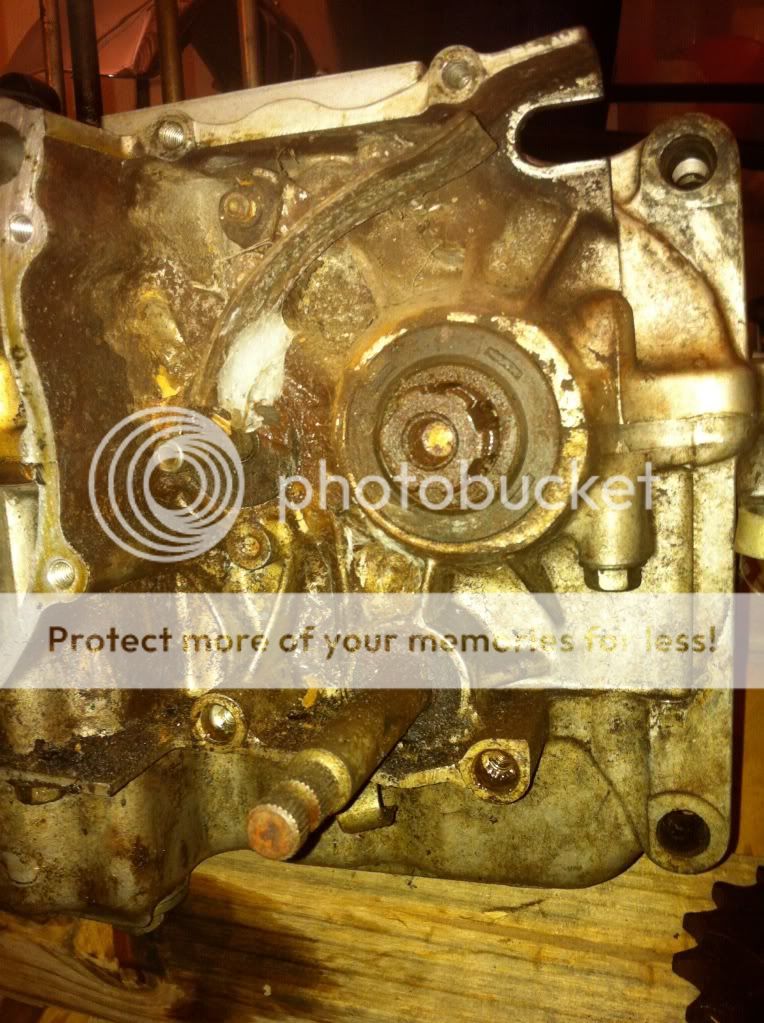
After:
http://www.xtreemedecals.com/default.tpl?cart=133636312711864256&id1=170&id2=181&startat=1&--woSECTIONSdatarq=181&--SECTIONSword=ww1
frogman: Awesome tip, thank you! I'll have to try that. As it sits, loosening that bolt with the engine out is difficult to say the least... Might actually do that job when I have the engine mounted again and can use the rear brake to lock the crank, because I've even tried the "penny in the gears" trick and that didn't work. Just ended up chewing up the pennies... :-\ So, I'll see what I can do, but thanks again for the advice. Very appreciated.
Update: Today was a big day for me... Finished cleaning the bottom case last night and woke up today and started prepping and painting it. Then did the top case (was already mostly clean and definitely wasn't as bad as the bottom). Baked them both and they came out great, I think. That should be it for cleaning and painting engine parts. Was dreading doing those cases, but I'm so glad I did since I came across other issues inside and they turned out looking awesome. Just glad they're done. Couldn't help mocking some things up just to see how it's looking. Very exciting day for me.
Before:
After:


