COYOTEfive0
New Member
Hello All,
I have been follower of DTT for quite some time but have never had anything that I thought was worthy of a post until now. Let me start by saying that I have greatly appreciated the information and advice that this forum provides. Now down to business, several years ago I purchased a 1982 Suzuki GS750e. My goal was to transform the bike into something of a mild cafe racer. Something that looked like it came from the factory that way.
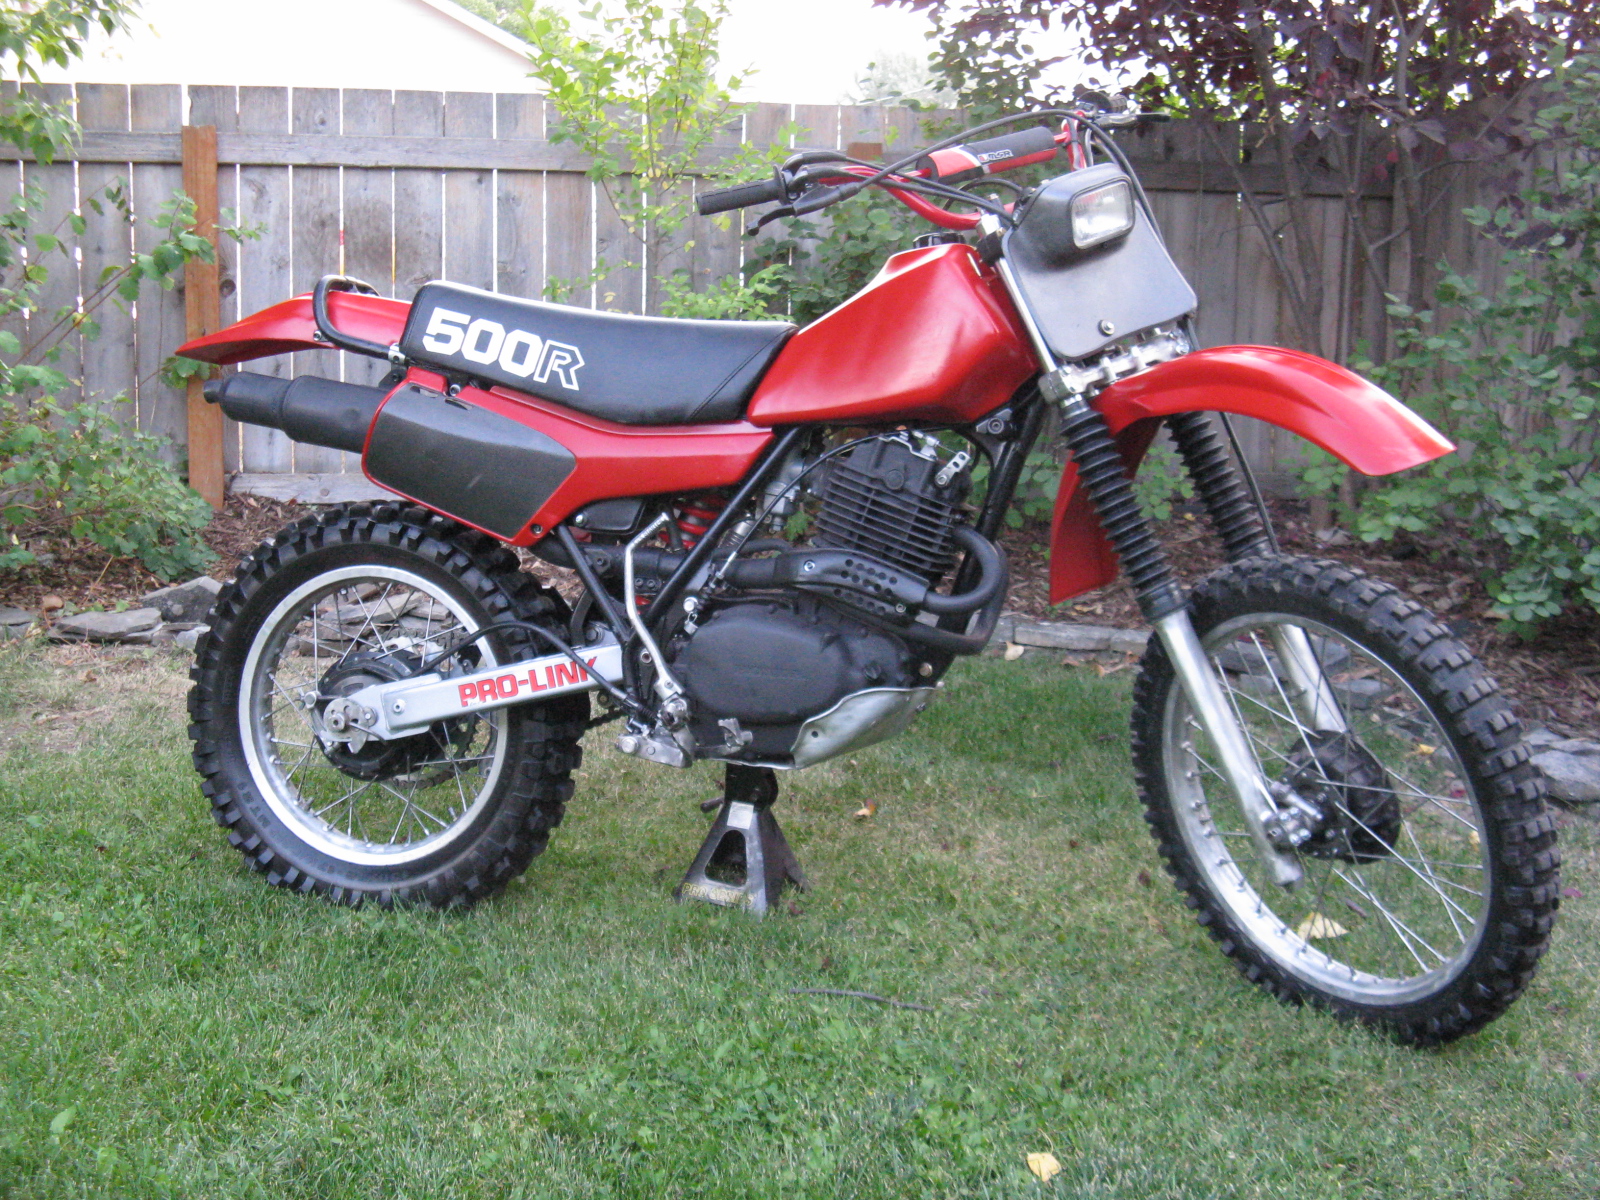
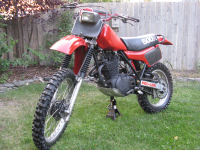
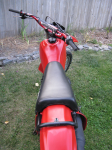
My previous experience in this area was rebuilding a 1981 Honda XR500R. I completed this project about a year before purchasing the Suzuki. Here is the finished product of that previous venture...
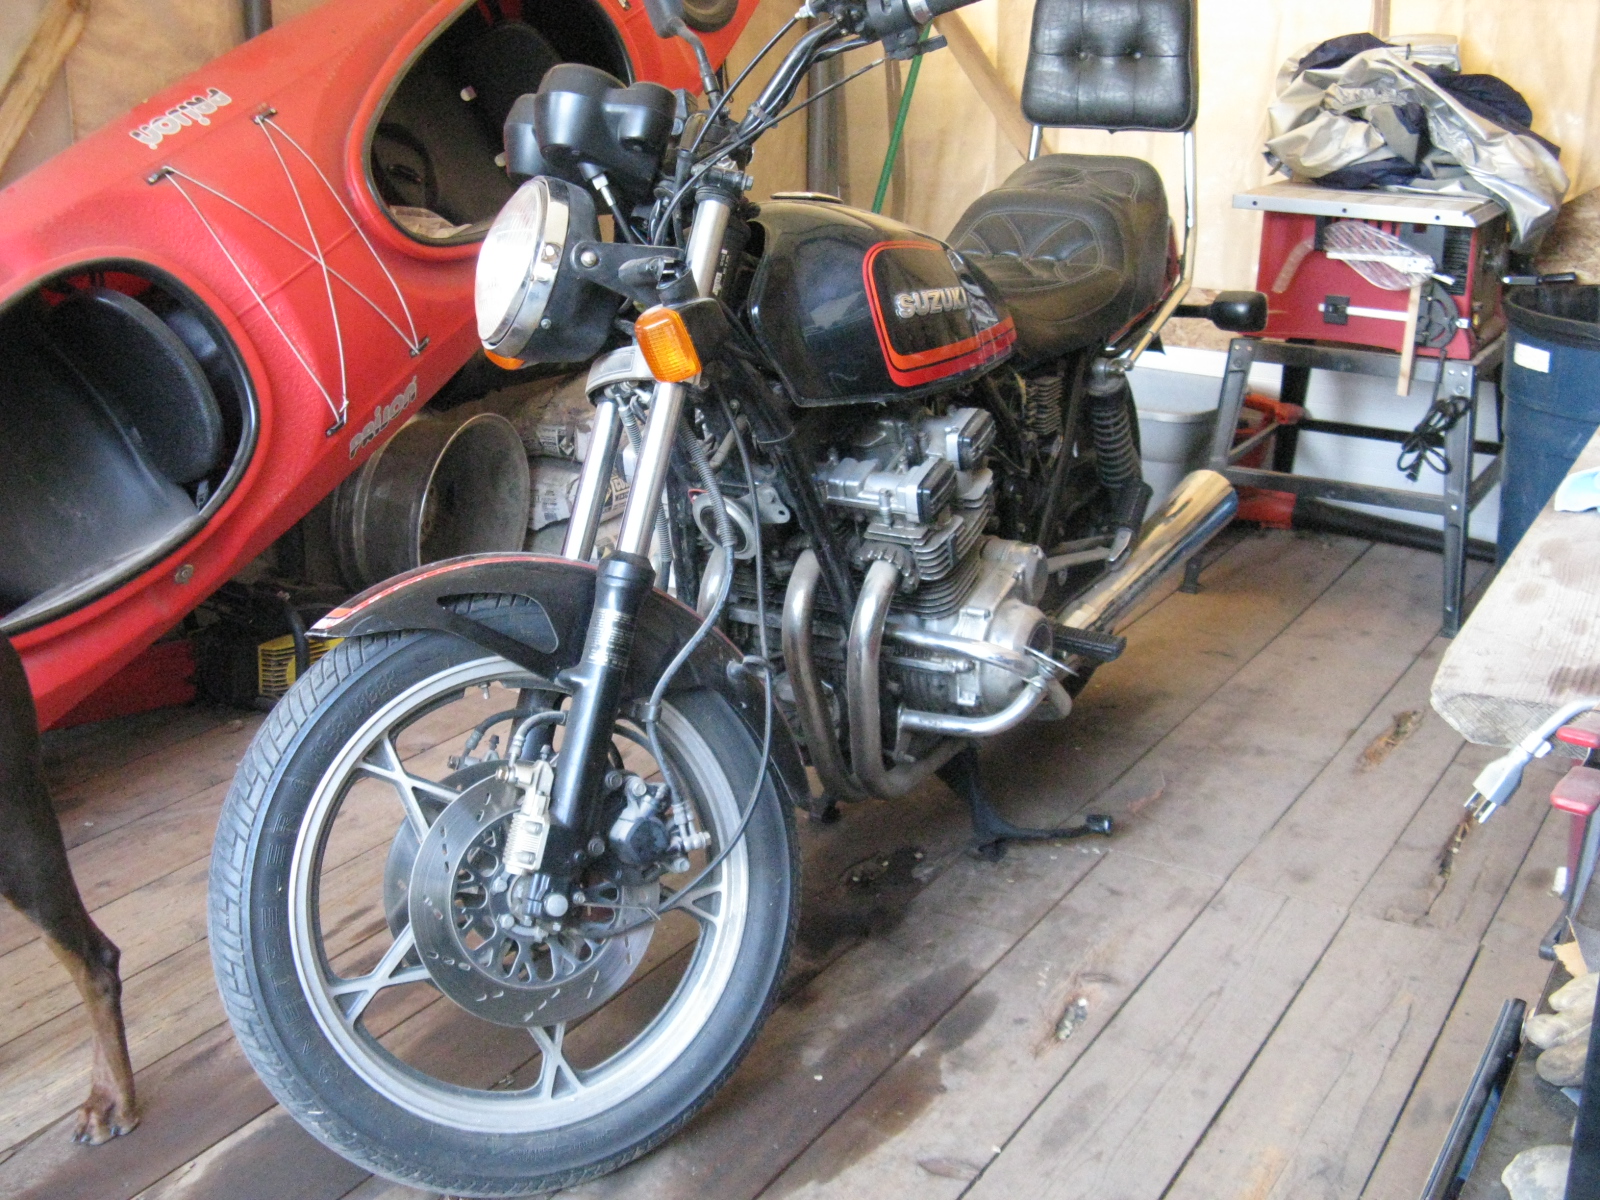
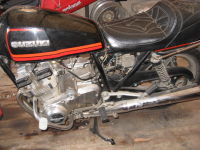
After successfully completing the Honda I wanted to set my sights on something a little more complex. A quick search on CL turned up the 1982 GS750e. I paid $280 for it and the PO stated that it did run however had electrical and carb issues. Overall I felt good about the transaction and I think the PO just didn't have the commitment level required for the project. Here it sits as purchased...
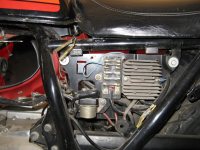
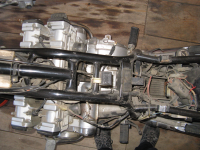
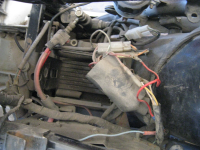
With the obvious electrical and carb issues...
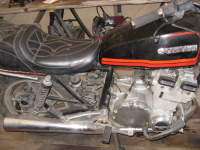
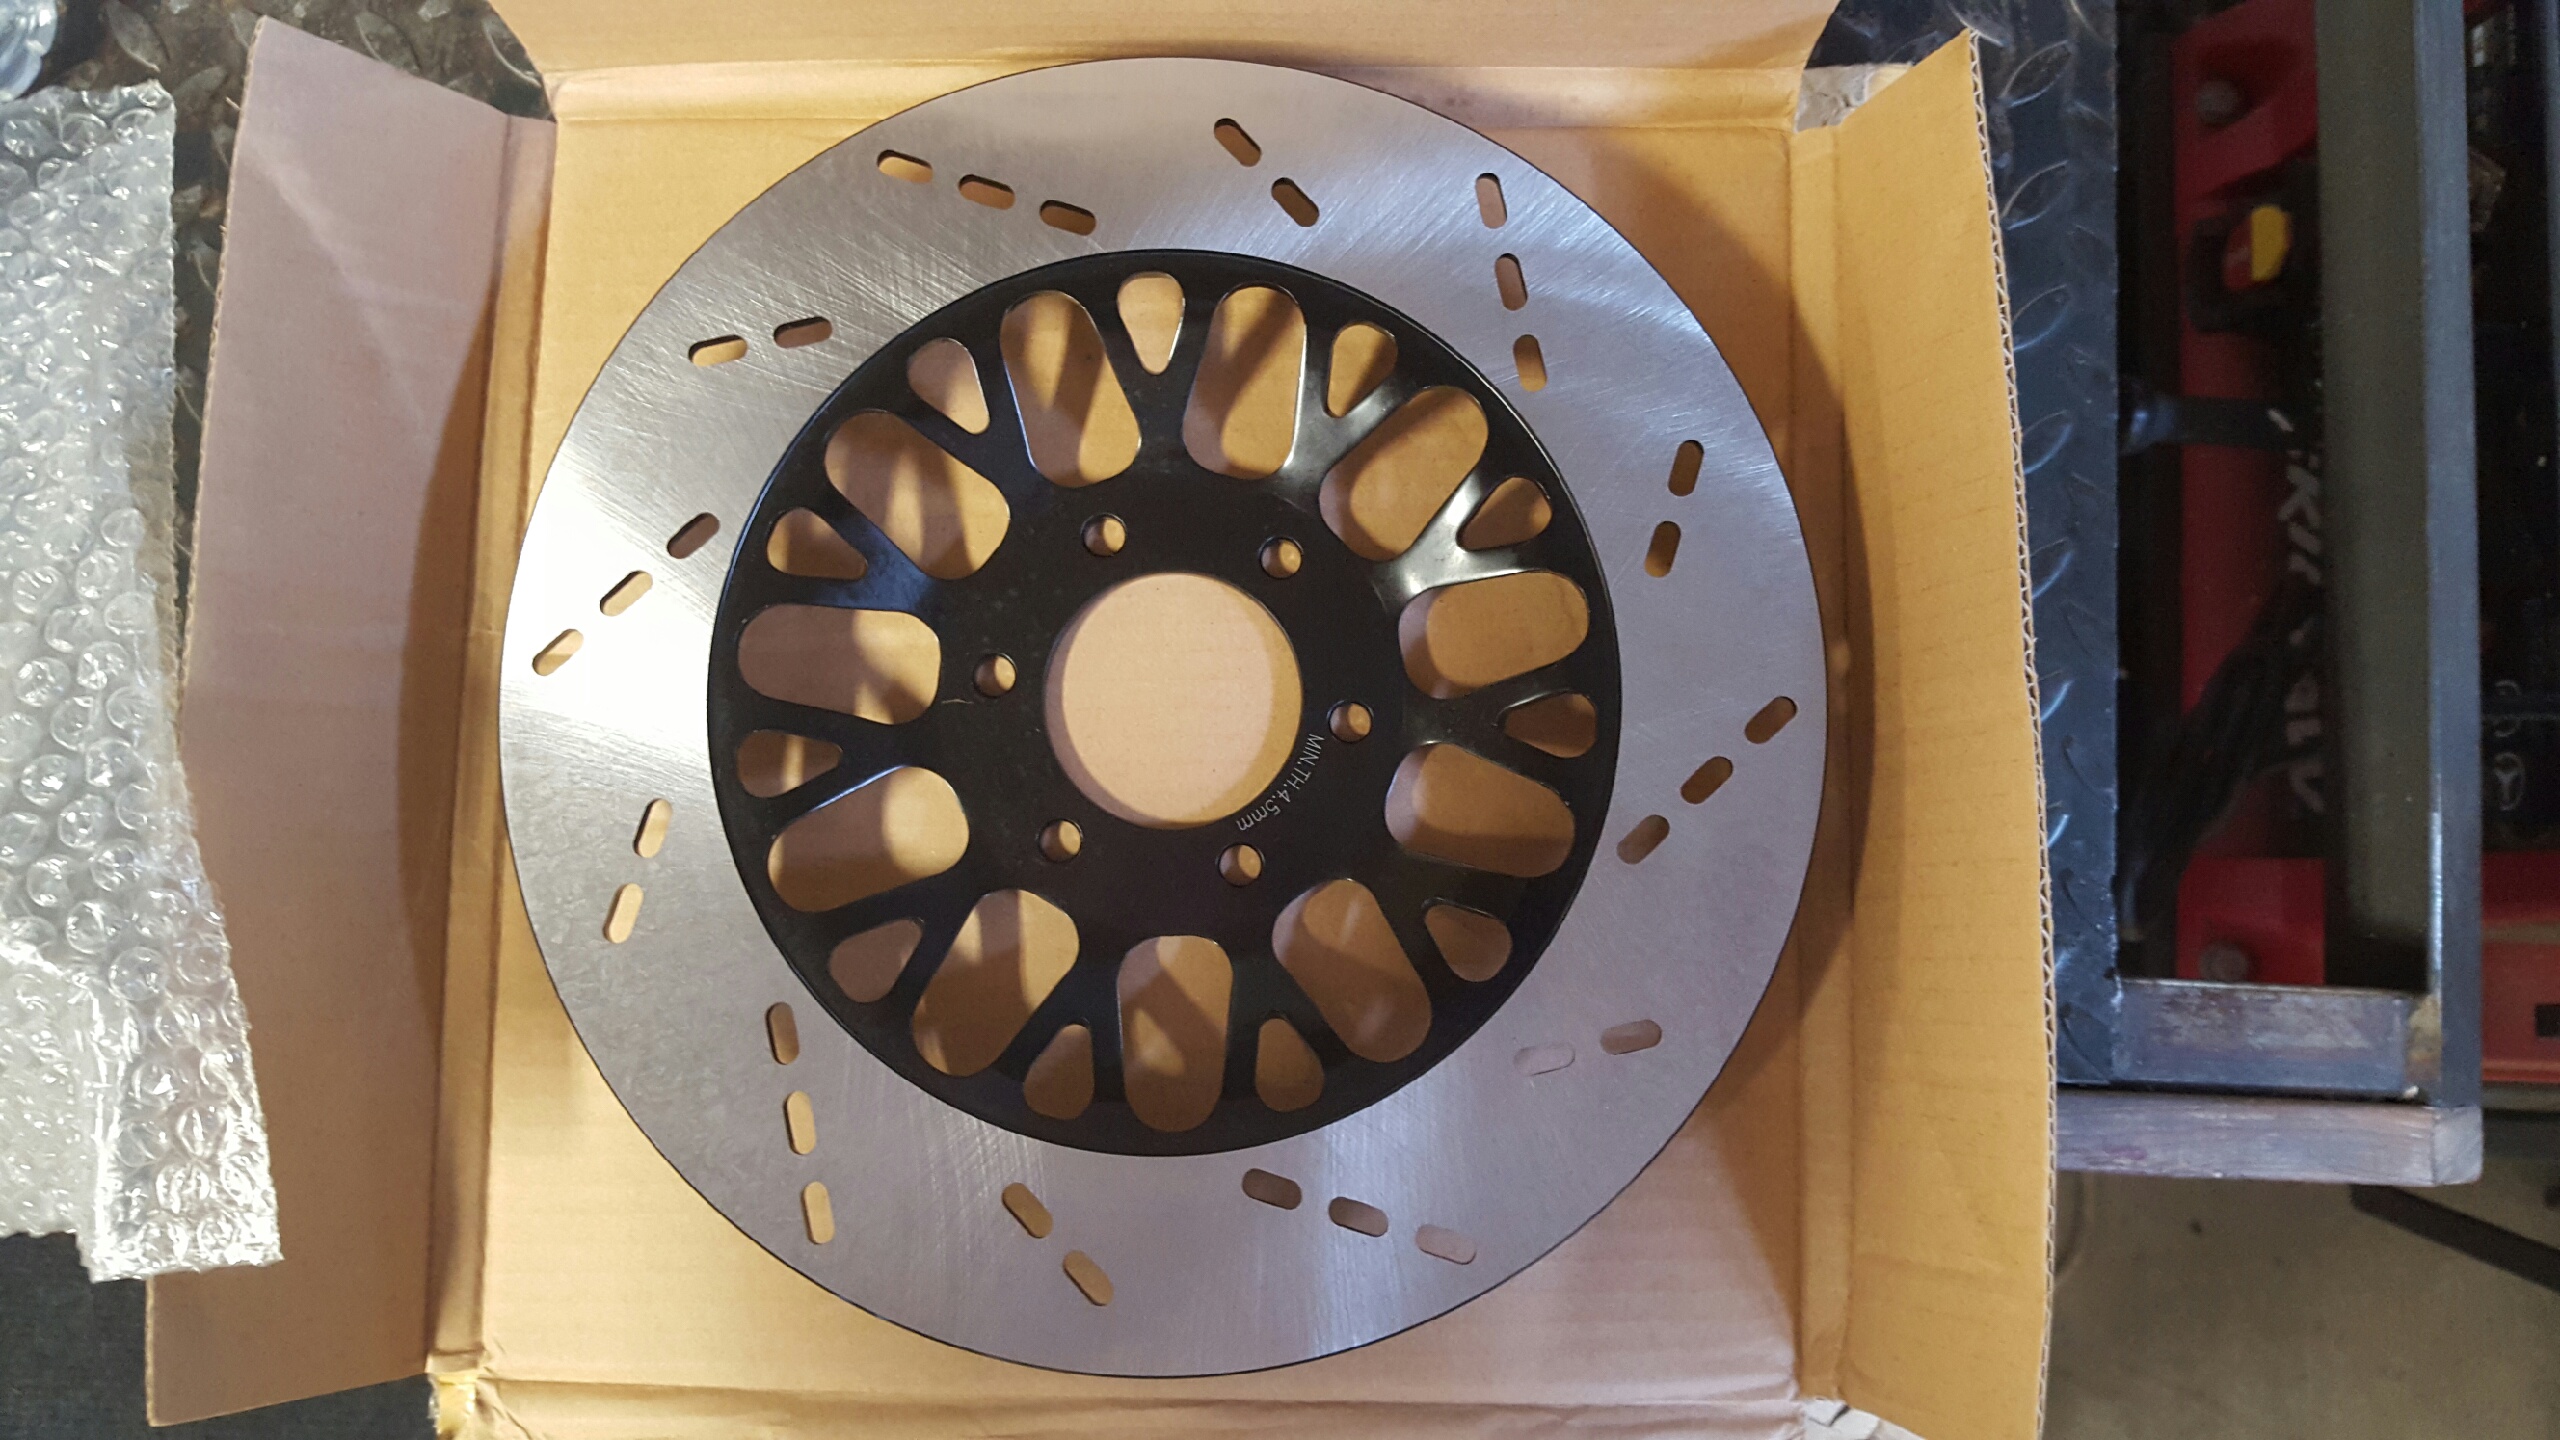
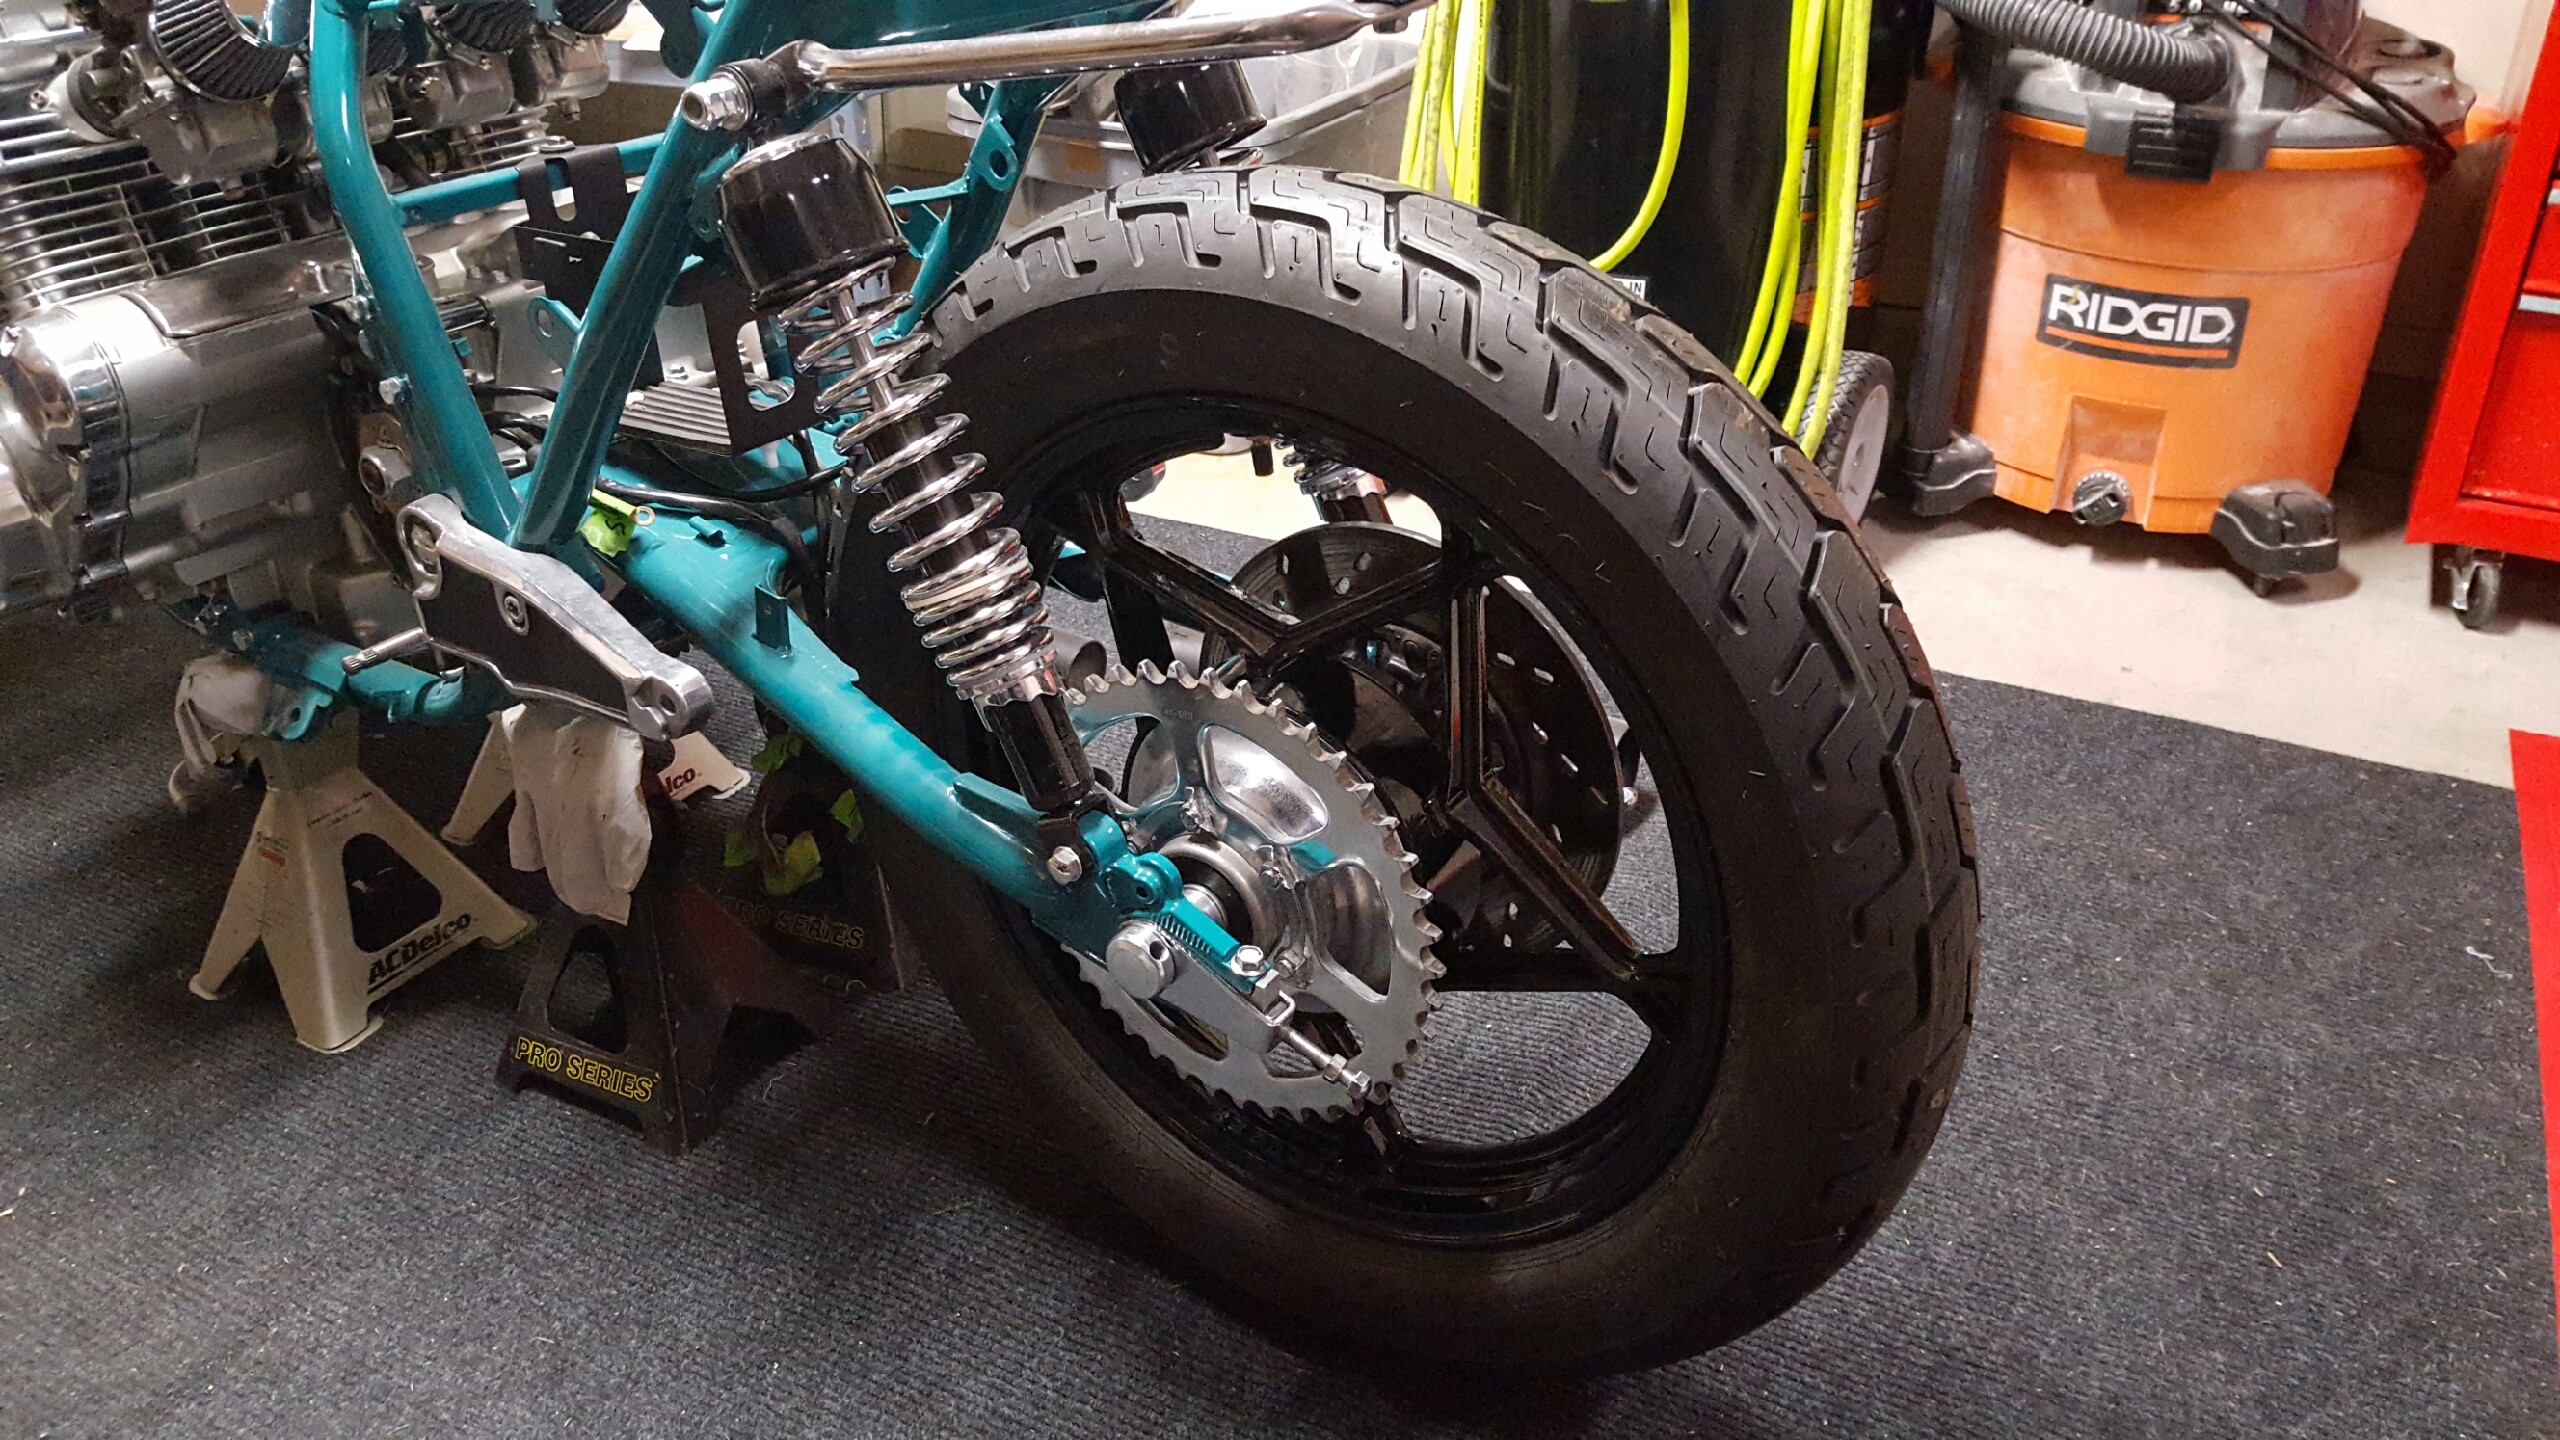
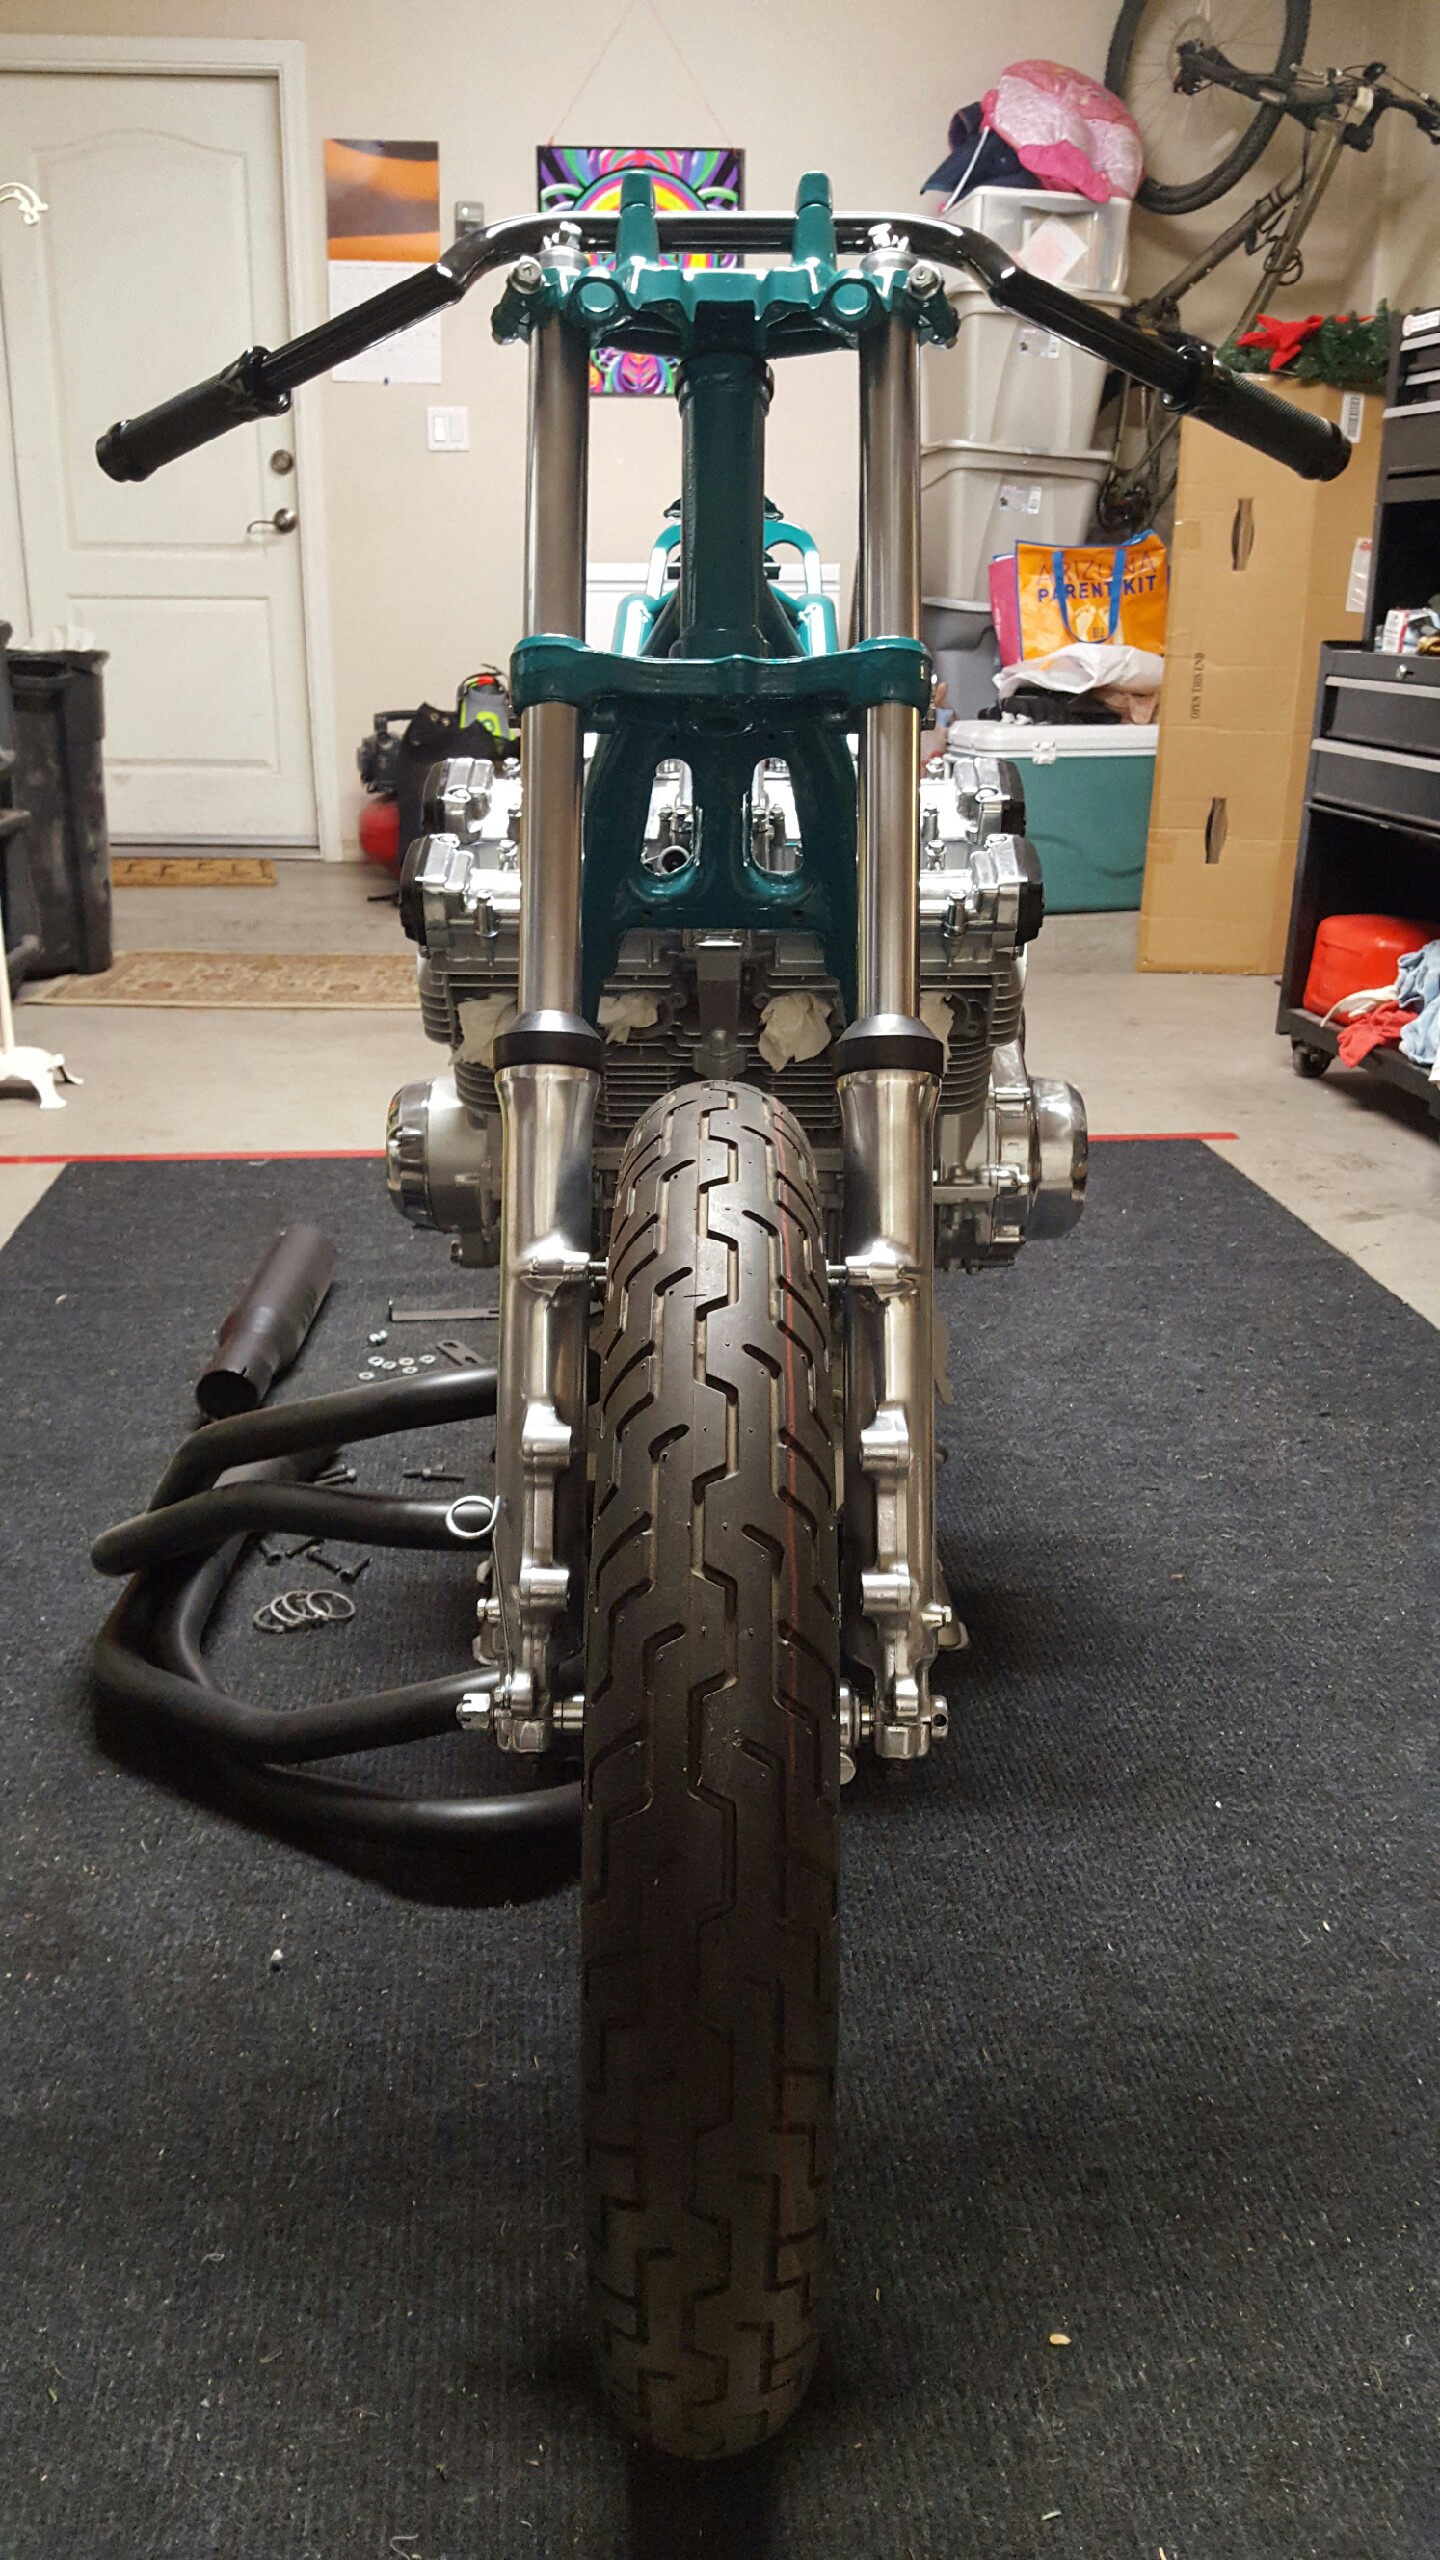
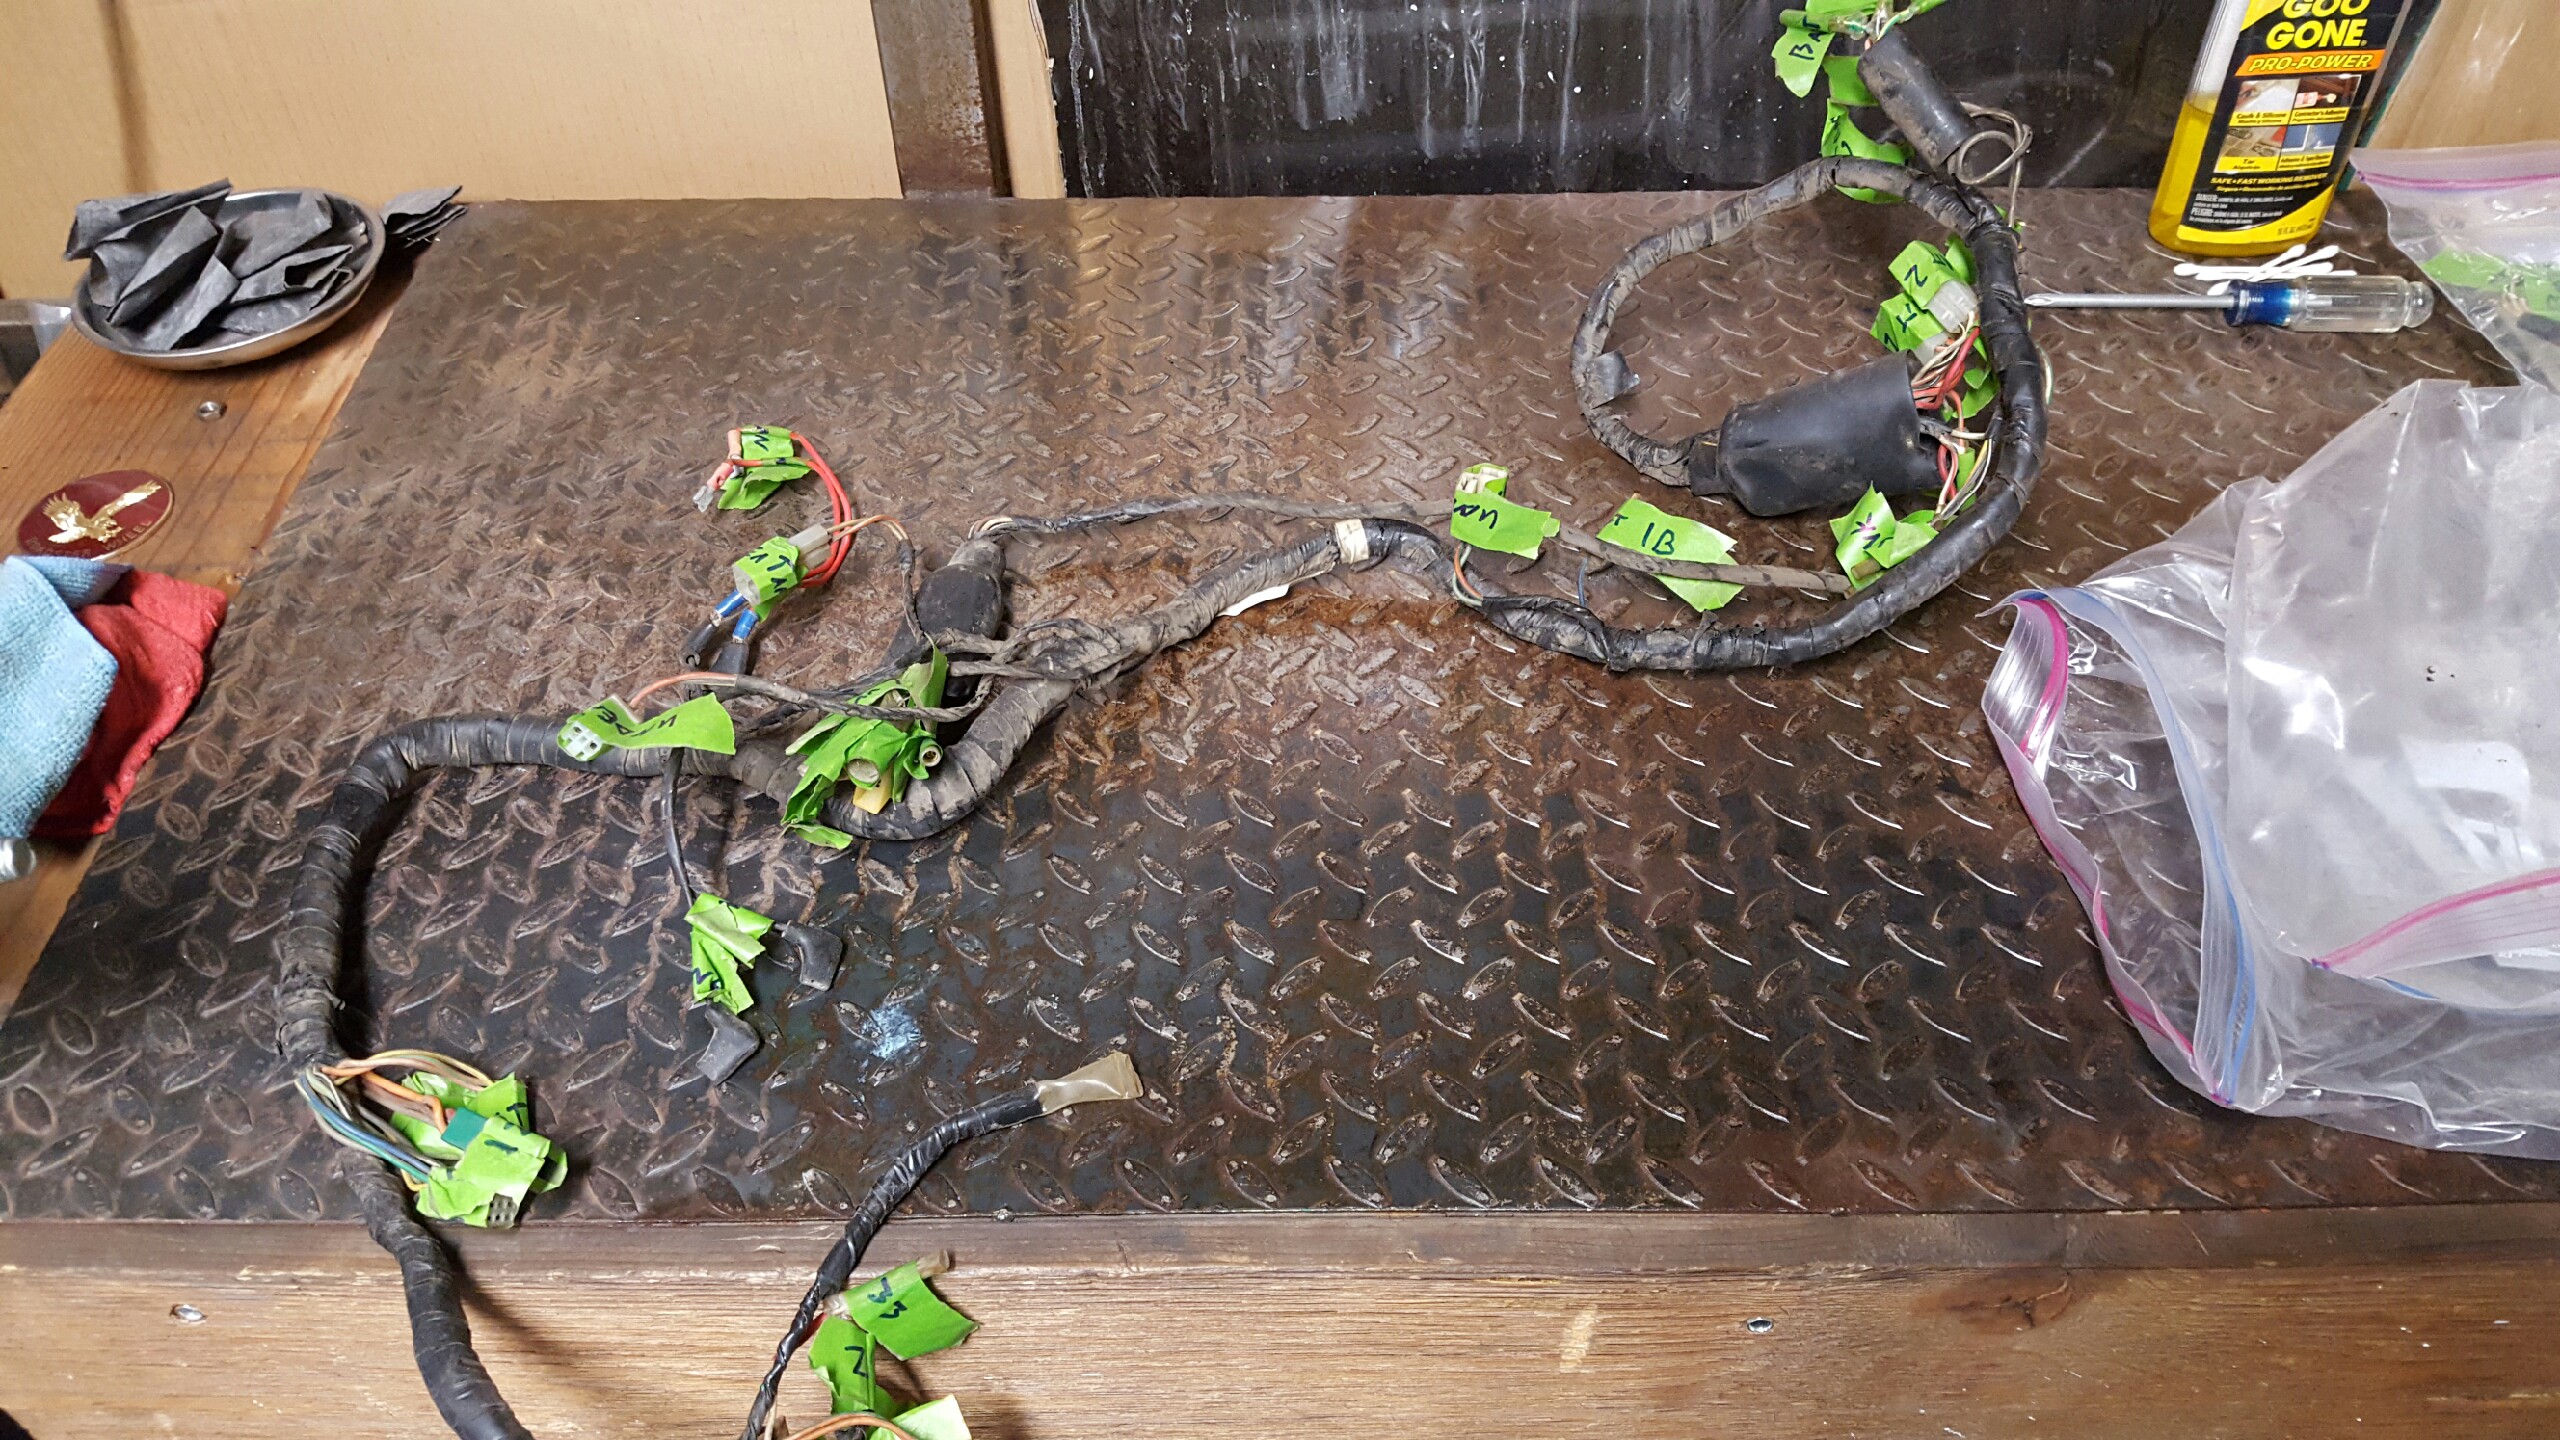
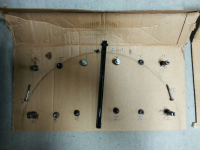
Now please keep in mind that I still very much consider myself a novice in this arena. My simple plan was to restore this bike and turn it into a cafe style bike with minimal frame modifications. I wanted to create something safe, dependable, and stylish. I was actually torn as to which forum to put this in, cafe or restore?? Ultimately the cafe racer forum is just so much cooler overall, so here it is. I started by tearing down the bike and as I learned here, cataloging and documenting where things go was key. I also relied heavily on the Clymer shop manual.
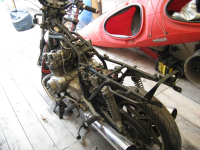
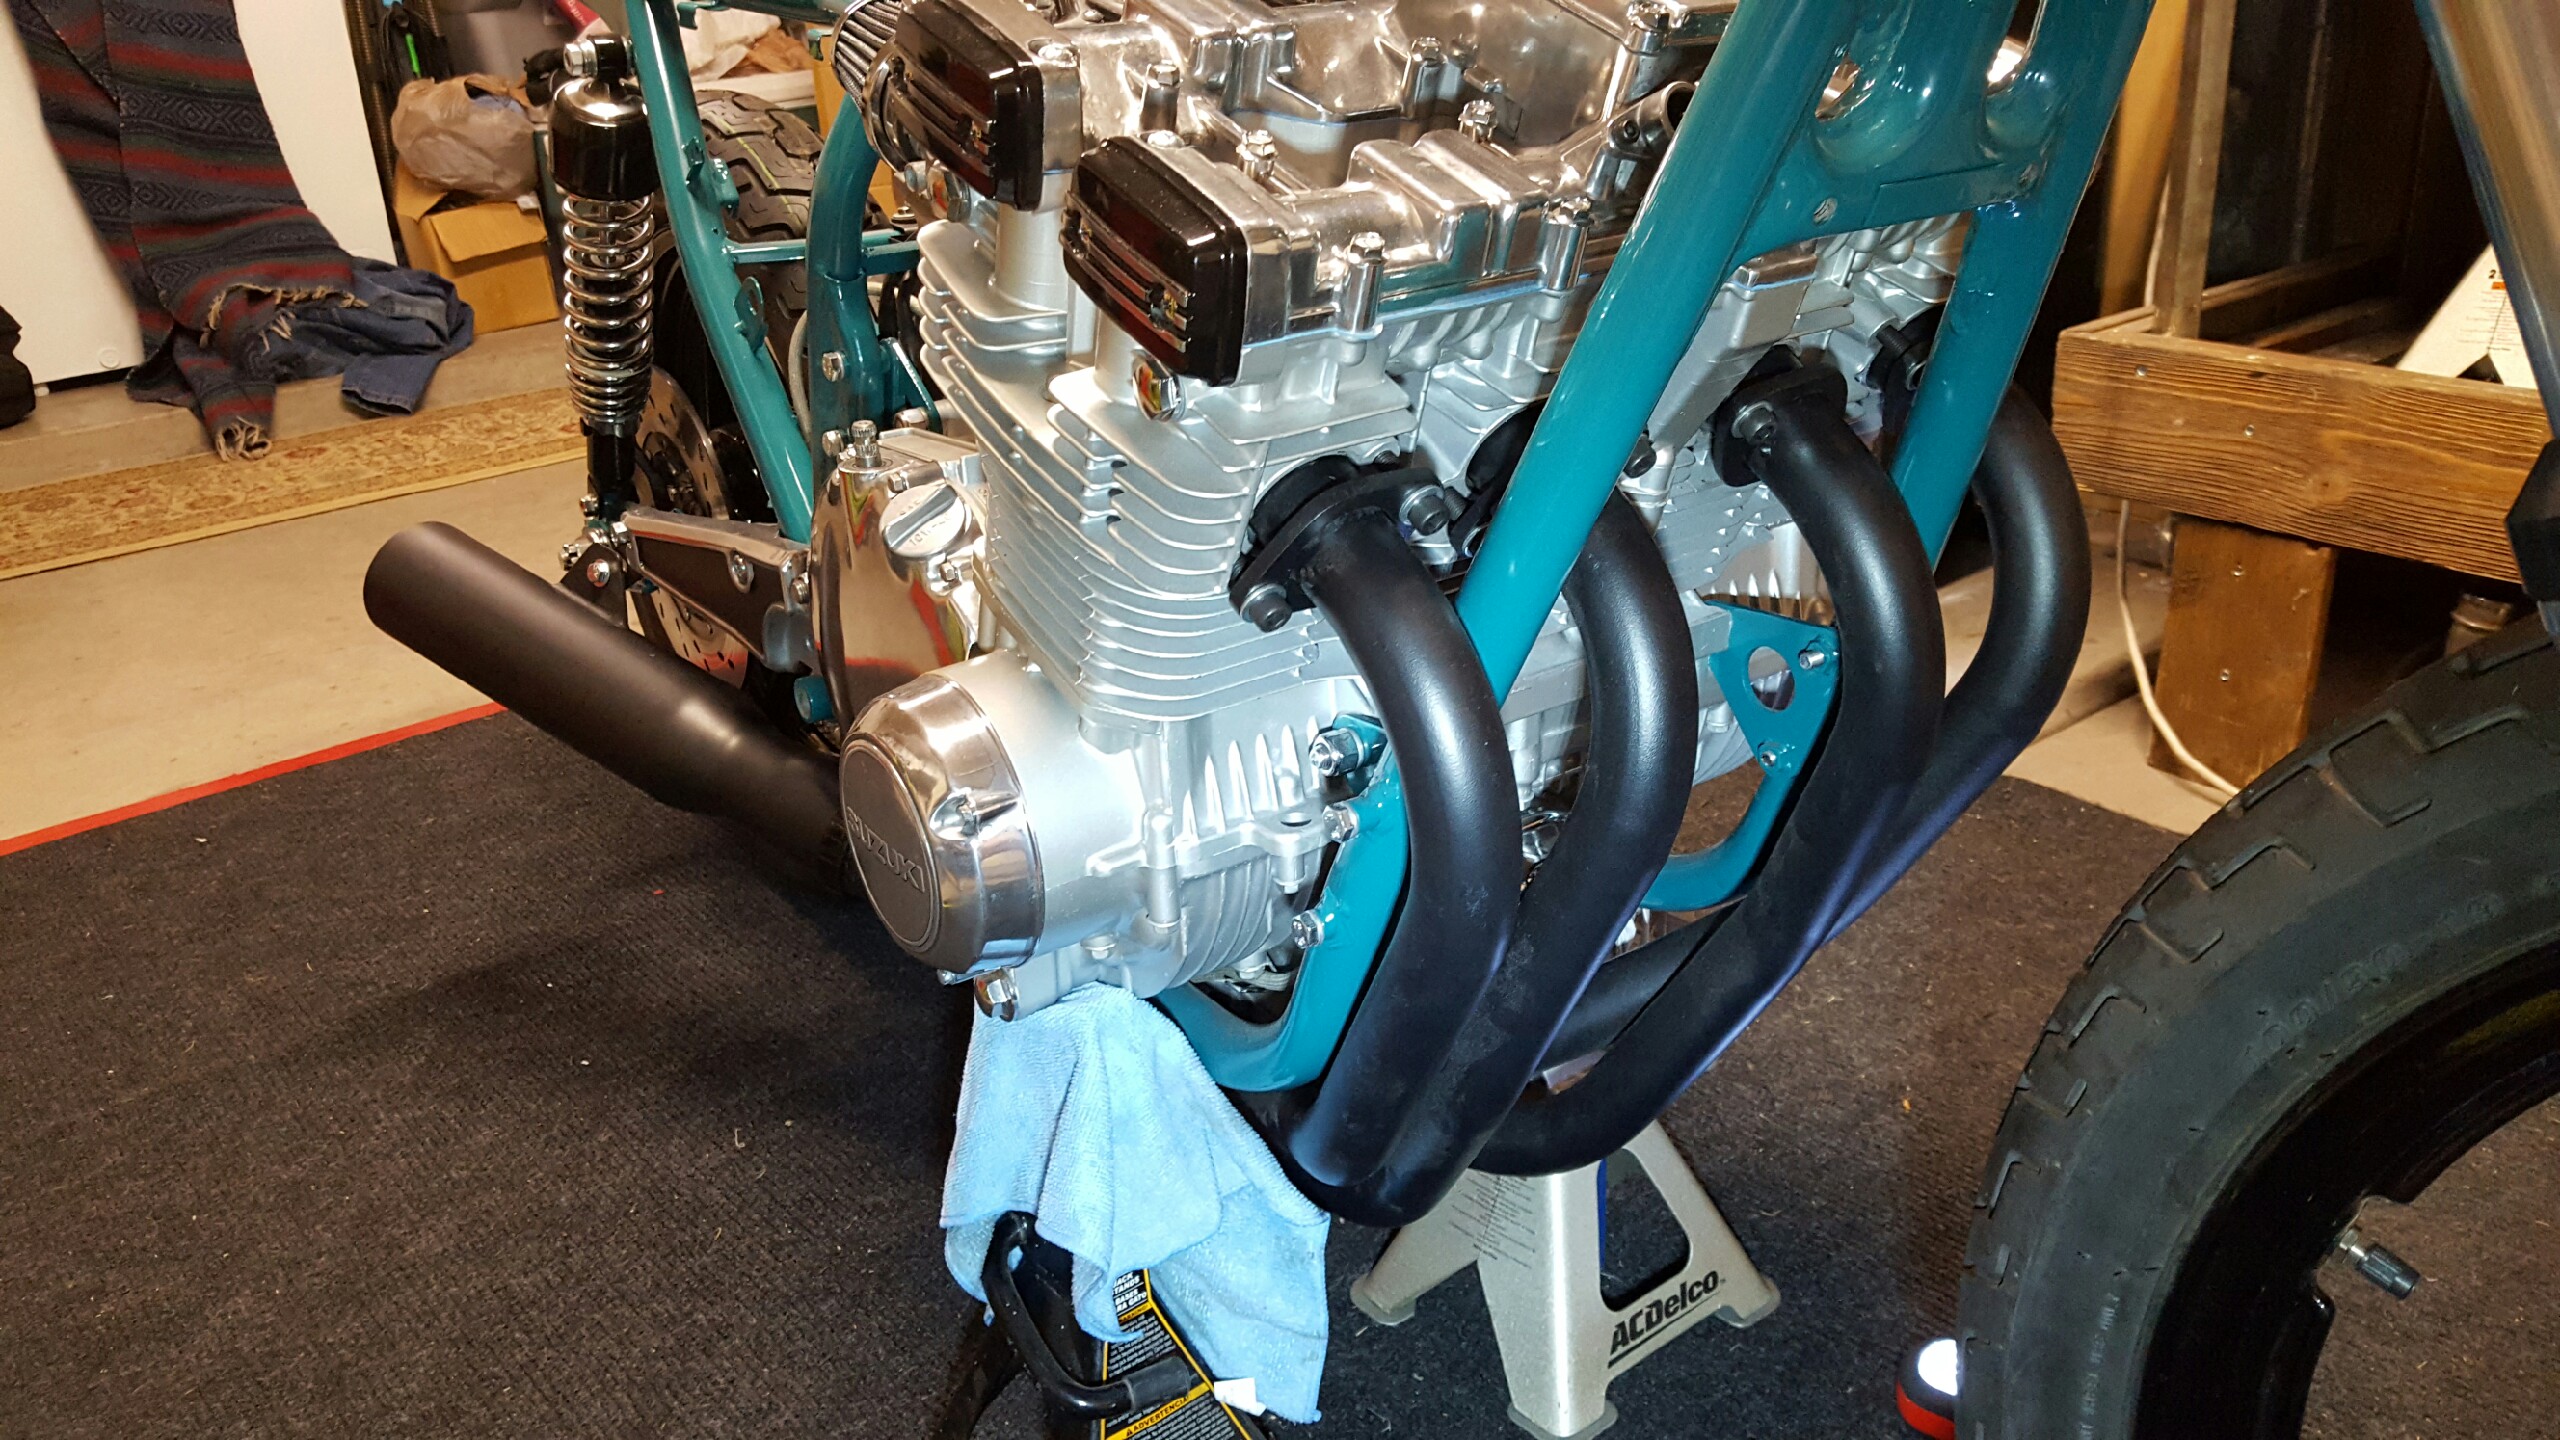
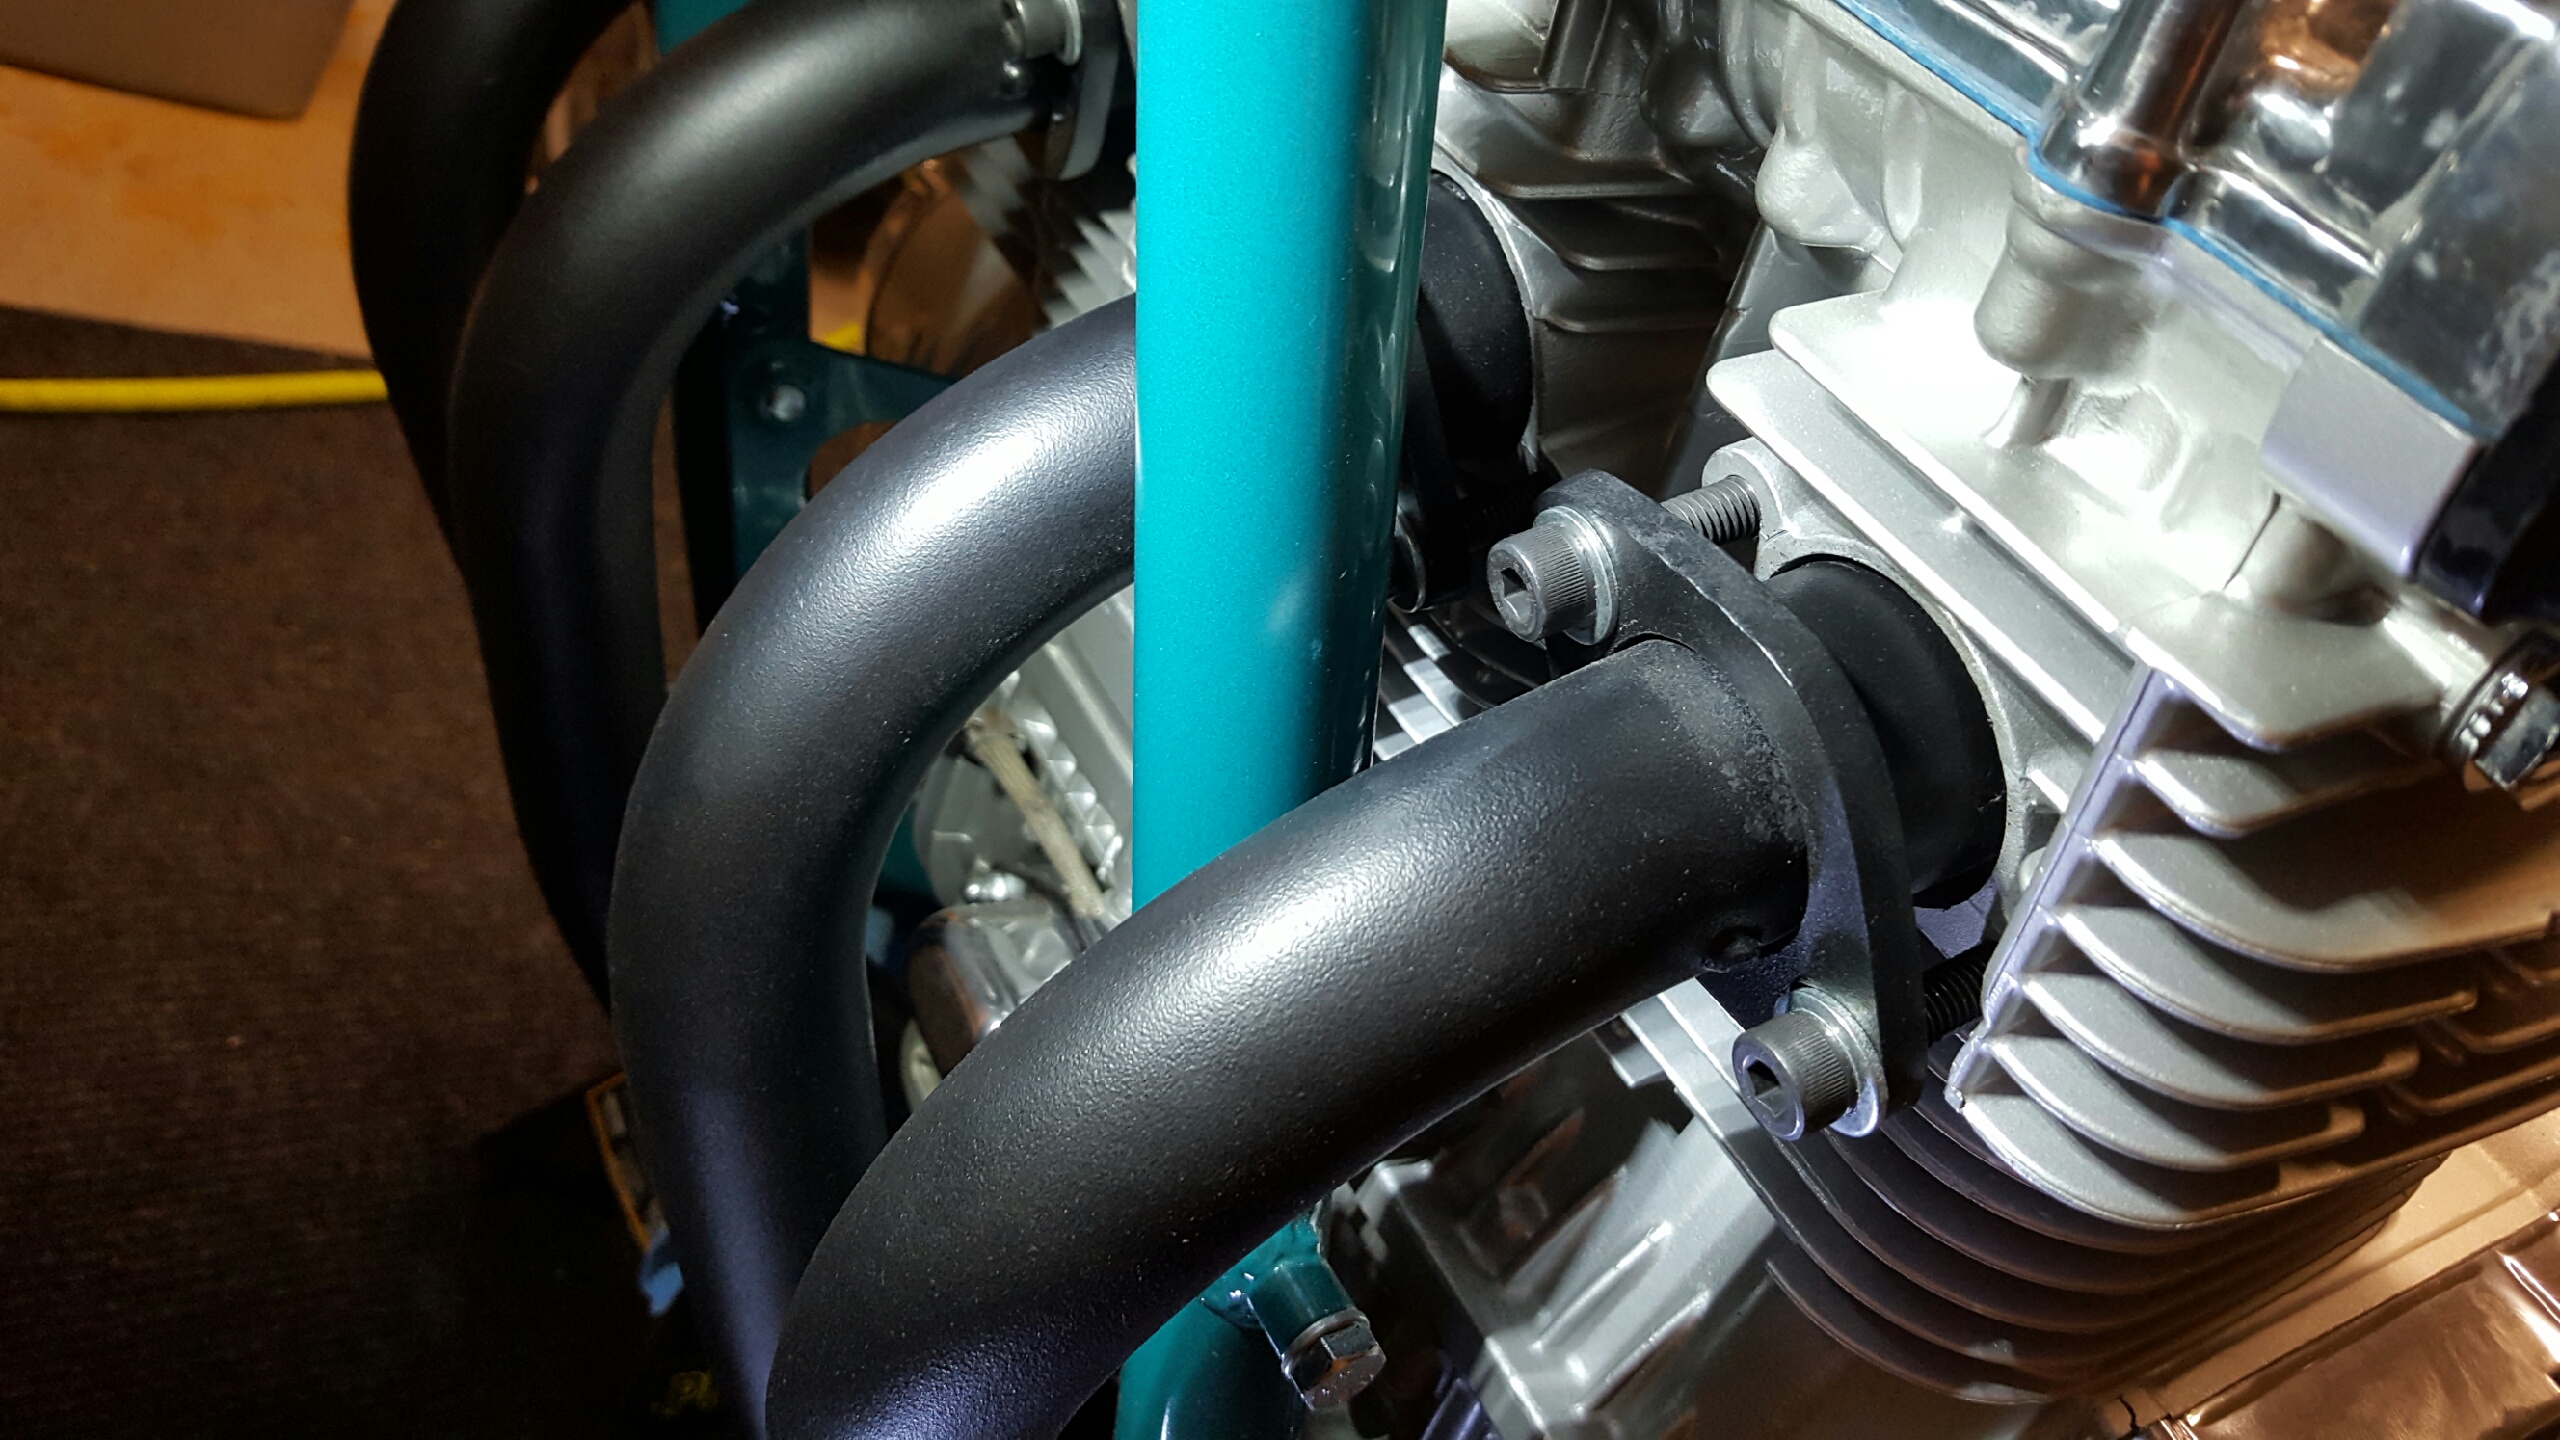
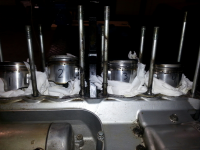
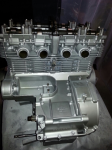
The removal of the engine and replacement of the seals, gaskets, piston rings and cleaning up of the cylinders was next. This is basically what I felt comfortable with, I did not feel with my experience I could crack open the lower end and have a satisfactory outcome.
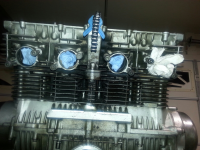
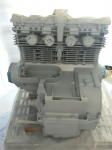
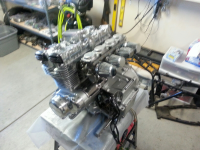
As always, a clean shop and a meticulous attention to details helped when rebuilding the engine.
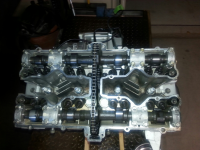
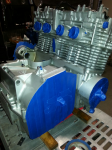
Soda blasting was a great tool that I picked up from DTT and that helped to clean up the engine. After everything was cleaned and reassembled paint, primer, and clearcoat on the engine began. I used Dupli-Color spray can products specifically for engine blocks. As I learned, preparation could not be overdone. The DTT article on 'Rattle Can Bling' was quite helpful.
Prep...
Primer....
Paint...
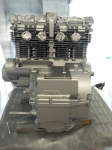
Clear...
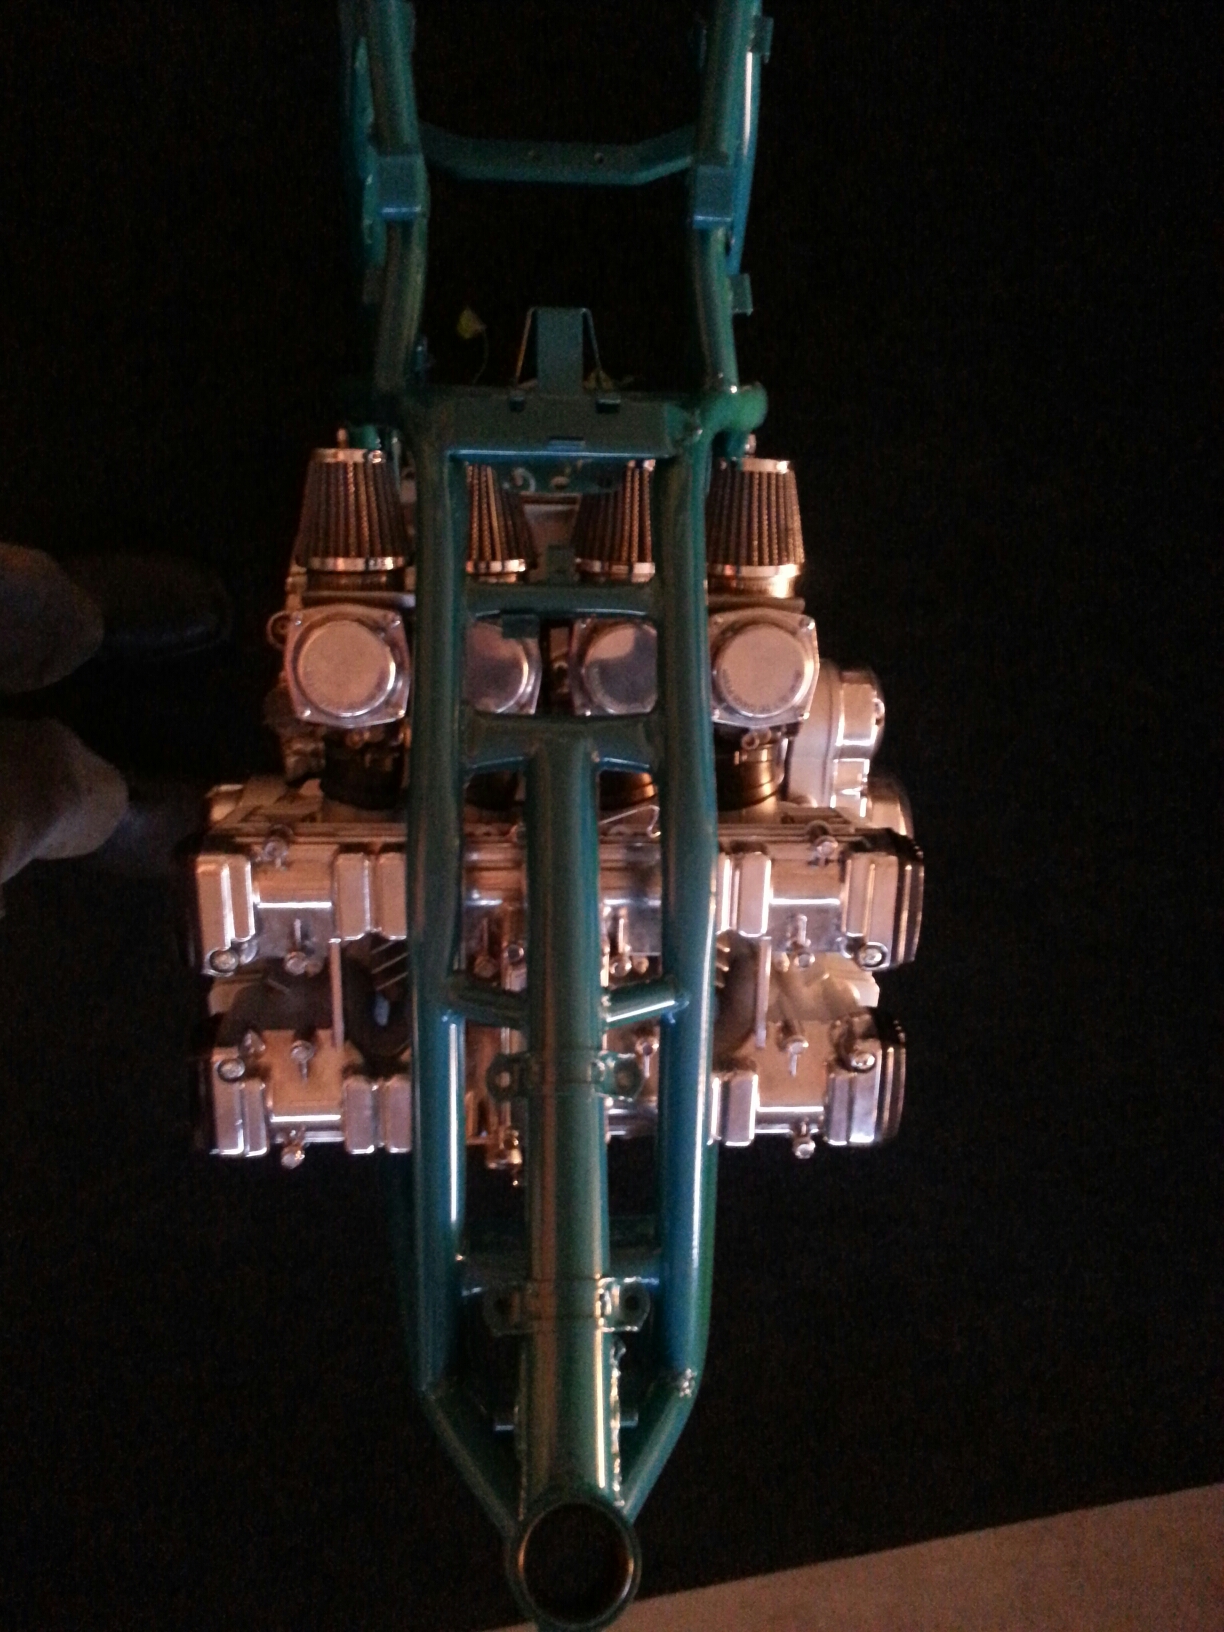
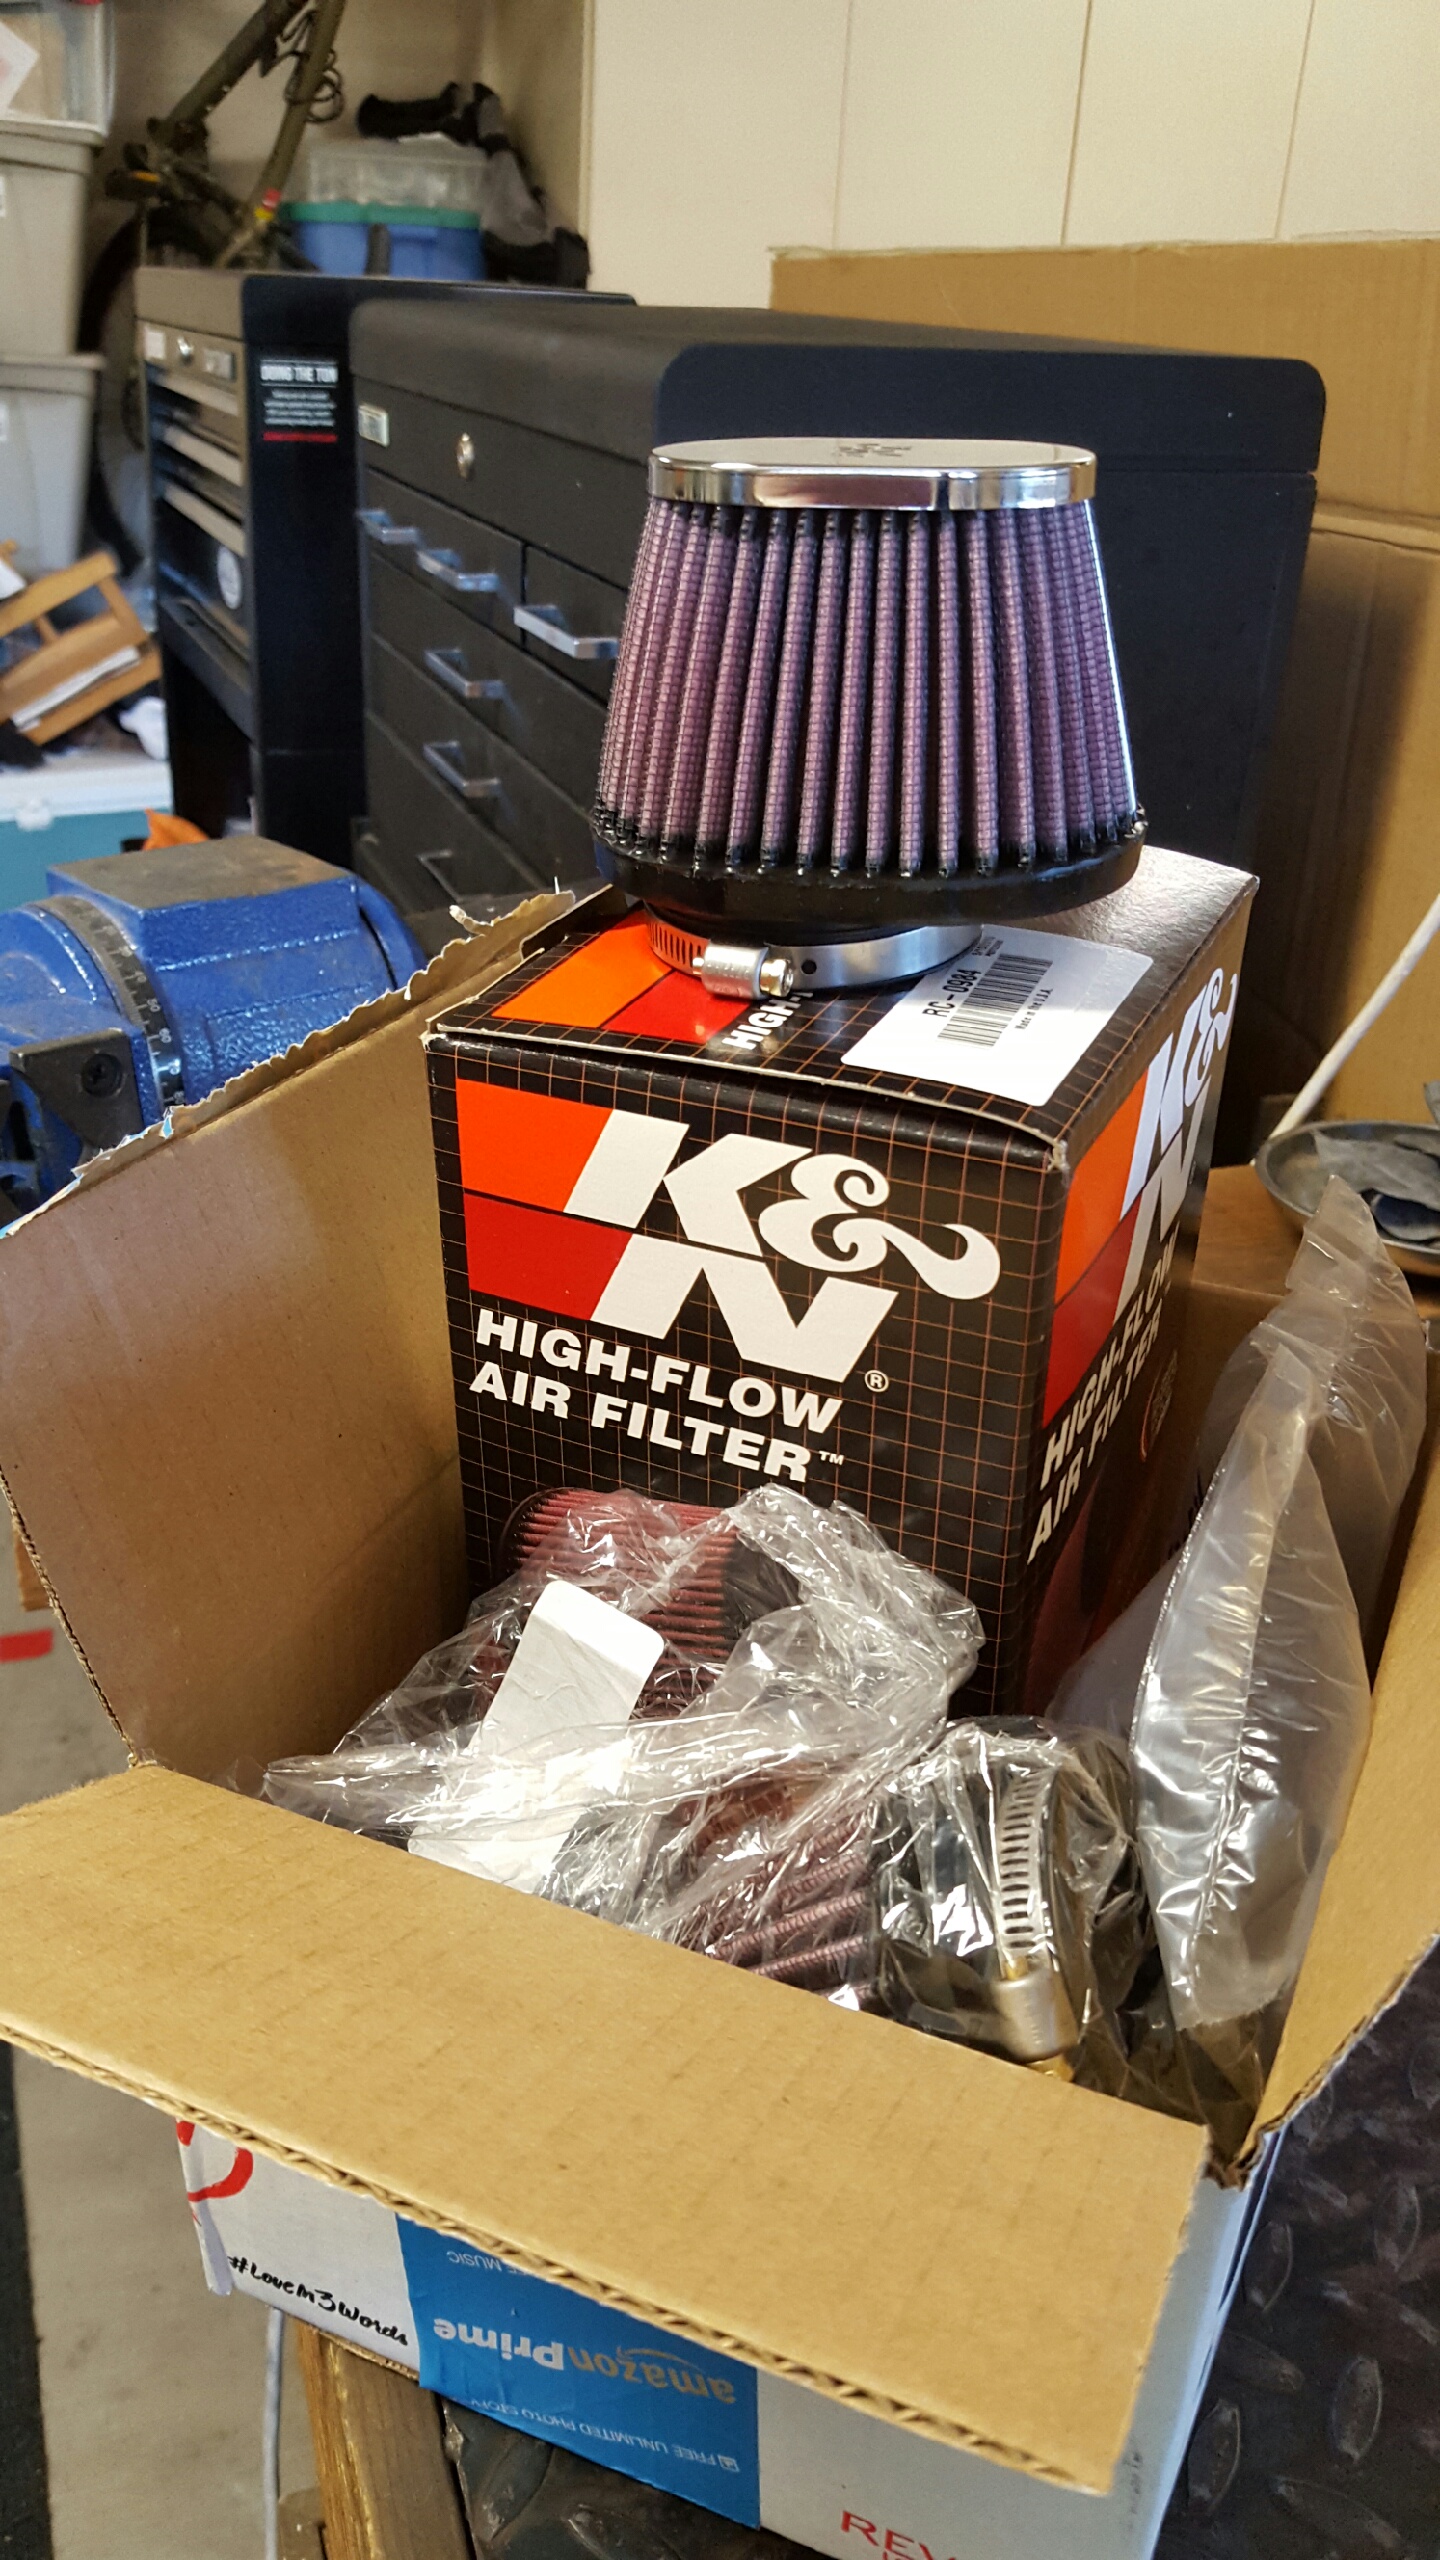
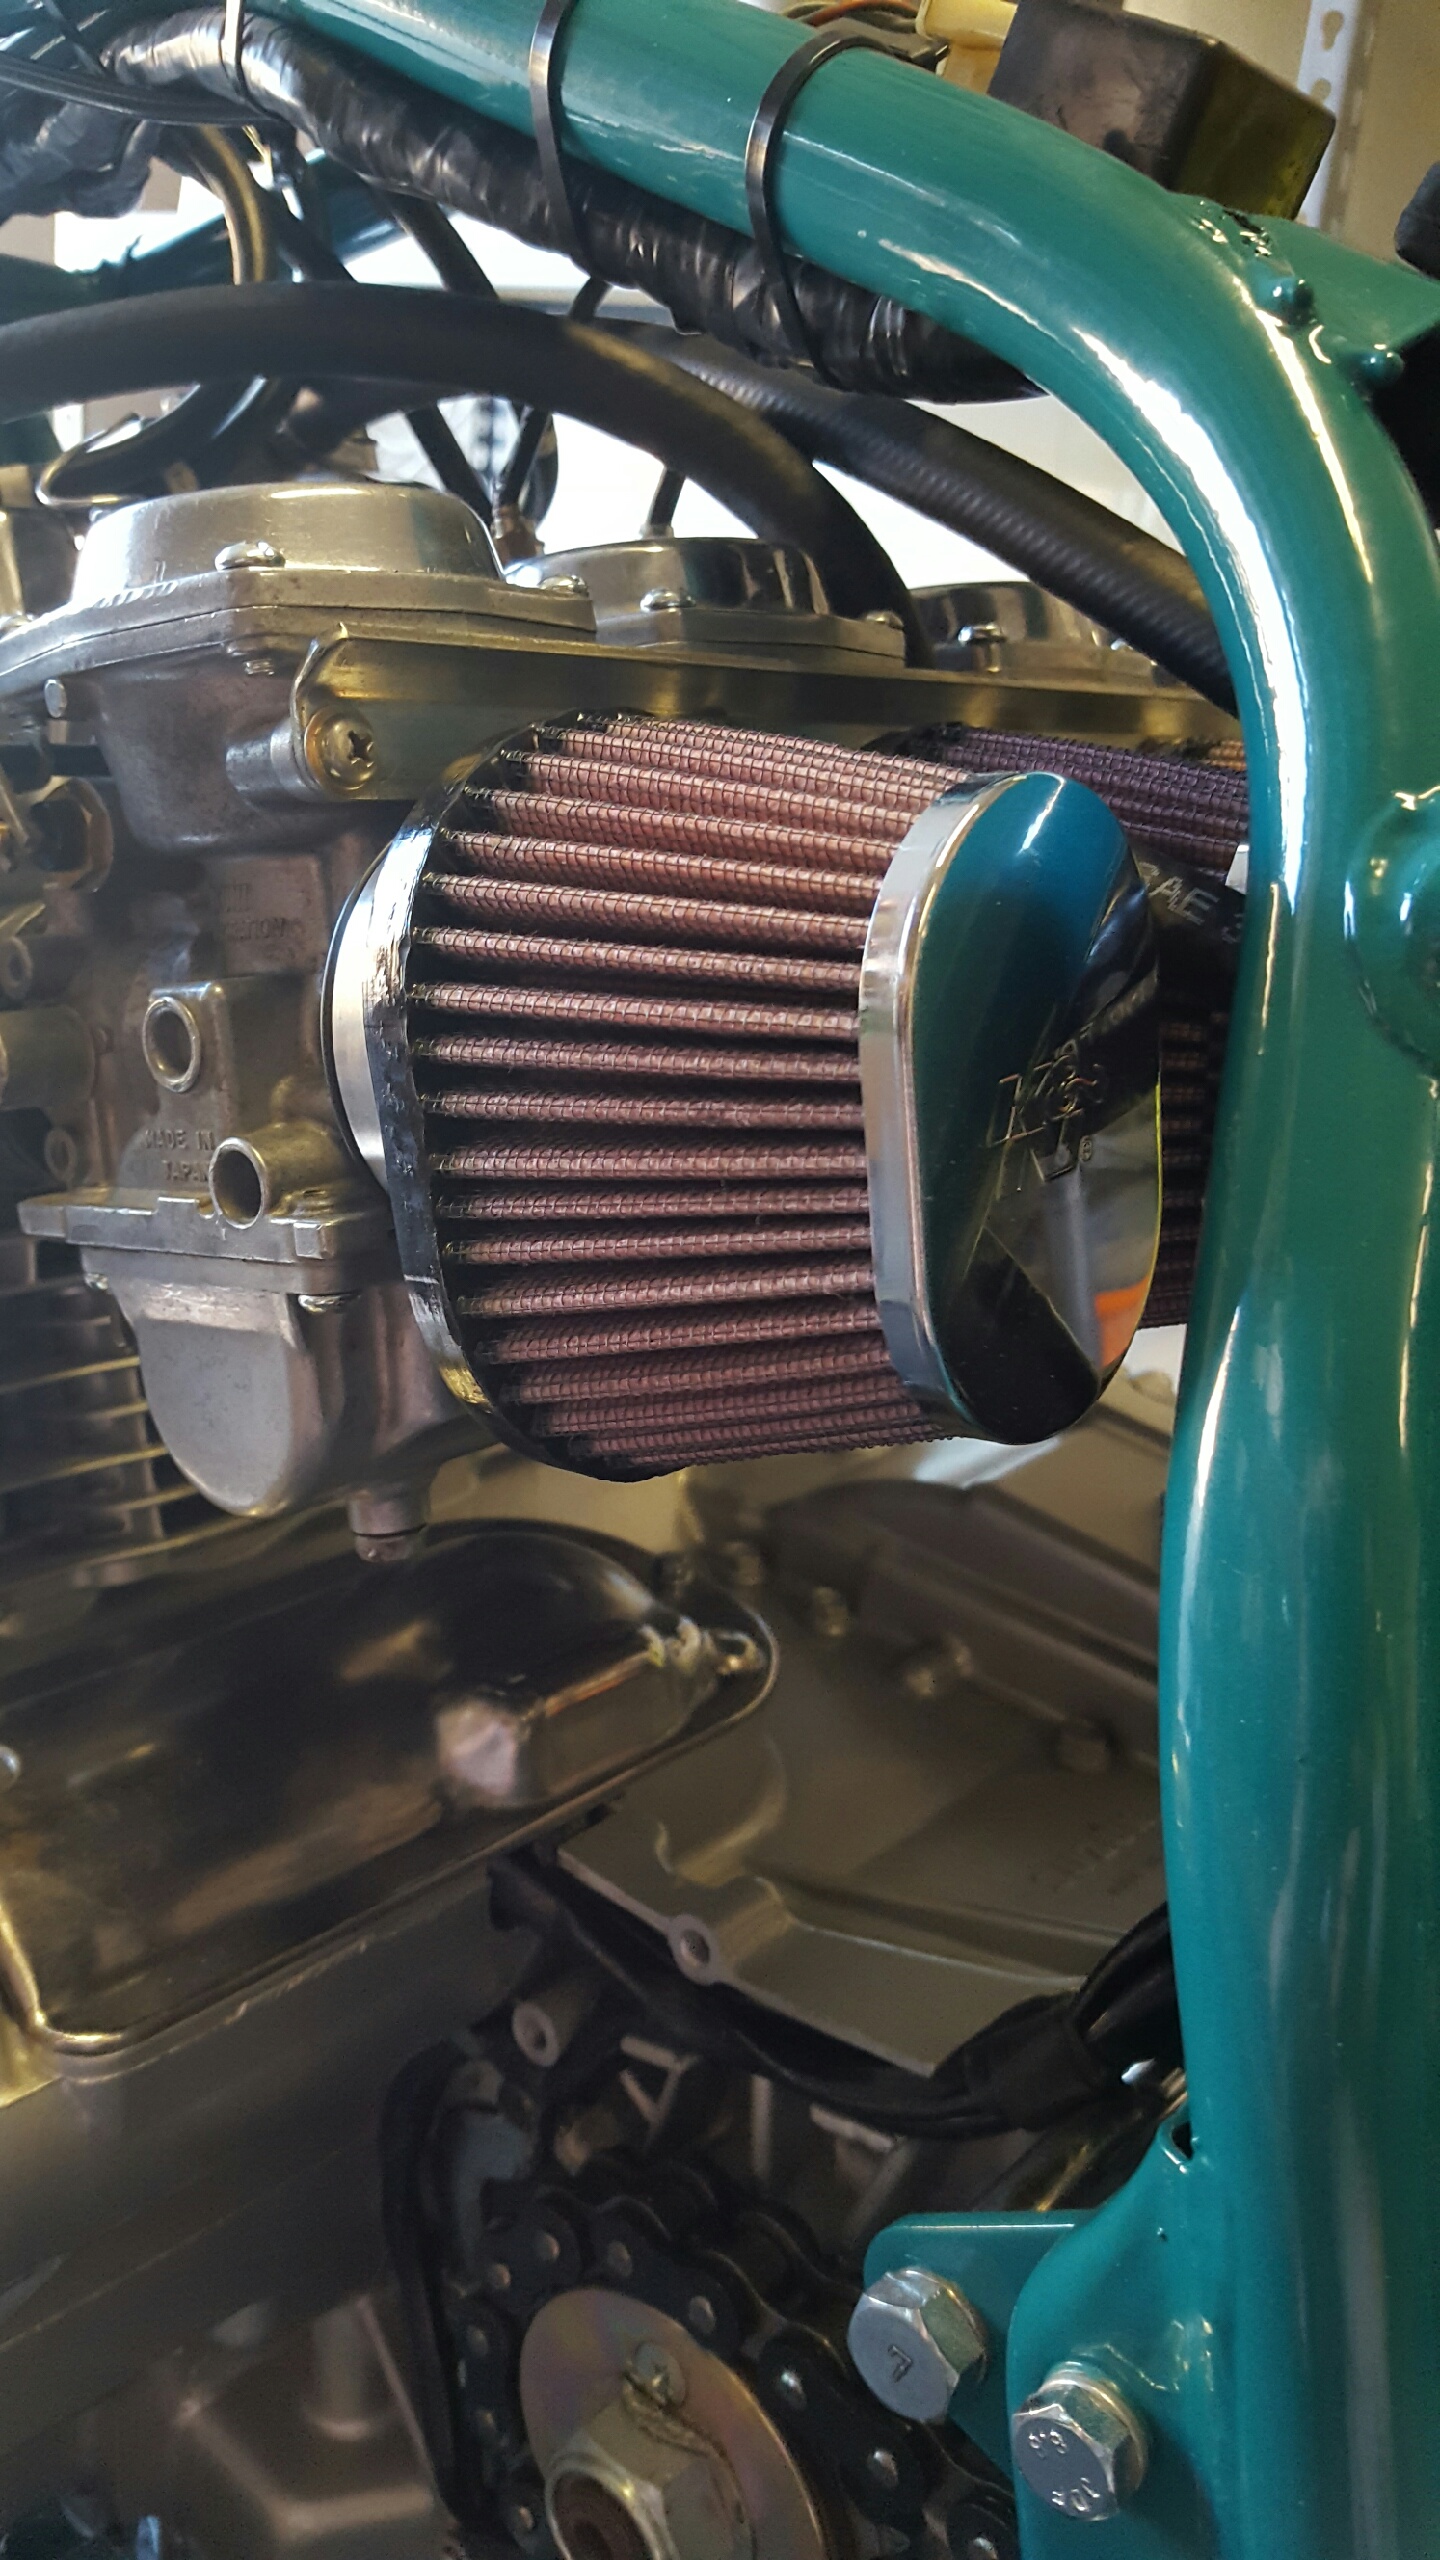
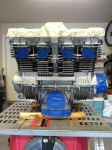
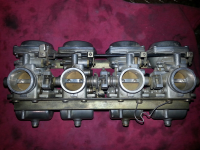
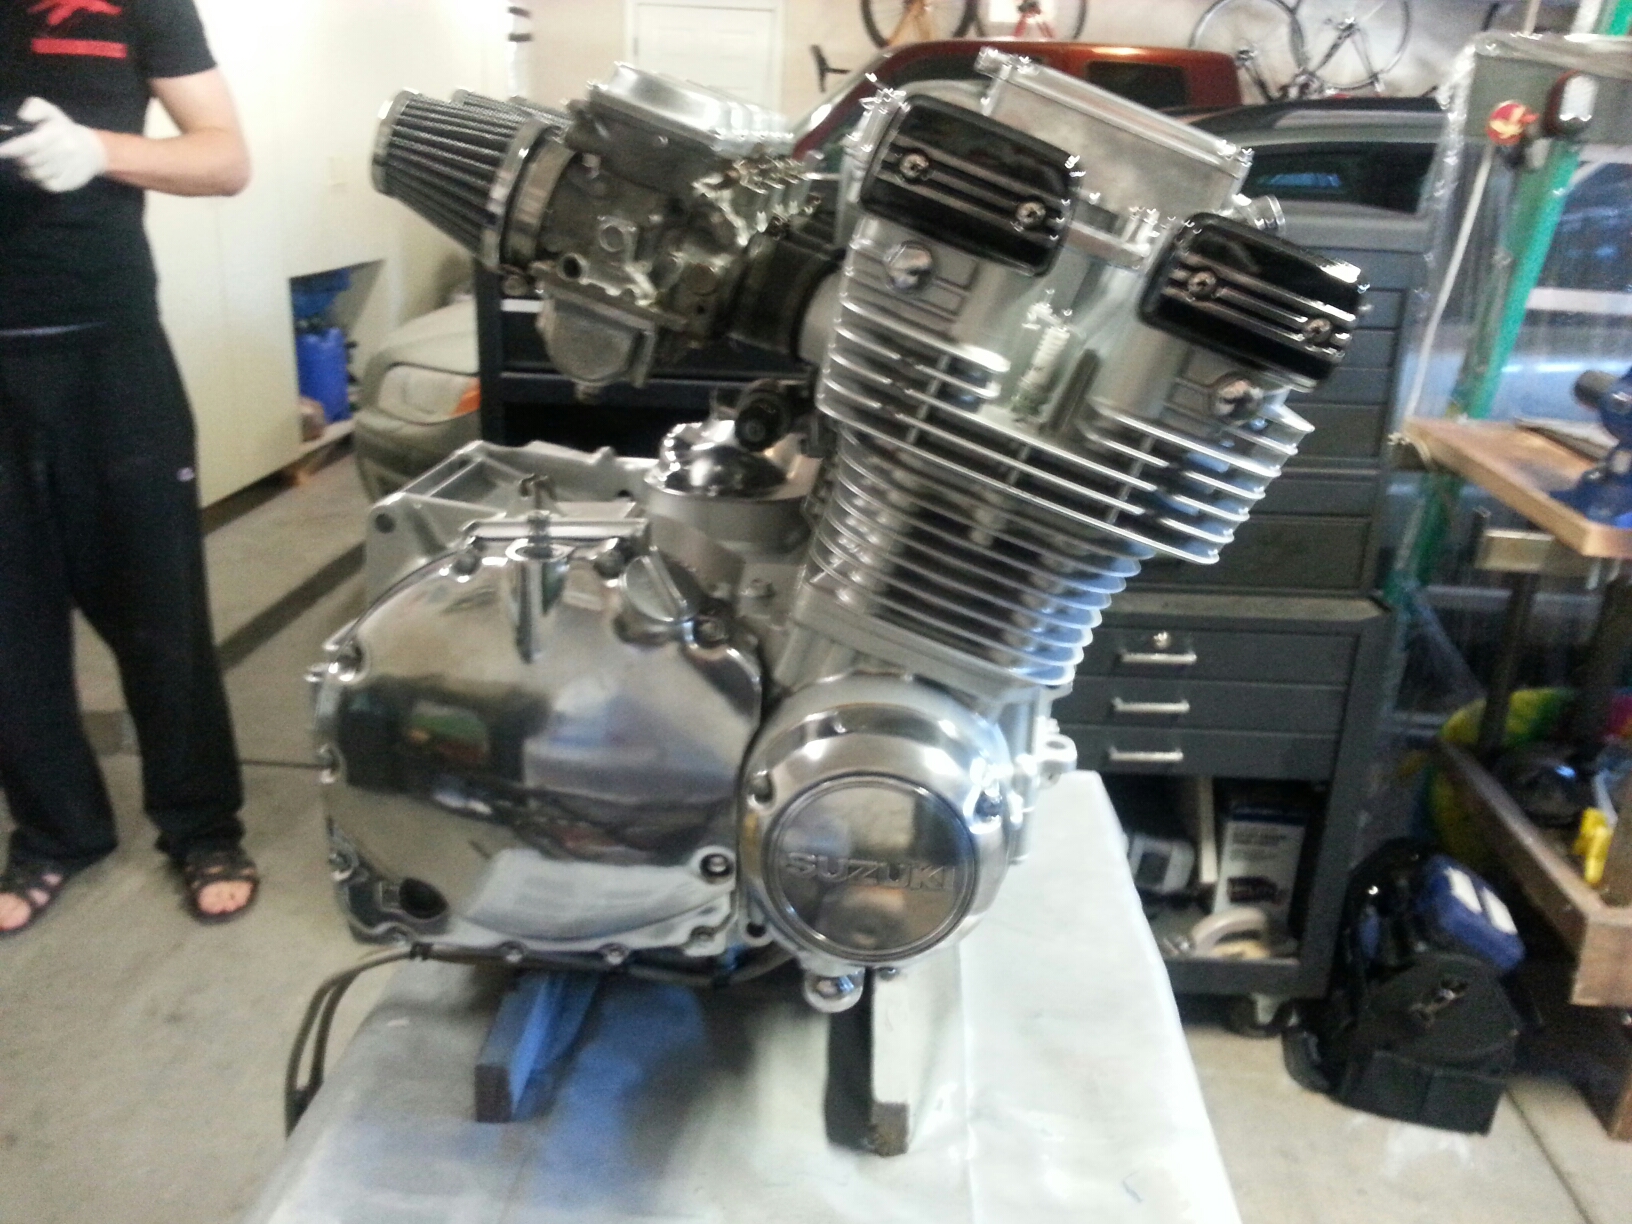
After the engine was ready to go it was time to tackle the Mikuni BS32SS carbs. Four carb rebuild kits and a lot of help from the manual as well as some great online resources including BikeCliffs website (http://members.dslextreme.com/users/bikecliff/) and I felt confident that these carbs were squared away. I also added the pod style filters however I am not set on these. I think they look good but if performance suffers I will try different styles. The original air box was in pretty bad shape.
The before image....
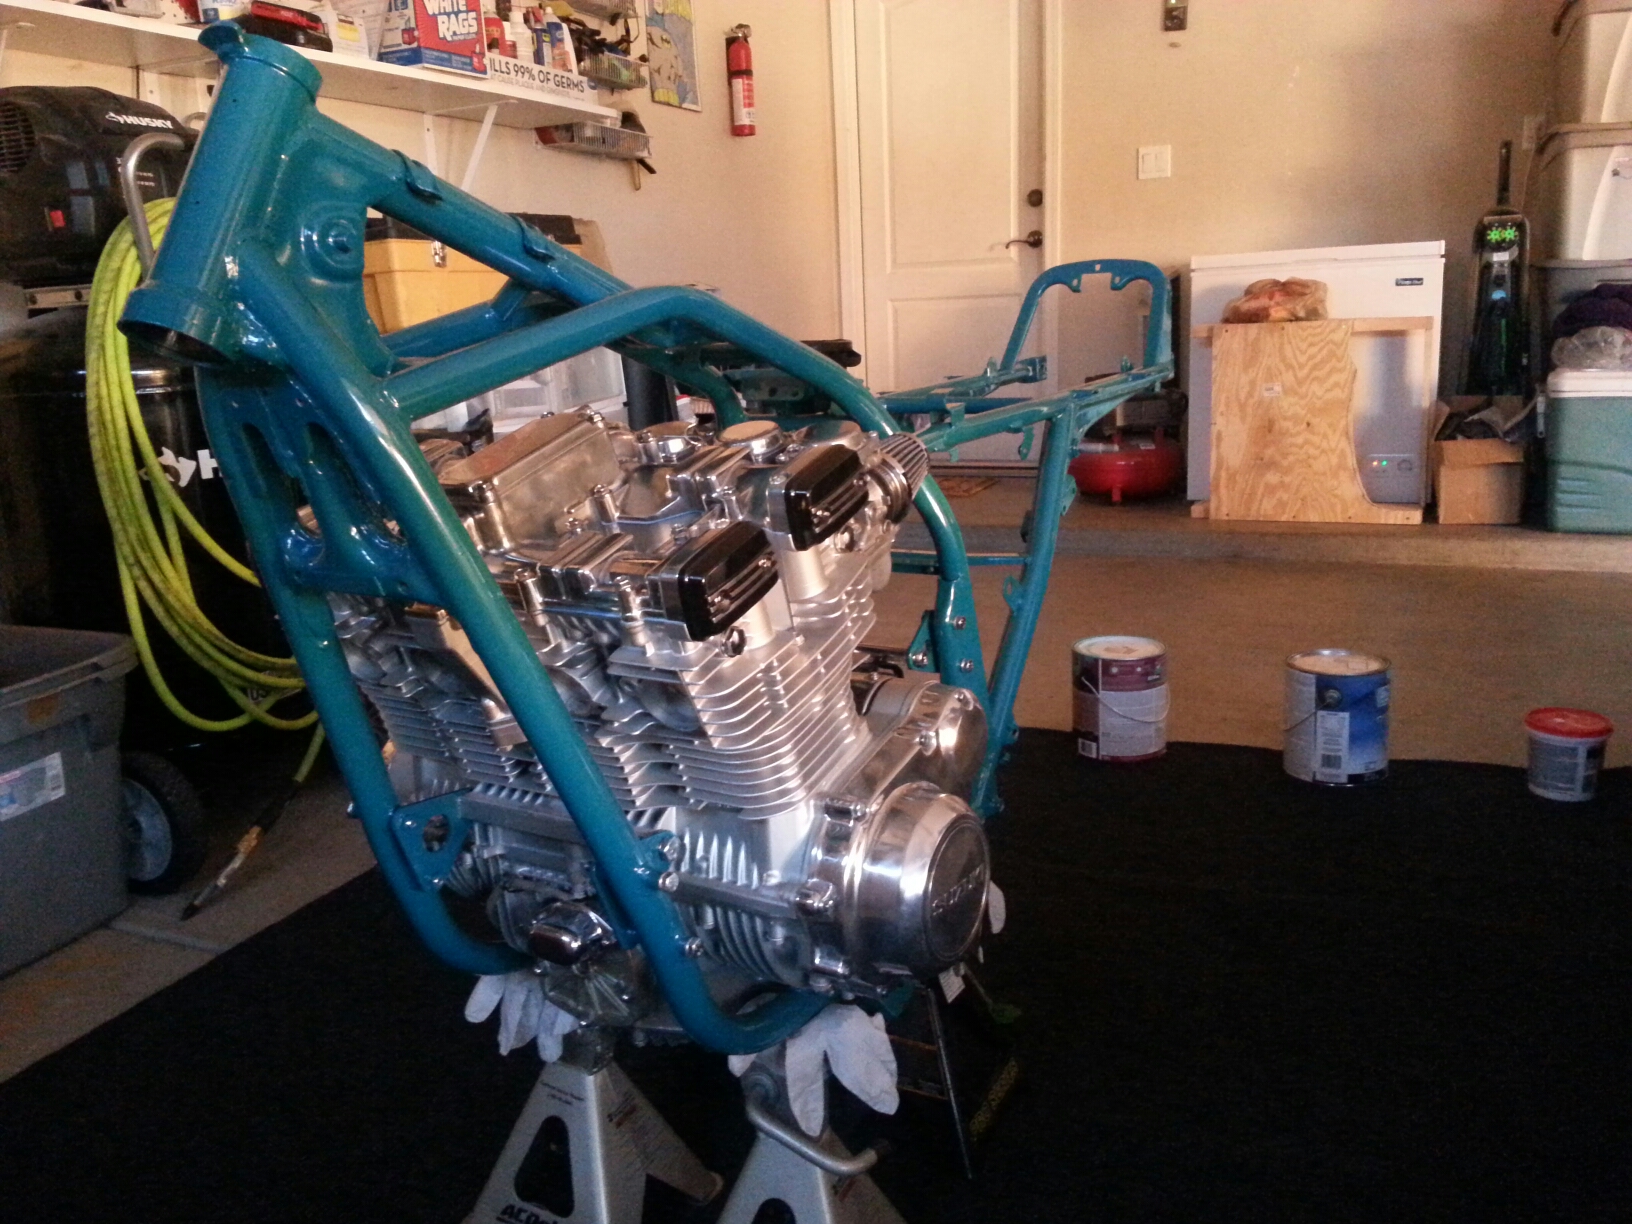
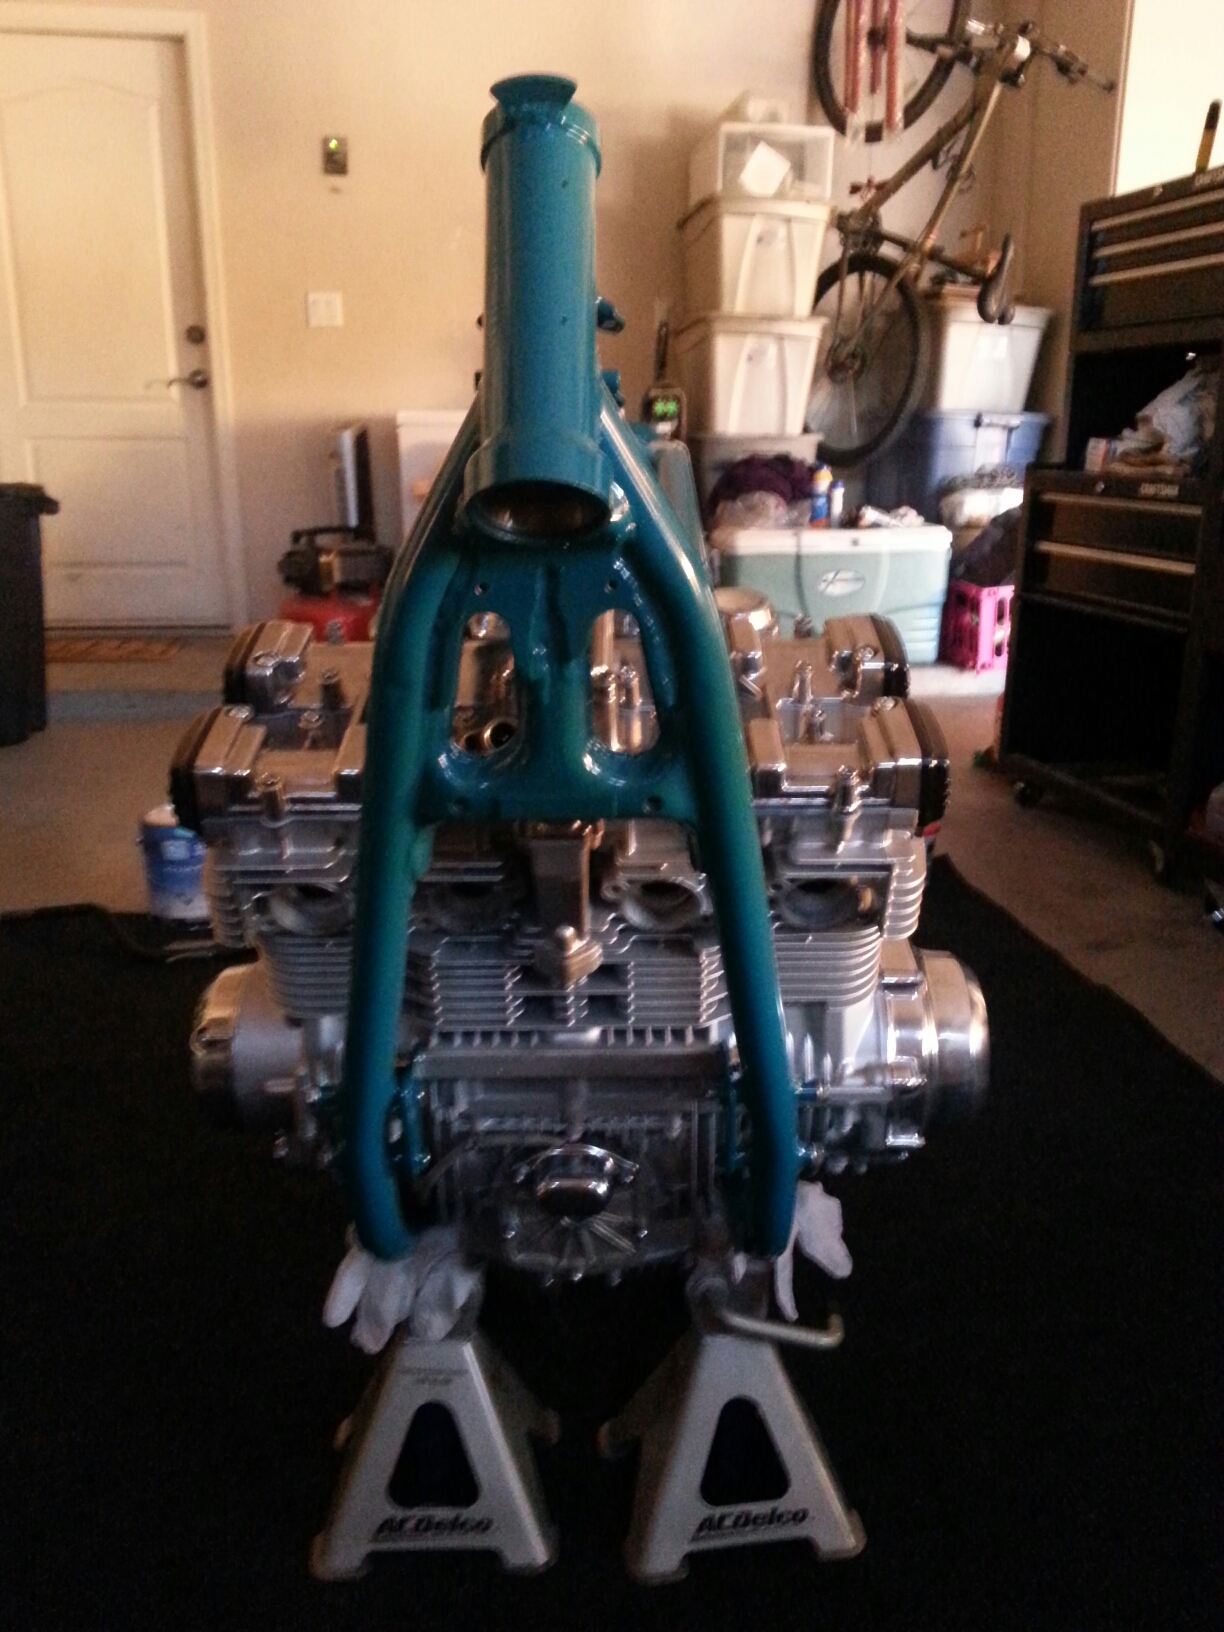
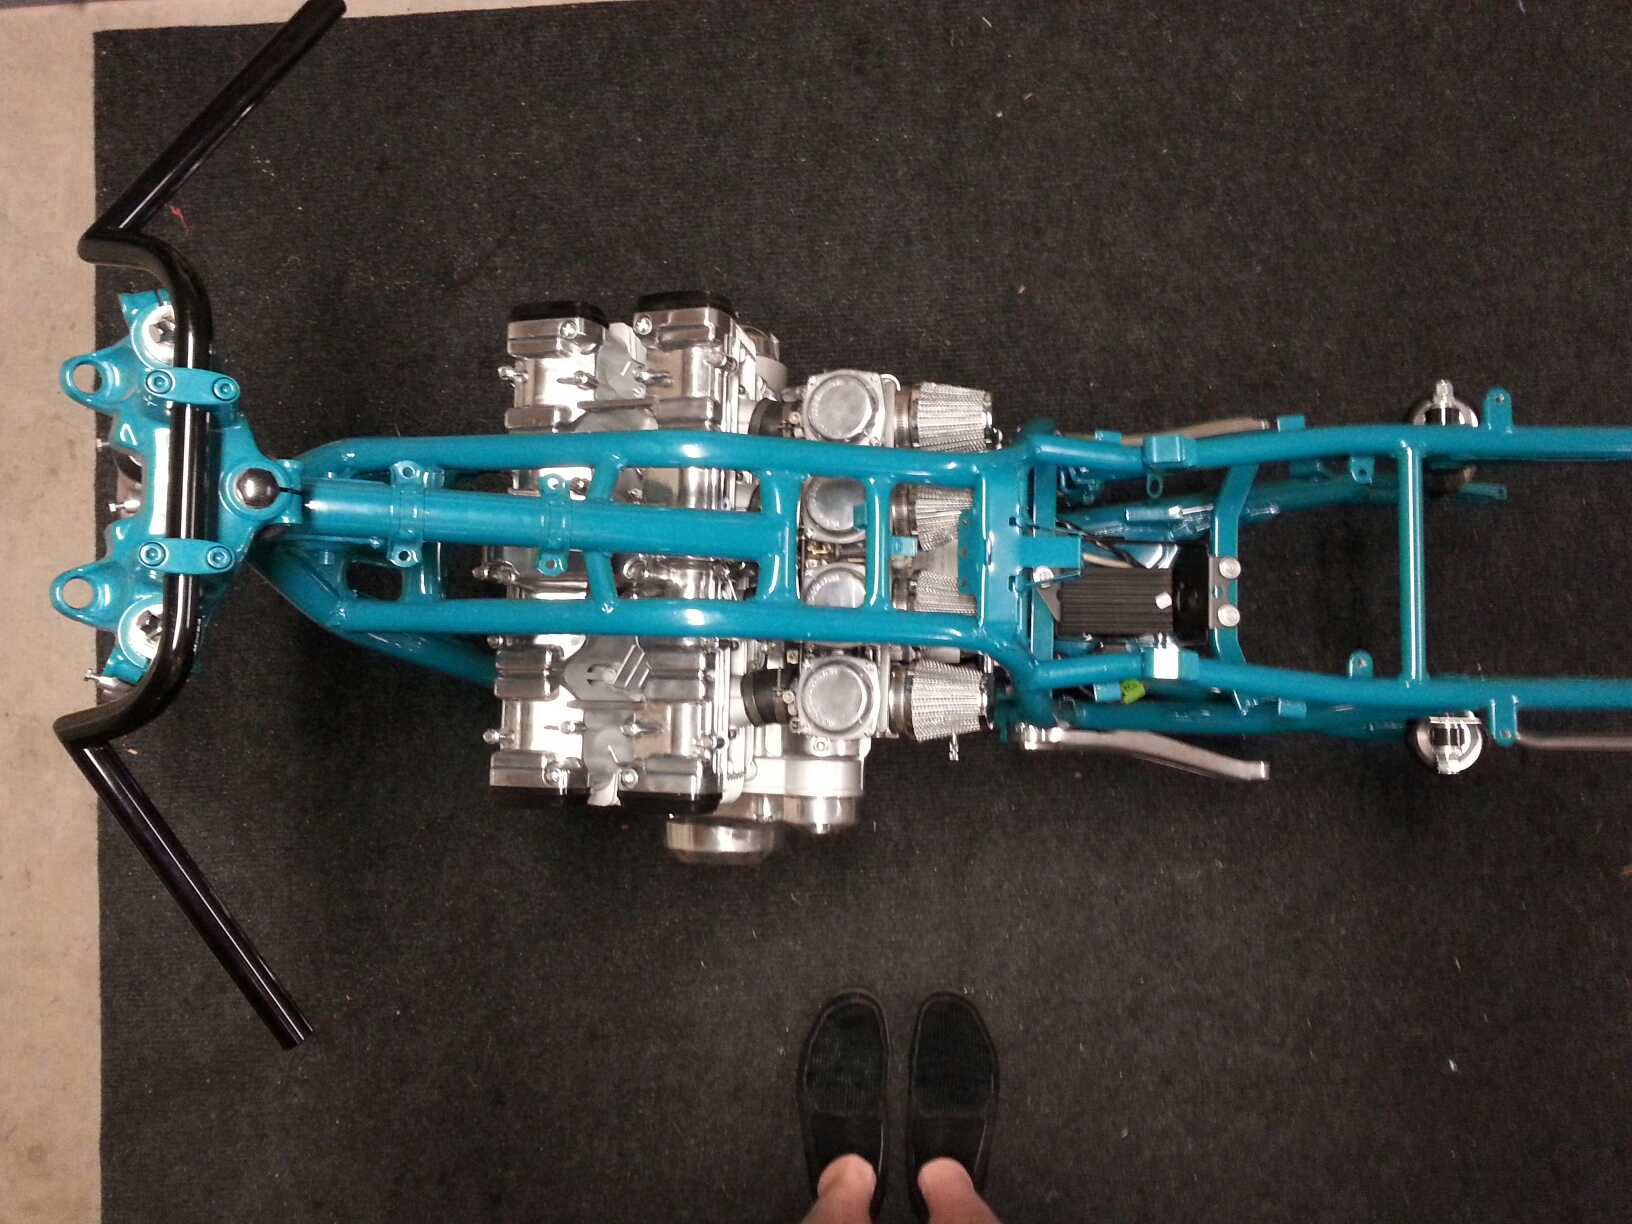
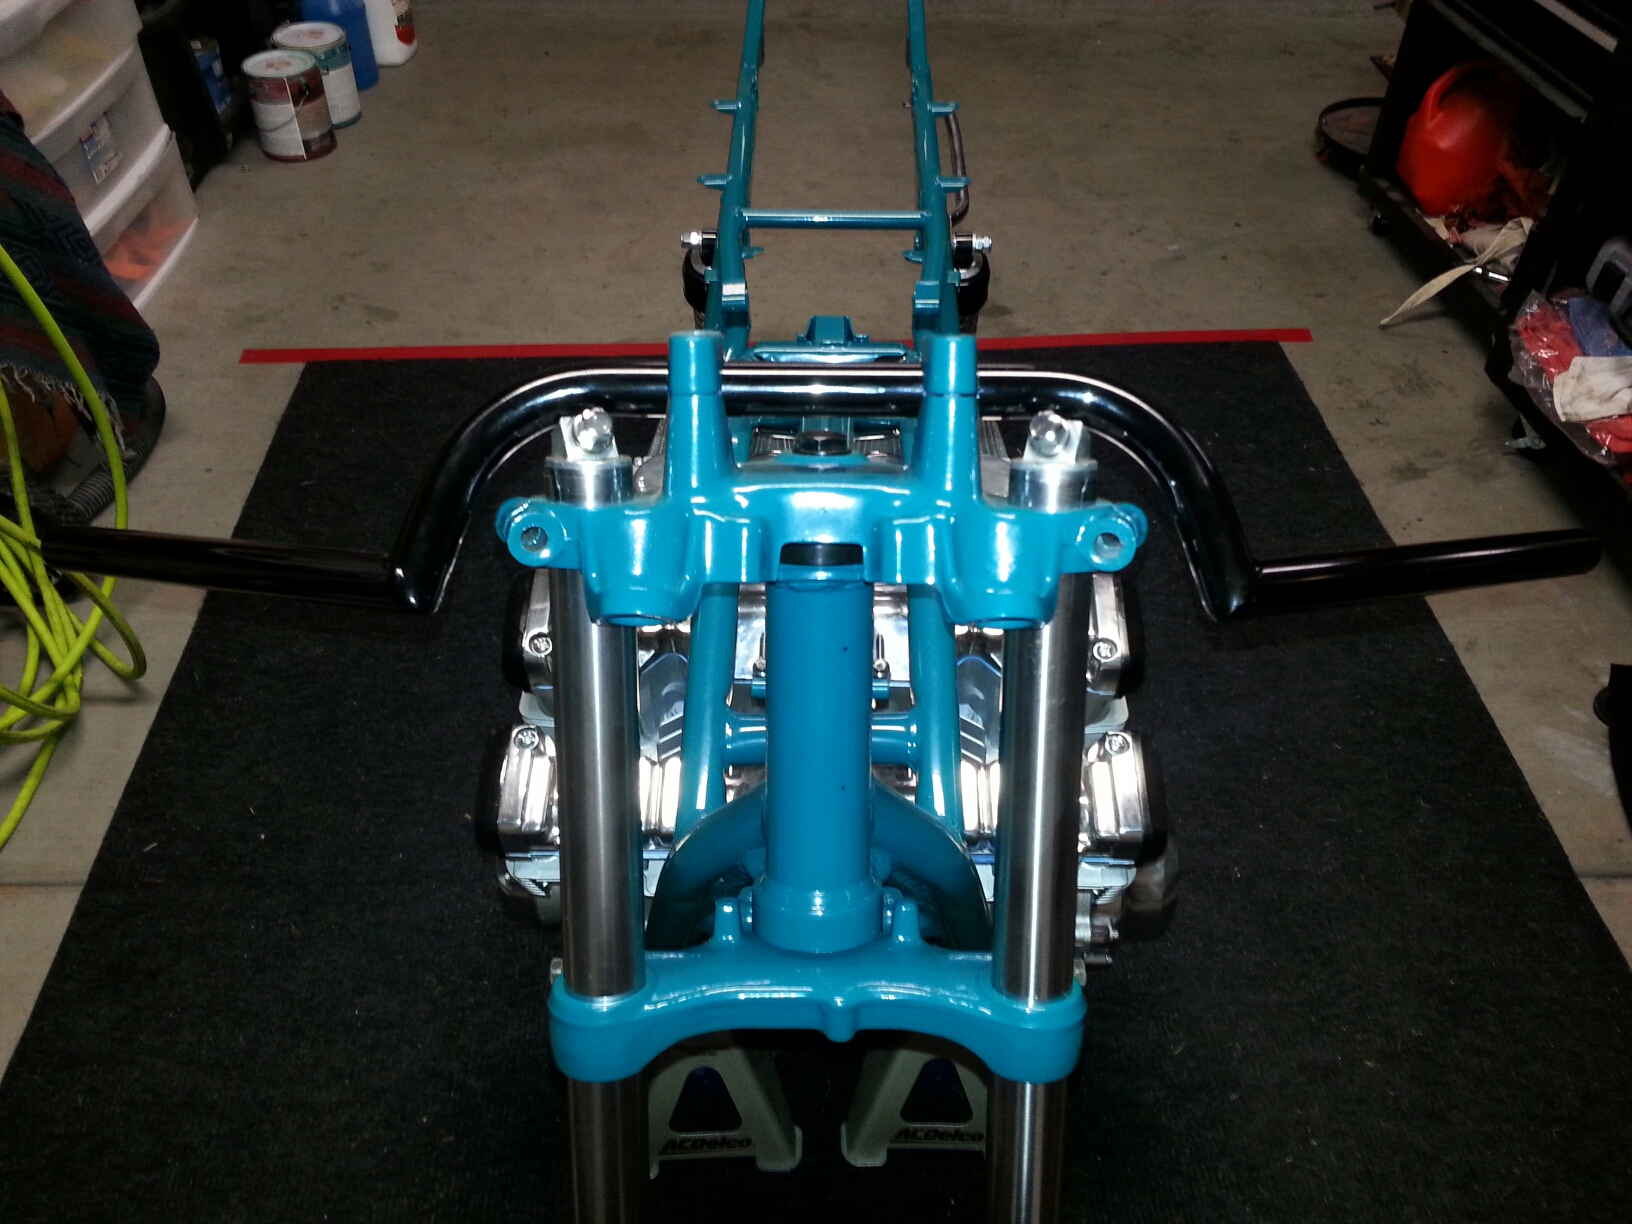
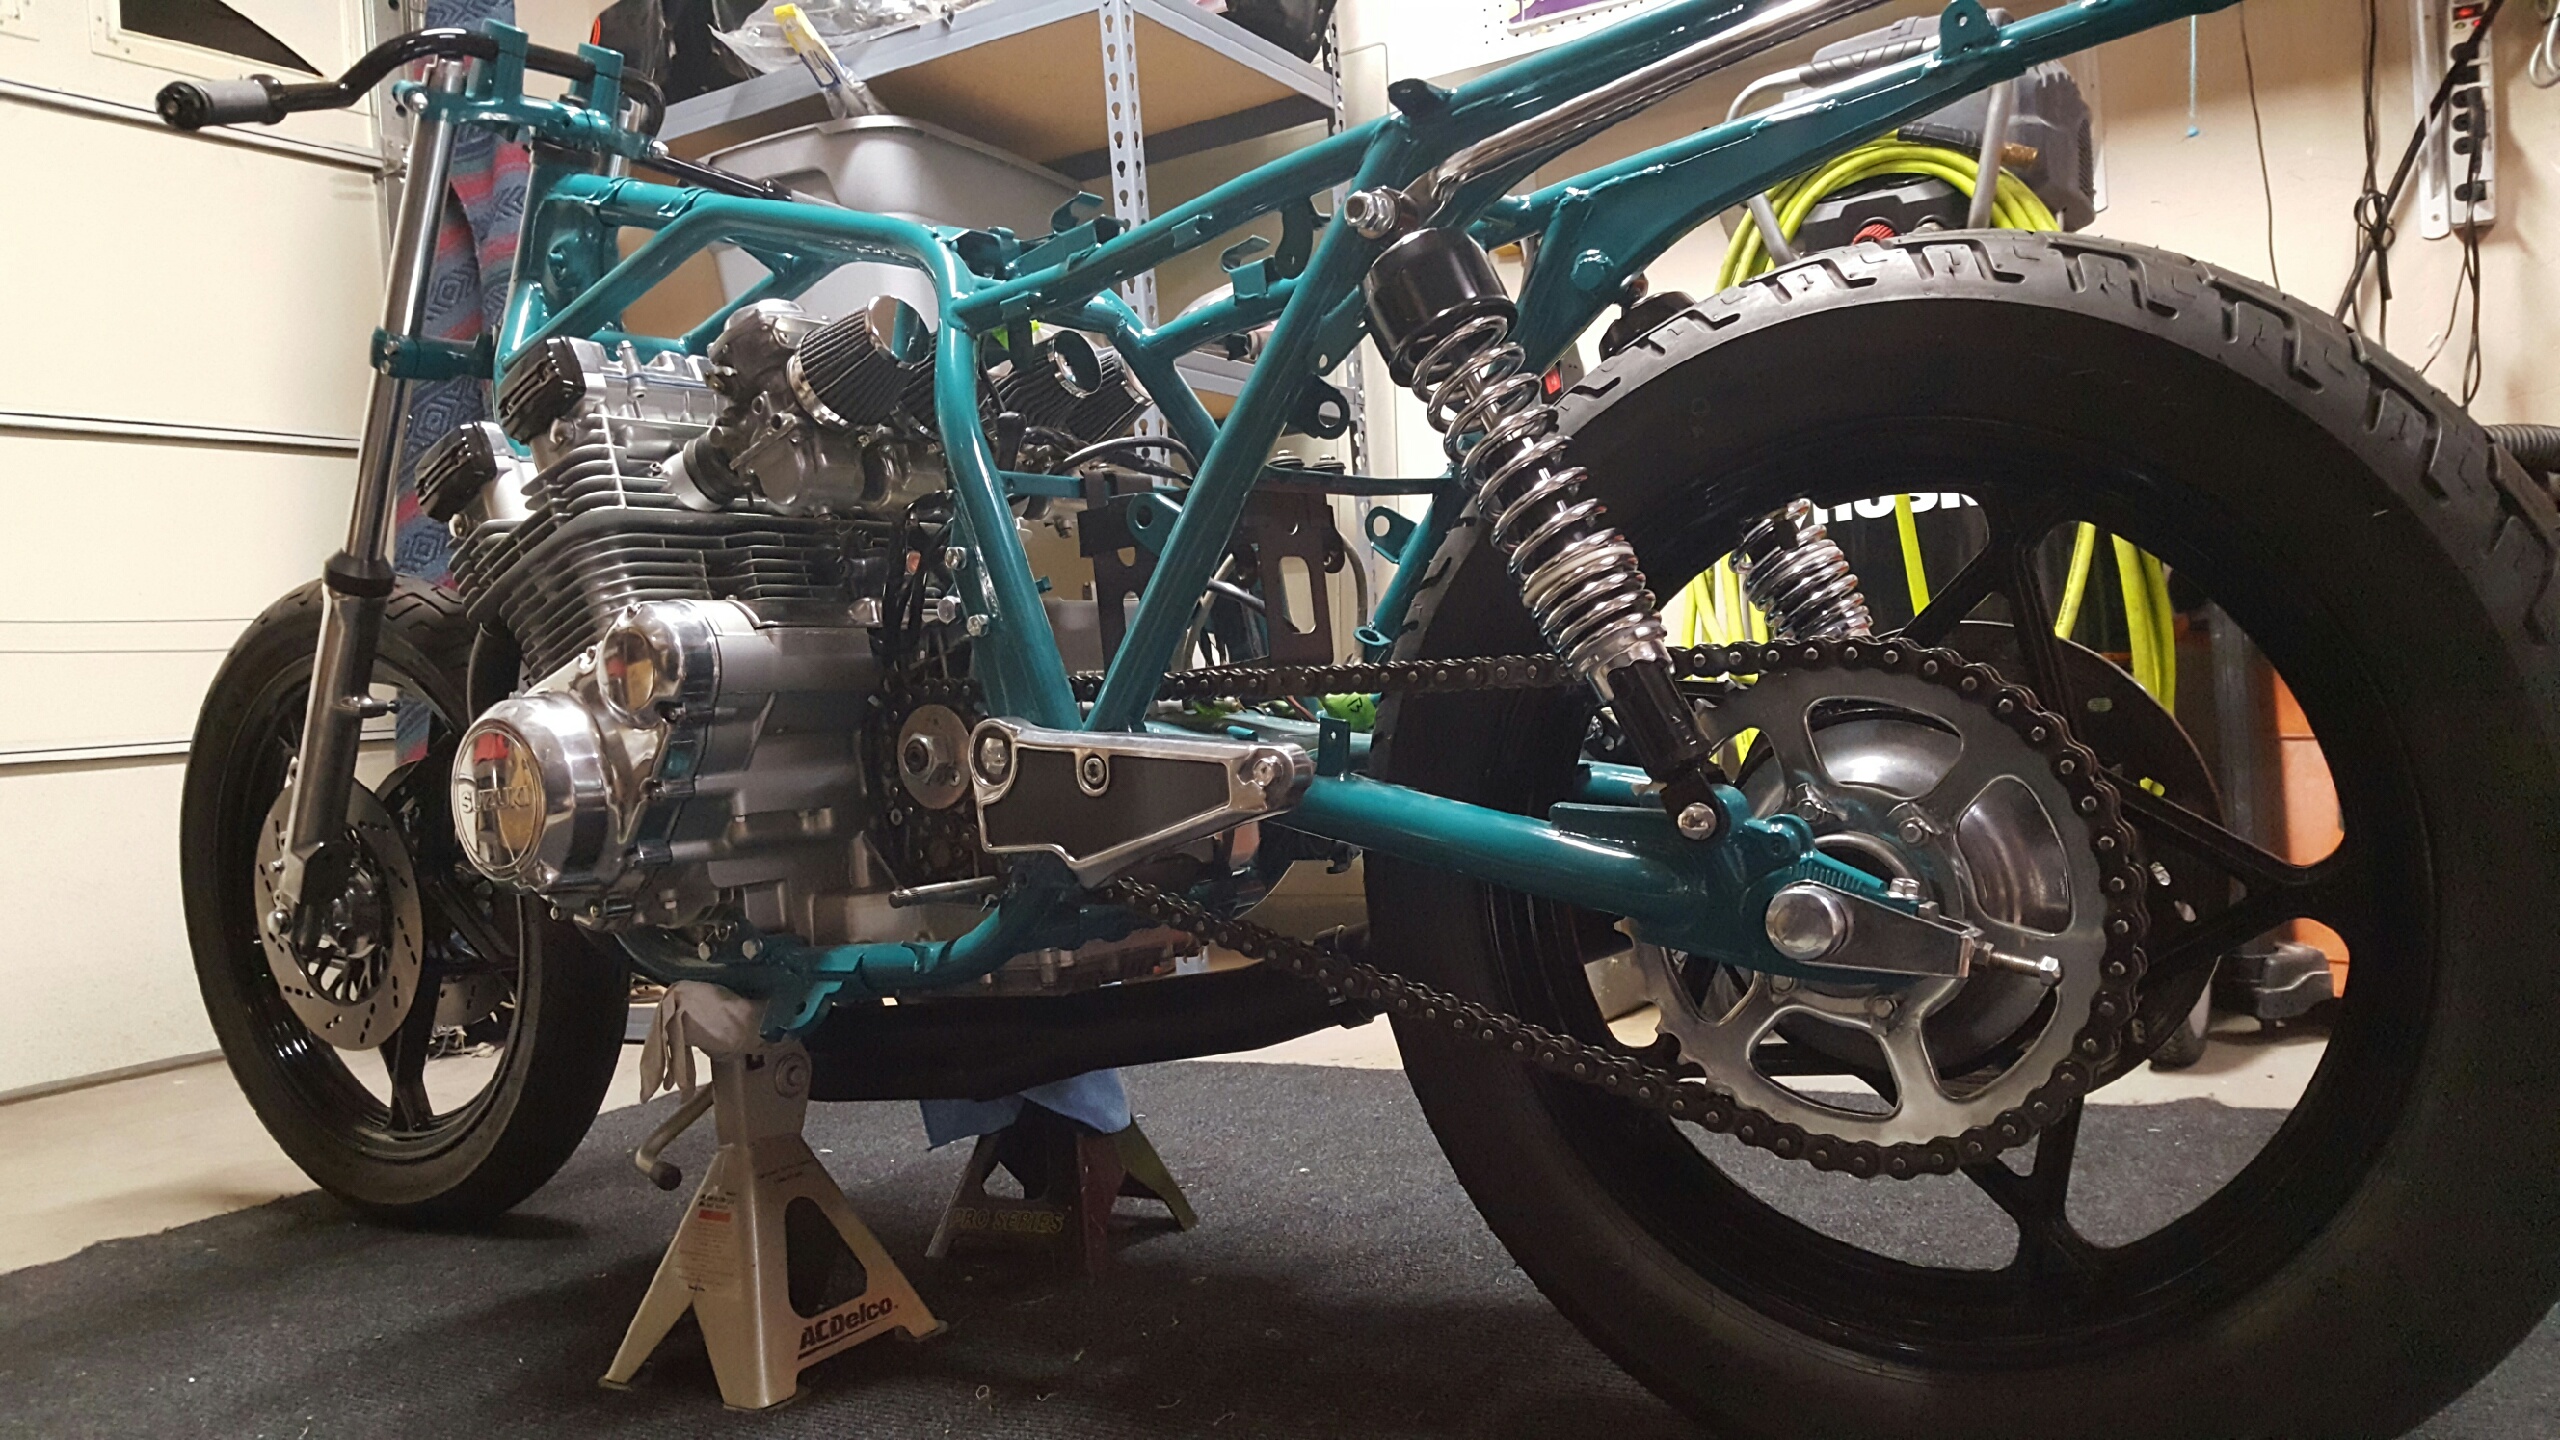
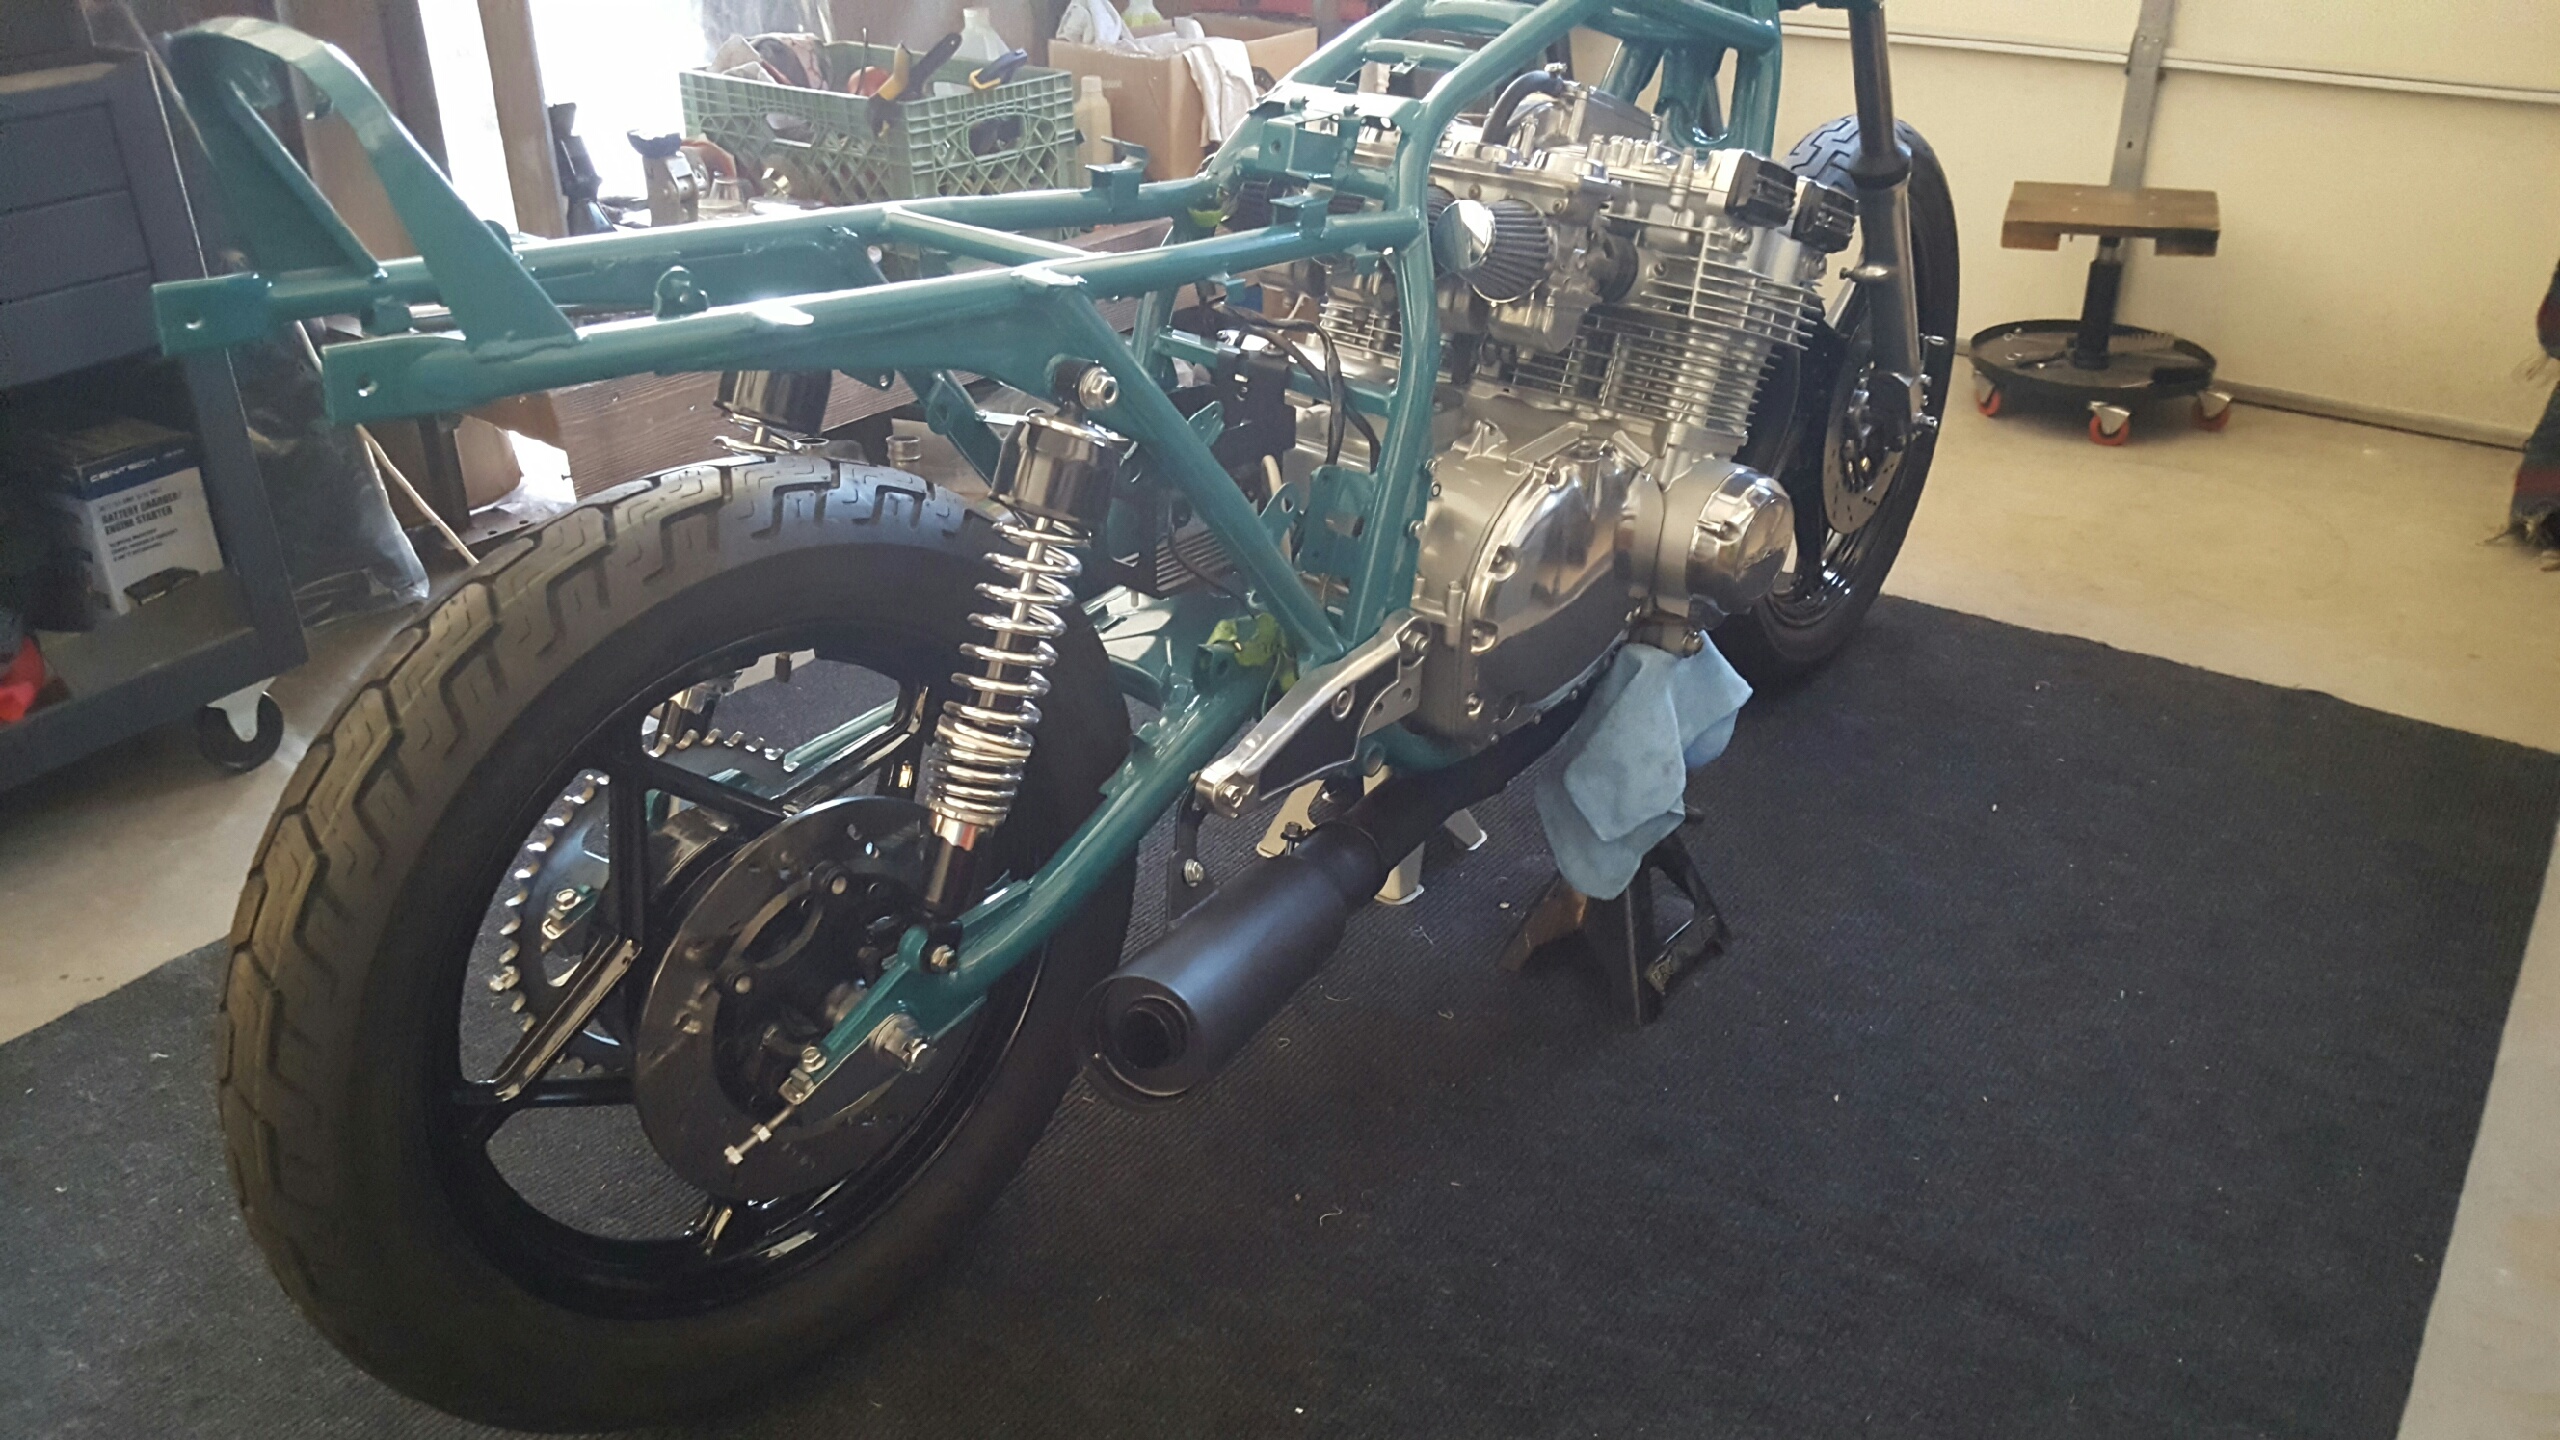
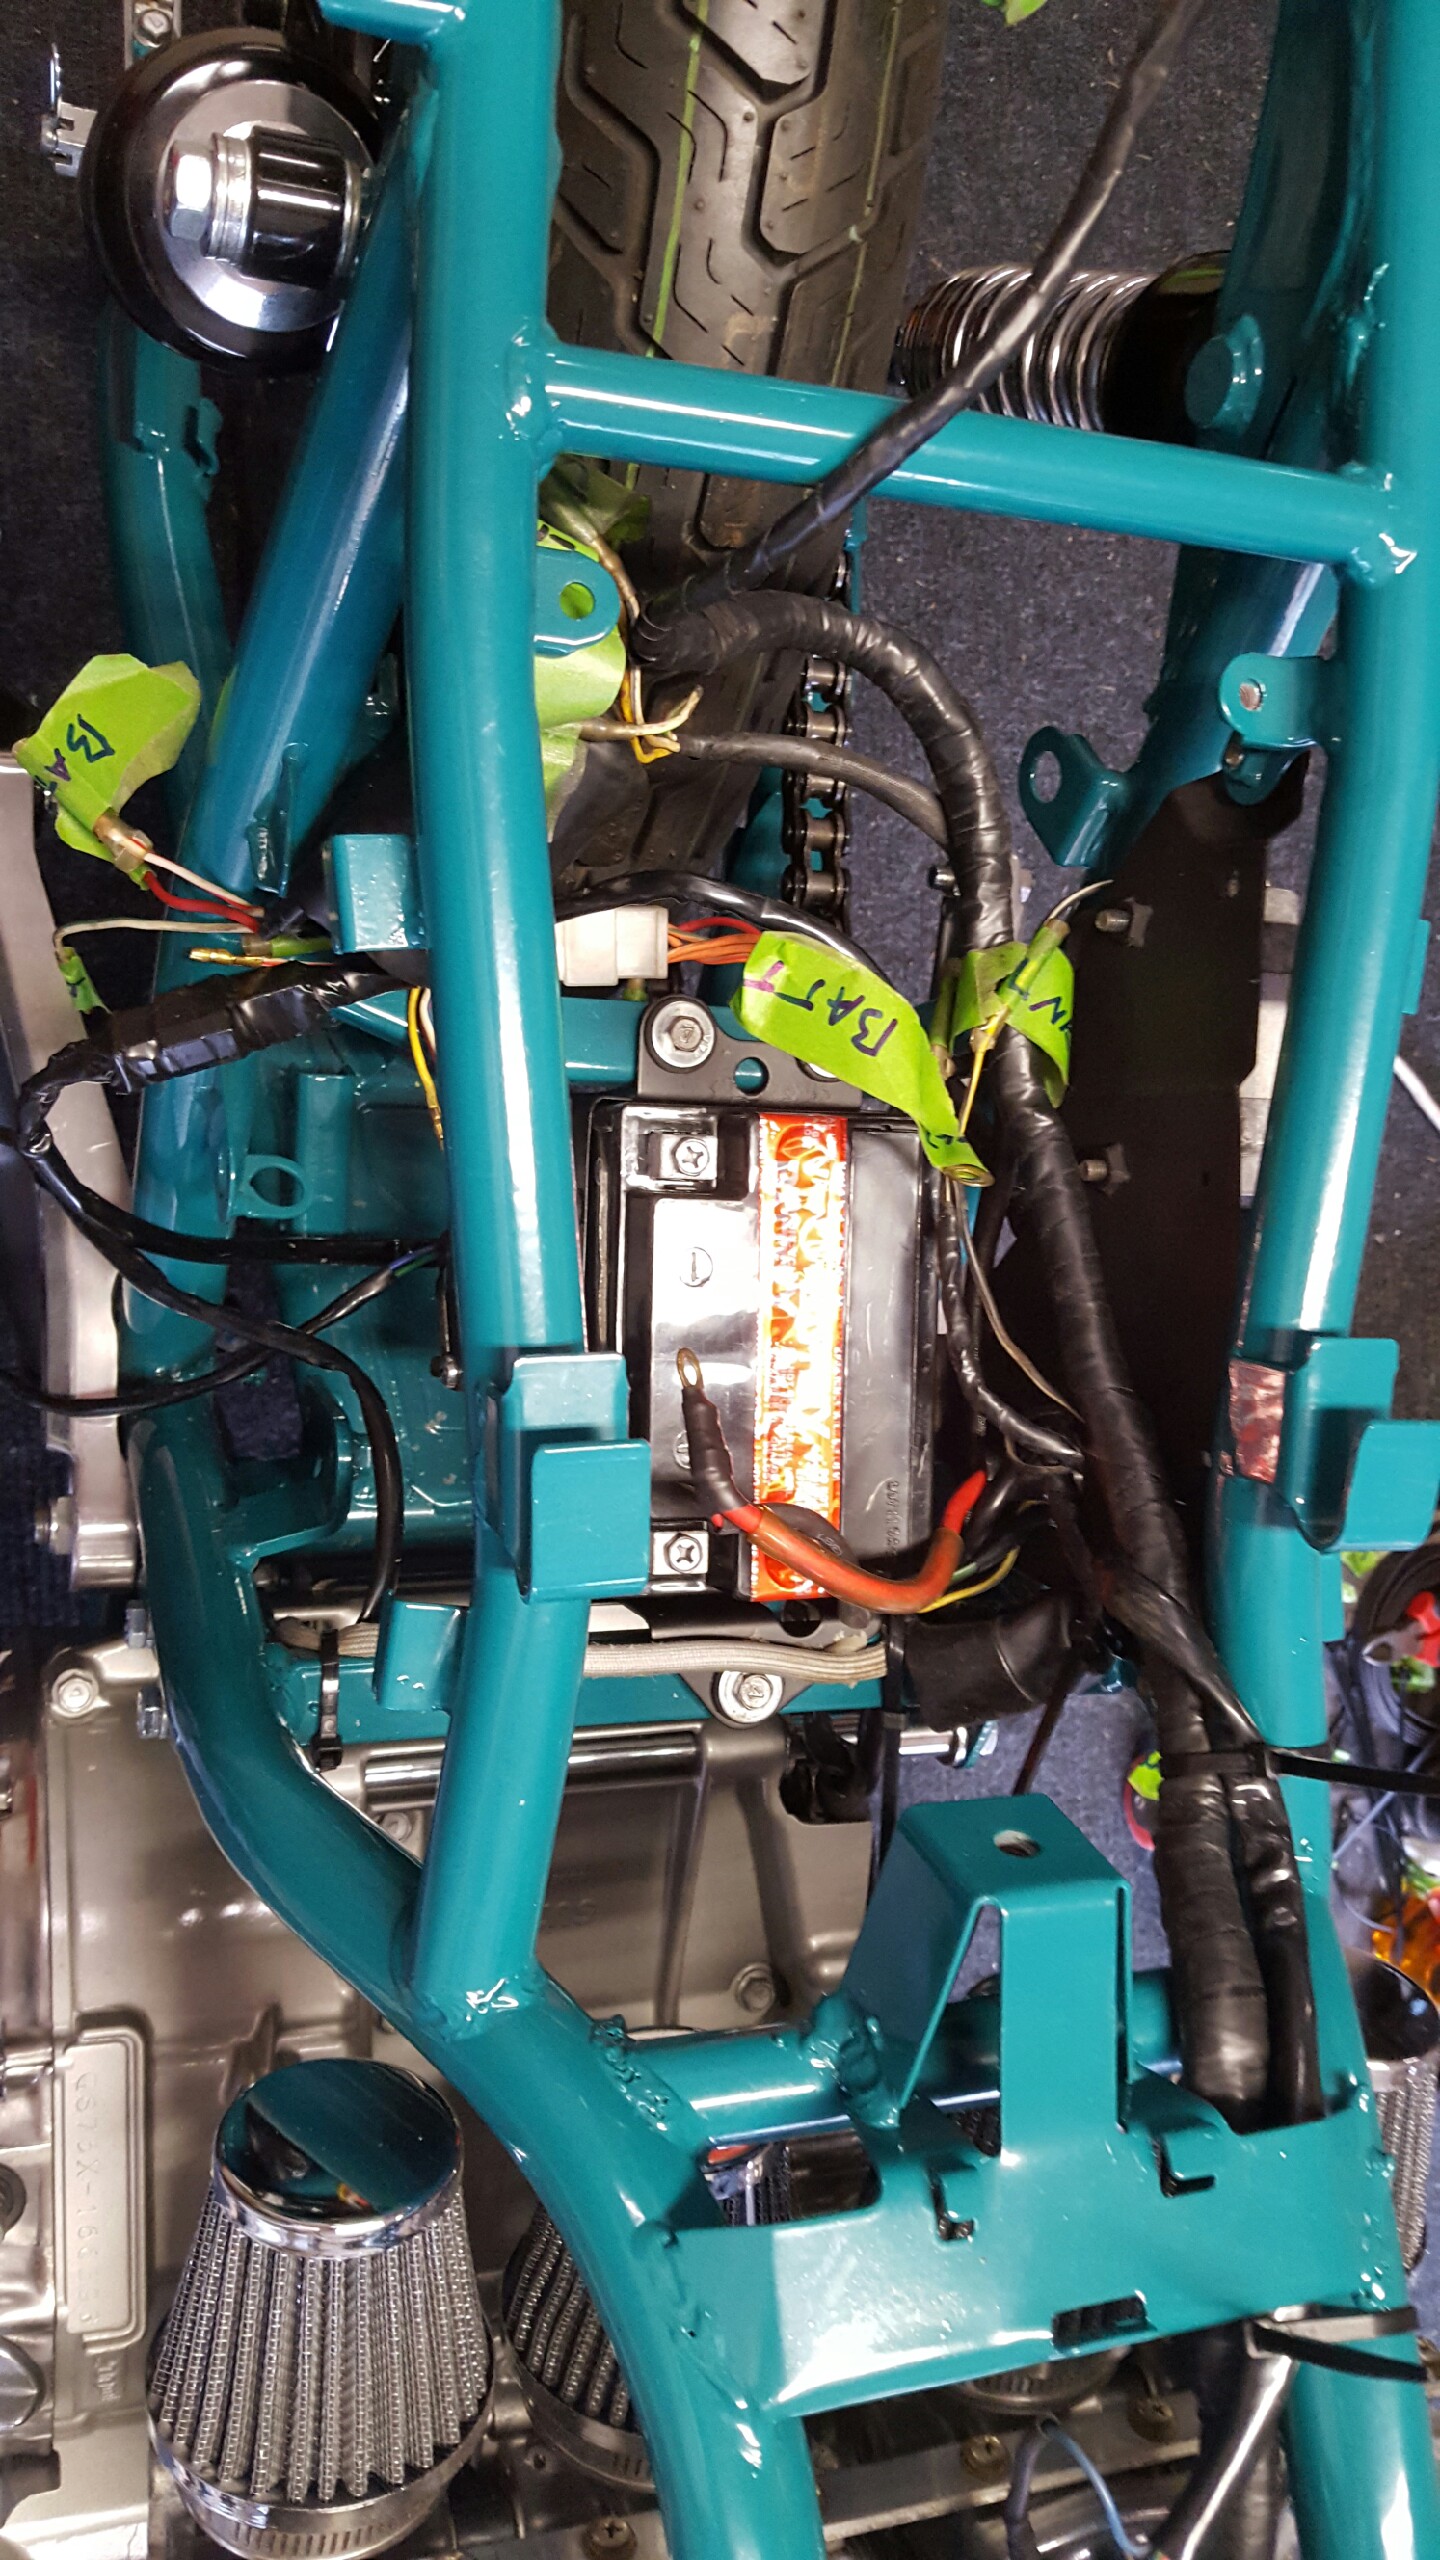
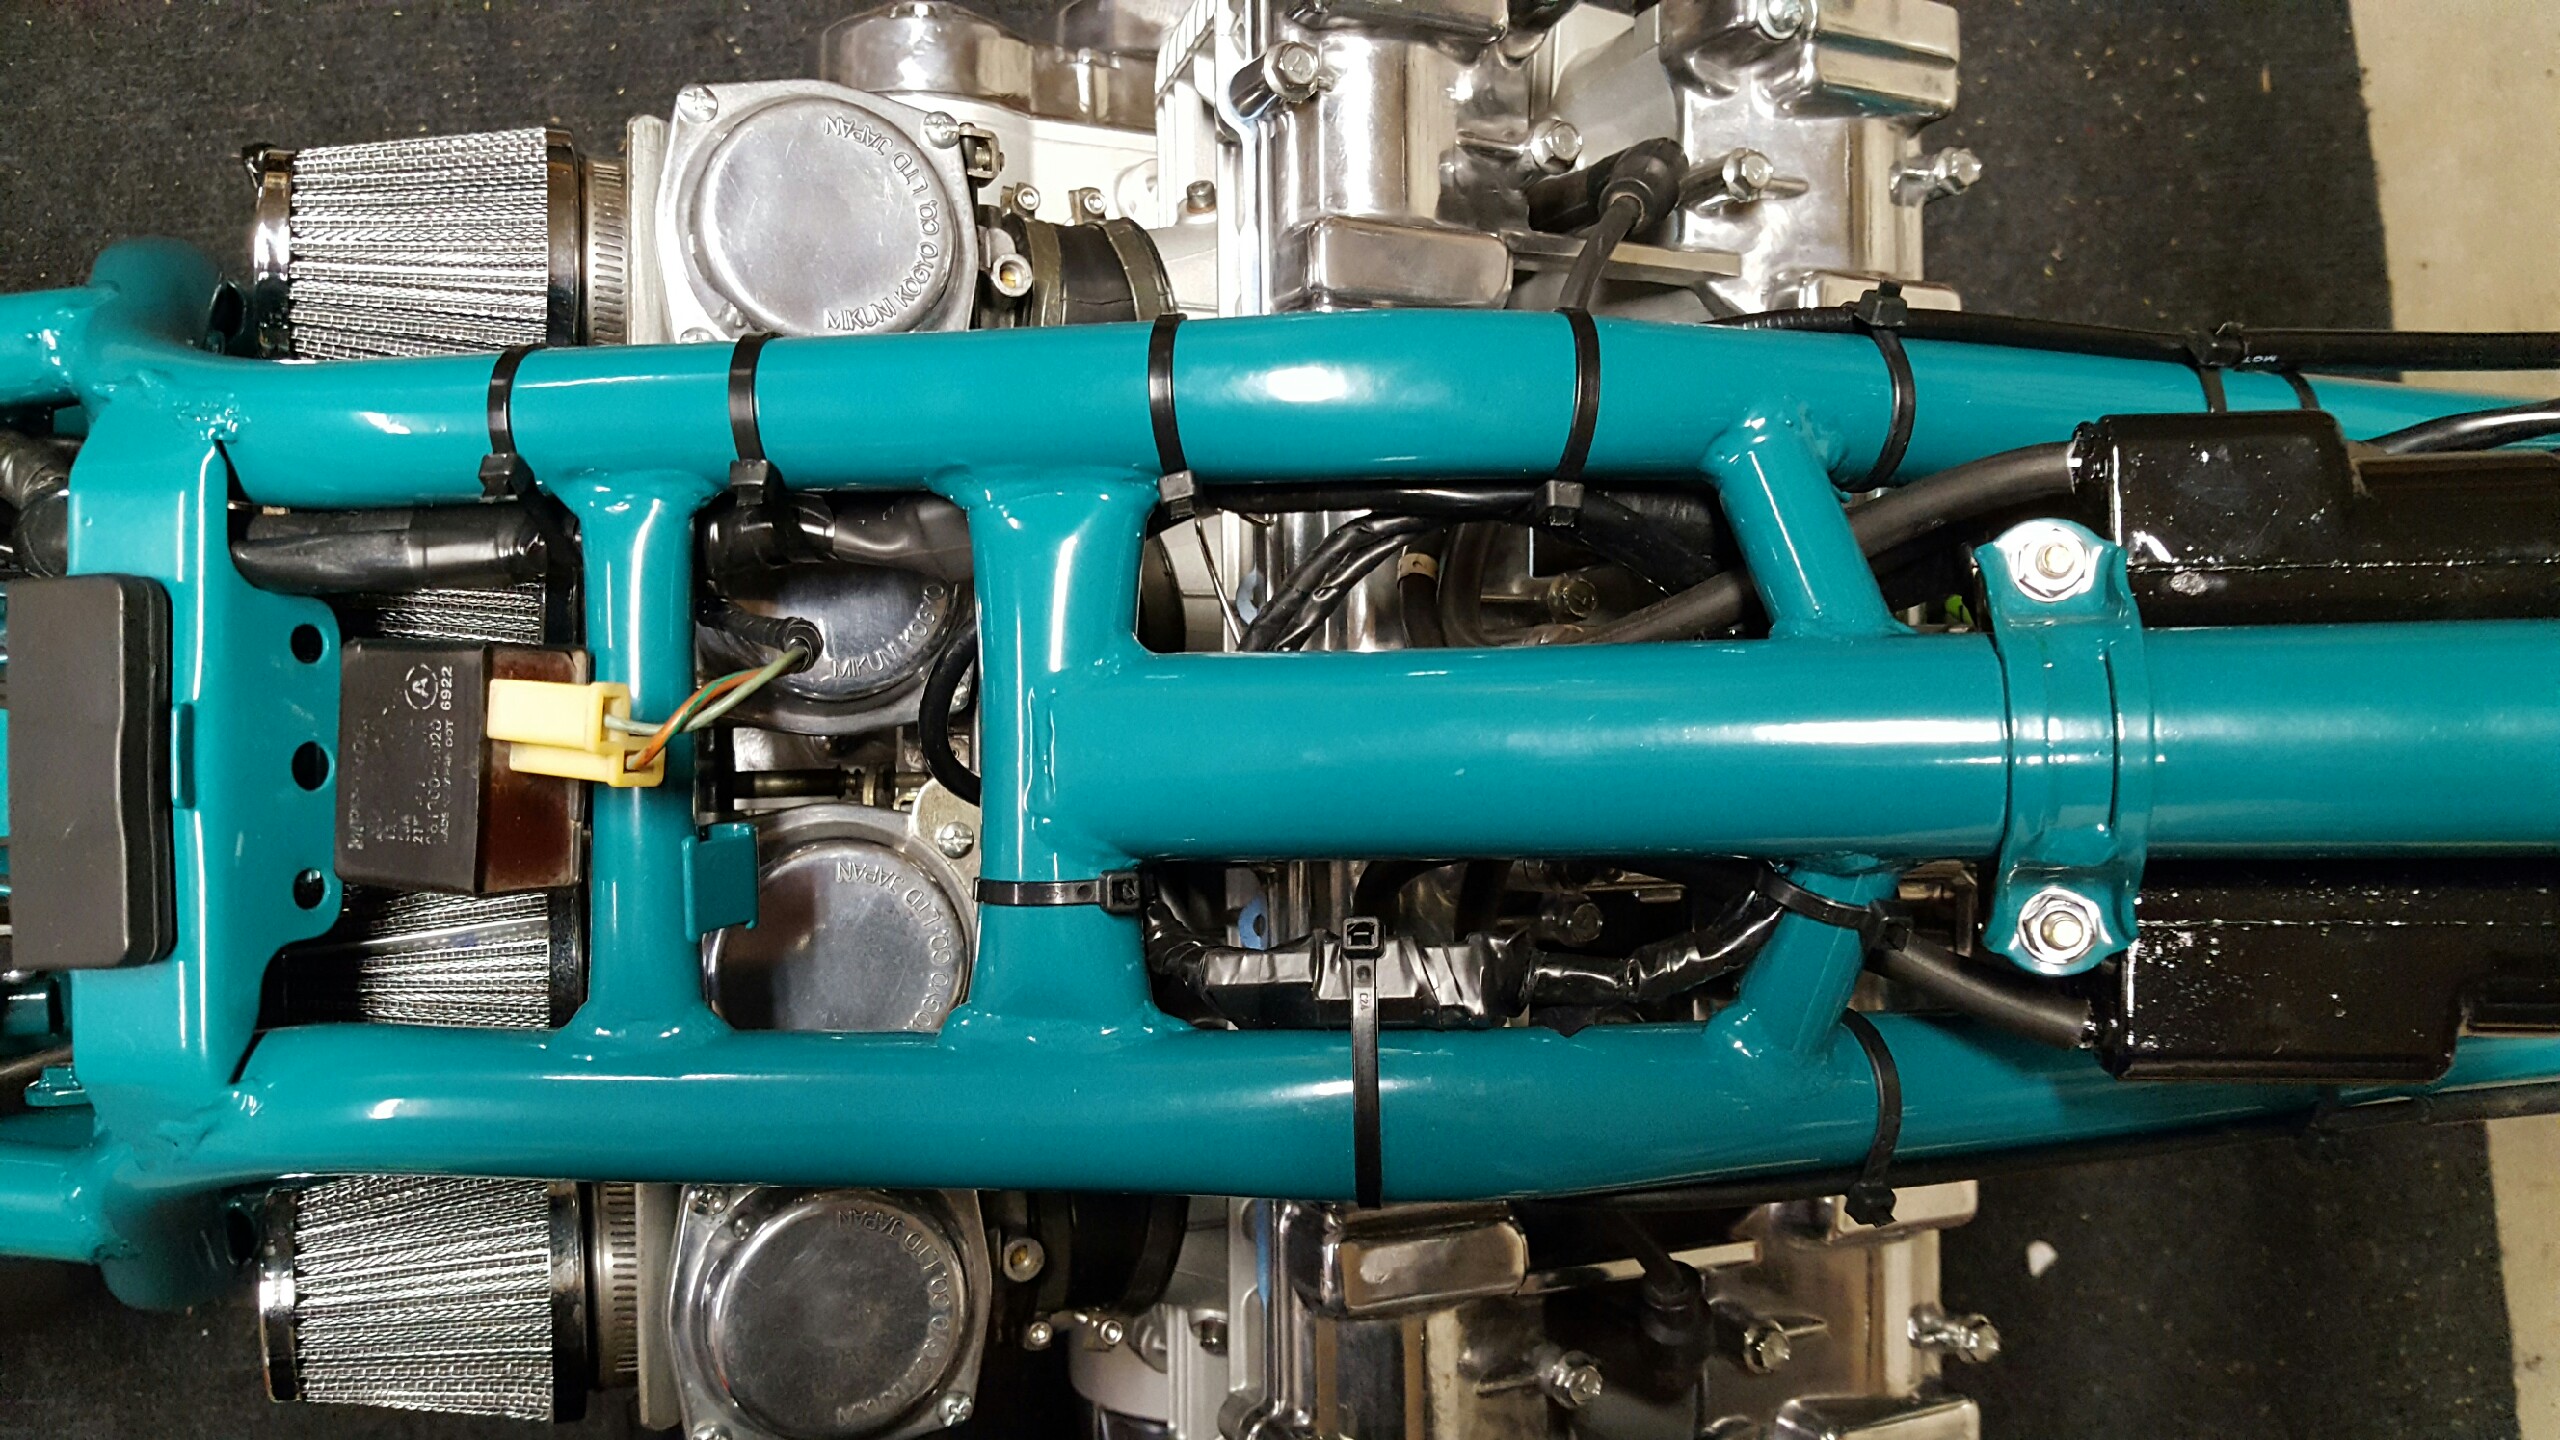
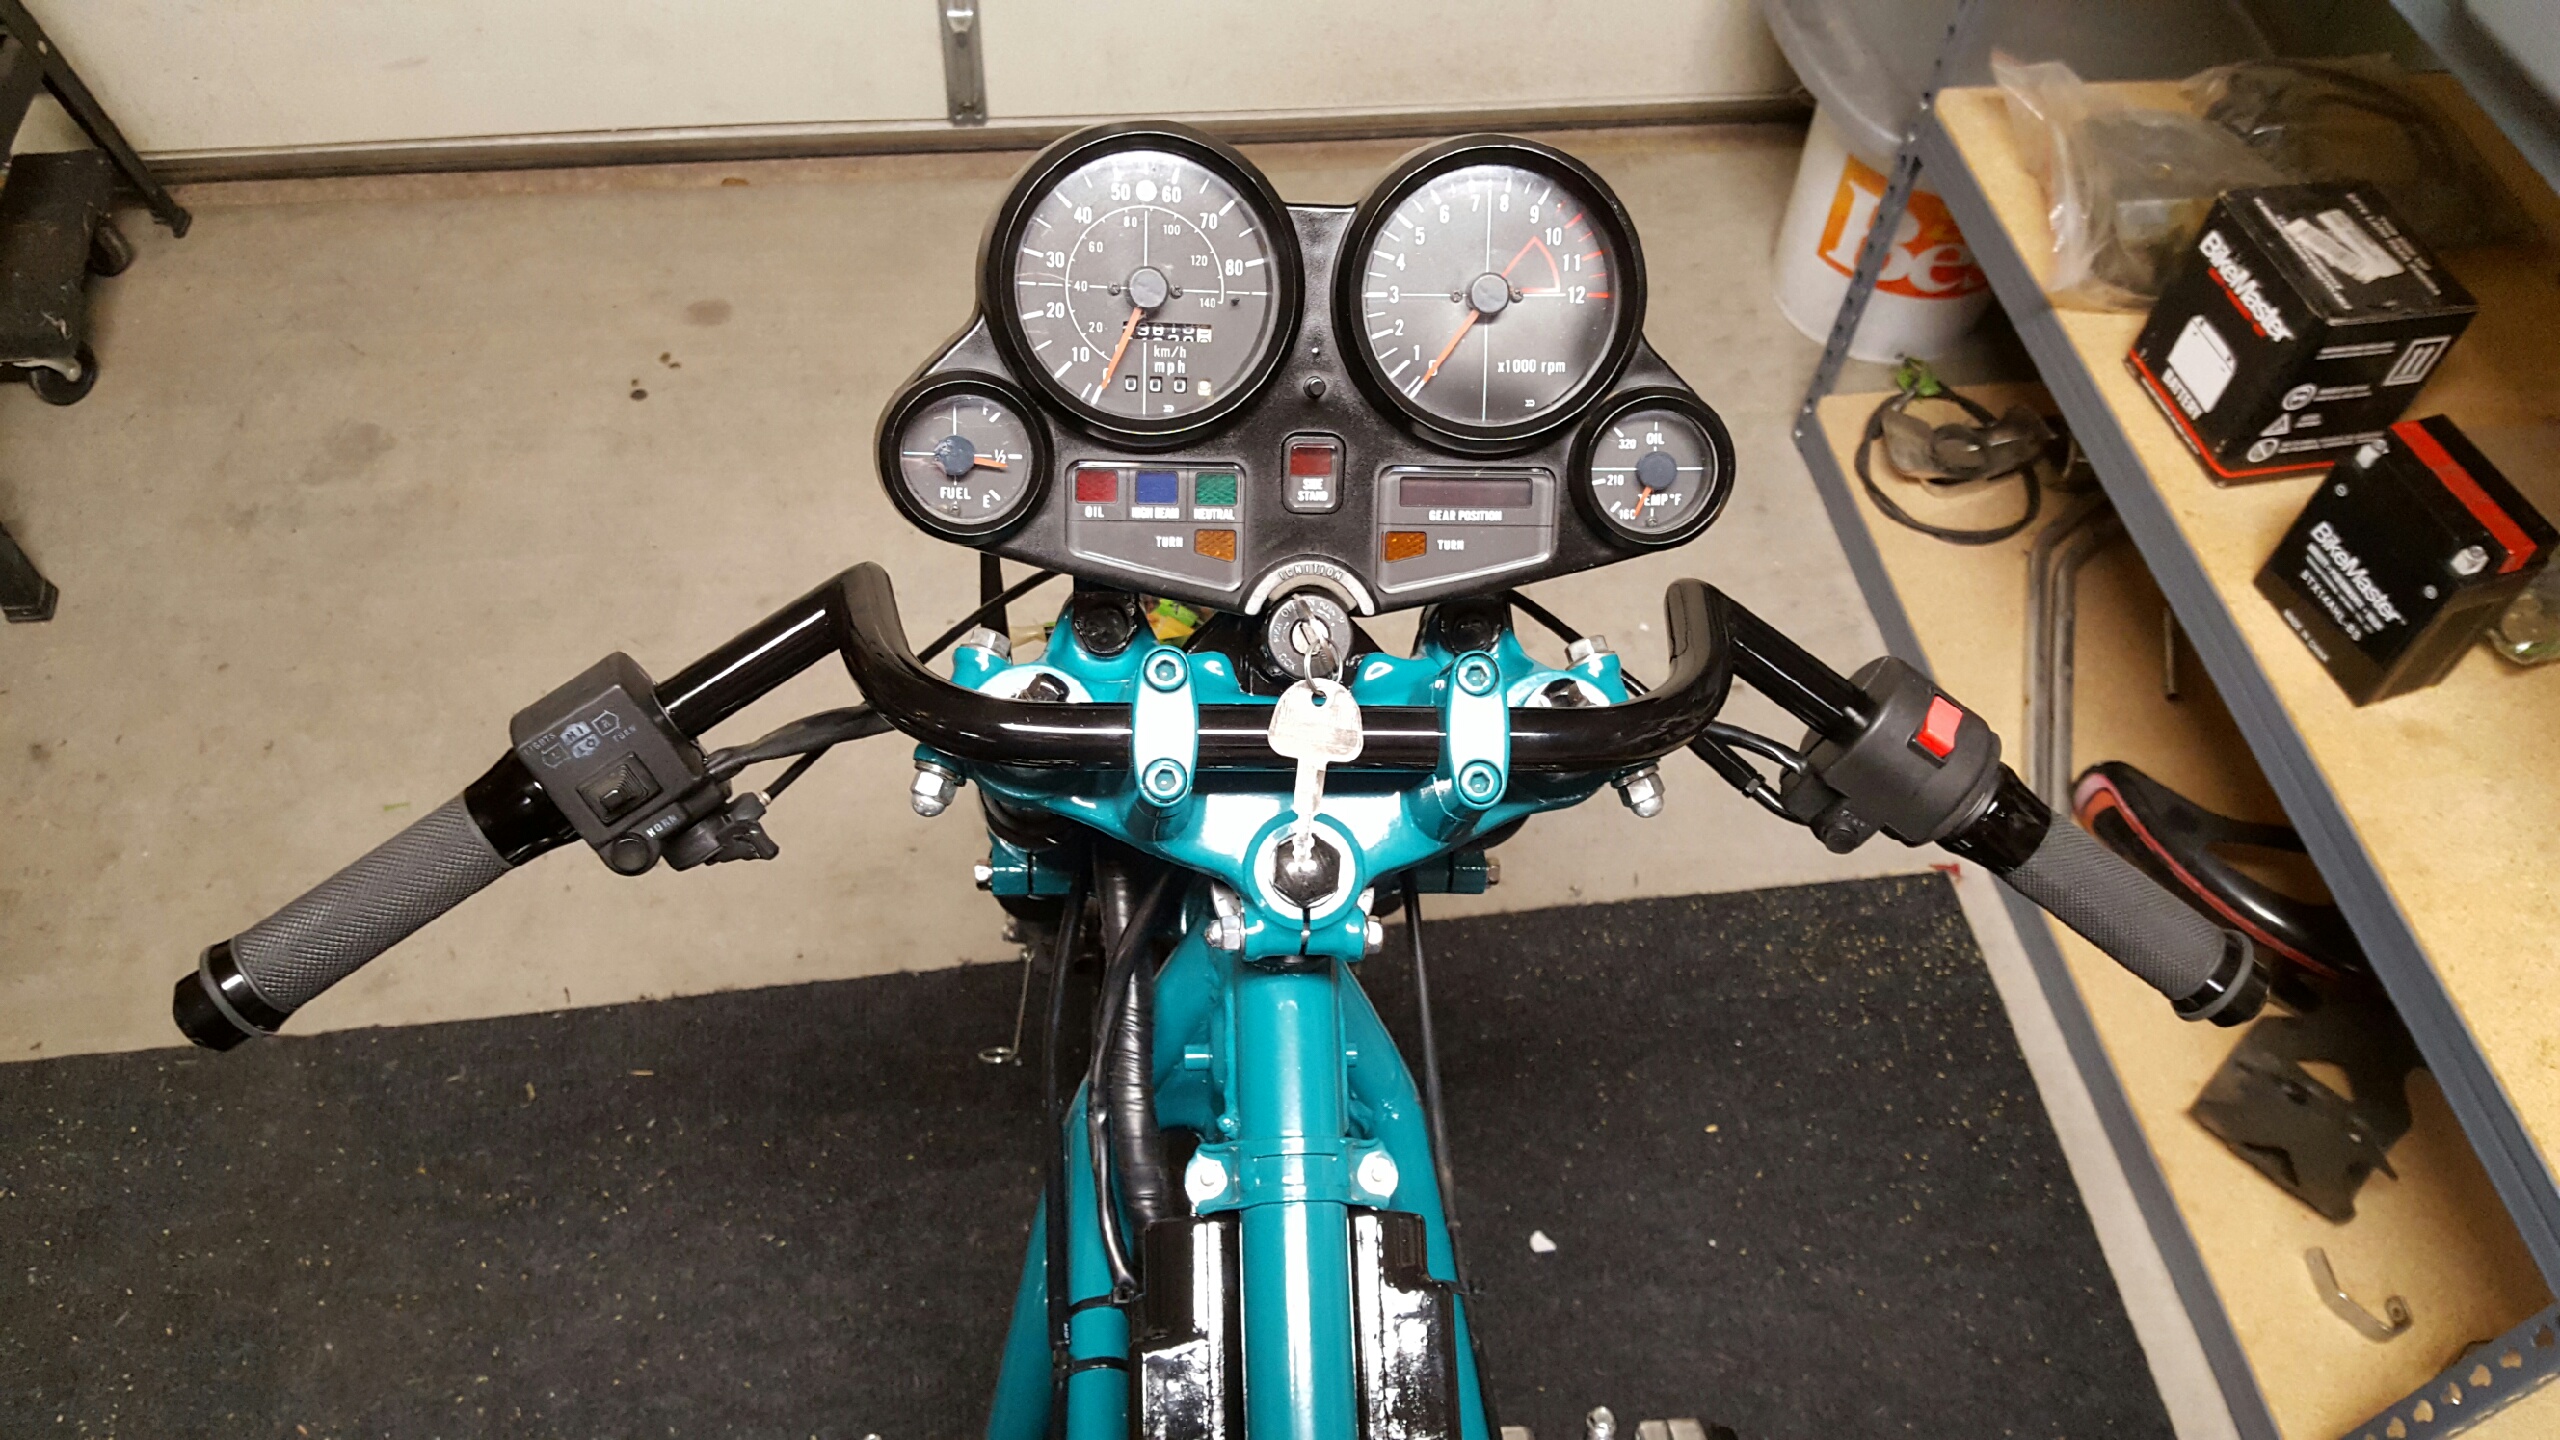
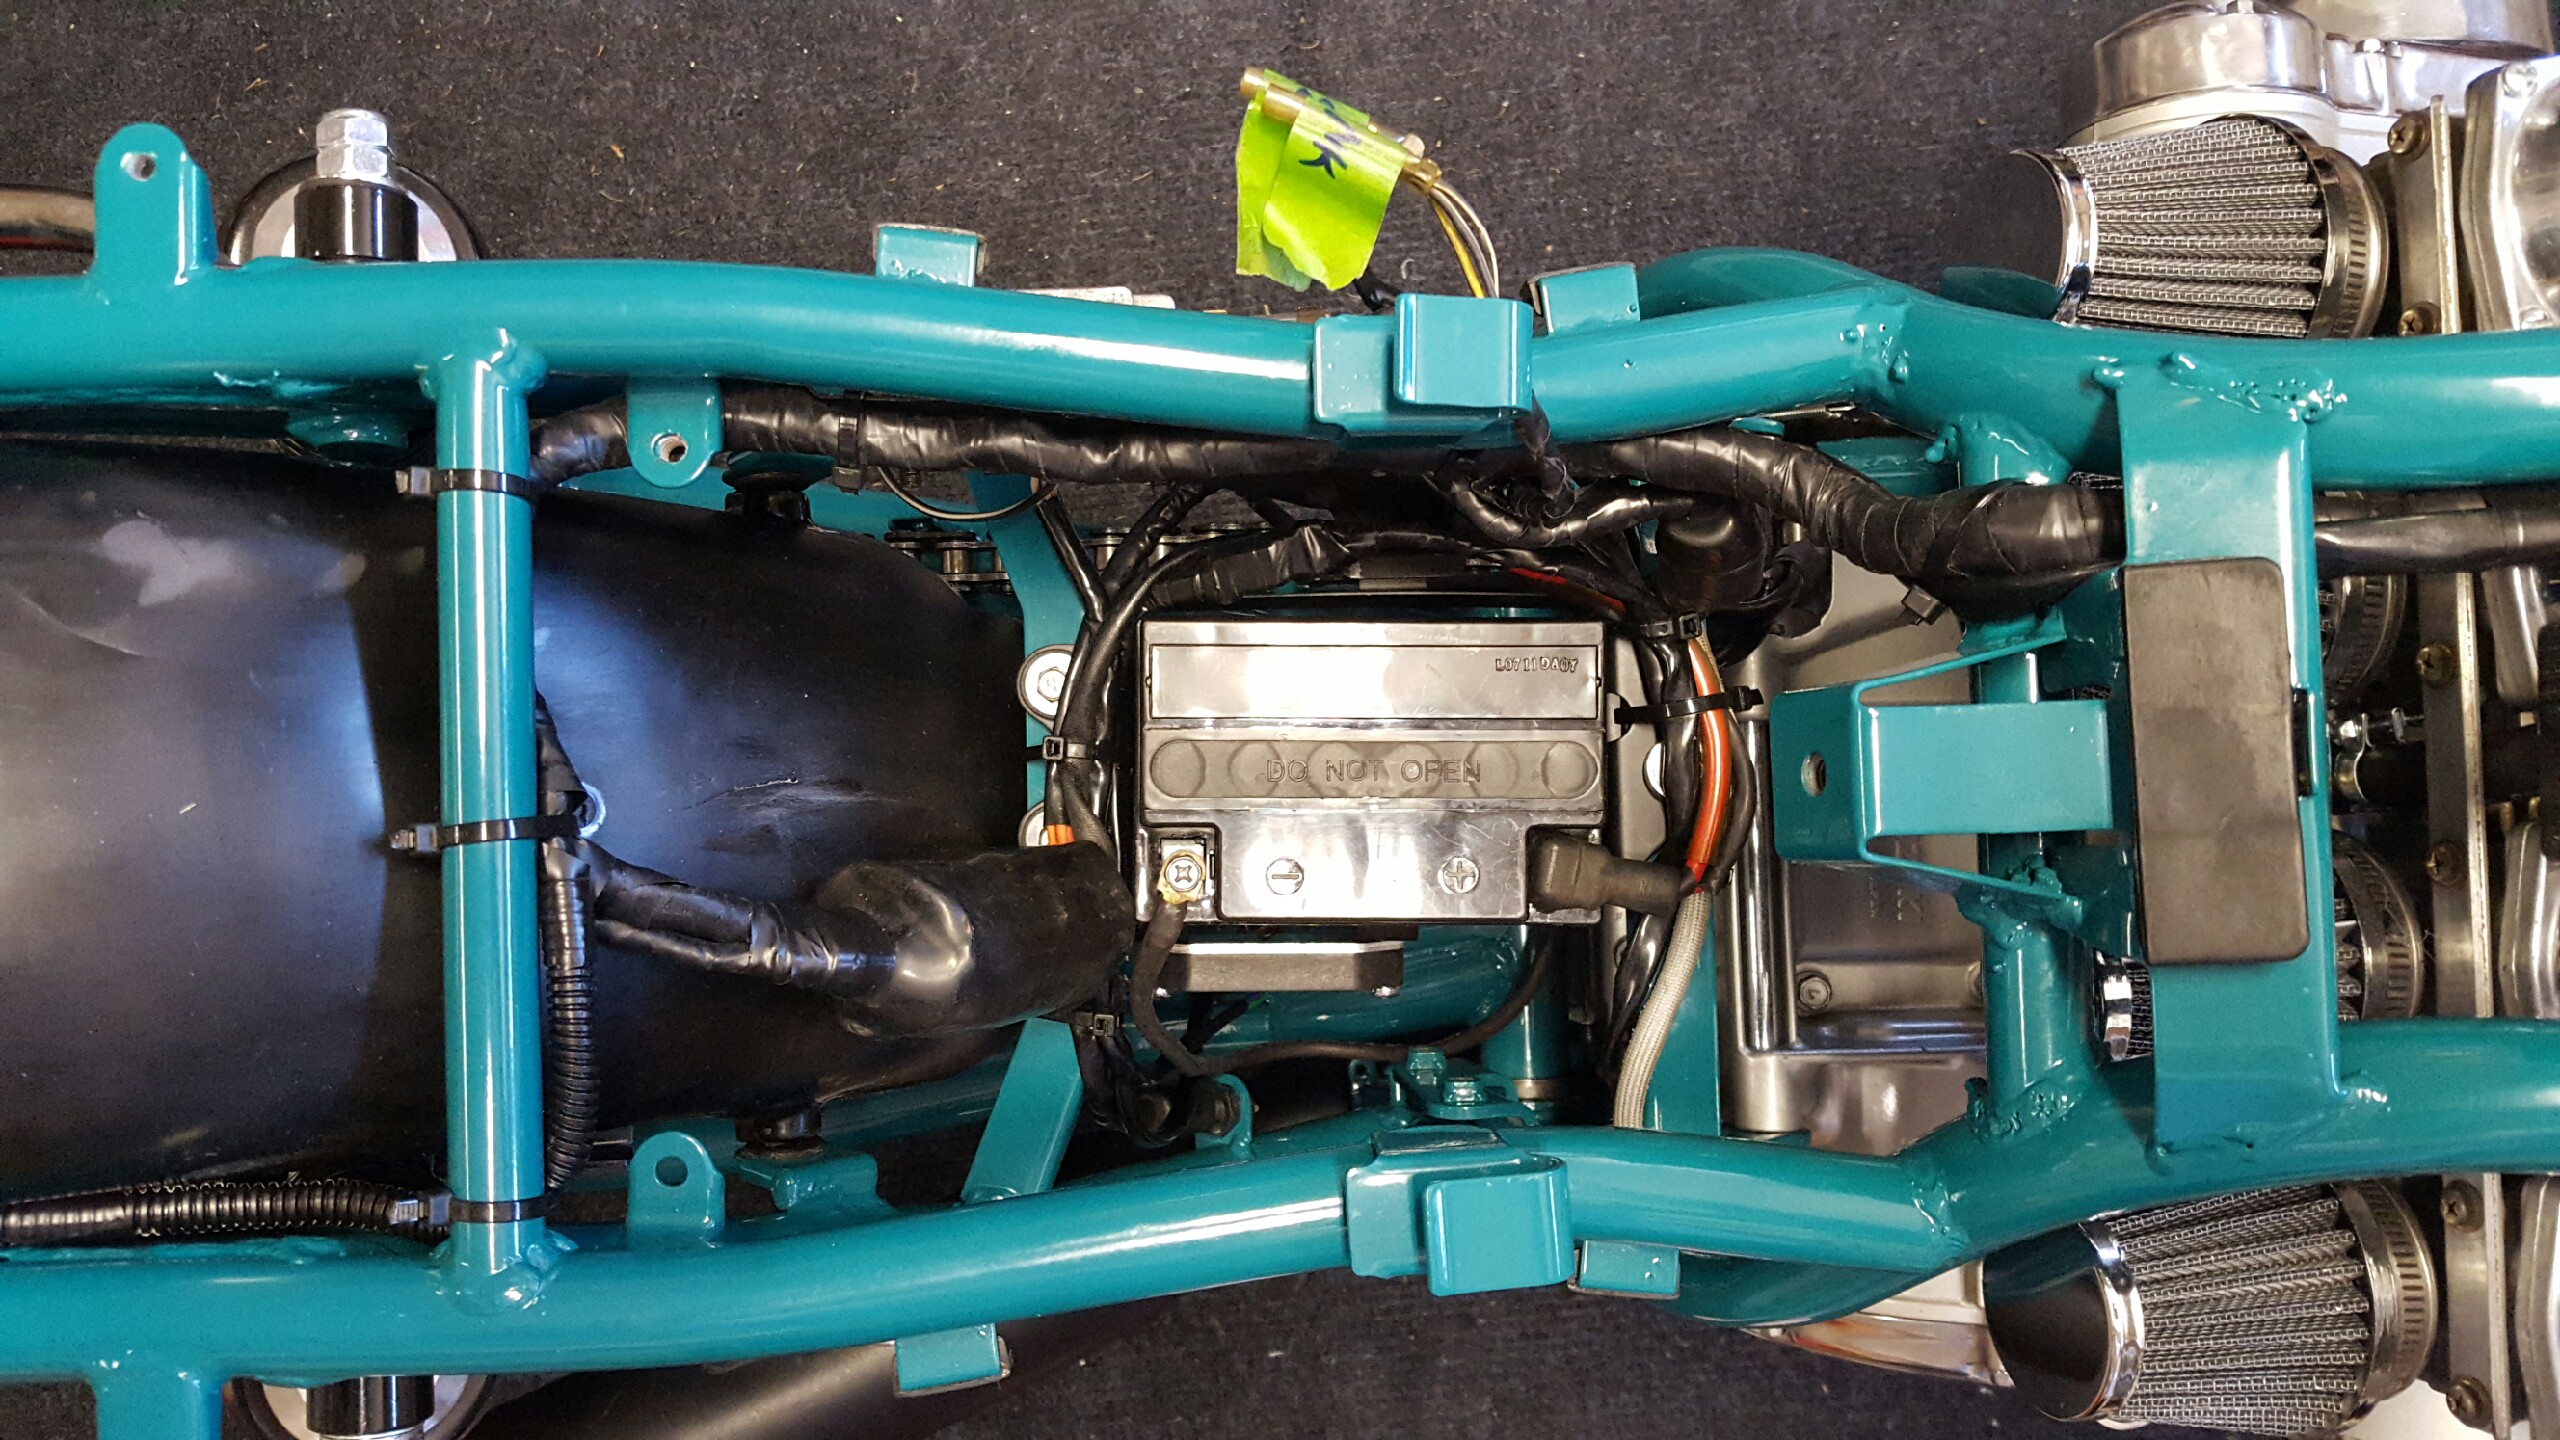
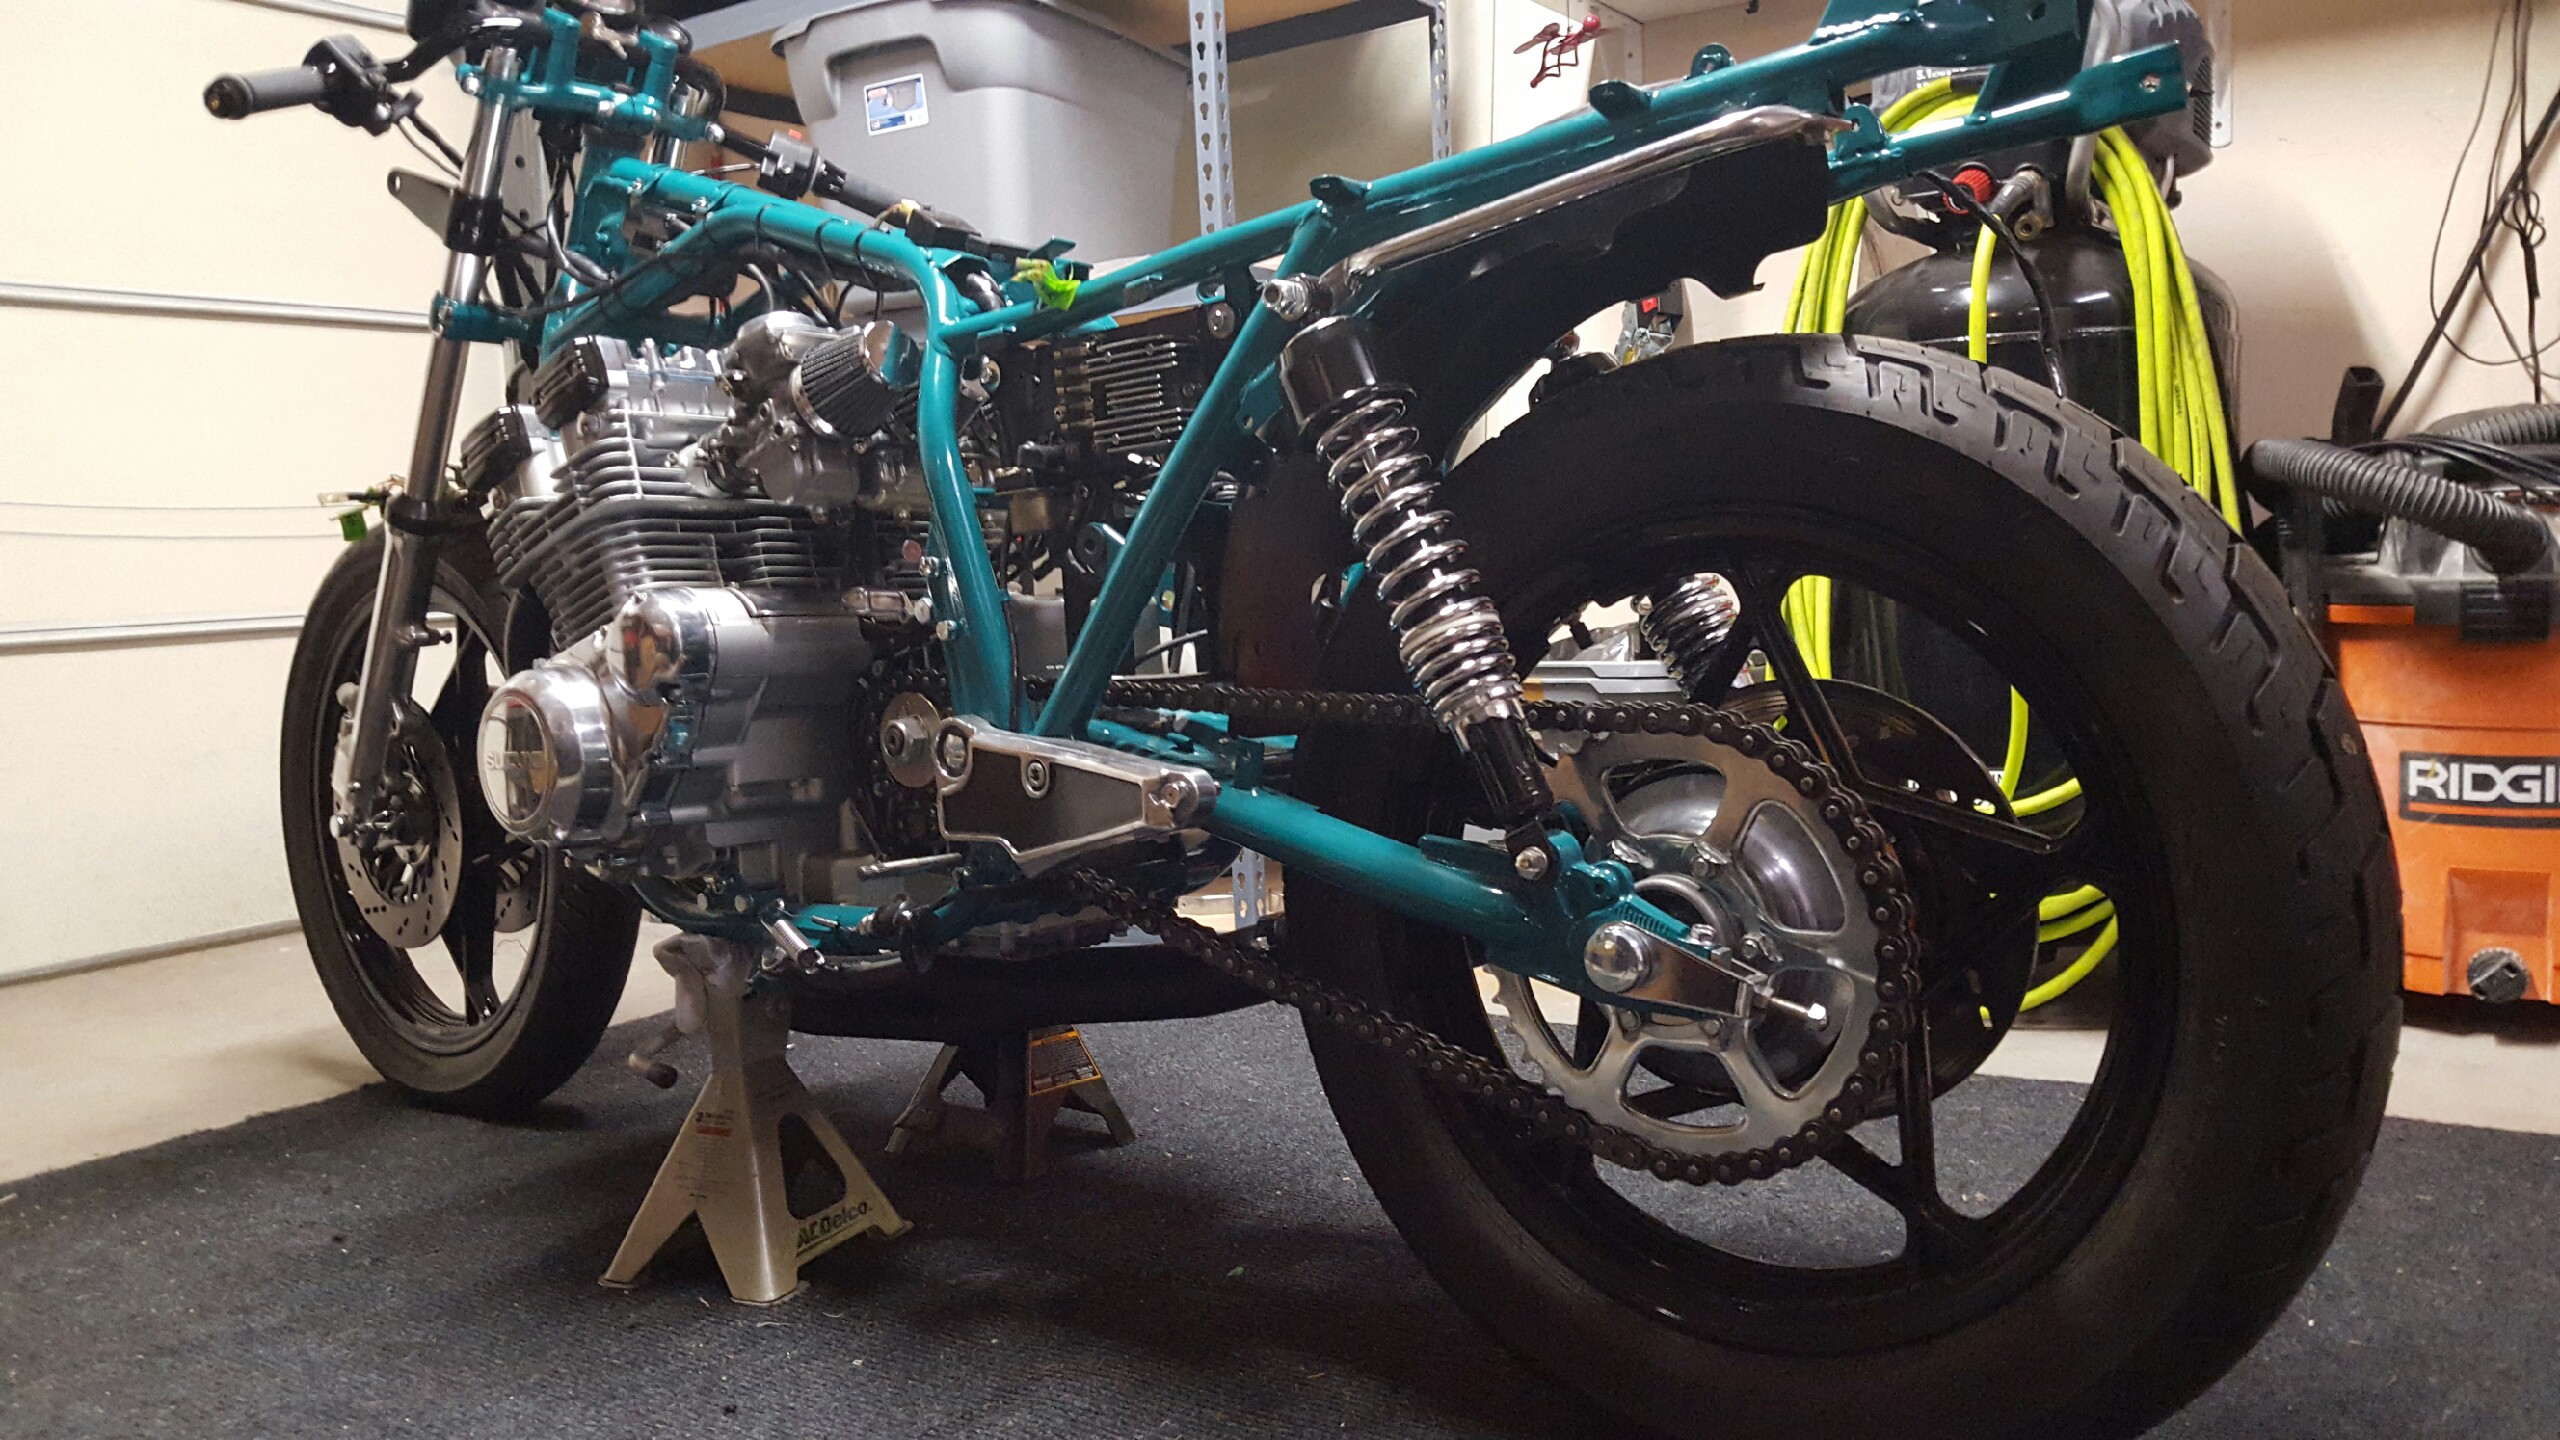
So after about three solid minutes of polishing (yeah right) when you put the whole package together with the engine, the carbs, the pod filters..... this is what I got.

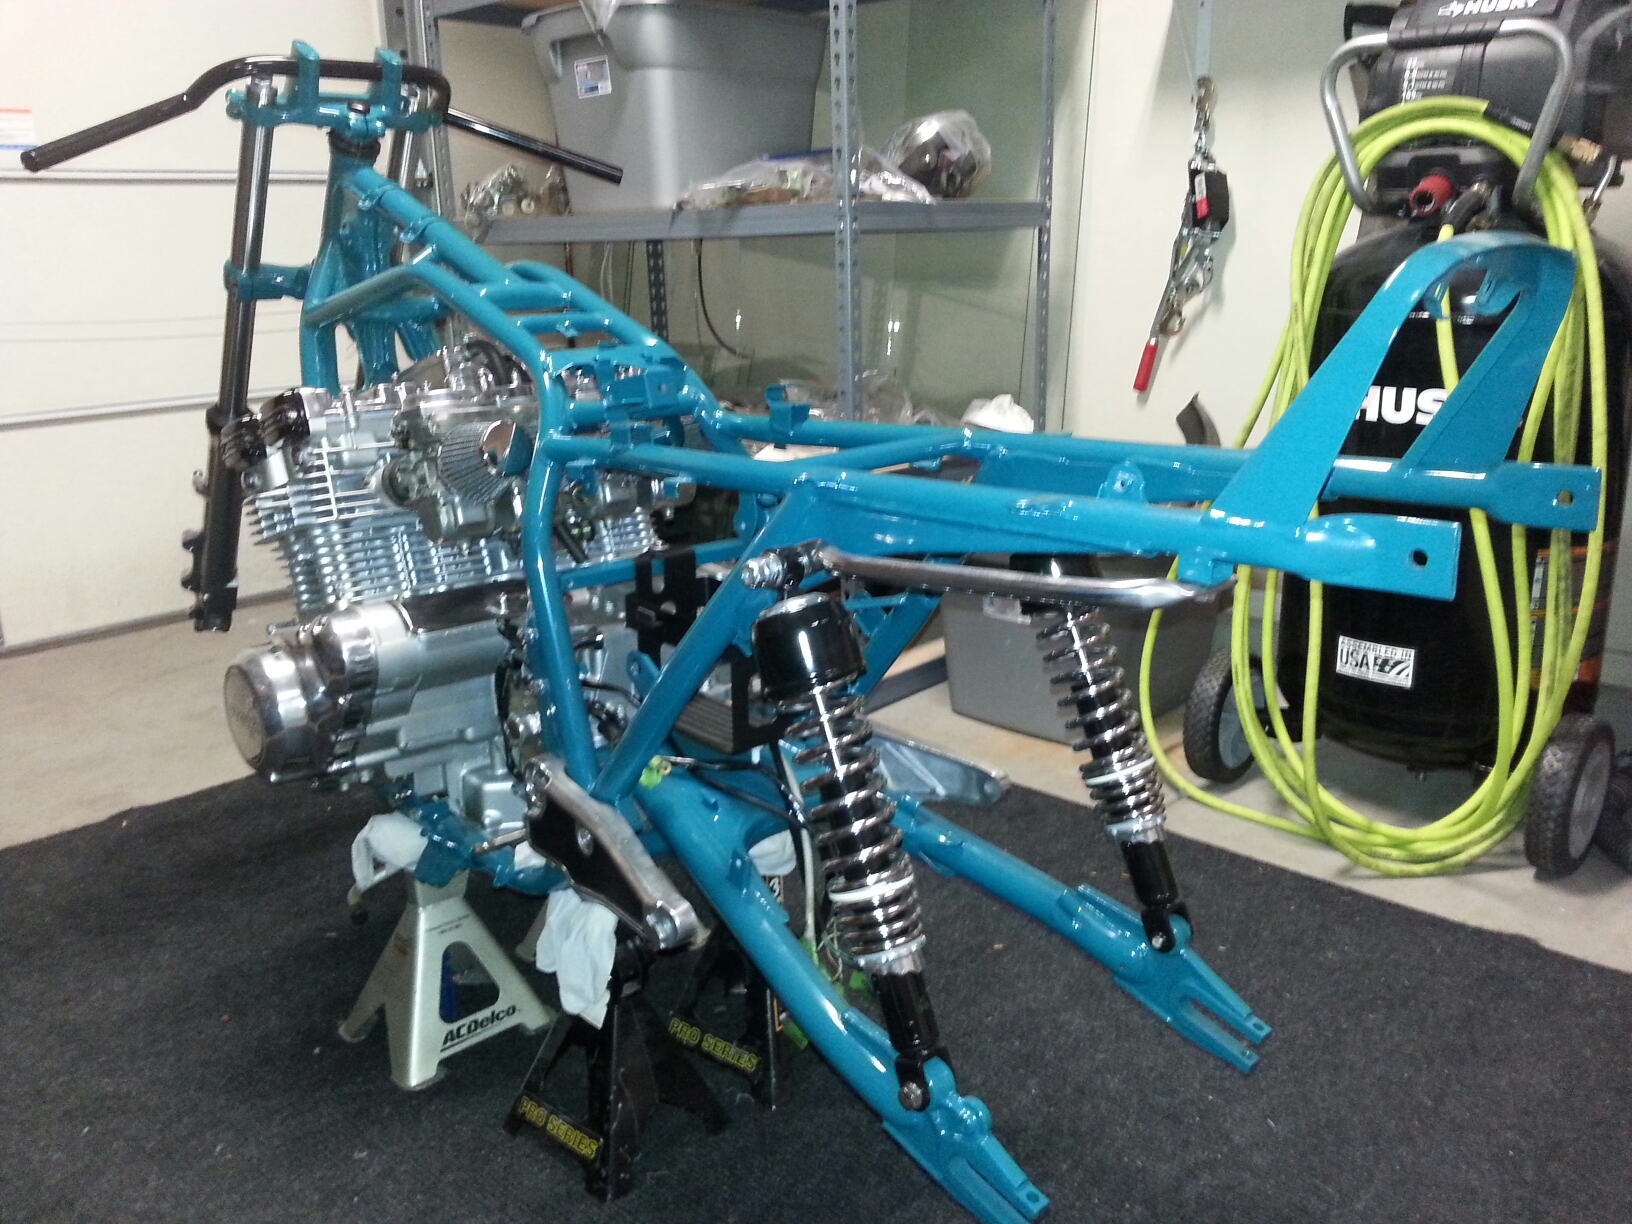
Overall, I hope it performs as good as it looks. This bike is currently near completion so everything outlined hear has happened well in the past. I will try and update this again before the end of the week to bring it up to the current point in time. Anyway, hope you enjoy and I just wanted to say thanks to everyone whose knowledge helped bring this together.
I have been follower of DTT for quite some time but have never had anything that I thought was worthy of a post until now. Let me start by saying that I have greatly appreciated the information and advice that this forum provides. Now down to business, several years ago I purchased a 1982 Suzuki GS750e. My goal was to transform the bike into something of a mild cafe racer. Something that looked like it came from the factory that way.
My previous experience in this area was rebuilding a 1981 Honda XR500R. I completed this project about a year before purchasing the Suzuki. Here is the finished product of that previous venture...
After successfully completing the Honda I wanted to set my sights on something a little more complex. A quick search on CL turned up the 1982 GS750e. I paid $280 for it and the PO stated that it did run however had electrical and carb issues. Overall I felt good about the transaction and I think the PO just didn't have the commitment level required for the project. Here it sits as purchased...
With the obvious electrical and carb issues...
Now please keep in mind that I still very much consider myself a novice in this arena. My simple plan was to restore this bike and turn it into a cafe style bike with minimal frame modifications. I wanted to create something safe, dependable, and stylish. I was actually torn as to which forum to put this in, cafe or restore?? Ultimately the cafe racer forum is just so much cooler overall, so here it is. I started by tearing down the bike and as I learned here, cataloging and documenting where things go was key. I also relied heavily on the Clymer shop manual.
The removal of the engine and replacement of the seals, gaskets, piston rings and cleaning up of the cylinders was next. This is basically what I felt comfortable with, I did not feel with my experience I could crack open the lower end and have a satisfactory outcome.
As always, a clean shop and a meticulous attention to details helped when rebuilding the engine.
Soda blasting was a great tool that I picked up from DTT and that helped to clean up the engine. After everything was cleaned and reassembled paint, primer, and clearcoat on the engine began. I used Dupli-Color spray can products specifically for engine blocks. As I learned, preparation could not be overdone. The DTT article on 'Rattle Can Bling' was quite helpful.
Prep...
Primer....
Paint...
Clear...
After the engine was ready to go it was time to tackle the Mikuni BS32SS carbs. Four carb rebuild kits and a lot of help from the manual as well as some great online resources including BikeCliffs website (http://members.dslextreme.com/users/bikecliff/) and I felt confident that these carbs were squared away. I also added the pod style filters however I am not set on these. I think they look good but if performance suffers I will try different styles. The original air box was in pretty bad shape.
The before image....
So after about three solid minutes of polishing (yeah right) when you put the whole package together with the engine, the carbs, the pod filters..... this is what I got.
Overall, I hope it performs as good as it looks. This bike is currently near completion so everything outlined hear has happened well in the past. I will try and update this again before the end of the week to bring it up to the current point in time. Anyway, hope you enjoy and I just wanted to say thanks to everyone whose knowledge helped bring this together.