Karlloss
Been Around the Block
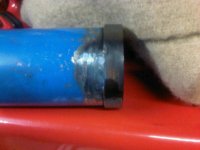
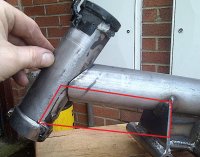
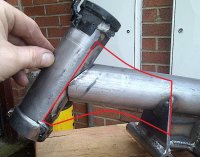
xb33bsa said:its not stucturally good to weld across a tube it can bend/weaken the tube as well as creating a stress concentration in the excact wrong direction
it is pretty much common knowledge of frame building what I have said, not something I made up
you do good work but design wise it would behoove you to look at some existing frames and see the themes on gussets and mounts etc
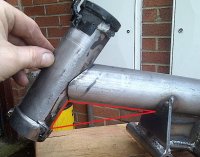
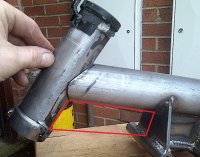
Thanks for your observations, I did consider to use gussets on the outside of the mounts. I haven't got around to designing the gussets for the headstock yet, I see what you are saying. The original frame used the engine as a semi stressed member, I am considering adding a down tube from the headstock to the engine casing as there is a un-used mounting point just above the starter motor. Additionally I have been considering welding a gusset/rip along the top of the main frame tube from the headstock towards the rear of the frame.
")