Long time.. Little progress...
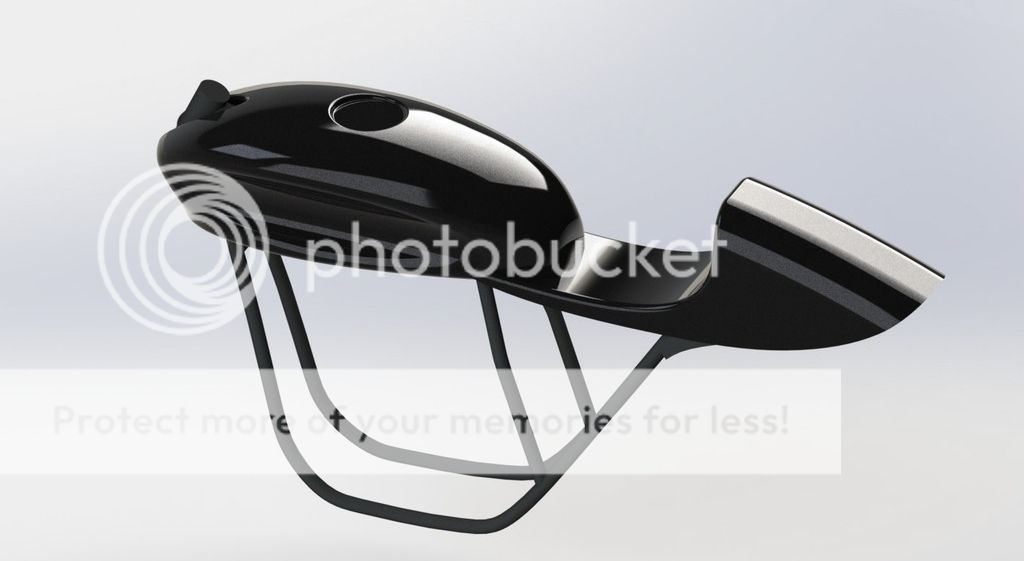
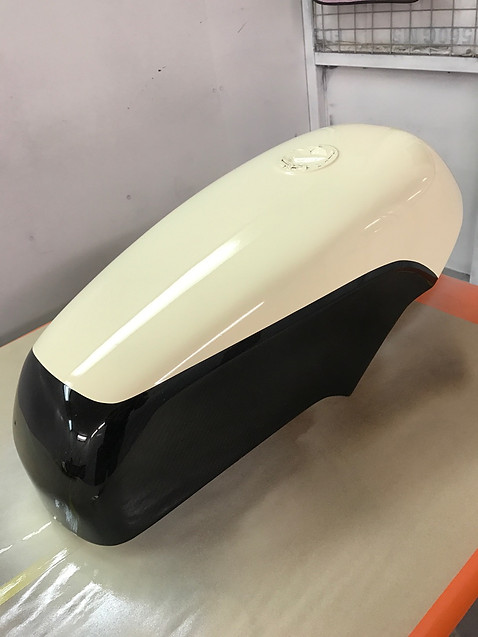
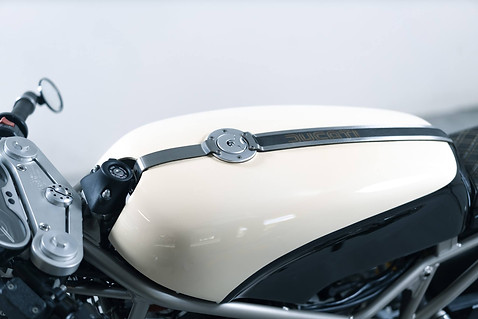
I have made the upper part of the tank and it looks pretty mean! But sadly that's about it for this update.
Here are a few timelapse videos of the process
https://youtu.be/2_lYc6ZfxpE
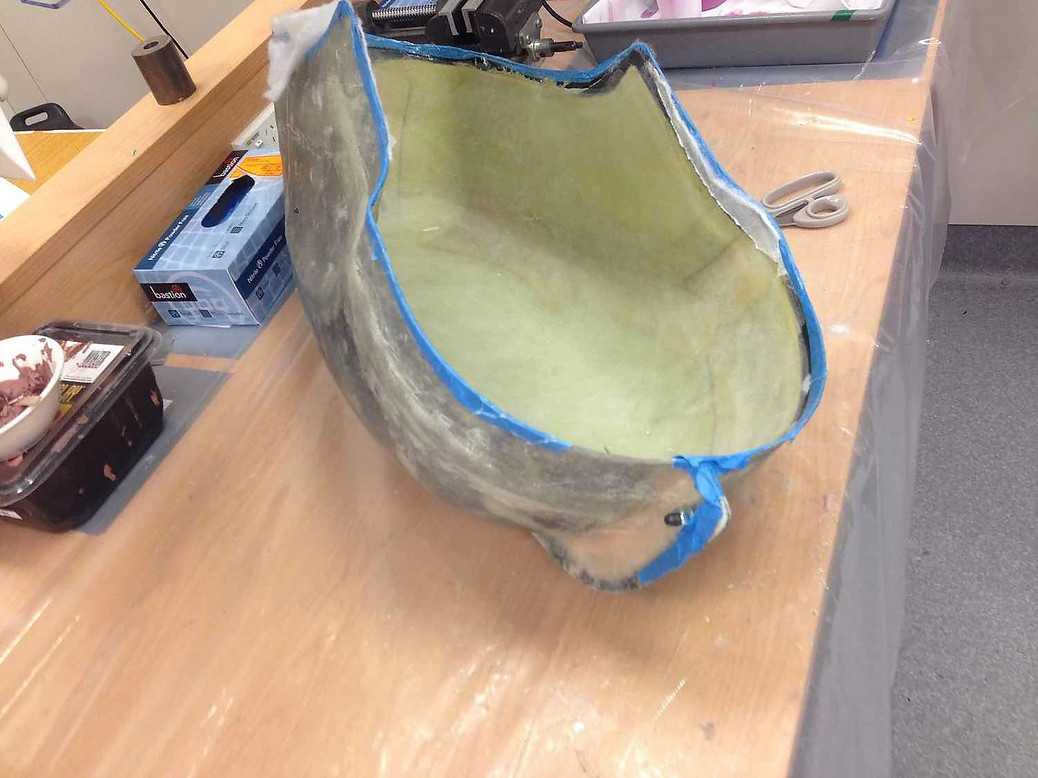
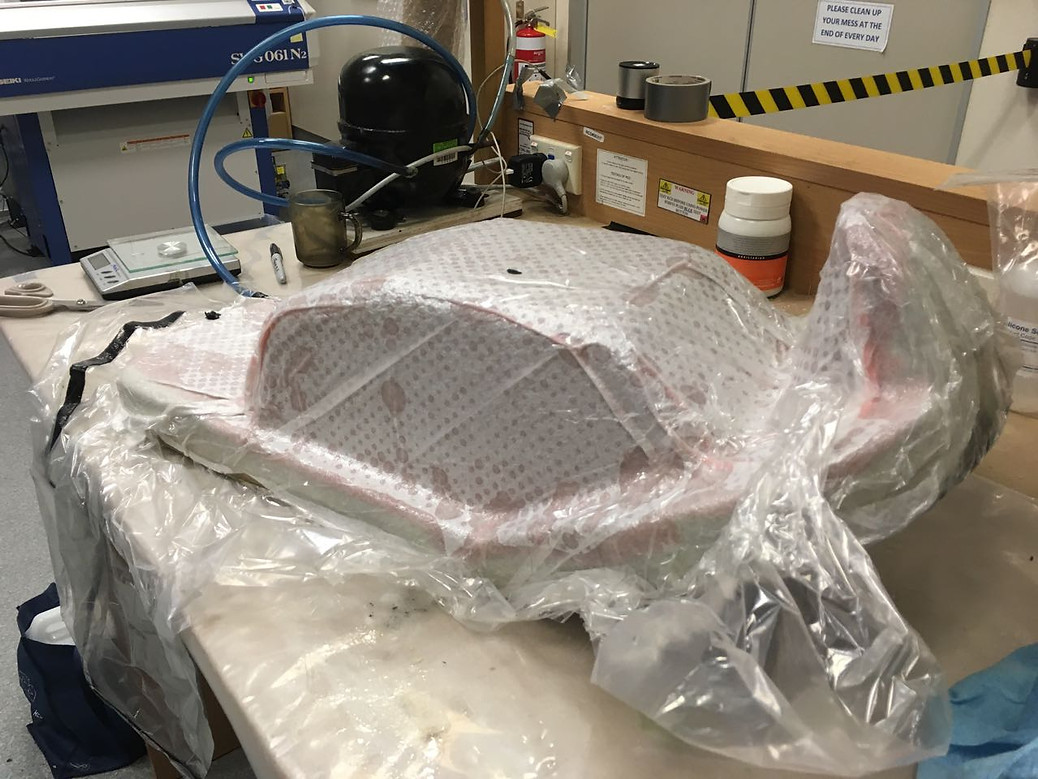
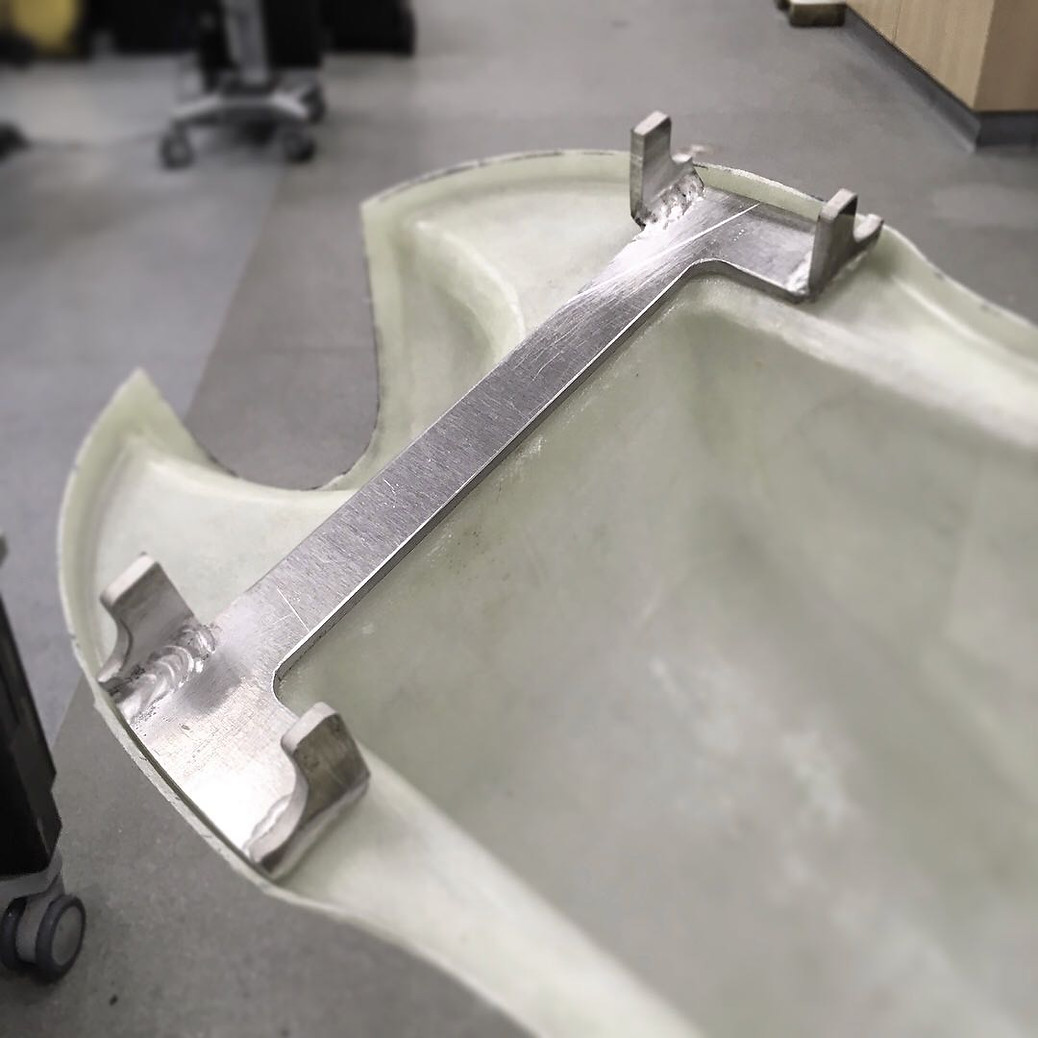
I vacuum bagged the part into the mould. It has 2x layers of basalt, 1x layer of kevlar, and I think 4x layers of glass.
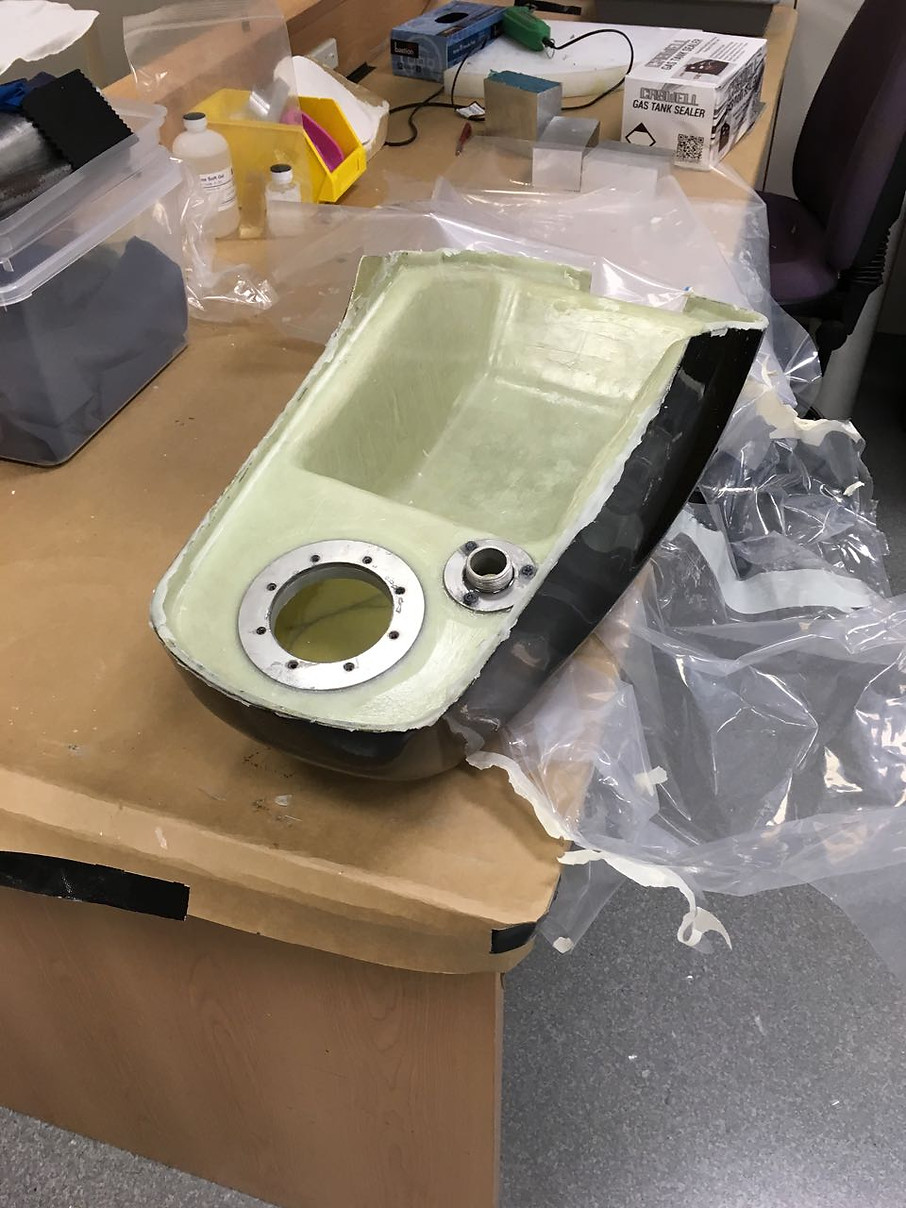
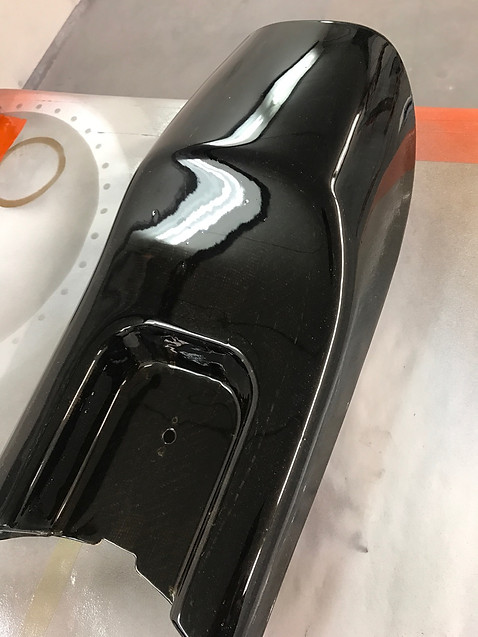
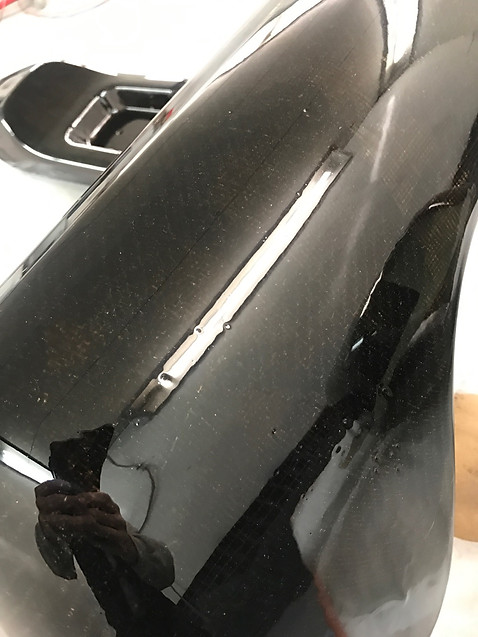
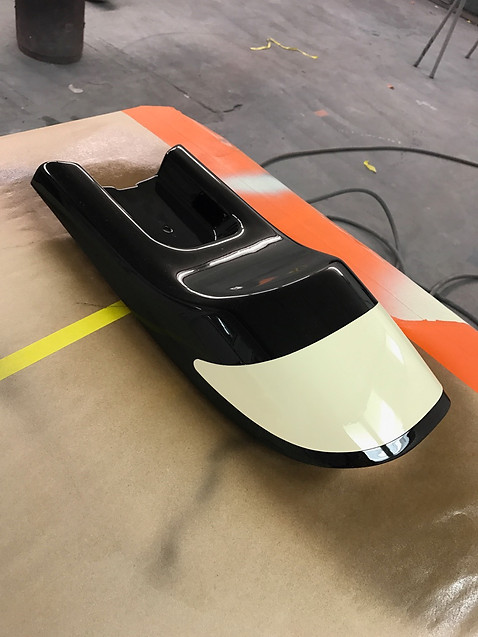
Here's the part in the mould with the peel ply removed:
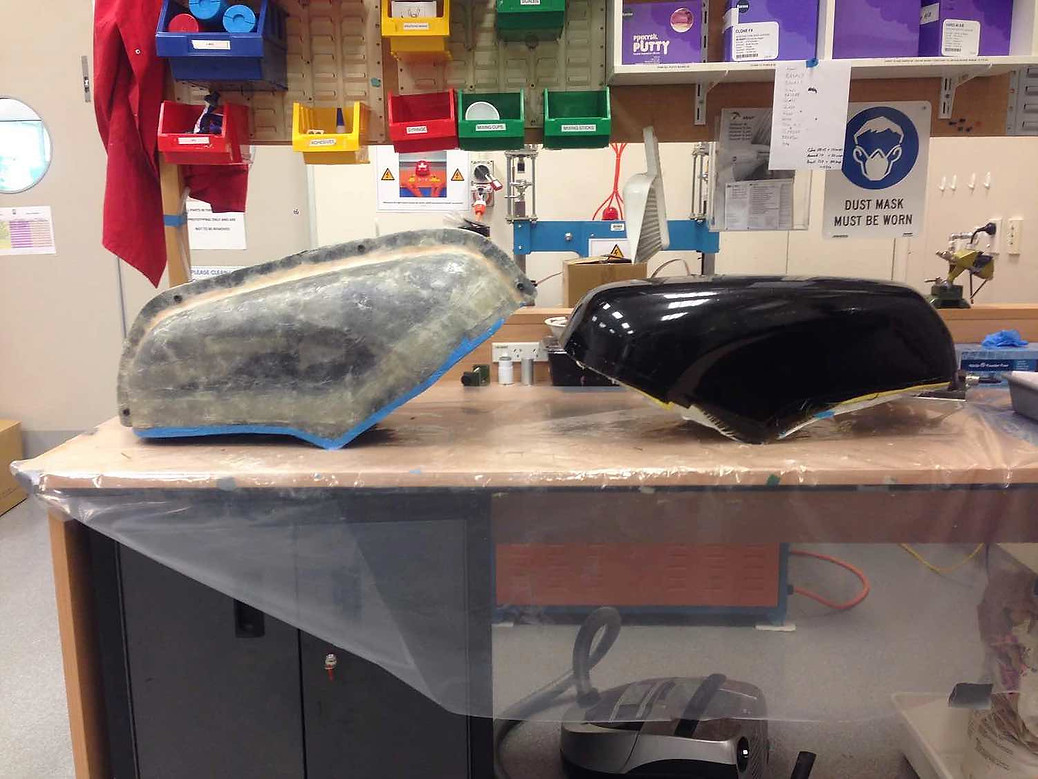
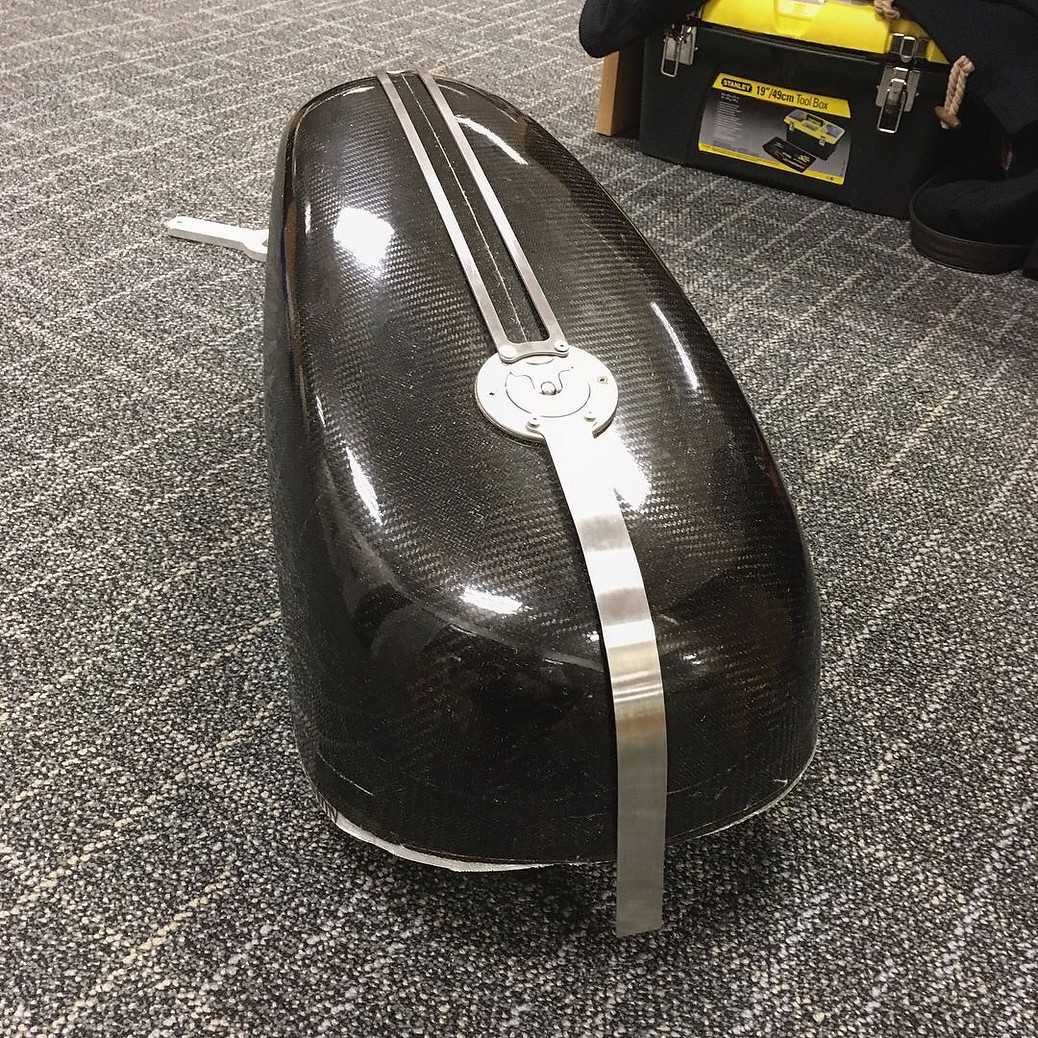
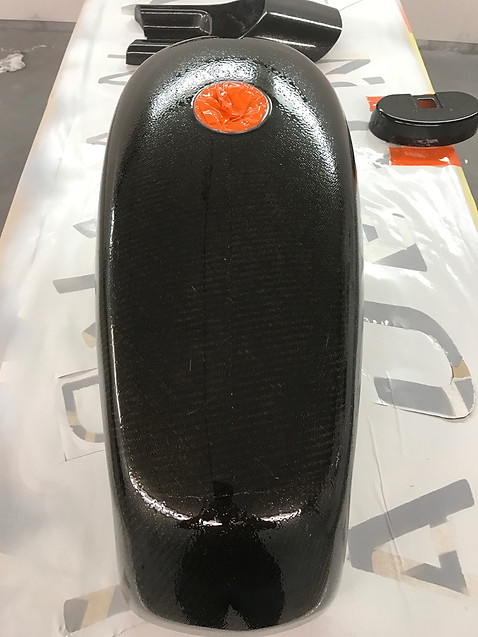
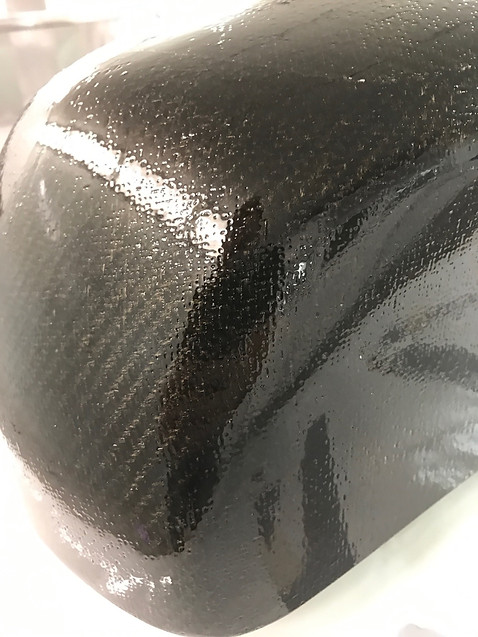
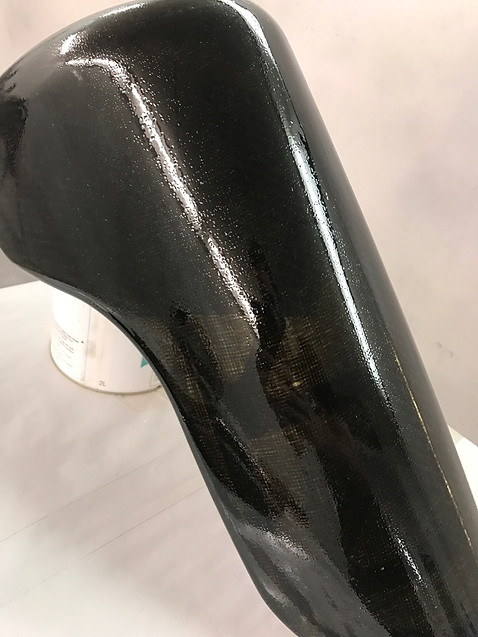
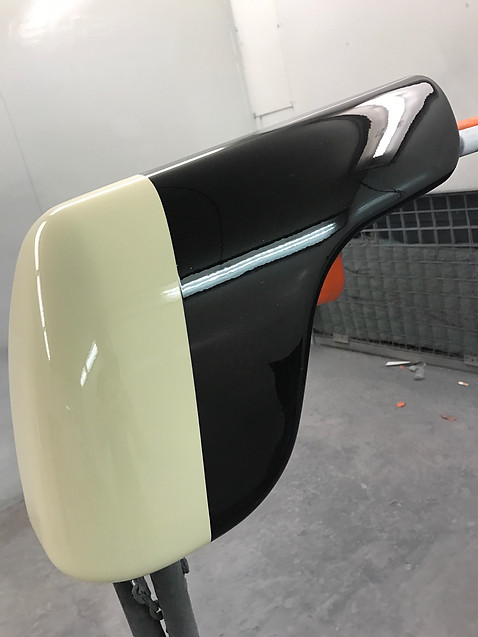
And fresh out of the mould:
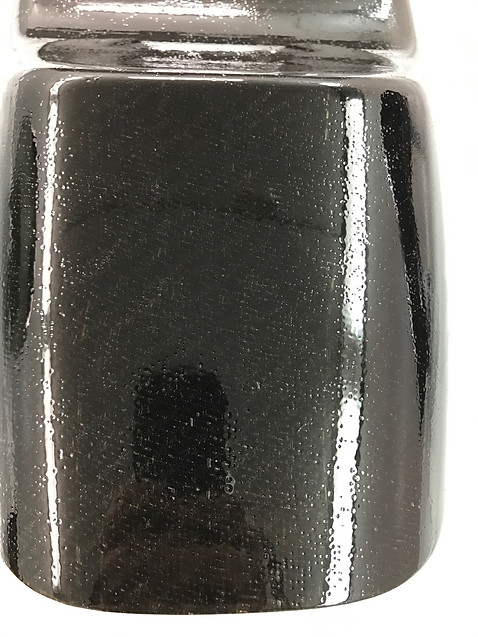
There are a bunch of bubbles and a few big voids which will need patching with epoxy and polishing back. Luckily though most of these imperfections are on the upper half of the tank which will be painted over so I think I'll get away with it. I think one of my big mistakes with this part was mixing up 500ml of epoxy at once which started to heat up and gel really quickly meaning that the first batch of epoxy in the mould was nearly set by the time I applied the vacuum. I should've mixed much smaller batches and possibly done the part in a few separate layups. Still planning to make a second one of these parts so hopefully I can do a better job on the next one.
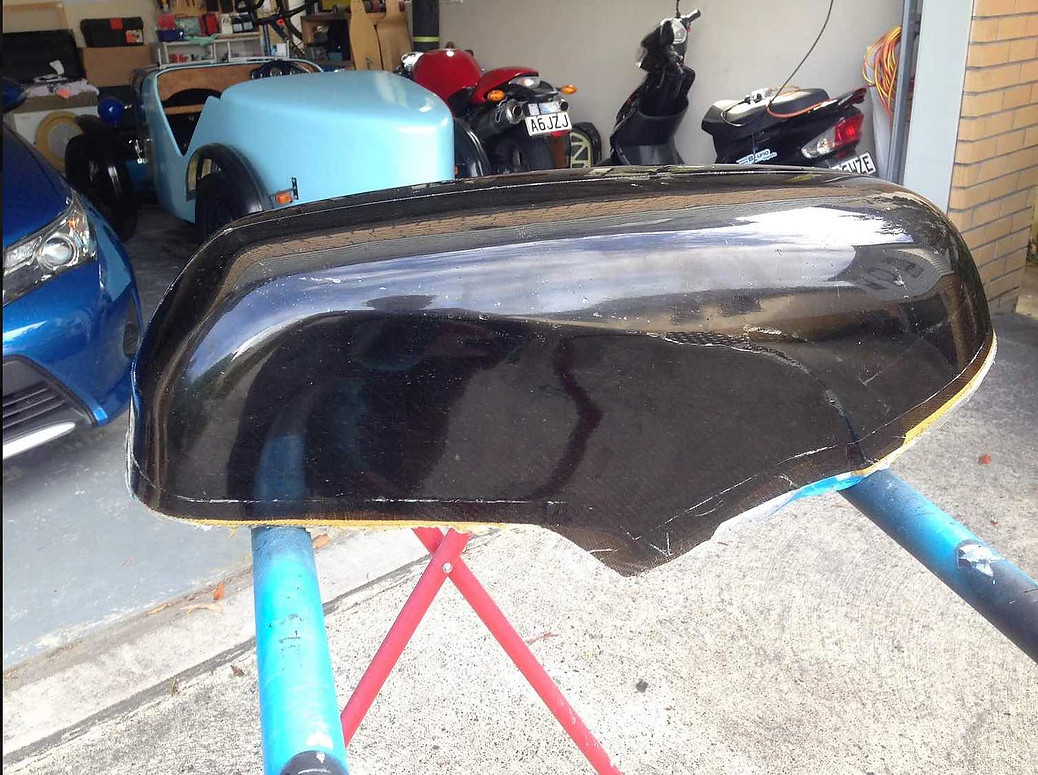
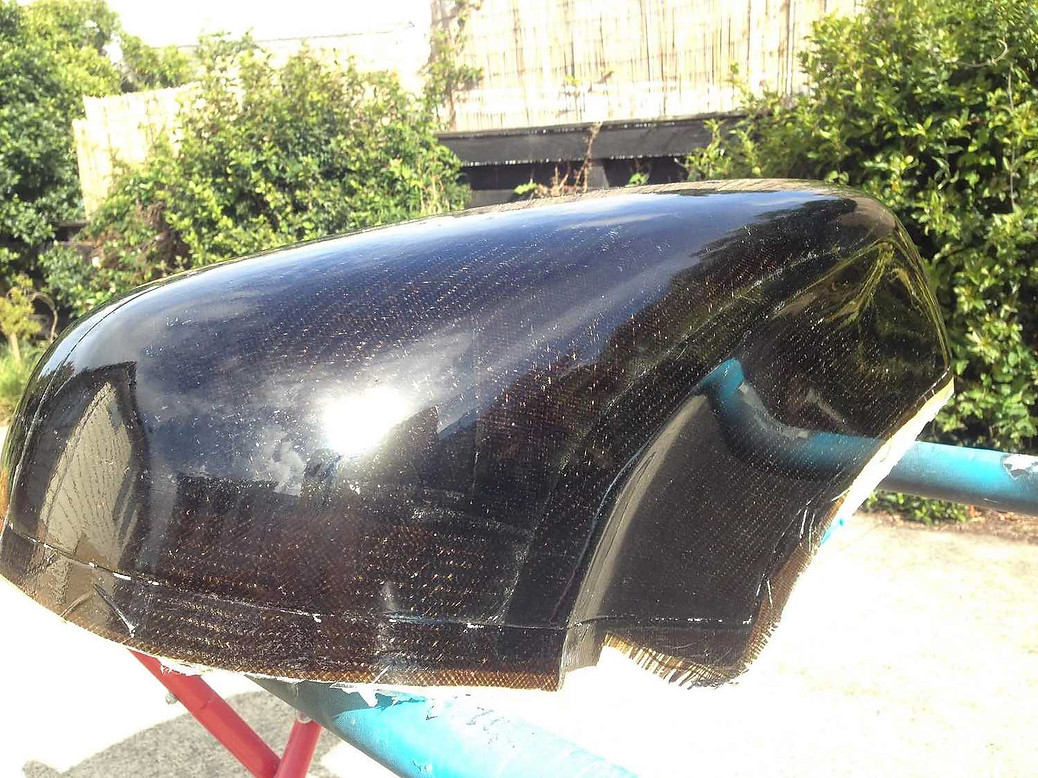
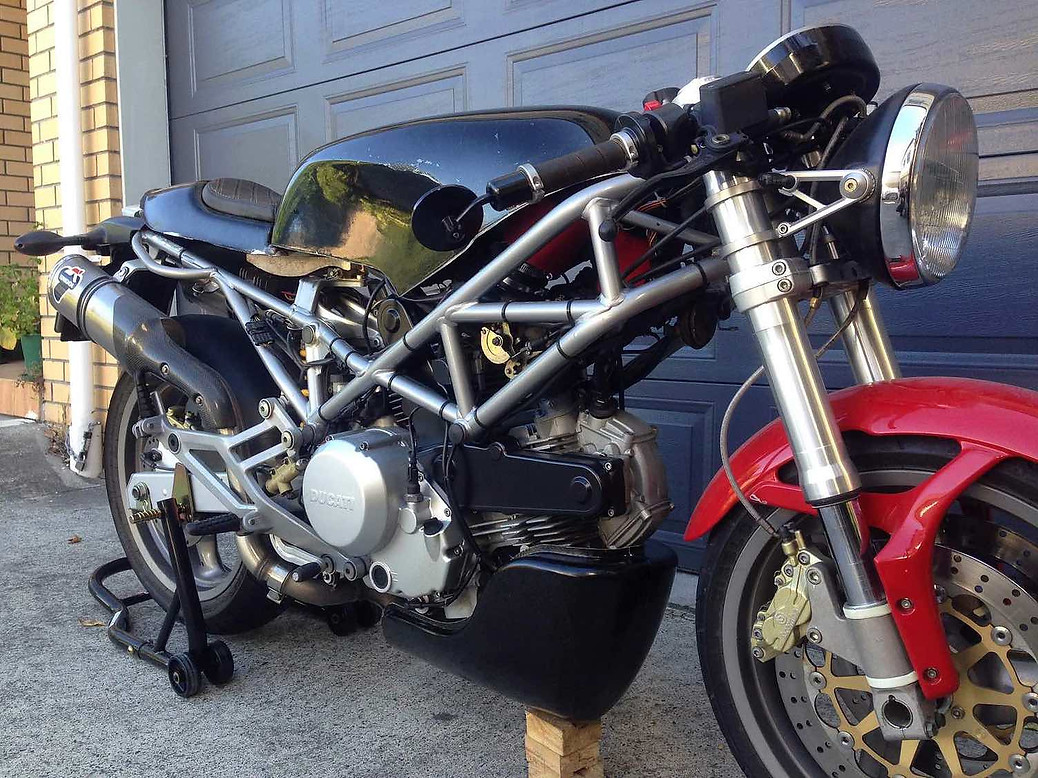
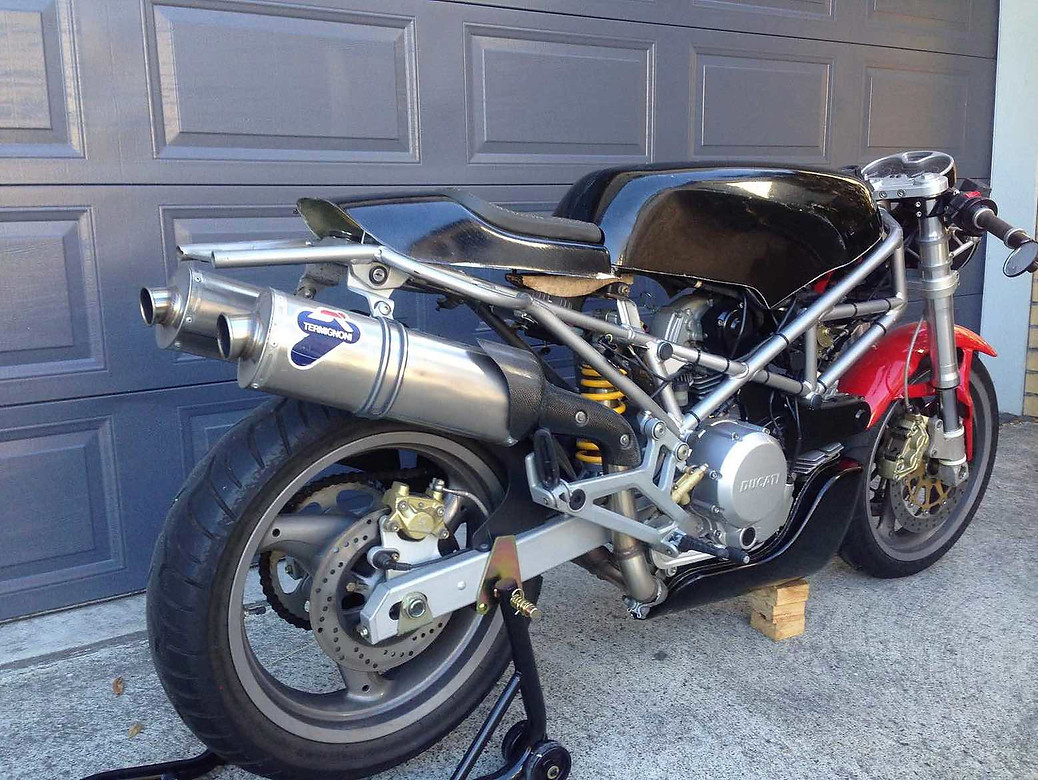
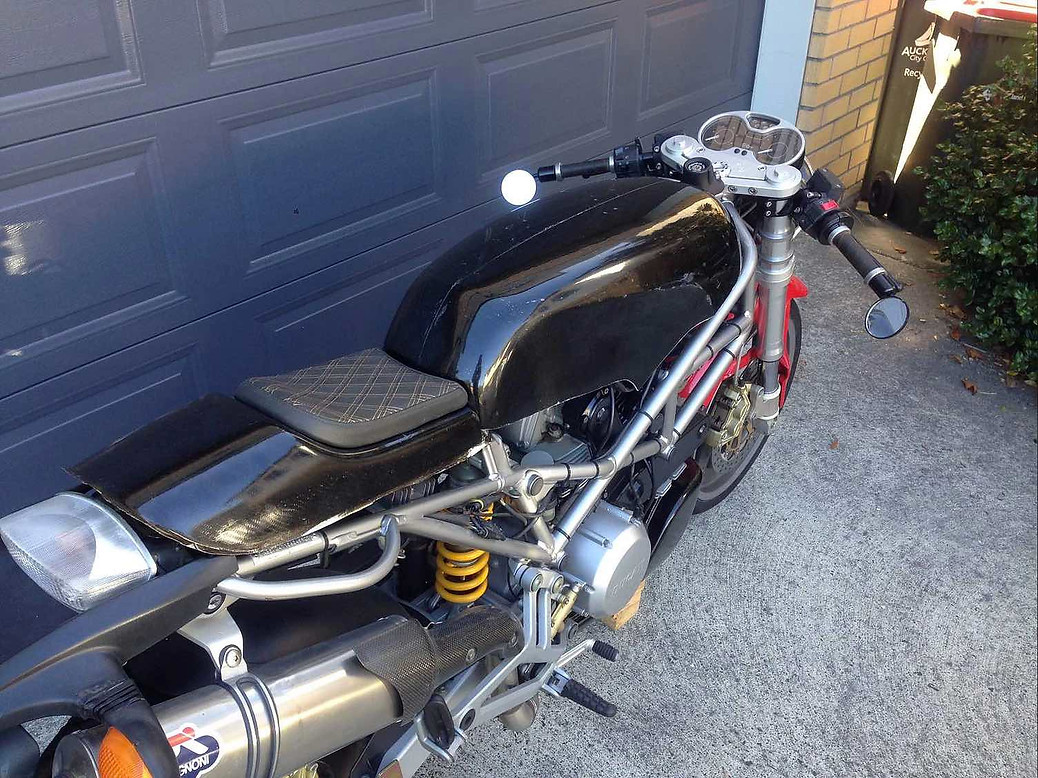
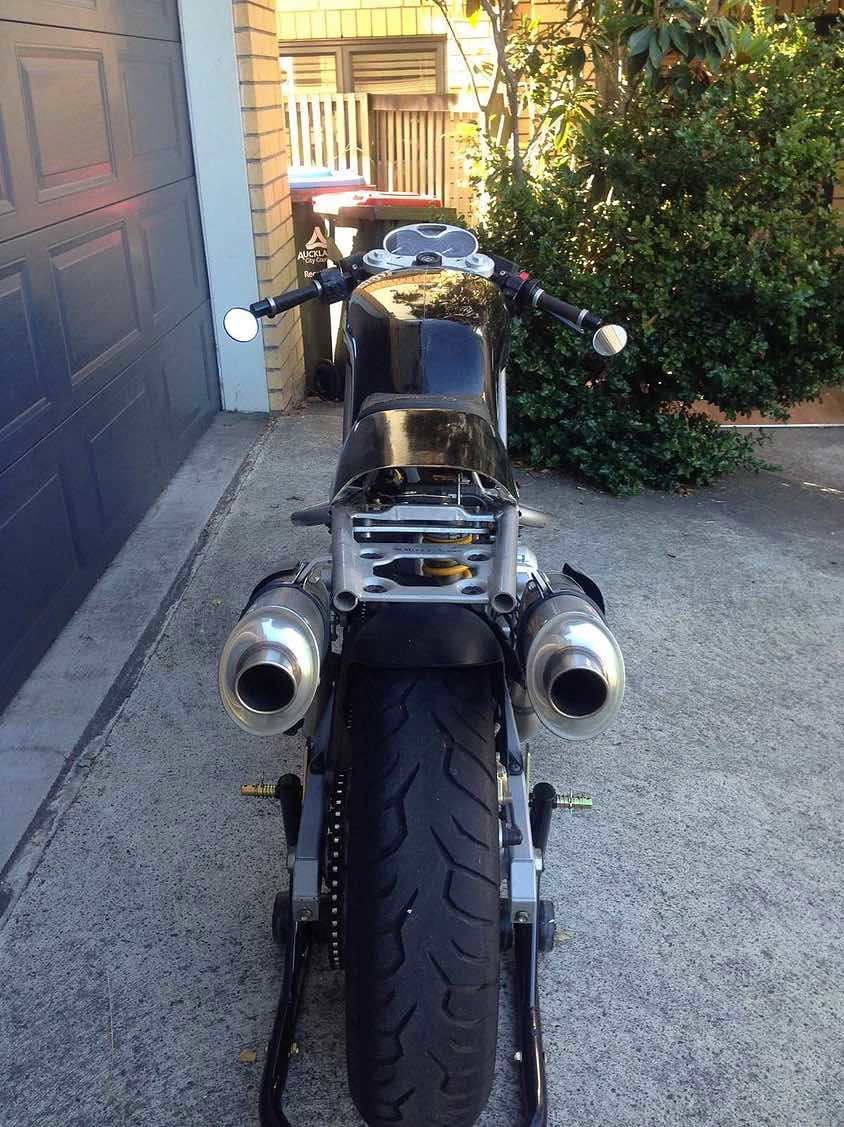
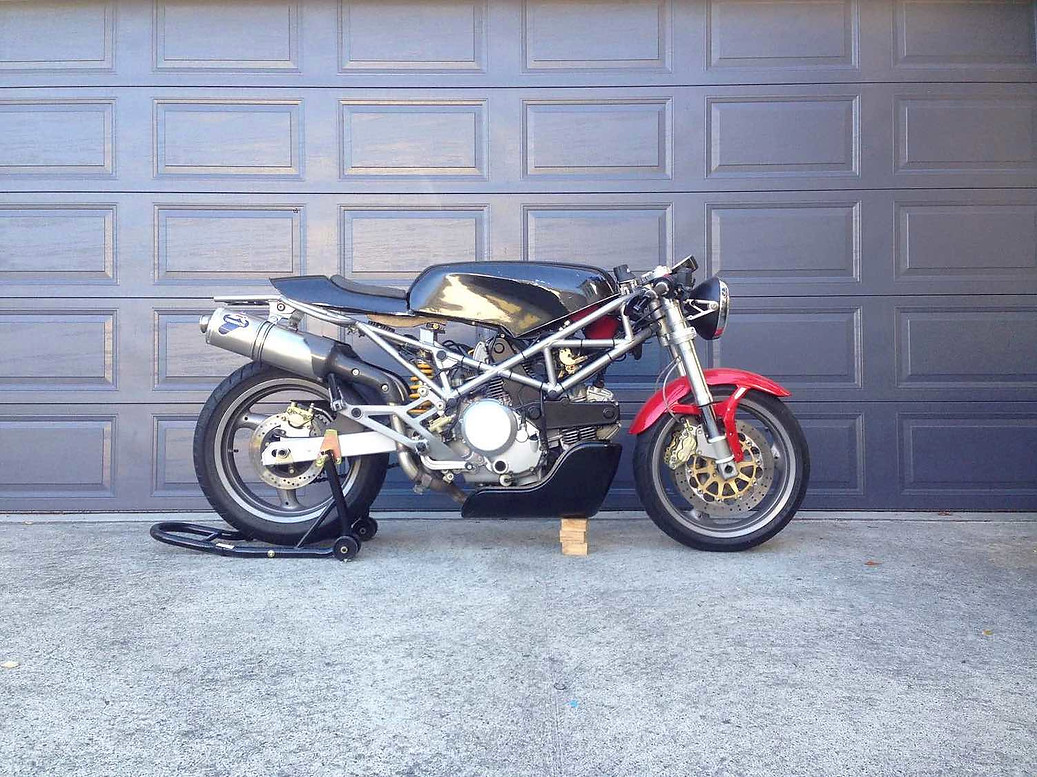
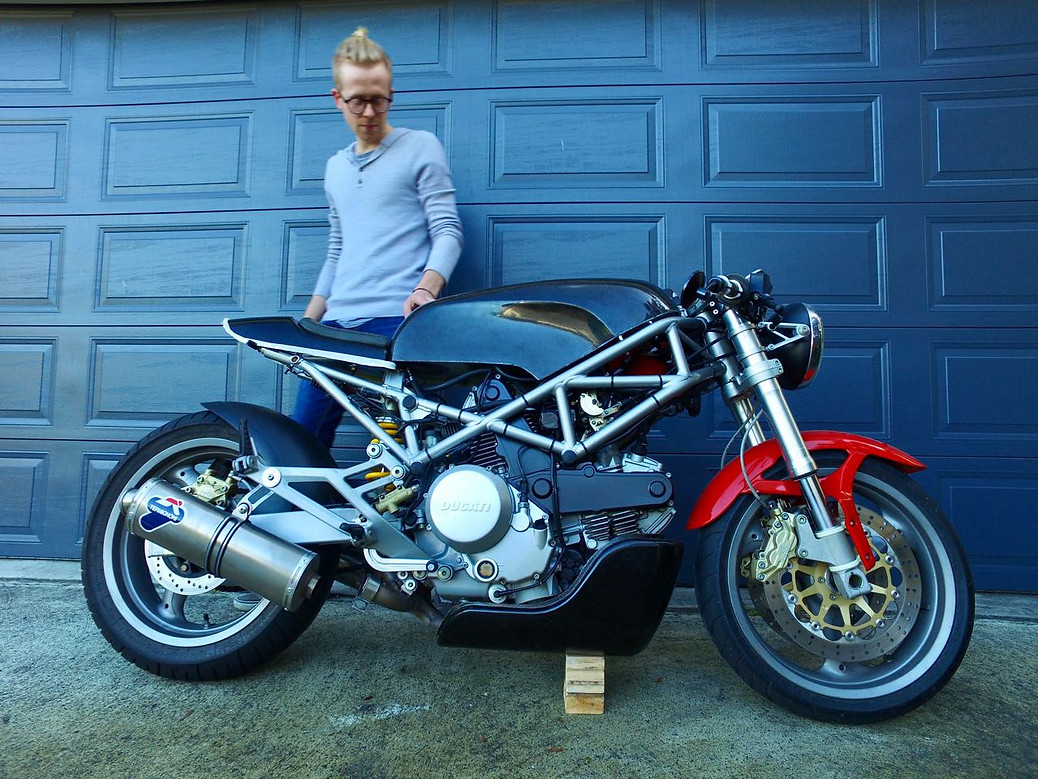
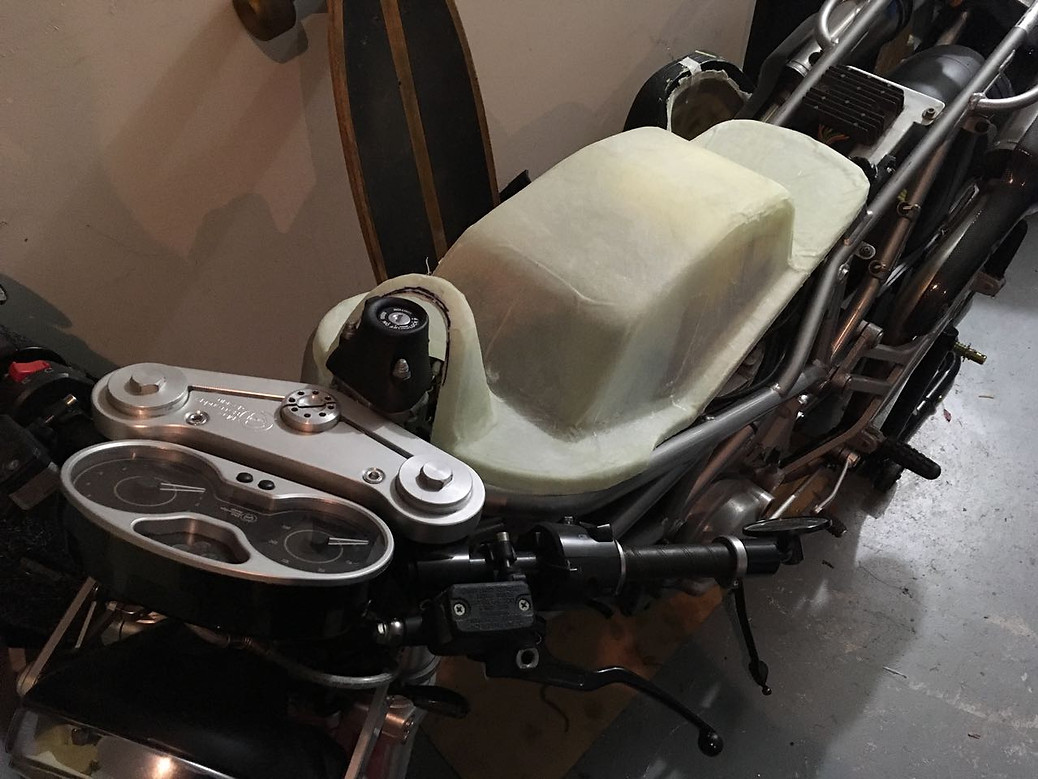
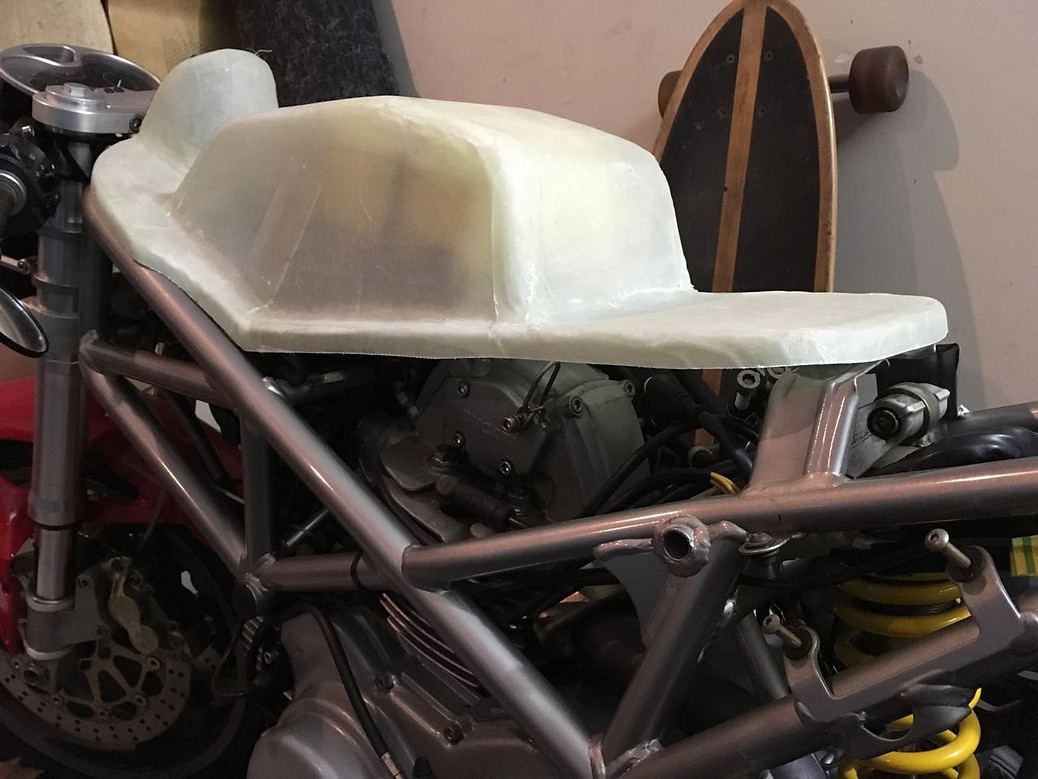
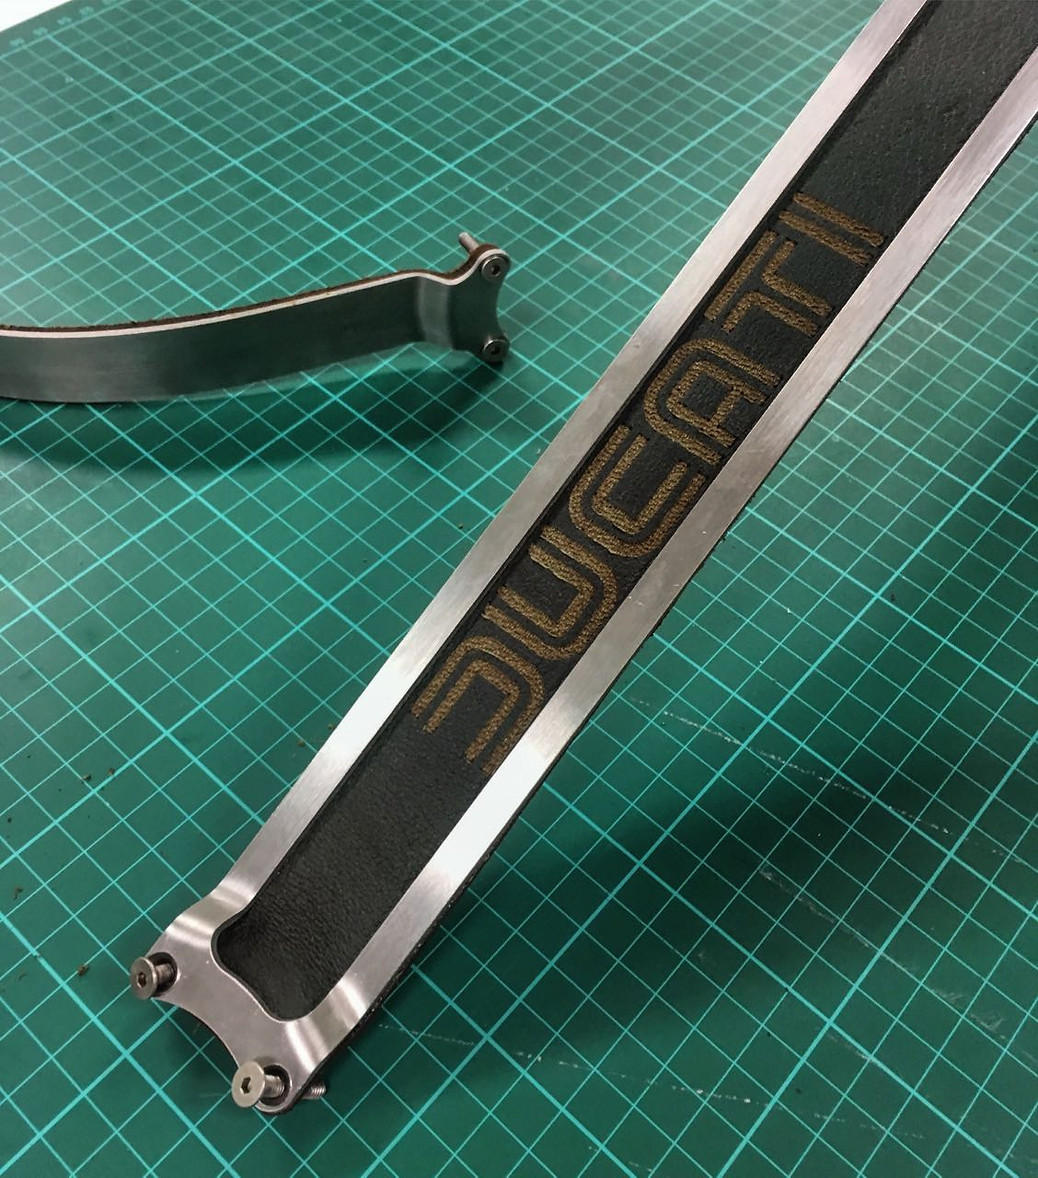
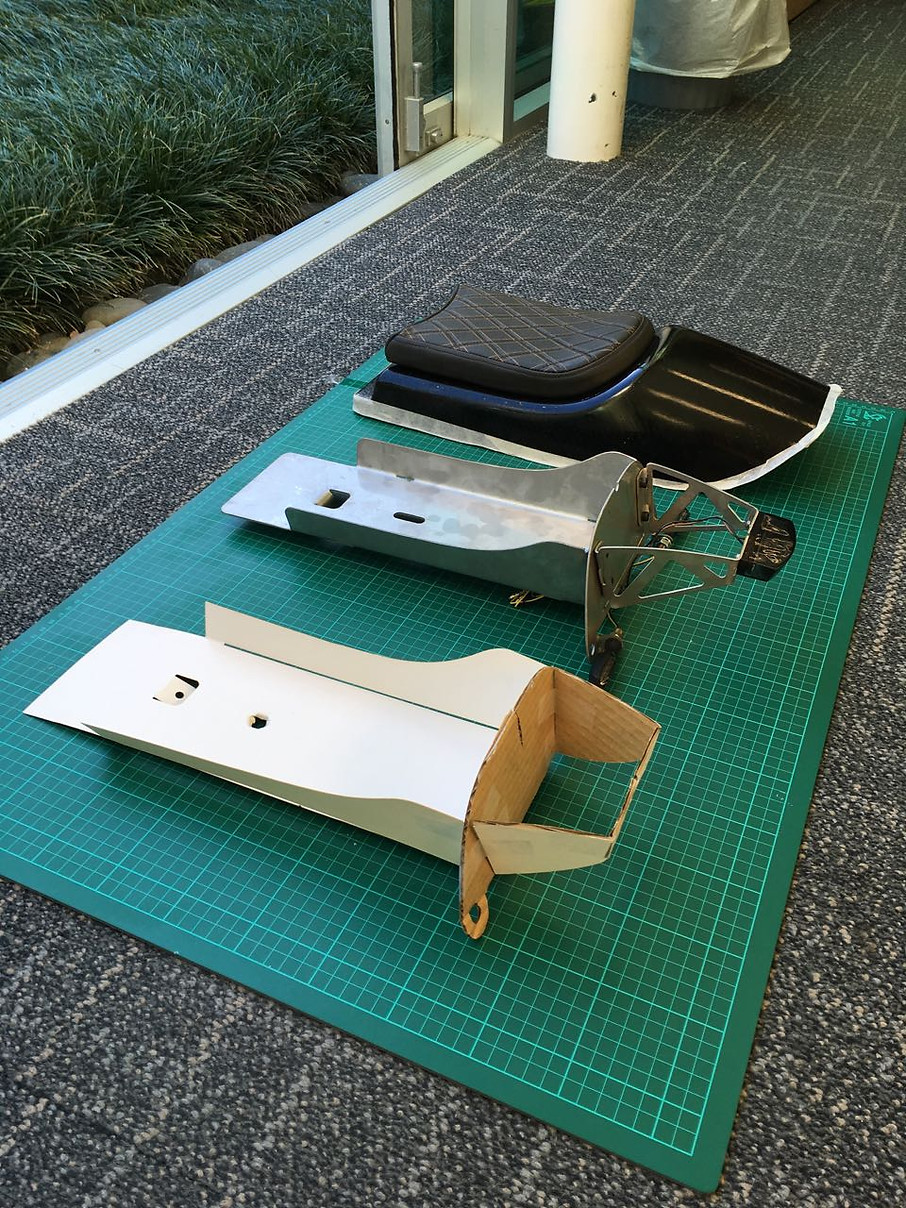
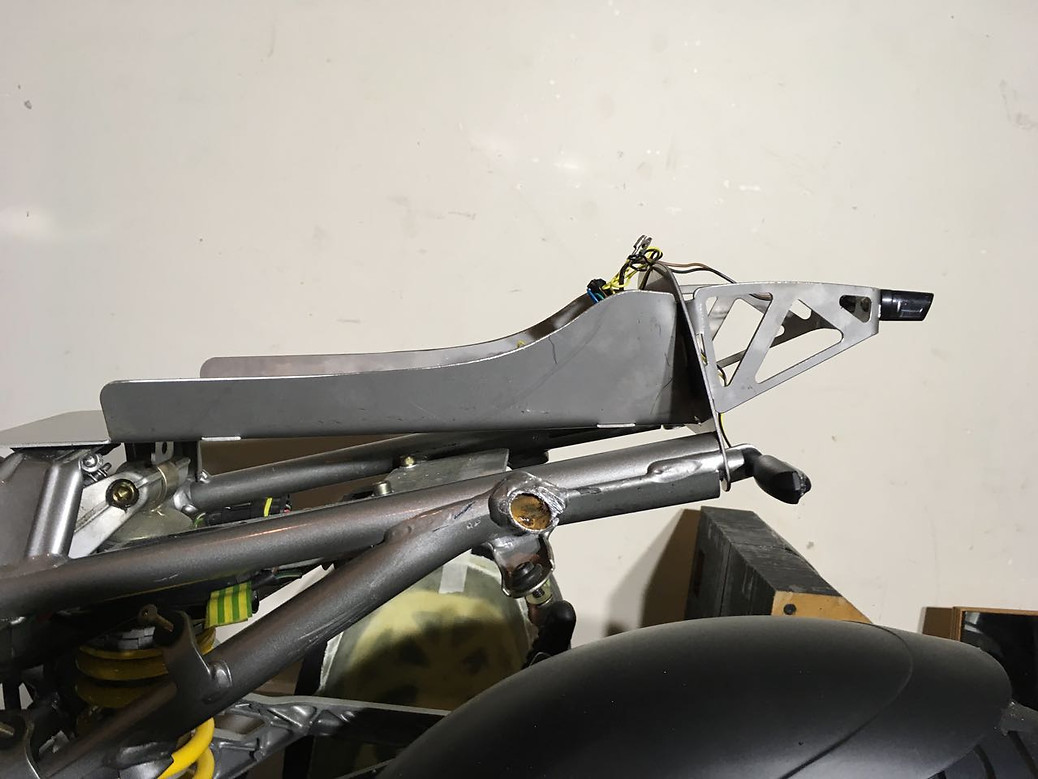
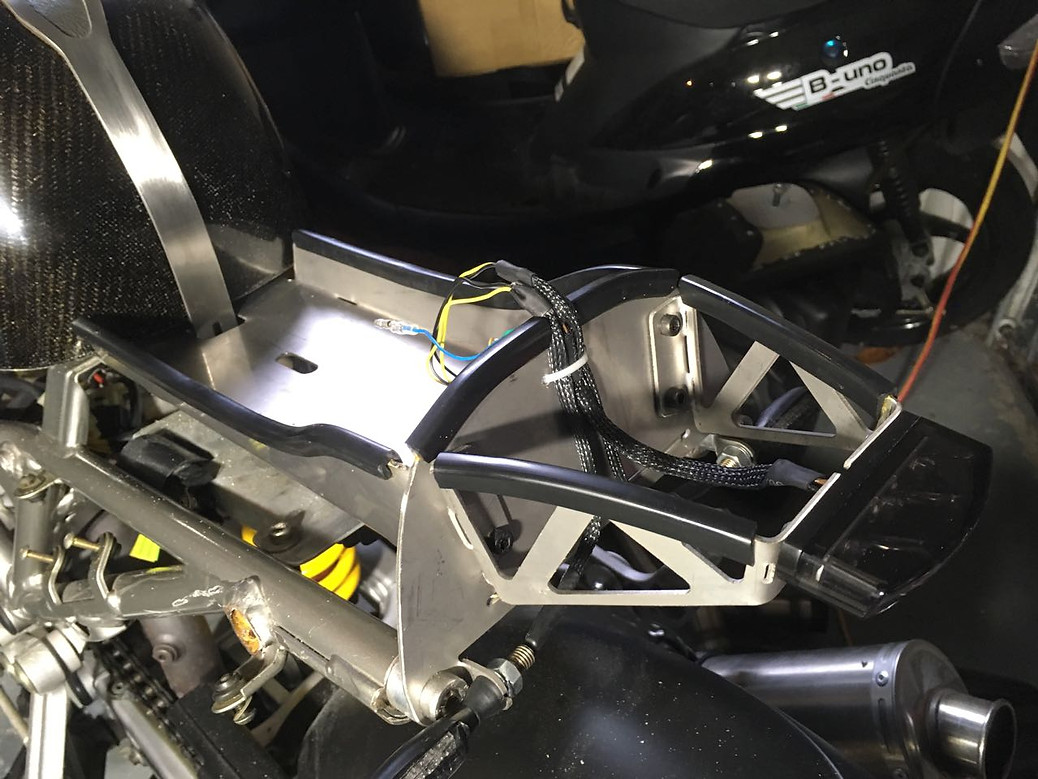
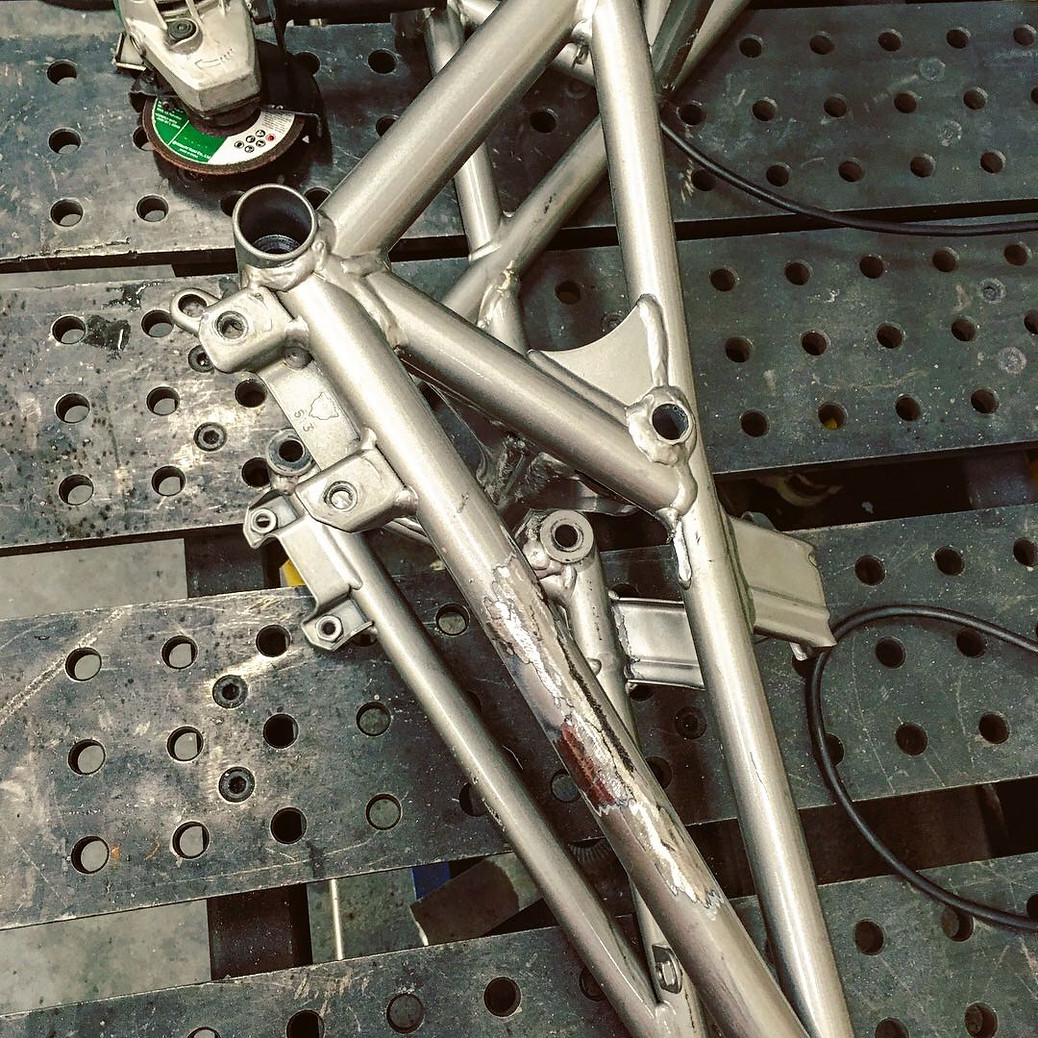
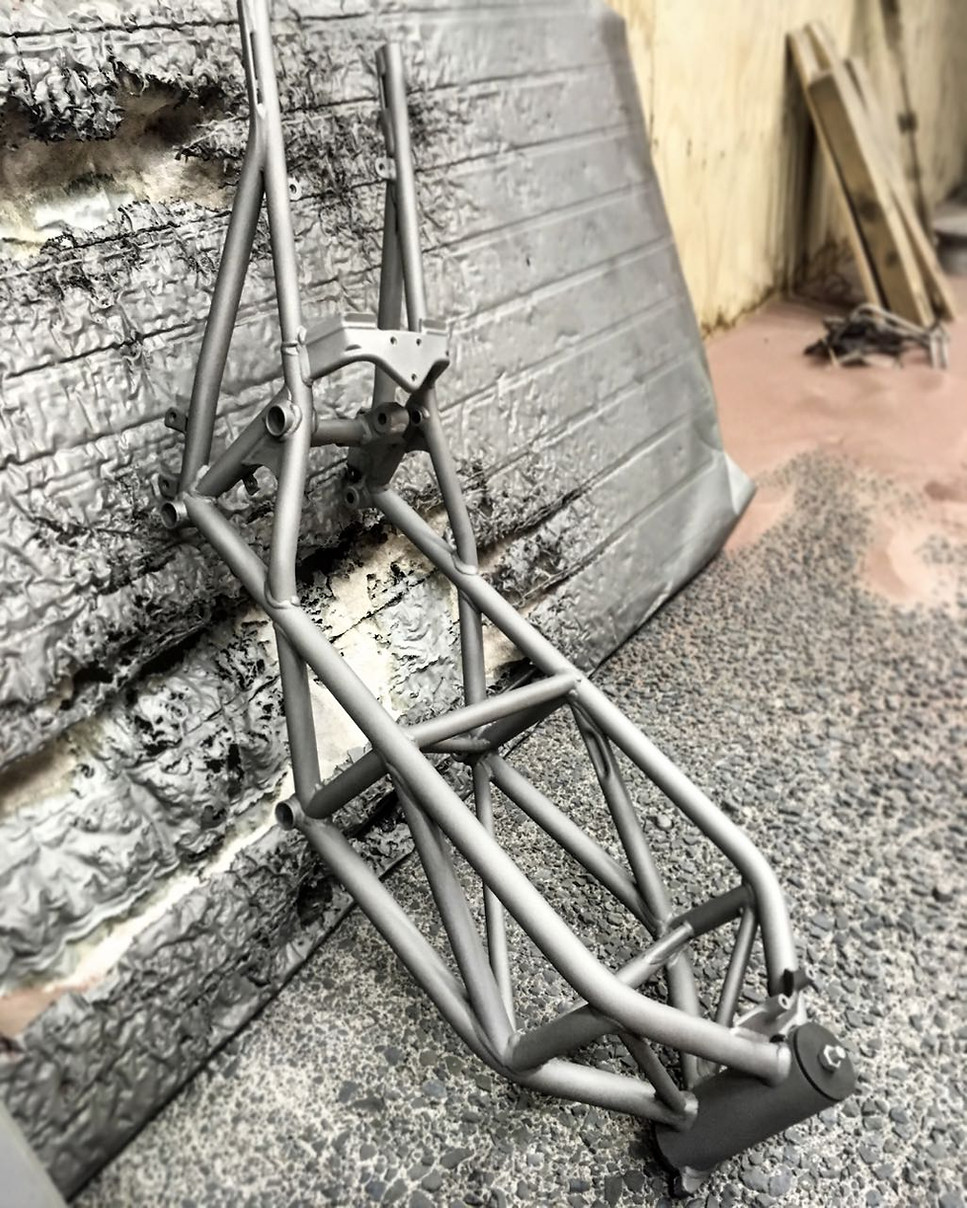
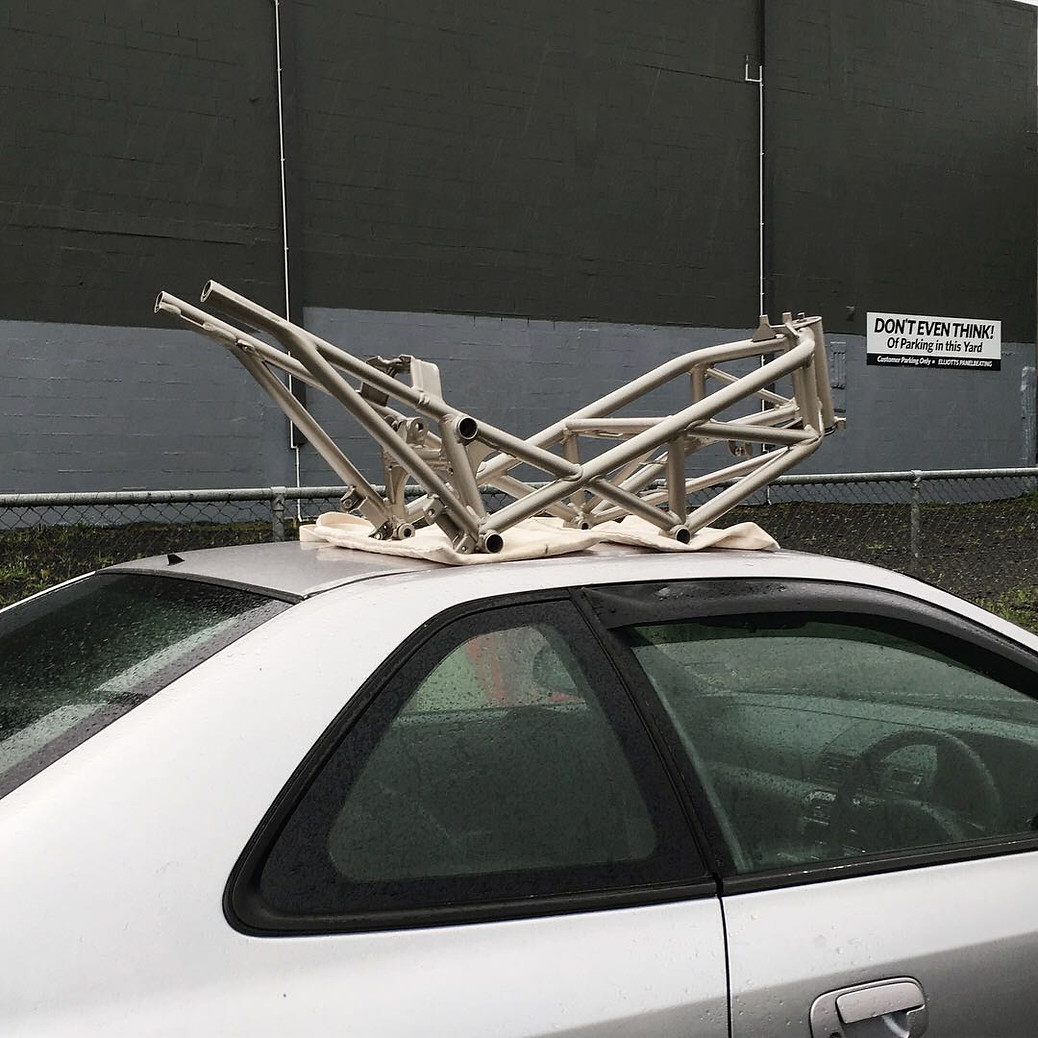
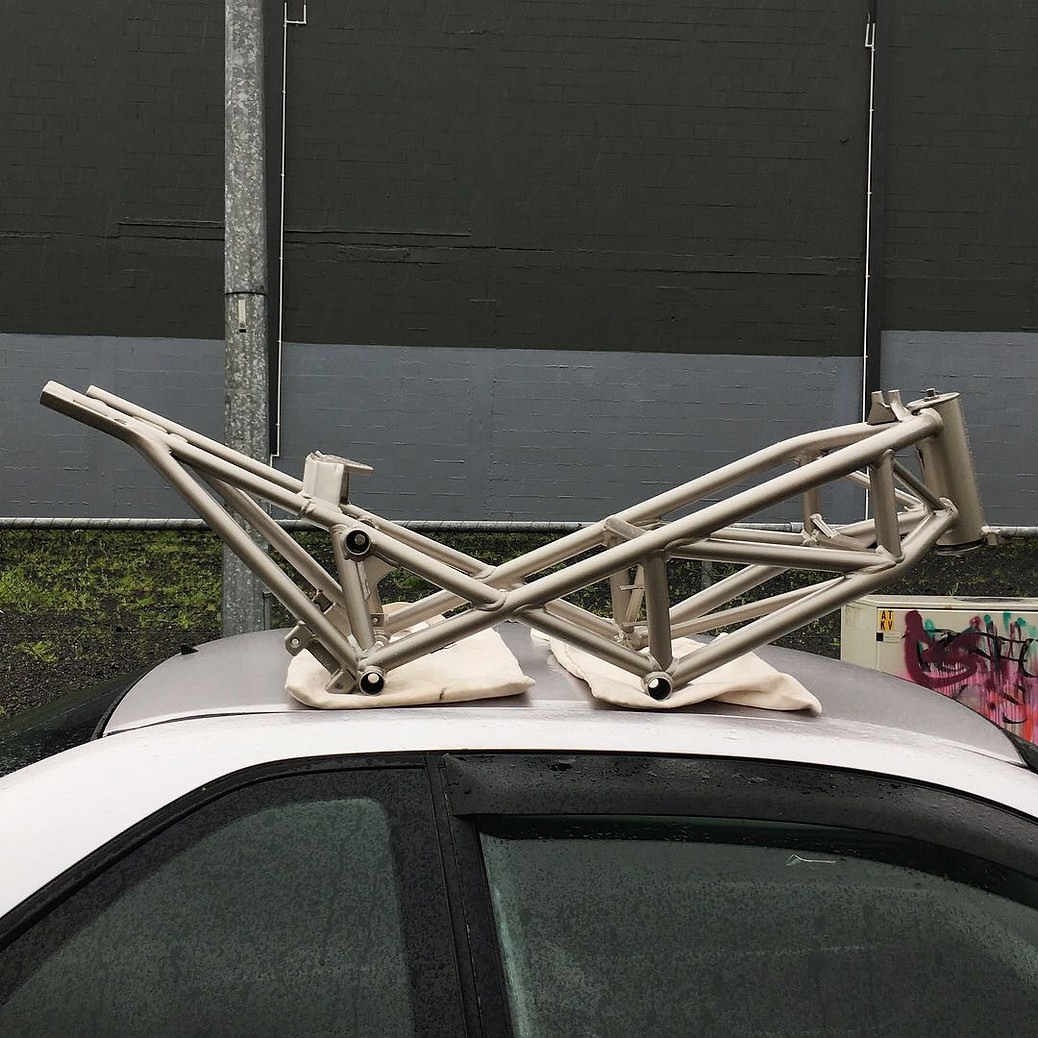
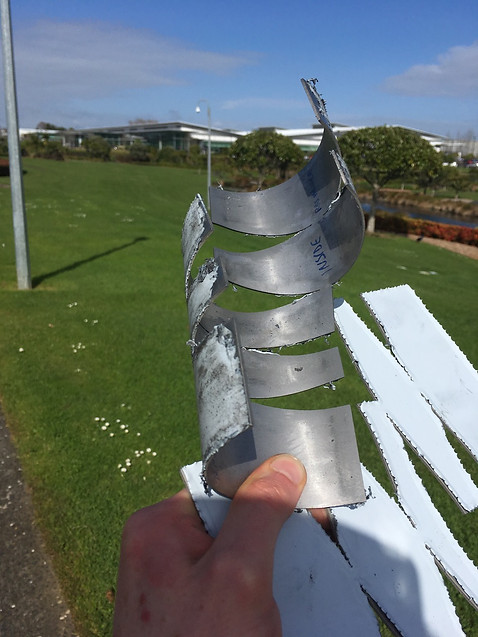
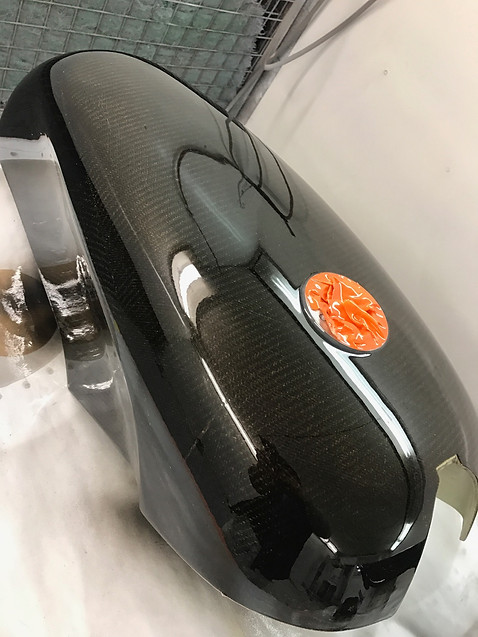
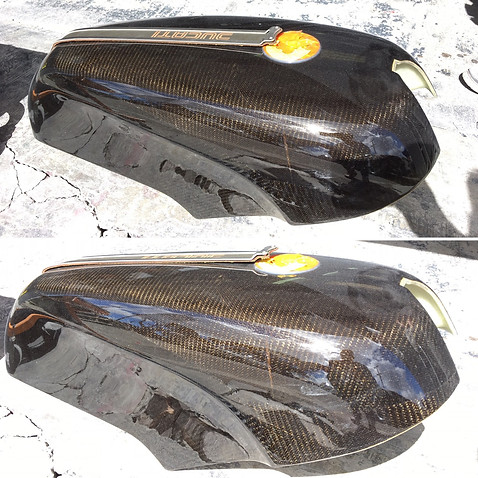
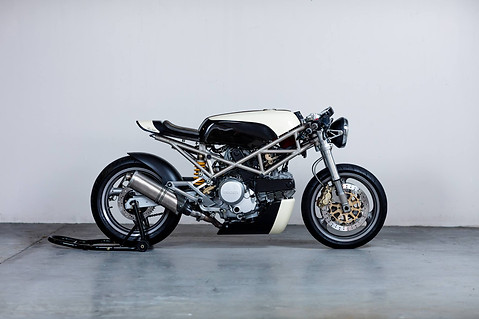
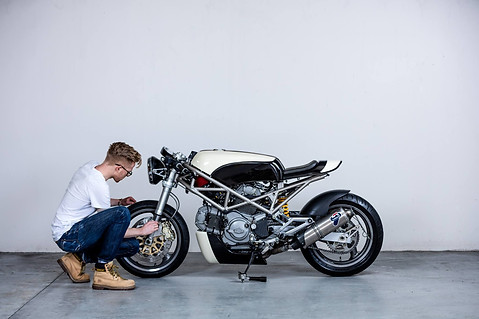
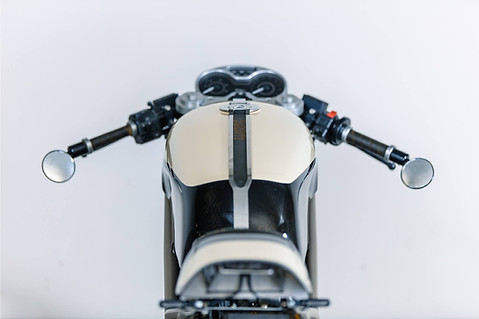
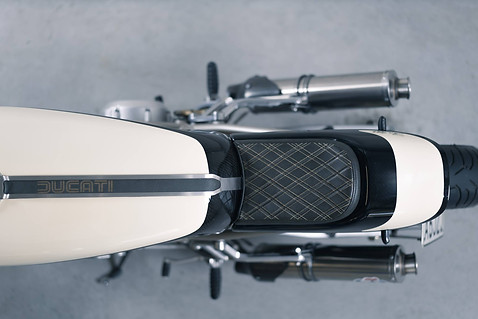
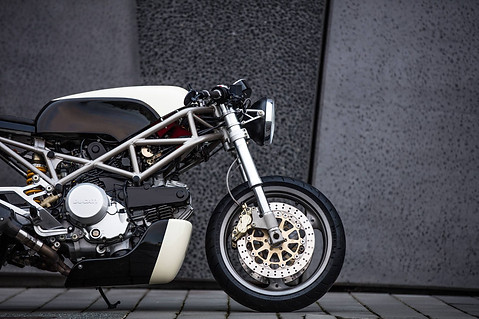
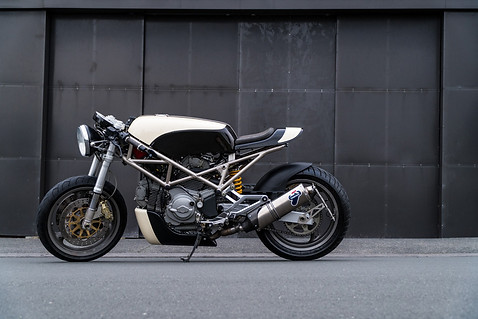
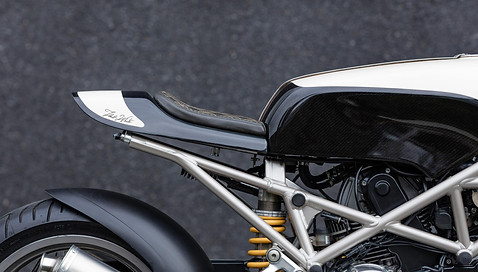
Finally, I gave the tank a trim (damn hard to cut through kevlar btw. took two nights and a few hacksaw blades) and mocked it up on the frame. It's just temporary and not sitting in the correct spot but pretty happy with how it transforms the look!
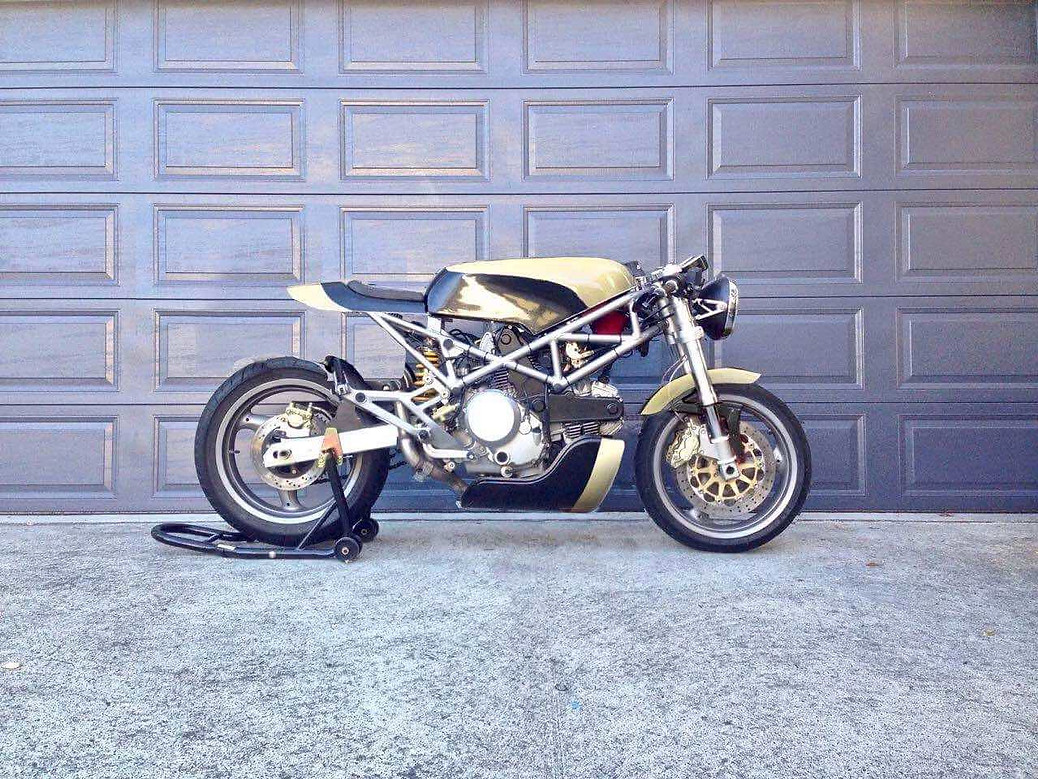
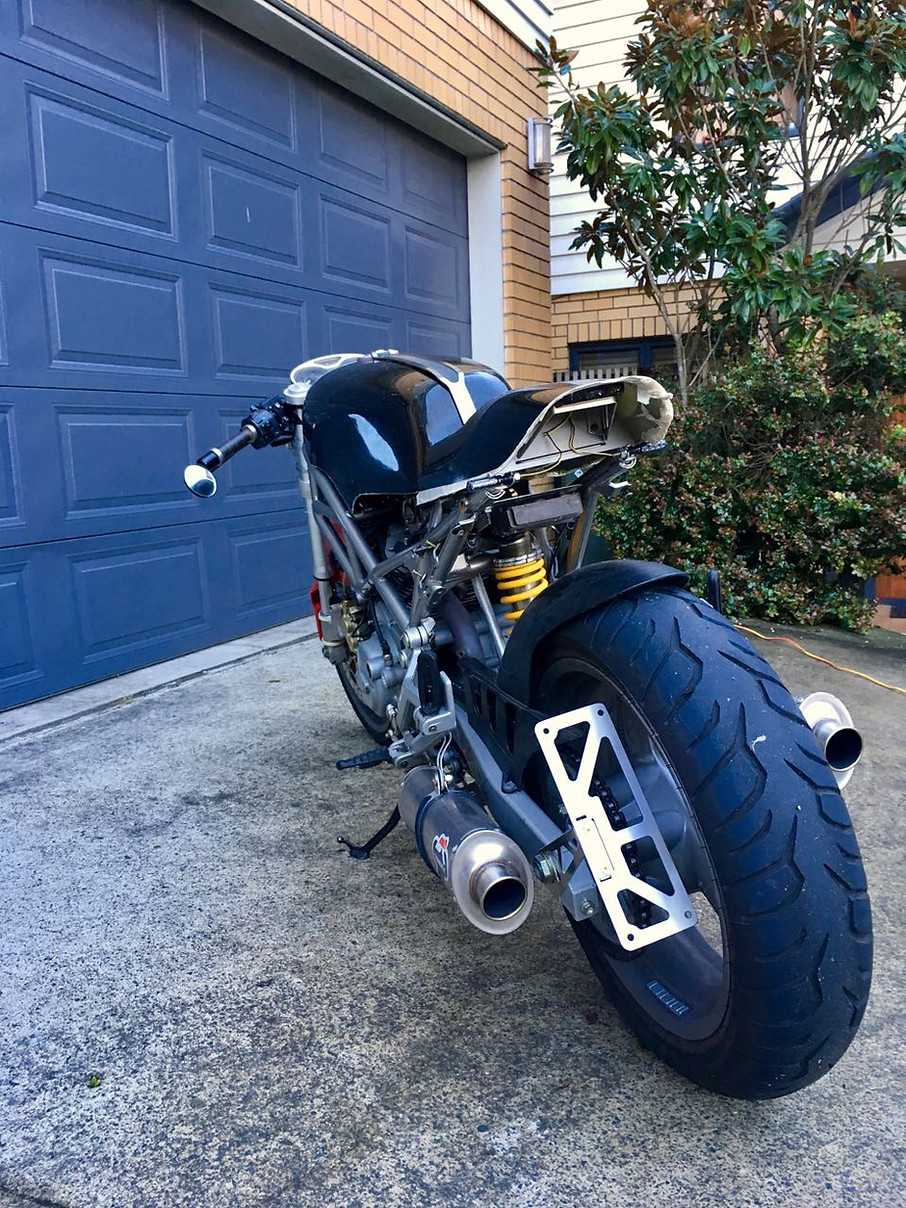
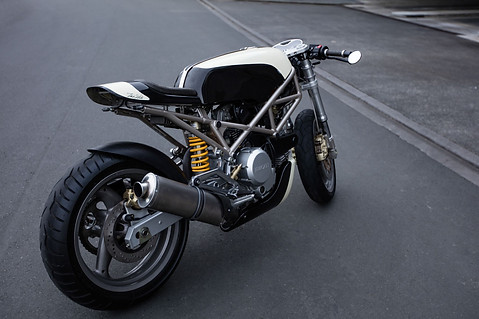
Did a quick photoshop which shows what I'm aiming for. Added some paint, shifted the tail and tank to their correct position, removed the cans (not sure exactly what I'll do with the exhaust), shortened the subframe, shrunk the front fender, and raised the rear sus.
Next step is to make the mould for the base of the tank, line the inside faces with Caswell tank liner and glue the halves together to finish off the part. Once I've got it together and checked it fits the bike then I'll go back and lay up the second tank.
If anyone's still reading find me on instagram @max_betteridge_design
https://www.instagram.com/max_betteridge_design/
And check out the build on my website:
http://www.maxbetteridgedesign.com/building-the-ducati-cafe-racer
P.S. to anyone who is out there wanting info on making a composite fibreglass / carbon fibre fuel tank. I have had a quick email conversation with Fantino from over on SOHC4 forum. He is building a sweet CB500 and he is a bit of a composites guru. He's doing a carbon tank and tail for his bike:
http://forums.sohc4.net/index.php/topic,159637.50.html
Here is our email convo:
Hi Evan,
My name's Max, I'm half way through a Ducati Monster cafe racer build and I've got a few questions about composite fuel tanks.
Here's a link to my build thread on Do The Ton: http://www.dotheton.com/forum/index.php?topic=68876.60
I am building a new tail, belly pan, and fuel tank from basalt fibre. I've just moulded the upper half of my tank but I haven't finished the lower half yet and haven't assembled it yet (and haven't put up the latest pics yet either).
My workmate put me onto your thread because you're also building a composite tank and you obviously know your stuff about resins and fuels. I live in New Zealand where we don't have ethanol in most of our fuels. I have made the tank with basalt, glass, and a layer of kevlar and I have laid it up with standard marine grade epoxy. My intention was to then coat the inside of the tank with a fuel tank liner like the POR15 product or something similar. Before I go any further with this part I just wanted to get your opinion on it and check if it's wise to keep going with this method or if I need to redo it with a better resin?
You mention on your thread that the tank liner delaminating from the tank could be an issue, is this something I need to worry about? Do you know if there are particular liners which are compatible with epoxy?
I have also had a quick search for the resin you said you used but I can't find a supplier in New Zealand and I'm not sure how difficult it would be to import.
This is the resin I have used: http://www.nzfibreglass.co.nz/2015/shopexd.asp?id=87
And I was going to buy something like this to line it: http://www.ebay.com.au/itm/POR15-STANDARD-FUEL-TANK-SEALER-1-LITRE-/191990282149?hash=item2cb38337a5:g:t14AAOSwXeJYGA5w
Thanks a lot for your help,
Max.
Hi Max,
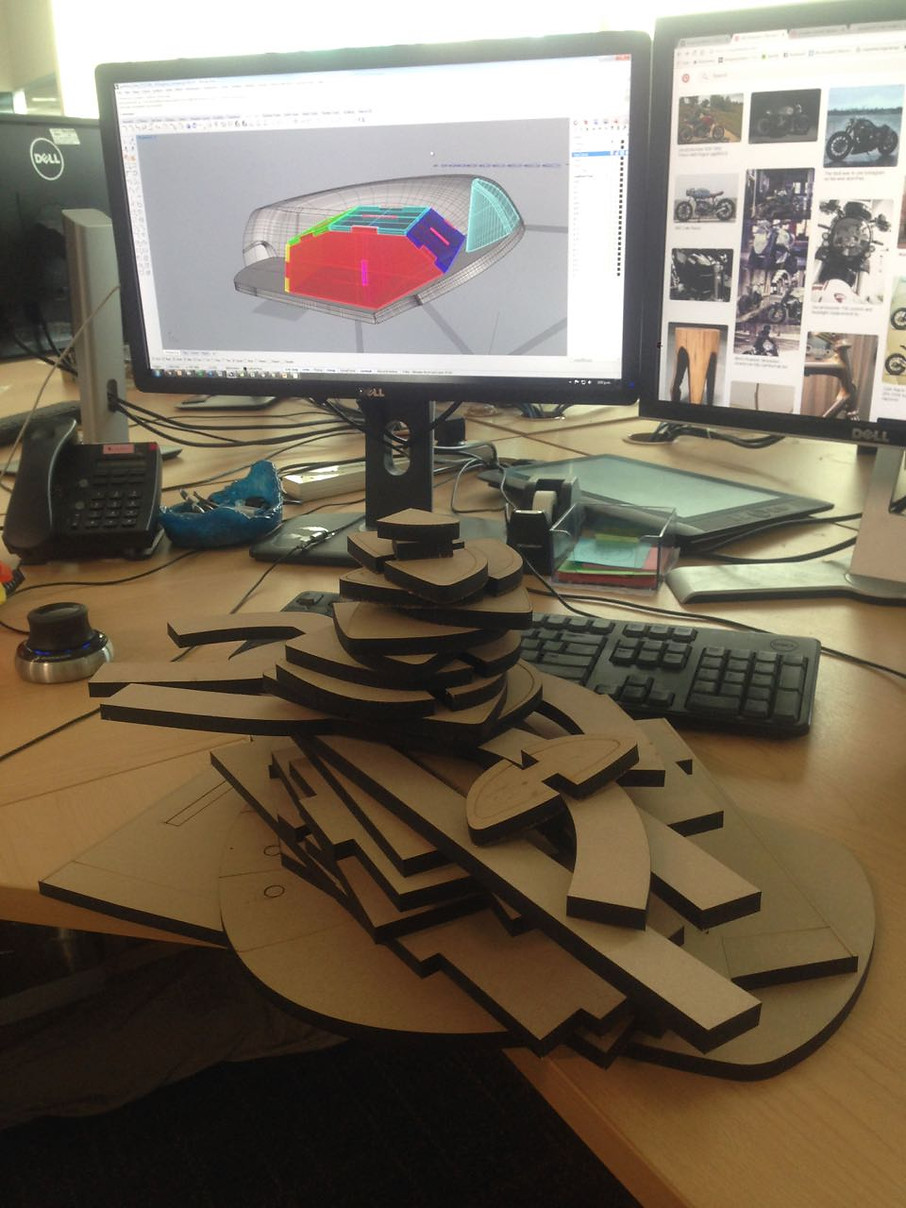
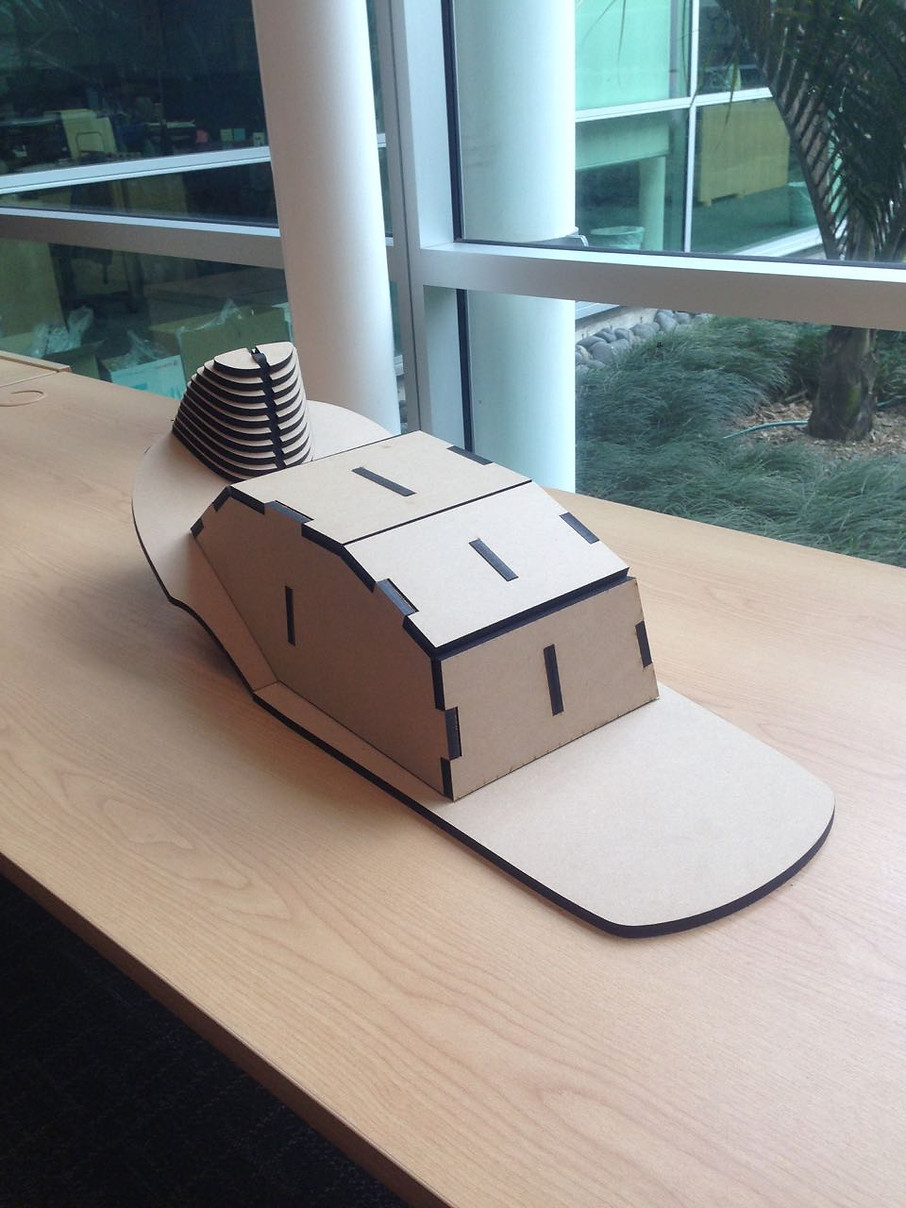
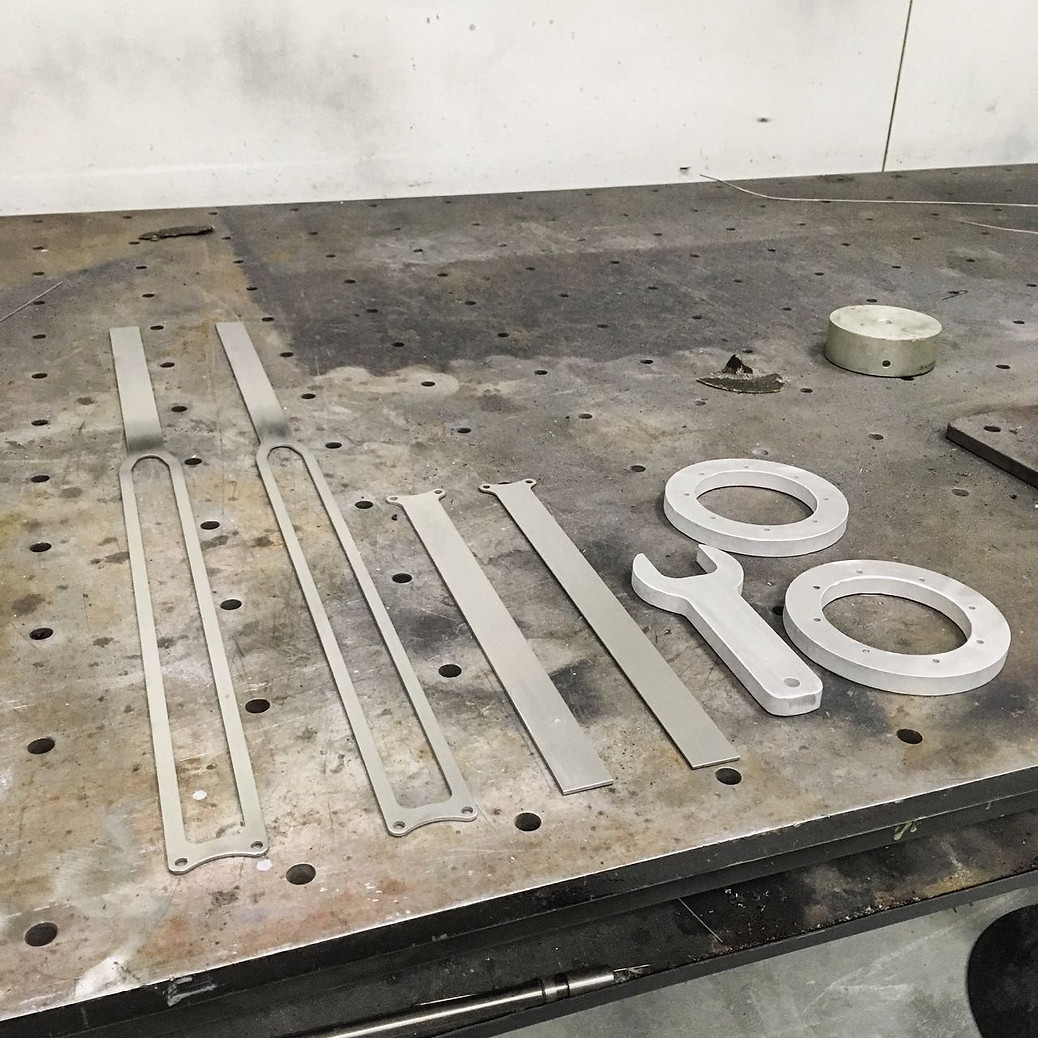
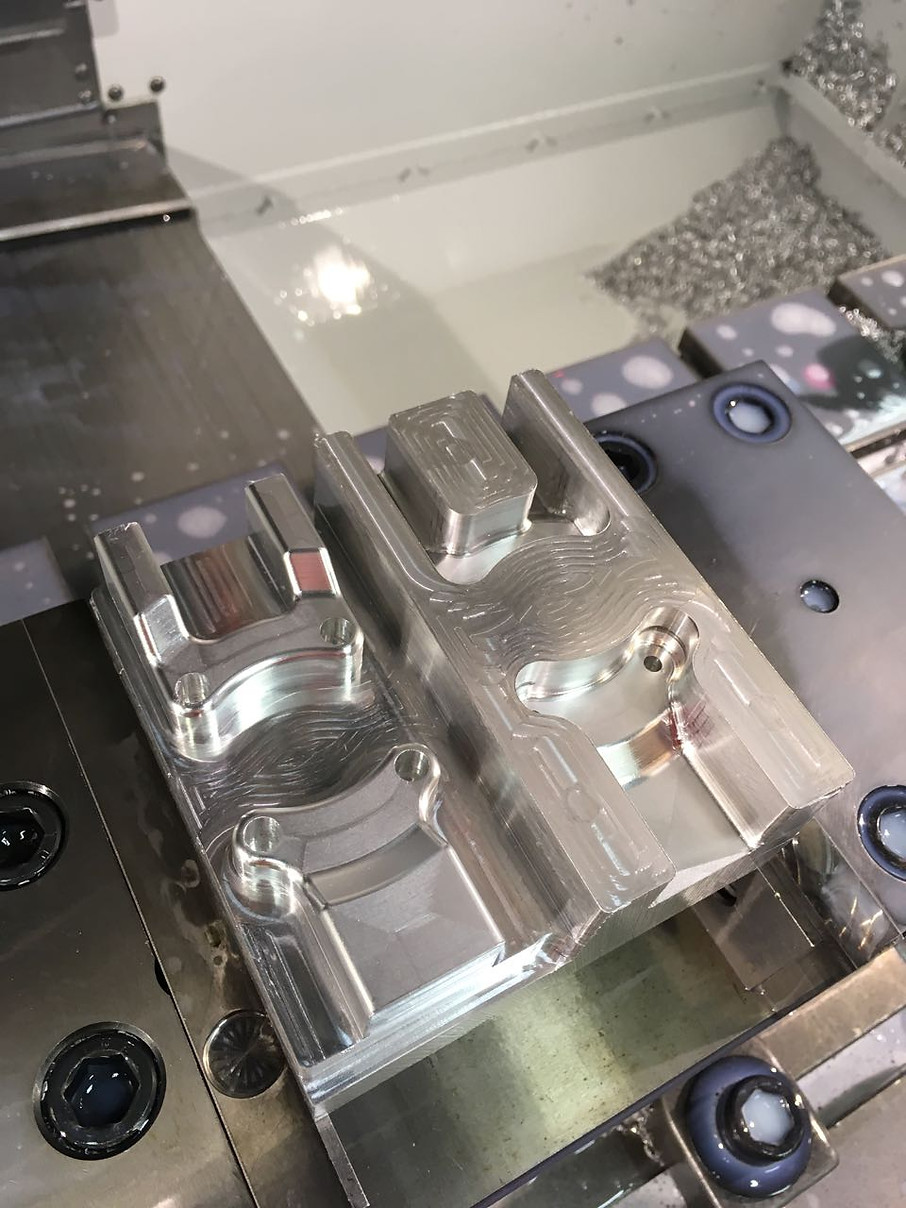
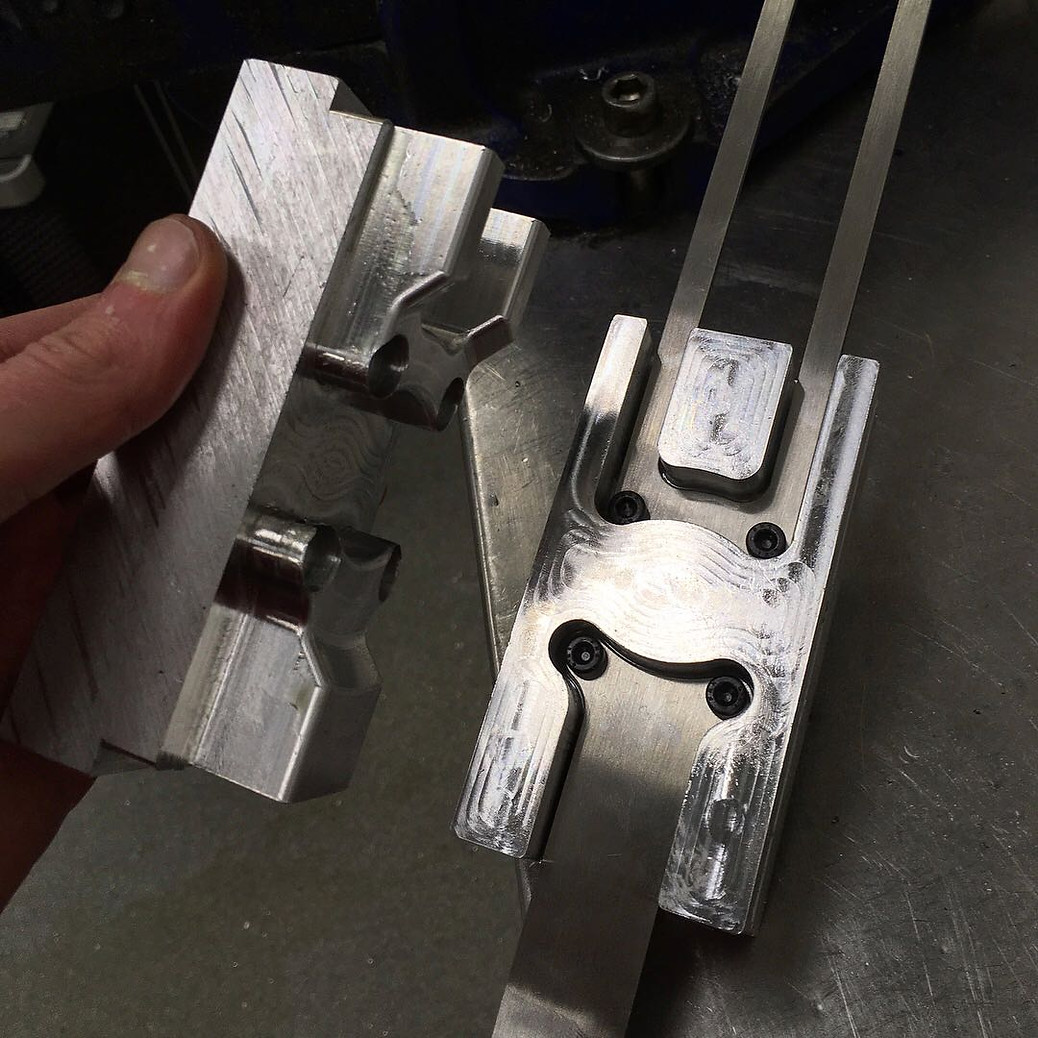
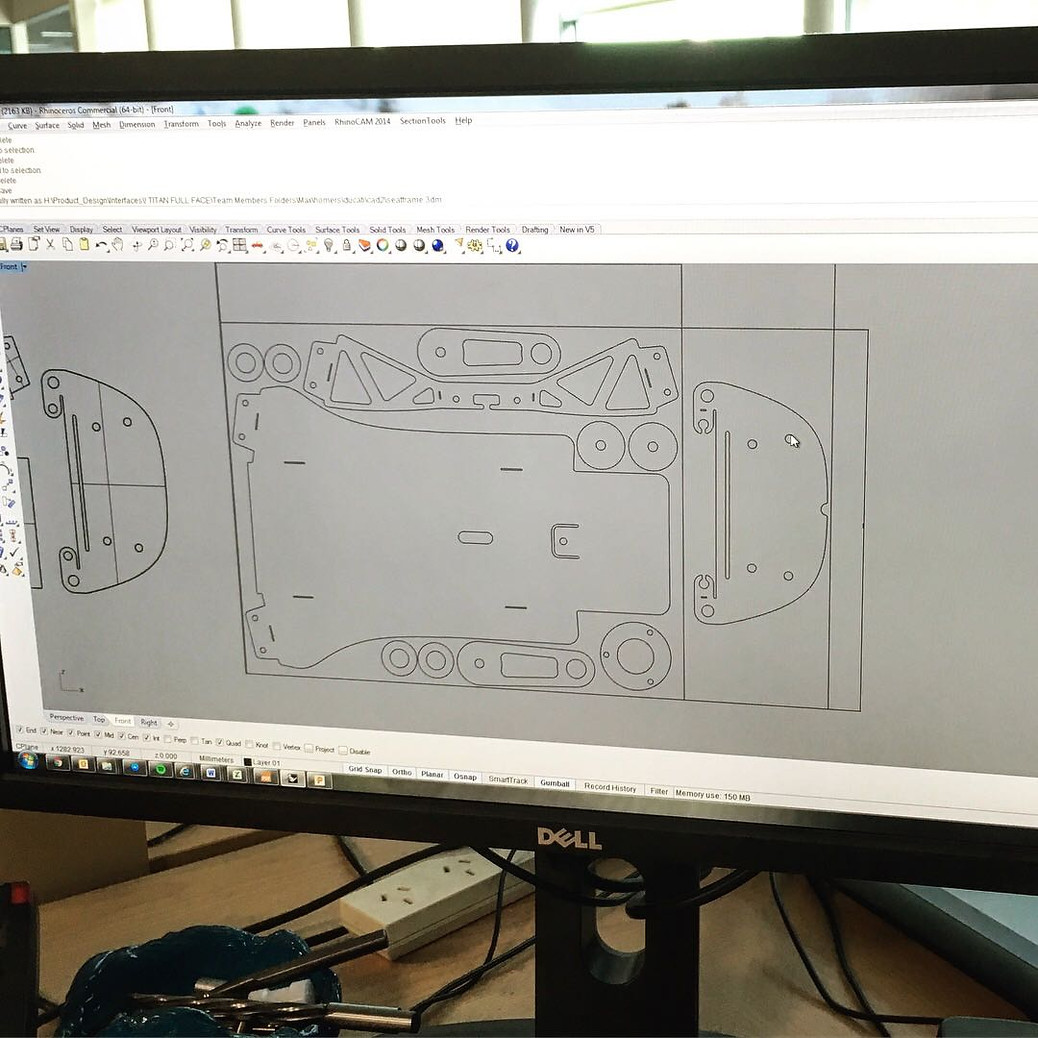
Very impressive work, you've been very thorough with your mold design and fabrication. I'm jealous of your access to NC machines, definitely what I miss most from my days working in aerospace! The laser cut coremat is super slick! Basalt fiber is also pretty uncommon in these parts, is this an easy to find product in NZ?
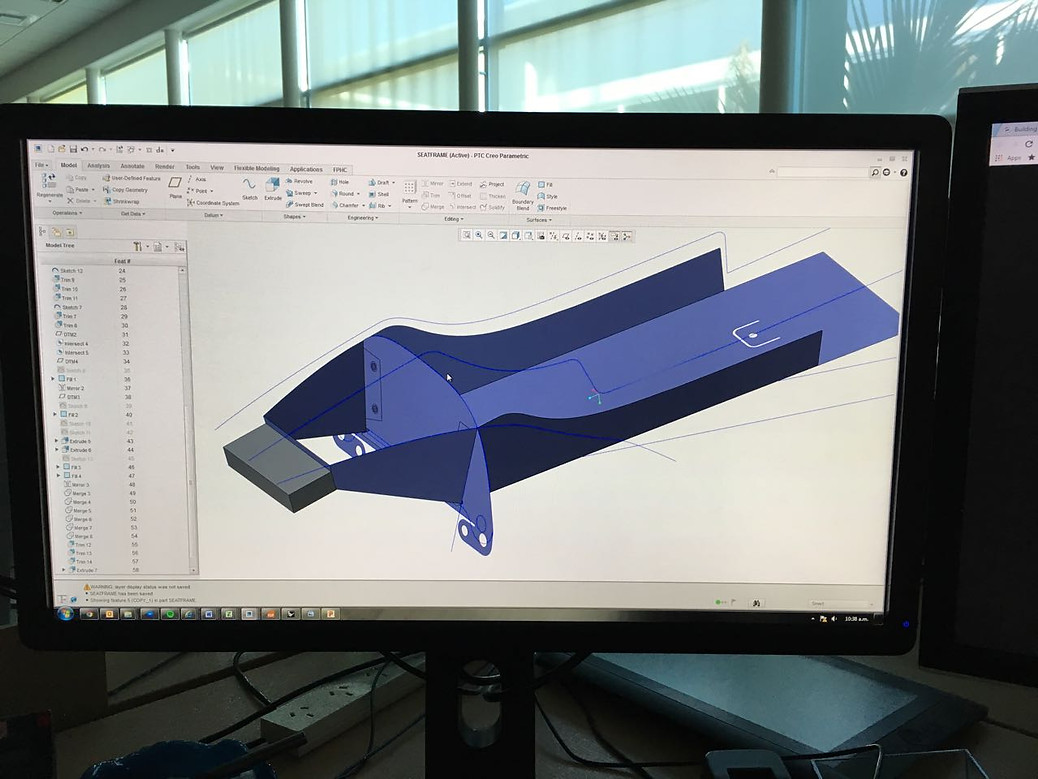
My own mold making progress has been significantly slowed down due to work obligations and indecision on locking down my CAD, but I've taken to 3D printing my molds as I don't really have the patience for more traditional fabrication. This is actually how we've started making low run production molds at my current work, it's really been a huge boon for productivity.
Anyways, onto your specific questions
")
Not knowing what additives go into your local fuels (and how that may change over the next 1,5,10 years) I can't offer much insight about how everything will hold up other than to say you should make a test coupon and do a submersion test for peace of mind. You may find your lam epoxy holds up fine without any coatings. To be frank, most general laminating epoxies (Bis-A/Amide) are already gasoline resistant. They may degrade over time, especially in elevated temperatures, but you're unlikely to see the epoxy dissolve into the fuel and clog up lines, even aggressive modern fuels. Failure is more likely to manifest in the deterioration of mechanical properties, so it will become more of an issue of tank longevity. I'll emphasize again that you should test your resin as there are literally hundreds of resin and hardener formulations and thousands of combinations thereof.
The poor reputation of composite tanks "melting" and gumming up the works is largely due to the majority of commercially available composite tanks being made from polyester resins which do not fare well with modern US gas. These tanks are primarily intended for racing, so the fuel blends are different and the tanks get emptied and dried out between races. It is their use on street bikes where folks start to see issues with the fuel system getting clogged.
In general I also would say with any composite fuel tank it's probably good advice to drain and store your fuel when you're not frequently riding the bike.
POR-15 will probably *work* but it's not my favorite coating for epoxy. It's a polyurethane based coating that cures via a humidity activated catalyst. Most coating failures are typically a result of improper surface prep or poor application conditions, as this coating relies entirely on mechanical bonding to its substrate. When it fails it tends to flake off or come off in sheets and block fuel lines. You have access to the inside of the tank before you join it together so you'll be able to prep the surface better than just shaking some screws around and rinsing it out with acetone.
Generally speaking, urethane is less chemically resistant than epoxies, so I'm doubtful it will gain you much and does add some risk due to the possibility of delam. POR-15 as a tank sealer is better suited as a lower cost option for polyester tanks which have very poor chemical resistance and where it's best suited as a sealer and rust inhibitor on steel tanks.
Unfortunately even on my side of the pond access to more exotic epoxy formulations are pretty limited if you are a small volume consumer. MAX GRE and the Caswell tank liner are about the only options I've found for Bis-F/Novolac (Phenol) based epoxies. They have improved chemical resistance across the board and are well suited to fuel tank applications.
You'll notice that most folks who complain about failure of the Caswell kit and other liners complain that it breaks off in pieces, and it's usually a steel tank. I can almost guarantee this is due to a combination of bad surface prep and differing rates of thermal expansion between the tank and liner. If you can get your hands on a Caswell kit you can avoid this with good surface prep, but also your liner and matrix will be more or less the same material and will expand at the same rate which will help some. If your matrix resin is still a bit green, you may also get some cross linking at the boundary layer which will improve adhesion between the coating and your substrate.
It's probably overkill to build an entire tank from a Novolac epoxy, but I like the peace of mind.
You can improve the properties of any epoxy product by post-curing. In fuel tank applications, your biggest enemy is heat. Elevated temperatures reduce the mechanical and chemical properties of your resin. When you cure epoxy at room temperature it cross-links polymer chains until they chains become long and tangled and lose enough mobility to make any additional links (vitrification). Post curing the resin at a higher temp increases the mobility of the chains and allows more complete cross-linking and thus a higher glass transition temperature, improved chemical resistance and improved mechanical properties. General amine/amide based laminating resins typically have a fairly narrow range for improvement before the resin will begin to degrade, but you can probably get away with baking the part at 55-65C for 2-4 hours and will see some improvement in your resin properties.
I don't know if any of this was really helpful or provided any additional clarity for your project, but if you have any other questions I'm happy to offer what advice I can.
Keep up the good work Max, your project looks awesome!
-Evan
Thanks a lot for your reply Evan. it's given me a lot more confidence.
I'm definitely spoilt with my access to machines and equipment. At least I make the most of it unlike most of my other workmates
I like your approach, especially what you've done with the 3d printed plug. The tank upper is the first composite part I've made the traditional way shaping the plug by hand and making a fibreglass mould and I don't think I'll do it again! Something like an FDM form to get you 90% of the way there is not a bad option at all.
I couldn't find basalt anywhere in NZ, I even struggled to find it overseas. I bought all of my basalt and kevlar from china through Alibaba. Overall a good experience and the seller was helpful, however the mat did get slightly bent and damaged in transit. Thankfully this is less of an issue with basalt than it is with carbon as the weave is much less prominent and more forgiving in the final part.
I have had a look through the Caswell site and I really like the sound of their product. I will do a bit more research and see if I can get my hands on a kit. I'm kicking myself for throwing away the offcuts from my tank upper now. I actually saved them and left them on the floor of my garage thinking I might want them but after a few weeks I chucked them all out! I'll have to do the submersion test with some offcuts of the next part. I had also considered baking the parts but wasn't sure if that was necessary and as I don't have an oven big enough at my disposal I thought I might forget about it. After what you've said though I will make sure I bake everything once the halves are glued together.
I did have one other question, I read in your thread that you were planning to keep the kevlar away from the outer edge of the part to make trimming easier. Is this common practice? Will this not compromise the strength of the seam which is most likely already a weak area of the part? This is the first time I've ever worked with kevlar and I couldn't believe how hard it was to trim. If you think it's ok to end the kevlar layer slightly before the edge then I think I will give that a go for the next part.
If there's one piece of advise I've got to offer which I don't think many composites guys know is that a laser cutter makes light work of cutting peelply, glass, basalt, and even kevlar (not laminated, just the mat). I haven't tried carbon but I imagine it'd be similar to basalt. It makes a beautiful neat edge and actually fuses the fibres so they won't fray and makes them very easy to handle. Especially useful for someone like you who is already designing in CAD. I cut mine on a 90 Watt laser which is very low power, practically any laser cutting shop would be capable of doing it and their prices are pretty reasonable. But then again you probably have all the fancy tools and tricks which I don't have for working with carbon and kevlar..
As long as you don't object I might put this email chain up on my build thread for others to read. Seems hard to find much helpful info on this topic online, this might help someone else later on.
All the best with your progress. I've got no doubt you're getting there faster than I am at the moment!
Thanks,
Max.
Yes, feel free to post our correspondence. You're right, it can be very hard to find more in-depth information on composites for DIYers.
I ended up deciding the first plug was a little too big, so I'm reprinting it scaled down. I'm trying out saving a step by printing the mold surfaces directly. Will take about 50% longer to print and use about twice as much material, but it should save time and money over the traditional method in the end.
See if you can find a datasheet for your resin system, just to be sure what temperature your resin can handle. Most general purpose lam resins should post-cure fine in the 55-70C range, 80C will probably be pushing it. Make sure you heat up and cool the part while it's in the mold to prevent it warping and setting into a new shape.
I'm not sure what type of business your shop is, but I often have good luck getting resin "samples" from industrial suppliers by expressing interest in a product from my business email. I'm always surprised when European chemical suppliers send products across the pond and even cover the shipping! Drop in the bucket for them I guess.
With the Caswell kit, I think they deliver it in bags now instead of cans, but I would pour the two halves into a resealable container. Since you have the luxury of having both halves of the tank split apart, you can brush on the epoxy and get much more even coverage with less material waste compared to slosh coating. I bet you would have enough left over to use the Caswell resin as your adhesive to join the two tank halves together, might need to thicken it up a bit with some fumed silica though.
Laser cutting kevlar actually sounds like a really good idea I might have to bring up at our next continuous improvement meeting, it's a real nightmare to cut dry fabric. We use an ultrasonic shear for the most part at my current work, but we're not usually cutting out very precise shapes. From what I've heard carbon needs a significantly higher powered laser, but I've never tested it. At my old job everything was prepreg so it wasn't compatible with lasers, they cut everything on big NC plotters with ultrasonic knife blades.
Regarding kevlar setback... It depends on your application and what you're trying to achieve. Apologies in advance if I am repeating information you already know, but the thing about composite fuel tanks is they're not really "engineered" structural parts. The properties of the composite we are taking advantage of are low weight, relative ease of fabrication and cosmetics. From a mechanical perspective, we're taking the "black aluminum" approach by constructing the part entirely out of woven fabrics and thus having *relatively* uniform properties in all directions (as opposed to say a structural carbon part which would have unidirectional fibers oriented to account for a tensile load along a specific axis of the part). This is fine because a gas tank isn't a part that sees high loads in any specific direction. The most likely high-load scenario for a tank is (unfortunately) a crash.
Keep in mind that strength and stiffness are not the same, carbon is stiff and strong but likely to fail in high energy impact loads (the fibers kink and break under compression and propagate cracks). Kevlar is strong and abrasion resistant, but not stiff. It won't add much stiffness to our composite part (it's about as stiff as glass), however, If it is used to reinforce areas that may see an impact load or drag on the ground, we can expect a better chance of the tank not cracking at the location of impact or being quickly worn through by the asphalt. This is good when we are trying to avoid spilling flammable liquids on the pavement, haha.
Kevlar will be most effective on the sides of your tank or wherever a part is likely to hit the ground if the bike is dropped, you may even consider adding a little extra kevlar locally where the tank will contact the ground if dropper. It will add some toughness to your overall laminate, but shouldn't significantly change the strength of your part near the seams. The adhesive joint is likely to fail first anyways (adhesive joints can be stronger than their adherends, but typically only when bond lines are very thin, uniform with controlled surface preparation). You can always setback the kevlar around cutouts like the filler cap and petcock and keep it at one or both seams if you are concerned. A tip for finishing fuzzy edges on trimmed kevlar parts is to wet them out with CA adhesive (superglue) and sand the edge down. The fuzzy edges will break off and as long as you don't sand too deep, you will avoid fuzzing out more material.
Sorry for the long-winded answer to a simple question!
-Evan