Follow along with the video below to see how to install our site as a web app on your home screen.
Note: This feature currently requires accessing the site using the built-in Safari browser.
We noticed you are blocking ads. DO THE TON only works with community supporters. Most are active members of the site with small businesses. Please consider disabling your ad blocking tool and checking out the businesses that help keep our site up and free.
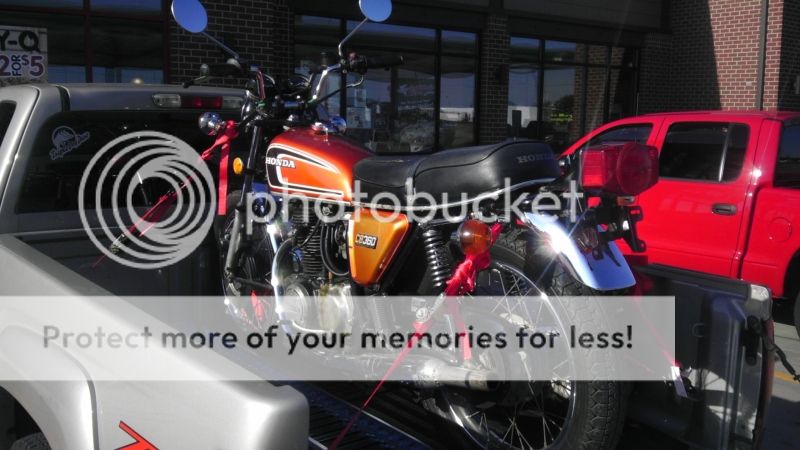
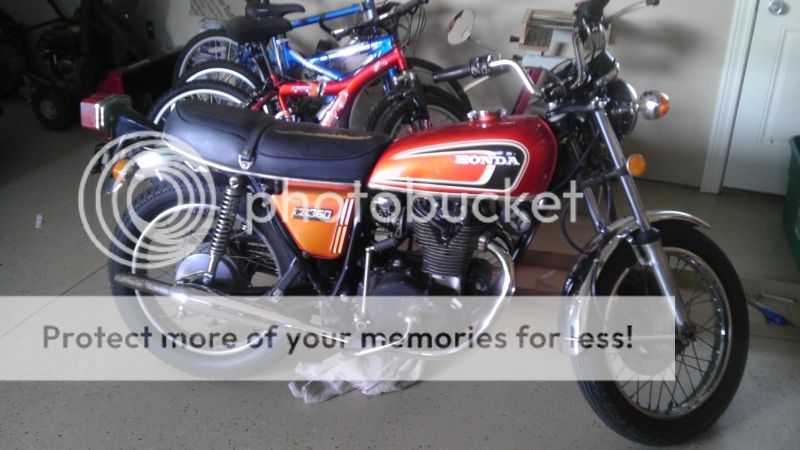
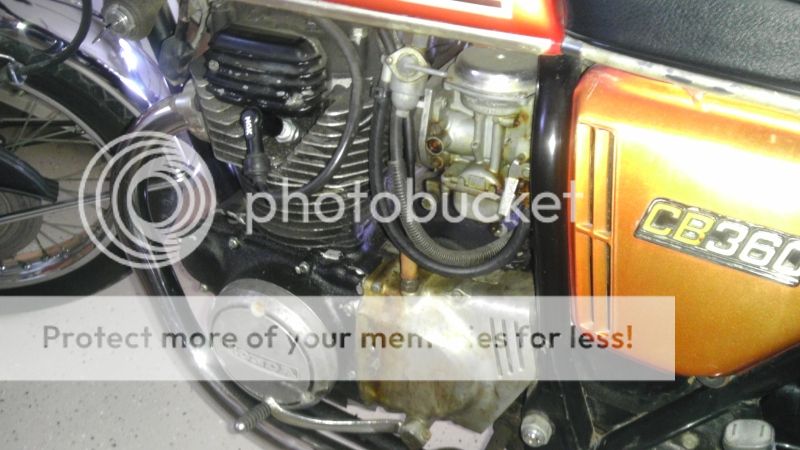
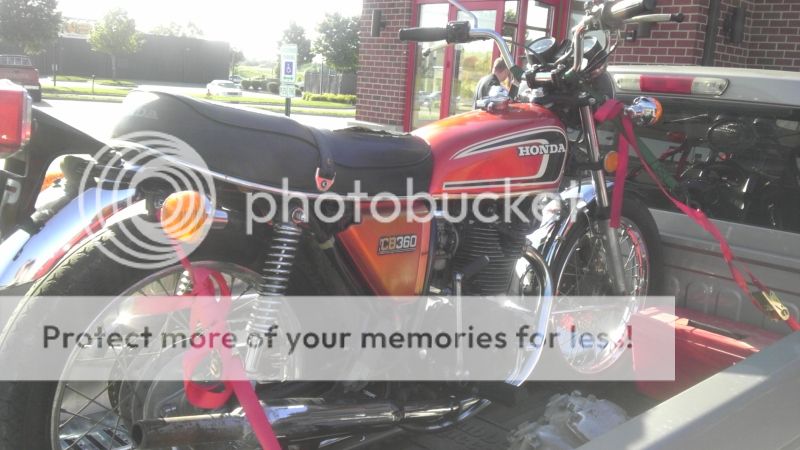
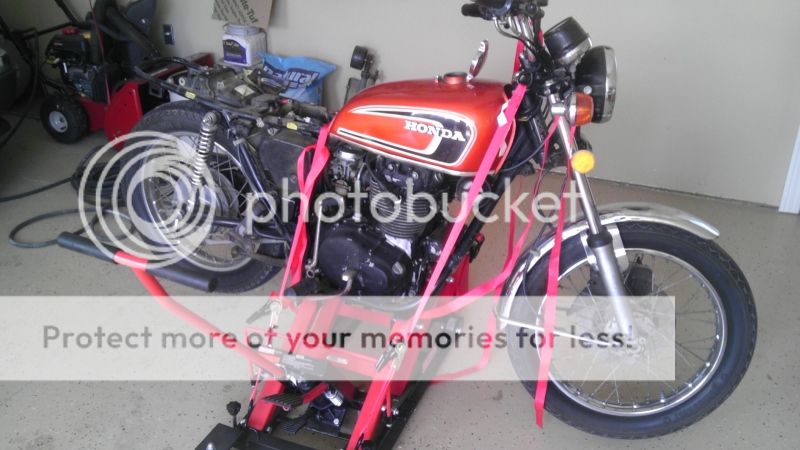
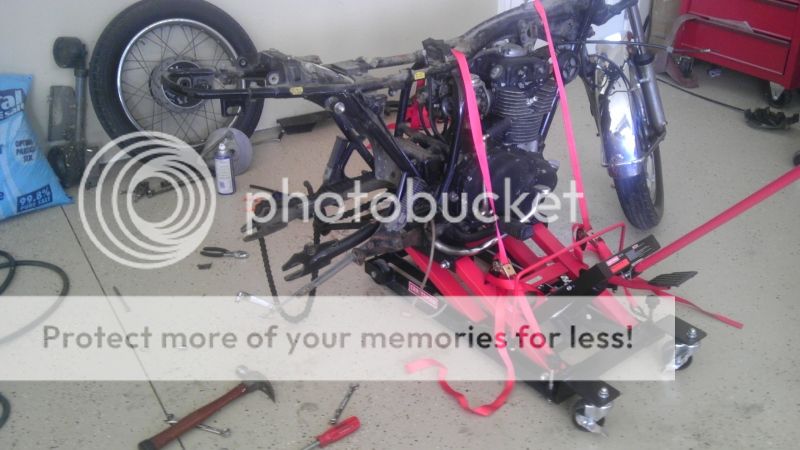
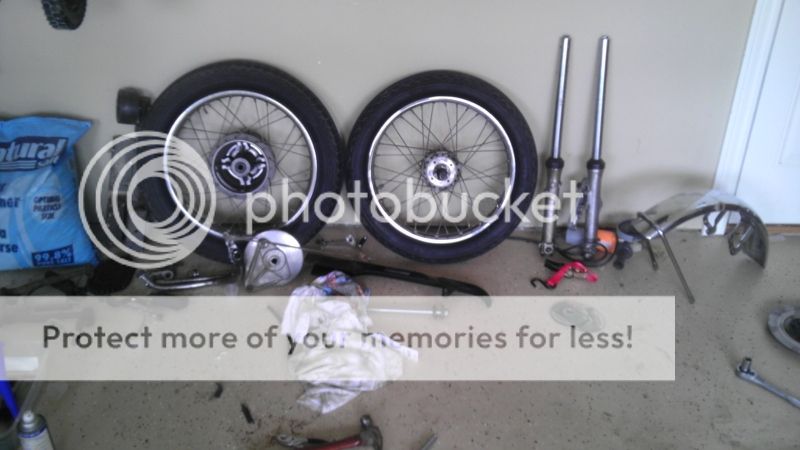
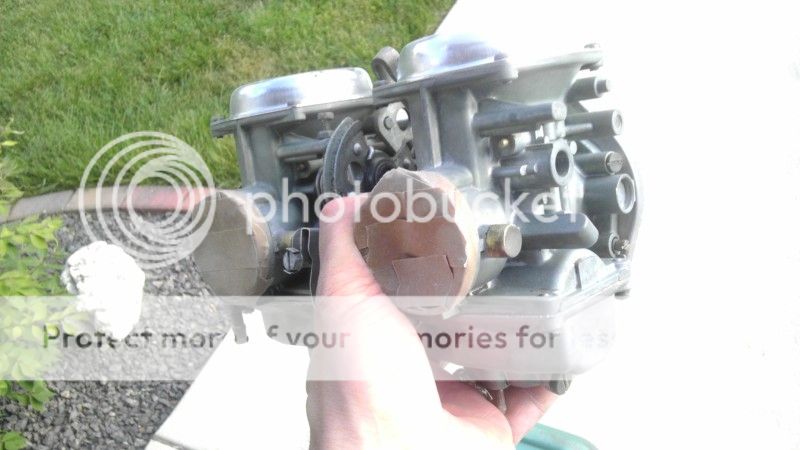
I picked up this pretty well stock 1974 CB360 today and brought it home. It runs, albeit not great, but it'll start first kick (starter works but wire is not attached, so it's kicks-ville until I sort that out. Runs pretty smooth until 4500 rpm or so and then the left cylinder starts running a bit rough... I'm pretty new to these vintage Japanese bikes so I'm sure I'll need some advice and guidance.
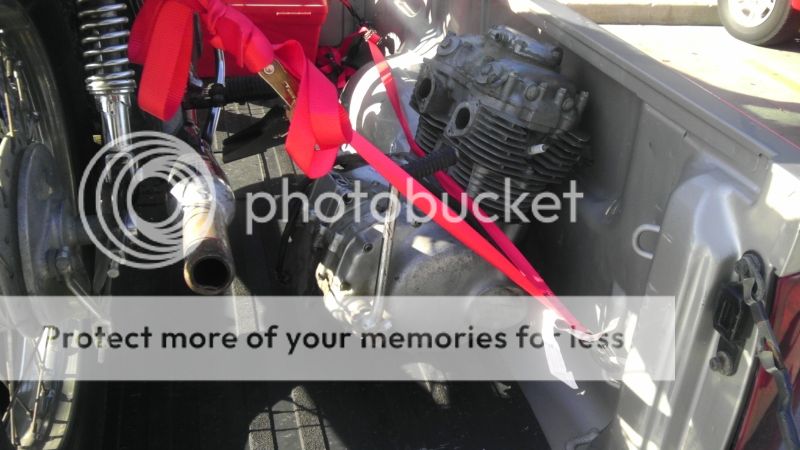
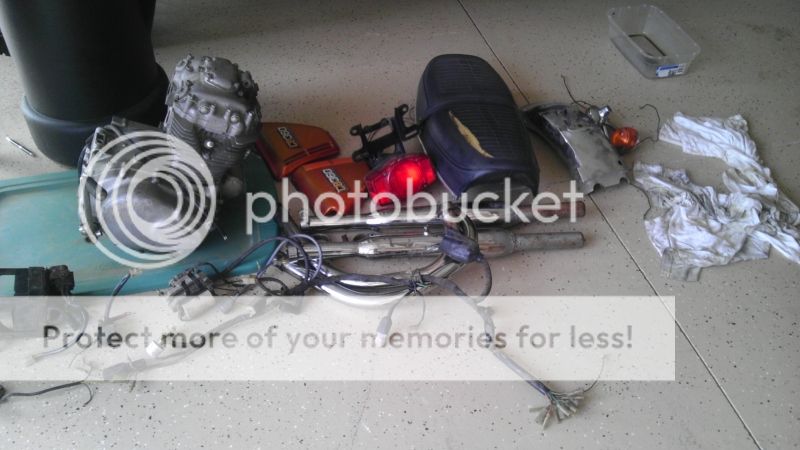
And I got a spare motor for parts with it. (Siezed)
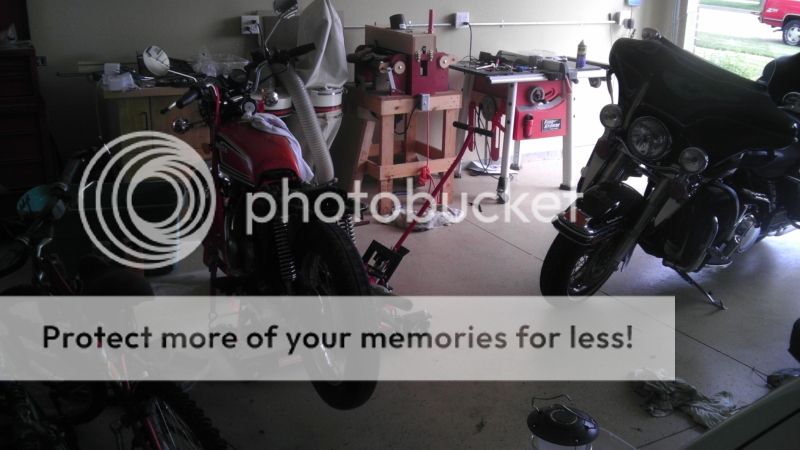
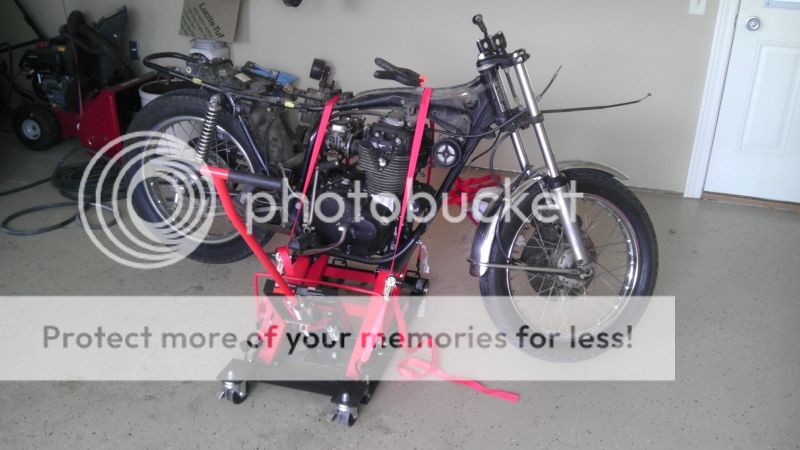
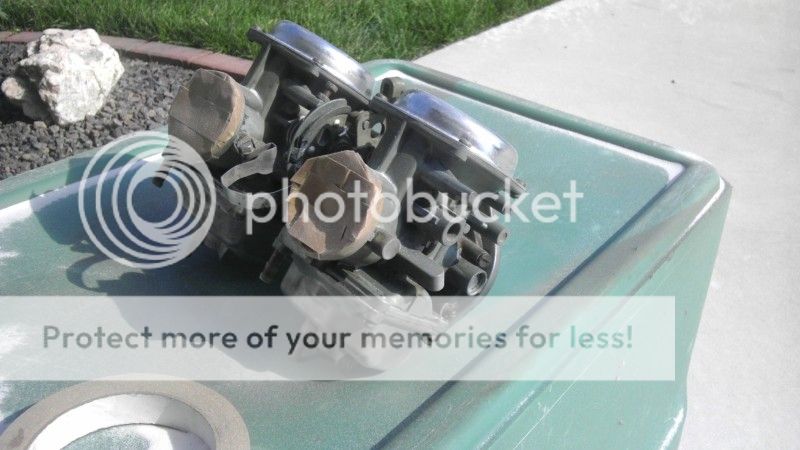
I need to start working on my plan of attack on disassembling and modifying. I'm contemplating on whether or not to just start rebuilding the top end when I pull the engine to clean up the frame. I'll need some recommendation on the best way to deal with the carbs... I'm for sure going to rebuild them,(or have it done.)
Nice bike, man. It looks to be in pretty good nick.
If one (or both) cylinders are cutting out around the 5000 RPM mark, it's usually a timing issue, but could also be carb related. Timing is pretty each to check, though, especially if you have a timing light. You do have or are planning to get a timing light, right?
I'm gonna put my money down on a frozen/stuck advancer. Let us know how you get on.
I do not have a timing light. But that's easily obtainable. I can try to set static timing to get validate that timing is the issue or not before I start disassembling.
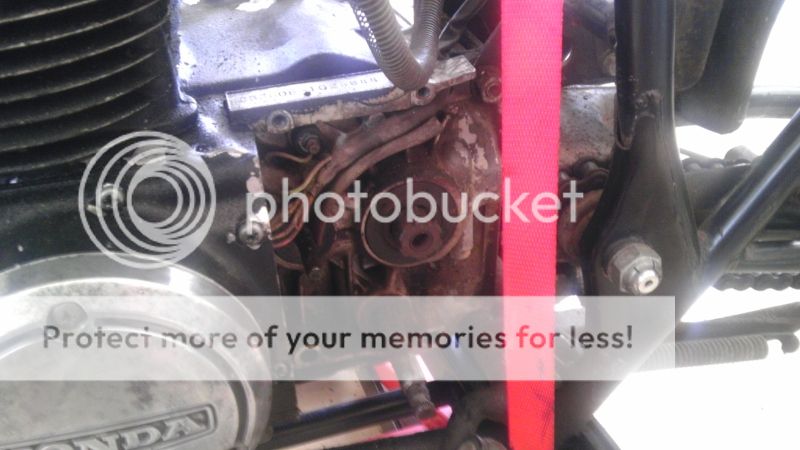
So.... I picked up a timing light yesterday after work. Pulled off the stator cover and advance/points cover. I think I might have a bad spark plug cable/connector... The Timing light is the inductive type. The right cylinder plug wire triggers the light with no problem. The left wire doesnt trigger it at all. though if I pull the plug end and do the screwdriver to plug tip trick I do get spark and that cylinder fires nicely and the light will trigger... (Why the hell did they not make the cable detachable on those coils... ugh.)
So on the way home today (or at lunch) I'm gonna stop and see if they have replacement plug ends at Napa, do they sell raw plug wire? I read in a thread that you can drill the coil, unsolder the plug wire and epoxy the hole back up to repalce the wire. I'll try just replacing the end before doing the whole cable... I'll replace the plugs and gap them properly too.
Replacement plug wire should be fairly easy to locate. It seems like a lot of trouble to drill out the old ones when new plugs can be had in the $30 range though...
I know the replacements from mikesxs are fairly common, though a small bracket will need to be fabricated in order to get them to fit the stock mounts.
If new plug caps/cable don't do the trick... I'll look at replacing the coils with modern replacements.
Wasnt' aware of mikesxs. (My other bike is a Harley... I'm just sticking my toe into vintage Japanese bikes a of this past tuesday. I'm decent with a wrench but need to learn a bit about the older bikes... I'm used to fuel injected V-twins. So I've got to learn where the good resources are too. That's why I'm here asking questions.)
I take it that http://www.mikesxs.net/product/17-6805.html is the right coil (4 Ohm) if I decide to go that route... ?
Well hell, I redid the cable on the left coil... Seems to be working well. I was able to set the timing. So thats good ... But... I checked to see how much gas was left in the tank. Since I had no idea having just bought the bike. Good news is that the inside of the tank is pristine clean... Bad news is that the gas cap latch broke when closing the lid... Grrrrr....
Anybody got a dinged up cb tank they can snag a latch off of for me? Happy to pay... PM me
I'd rather not have to resort to one of the keyed latches.
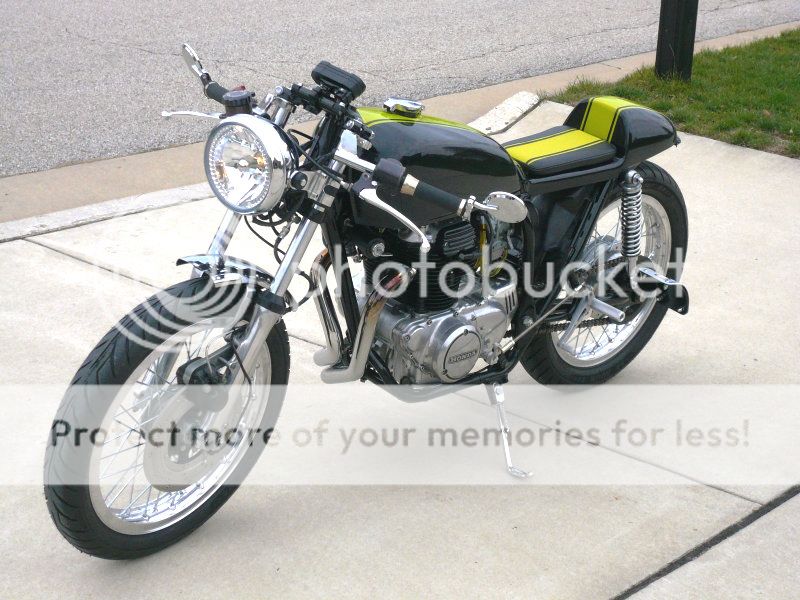
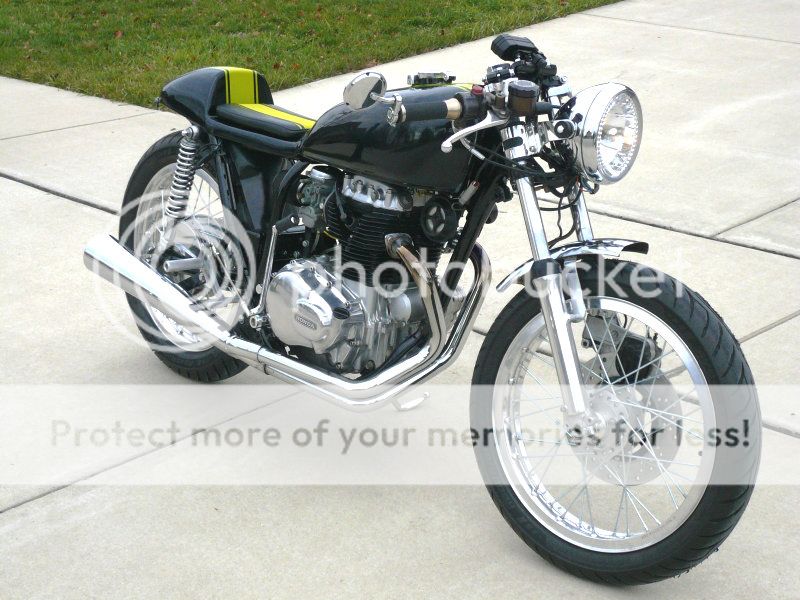
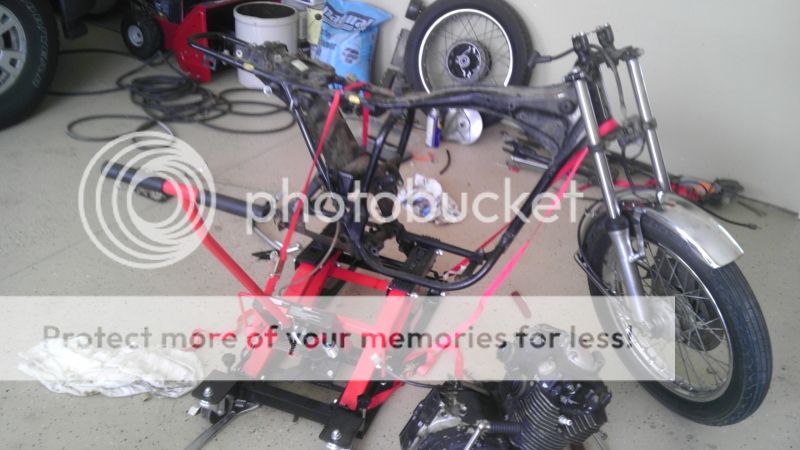
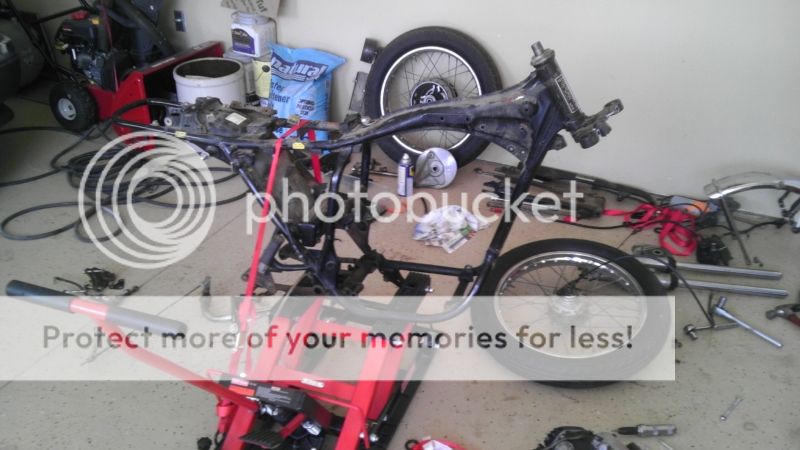
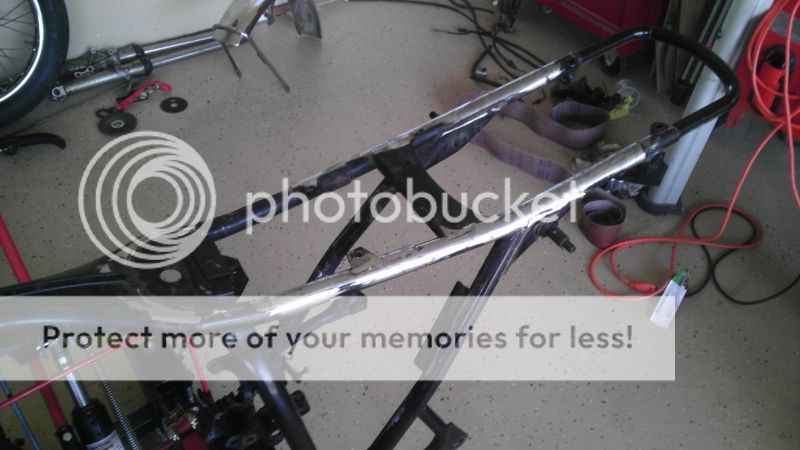
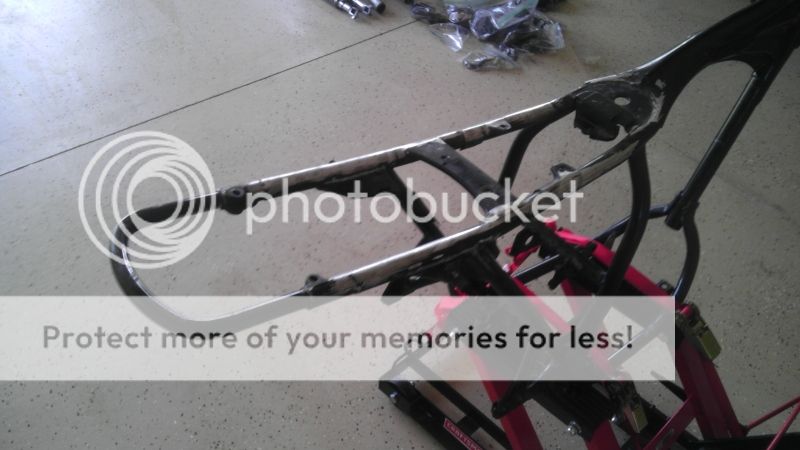
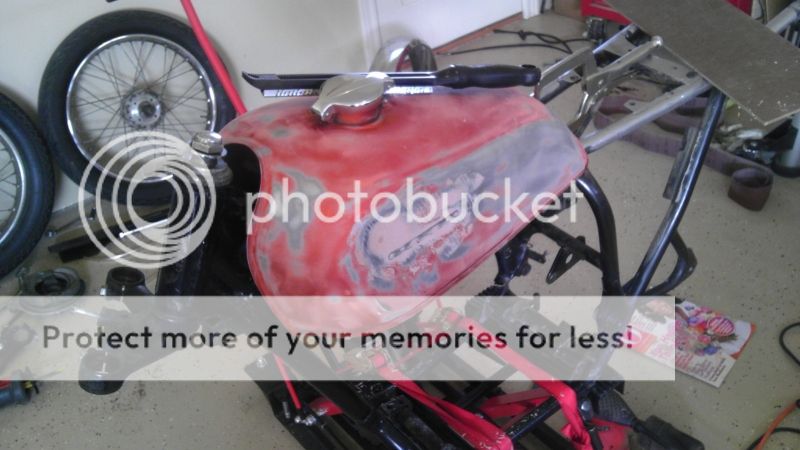
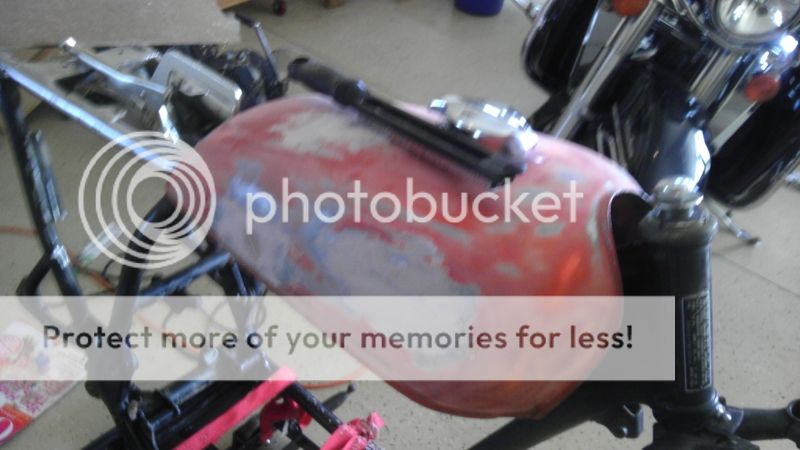
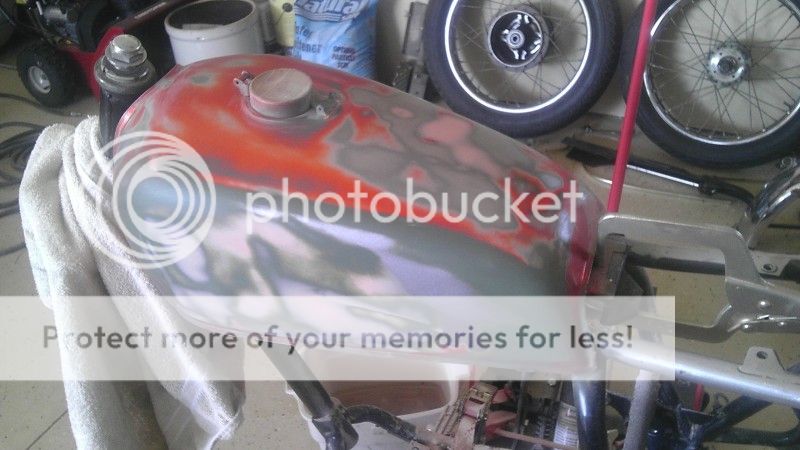
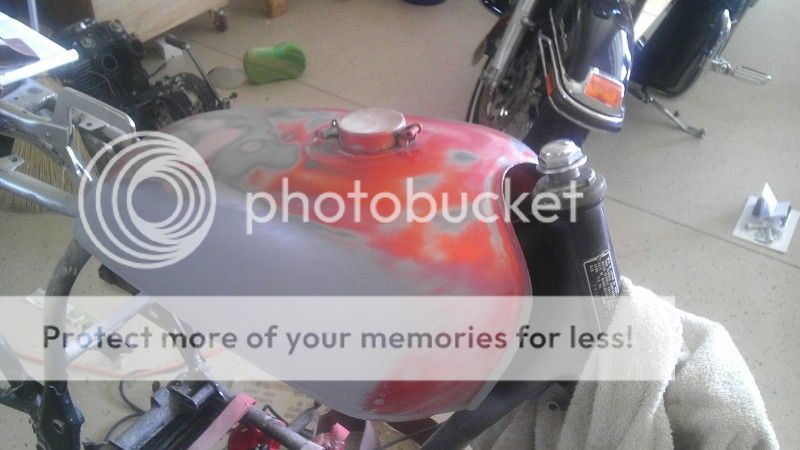
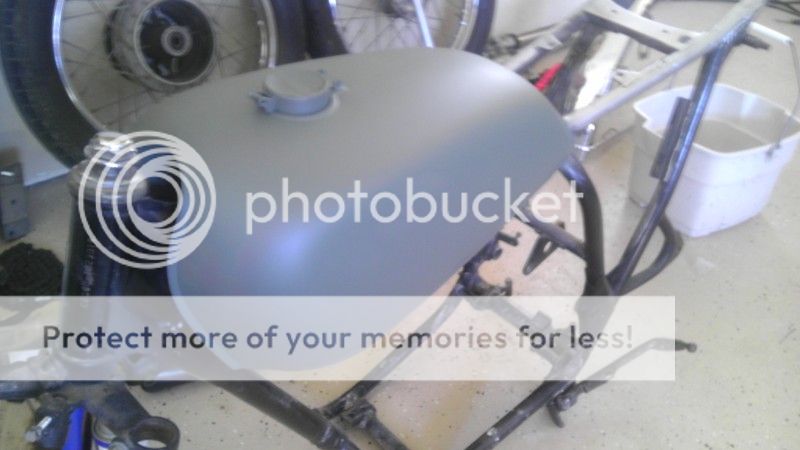
While I'm waiting on some parts to arrive... I thought I would start on the tank and get it straight. Looking good so far... the tank had a couple of smallish dents and I'm losing the badges. I need to sand the tunnel down well and get this thing in primer/glaze/sealer and on the shelf to wait until the rest is ready for paint... I think I have a sweet paint job cooked up. I've got a welder and bending brake on loan from some friends coming... I'll get onto fabricating the sheet metal trays for under the seat and a battery box for under the bump. Still need to decide what to do with the hoop... :-\
There, that's more better, the major fill work is done... next a coat of glaze, block with 400, prime, block with 600 and seal. I did get to try out my homemade soda blaster and it did a fantastic job cleaning up the crud around the fill neck and the light rust on the tunnel... should have no rust issues on this tank, ever...
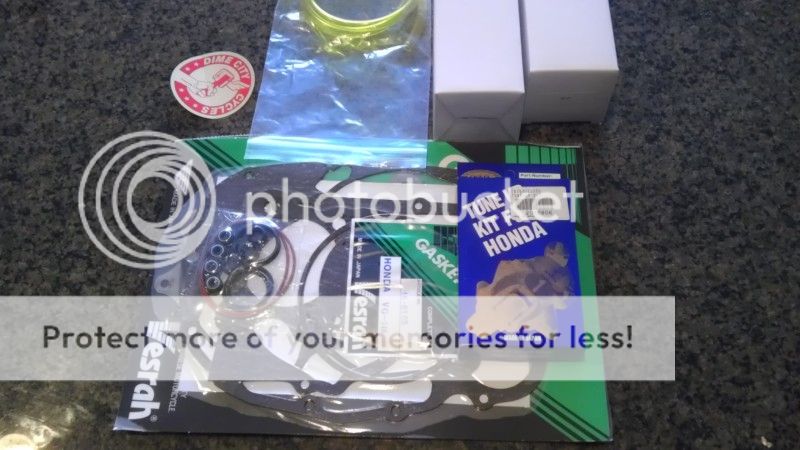
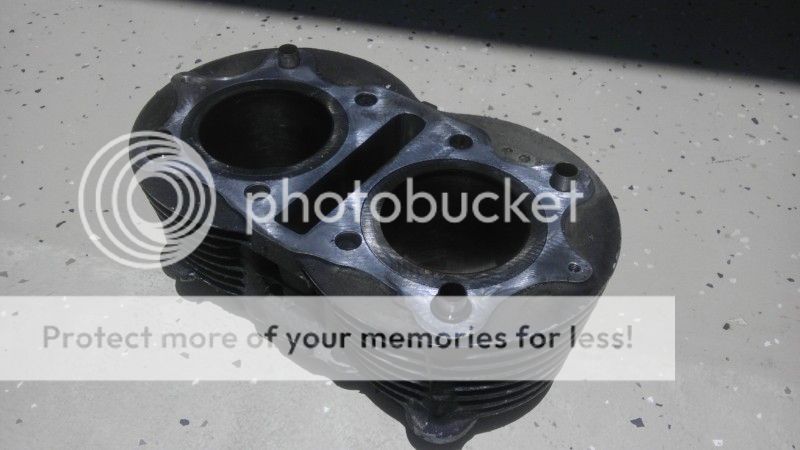
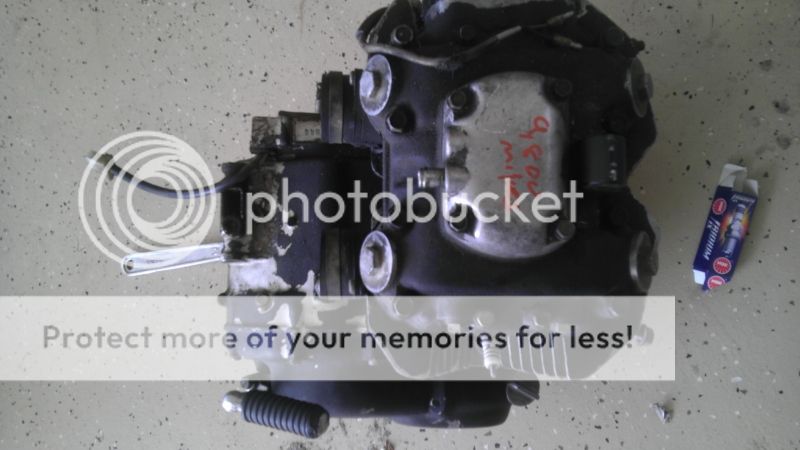
I know I've not gotten to anything particularly interesting yet... soon I promise. But my gasket set and ignition parts came yesterday.... time to start tearing down the motor and getting it cleaned up and mechanically right.
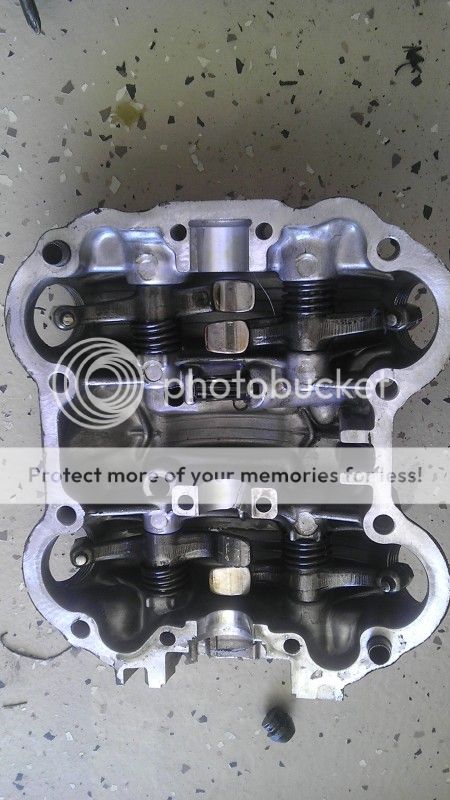
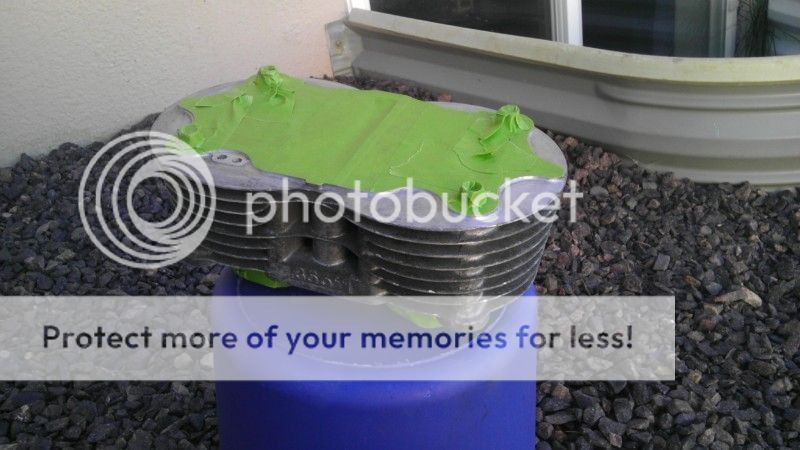
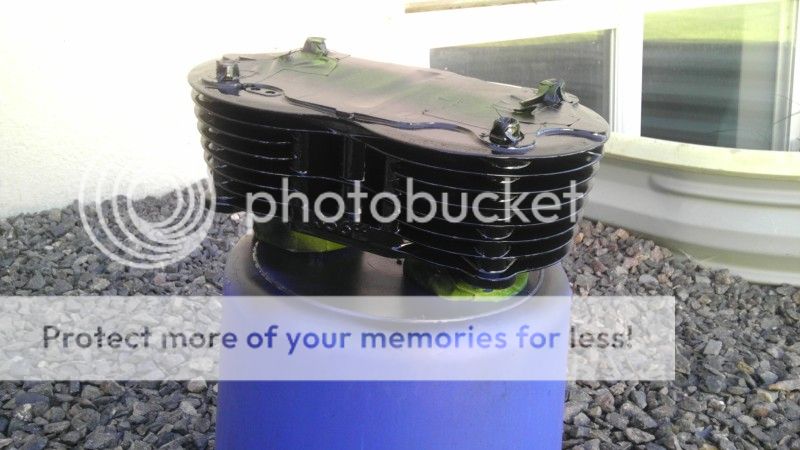
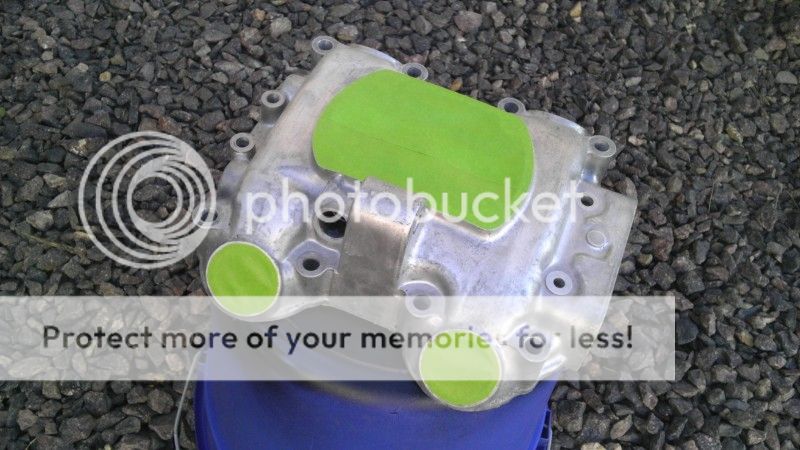
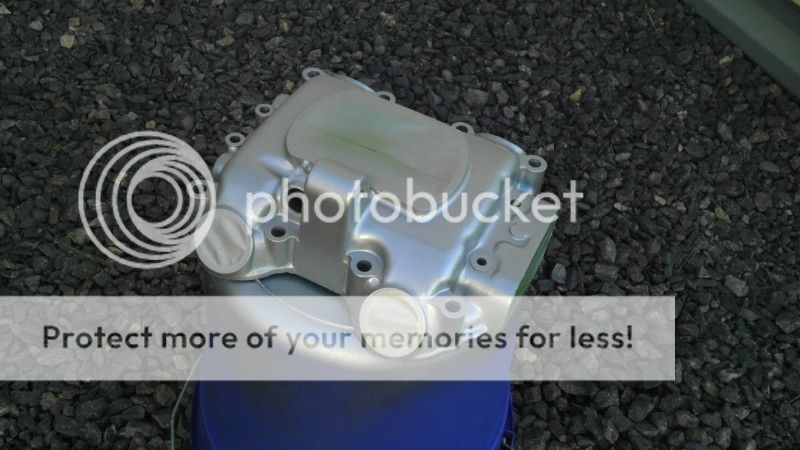
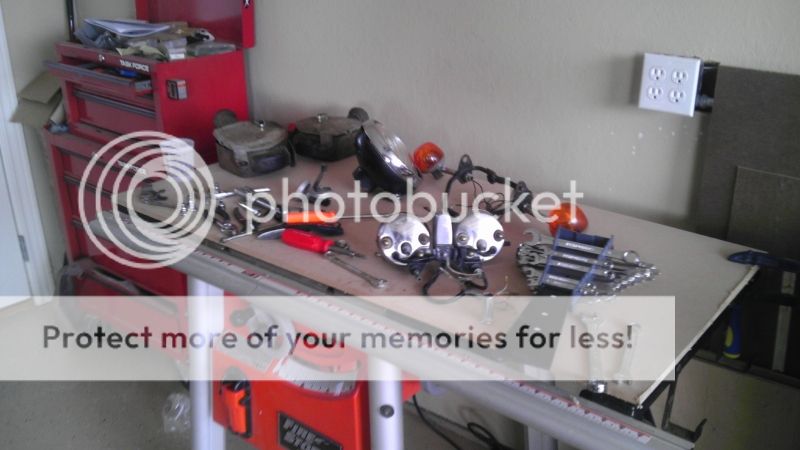
I chemically stripped the crappy old black wrinkle paint from some the valve cover and cylinder head. scrubbed them and soda blasted them and gave them a couple of coats of paint.
I did a few other parts too but I'll spare your from picture overload.
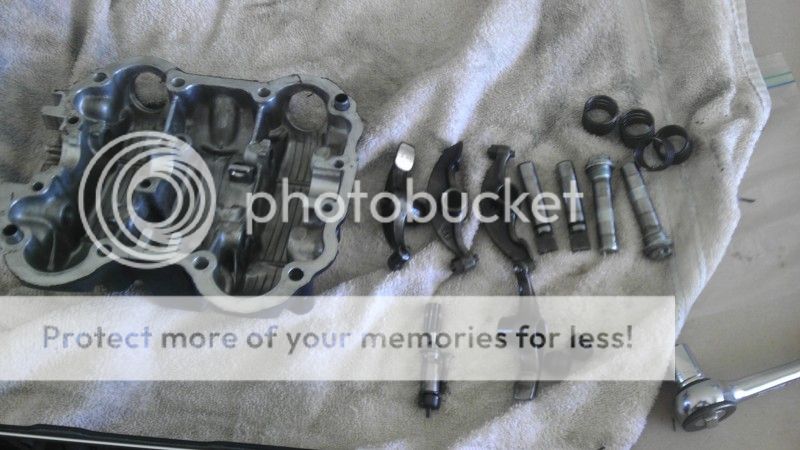
I ordered a valve spring compressor and rings (along with a bunch of other stuff (new speedo and tach cables... carb boots. I'll clean up the valve head when I get the valves and springs out... wanna be sure to replace the valve stem seals before putting it back together.
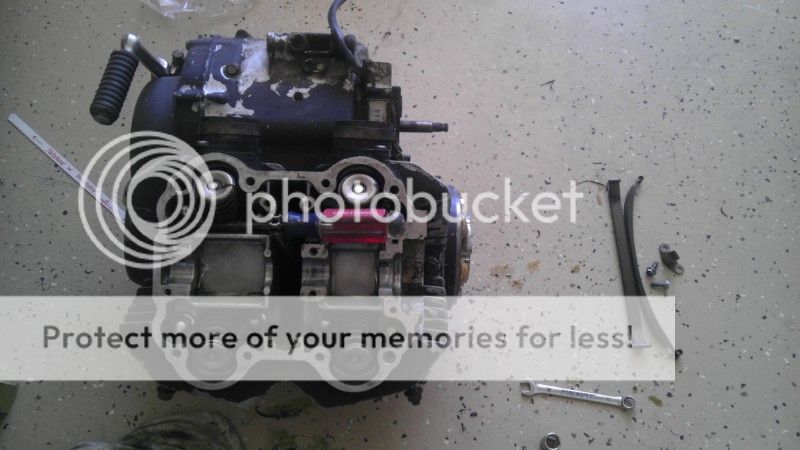
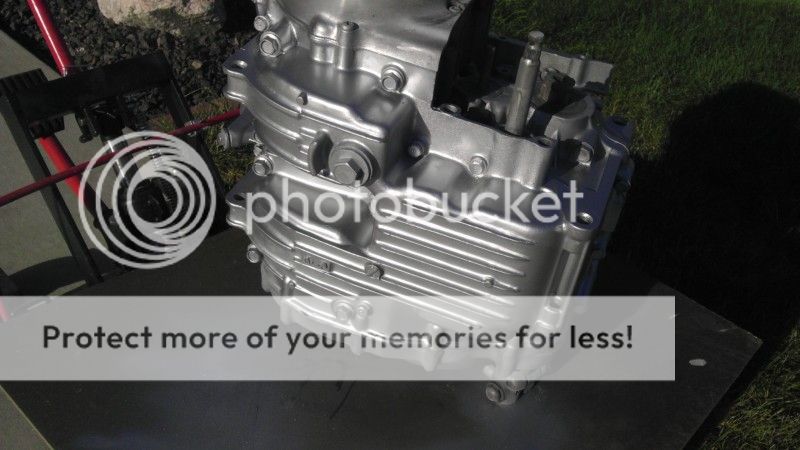
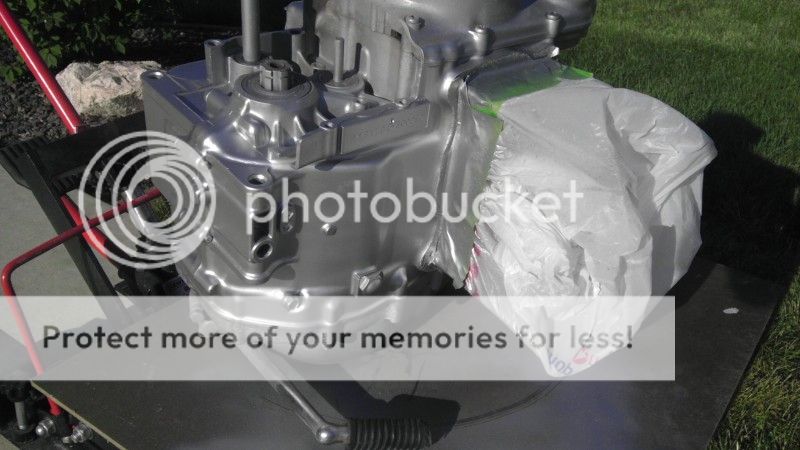
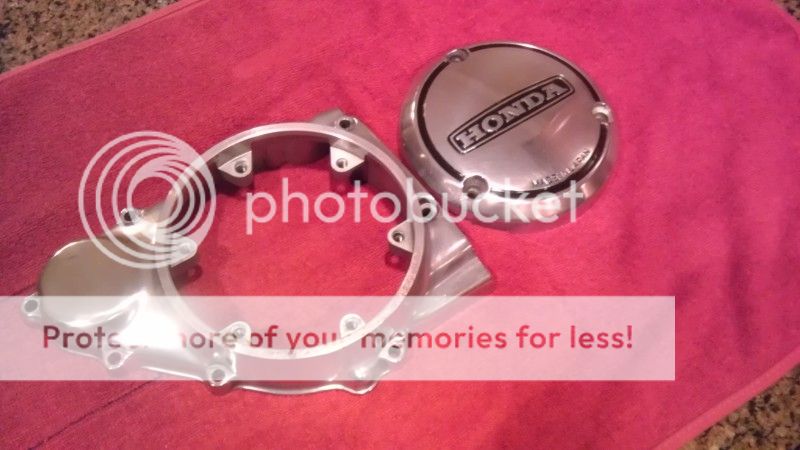
Got all the old paint a greasy stuff off my engine and got some paint on the crank case. Engine covers will come off this weekend and I'll get them stripped sanded and polished. Rings and spring compressor should be here next week. And I'll get all the gaskets replaced and the engine reassembled.
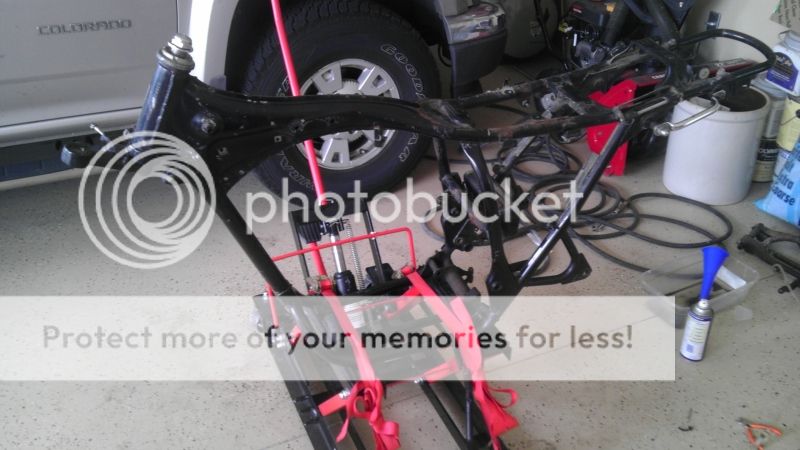
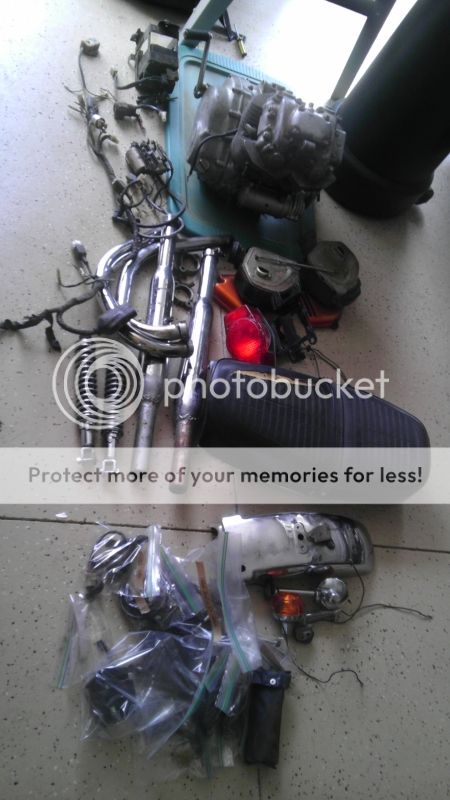
Crazypj sent me a pleasing message today, he got my super funky carbs sorted out and ready to send back... Can't wait to get this thing running again. But that will have to wait for a bit. I'll tarp the motor after its assembled. Then I'll get back on the frame and get it ready for powder. ( prob need to get the seat fabricated first though.) Lots to do... Need to start a punch list.
This site uses cookies to help personalise content, tailor your experience and to keep you logged in if you register.
By continuing to use this site, you are consenting to our use of cookies.


")