7aliveatlast7
the bearded hessian
Floyd650 said:Hey. I see that you spend a lot of your personal time sitting in front of your computer posting on this board (Over 4000 times in just two years!). I don't spend a lot of time on the computer or the internet, so I have never had to deal with someone posting unsolicited and generally negative comments about my work. Rather than get into a posting argument on a public board with you, I'm going to PM you my phone number. If you feel so compelled by what you see here that you need to tell me what I'm doing wrong, by all means call me. Or, given that you are in Grants Pass, OR, next time you ride your motorcycle to Portland, why don't you swing on by my shop in person and tell me. Otherwise, to quote everyone's mother: "If you don't have anything nice to say, don't say anything at all."
Or, maybe don't read my thread...
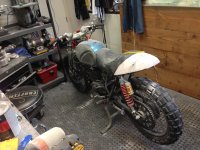
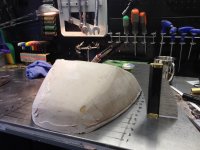
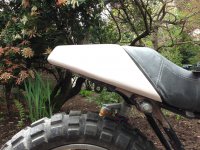
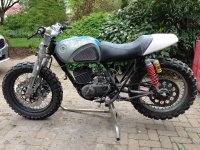
In any case, to the presumed relief of other readers, I'll be ignoring you while I build my bike.
Thanks,
Alex
Hahahaha, YESSSSS!