K
Kamn
Guest
So I have had a few people ask to start a thread on the Bow Im building.
The goal is to have a 60" recurve bow with a draw weight of 30#'s @ 28"'s of draw.
Also, note that this is my first ever build, I have never done this before so Im learning as I go BUT I have spent the past 2 months reading every piece of info I could find on this subject trying to give myself a bit of a head start before I laminate anything.
I like traditional recurve bows and long bows that are made from multiple laminations of wood and fibreglass.....they are works of art in design and style and you can be unique with what you build from materials to shapes and lengths. Plus, they can be used for hunting and what better than hunting with a bow you made.
So lets get started,
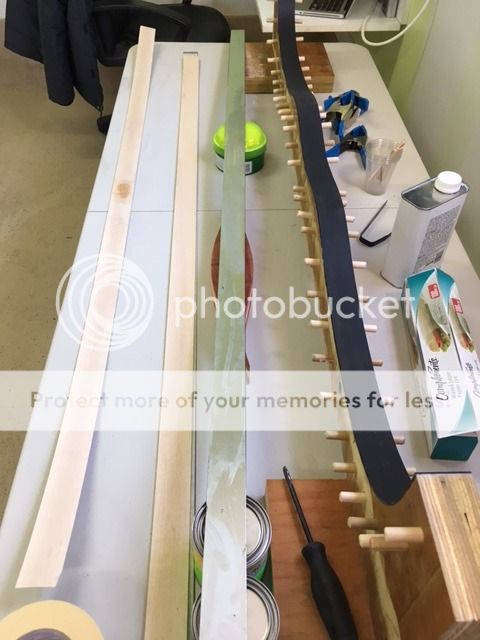
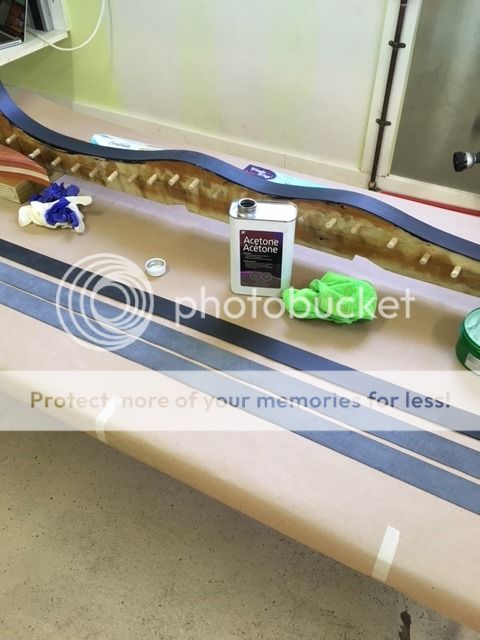
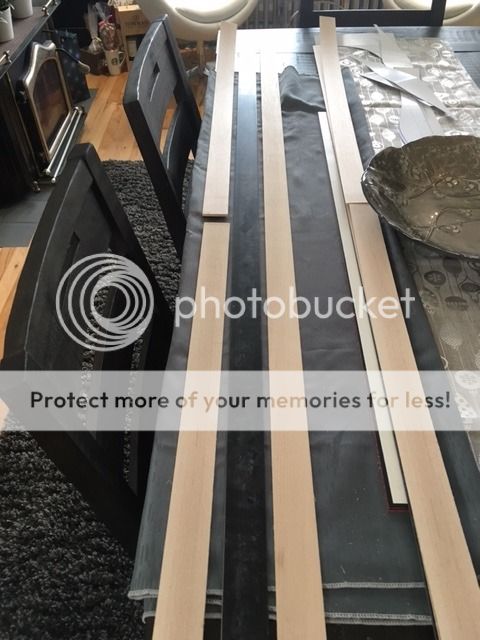
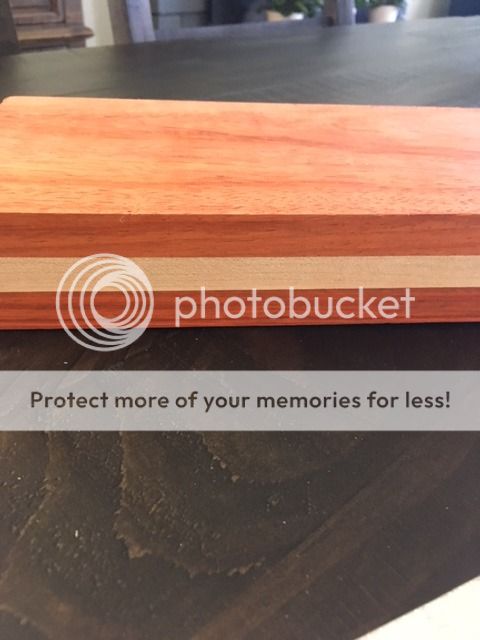
Limb Materials for this bow are 2 layers of Black fibreglass(72") that are .030" thick each (.060 total), 1 parallel(72") Hard Maple lamination that is .080" thick, and 2 tapered(36") Hard Maple laminations that are .100" thick with a .002 taper. The riser (handle) is made from 2 pieces of Padauk with a piece of Curly Maple sandwiched in the centre.
Limb Materials (left side of table)
Riser glued up
What has to happen is, the limb materials need to be sandwiched around the riser with epoxy in a form and then baked for 4 to 6 hours. In the form it will be 1 layer of glass, 1 parallel lamination, the riser, the 2 tapered laminations (glued butt to butt and layed length wise with tapered portion going to the tip of the bow), and then the final layer of glass.
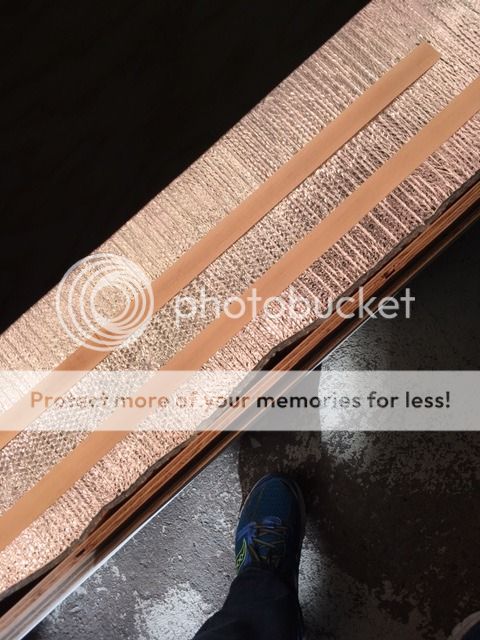
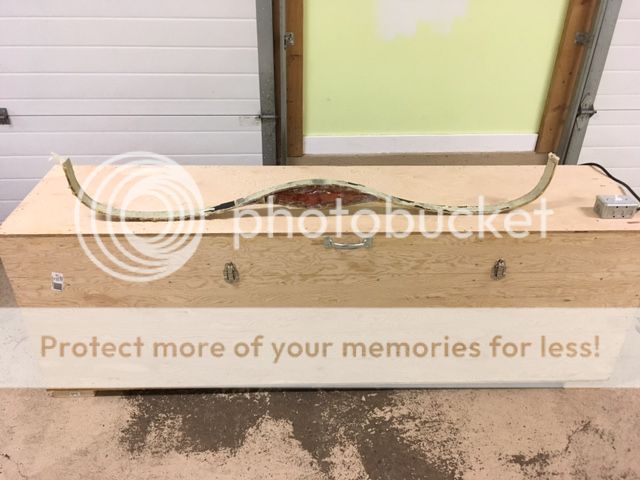
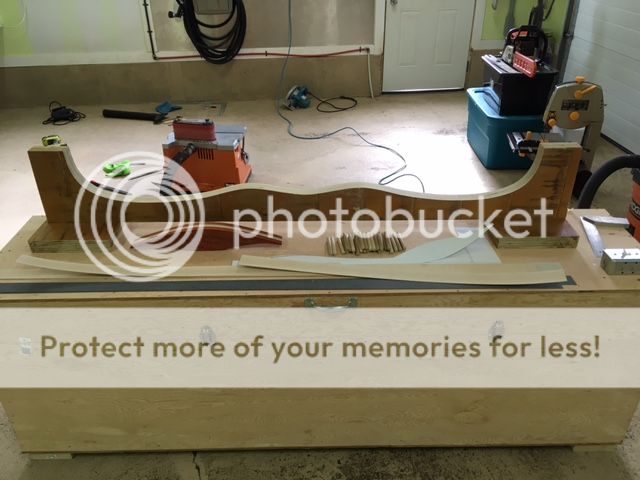
The form needs to be 1-3/4" thick since this is the thickness I like as well as the material width I ordered. Most guys will glue up sheets of plywood to that thickness but I just ordered an 8' length of 1-3/4" x 9-1/4" LVL......they come really straight and no glueing required. I made a template on a heavy sheet of card stock

I used a Bear Grizzly 58" recurve for this template but changed the riser shape a lot and then stretched the limb area 1" to bring the bow to 60"s. The template is just half the actual bow, its easier to manage. Then squaring up some lines along the LVL for bottom and centre (this keeps the template even side to side), I copied that onto the LVL and cut out with a jigsaw an 1/8" away from the lines to leave space to do final shaping on a spindle/belt sander.
also cut out the riser and shaped on the sander
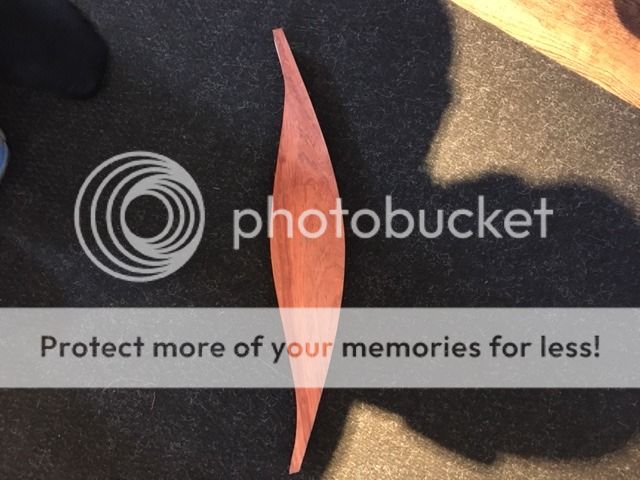
Then did some more shaping and fitting of the two
[/img]http://i1284.photobucket.com/albums/a573/Kamn1/IMG_1518_zpsajvdlifp.jpg[/img]
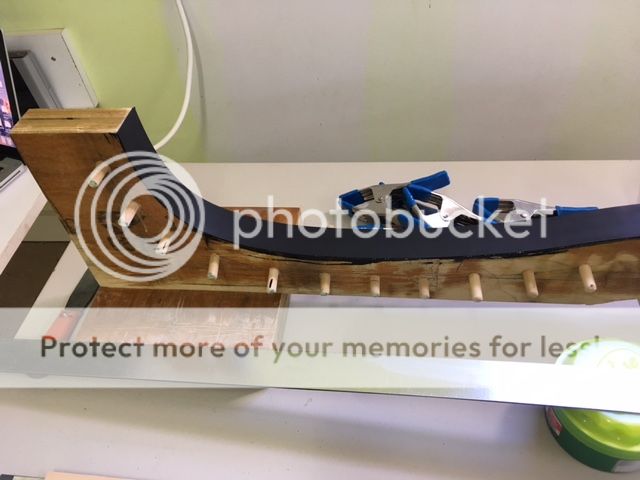
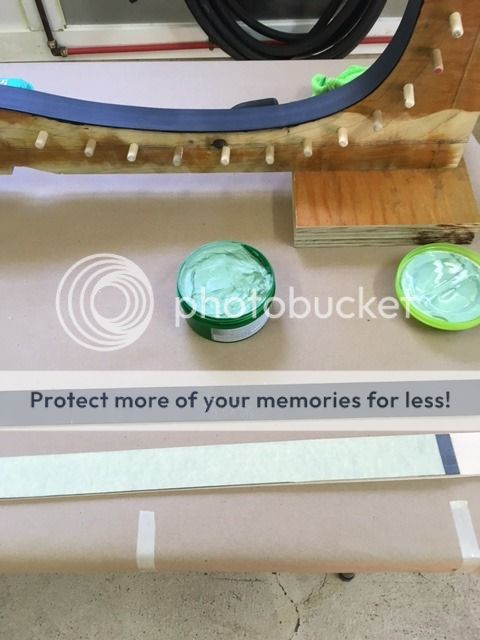
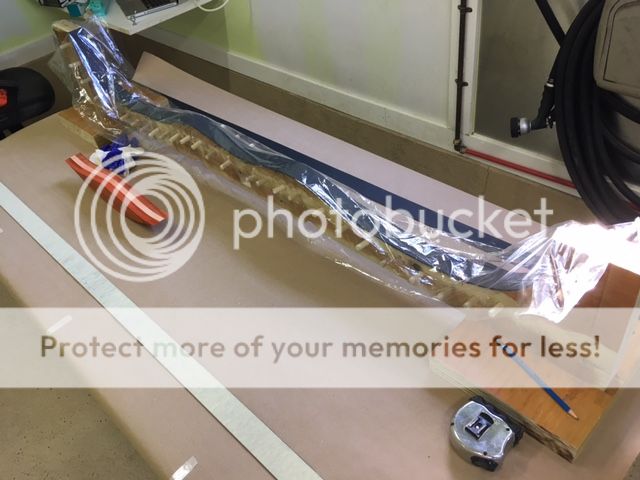
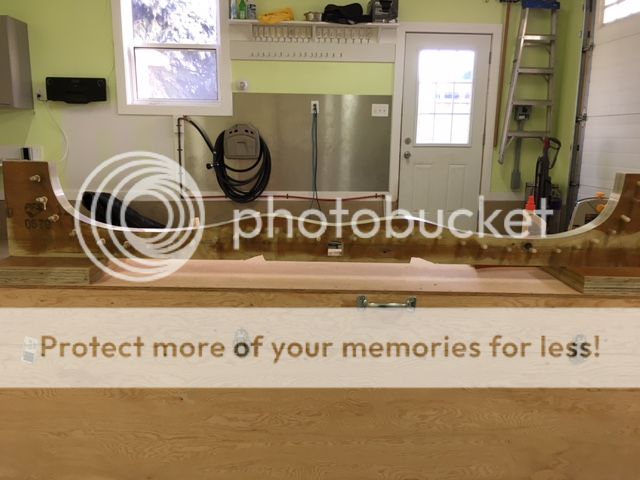
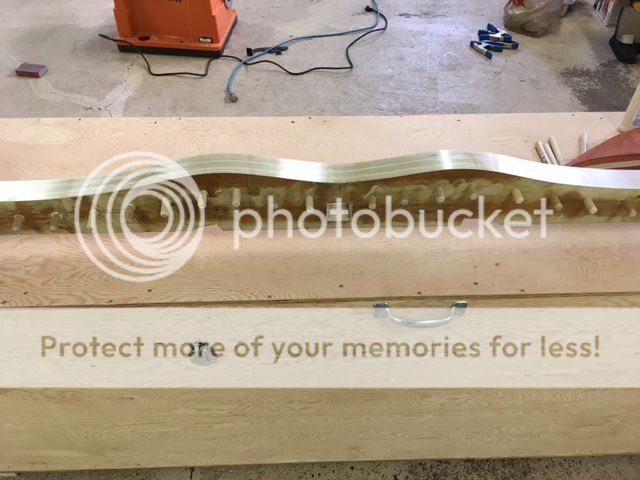
The thing about the form is that the surface must be smooth and level throughout otherwise the bow can be formed with a twist or really badly aligned.
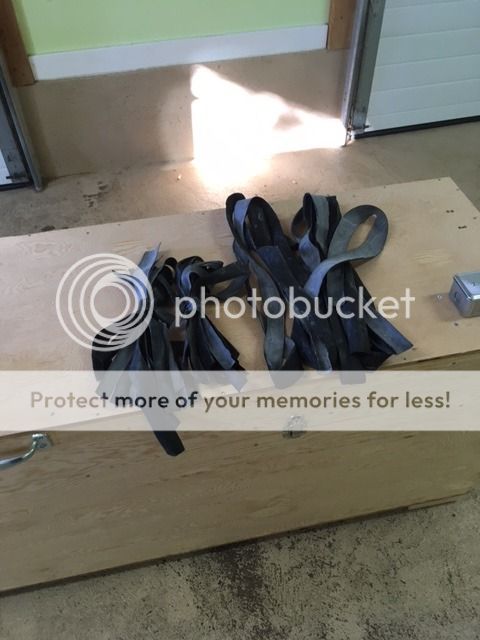
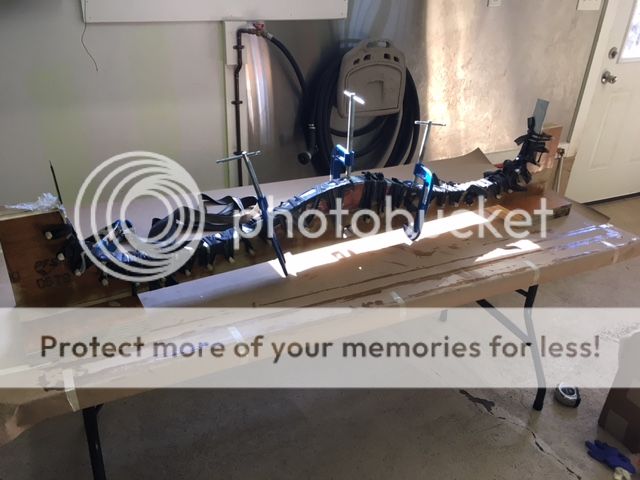
Then when I felt it was ready, I glued up melamine onto the form for a smooth flat surface and added pins throughout so I could strap the bow down with heavy rubber banding as well as I cutout for 3 c-clamps, one for the centre of the riser and 1 at each end of the riser where it fades into the limbs.
The Oven
when its all ready to go and the bow has been layed in the form and pressured down, the epoxy that keeps it all together needs to be heated for proper curing, so you need to make a oven for the bow.
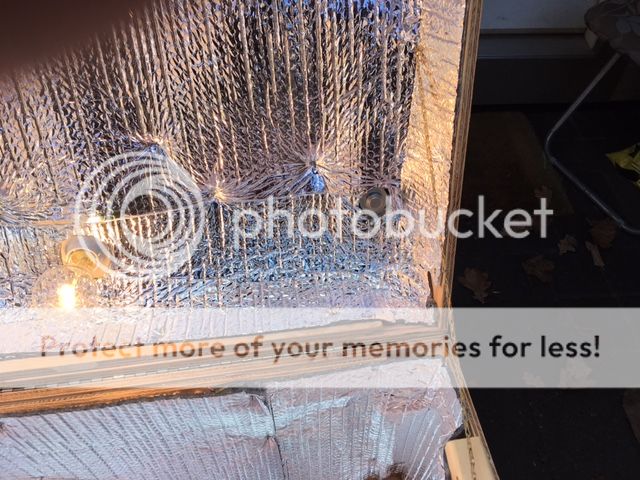
Its made from 1/2" plywood, some 1x2's, screws, a little glue, reflective insulation, and the heat comes from 4 - 200watt light bulbs.
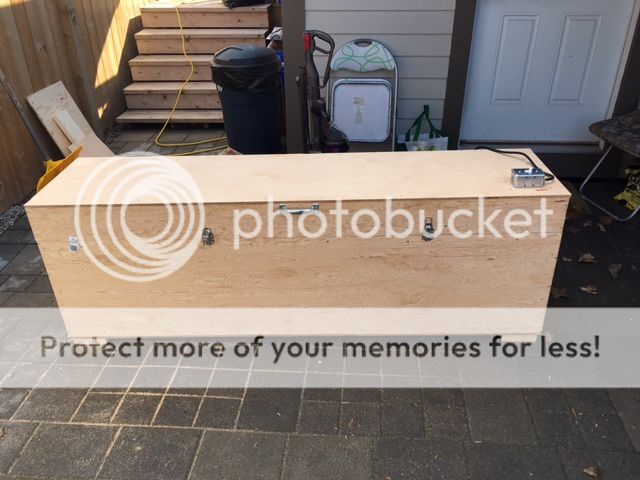
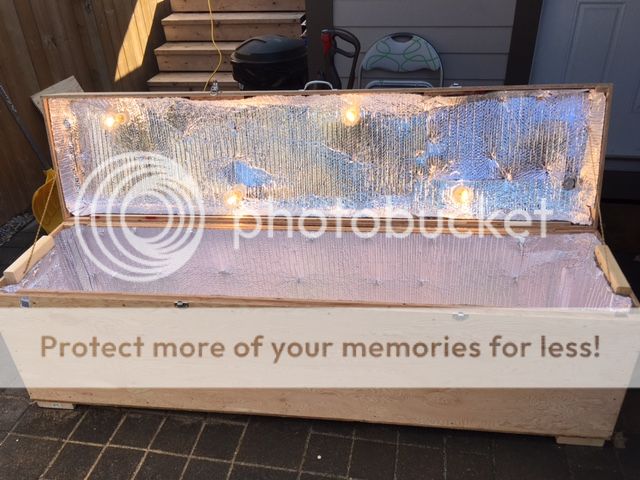
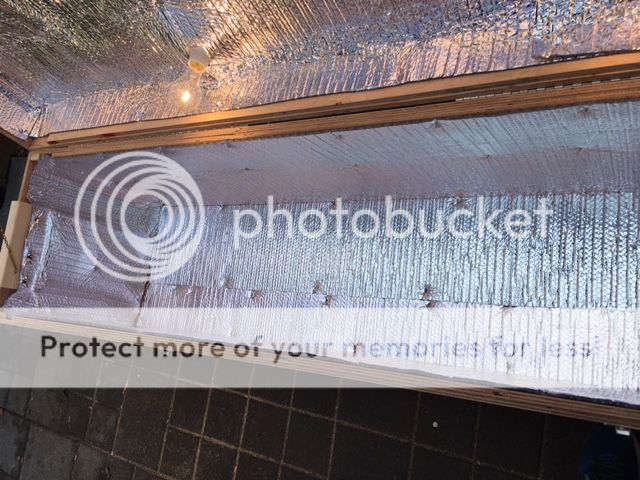
and I added a thermostat switch that cuts out at 150 degrees Fahrenheit.......dont need any more heat than that
The oven cost a bit up front but its a one time cost that gets used over and over
I will post more as it comes, but thats what I have for now
If you are looking to do a project like this, materials and plans can be had from places like Binghams
The goal is to have a 60" recurve bow with a draw weight of 30#'s @ 28"'s of draw.
Also, note that this is my first ever build, I have never done this before so Im learning as I go BUT I have spent the past 2 months reading every piece of info I could find on this subject trying to give myself a bit of a head start before I laminate anything.
I like traditional recurve bows and long bows that are made from multiple laminations of wood and fibreglass.....they are works of art in design and style and you can be unique with what you build from materials to shapes and lengths. Plus, they can be used for hunting and what better than hunting with a bow you made.
So lets get started,
Limb Materials for this bow are 2 layers of Black fibreglass(72") that are .030" thick each (.060 total), 1 parallel(72") Hard Maple lamination that is .080" thick, and 2 tapered(36") Hard Maple laminations that are .100" thick with a .002 taper. The riser (handle) is made from 2 pieces of Padauk with a piece of Curly Maple sandwiched in the centre.
Limb Materials (left side of table)
Riser glued up
What has to happen is, the limb materials need to be sandwiched around the riser with epoxy in a form and then baked for 4 to 6 hours. In the form it will be 1 layer of glass, 1 parallel lamination, the riser, the 2 tapered laminations (glued butt to butt and layed length wise with tapered portion going to the tip of the bow), and then the final layer of glass.
The form needs to be 1-3/4" thick since this is the thickness I like as well as the material width I ordered. Most guys will glue up sheets of plywood to that thickness but I just ordered an 8' length of 1-3/4" x 9-1/4" LVL......they come really straight and no glueing required. I made a template on a heavy sheet of card stock
I used a Bear Grizzly 58" recurve for this template but changed the riser shape a lot and then stretched the limb area 1" to bring the bow to 60"s. The template is just half the actual bow, its easier to manage. Then squaring up some lines along the LVL for bottom and centre (this keeps the template even side to side), I copied that onto the LVL and cut out with a jigsaw an 1/8" away from the lines to leave space to do final shaping on a spindle/belt sander.
also cut out the riser and shaped on the sander
Then did some more shaping and fitting of the two
[/img]http://i1284.photobucket.com/albums/a573/Kamn1/IMG_1518_zpsajvdlifp.jpg[/img]
The thing about the form is that the surface must be smooth and level throughout otherwise the bow can be formed with a twist or really badly aligned.
Then when I felt it was ready, I glued up melamine onto the form for a smooth flat surface and added pins throughout so I could strap the bow down with heavy rubber banding as well as I cutout for 3 c-clamps, one for the centre of the riser and 1 at each end of the riser where it fades into the limbs.
The Oven
when its all ready to go and the bow has been layed in the form and pressured down, the epoxy that keeps it all together needs to be heated for proper curing, so you need to make a oven for the bow.
Its made from 1/2" plywood, some 1x2's, screws, a little glue, reflective insulation, and the heat comes from 4 - 200watt light bulbs.
and I added a thermostat switch that cuts out at 150 degrees Fahrenheit.......dont need any more heat than that
The oven cost a bit up front but its a one time cost that gets used over and over
I will post more as it comes, but thats what I have for now
If you are looking to do a project like this, materials and plans can be had from places like Binghams