CJsCB360 - Cafe Project

CJcochran

No pain, no gain
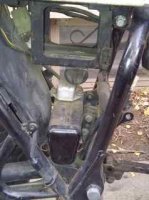
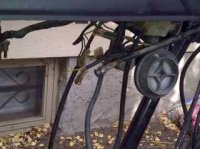
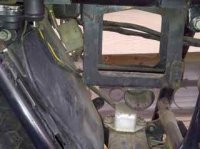
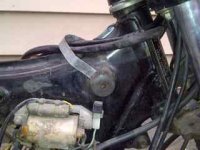
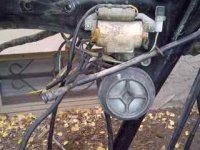
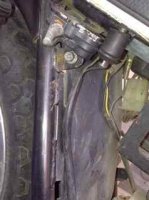
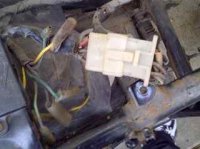
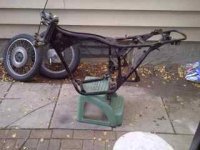
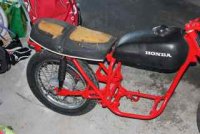
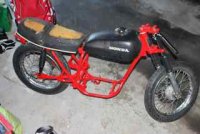
Here we go....picked up a 1975 CB 360 off a local guy for 500$. He had tried to get started on a cafe project, but never got to do much with it.

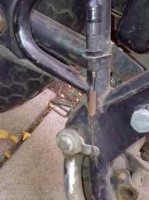
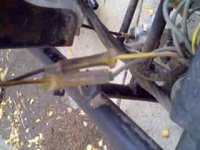
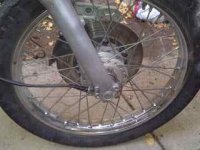
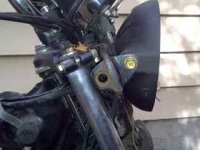
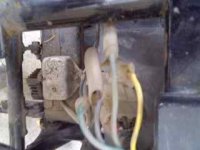
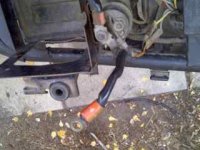
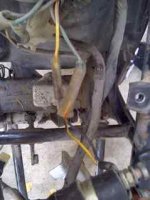
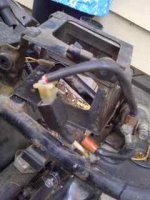
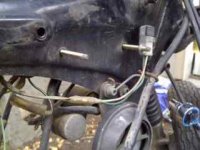
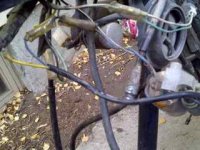
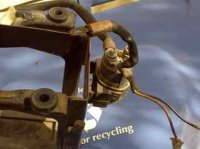
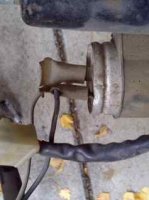
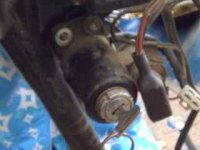
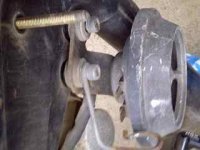
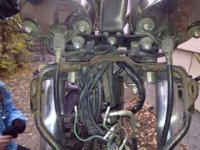
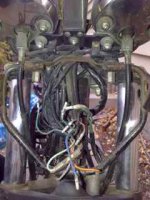
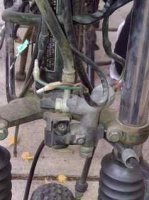
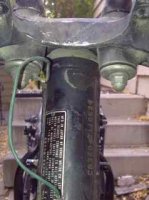
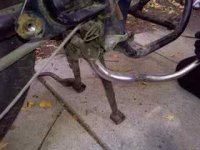
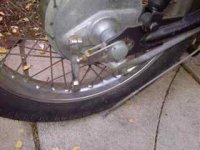
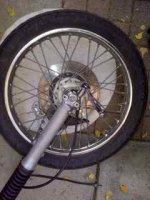
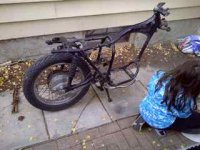
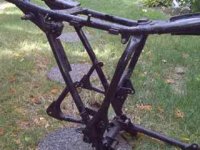
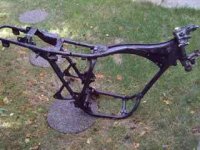
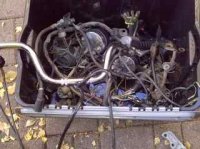
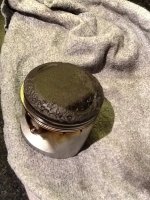
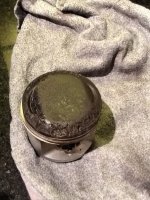
So we took loads of pictures while tearing apart. Might be good reference someday.

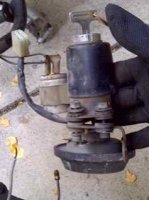
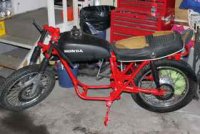
Have two engines which I will make into 1. The end product will be a cool little cafe/city bike to get around and ride regularly to and from the office.

I have learned a buch from many of you, time to pay it forward. Stay tuned.
 

Attachments

  • CB360 Rolling Chassis.jpg
    CB360 Rolling Chassis.jpg
    23.7 KB · Views: 258
The bike was stripped down. Used a grinder to get all the little tabs I did not want to give us the clean(er) look.

Used a few cans of spray to give the frame a 3-4 layers of paint. Did the work outside and in the garage, then stored the frame by the furnace in the basement for a couple of weeks to dry. Maybe not the best choice for durability, but it looks good and did the trick for a budget ride. Might need to revisit a couple of parts like the kick stand.

Have proceeded to clean up the wheels using a combo of super fine steel wool, dish soap, and water. I also found that Mother's mini power ball is great to clean up between the spokes.

Got a nice pair of chrome clip ons from Niche Supply.

For reference, I am going to keep the tank, but will use a proper cafe seat - I might make my own, but fear I don't have the patience to make it happen. Other option will be to purchase one from RCC.
 
Tearing down a CB360 (engine was already out)

Battery Box and Tool box, pegs, and brake assembly.
 

Attachments

  • CJsCB360 Teardown04.jpg
    CJsCB360 Teardown04.jpg
    13 KB · Views: 269
  • CJsCB360 Teardown06.jpg
    CJsCB360 Teardown06.jpg
    11.7 KB · Views: 244
  • CJsCB360 Teardown07.jpg
    CJsCB360 Teardown07.jpg
    13.1 KB · Views: 238
  • CJsCB360 Teardown08.jpg
    CJsCB360 Teardown08.jpg
    12 KB · Views: 253
Tearing down CB360
 

Attachments

  • CJsCB360 Teardown13.jpg
    CJsCB360 Teardown13.jpg
    12.3 KB · Views: 246
  • CJsCB360 Teardown12.jpg
    CJsCB360 Teardown12.jpg
    14.4 KB · Views: 259
  • CJsCB360 Teardown11.jpg
    CJsCB360 Teardown11.jpg
    11.7 KB · Views: 242
  • CJsCB360 Teardown10.jpg
    CJsCB360 Teardown10.jpg
    11.9 KB · Views: 257
Tearing down a CB360 - more as-is pictures.
 

Attachments

  • CJsCB360 Teardown18.jpg
    CJsCB360 Teardown18.jpg
    12.4 KB · Views: 252
  • CJsCB360 Teardown17.jpg
    CJsCB360 Teardown17.jpg
    13.7 KB · Views: 248
  • CJsCB360 Teardown15.jpg
    CJsCB360 Teardown15.jpg
    12.4 KB · Views: 248
  • CJsCB360 Teardown14.jpg
    CJsCB360 Teardown14.jpg
    11.4 KB · Views: 257
I was concerned that I might never figure out the electrical stuff...so took lots of shots.
 

Attachments

  • CJsCB360 Teardown19.jpg
    CJsCB360 Teardown19.jpg
    10.6 KB · Views: 240
  • CJsCB360 Teardown20.jpg
    CJsCB360 Teardown20.jpg
    13.2 KB · Views: 248
  • CJsCB360 Teardown21.jpg
    CJsCB360 Teardown21.jpg
    12.5 KB · Views: 250
  • CJsCB360 Teardown22.jpg
    CJsCB360 Teardown22.jpg
    12.9 KB · Views: 238
And more.
 

Attachments

  • CJsCB360 Teardown27.jpg
    CJsCB360 Teardown27.jpg
    12.7 KB · Views: 242
  • CJsCB360 Teardown26.jpg
    CJsCB360 Teardown26.jpg
    14.9 KB · Views: 250
  • CJsCB360 Teardown25.jpg
    CJsCB360 Teardown25.jpg
    11.8 KB · Views: 262
  • CJsCB360 Teardown24.jpg
    CJsCB360 Teardown24.jpg
    10.9 KB · Views: 246
Ignition lock.
 

Attachments

  • CJsCB360 Teardown33.jpg
    CJsCB360 Teardown33.jpg
    10.9 KB · Views: 231
  • CJsCB360 Teardown31.jpg
    CJsCB360 Teardown31.jpg
    12 KB · Views: 241
  • CJsCB360 Teardown30.jpg
    CJsCB360 Teardown30.jpg
    10.2 KB · Views: 239
  • CJsCB360 Teardown29.jpg
    CJsCB360 Teardown29.jpg
    11.1 KB · Views: 237
Making our way to the font.
 

Attachments

  • CJsCB360 Teardown44.jpg
    CJsCB360 Teardown44.jpg
    14.3 KB · Views: 237
  • CJsCB360 Teardown46.jpg
    CJsCB360 Teardown46.jpg
    14.2 KB · Views: 238
  • CJsCB360 Teardown48.jpg
    CJsCB360 Teardown48.jpg
    13.4 KB · Views: 230
  • CJsCB360 Teardown50.jpg
    CJsCB360 Teardown50.jpg
    12.4 KB · Views: 226
An aspiring mechanic makes an appearance.
 

Attachments

  • CJsCB360 Teardown59.jpg
    CJsCB360 Teardown59.jpg
    12 KB · Views: 244
  • CJsCB360 Teardown58.jpg
    CJsCB360 Teardown58.jpg
    12.1 KB · Views: 249
  • CJsCB360 Teardown57.jpg
    CJsCB360 Teardown57.jpg
    12.8 KB · Views: 230
  • CJsCB360 Teardown55.jpg
    CJsCB360 Teardown55.jpg
    13.6 KB · Views: 233
And we are done...well the tear down anyway....sigh the fun only begins.
 

Attachments

  • CJsCB360 Teardown64.jpg
    CJsCB360 Teardown64.jpg
    14.5 KB · Views: 238
  • CJsCB360 Teardown63.jpg
    CJsCB360 Teardown63.jpg
    14.3 KB · Views: 230
  • CJsCB360 Teardown61.jpg
    CJsCB360 Teardown61.jpg
    14.9 KB · Views: 236
  • CJsCB360 Teardown60.jpg
    CJsCB360 Teardown60.jpg
    12.3 KB · Views: 229
Back up to rolling stock.

Nothing is tight yet...just for satisfaction that it can be up and running in no time - Ha!. Regardless, nice to see.
 

Attachments

  • CJsCB360 Teardown66.jpg
    CJsCB360 Teardown66.jpg
    14 KB · Views: 240
  • CJsCB360 Teardown67.jpg
    CJsCB360 Teardown67.jpg
    13.5 KB · Views: 240
  • CJsCB360 Teardown68.jpg
    CJsCB360 Teardown68.jpg
    13.2 KB · Views: 244
  • CJsCB360 Teardown69.jpg
    CJsCB360 Teardown69.jpg
    12.9 KB · Views: 231
So, I have been tooling away with the engines - 1 that came with the frame (silver), another than I picked up for parts (black). The plan is to take the best of both engines to hopefully make a stronger engine...on the cheap. Well, I am pulling black apart (silver was mostly apart when I got the bike with the bill of work from the shop), the cylinder wall was cracked due to the chain tensioner blowing apart, and want to take the pistons...yeah right. #1 looked ok, but #2 is not ok...check it out.

Question, can I use 1 piston from black engine, and 1 piston from the silver engine? Or should I suck it up and buy a new pair of pistons?

CJ
 

Attachments

  • photo-1.JPG
    photo-1.JPG
    199.2 KB · Views: 201
  • photo-3.JPG
    photo-3.JPG
    193.2 KB · Views: 215
Thanks for posting pics. Mine was partially apart when I got it so I will definitely refer to your photos when trying to put mine back together
 
Those pistons look terrible. Just to be sure though, get the carbon cleaned off and post another pic. If they really are that pitted, they still make decent paper weights.
 
Looks like you have a pretty good build going on, I like the color choice on the frame. Gives it some pop! 8)
 
Sonreir said:
Those pistons look terrible. Just to be sure though, get the carbon cleaned off and post another pic. If they really are that pitted, they still make decent paper weights.

For sure. I cleaned them off. One is nice - so I might use. The other - Craters (that is not a crust, but crater). So I need to decide whether my alternate pistons are ok enough, or if I just find a need to suck it up and buy new ones.
 
Back
Top Bottom