CB360 Cafe

TheProspector

Active Member
Hey all, been following everyone else's builds for awhile, so I thought I'd start my own.


Saw this in CL last year, didn't know anything about CB360's (still don't... ha), but the engine wasn't frozen so I bought it cheap. I didn't know what my end result would be nor any plans to cafe it, just had been wanting a bike for awhile and something to build or fix up, which this definitely is. Reeeeally intimidated by all the wires, parts, and rust and not knowing where to start, I picked the easiest place I could think of, the gas tank. It was already unattached to anything and I thought I'd build up some confidence working my way down to the engine from there.


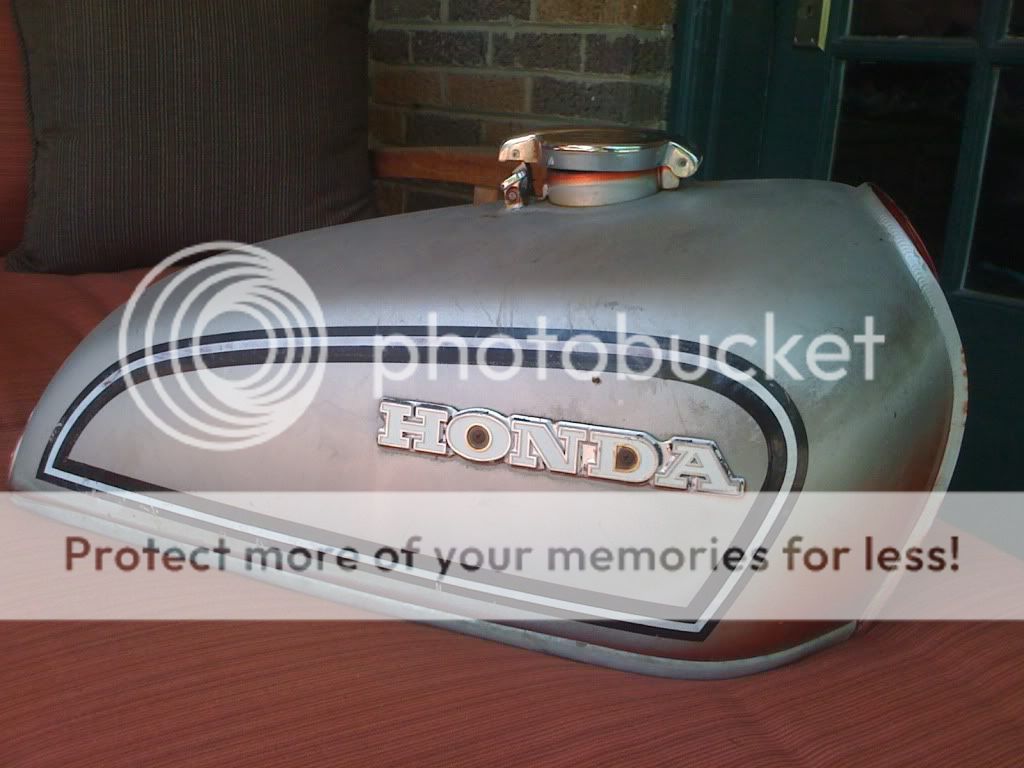
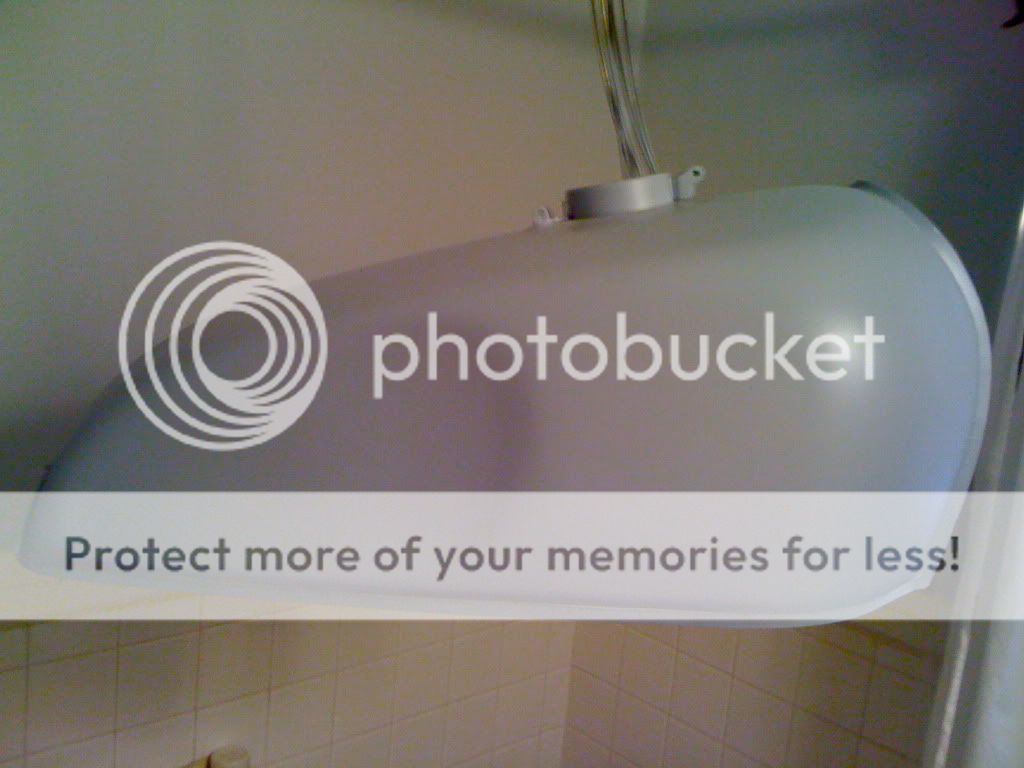
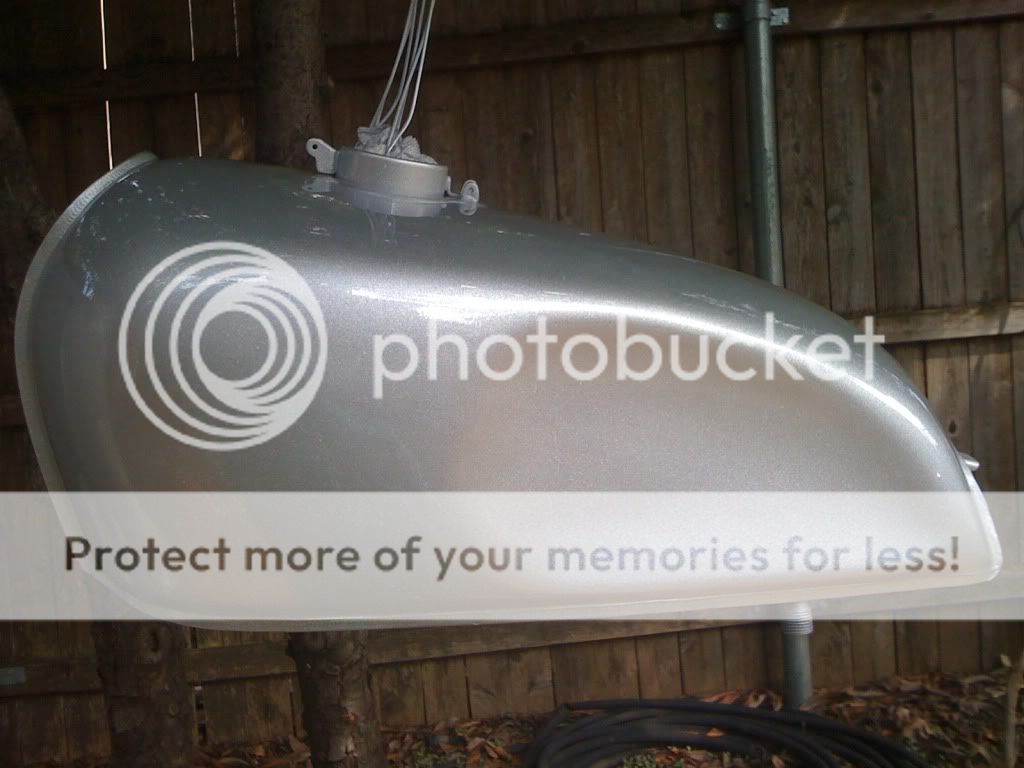
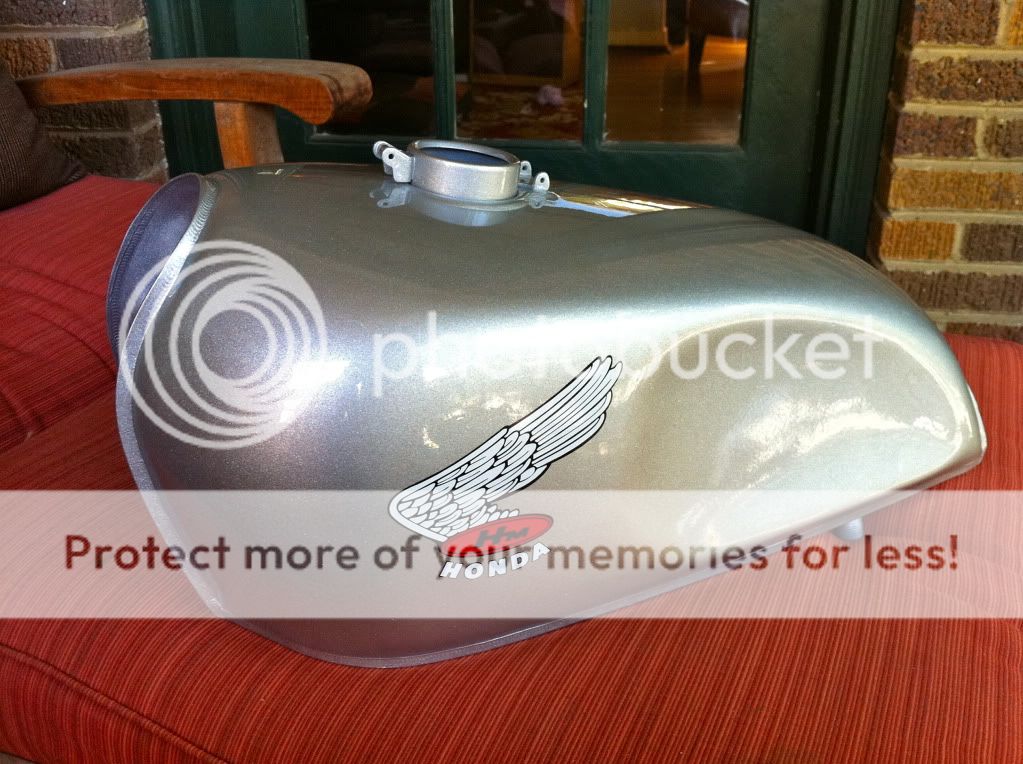
It was pretty rusty so I found a safe type of rust remover and made short work of it. Then hammered in the knee dents. Had no idea what I was doing, just drew my design onto it and went to town. Then dremeled the rusty trim tabs off underneath, body filler, sanding, filler primer, and primer. Researched the biggest rattle can metal flake I could find and came across Roth Rattlebombs, who had a silver metal flake. Also went with the two-part rattle can clear so I could minimize gasoline drip problems. The Rattlebombs come in a base and then topcoat. With every coat of paint, I thought I'd ruined it. Having never painted anything before, it was hard to know when I was doing something wrong, so it felt like I was doing everything wrong. Finally got the clear on, which made everything look so much better. Then the decal (I forget where I ordered it from). I still need to clear over the decal and do final wet sanding and polishing, but I'm pretty happy with it. I know it's far from perfect. It was hard getting the contours of the dents to look identical, so I did my best.


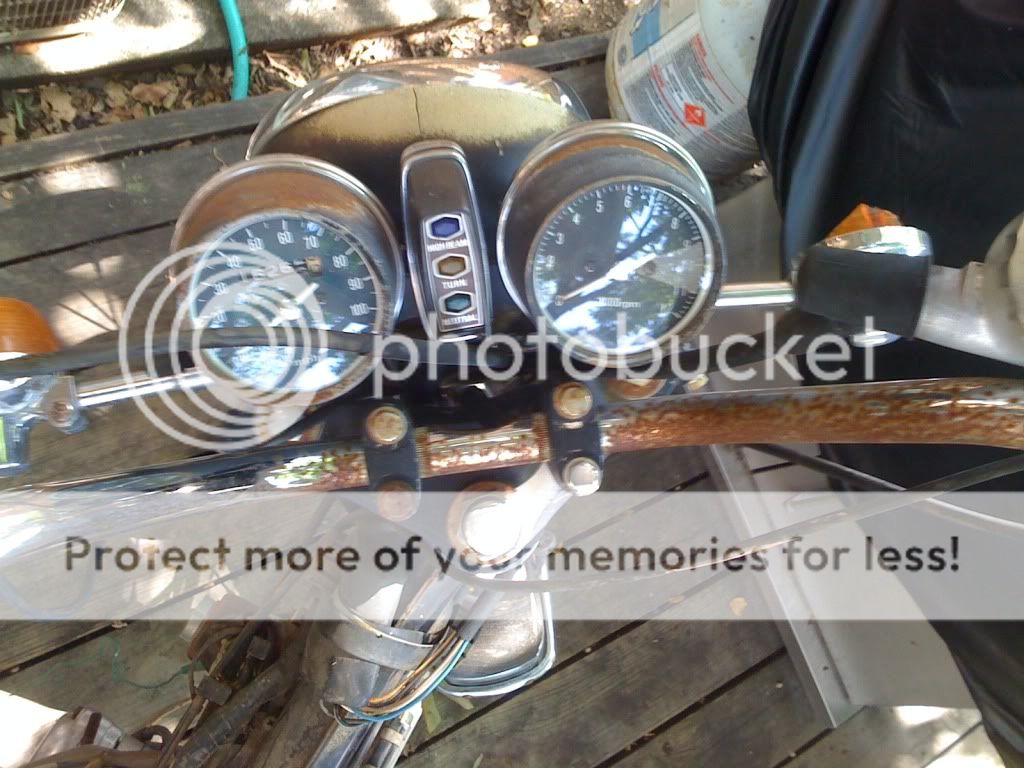
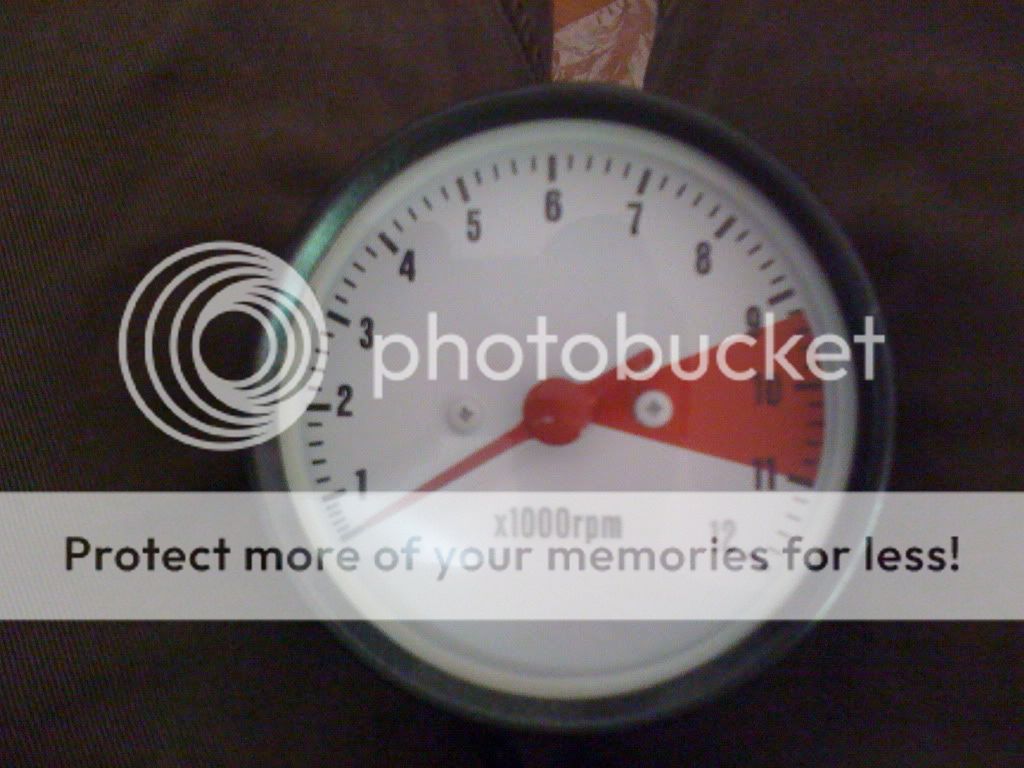
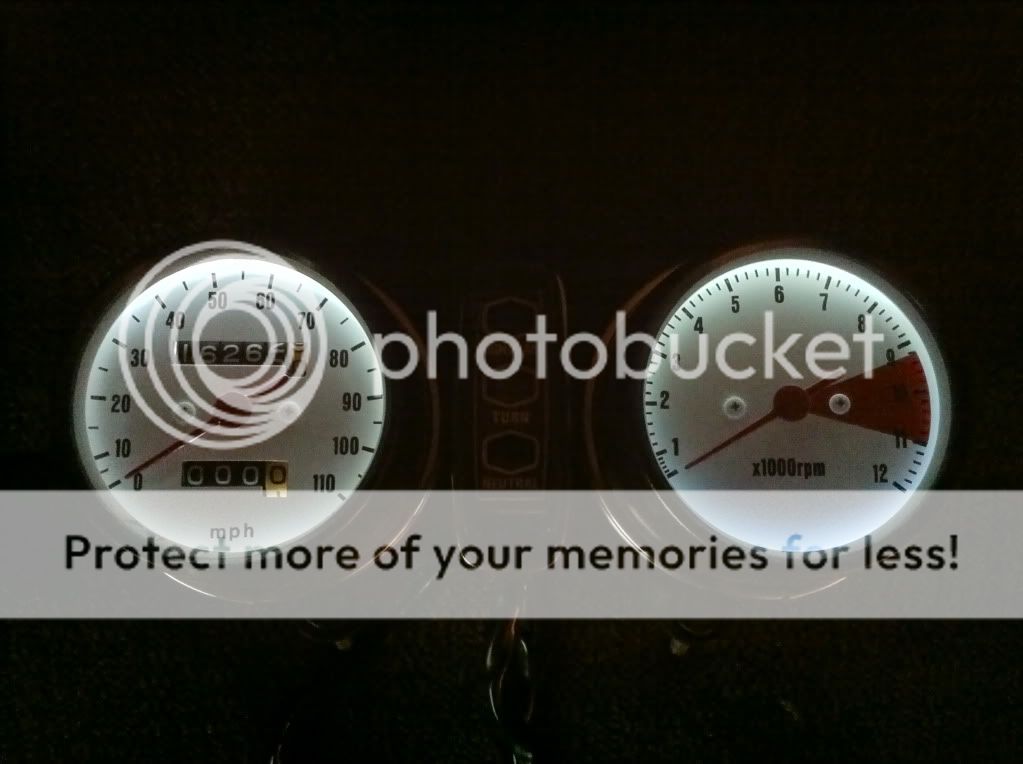
Also started getting the clocks sanded, torn apart, painted, new decals, new rubber seals, new leds. I'm really happy with how they turned out as well. I'm still not sure how I'm going to mount them, since I don't want them awkwardly being too tall.


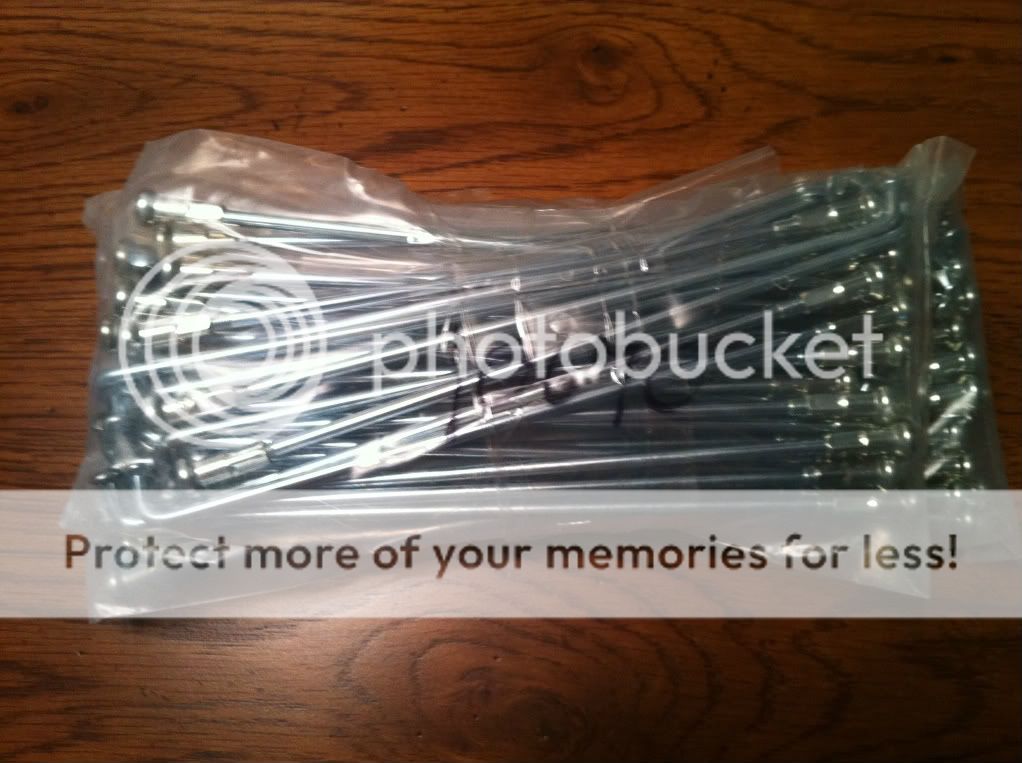
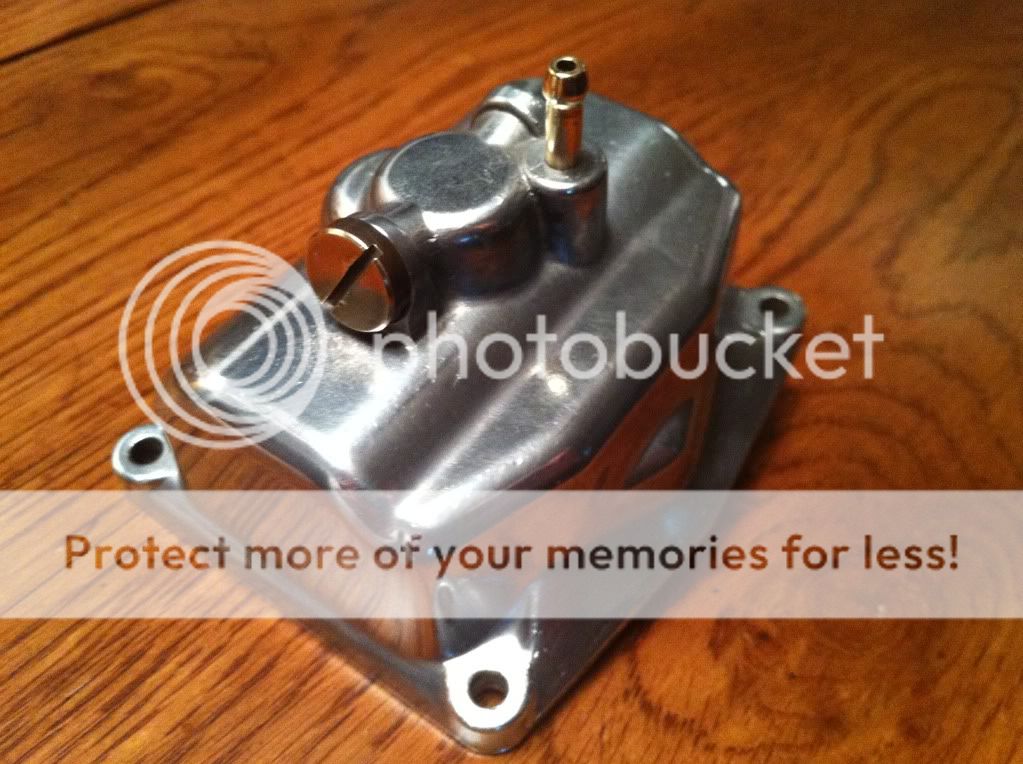
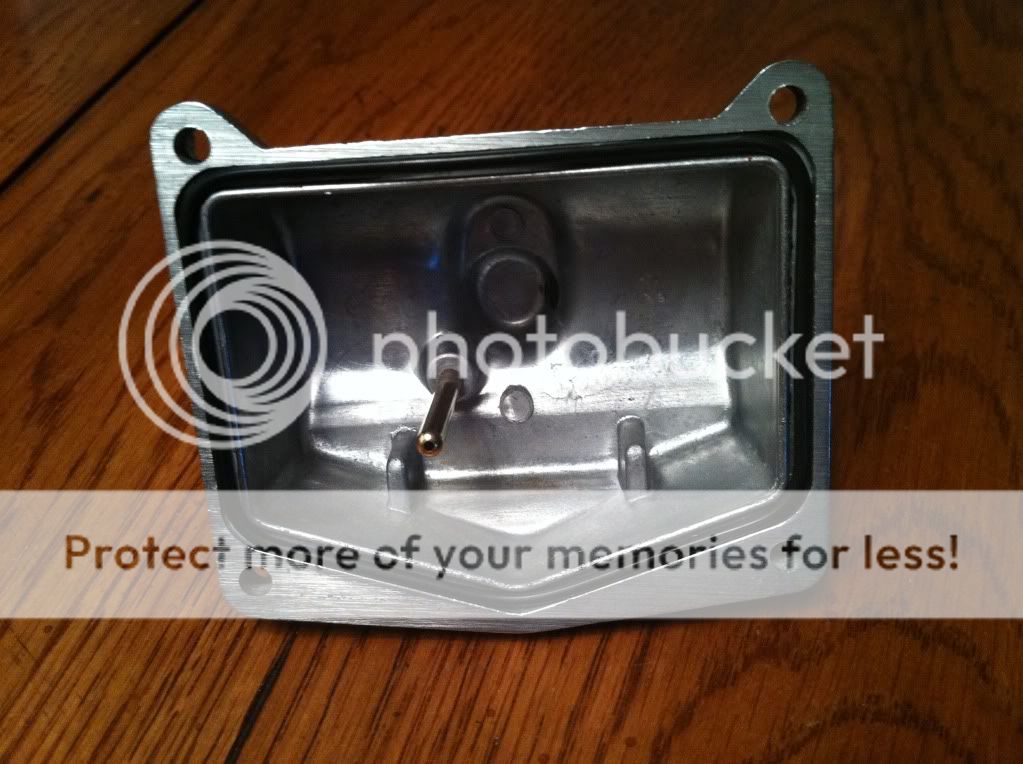
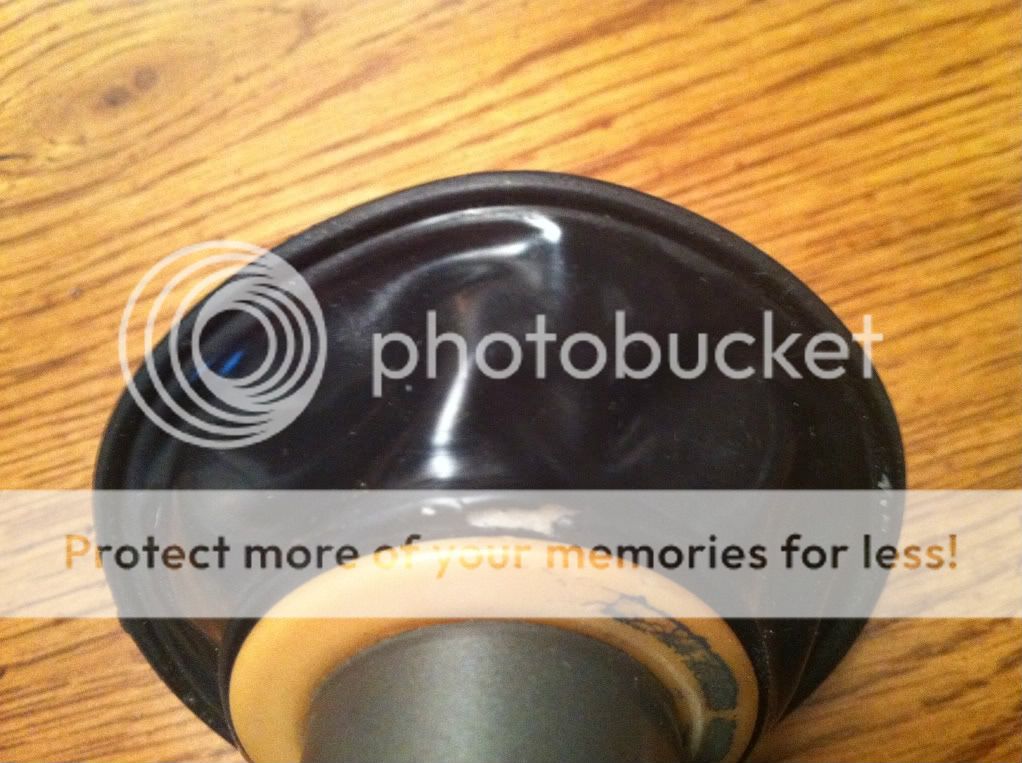
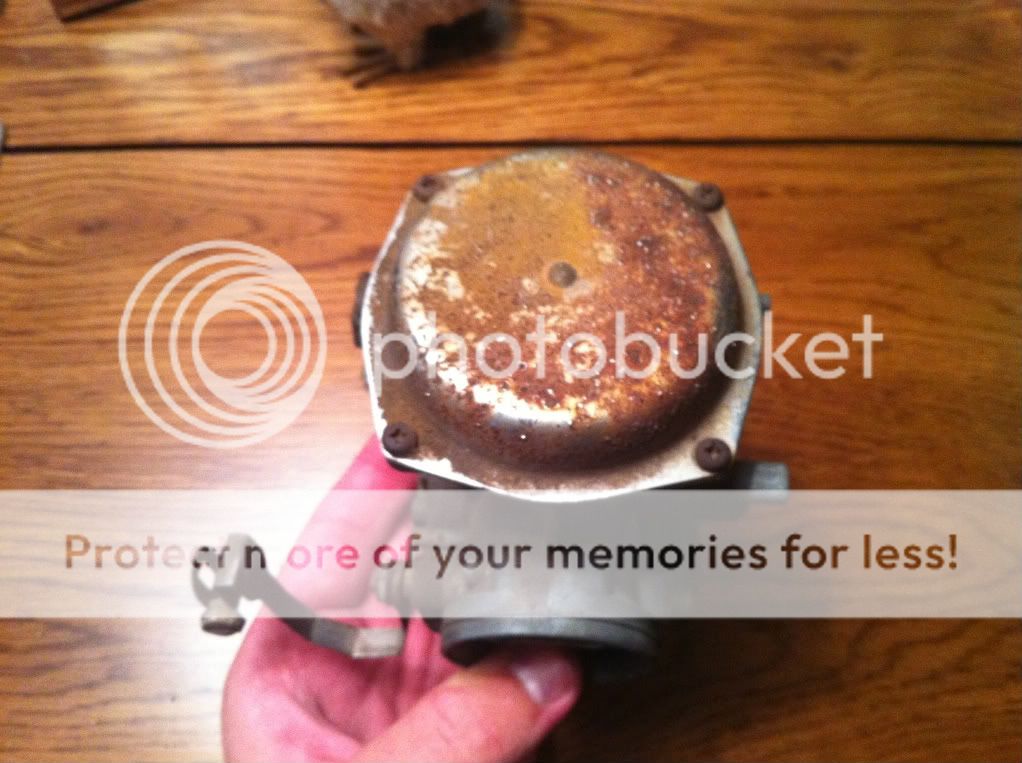
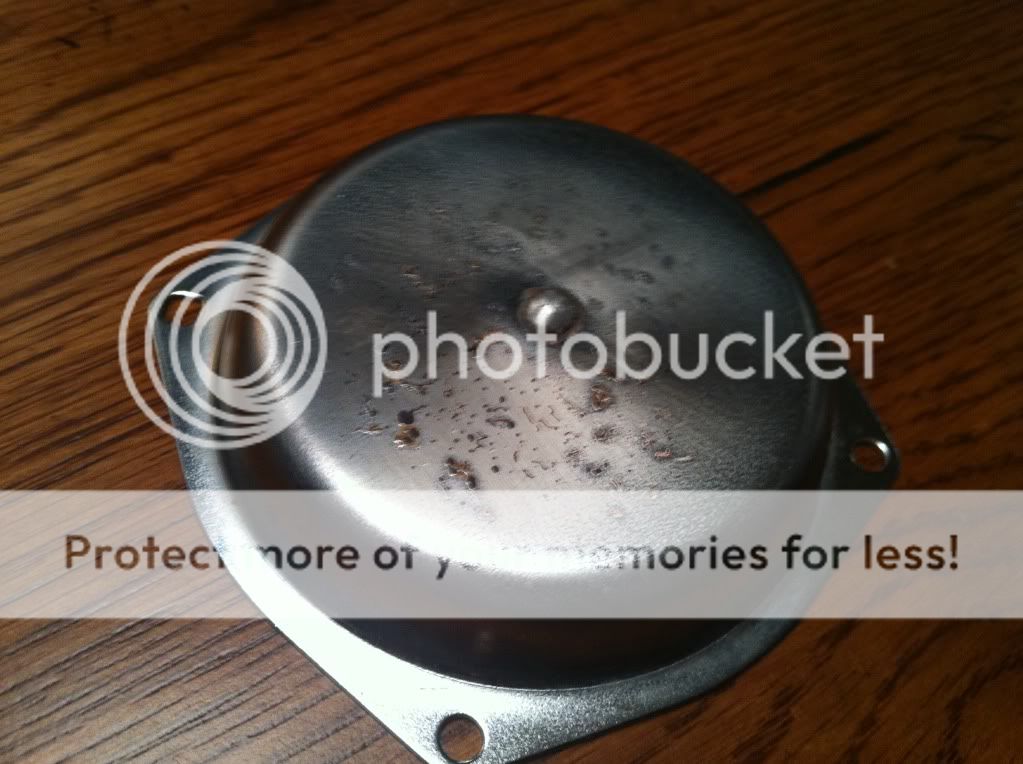
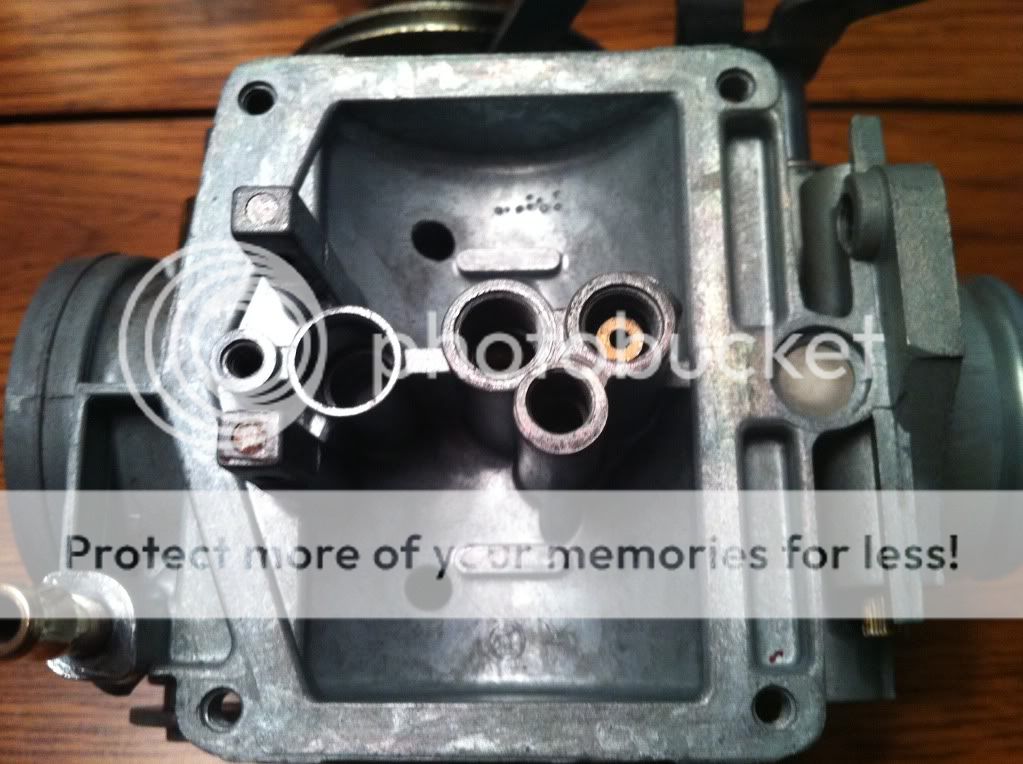
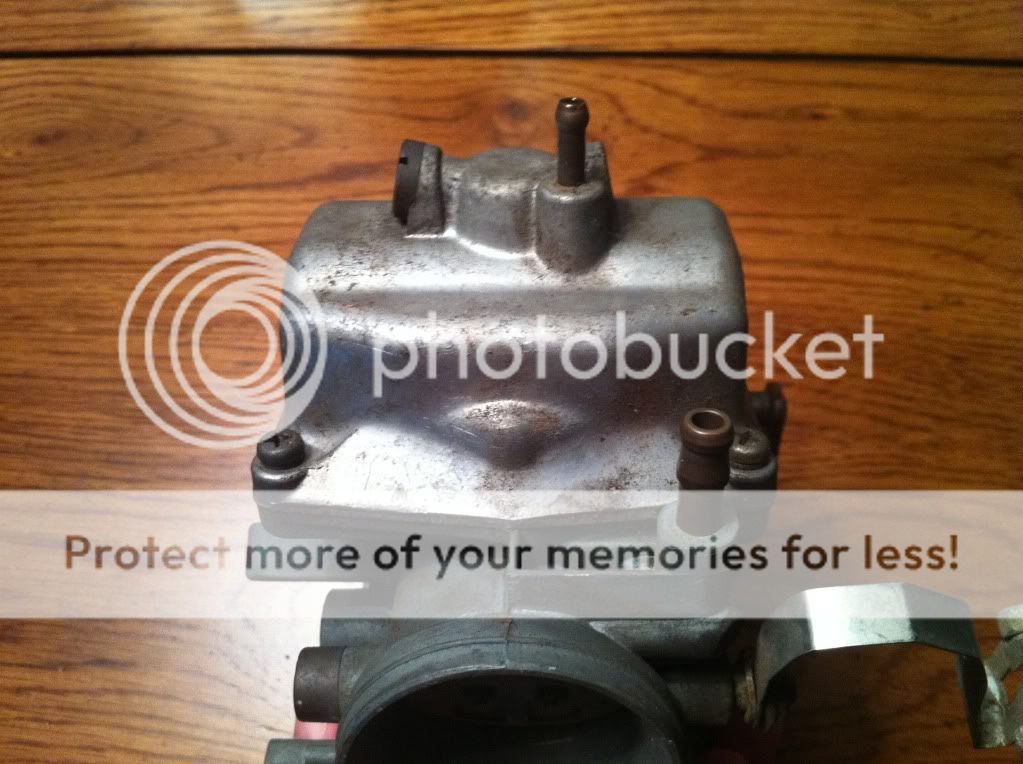
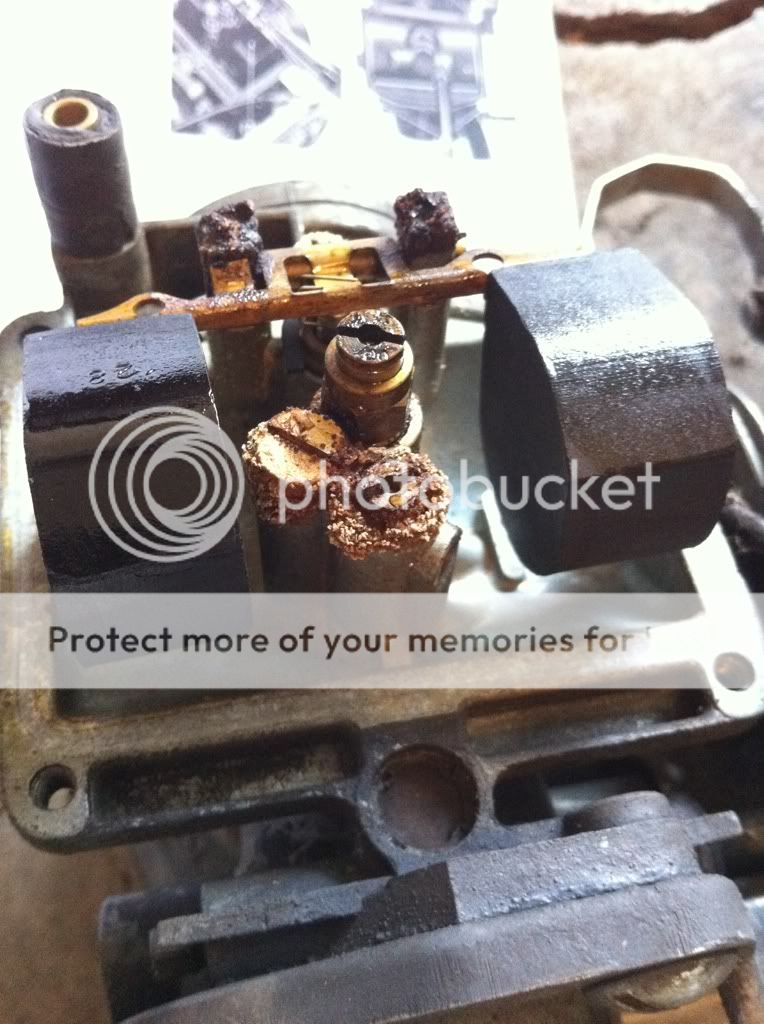
Have been ordering lots of parts as $ allows and rebuilding things. Am sooo frustrated because it seem with everything I try to unscrew, I break a frozen rusty bolt off. Awful...


Bike only came with a bill of sale, so I spent a day a few weeks ago and went through the steps to get it titled in TX. If anyone wants to know, it's a pretty easy process, just time consuming and I had to drive to 3 different places. Also required getting a surety bond. Anyway, wanted to make sure I had that before getting into the real nitty gritty and I'm happy to say the title arrived in the mail 2 days ago.


Anyway, I'll update more as I go, but here are some photos for now. Thanks so much for all of the inspiration!
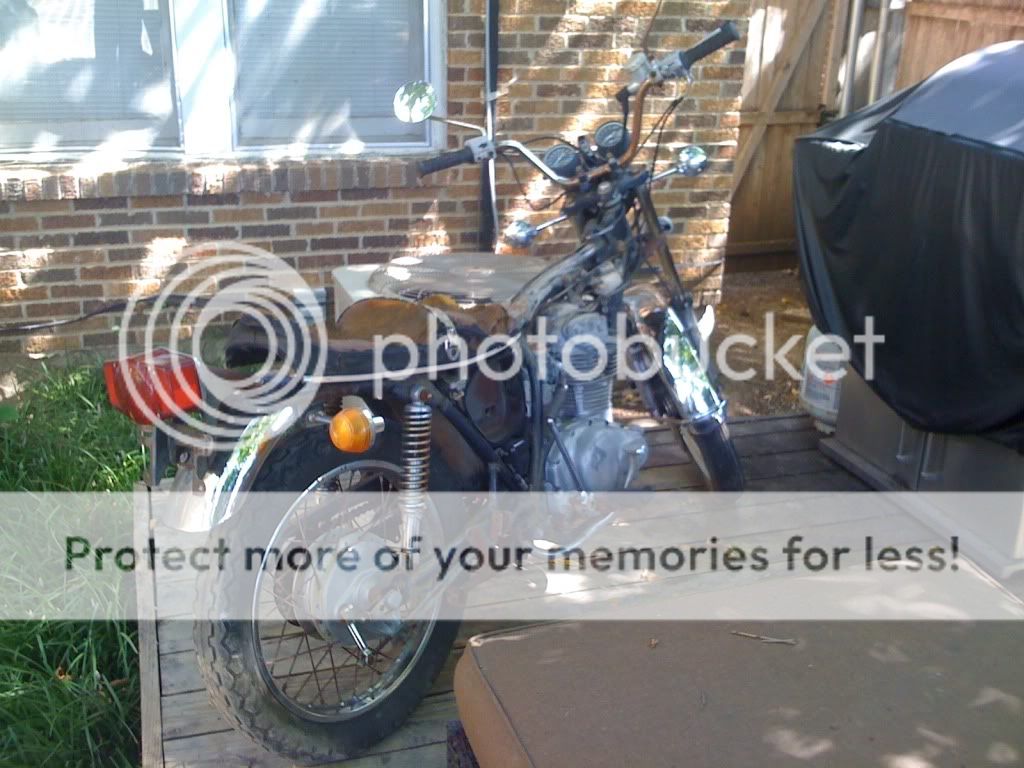
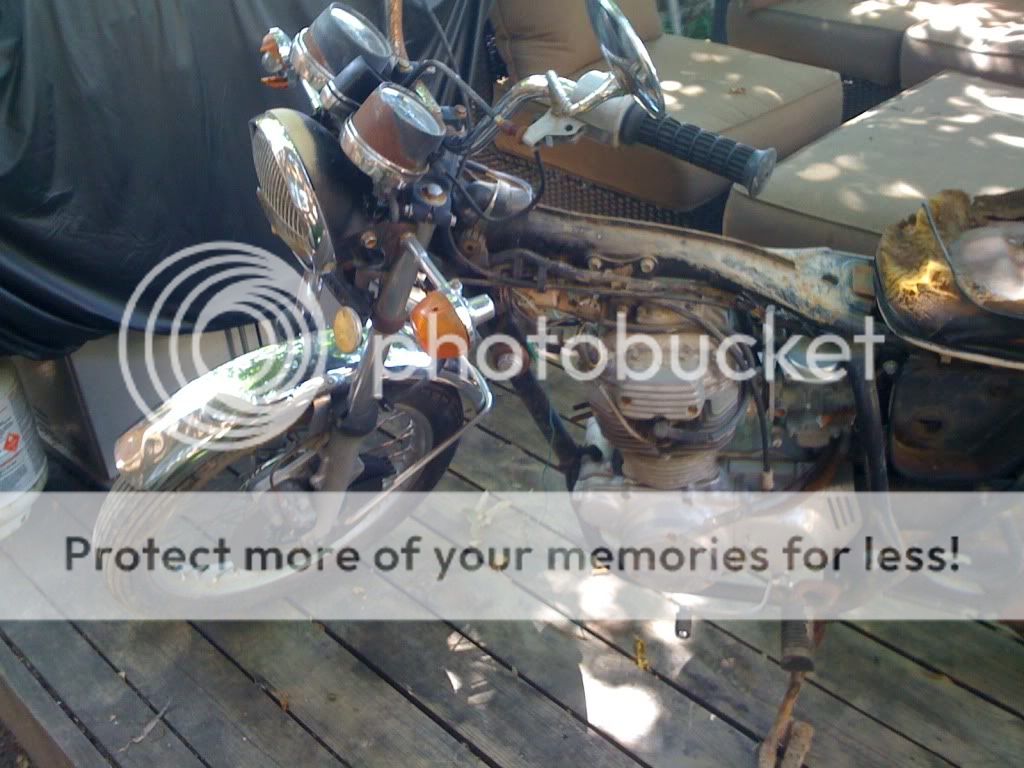

IMG_0008.jpg


IMG_0009.jpg


IMG_0004.jpg


IMG_0031.jpg


IMG_0142.jpg


IMG_3616.jpg


IMG_0010.jpg


IMG_0139.jpg


IMG_3709.jpg
 
Looks like it's gonna be a sweet lil project for you bro. Great job on the tank.
 
You picked the right bike to start with, simple to work on and parts easy to find. Your tank and gauges look fantastic! As for the frozen bolts Google Kroil (might be the best penetrating oil on earth) and be patient:) and remember to have fun.
 
Go get an impact screwdriver, looks like one of these, I swear I tell this to every new/old Honda owner.

http://www.harborfreight.com/impact-screwdriver-set-with-case-37530.html

That will help convince the nuts and bolts and screws that have been corroded in to move so to say. Rust and corrosion hate vibration, some times just tapping on said screw will loosen it. DO NOT ATTEMPT to take any of the screws out on that engine without it.

The wiring on these bikes is dead simple and if no one before you has hacked up it will be even easier, Honda used a color code that is the same practally on all the bikes of that time. They also THOUGHT about how the terminals are put together. Long story short, you shouldn't even need to label the wires when you take of and you just match apples to apple and oranges to oranges.

Rust on chrome can be cleaned off with 0000 grit steel wool and a light oil like WD-40 or PB Blaster.

Looks good so far, there are lots of guys in TX just depending on where you are. I'm across the border in OK. ;D
 
It's pretty simple to fashion a bracket for the gauges. Get a fairly thick piece of aluminum (or any light metal for that matter) and cut it to shape in order to mount it onto the upper triple. Here's the beginning fab stages of one I made for my 360, in brass.

229201_10150227447785159_734955158_8518101_3789718_n.jpg


This one only fits the speedo, though. So you may way to make yours a bit bigger.
 
nice bike, look like you have done a good job with the tank, and the gauges look good too!
just take it once step at a time, doesn't look too rusty tbh ive seen much worse. helps if you use the correct kit.
what's the plan then? any more pics?
Good luck!
Mark.
 
frogman: Thanks for the help! Yeah, I did get that exact impact driver. :) So far even after penetrating oil, I've managed to break a front fender mounting bolt off in the right fork, broke off one of the fuse box mounting bolts, broke off one of the master cylinder (which is frozen) mounting bolts... It's been pretty frustrating. It seems like in the past, some of the bolts were swapped out? For instance, all of the other 3 bolts holding the front fender on had no corrosion on them, but this last one was extremely rusty. Also, the left handlebar controller mounting screws were swapped out for bolts (I've seen other pictures and I think phillips heads were stock) and all are so rusted.

Yeah, it's funny how many 360's there are in TX! Mysta2 was nice enough to get a TX Crew meetup together recently, so I got to see some awesome bikes in person and it definitely feels good to have some friendly and helpful people close by that have been through the same thing.

66replica: Thanks man. Hopefully won't be too long. :)

Sonreir: Thanks for the post. Been following your build too, awesome work. I was thinking about grinding off the welded on bolts to the orig mounting bracket and just mounting it underneath instead of on top? Think that would work?
 
Also, everyone seems to name their bikes/builds... Was thinking either Tetanus or Lockjaw... ;)

frogman: Cool, I'm from Tulsa and travel up to OK quite a bit to visit family. You anywhere near there?
 
TheProspector said:
Sonreir: Thanks for the post. Been following your build too, awesome work. I was thinking about grinding off the welded on bolts to the orig mounting bracket and just mounting it underneath instead of on top? Think that would work?

Definitely. All it takes is a bit of time and patience. I've seen people mount these things into their headlight shells with just a bit of fiberglass and a lot of elbow grease. Wherever/however you decide to place them, just make sure all your linkage is OK and you'll be fine.

One other thing to mention, I made my bracket with the expectation it will have to be replaced as standard maintenance. I cut down on a lot of weight by using fairly thin brass. Unfortunately, due to my metal selection (brass doesn't like too much stress from vibrations, etc) and it's relative thinness, my mount won't last too long. I'm expecting it to last somewhere between a year or two before I have to make a new one.
 
I currently live just south of Chickasha, I work in Lawton actually am working on moving down there. Wife's family lives around Weatherford, TX so I'm all over. ;D
 
pugeyed said:
what's the plan then? any more pics?

Hey Mark, thanks for the kind words. As far as plans, I was going for a 70's Paul Smart Ducati look... We'll see how that turns out. No fairing, just thinking as far as the paint scheme goes with the silver flake tank and a light blue or turquoise frame. Just want something different from black for the frame. I bought some clip-ons and various other things like spokes, bearings, controls, etc... I'm getting ready to tackle the carbs and engine in the next week, so wish me luck!

Thanks for following everyone!
 
Don't forget to do a compression check before tearing into the motor. Don't open it up if you don't need to.


(Says the guy who's been through a 360 motor three times now)
 
Just a quick update. Ordered tires today (Avon AM26 RoadRiders 90/90-18 front, 100/90-18 rear) as well as tubes and rim strips from Dennis Kirk. Already have new spokes for both wheels from eBay (mine are were so rusty and pitted), new All Balls bearings for both as well as new rear brake pads...which is nice... :) So I'll be able to start taking them apart and cleaning 'em up.

Any ideas for getting the old spokes off? Was thinking the easiest way would be to cut them, but wasn't sure with what. Dremel? Seems tedious... I might be able to have access to big bolt cutters, but I thought I'd see if I could use something I have before borrowing.

Also, have been working on cleaning the carbs. So far I've taken one apart and it wasn't too bad. Have it almost cleaned up all of the way and polished the bowl. Looks nice. I was really surprised with how well it cleaned up. Found that my diaphragm is torn a little, so ordered a new pair from JBM Industries for just a hair over $40. Have new Honda gasket kits for them, so I was able to put the new rubber bits on there, which is good because the old ones were pretty dry. Everything looks clean, but have a question about the main nozzle. After unscrewing the primary main jet, am I supposed to be able to take out the main nozzle? It doesn't have a screw slot in it, just a hole, and it doesn't fall out, so I wasn't sure. I didn't want to try to force it in any way... The passageway looks clean, but figured since I was in there I'd go as far as I could and take it out if it comes out.

Also going to need to do something about diaphragm covers. I'm posting pics of before and after wet sanding... I'd like to paint it with something that will look like aluminum. Any experiences with paints anyone would care to share? Was thinking Duplicolor engine enamel in aluminum. Will it keep the rust at bay? Think it says no need to prime.

Thanks for any help and ideas.

837da5a6.jpg


f6b69b6d.jpg


Polished bowl. Not perfect, but perfect for me.
22c582e1.jpg


76213a68.jpg


Torn diaphragm
71ad4ef8.jpg


Before...
30302976.jpg


Wet sanded (could probably use a little more)
d521df06.jpg


This shows the main nozzle on the right. Just leave it be?
3388d5ec.jpg


Photos of the other carb I have yet to do. They were filthy...
f5a4b787.jpg


ab550aa7.jpg
 
Bolt cutters, can get a small set for not much money. I like having a master key around so I have a set or 2. ;)

Can tap that nozzle out from the slide side or use a dry wall screw and lightly screw it into the hole on that side and wiggle it out. Yes take them out and clean them and the hole they are in.
 
I just tore into my wife's carbs last night.. geez.... I can't even get the float off as the pin is completely seized... Probably going to just look for new floats and take a little more aggressive approach. read: Dremel.
 
Back
Top Bottom