
AWDimprezal
New Member
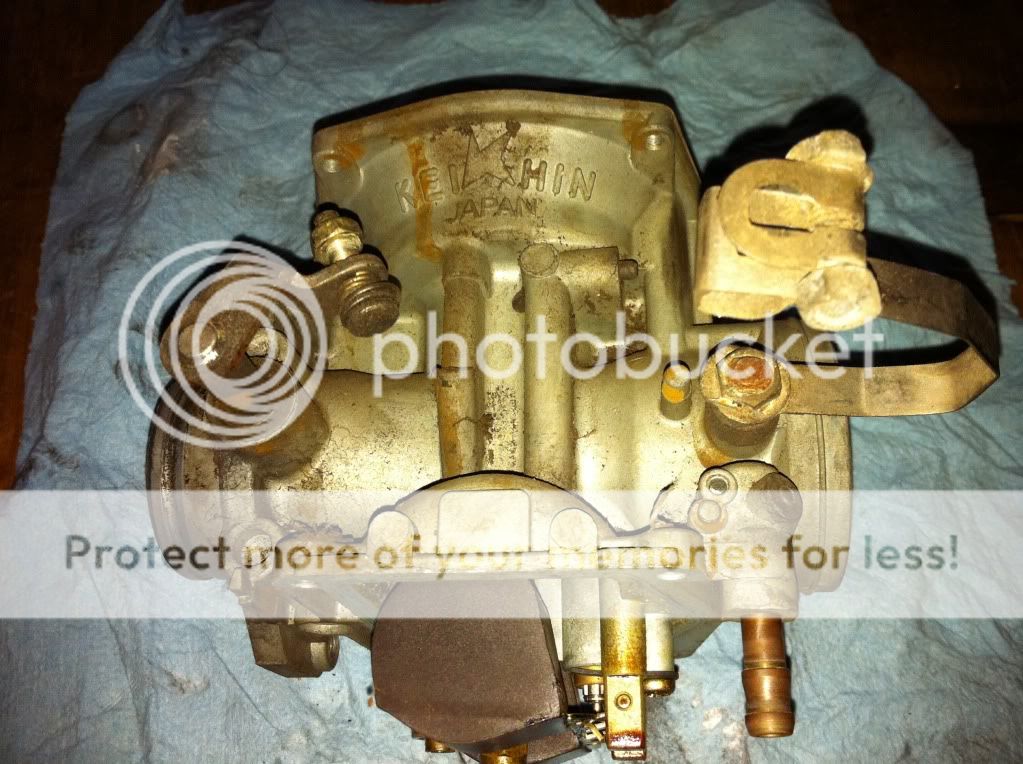
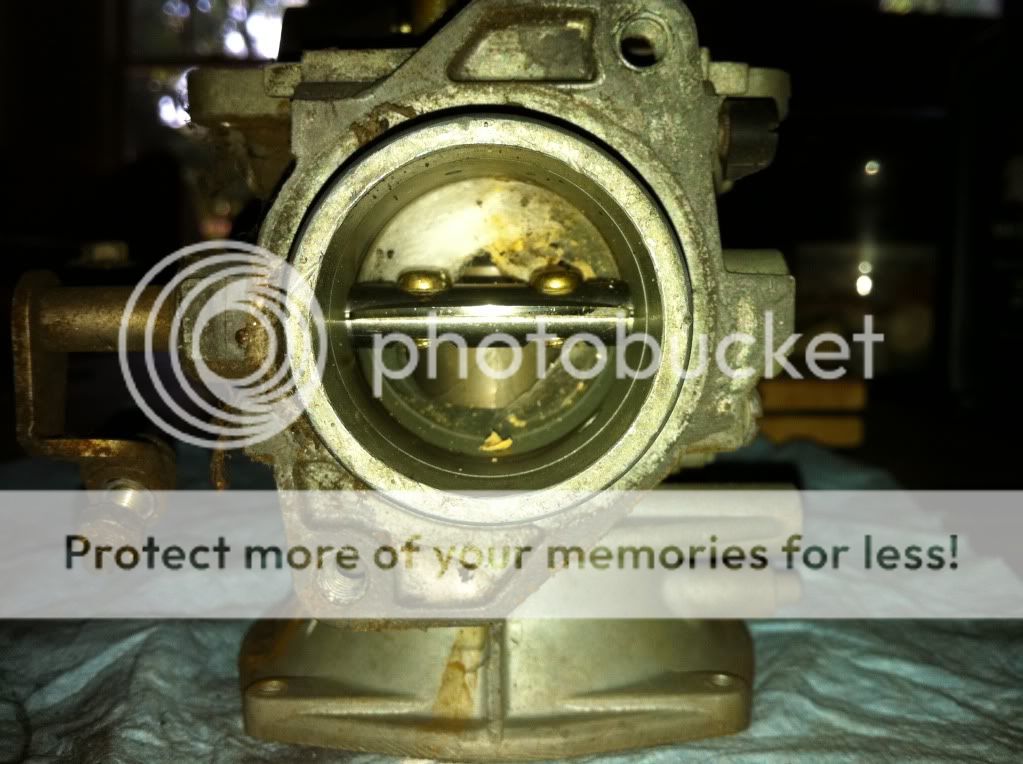
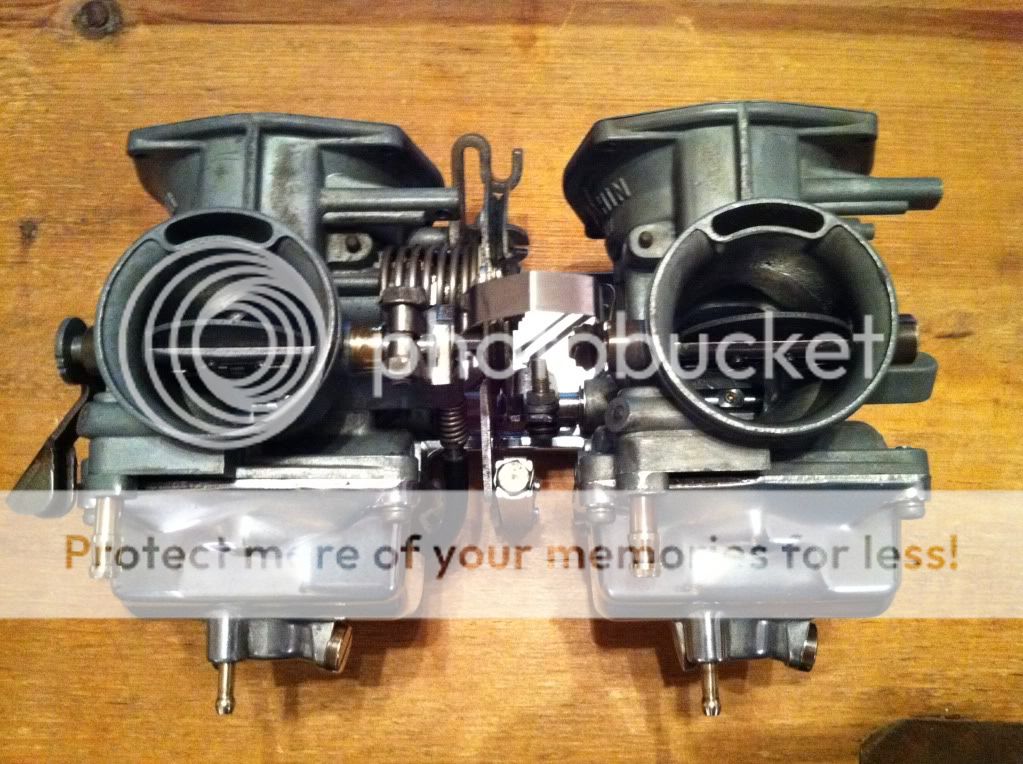
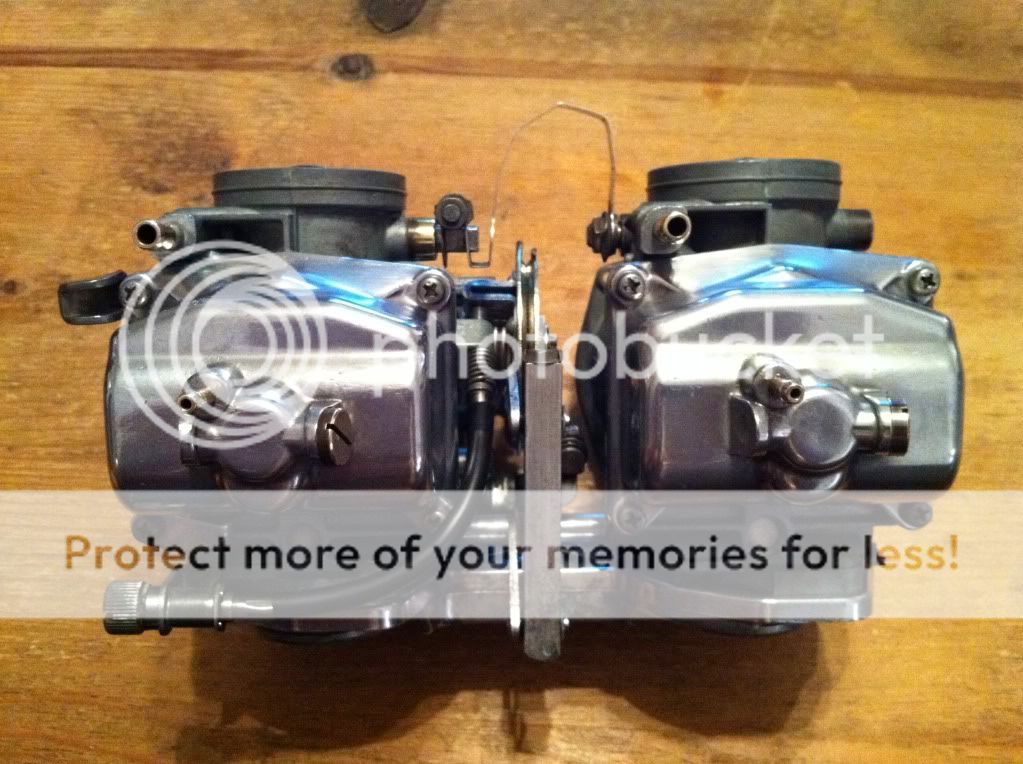
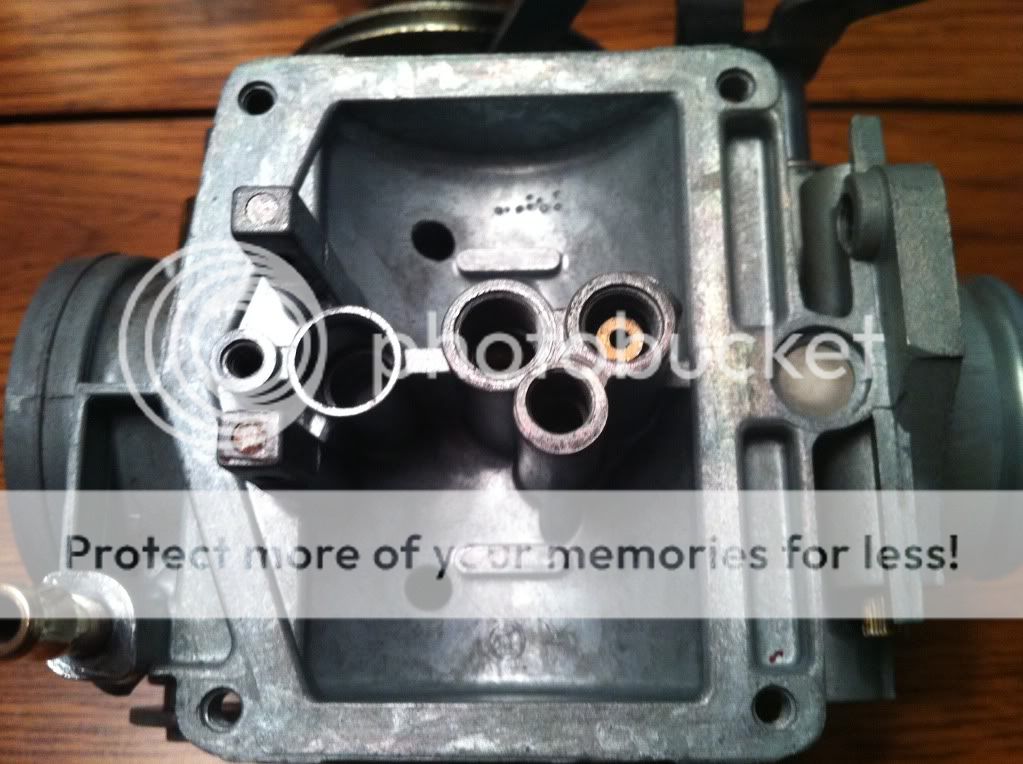
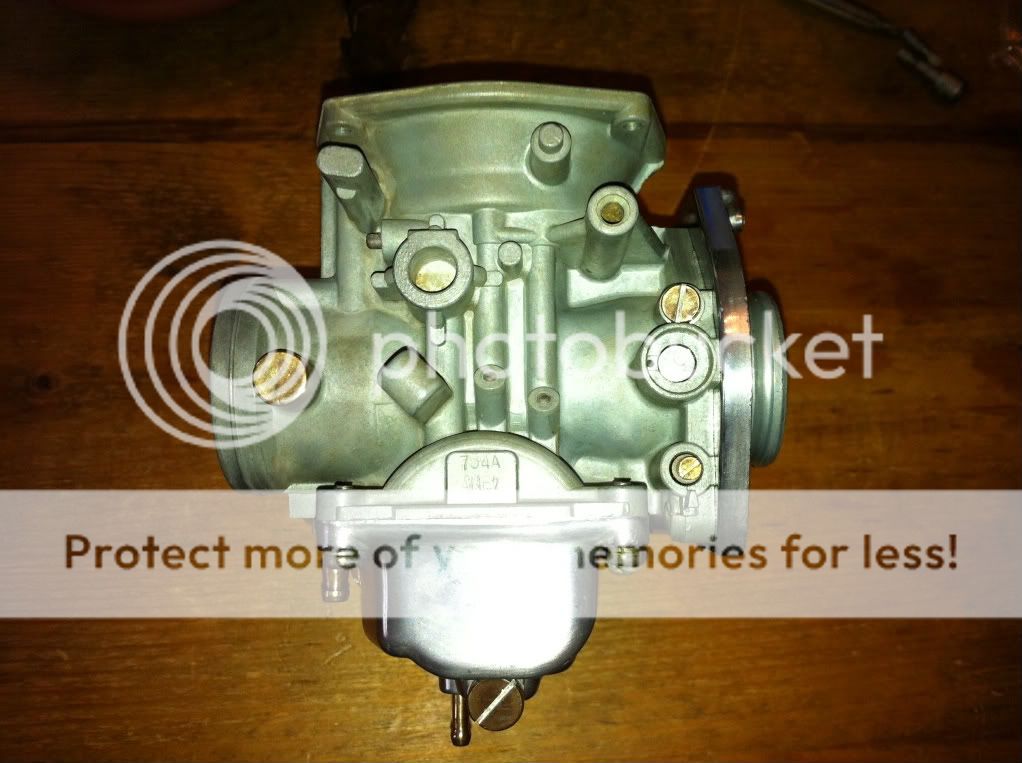
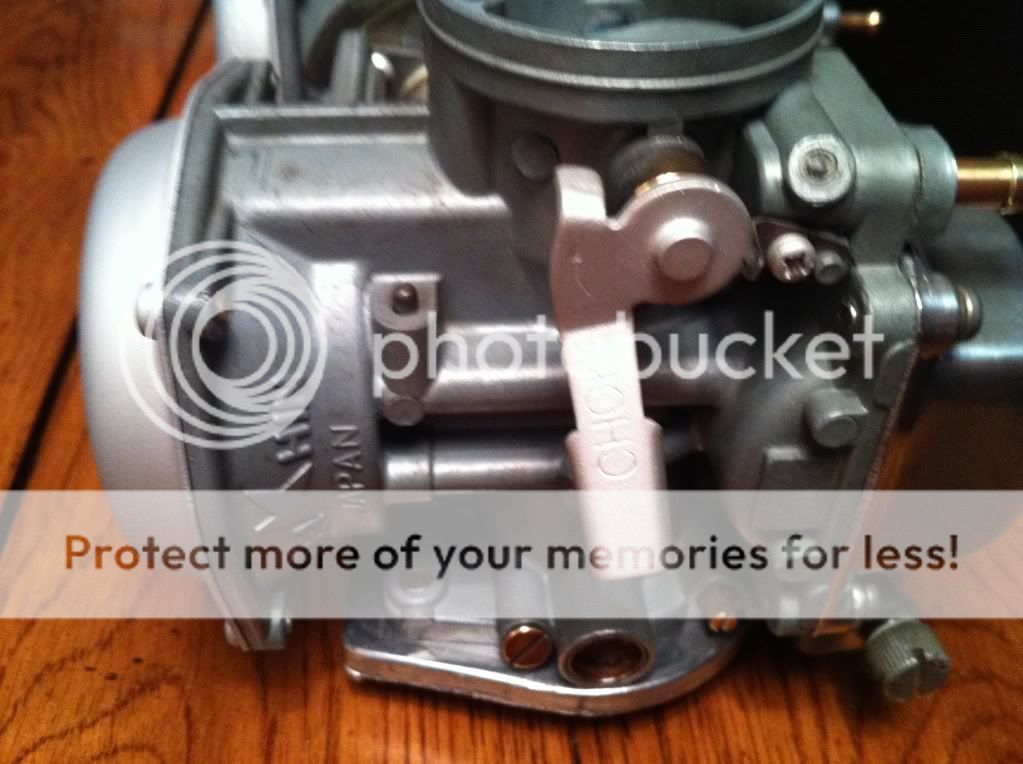
Was this thing in the ocean?
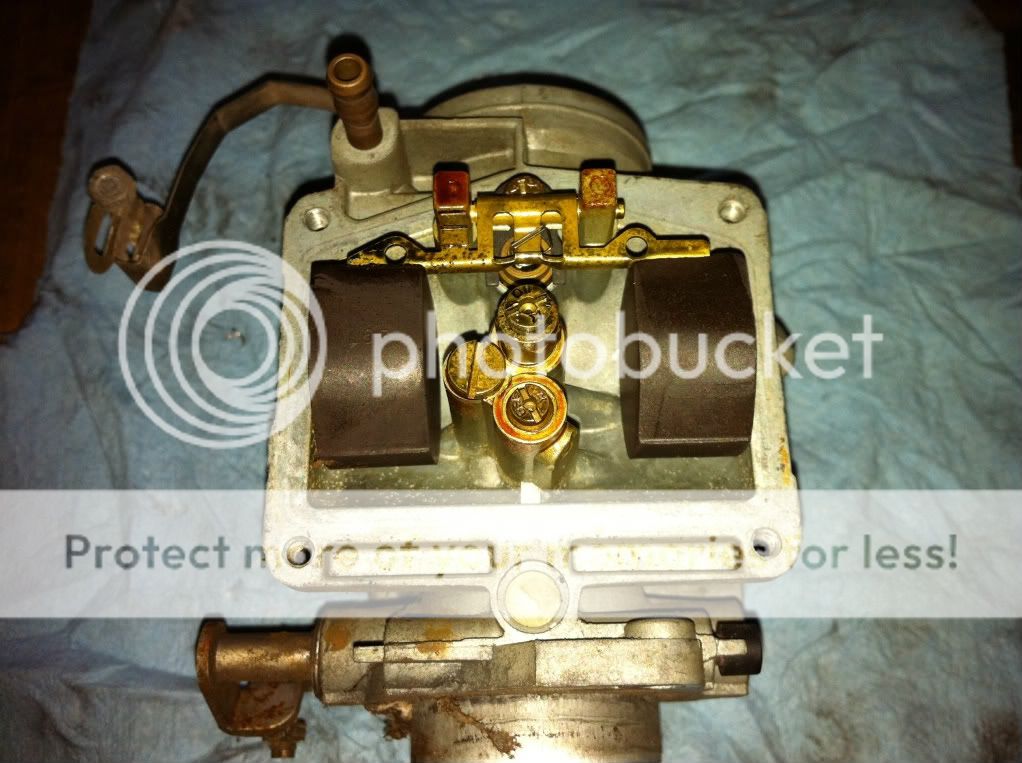
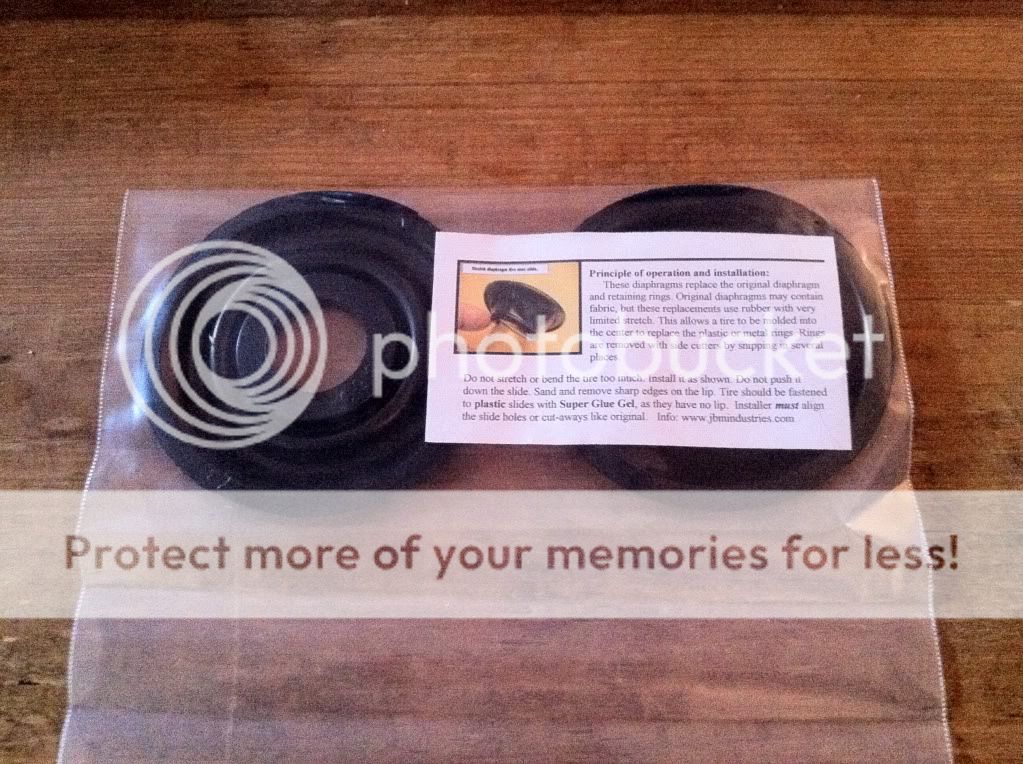
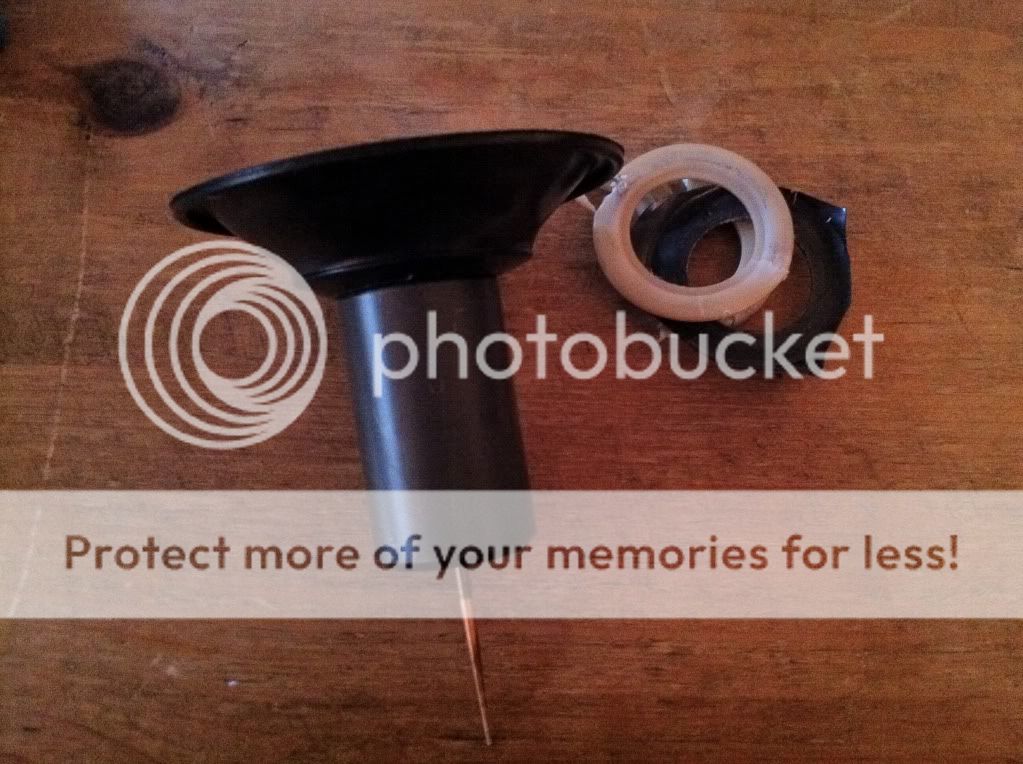
") I ended up tapping both of those brass fittings from the the inside of the carb out (wouldn't budge from the inside). I wasn't sure if they were pressed in somehow, so thank you for the info! I also got the diaphragms from a link you posted on hondatwins I believe, so thank you again. Awesome help. (Sorry... haha) Ugh, that sucks. I guess I lucked out with just being able to pull them out with pliers...
I ended up tapping both of those brass fittings from the the inside of the carb out (wouldn't budge from the inside). I wasn't sure if they were pressed in somehow, so thank you for the info! I also got the diaphragms from a link you posted on hondatwins I believe, so thank you again. Awesome help. (Sorry... haha) Ugh, that sucks. I guess I lucked out with just being able to pull them out with pliers... 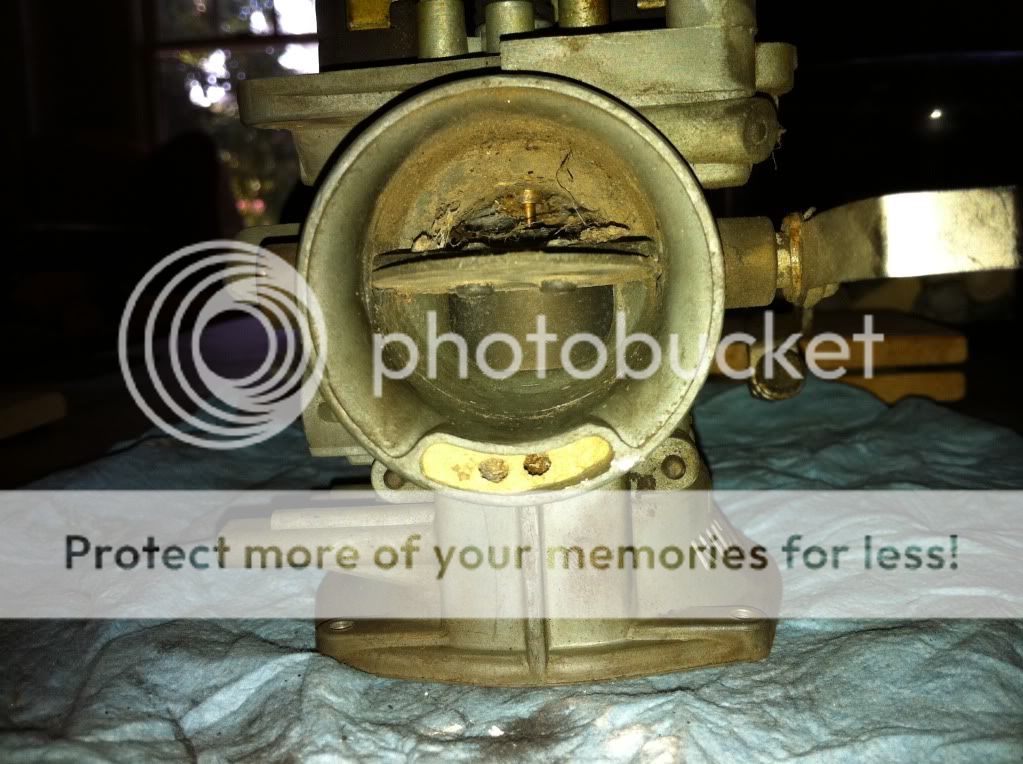


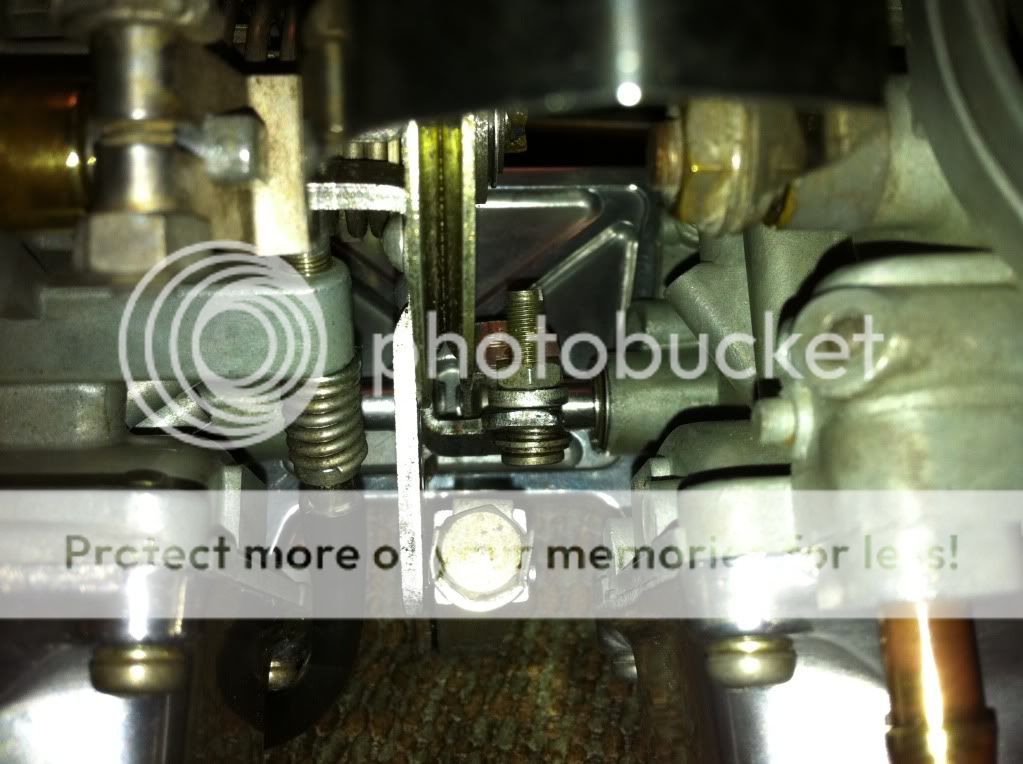
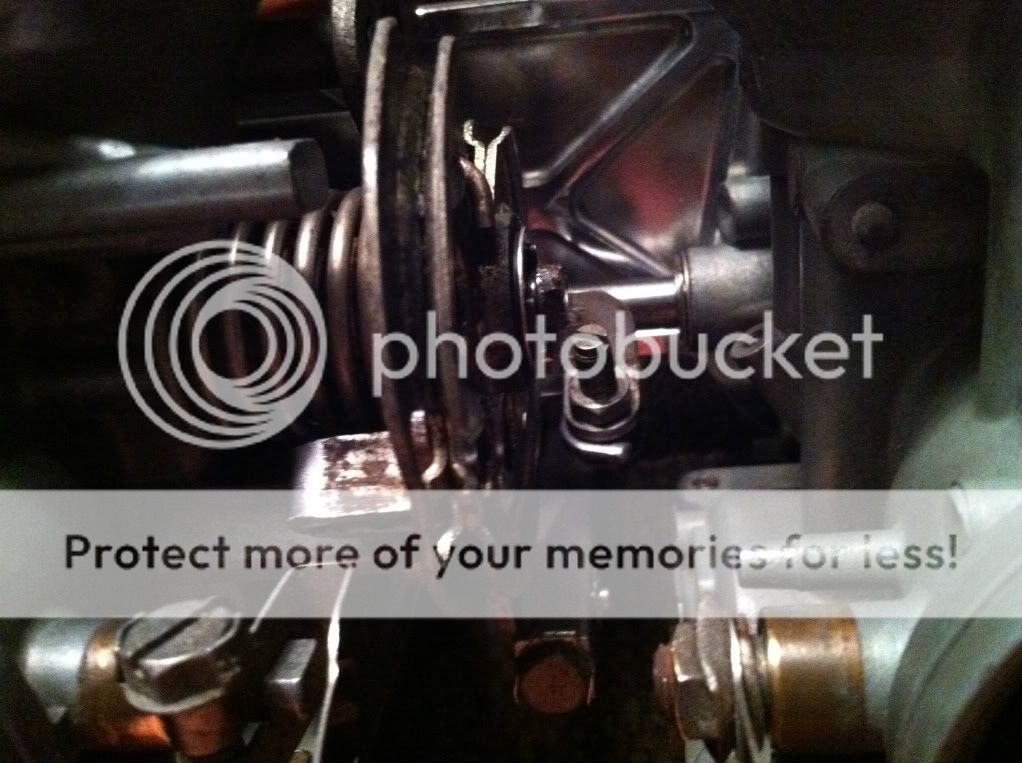
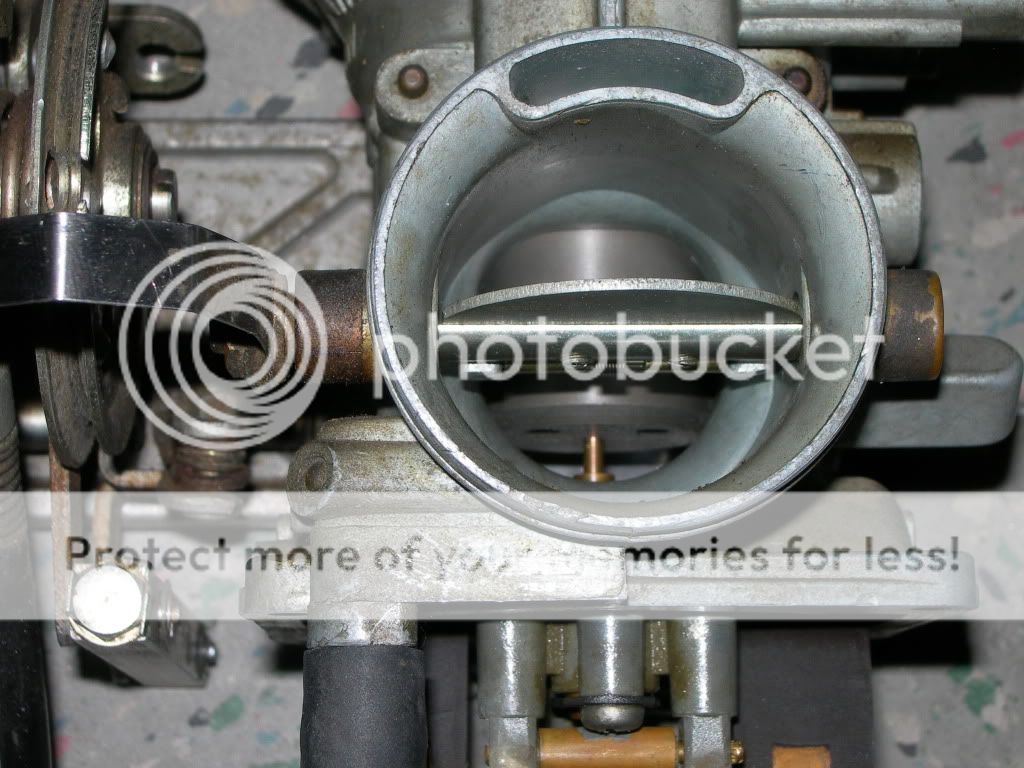
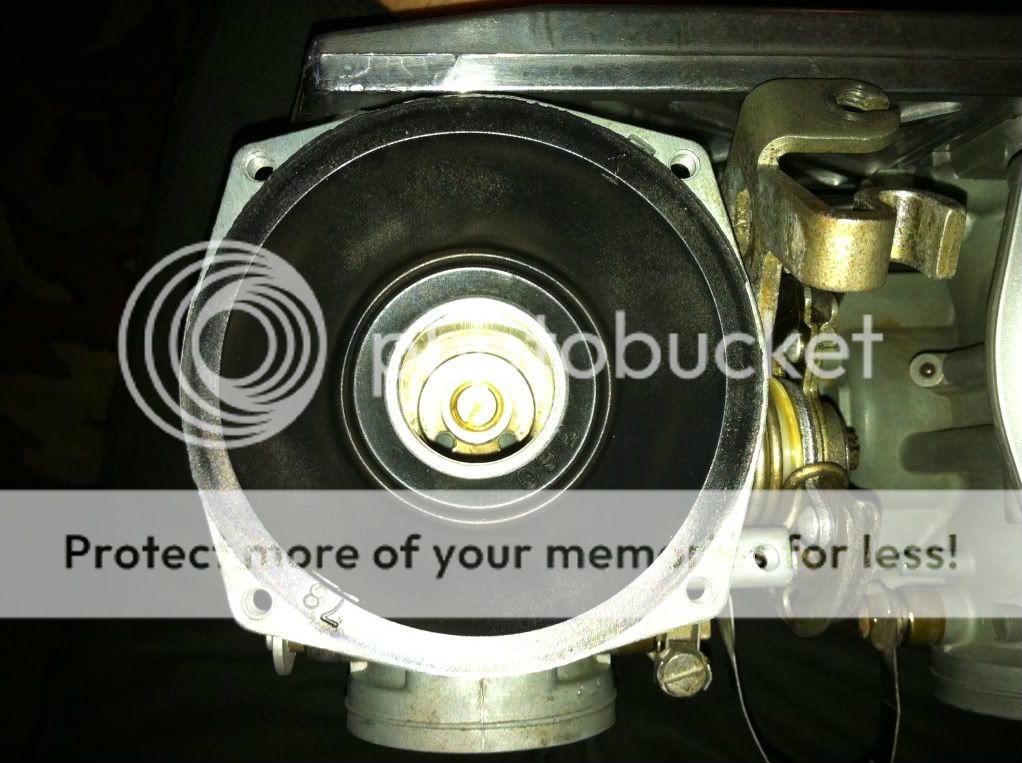
TheProspector said:This shows the main nozzle on the right. Just leave it be?
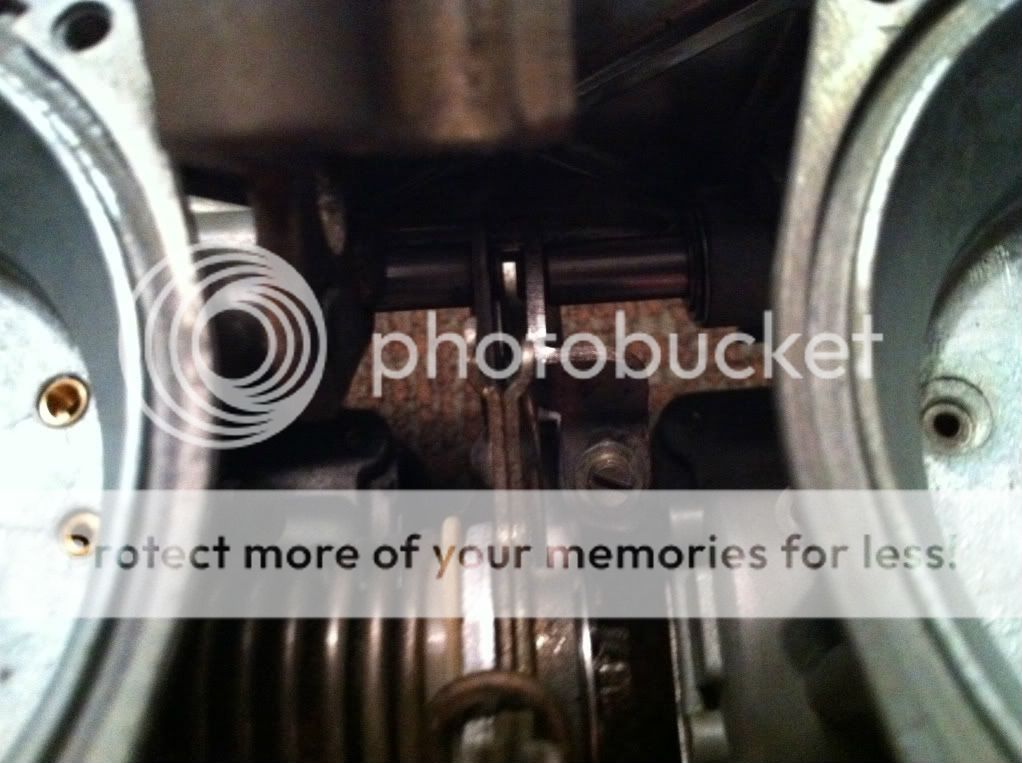
 Might also be looking to do any kinda upgrades I can since I'd have things apart. Seeing the cam journal problem mysta2 (and others) have had has me a little nervous... Anyway, any help or recommendations you all might have that've been there, I'll gladly welcome. Exciting day for me.
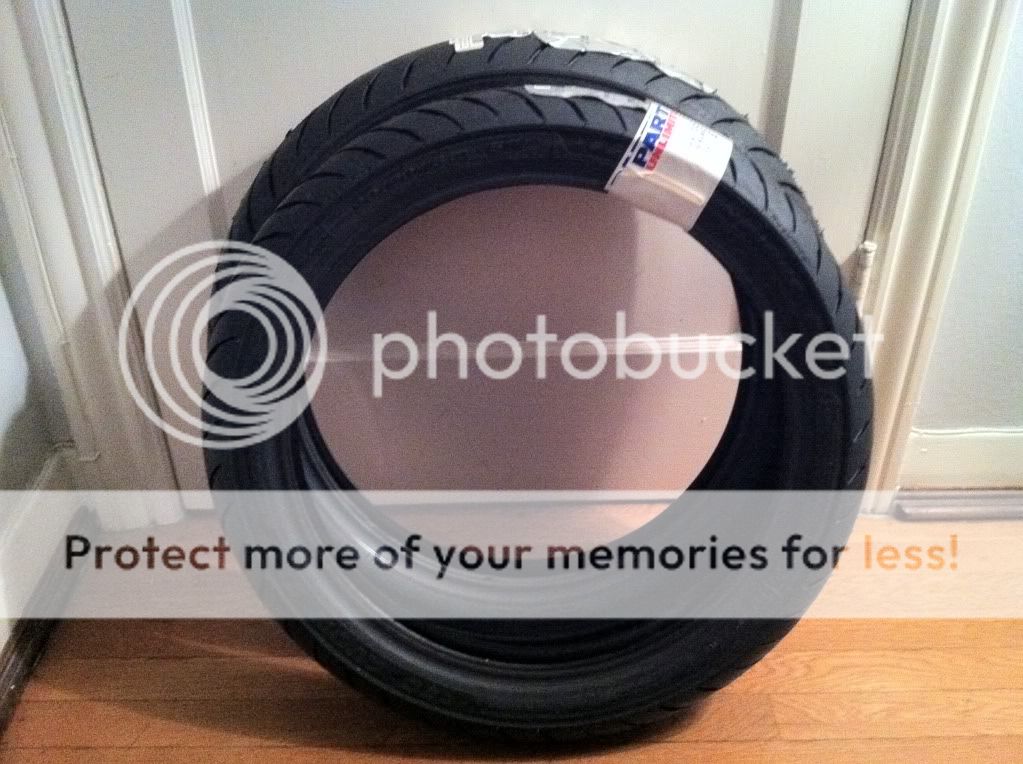

 Also, I'd like to note that I'll never again buy anything from Harbor Freight. Last year, in anticipation of these engine screws, I trekked out to HF just to see what all they had since I'd never been to one. Came out of there with an impact driver. Never used it until today... It lasted me for maybe all of 5 of the shifter side cover screws... I still had 3 or 4 more to go on that side and still the entire brake side cover! After those 5 screws, I was left with this... What crap.
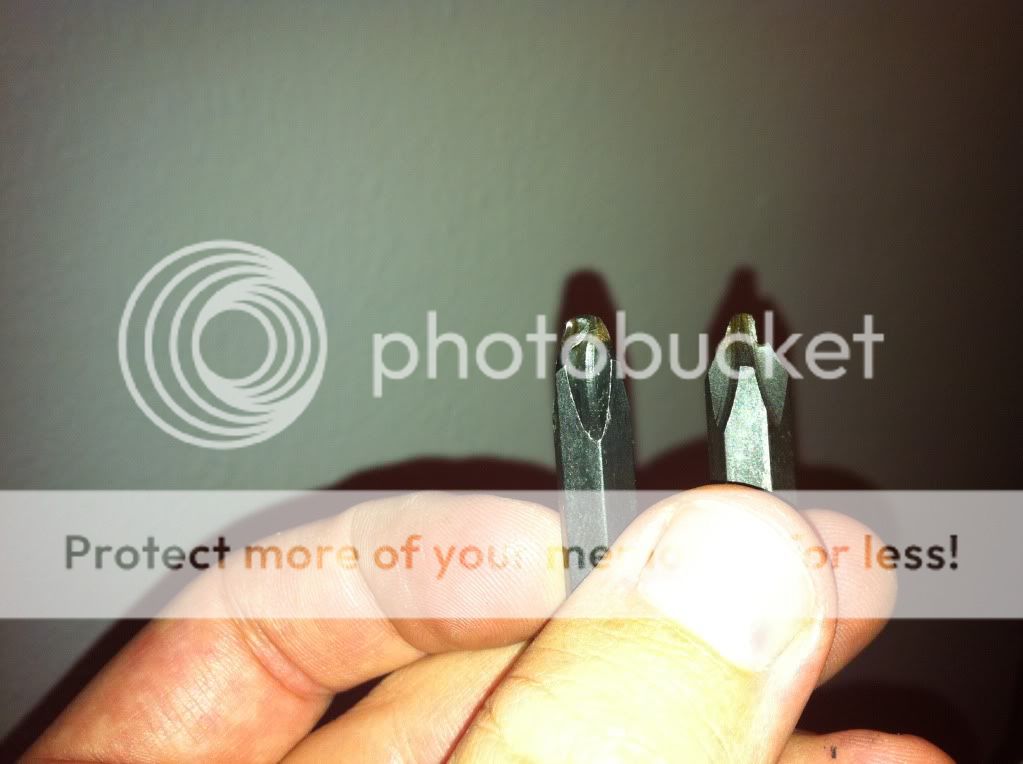
 An old Schott jacket. Excited about it arriving!
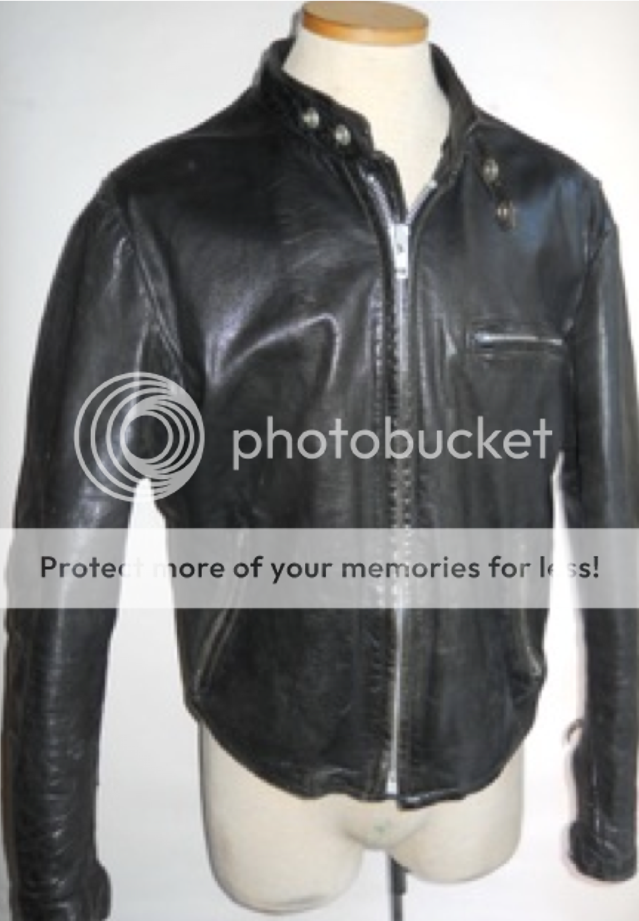

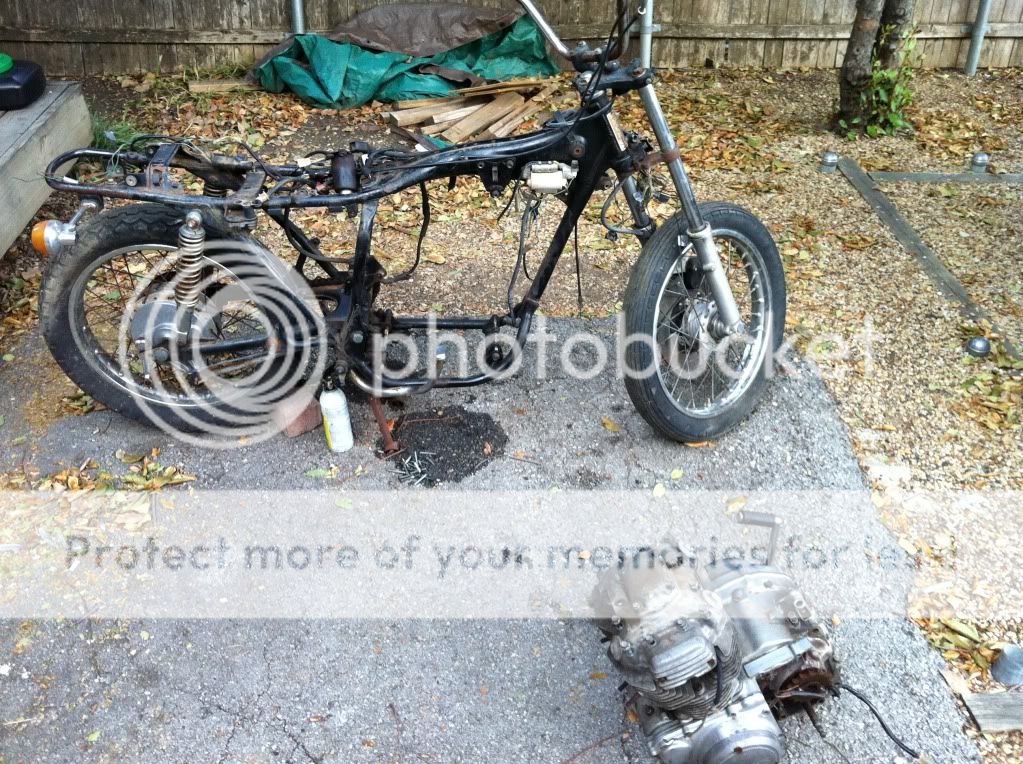
66replica said:Tip: it's easiest to get the engine in/out by laying the bike on the clutch side.
). So, I'm not sure how to remove the pivot shaft? I can post a pic if you wanna see. The hardest part was banging those side cover screws loose, but I'm glad I did that before the engine was out. After all that, lifting it out was the easiest part. Bad pun I know. ;D Yeah, I ended up taking it off to give more room. Thanks man, I'll take a look at that pedal tomorrow and see what I can see. 

