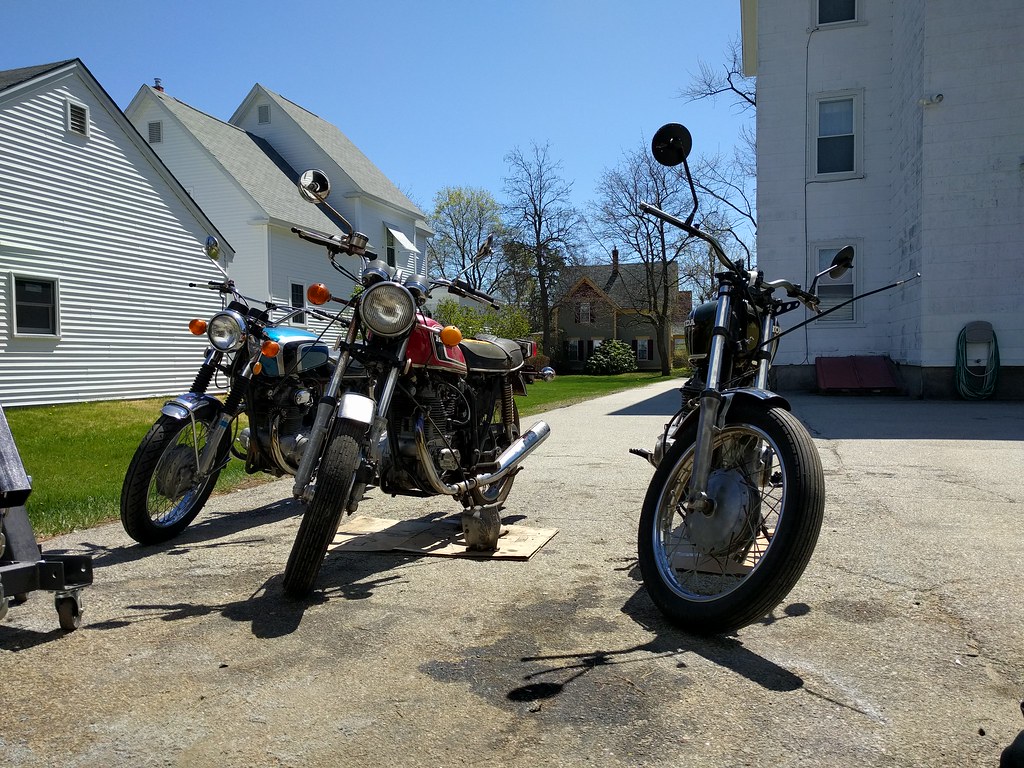
CL360 rescue

trek97 said:
Well that stinks. I am amazed the plug broke off...Rather than, tearing the threads out along w the plug.
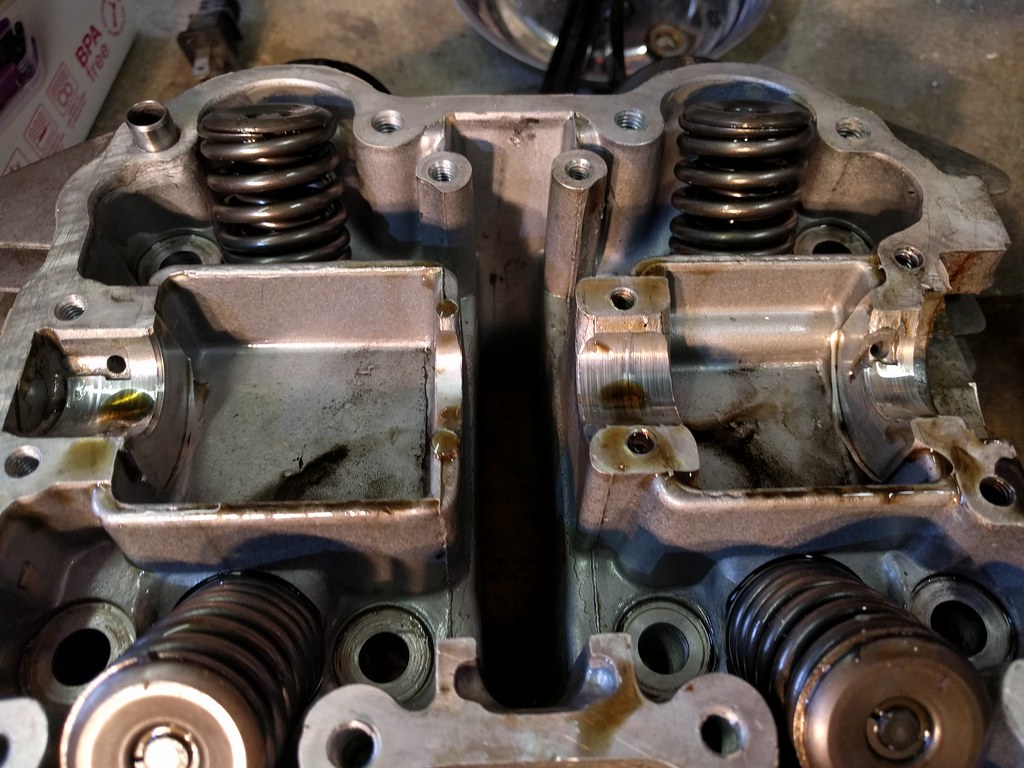
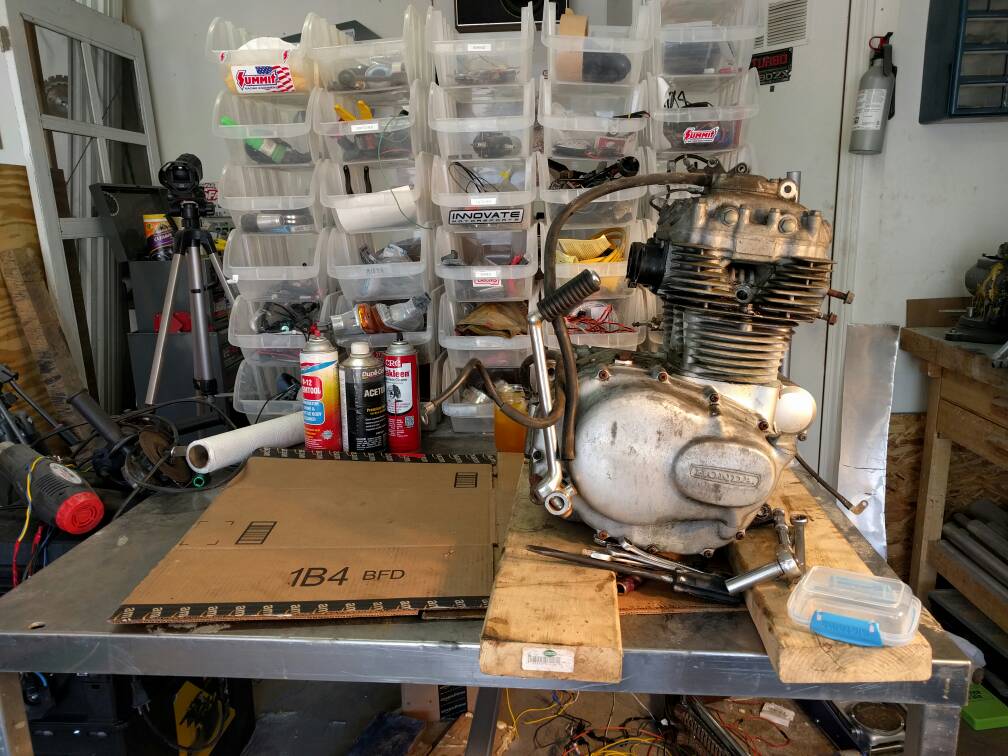
If I were you I would pull the head cover and check the condition on the cam lobes and journals. That one may be worth saving. Before looking at buying someone elses ebay junk. (theres plenty of them out there). Or is somebody now making a "new" 360 clone?

Soak the plug remains w penetrant a few days and heat it up w torch a few cycles more penetrant then try and easy out...or take it to a machine shop.

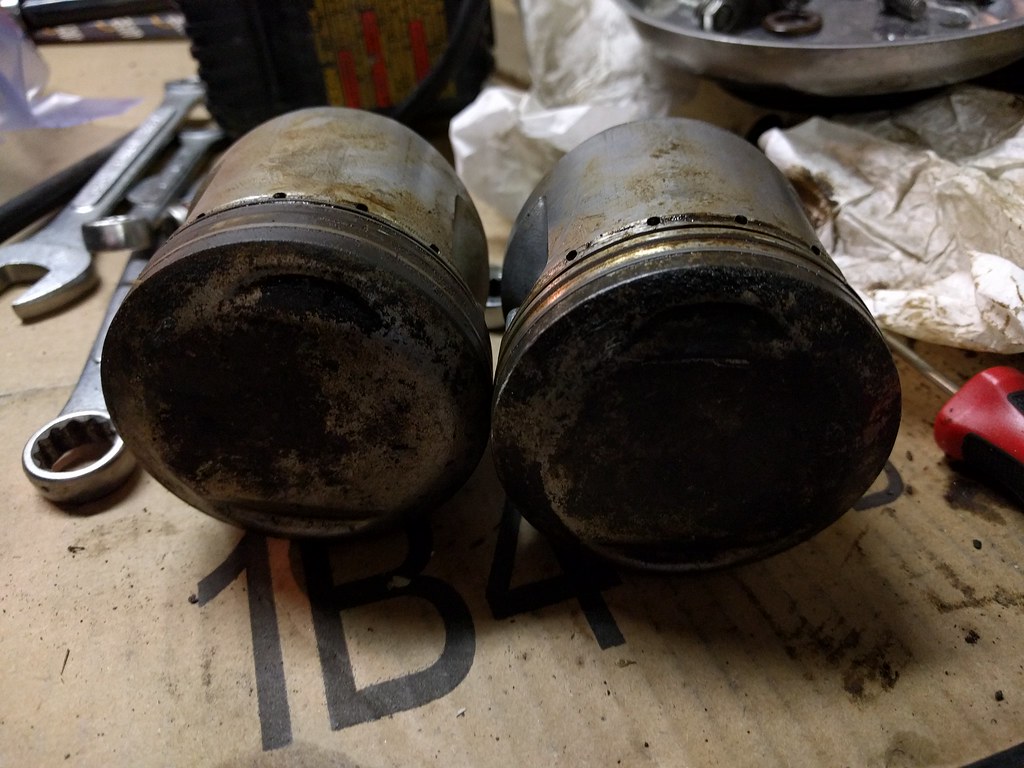
Ordered a square-style easy-out, as I've never had the best luck getting the concentric style to work on stuff like this. The hole is cleared at least, but I'm betting some porcelain bits ended up inside the cylinder. Ceramics are pretty much the worst possible things to have rubbing between a cylinder wall and piston, so I'm leaning toward having to pull the head now. I really want to avoid that. There's still time for me to tear the threads out with the remains of the plug though, don't worry!

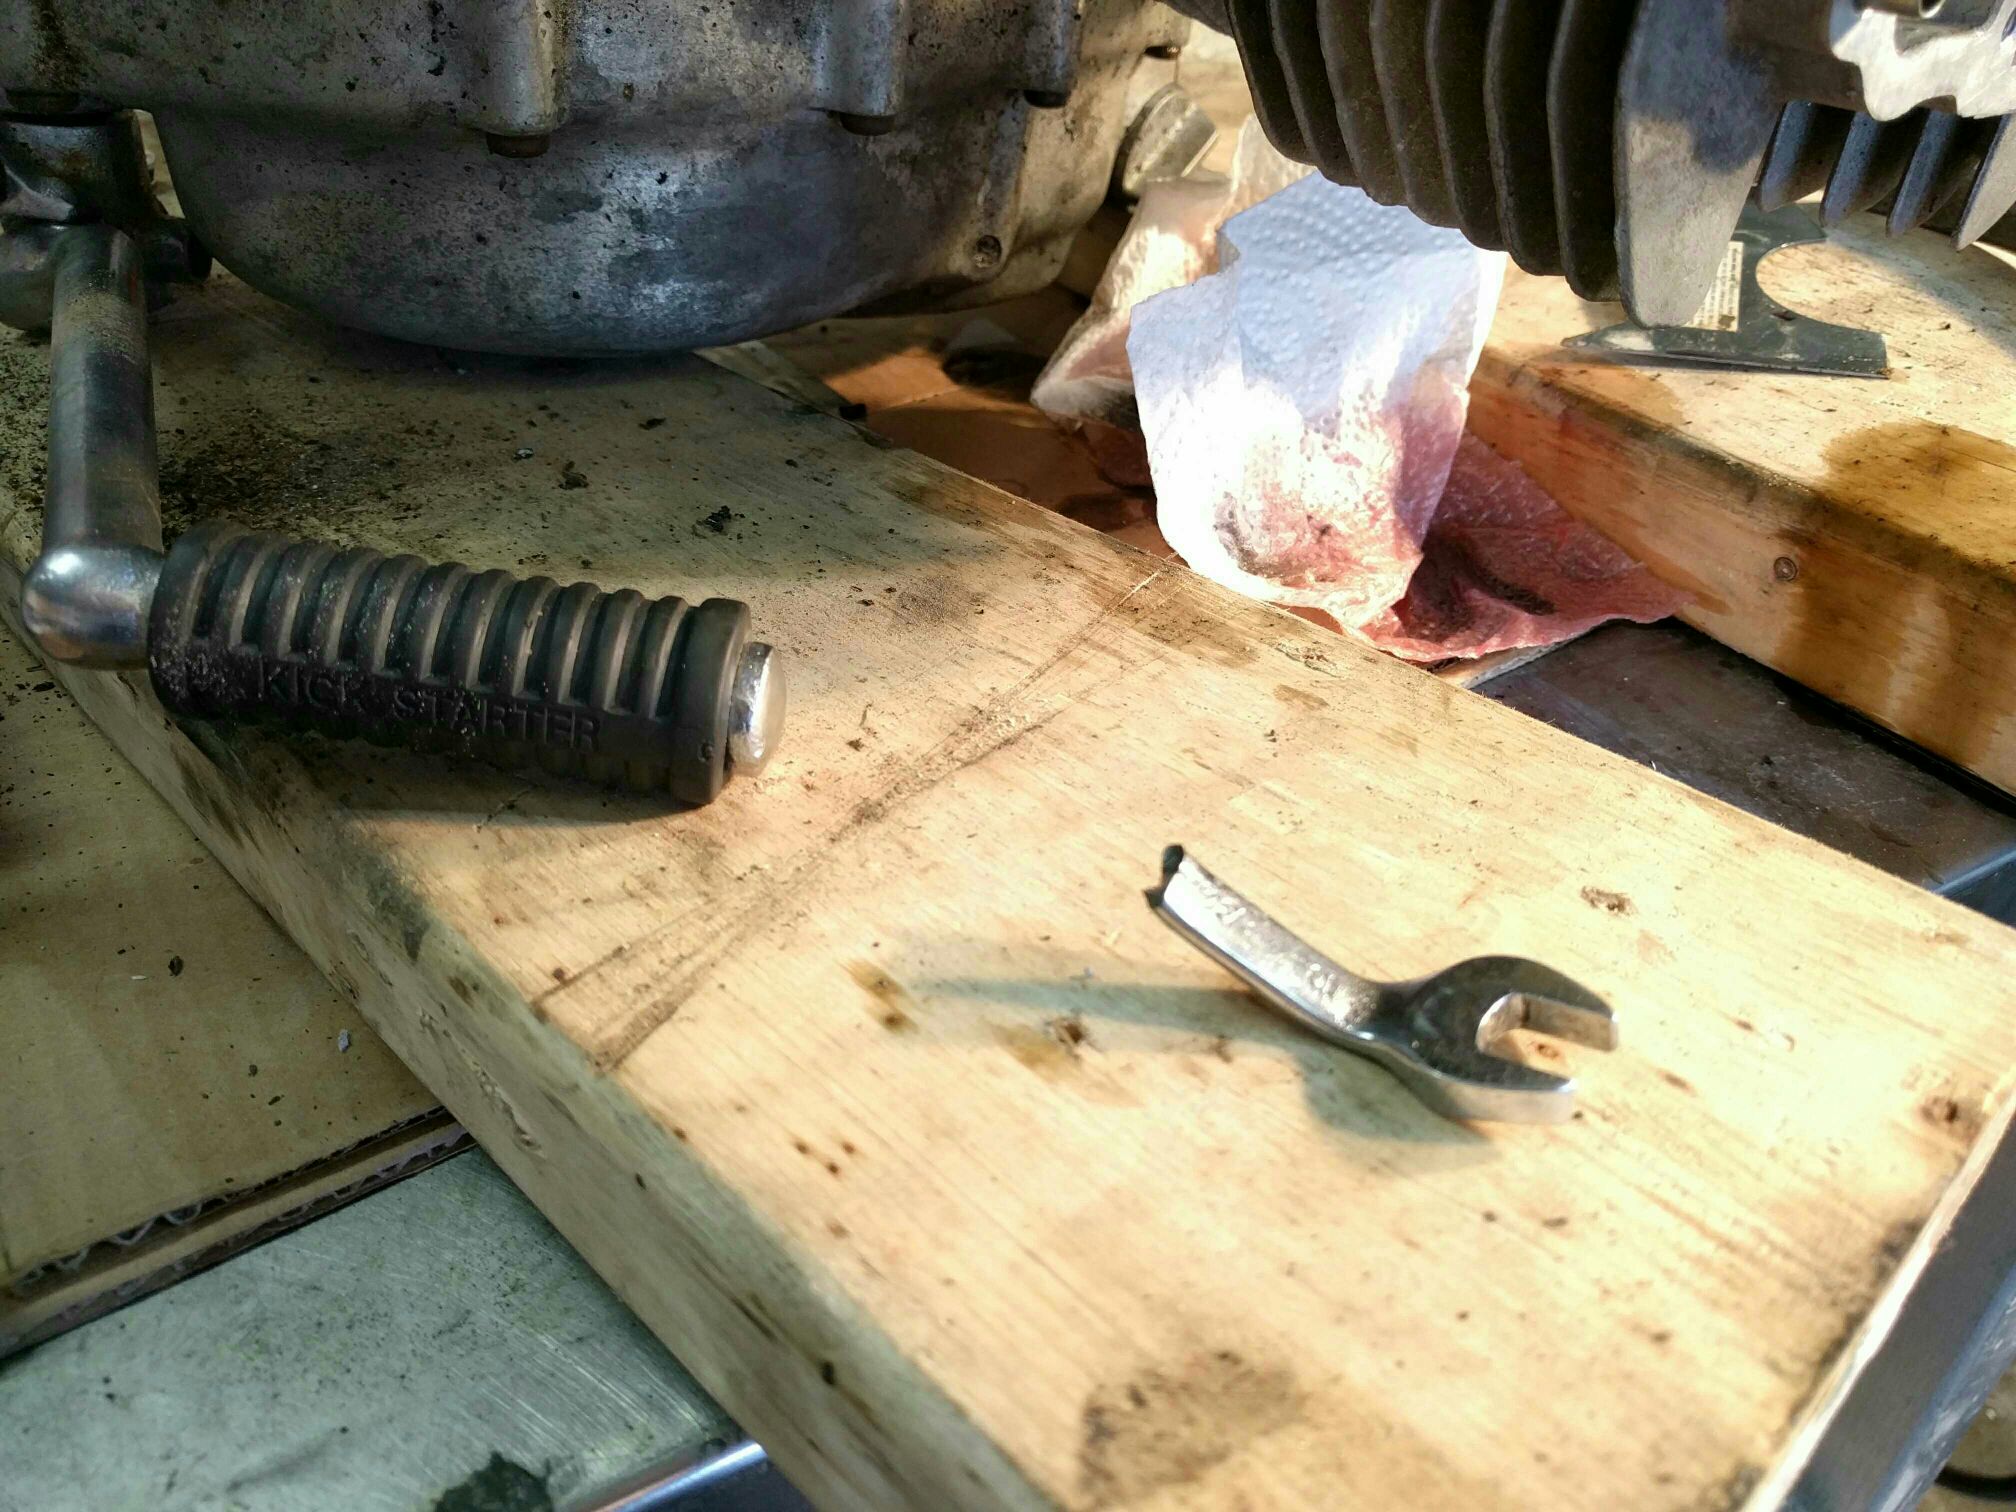
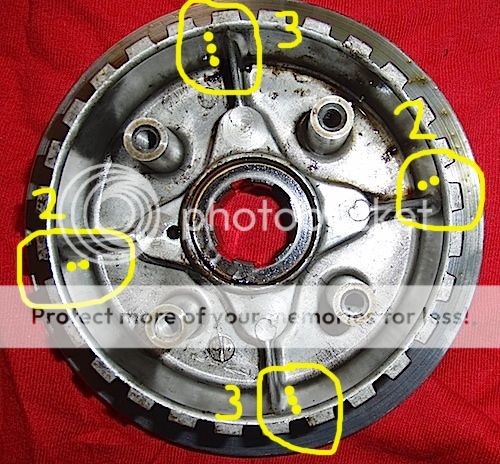
I made some time to test the electric starter, and the results were underwhelming. SOMETHING spun, but it definitely wasn't the engine. I decided to pull the side covers off, and that took most of Saturday to finish. I really really hate Phillips. I'm going to try the starter motor again, now that I can see what the chain is doing
26343981290_b6e4a7b9ed_b.jpg


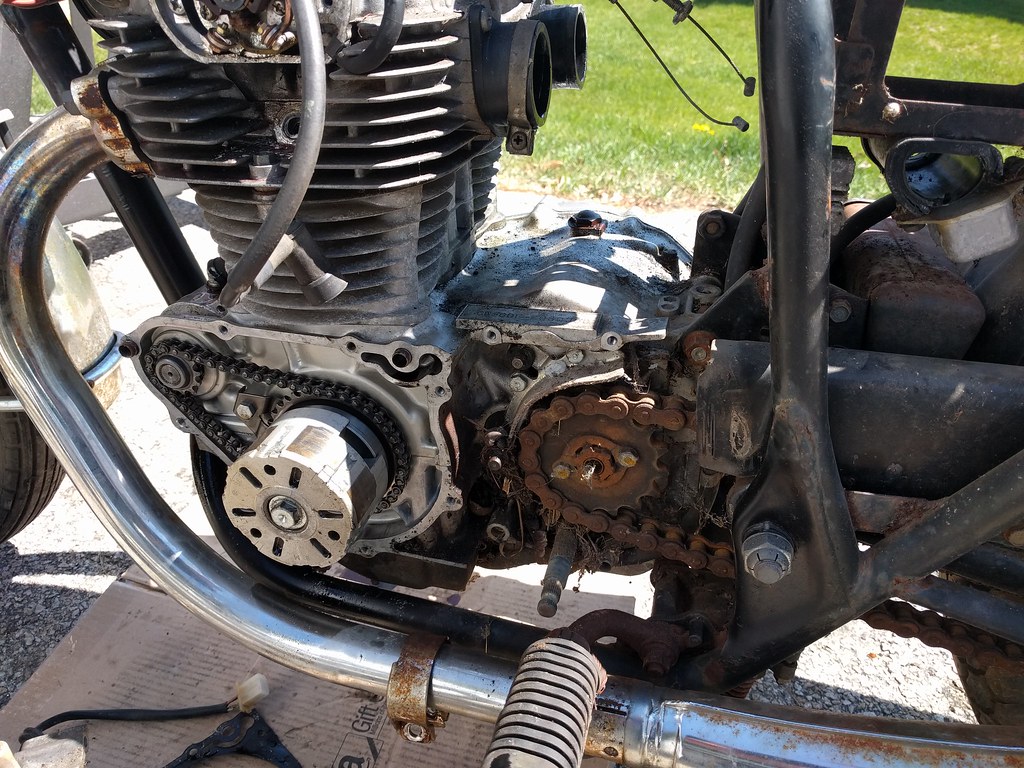
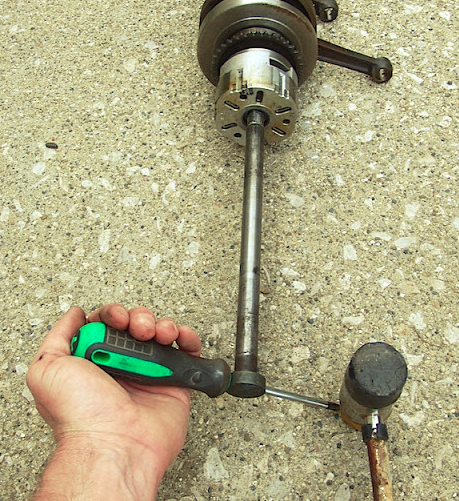
Any other advice for getting the engine to turn, short of pulling the valve cover and head? I'd like to be able to put real torque on the crank (using the stator rotor, I suppose?) Somehow, that doesn't seem like the best possible idea. I wish I had a USB inspection camera/light on-hand, so I could see what the cylinder walls look like.

If I do have to replace the engine, it'll just be with someone else's ebay junk. A few hundred dollars for something that spins around is enough for me to work with, at the very least.
 
iatethepeach said:

Ordered. After pulling all of the left covers, the kicker engages the seized engine! That's partly good news. The bad news is that both the kicker and electric starter fall all over themselves when they try to move the crank. There's a whole lotta mystery oil soaking in, and I'm just giving the kicker a good push every hour or so to (hopefully) soak mystery oil into all the nooks and crannies.

In the meantime, wiring on the cl360 continues, and I think my friend Laurie is coming over later today to wrap up her carb rebuild project.
26345475030_5eebf86e71_b.jpg
 
Are you using an impact driver w j.i.s. bit? (japanese industry standard) Theyre technically not phillips heads. Makes life a whole lot easier.
 
21301d5eaa510518628bbb59f0433655.jpg


Several hours and several broken tools later, the instructions in the FSM have completely failed me. The recommendation to rotate the engine in order to remove the cam gear were nothing short of infuriating.

I need to buy a few offset 10mm wrenches, apparently.

b7af9f32ec59579a6b38a02c9f0254a0.jpg

trek97 said:
Are you using an impact driver w j.i.s. bit? (japanese industry standard) Theyre technically not phillips heads. Makes life a whole lot easier.
Didn't even know about them.

Sent from my Nexus 5X using Tapatalk
 
Hows the cam lobes and journals look? On cam and head/cover? If they are smooth and shiny, your pretty lucky so far. If you find you need them. Decent Jugs and NOS pistons can be found pretty easily on ebay.

I got these rings when I did mine. I wasnt very happy to find they are a bit thinner material than stock. :mad: I got New "Honda" rings sitting in my toolbox now...for when the day comes.

http://www.ebay.com/itm/Honda-CB360-CL360-CJ360-New-STD-Piston-Rings-x-2-Sets-1974-1975-1976-1977-/381602224482?hash=item58d943d962:m:mw1xVwxNPaH6bwSRPzwPozQ&vxp=mtr
 
Also, to pull the rotor off the crank shaft. Thread the rear axel into the hole...put screwdriver through the hole in the axel "head" and give it a tap w hammer...rotor will pop right off. I cant find the pic I had...but I will look more.

Also, Replace the CB oil pickup w a CJ360 and put that in there. CJ is slightly larger and has the rubber cover. But still fits perfectly.

CIMG4090_zpsde436093.jpg


The only oil system mod I made was drilling out these 2 little journals...in the top case, 1/32 inch larger than they are now. make sure to clean all drill shavings out of oiling journals.
oilhole.jpg


I drilled the clutch basket for better flow...

clutchdrilled.jpg


clutchmod1-1.jpg


found it...this is much easier done when crank is IN the engine. ;)
11494-240416183440.png
 
trek97 said:
Hows the cam lobes and journals look? On cam and head/cover? ...

Bad. I'd call them atrocious, but a fingernail barely catches on them, so I'll just stick with 'bad' for now. I'm hoping someone has sorted out what kind of bearings fit in there, and what machining to do to the head/cover? I suppose these could be run with a polish, as the journals on the cams are still acceptable ... but I'd much rather get some proper bearing surfaces in there.

26352163010_3609d5870b_b.jpg


trek97 said:
Also, Replace the CB oil pickup w a CJ360 and put that in there. CJ is slightly larger and has the rubber cover. But still fits perfectly.

Is oiling a common problem with the 360 engines? I'm never opposed to more oiling, but they seem to be 'adequate' from the factory, no?

While the cam journals are bad, the REAL problem I found was with the pistons/rings. The cylinders aren't too rough, so I think I can get by with a hone, but the rings? Yuck. I could only wrestle one of the oil control rings out, the others are all seized.
26599937726_28cf3af70b_b.jpg


Everthing in the bottom end moves beautifully after removing the jugs, as did everything in the top end. I'm not going any deeper into the disassembly, and am just going to order a new set of rings.

@trek97, do you recommend the rings you linked, or would you go for something else? Reliability is my concern, power is not. This will be my girlfriend's first bike, so I expect it to see some healthy abuse ... but her expectations haven't been set yet. As long as it 'feels' faster than her automatic Civic (my bicycle accomplishes that) it's going to be enough power.
 
Top end oiling IS the issue w the 360. There are a bunch of mods guys do to help ensure it gets the lube it needs. PJ has a popular mod for enlarging the "hole" in the "tube" at the pump, not sure what it all calls for, you would have to check his build...Ive seen guys have drilled holes through the cam, filled Hondas passages w jb weld and cut their own, added external oil pumps, rerouting the entire system outside the engine w dishwasher hoses. The list of oil mods goes on and on.

The most important thing (in my opinion) a lot miss is the CJ pickup replacement. It was a recall/recomendation Published in a Honda Service bulletin back in 1976. The CB pickup is prone to sucking air under the right conditions. Keep oil level topped off. dont let it idle too long on its side stand. Or, while parked on a hill at an angle.

That and ensuring all oil passages are cleared and cleaned upon assembly.

I dont recommend the rings I posted. I got Genuine Honda to replace these cheapies in the future.

Ive never heard of anyone finding bearings that would fit the cam. Doesnt mean they dont exist.
 
I just took a quick peek at ebay. Didnt see any CJ pickups. But if you keep an eye out...one should pop up before youre ready to reassemble.
 
Once you got the head clean and dry. You need to pour some wd40 in through the intake and exhaust ports and make sure you dont have a leaky valve.

And as long as you got it this far...you may want to open the case and clean the gunk out of the bottom of the thing.
 
trek97 said:
... PJ has a popular mod for enlarging the "hole" in the "tube" at the pump...

He seems to be the resident expert on all things honda-twin. You're making me almost want to tear down my cl360 engine when I'm done with this. These little things are so dang simple.

I think I'll have all my parts this weekend, so the plan is to have it all together on Monday. I'm not really sure there is any gunk in the crankcase. Other than the tops of the pistons, the engine looks pretty clean.

The biggest problem I have at the moment is that I let the cam chain slip off the crank cog. It's definitely still on the cog, but definitely not where it started. I'll have to sort out my cam timing as well, which isn't something I've had to do before. I'll have to read ahead in the FSM a bit. I only got as far as disassembly, which they recommend doing in the bike?!?!?!
 
I'm not sure which bike is which at this point, but looks to be some good stuff in here. I don't blame you for wanting to get rid of the Kei-Hins. I've had them apart more times than I can count. But they do run pretty well when tuned properly.

IIRC when setting up the 'initial' cam timing, you will have to align the generator rotor LT mark with the intex mark on the stator. In this position, line up the ---- marks on the camshaft sprocket parallel to the horizontal surface of the mating surface above the center journal. You will have to loosen/remove the sprocket and come up from below with the chain and re-bolt the sprocket to the camshaft. Don't drop the bolts down the hole though ;D . I have some pics from my build somewhere..

http://www.dotheton.com/forum/index.php?topic=63294.msg759859#msg759859

And be sure to fill the oil baths up. I also get a squirty oil can and top them off once I have reinstalled the engine on the frame and before startup, but I'm paranoid :eek:
 
adventurco said:
I'm not sure which bike is which at this point, but looks to be some good stuff in here. I don't blame you for wanting to get rid of the Kei-Hins. I've had them apart more times than I can count. But they do run pretty well when tuned properly.

It's not really one or the other. The two kind of munge together. One gets 17" wheels, the other gets 18" wheels ... otherwise, just consider it a double-bike-refresh.

adventurco said:
IIRC when setting up the 'initial' cam timing, you will have to align the generator rotor LT mark with the intex mark on the stator. In this position, line up the ---- marks on the camshaft sprocket parallel to the horizontal surface of the mating surface above the center journal. You will have to loosen/remove the sprocket and come up from below with the chain and re-bolt the sprocket to the camshaft. Don't drop the bolts down the hole though ;D . I have some pics from my build somewhere..

http://www.dotheton.com/forum/index.php?topic=63294.msg759859#msg759859

And be sure to fill the oil baths up. I also get a squirty oil can and top them off once I have reinstalled the engine on the frame and before startup, but I'm paranoid :eek:

That was extremely helpful, much simpler than I was expecting. I'll probably want another set of hands when I put it back together.
 
Its not so
drummingpariah said:
It's not really one or the other. The two kind of munge together. One gets 17" wheels, the other gets 18" wheels ... otherwise, just consider it a double-bike-refresh.

That was extremely helpful, much simpler than I was expecting. I'll probably want another set of hands when I put it back together.

Its doable by yourself, but yeah two sets of hands always helps. You arent getting rid of the 18" front wheel with the drum brake hub....are you?
 
Keeping the hub and re-lacing with 17" wheels. Sorry, keeping all the brakes as-is. It's much simpler than measuring hubs, making/ordering spacers, and possibly converting to disc brakes. More work than I have time for, right now.
 
Heh no worries. I've been entertaining the idea of swapping the disc on the 360 out for a drum for mostly aesthetic purposes. But it probably won't happen unless one fell on my lap :D
 
Back
Top Bottom