We noticed you are blocking ads. DO THE TON only works with community supporters. Most are active members of the site with small businesses. Please consider disabling your ad blocking tool and checking out the businesses that help keep our site up and free.
You are using an out of date browser. It may not display this or other websites correctly.
You should upgrade or use an alternative browser.
You should upgrade or use an alternative browser.
72 Honda CB450 "lucky 13"
- Thread starter p71sohc
- Start date
"Real quick - did you see the tip in the $50 mod thread about wrapping the frame with pipe insulation before putting the motor in?" Oops I just missed that one and really could have used it. We taped up the frame with painters tape but still scratched a spot. I will have touch up paint soon so I'm going to have to fix that. Big R this is the second time you've been too late lol.....that's ok Ill just have to check the thread next time before I do any more work.
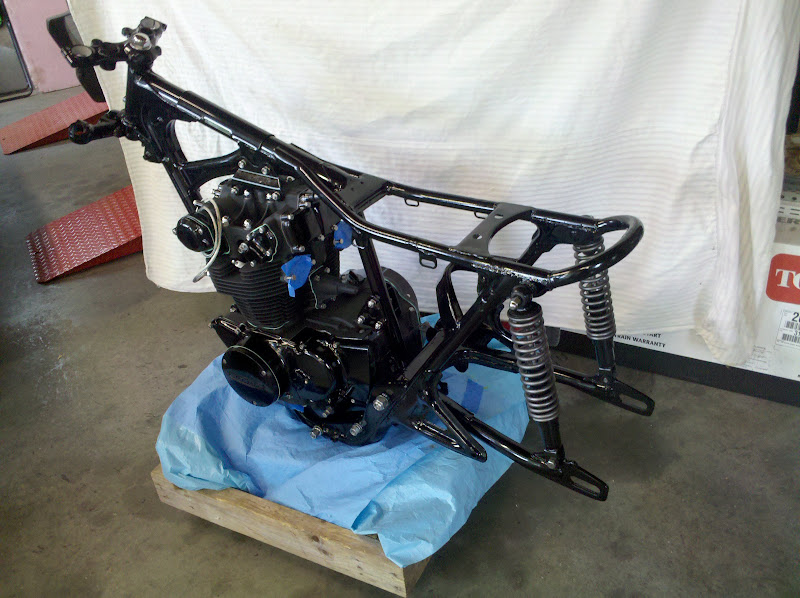
Brad D was nice enough to stop by and watch while I put the engine in all by myself....j/k he helped and We also adjusted the valves so the top end is good to go.

Big step - Engine in")

Almost ready to turn the key and start..........well.......not quite yet :-\

Brad D was nice enough to stop by and watch while I put the engine in all by myself....j/k he helped and We also adjusted the valves so the top end is good to go.
Big step - Engine in
Almost ready to turn the key and start..........well.......not quite yet :-\
dakine_surf
"Stay Thirsty my Friends"
bikeboy
Over 1,000 Posts
dakine_surf said:This right here is just plain sexyness!
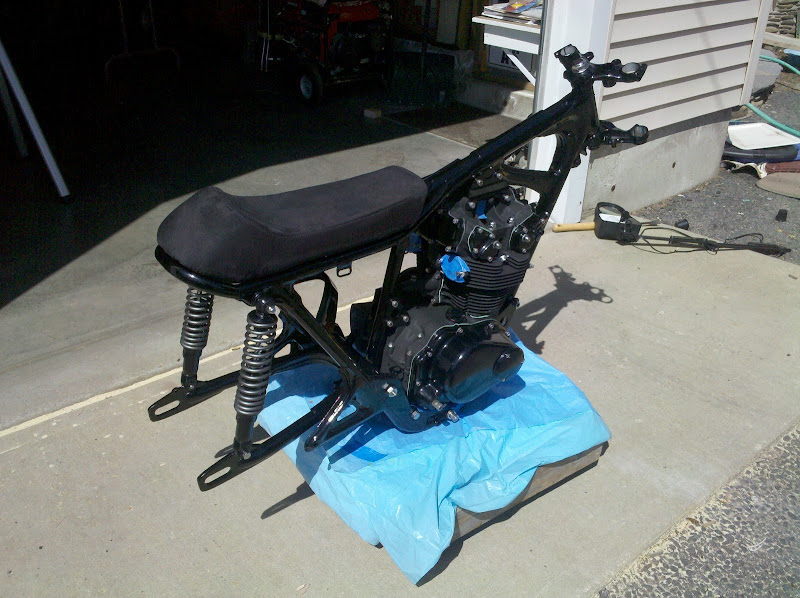
ya know what? I'm big enough to admit I was wrong. When I saw that motor being painted two different blacks I thought "Ok. Not what I'd do, looks a but busy, but he's done a good job".
Well, now that I've seen it in the frame, I've changed my mind. You haven't done a good job at all. You done a fantastic job ;D I'm really impressed with the way the gloss black on the motor picks up the frame finish. It looks incredible. I'm not one to mix my finishes like that, but seeing it as a package, I completely understand why you've done that.
Kudos to you my friend, and I can't wait to see it all together.
well done. one of the nicest motor treatments here.
ian
Thanks man, I really appreciate the honesty!! I must admit it was a little of a gamble with those color choices but I'm confident now that everything will work out nicely.
Not much to report today as I was a little busy. I did get to throw the seat on for more inspiration but it was never bolted down. I put some 10W40 in the motor and cranked her over with the kick start. I also put a tiny bit on the pistons through the spark plug openings. Here's a question? Can any one suggest how to get the oil pumping up into the head because when I crank it by the kick start I don't think the pump spins fast enough to give the oomph it needs to carry it up?
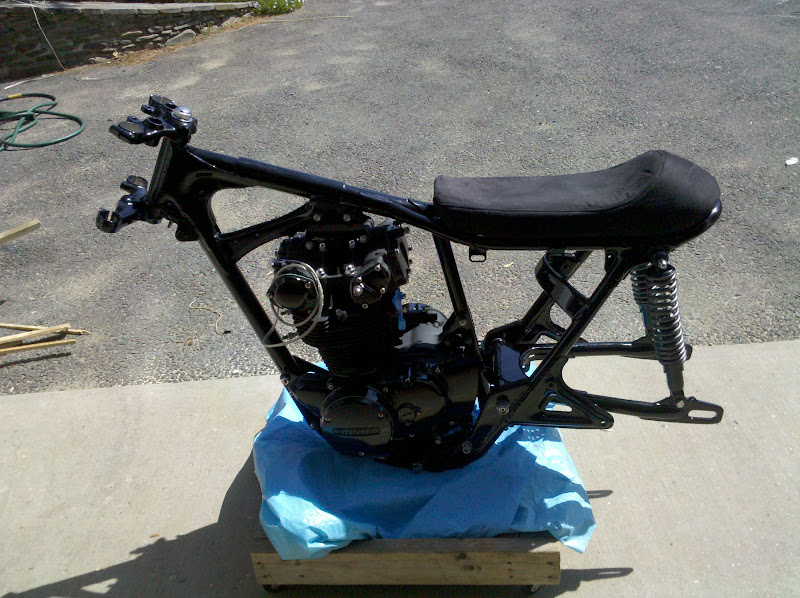

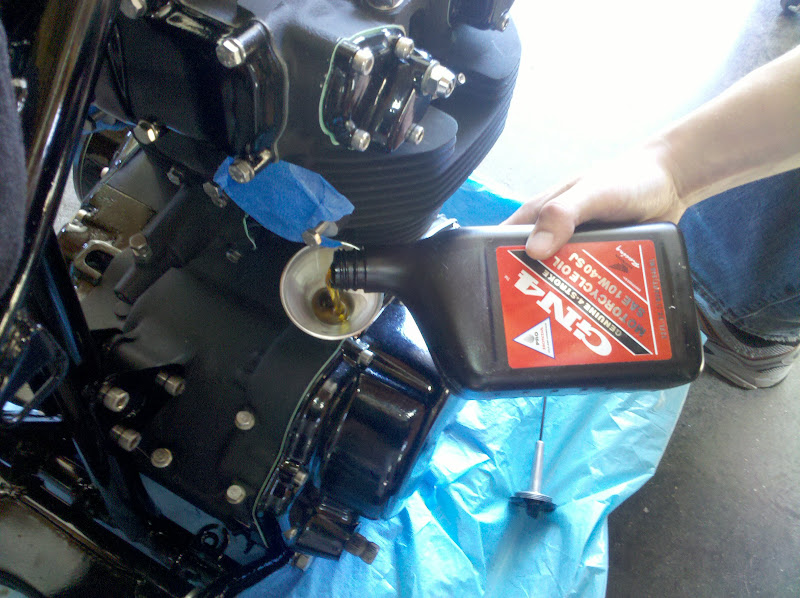
Not much to report today as I was a little busy. I did get to throw the seat on for more inspiration but it was never bolted down. I put some 10W40 in the motor and cranked her over with the kick start. I also put a tiny bit on the pistons through the spark plug openings. Here's a question? Can any one suggest how to get the oil pumping up into the head because when I crank it by the kick start I don't think the pump spins fast enough to give the oomph it needs to carry it up?
i say kick it over a bunch of times. if you used assembly lube in the top, i wouldnt worry too much about having a "dry" start.
only other thing i could think of is taking the top cap off and dropping some oil in, or if it doesnt come all the way off, just squirt some in from the side.
only other thing i could think of is taking the top cap off and dropping some oil in, or if it doesnt come all the way off, just squirt some in from the side.
Today me and the girlfriend went up to Kittery Maine to go shopping and I found a sweet shirt that goes real well with this build. Also Maegan (girlfriend) was nice enough to buy me a present because I am the greatest guy in the world!!!! :-\ j/k, but she did get me a cool leather jacket that I can use on those cold nights now! Also got some stuff in the mail today from Dime City. Now I can finish up the front end.

Is this starting to turn into a fashion show?

Back to the bike parts


Is this starting to turn into a fashion show?
Back to the bike parts
I wont be working on the bike much this weekend. I am still waiting for the rear hub. I asked the guys at the machine shop to take a little off the inside of the hub because I was having an issue putting the painted spokes into the holes. until Monday there's not much I can do with the wheels :-\. I still have to put the rear together and then have both the front and rears trued by a local motorcycle shop.
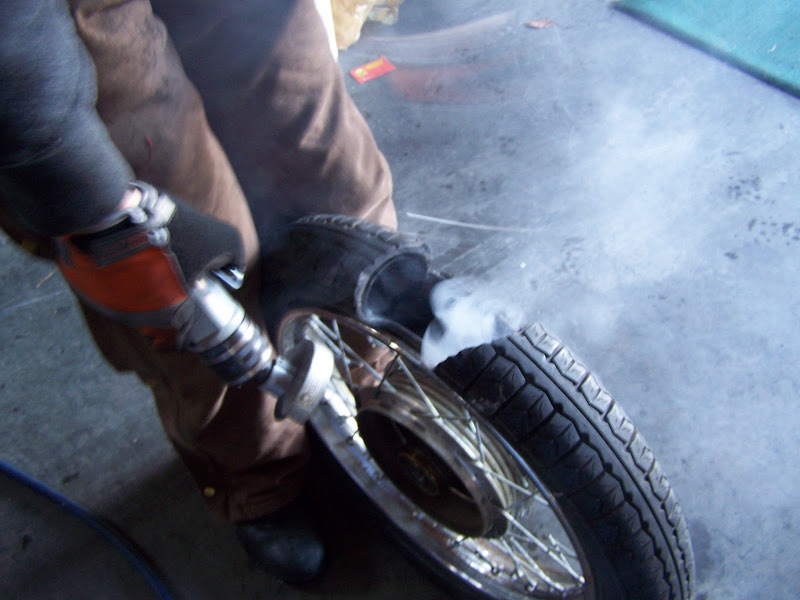
Question? Since the rims are painted too, is there a safe way of putting the tires on the rims with out scratching the paint? I saw a video on Youtube of a guy who puts black trash bags over a rim and then forces the tire over the bags to prevent the paint from getting damaged. Then he pulls the bag out from in between the two. I just looked and couldn't find the video, maybe I even saw it here on DTT.
Anyway here's some before and after.

If it's in the way.....destroy it.....instead of properly pulling the tire off, lol.
I love getting rid of old nasty stuff
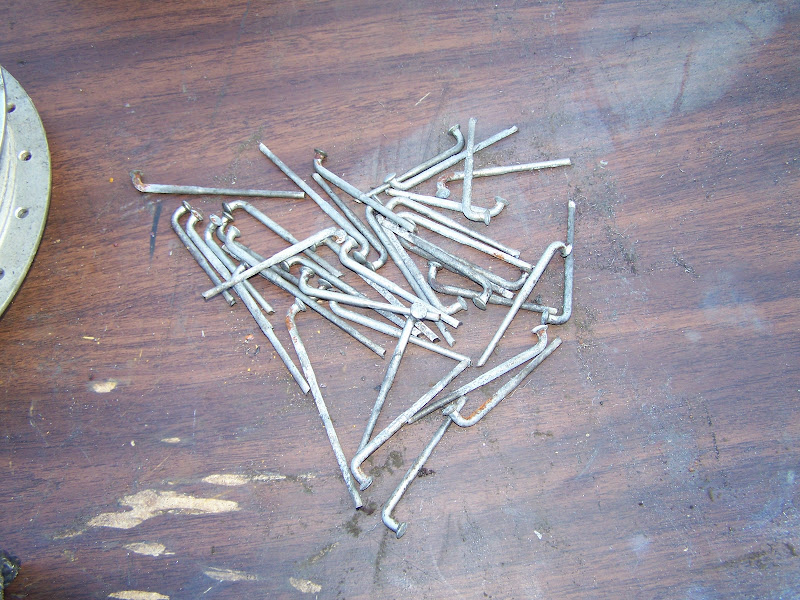
The only thing worth saving.

Started to lace the spokes. Maegan is very understanding when I work in the living room........You can't hear the yelling in photos, lol.
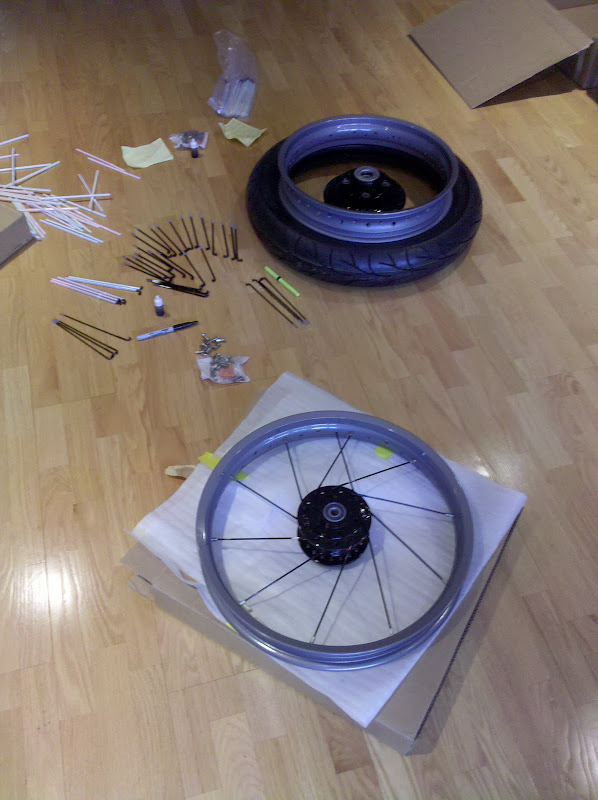

I still have to finish the rear wheel!
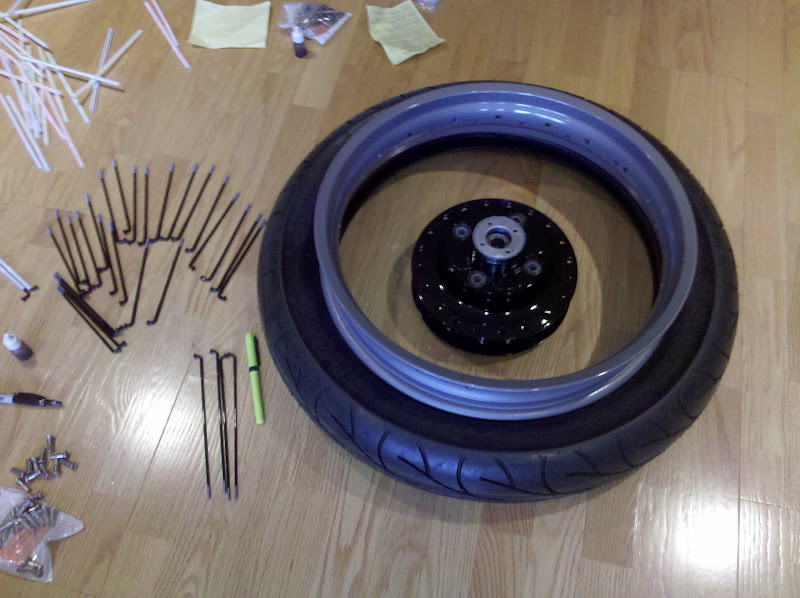
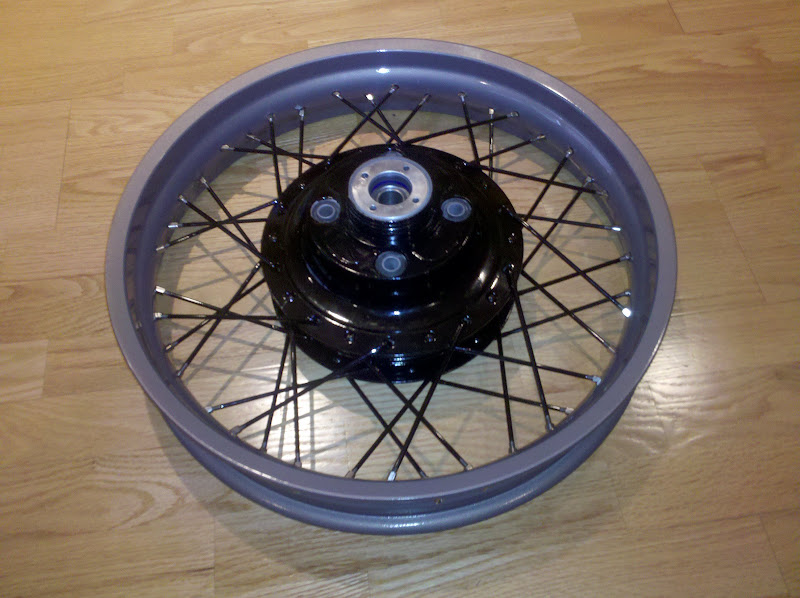
Front is ready to be trued.

Question? Since the rims are painted too, is there a safe way of putting the tires on the rims with out scratching the paint? I saw a video on Youtube of a guy who puts black trash bags over a rim and then forces the tire over the bags to prevent the paint from getting damaged. Then he pulls the bag out from in between the two. I just looked and couldn't find the video, maybe I even saw it here on DTT.
Anyway here's some before and after.
If it's in the way.....destroy it.....instead of properly pulling the tire off, lol.
I love getting rid of old nasty stuff
The only thing worth saving.
Started to lace the spokes. Maegan is very understanding when I work in the living room........You can't hear the yelling in photos,
lol.I still have to finish the rear wheel!
Front is ready to be trued.
Big R
Heaven is so far away.
About painting the wheels before / after and getting tires mounted, Hoosier Daddy started a thread with the same question. If you do a search for it, should be able to find it.
And have you thought about truing the wheels yourself? They just have to be within a 1/16" or so, once the tires are mounted they will balance them anyway.
Everything's lookin good BTW!
And have you thought about truing the wheels yourself? They just have to be within a 1/16" or so, once the tires are mounted they will balance them anyway.
Everything's lookin good BTW!