
We noticed you are blocking ads. DO THE TON only works with community supporters. Most are active members of the site with small businesses. Please consider disabling your ad blocking tool and checking out the businesses that help keep our site up and free.
You are using an out of date browser. It may not display this or other websites correctly.
You should upgrade or use an alternative browser.
You should upgrade or use an alternative browser.
Down under, an idiot and a 400F
- Thread starter neevo
- Start date
CB Josh
New Member
pandknz said:if we are talking about the bike in your signature I'd also love to see some more picks 8)
AGREED!
RustyOlive
Been Around the Block
neevo said:PM me some pics bud, would love to see it in its latest incarnation.
pandknz said:if we are talking about the bike in your signature I'd also love to see some more picks 8)
Thanks guys.
I'll PM you photos later tonight when I'm home.
I have a blog going as well. But sadly, not up to date. Its on my to do list. Lol
But If you want. There some photos at rustyolive.com
crazypj
Split personality, I fake being smart
neevo said:That's what I've been trying to get the tubes nice and finished. How perfect does the frame have to be prior to paint or PC?
I would rather fix defects now rather than have them show up in the final finish.
PC isn't real thick so pretty much anything you can see, you will see, sometimes it looks even worse with colour
With paint you can filler then prime/flat as needed to get nice finish
neevo
Over 1,000 Posts
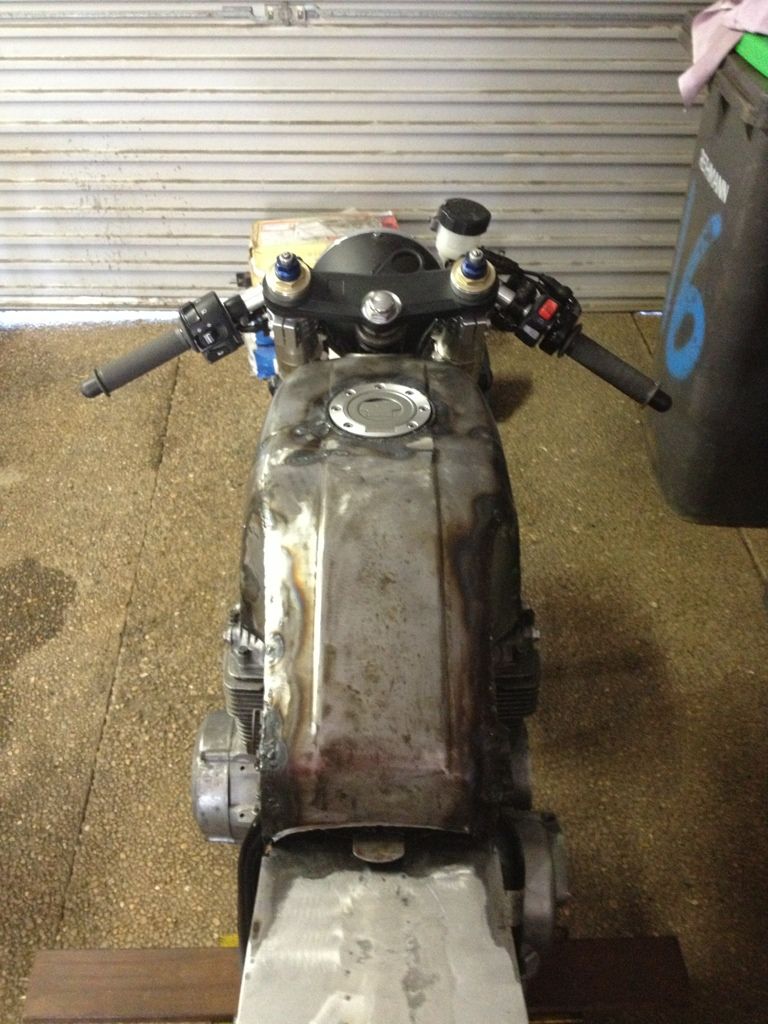
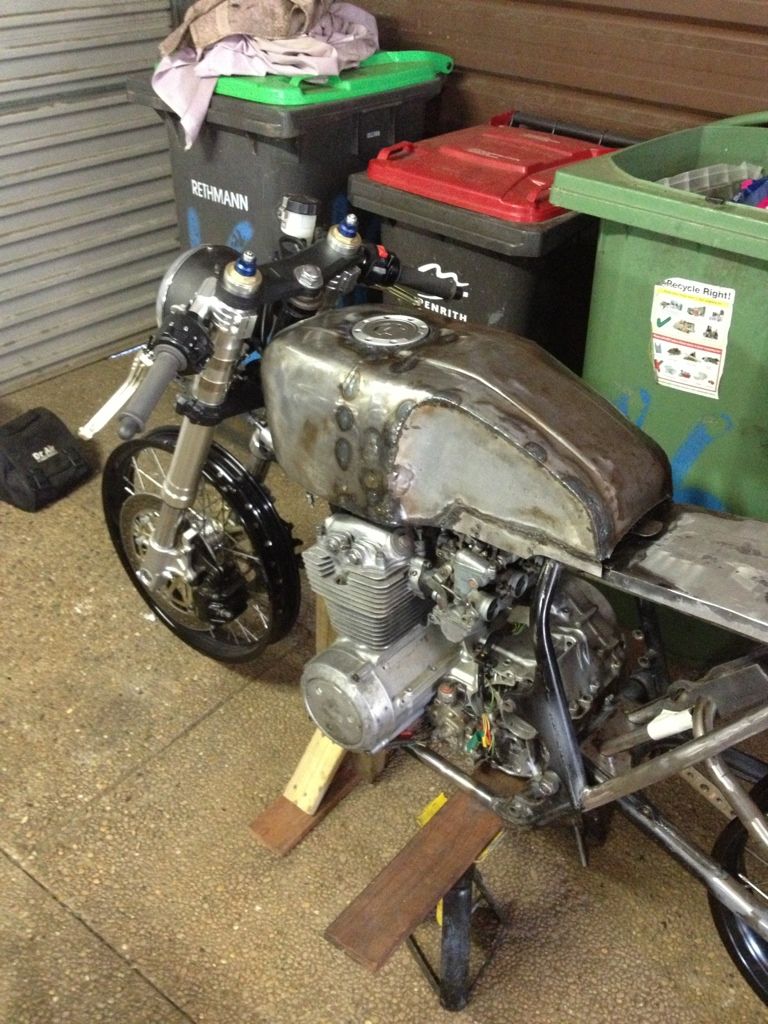
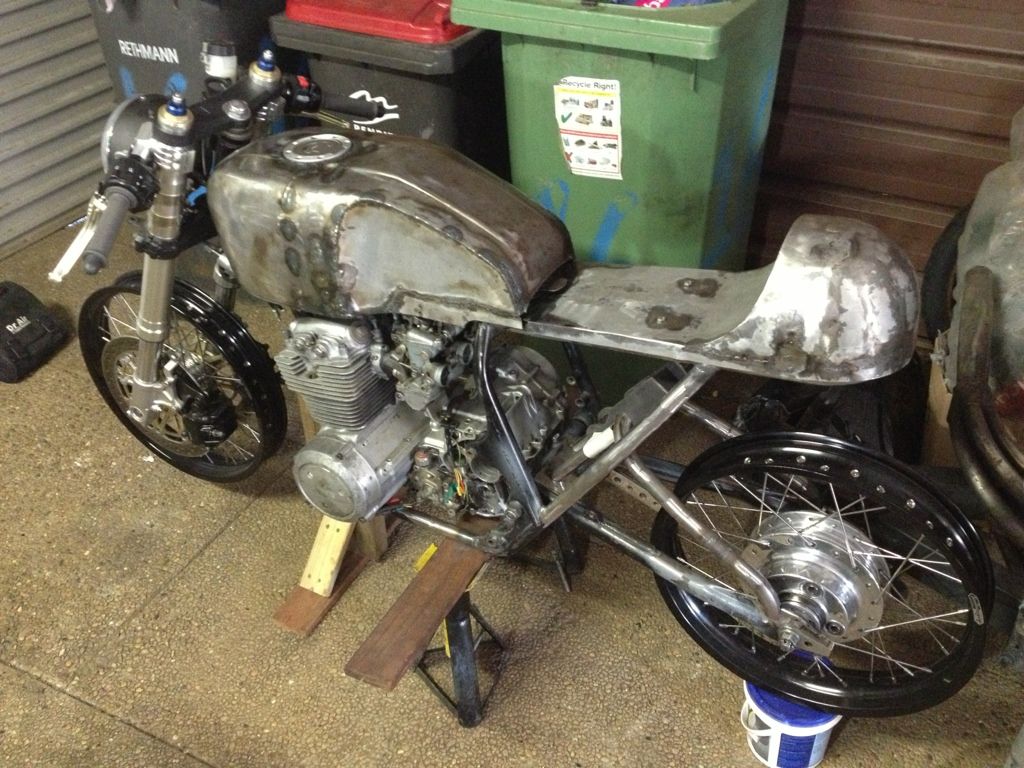
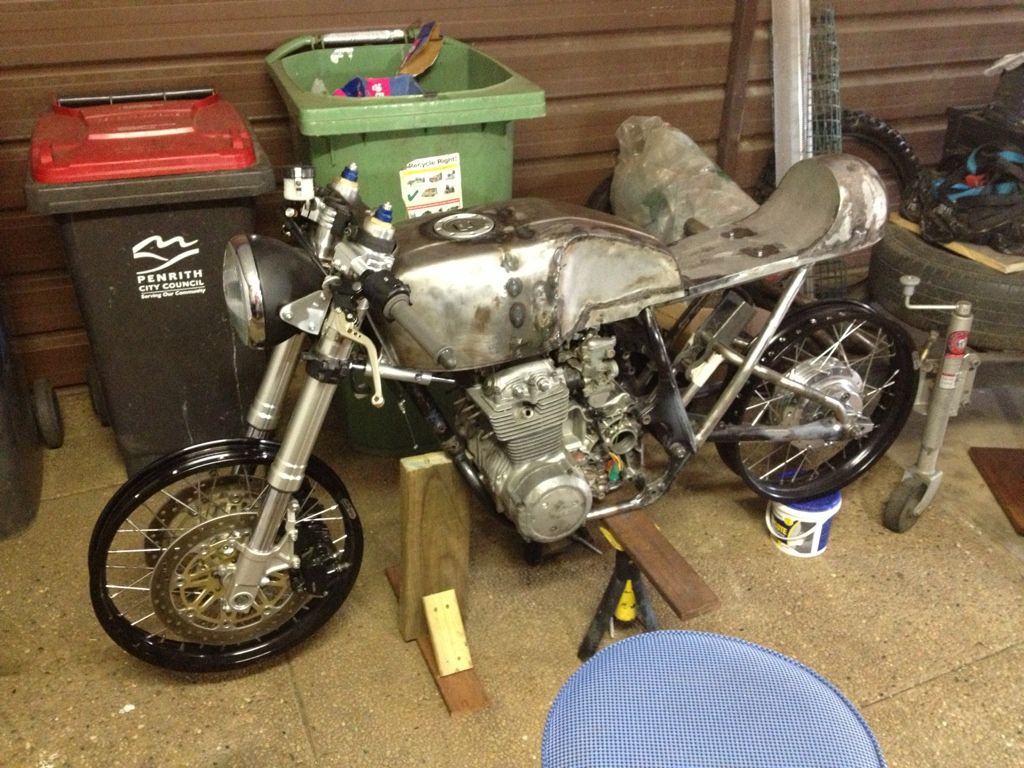
Feeling pleased with today's progress, which I think sees the tank in a much better place, ready for pressure testing and maybe even some body filler soon ")
First up was a trip to the hardware store, something to remove the filler cap. Had a look at ultra thin cut off discs and zigsaw blades, however there was nothing there I was comfortable with. In the end Bunnings had a super cheap rotary tool, and I thought for $40 odd I couldn't go wrong:
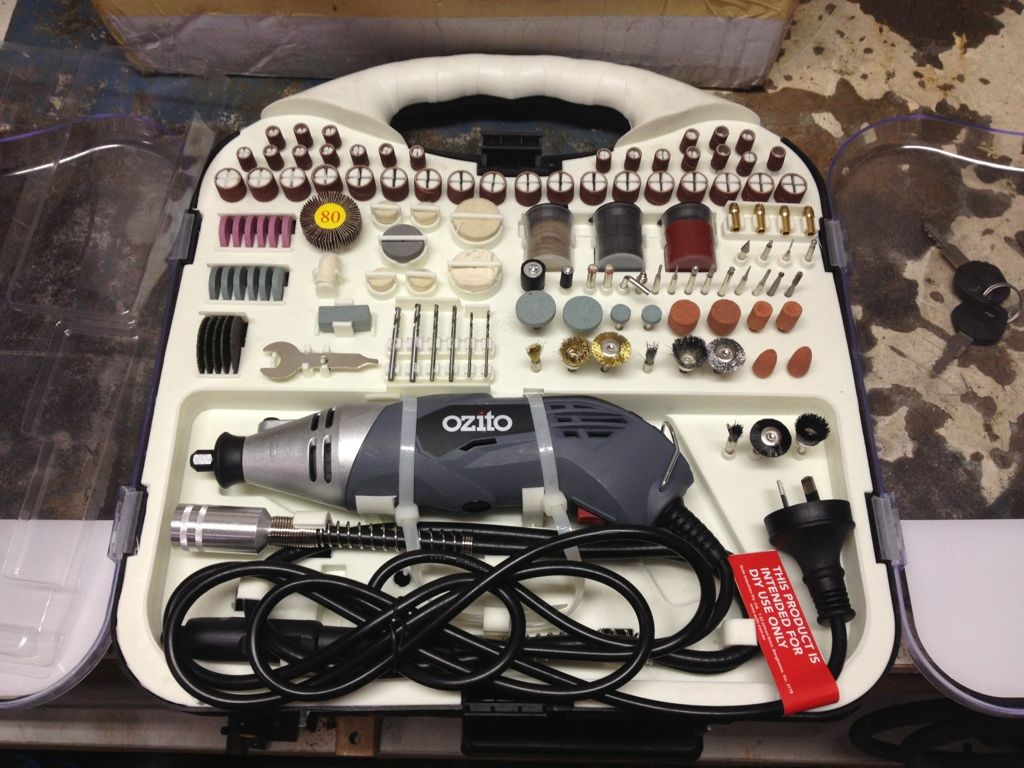
I ripped through about 7 cutting discs but the flexible extension on the rotary tool was a pleasure to use. In the end cut it out with minimal gap:
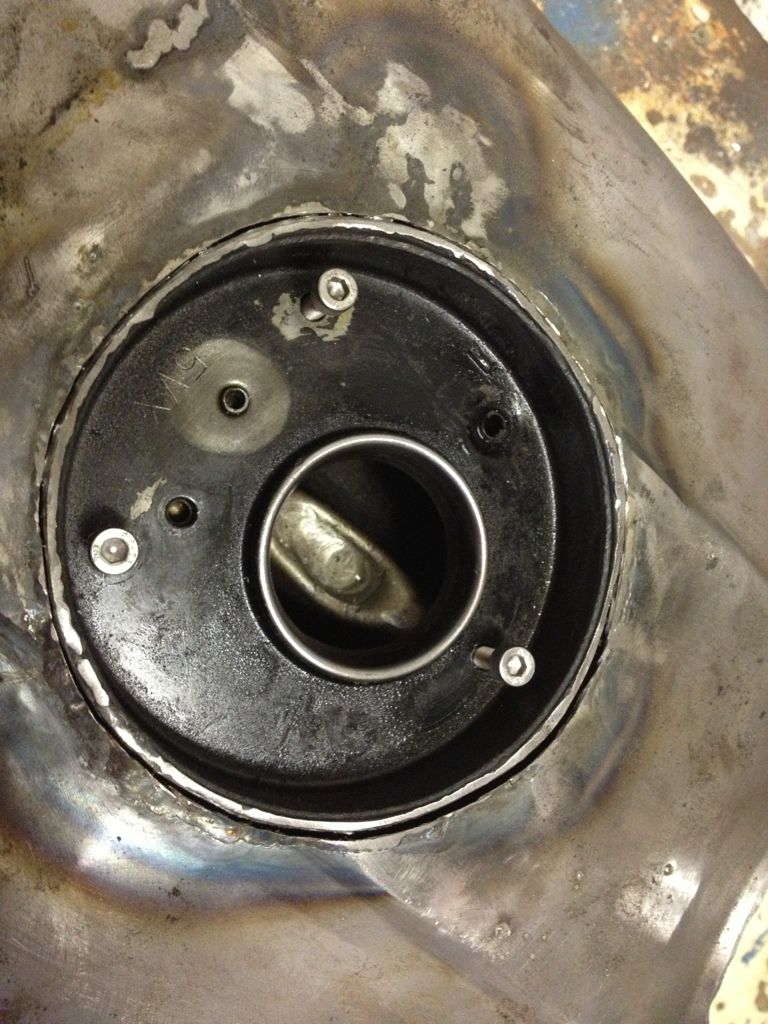
Thought I would employ the cut once measure twice rule this time. Tacked the mount in an popped the cap back on to see how it was looking, it looked fine in person but the pictures made it look a little off still:
So I used a drill bit to see where the centre line was:
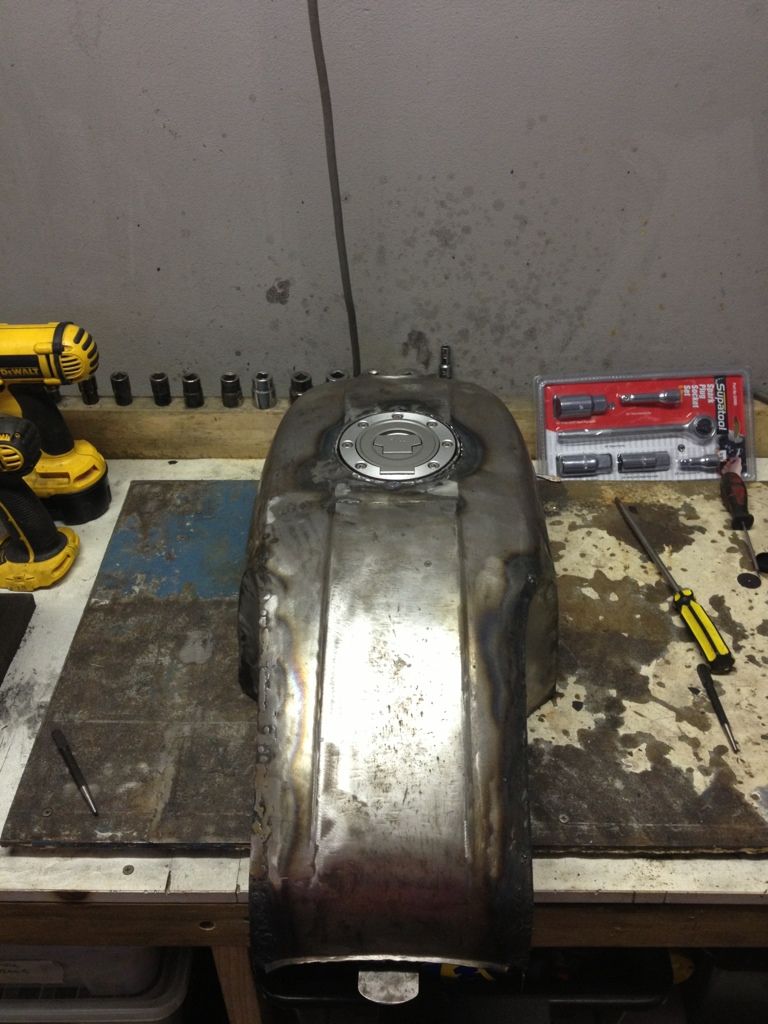
It looked a fraction off so I cut the top tack and twisted it around a touch:
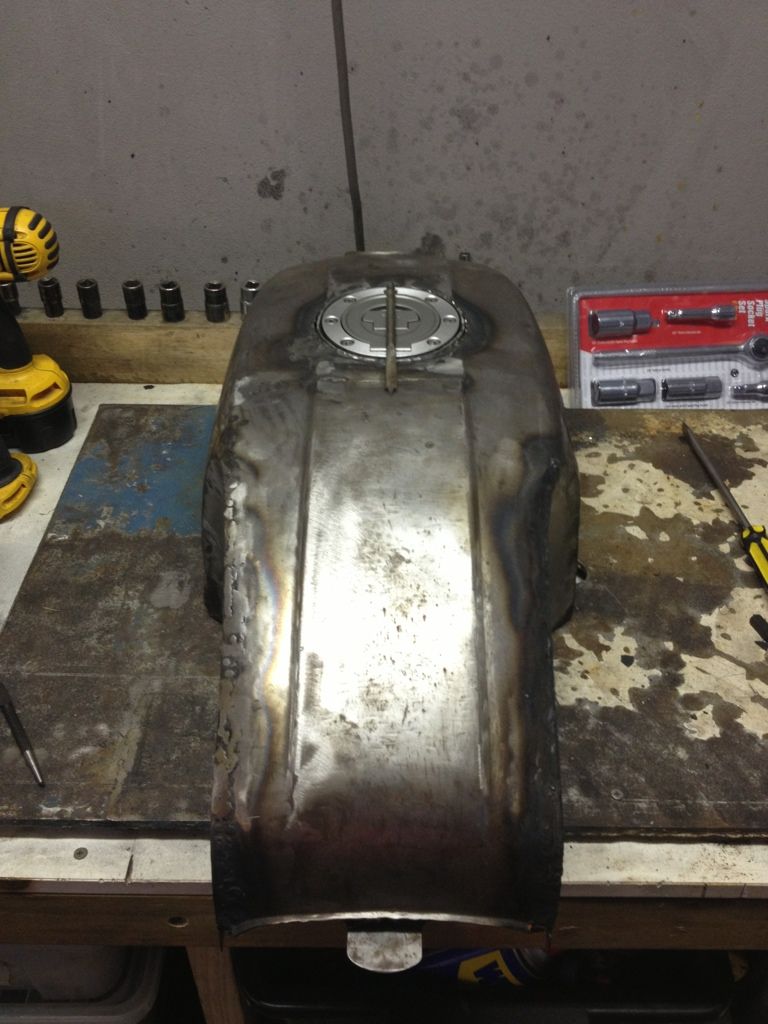
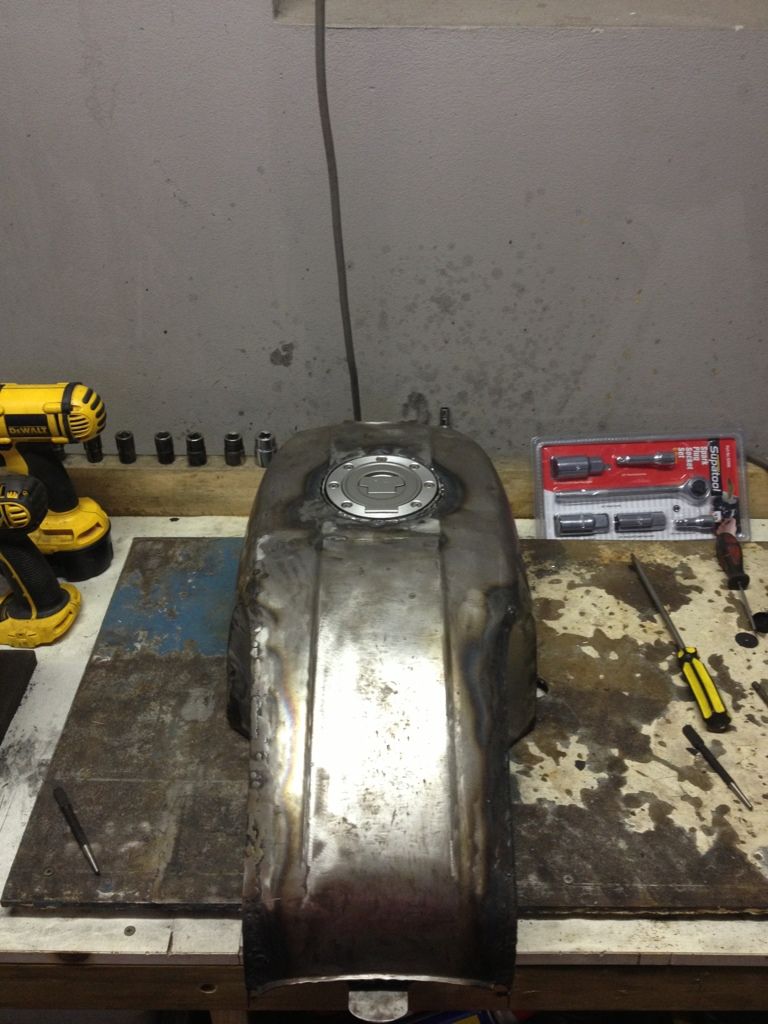
Much better:
Next up was getting the bastard water tight. I grabbed my dirtbike gear box and filled it with water:

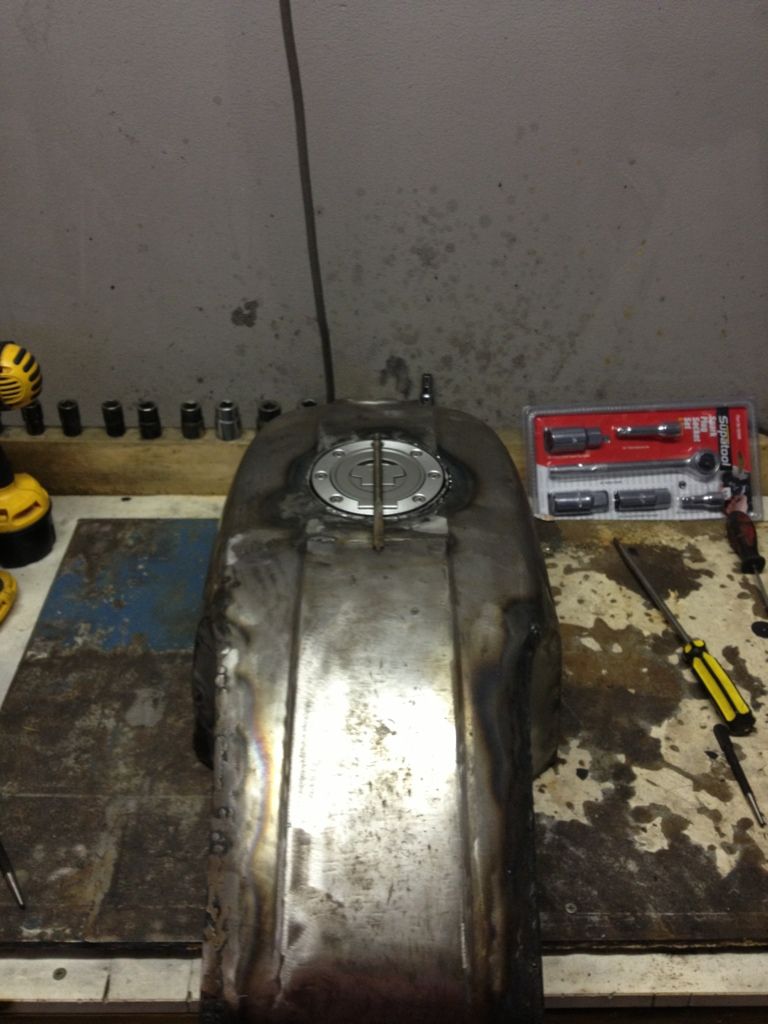
Popped the fuel cap on, blocked one of the fuel lines and used the other fuel line to pump air in. I didn't have much pressure but used about 30-40 psi to find leaks. Took bloody ages but in the end I got all of them. Will take the tank to the local radiator repair shop to get a final ok (chap has tested it a few times now).
Very pleased everyone pressed me to fix the cap, it would have irritated the shit out of me and it looks great now:
Anything else I should be doing with the tank prior to bodywork? Want to make sure it's safe, will hold fuel before I go any further.
Next up some bodywork. Never done it before so have been researching a fair bit to see what to do. Seeing ducatiboy's paint job made me very jealous however I'm not sure I want to plow a grand into it. Went and had a chat to the local bodyshop suppliers the other day and thinking about buying a gun to try myself, is this a sensible thing?
First up was a trip to the hardware store, something to remove the filler cap. Had a look at ultra thin cut off discs and zigsaw blades, however there was nothing there I was comfortable with. In the end Bunnings had a super cheap rotary tool, and I thought for $40 odd I couldn't go wrong:
I ripped through about 7 cutting discs but the flexible extension on the rotary tool was a pleasure to use. In the end cut it out with minimal gap:
Thought I would employ the cut once measure twice rule this time. Tacked the mount in an popped the cap back on to see how it was looking, it looked fine in person but the pictures made it look a little off still:
So I used a drill bit to see where the centre line was:
It looked a fraction off so I cut the top tack and twisted it around a touch:
Much better:
Next up was getting the bastard water tight. I grabbed my dirtbike gear box and filled it with water:
Popped the fuel cap on, blocked one of the fuel lines and used the other fuel line to pump air in. I didn't have much pressure but used about 30-40 psi to find leaks. Took bloody ages but in the end I got all of them. Will take the tank to the local radiator repair shop to get a final ok (chap has tested it a few times now).
Very pleased everyone pressed me to fix the cap, it would have irritated the shit out of me and it looks great now:
Anything else I should be doing with the tank prior to bodywork? Want to make sure it's safe, will hold fuel before I go any further.
Next up some bodywork. Never done it before so have been researching a fair bit to see what to do. Seeing ducatiboy's paint job made me very jealous however I'm not sure I want to plow a grand into it. Went and had a chat to the local bodyshop suppliers the other day and thinking about buying a gun to try myself, is this a sensible thing?
Hoosier Daddy
Earache my eye...
Yes, yes, yes. I worked in a bodyshop after school waaaaay back when and learned the basics. That helped a lot with my past rattle can paint jobs. But this time around I bought an HVLP gravity feed gun and it makes the WORLD of difference.
Do it.
Do it.
neevo
Over 1,000 Posts
Hoosier Daddy said:Yes, yes, yes. I worked in a bodyshop after school waaaaay back when and learned the basics. That helped a lot with my past rattle can paint jobs. But this time around I bought an HVLP gravity feed gun and it makes the WORLD of difference.
Do it.
Hahahahahah, no problem then, I will give it a go. Some questions on painting. I've been looking at videos on YouTube to see what to do, however I'm not able to answer a few specific items.
1. How do you paint a tank where there are surfaces all over rather than a panel. Do you hang it so you can access all areas or do you paint the underneath first and then tackle the top later. Is the bottom finished in the same way as the top with clear etc too?
2. If I wanted to do a job similar to ducatiboy's (main colour, 2nd colour panels with a 3rd colour separation line - http://www.dotheton.com/forum/index.php?topic=32827.msg462218#msg462218). How is this done and in what order? I would assume paint the main colour, paint the panels then mask the joining line and paint the seperating strip?
Any other good resources for paint learning?
Cheers.
BCBarker
Coast to Coast
Yep. Hang it. You should have enough room above and below it to comfortably see and spray all sides. The body shop where I used to work and now paint my tins uses wire coat hangers to hang parts. Sometimes I use an I/V stand to hang small parts. Something that you can hang parts from and move around is helpful.
BCBarker
Coast to Coast
As far as order, if you are just thinking a uniform line for the separation line, I was taught to paint the separation color first, then use lining tape to mask it. That way you get an even width too. Also I was taught to clear at each step. Helps to build depth in the final paint job.
neevo
Over 1,000 Posts
BCBarker said:As far as order, if you are just thinking a uniform line for the separation line, I was taught to paint the separation color first, then use lining tape to mask it. That way you get an even width too. Also I was taught to clear at each step. Helps to build depth in the final paint job.
Gotcha! Just watched a video showing this masking technique, much simpler than want I was proposing.
Hoosier Daddy
Earache my eye...
neevo
Over 1,000 Posts
So we have some good news, turns out the tank is airtight. When I was testing it I was pumping about 30 PSI into it, apparently this is waaaaaay too much but hopefully means its going to be up to the job. Got a professional to do the final check (local raidator chap who is a mad keen motorcyclist and has been testing it for free ) and after a final seal on a tiny hole with some bronze it should be all ready to go.
Question: How should I triple check its going to be fuel tight? Should I fill it with soapy water and see if it leaks? Put a liner in it (don't really want to do this)?
I will be sanding it this weekend and putting body filler on it too, want to make sure i have it fuel tight before I put too much work into it.
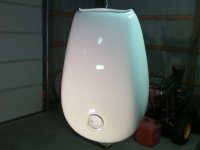
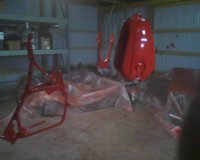
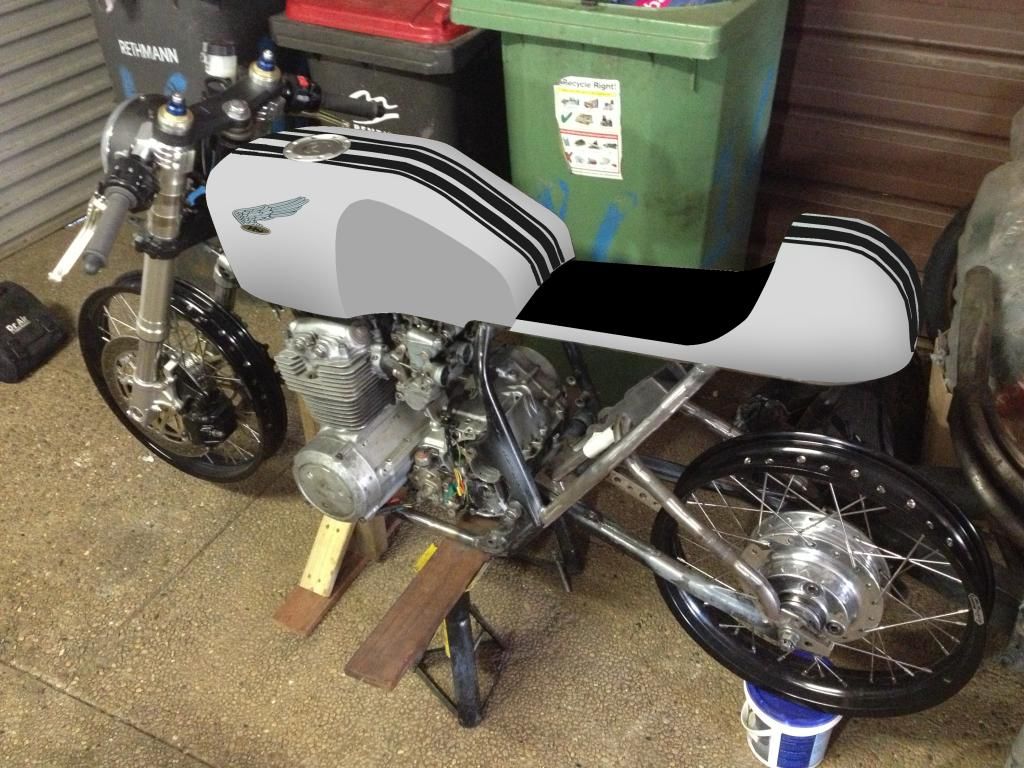
Also been playing around with some designs for the paint. Had intentions of a complicated design but it looked shithouse, Im not sure my deisgn skills are up to making it look good. So I thought I would try classic racer and ended up with this in silver metallic and a dark charcoal stripe pattern. What do people think?
) and after a final seal on a tiny hole with some bronze it should be all ready to go.Question: How should I triple check its going to be fuel tight? Should I fill it with soapy water and see if it leaks? Put a liner in it (don't really want to do this)?
I will be sanding it this weekend and putting body filler on it too, want to make sure i have it fuel tight before I put too much work into it.
Also been playing around with some designs for the paint. Had intentions of a complicated design but it looked shithouse, Im not sure my deisgn skills are up to making it look good. So I thought I would try classic racer and ended up with this in silver metallic and a dark charcoal stripe pattern. What do people think?
super low air pressure in tha tank and a little soap and water on your welds. also i always fill tank with a pound or two of wood screws and shake the hell for awhile out of it to clean any slag off your welds inside the tank beats cleaning your carbs over and over for years bike looks good man
bike looks good manneevo
Over 1,000 Posts
bradj said:super low air pressure in tha tank and a little soap and water on your welds. also i always fill tank with a pound or two of wood screws and shake the hell for awhile out of it to clean any slag off your welds inside the tank beats cleaning your carbs over and over for years
Done the water/pressure bit Brad. 20 odd PSI and the tank underwater in a tub of water. No leaks! You think this is going to be fuel tight now?
Good idea on the wood screws. I have some Sheetrock screws here that are quite sharp, will use those. Not looking forward to that, wonder if I can automate it somehow. Heard about putting it into the dryer, pity I don't have a dryer
neevo
Over 1,000 Posts
bradj said:jack up your car tie tank to tire and let run in gear hahahahahah no dont it could go south quick
Oh shit that's tempting
Hoosier Daddy
Earache my eye...
I often wondered if the hardware store would chuck a tank up in their paint shaker/mixer for me... :
As long as the tank fit's in a 5 gallon bucket, wrap it in a blanket and stick it in one... If I ever have to coat the inside of a tank, I'm at least going to ask...

As long as the tank fit's in a 5 gallon bucket, wrap it in a blanket and stick it in one... If I ever have to coat the inside of a tank, I'm at least going to ask...


