
We noticed you are blocking ads. DO THE TON only works with community supporters. Most are active members of the site with small businesses. Please consider disabling your ad blocking tool and checking out the businesses that help keep our site up and free.
You are using an out of date browser. It may not display this or other websites correctly.
You should upgrade or use an alternative browser.
You should upgrade or use an alternative browser.
'Hamasaki' formerly known as the '82 KZ305 cafe racer - first build
- Thread starter Rustyhama
- Start date
Chicagomike
New Member
Re: '82 KZ305 cafe racer - first build
I like the direction this is going. Subscribed for inspiration on my 305 build
Sent from my SAMSUNG-SGH-I747 using Tapatalk 2
I like the direction this is going. Subscribed for inspiration on my 305 build
Sent from my SAMSUNG-SGH-I747 using Tapatalk 2
Re: '82 KZ305 cafe racer - first build
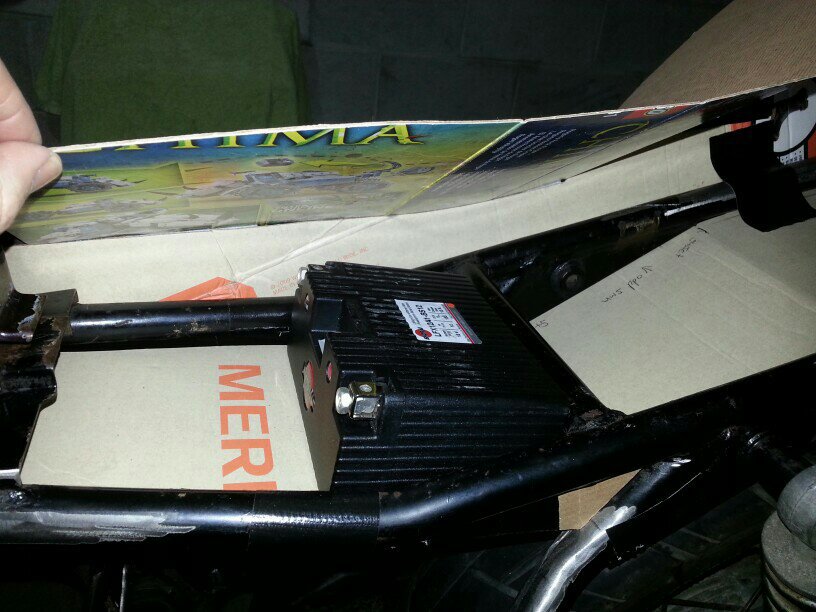
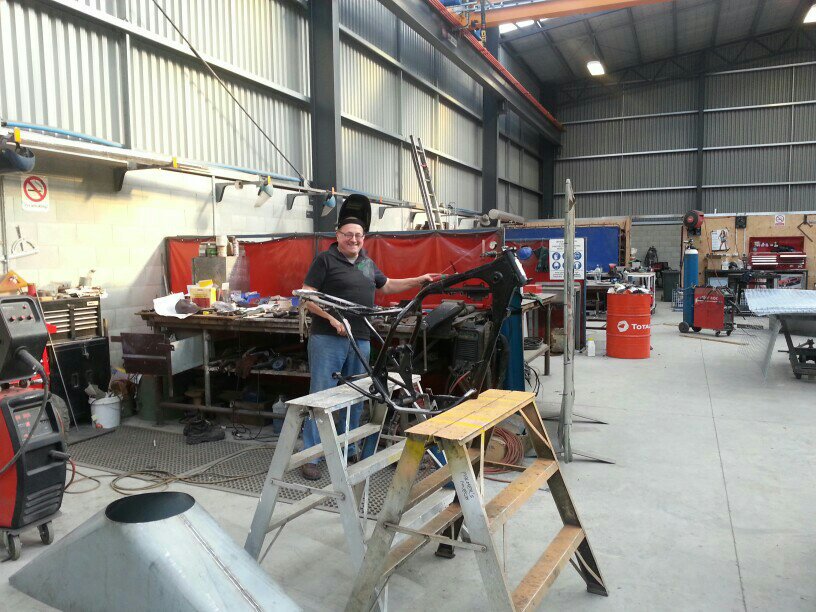
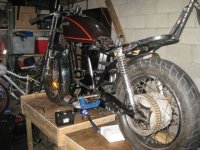
In the big boys work shop today with Uncle Alan. Took 45mm out of the rear hoop and welded up some big fat tabs for the rear set mounts. Speaking of which. What kind of bolts are you turkeys running over there? It's supposed to be M10 but it's got a queer thread that doesn't match a proper M10. Could be 17/43rds but hard to know for sure!
Sent from my GT-I9300 using Tapatalk
Re: '82 KZ305 cafe racer - first build
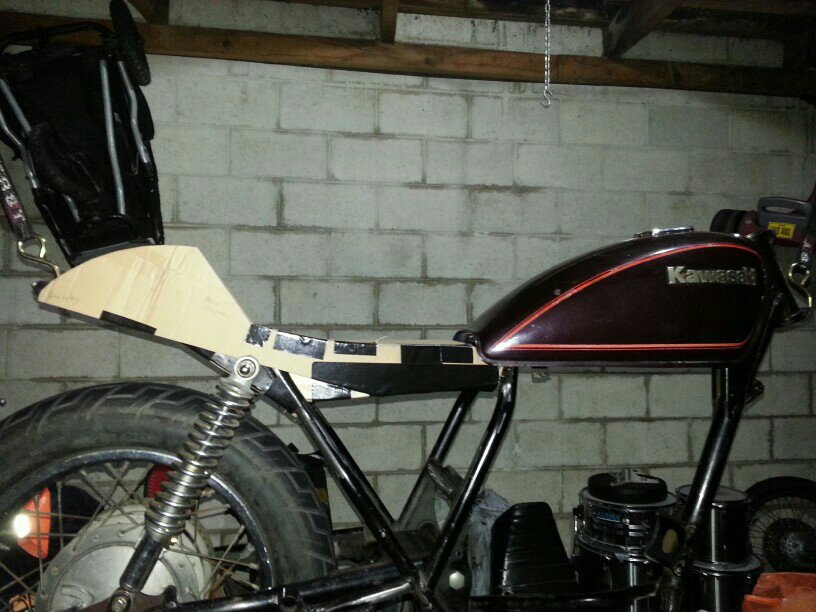
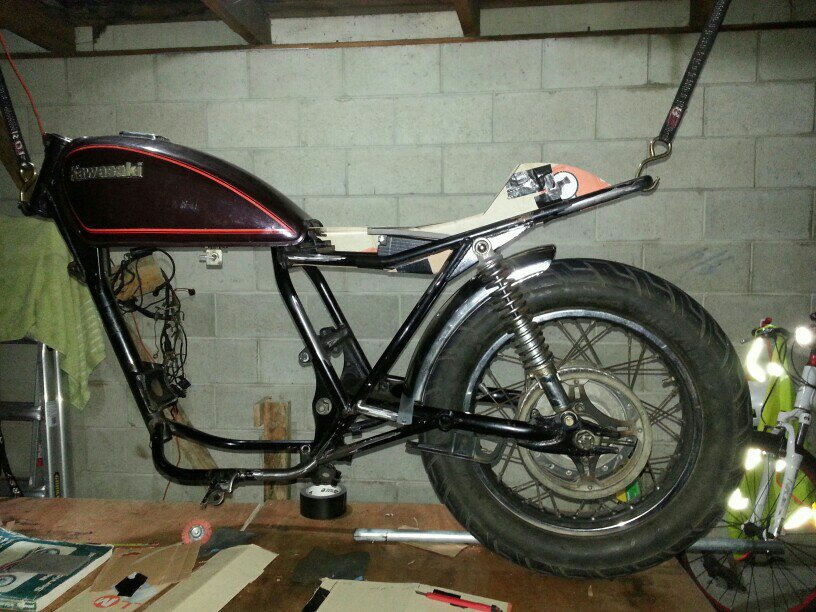
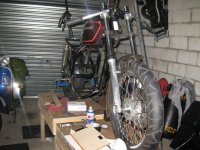
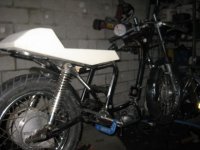
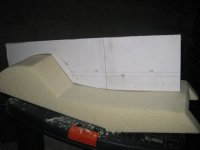
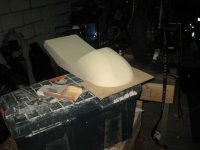
Some progress this week. Box of stuff arrived from the U.S. I got the back chopped & re-welded, & some tabs for the rear sets. I've put some clamps on to get a feel for the riding position with my new clip-ons in place. Yep, I'm happy I got that right, feels racy & comfortable. I scored a big ole lump of polyurethane foam from some mates at Advanced Fibreglass and started carving. That stuff is awesome! So easy to work but messy as hell!
Old School Speed tell me their bolts could be one of 3 types! My next step will be glassing or maybe some more polishing - so many options...
Attachments

nightmoves
New Member
Re: '82 KZ305 cafe racer - first build
Really like where you're headed here. I'm interested to see what you end up doing with this bike's challenging geometry. Keep on posting!
Really like where you're headed here. I'm interested to see what you end up doing with this bike's challenging geometry. Keep on posting!
Re: '82 KZ305 cafe racer - first build
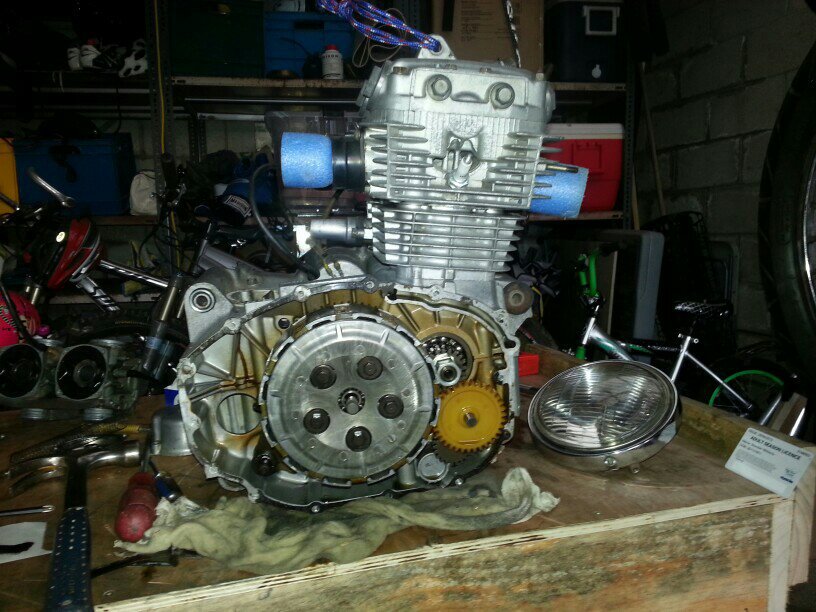
I talked to Kev at the local Kawasaki dealer, he was always going to do my valve seals, he's gonna take a look at the rings too while he's in there. He's also gonna do my carbs, do the ultra sonic cleaning thing and re jet. Basically he's gonna take ownership of tuning the engine and getting it running sweet. All of that stuff is probably beyond my skill level so that works!
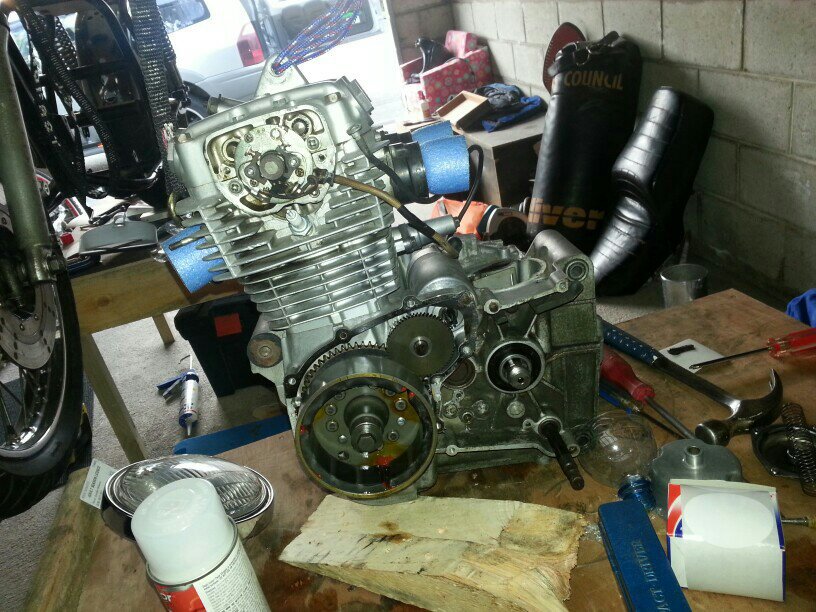
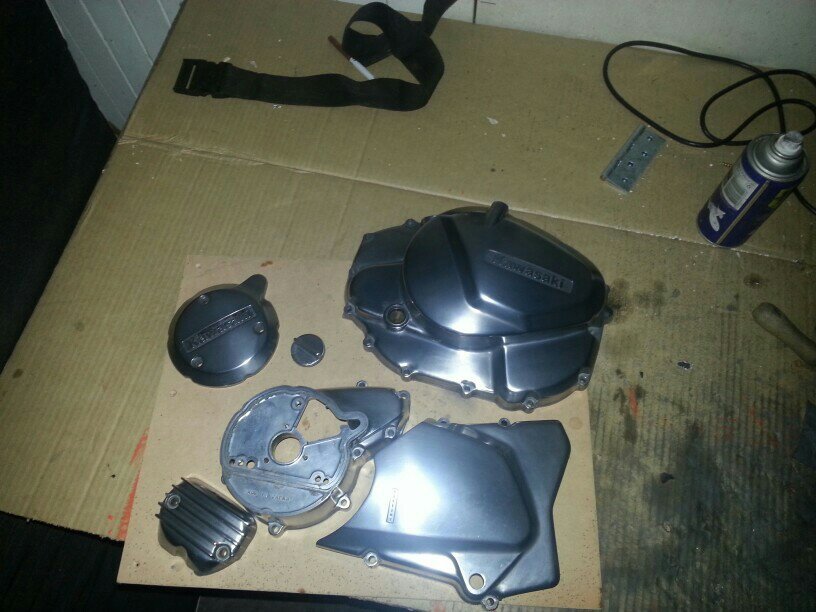
I'm removing side covers for polishing. Everything is stuck together with gasket goo. Any tips on getting this piece off? Note: I have all the screws out.
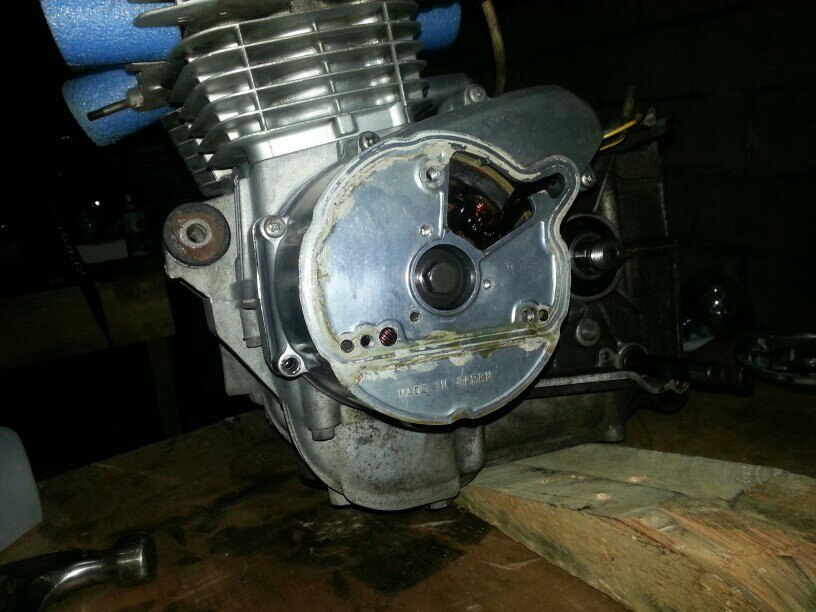
Sent from my GT-I9300 using Tapatalk
I talked to Kev at the local Kawasaki dealer, he was always going to do my valve seals, he's gonna take a look at the rings too while he's in there. He's also gonna do my carbs, do the ultra sonic cleaning thing and re jet. Basically he's gonna take ownership of tuning the engine and getting it running sweet. All of that stuff is probably beyond my skill level so that works!
I'm removing side covers for polishing. Everything is stuck together with gasket goo. Any tips on getting this piece off? Note: I have all the screws out.
Sent from my GT-I9300 using Tapatalk
M.B Co
Coast to Coast
Re: '82 KZ305 cafe racer - first build
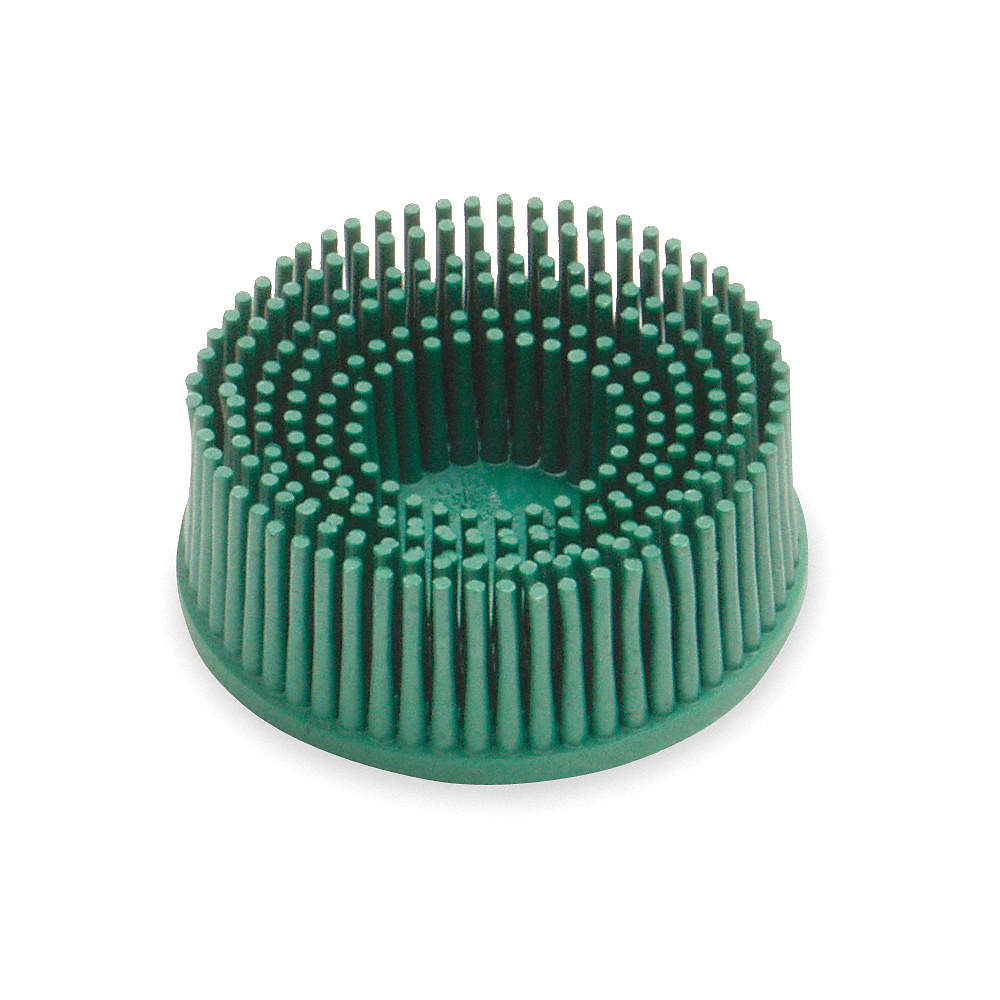
I've always used 3M's green bristle disc for removing gaskets from aluminum. Doesn't harm or remove aluminum from the surface. Can be used on air angle grinder/die grinder.
PDF of product
http://multimedia.3m.com/mws/mediawebserver?mwsId=66666UF6EVsSyXTtnXf2oxMEEVtQEVs6EVs6EVs6E666666--&fn=Roloc%20Bristle%20Disc.pdf
Re: '82 KZ305 cafe racer - first build
Sorry maybe I didn't explain myself clearly. I need to get the left side (stator) cover off. Essentially its glued on with gasket glue. I'm thinking a large flat bladed screw driver anywhere I can get some purchase then lever that with what ever works. So if that doesn't work I'm not sure how else to do it hence the request for tips...
I haven't seen one of those 3m thingy's here but I'll look out for one, thanks
Chicagomike
New Member
Re: '82 KZ305 cafe racer - first build
Very nice. What's your plan for wheels/tires
Sent from my SAMSUNG-SGH-I747 using Tapatalk 2
Very nice. What's your plan for wheels/tires
Sent from my SAMSUNG-SGH-I747 using Tapatalk 2
Re: '82 KZ305 cafe racer - first build
I've just ordered some Shinko 712's 100/90/18 front 130/90/16 rear. The rear will be very close to the belt so might have an issue there. I plan to rattle can the hubs and spokes semi-gloss black, mask and polish the chrome rims. I'm just not sure about the prep work yet. I'm gonna try Septone Ali bright to clean up the hubs and may still need to de-rust the spokes by hand. There is also the soda blast option for the hubs.
I've just ordered some Shinko 712's 100/90/18 front 130/90/16 rear. The rear will be very close to the belt so might have an issue there. I plan to rattle can the hubs and spokes semi-gloss black, mask and polish the chrome rims. I'm just not sure about the prep work yet. I'm gonna try Septone Ali bright to clean up the hubs and may still need to de-rust the spokes by hand. There is also the soda blast option for the hubs.
Re: '82 KZ305 cafe racer - first build
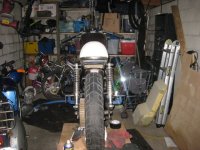
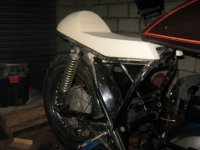
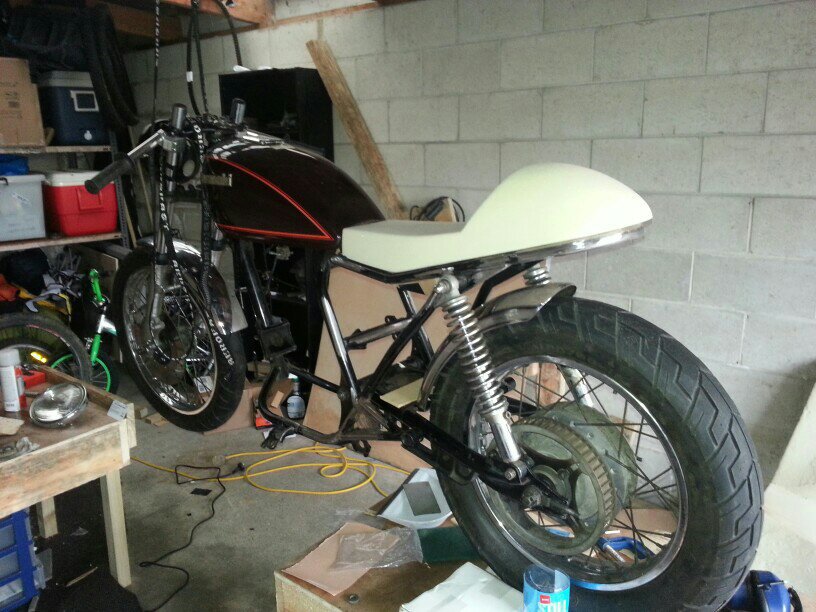
Tried out the old indicators straight into the headlight trick. Looks good but not much thread for the bolt on the inside. I put the old speedo in there too for a sneak peek. The new one I've ordered is about 30mm smaller both way so should tuck in there nicely. And a cheeky side on shot too so I can feel like I'm making progress.
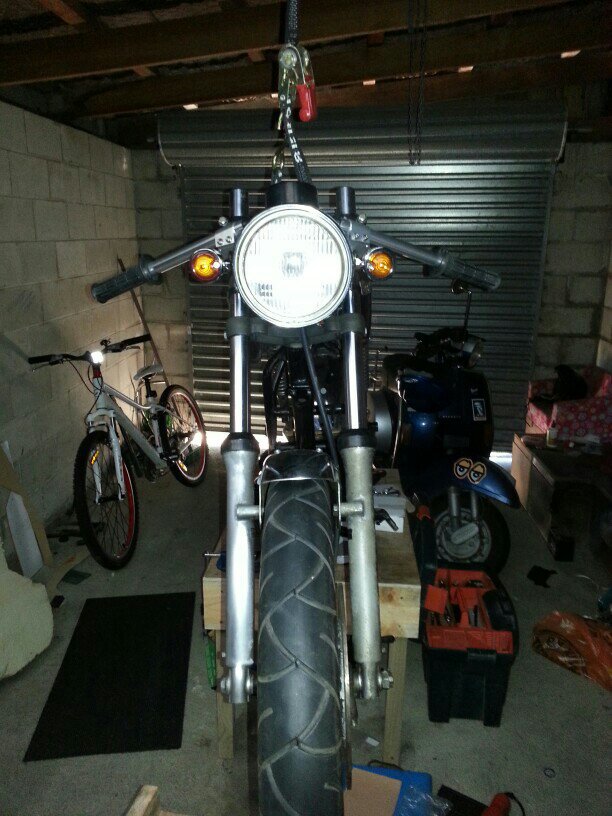
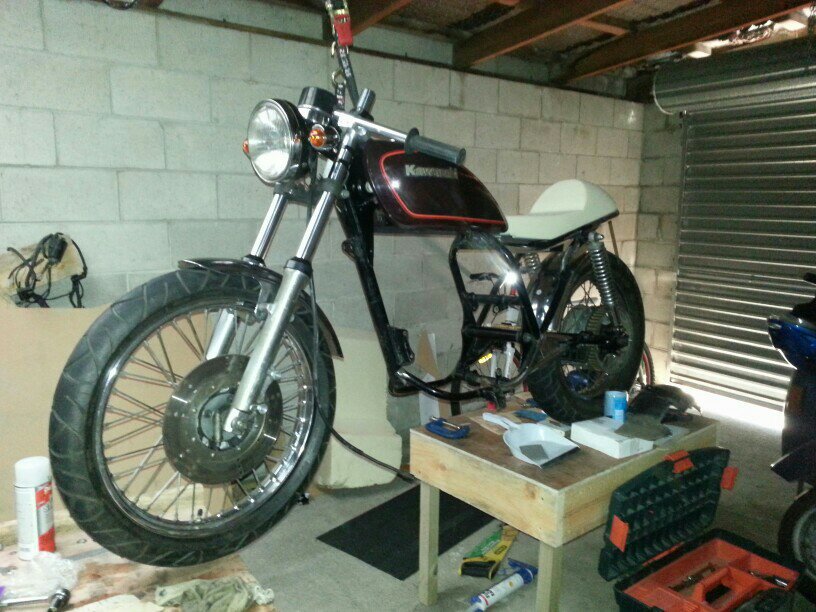
Tried out the old indicators straight into the headlight trick. Looks good but not much thread for the bolt on the inside. I put the old speedo in there too for a sneak peek. The new one I've ordered is about 30mm smaller both way so should tuck in there nicely. And a cheeky side on shot too so I can feel like I'm making progress.


