devilishdesigner
Been Around the Block
Again, not sure quite where this one falls but is vaguely tracker:
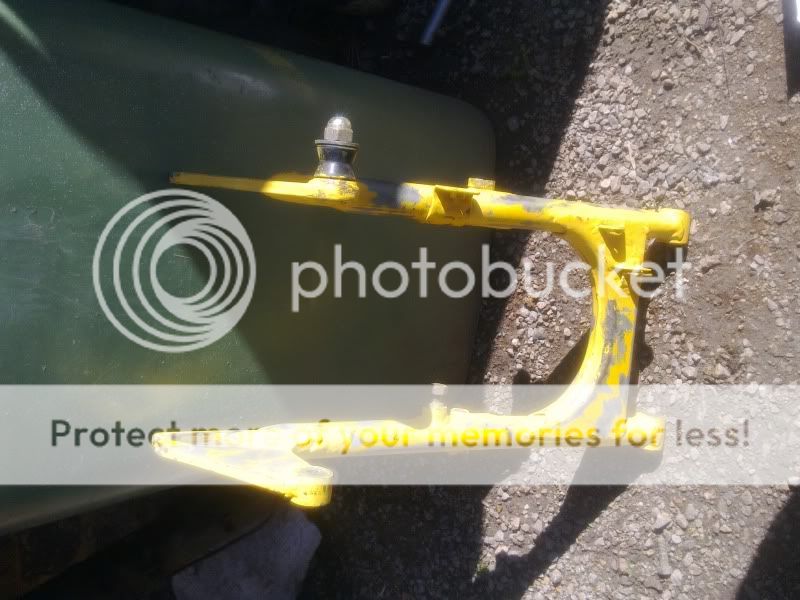
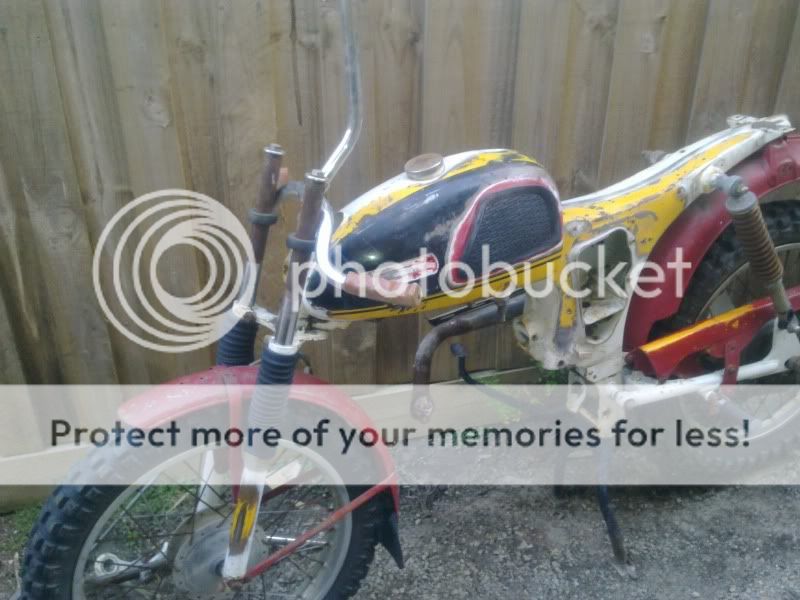
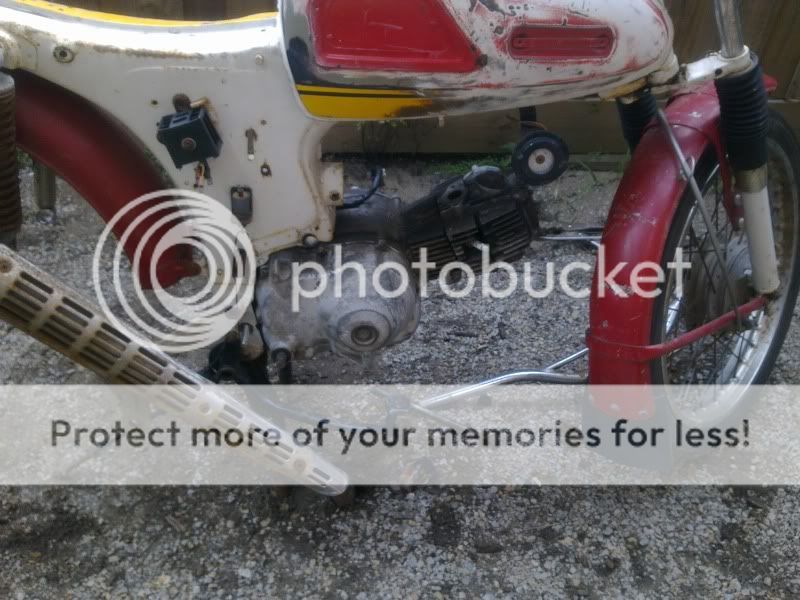
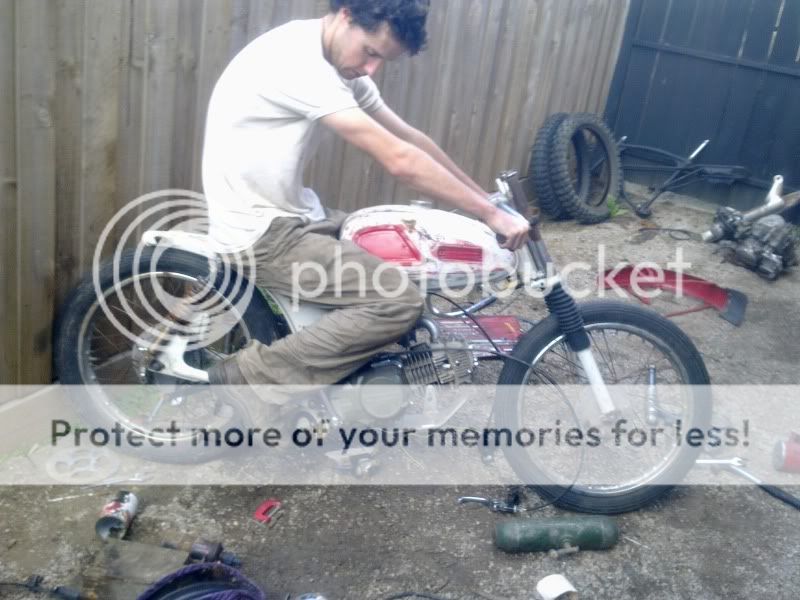
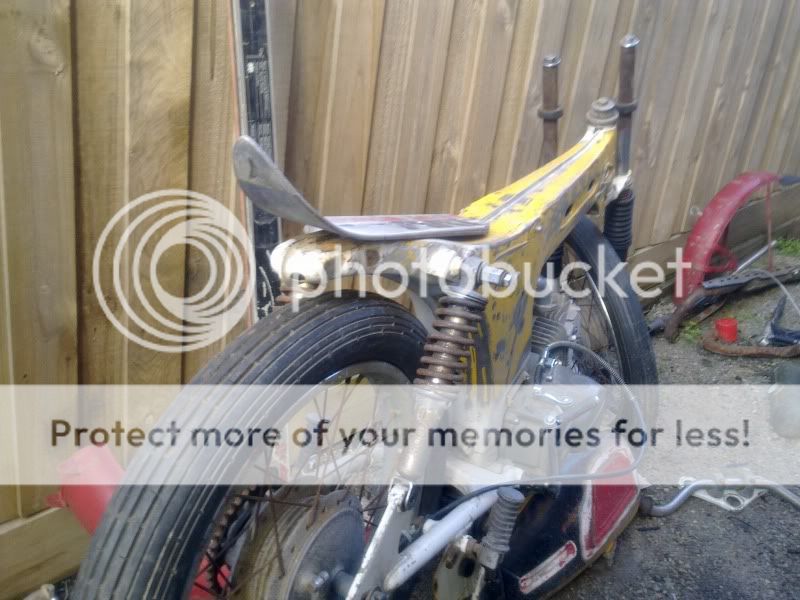
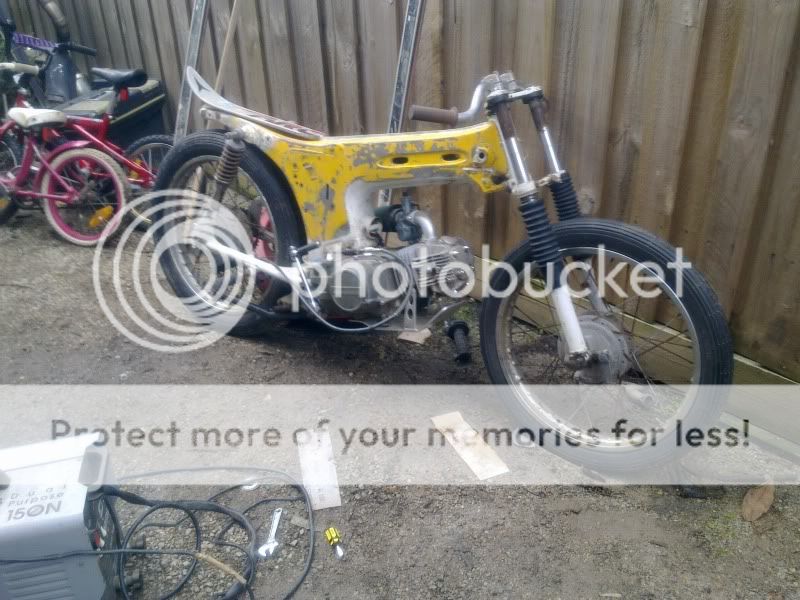
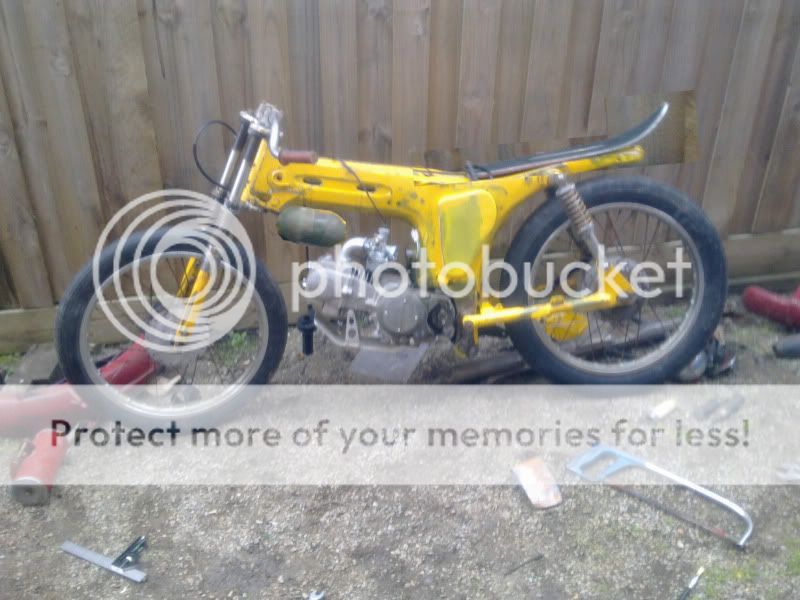
The other new toy my mate and I have been playing with of late, a 1967 Yamaha 100cc L2C-A. We had only intended to be working on a single bike project, but at $20 this was simply far too good to pass up.
No motor, but otherwise mostly complete and in reasonable condition, the pervious owner had some experience in amateur racing, and this was the last of his bikes that he held onto. His son couldn't tell me anything about it, but upon inspection the frame ha been modified a long time ago to accept a little more power via a Honda CT110 motor.
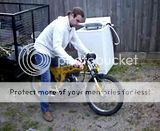
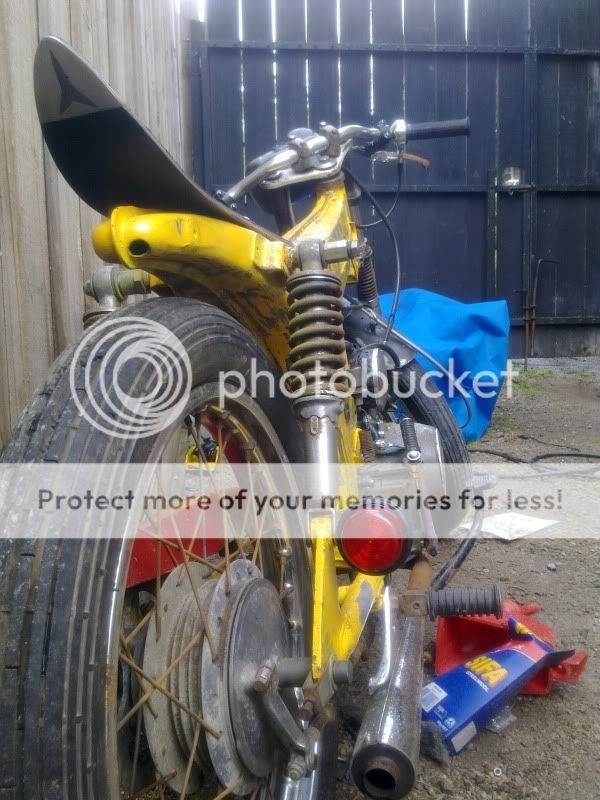
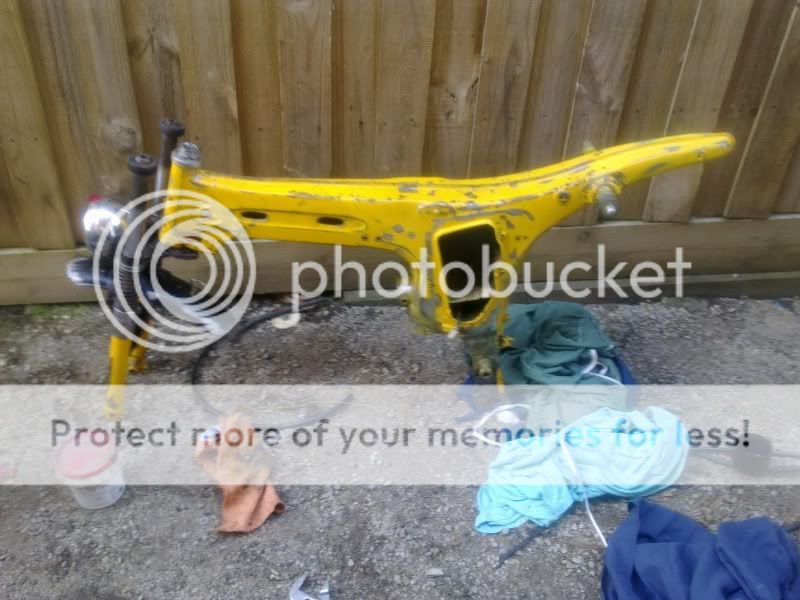
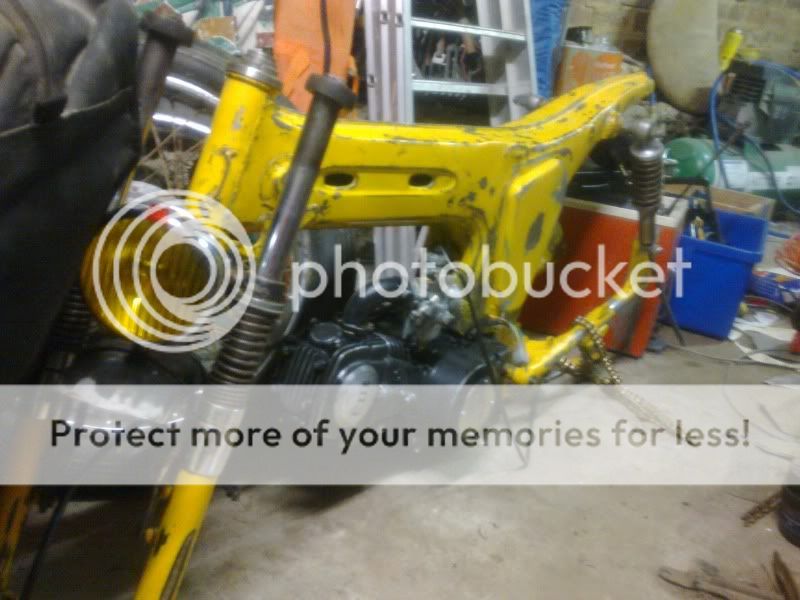
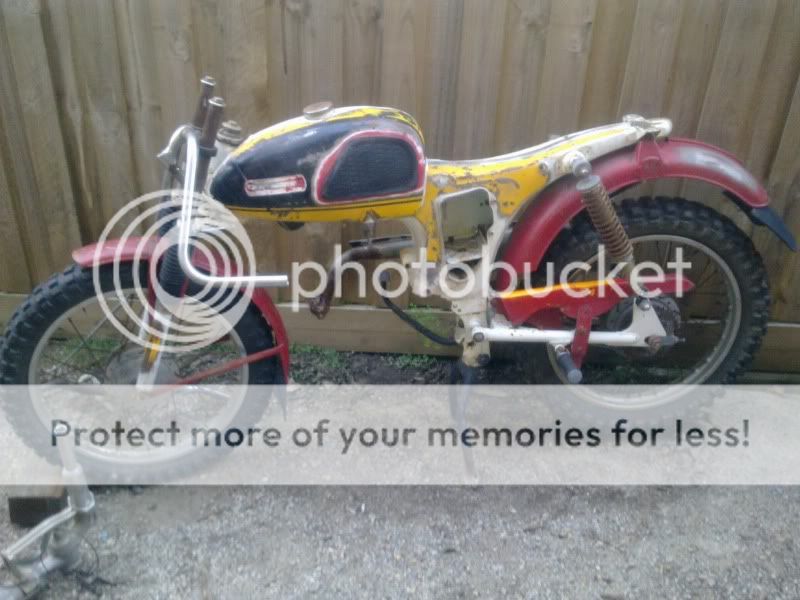
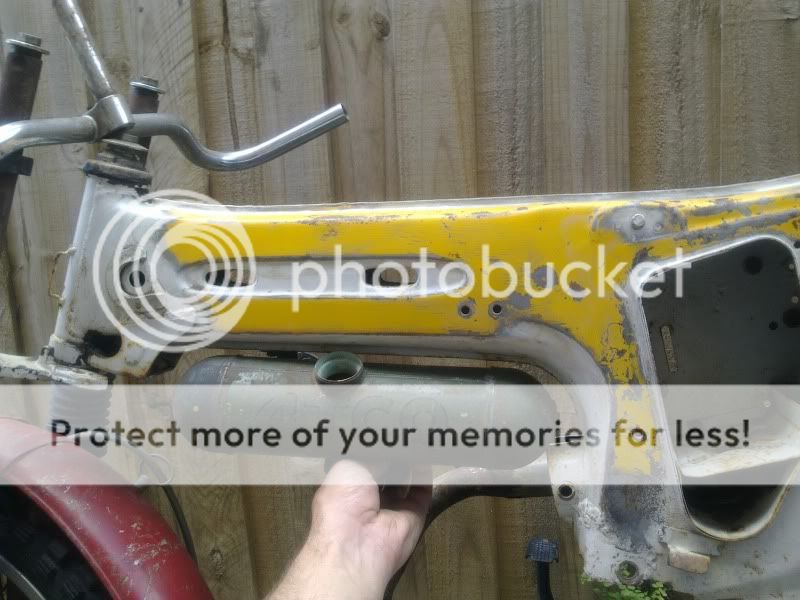
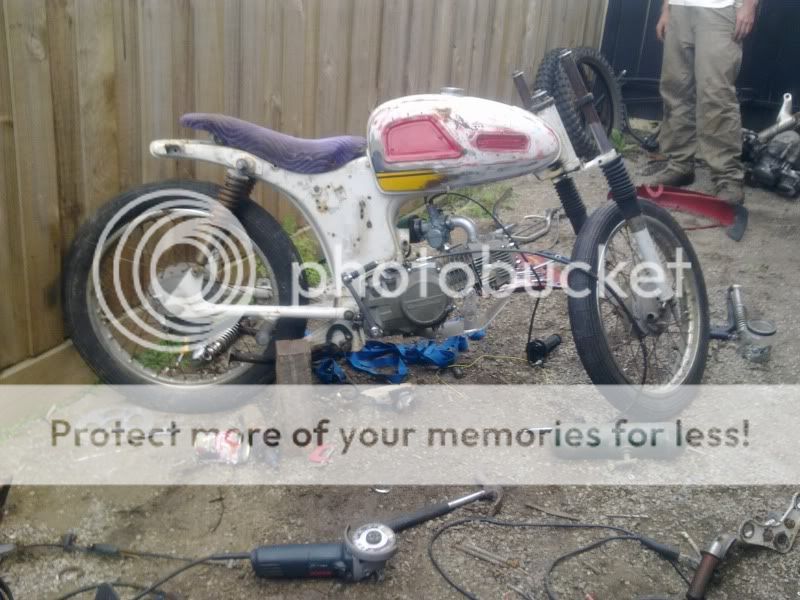
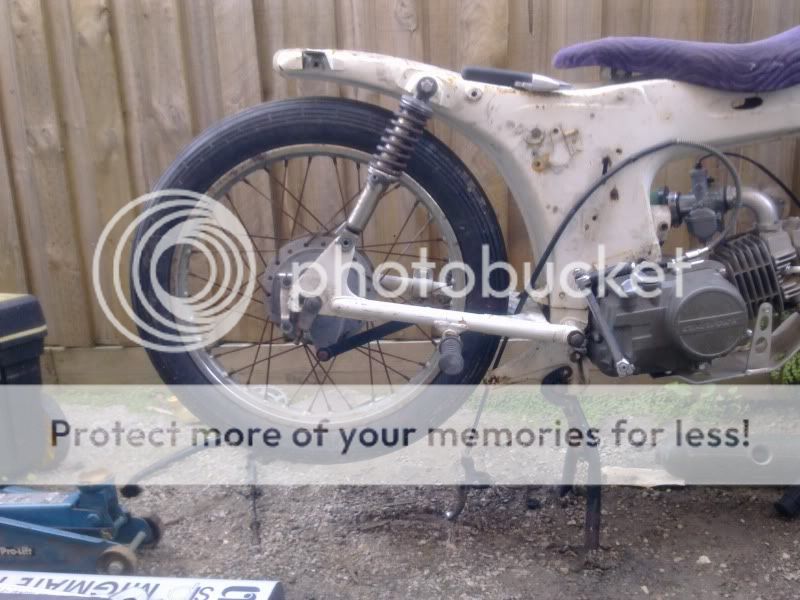
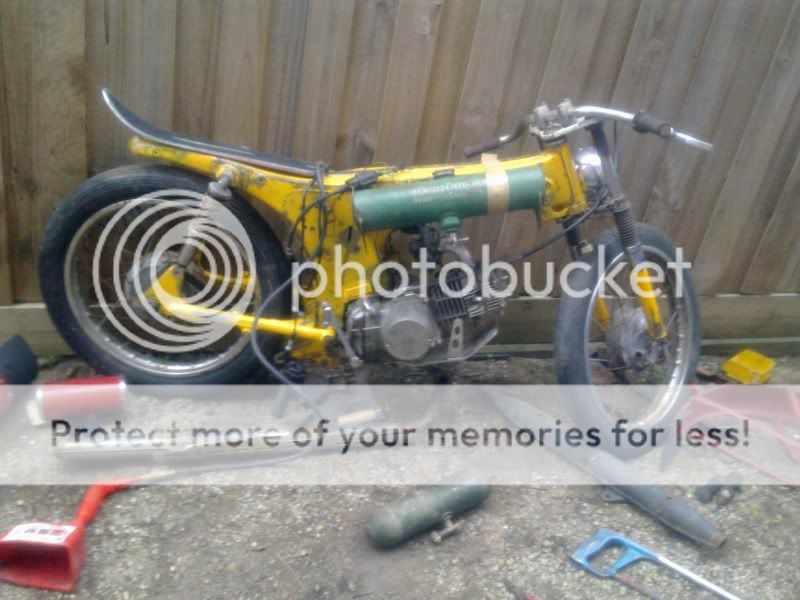
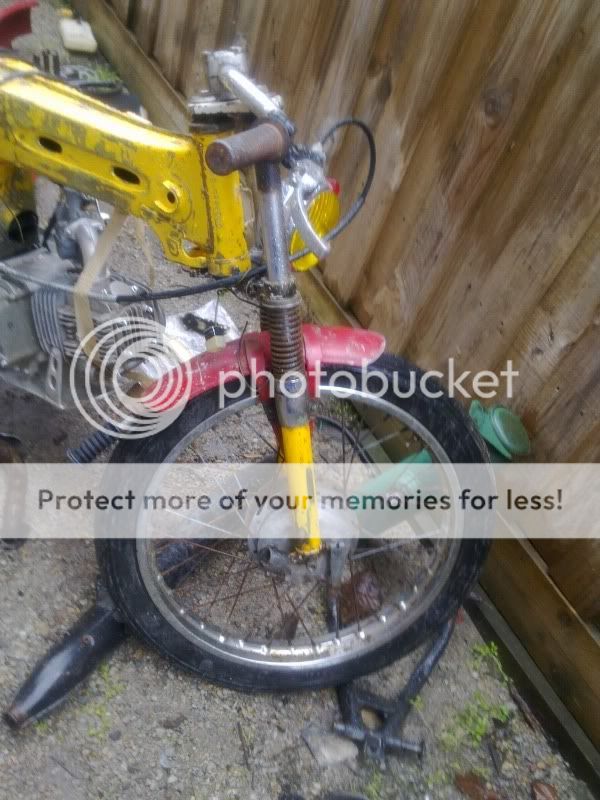
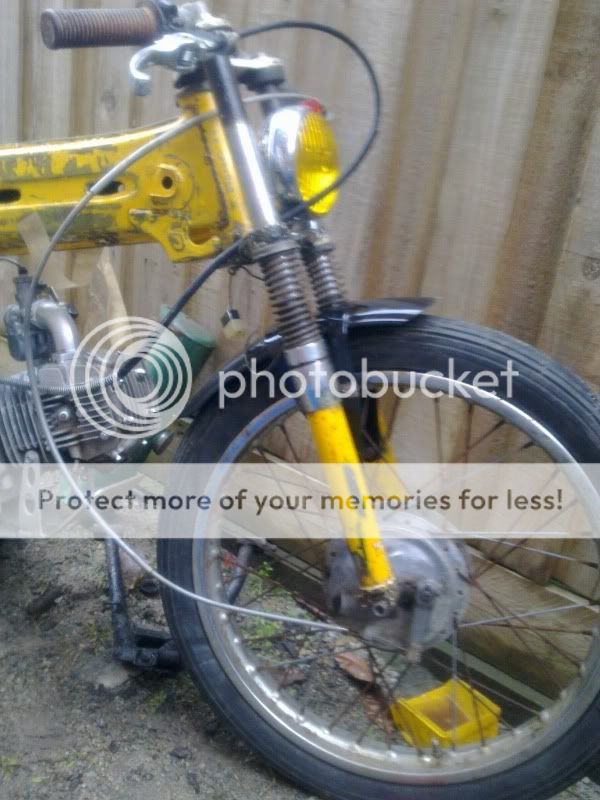
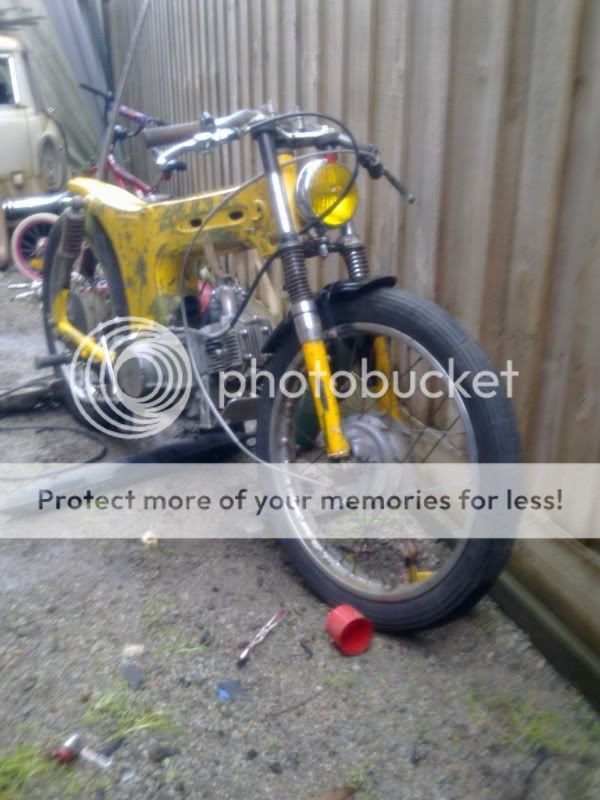
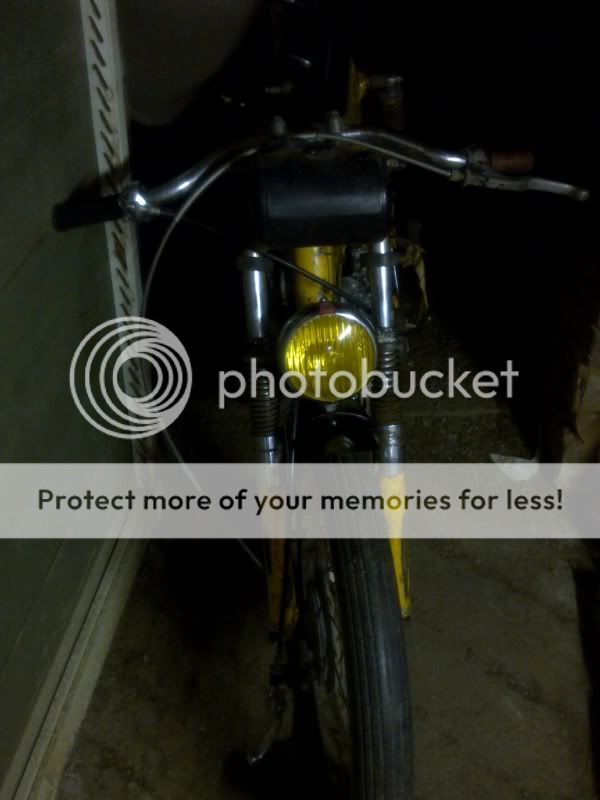
This is the closest image I have to how the bike arrived, the handlebars have been taken off and I have begun to lower the front, but that is it.
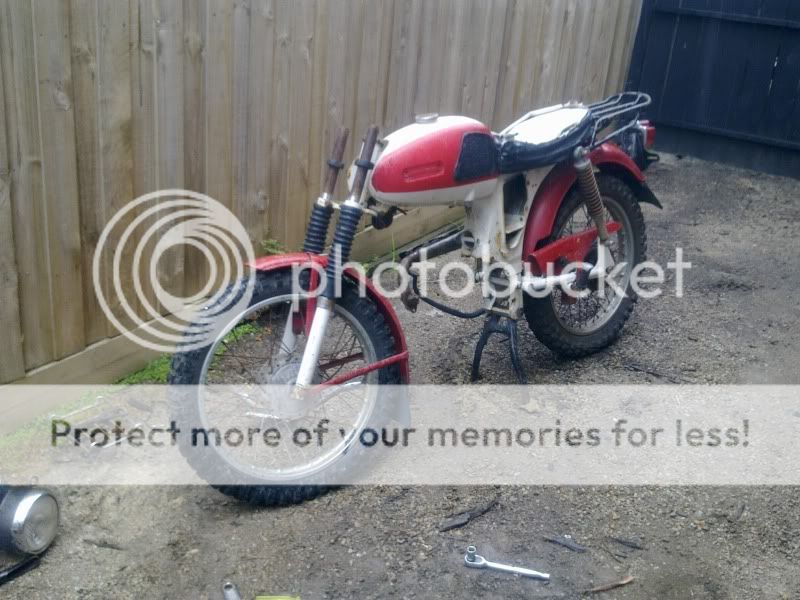
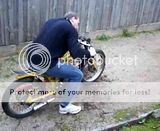
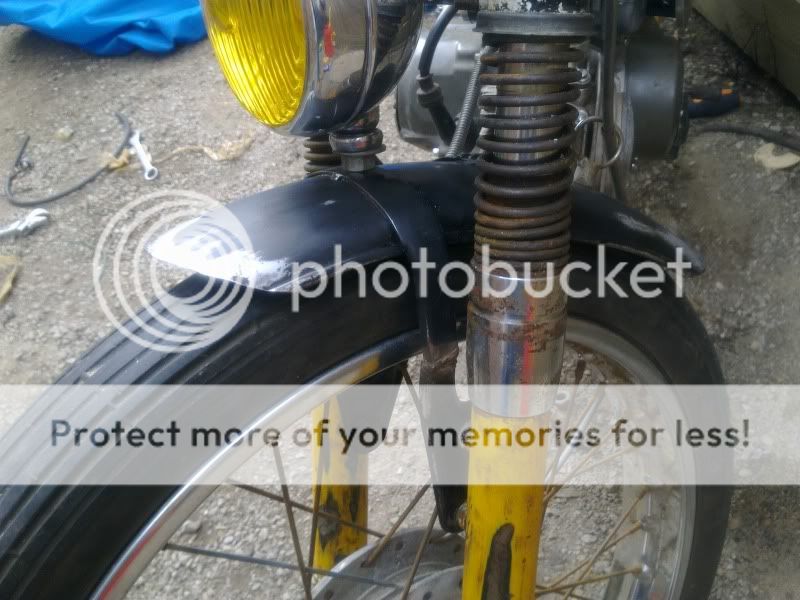
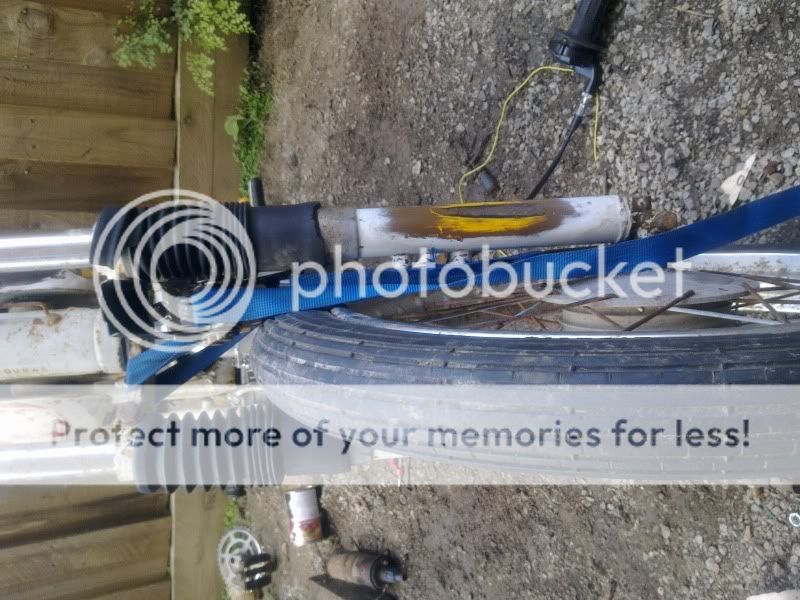
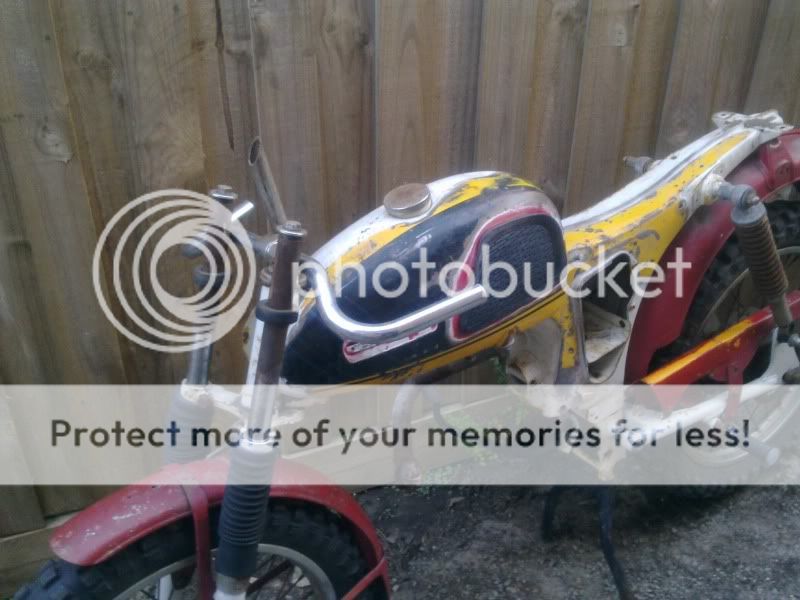
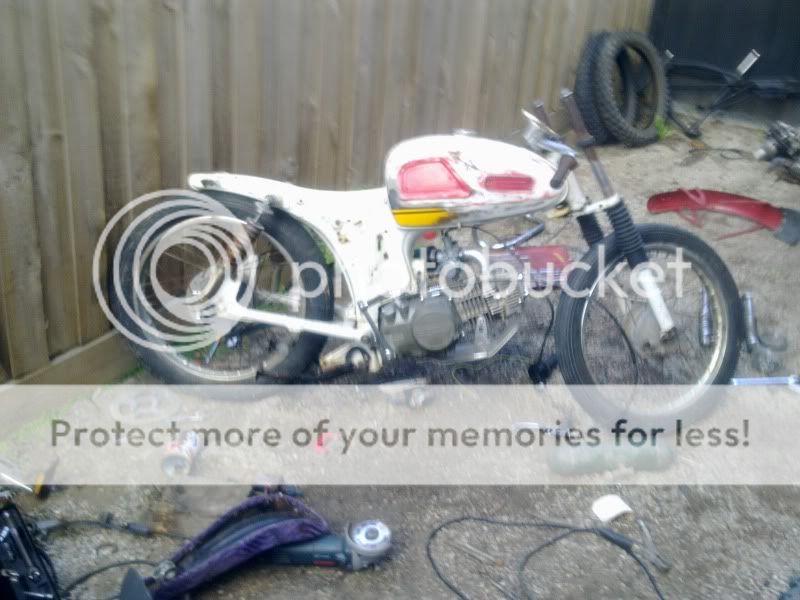
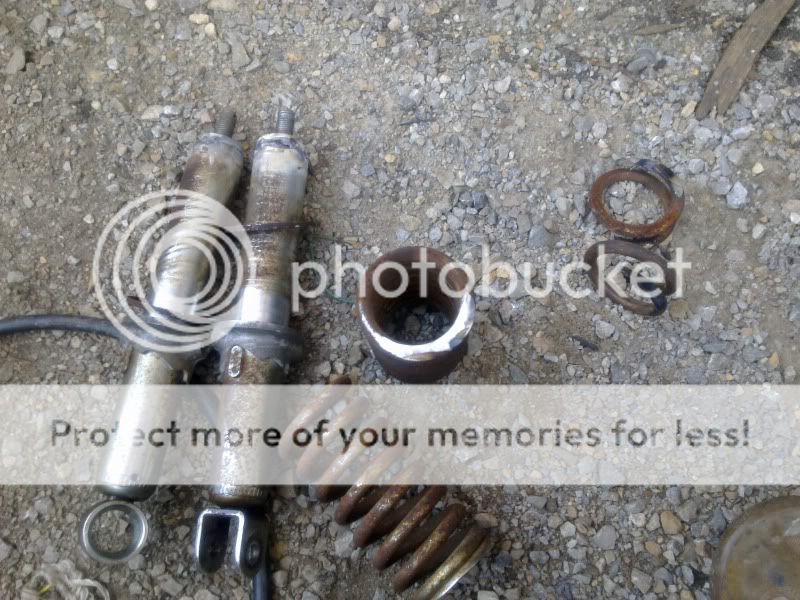
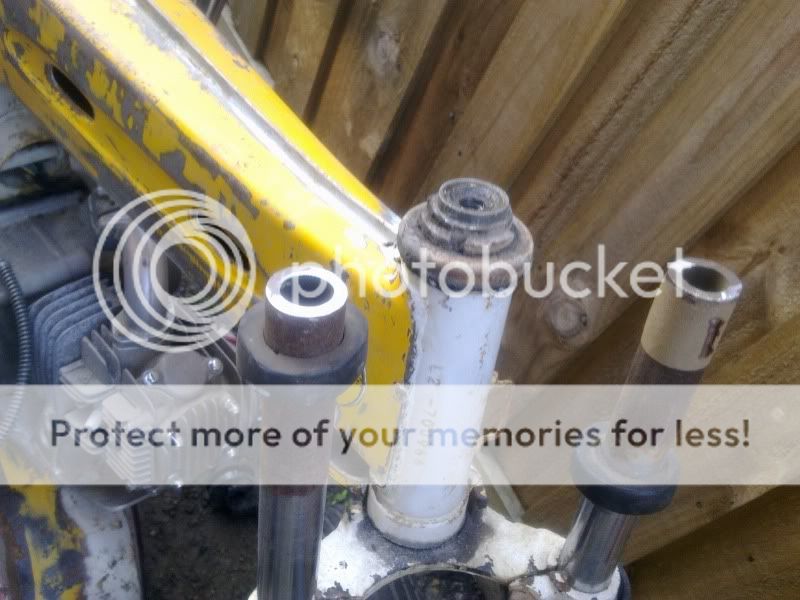
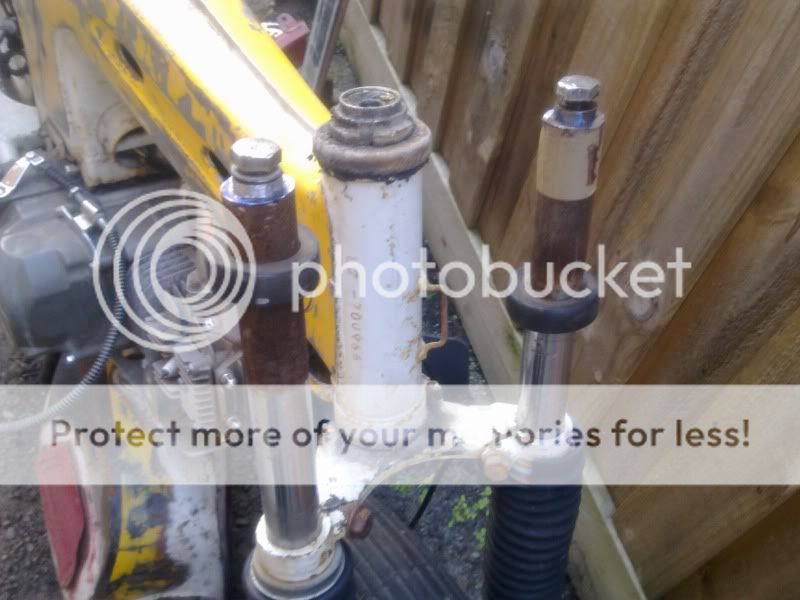
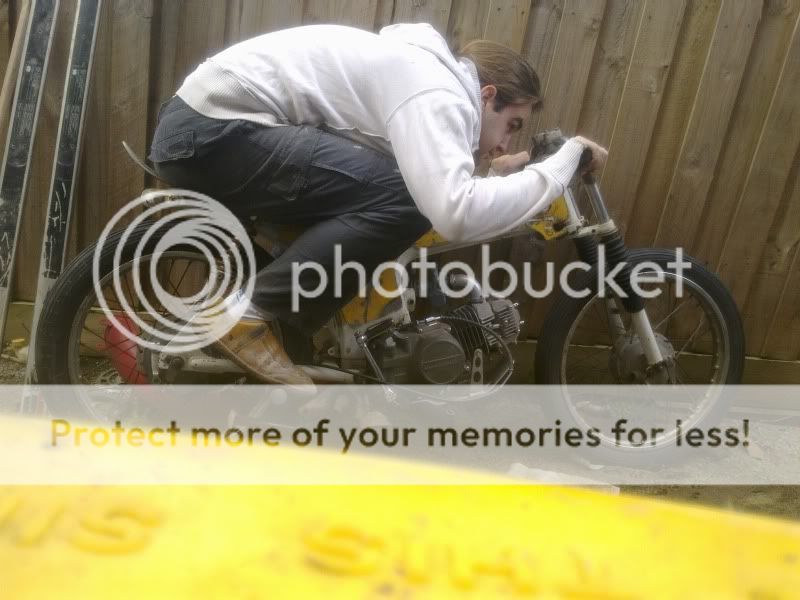
Suspension lowering at the front was simple and surprisingly effective, attach a ratchet strap around the triple clamps down to the front axle, loosen the clamp bolts, tighten the strap pulling the suspension into compression, tighten the triple clamps. The springs were surprisingly soft, being made for offroad use and still gives reasonable travel ;D
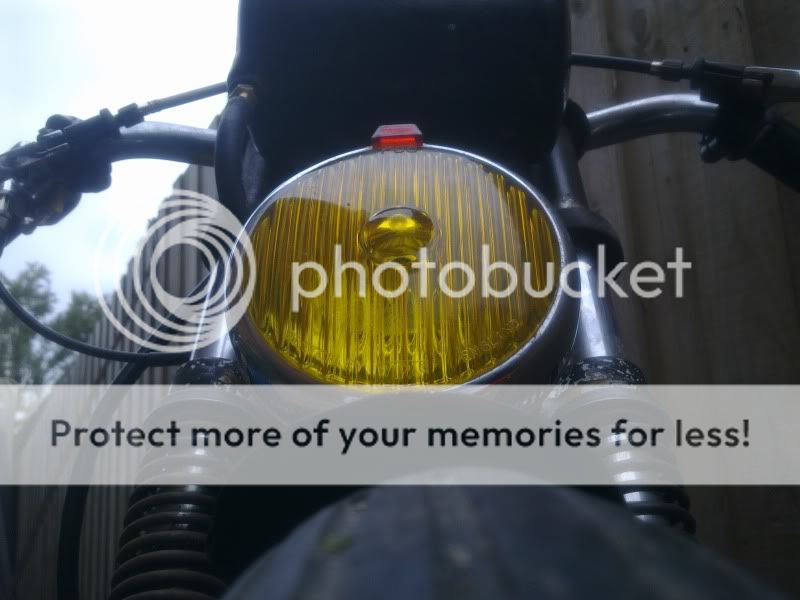
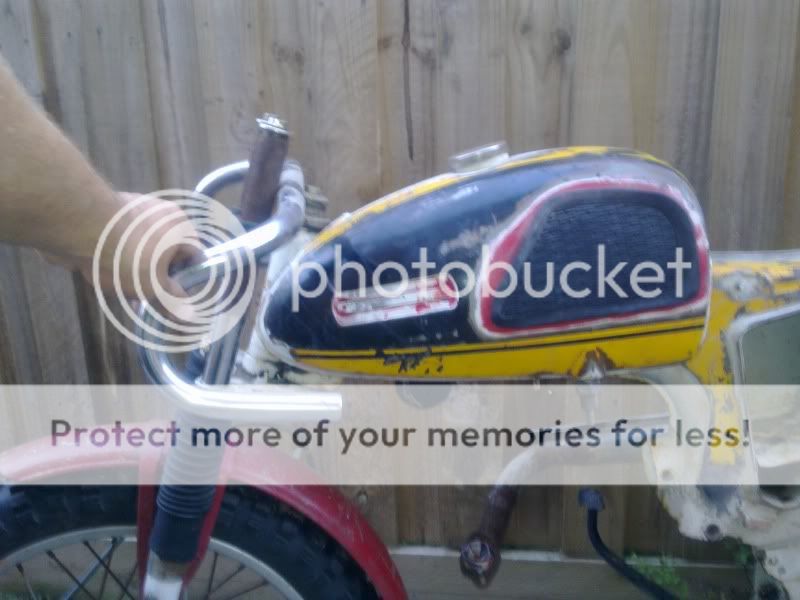
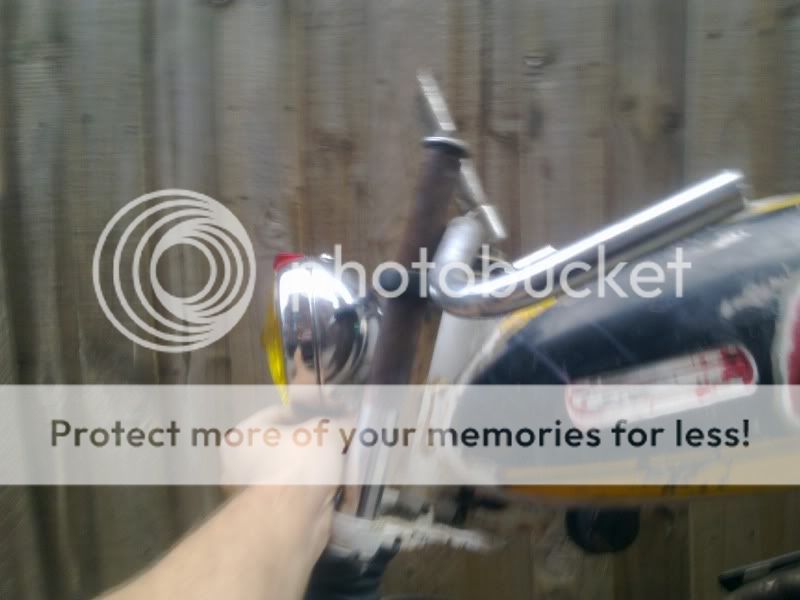
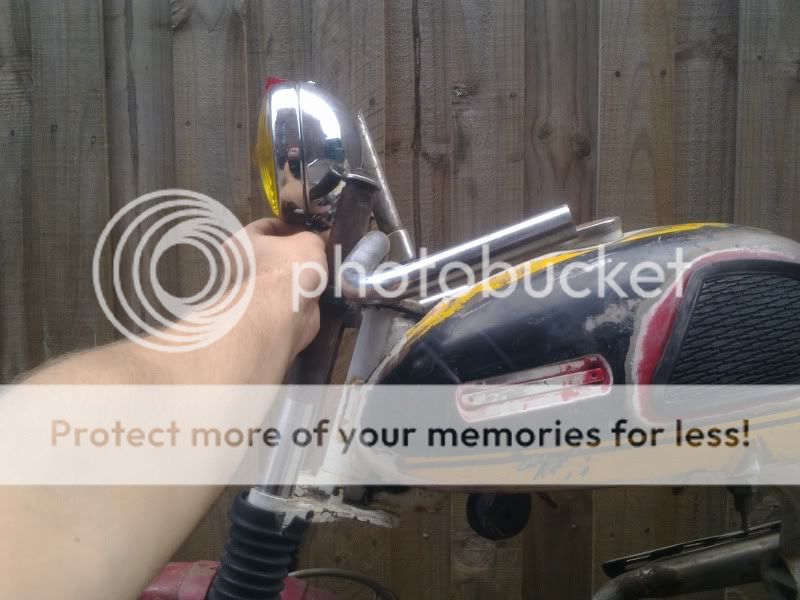
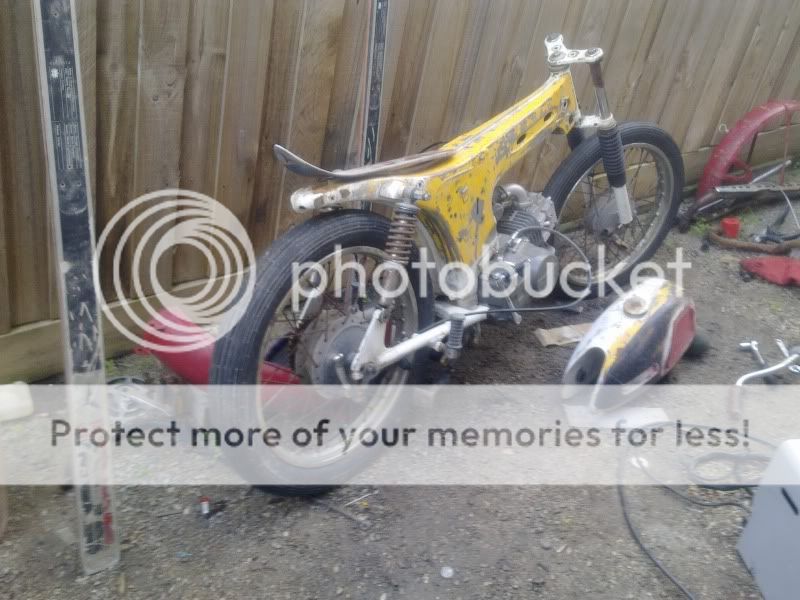
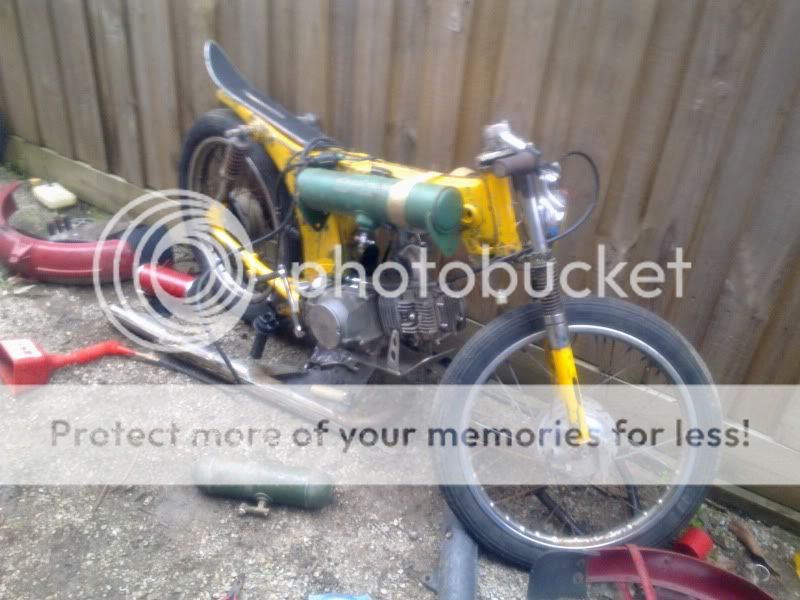
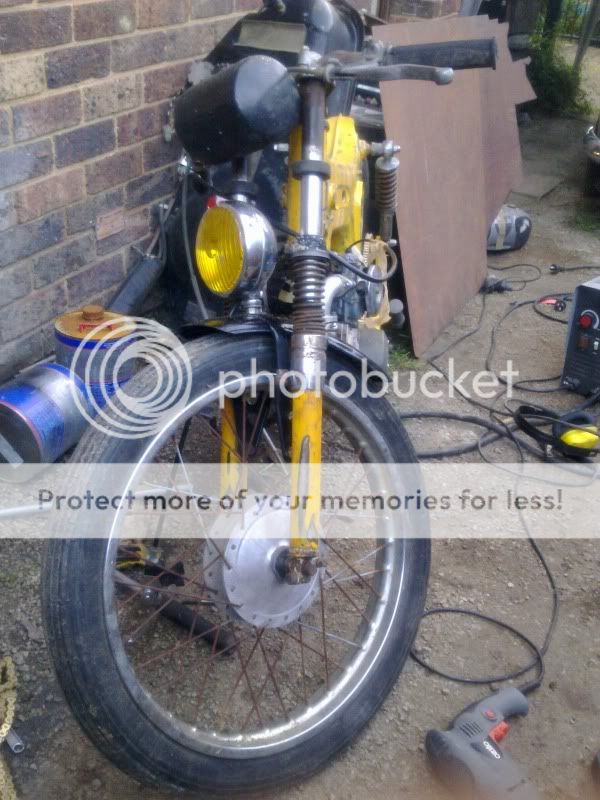
With the front end down we started to throw around some spare handlebars I had at home
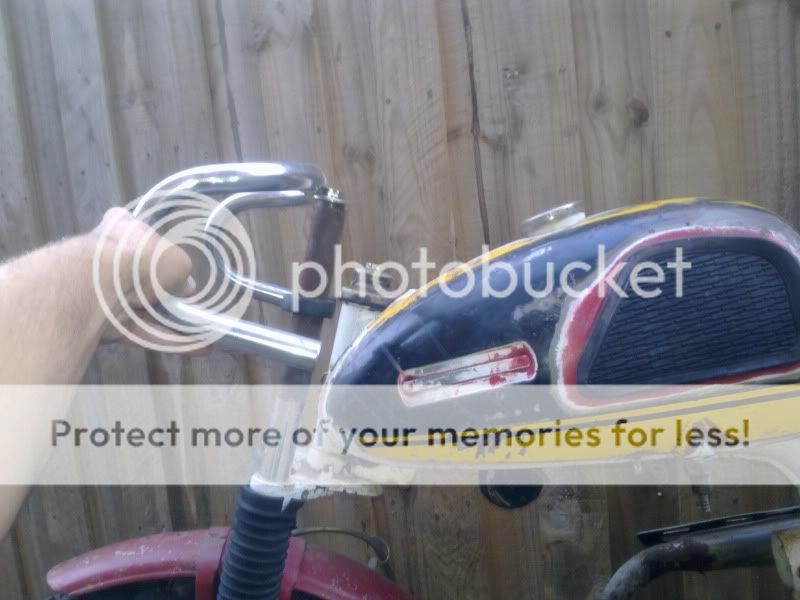

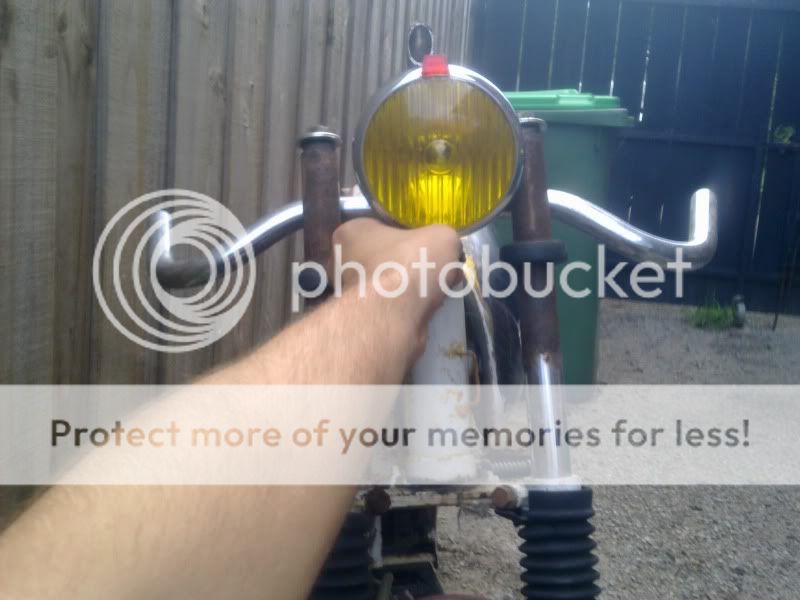
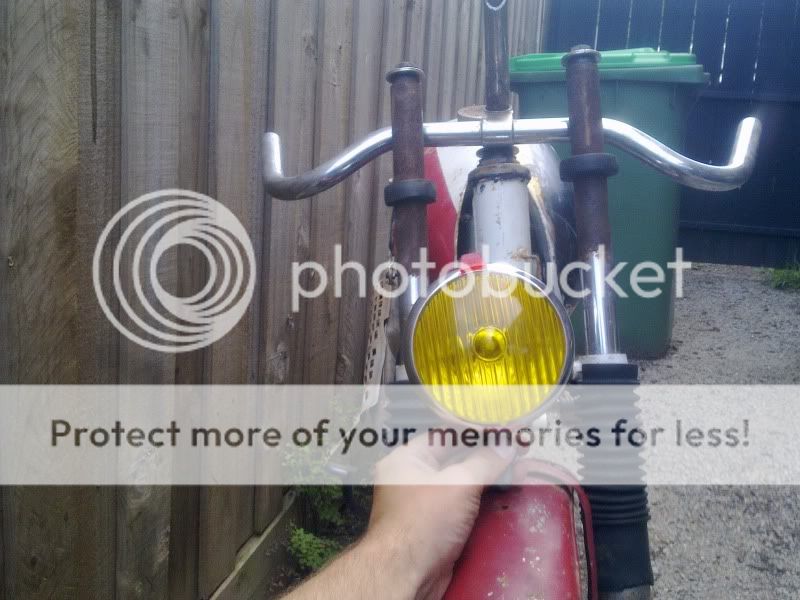
and a $5 Wipac spotlight from a swapmeet last year

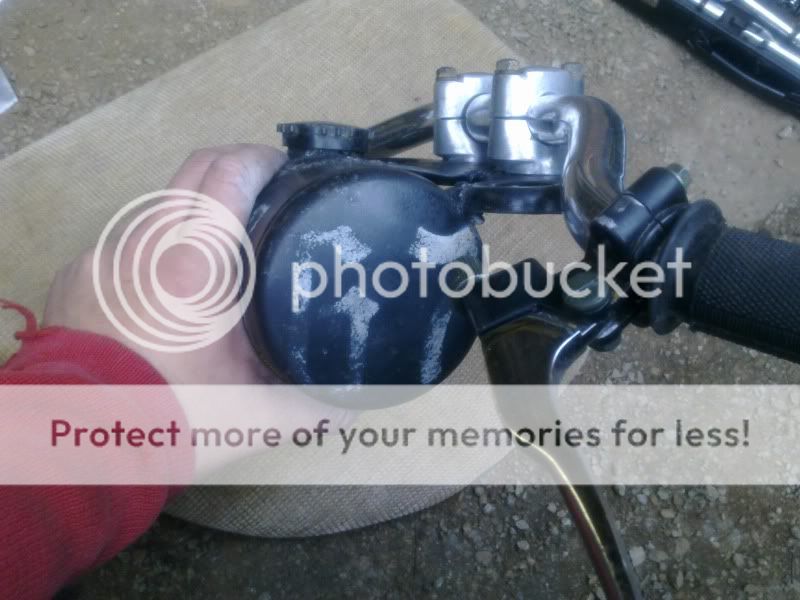
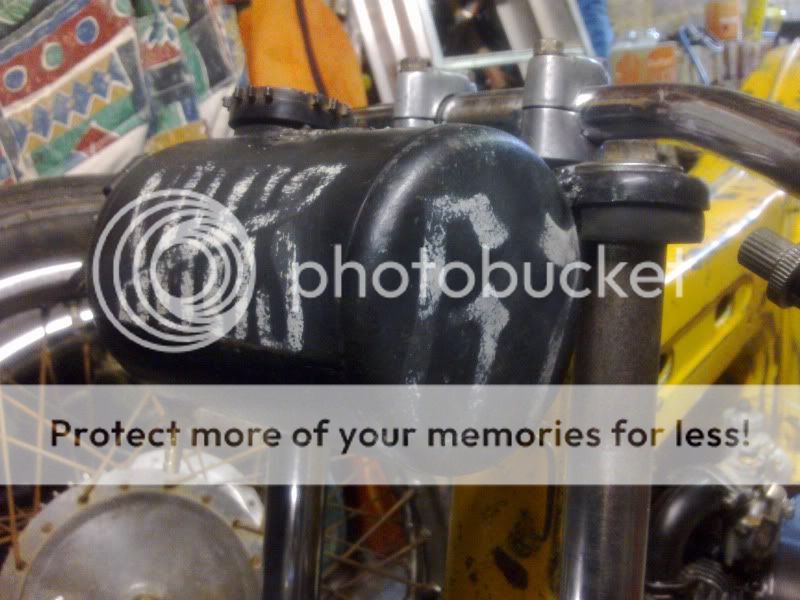
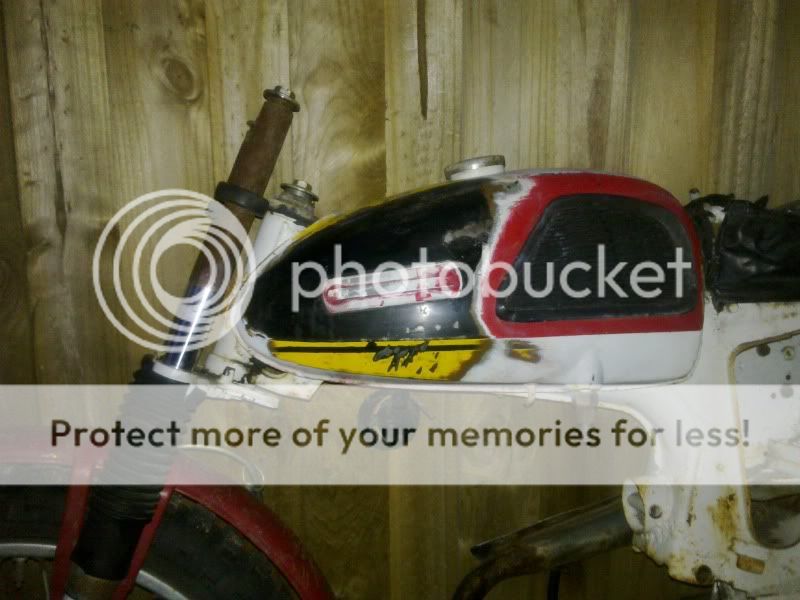
We scored this fueltank for a $5er as well at a local swapmeet for the wonderful ATCO lettering on it, having no idea what to do with it.
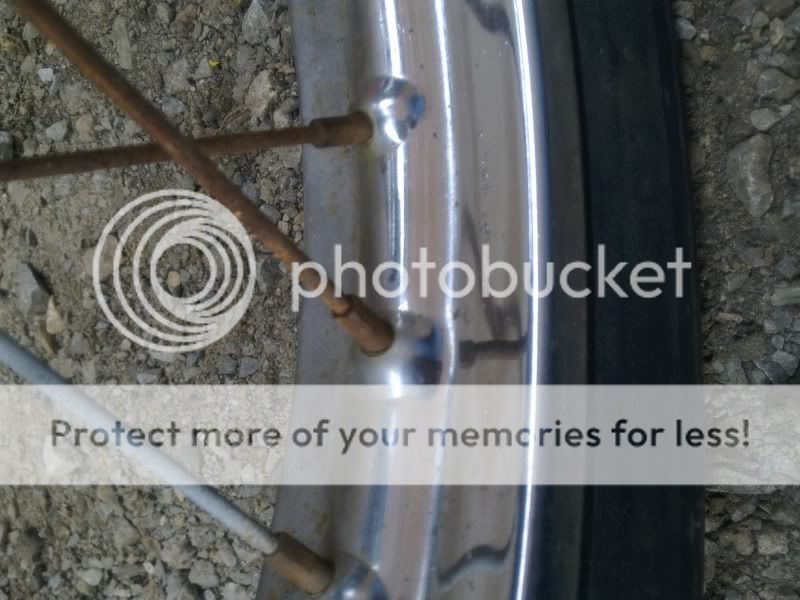
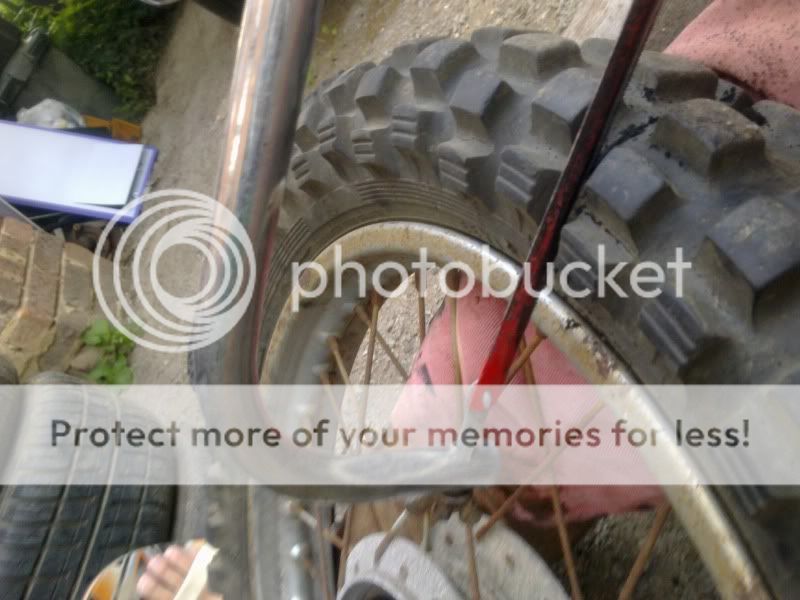
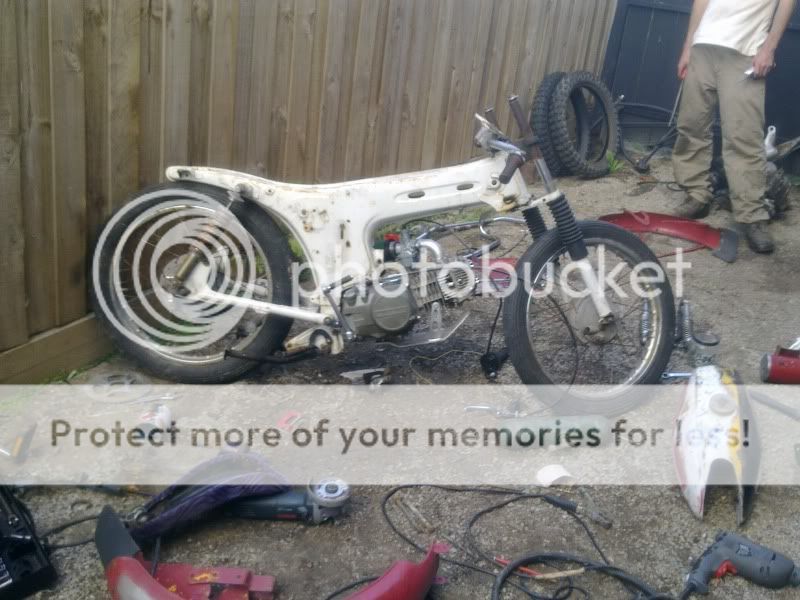
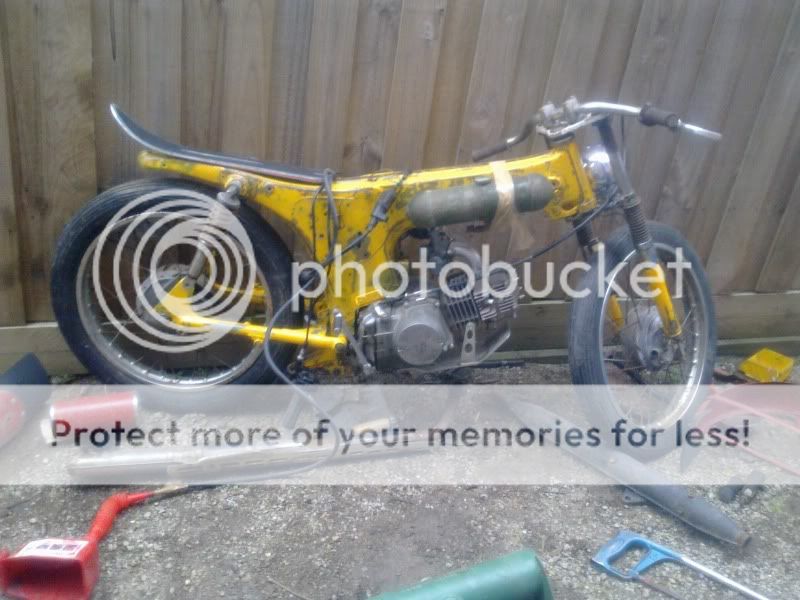
Tyres were swapped for $30 worth of swapmeet treads which fitted better with the race-track intentions of the bike. Couldn't get the originals off with any amount of leverage I could produce, so had to seek alternate methods
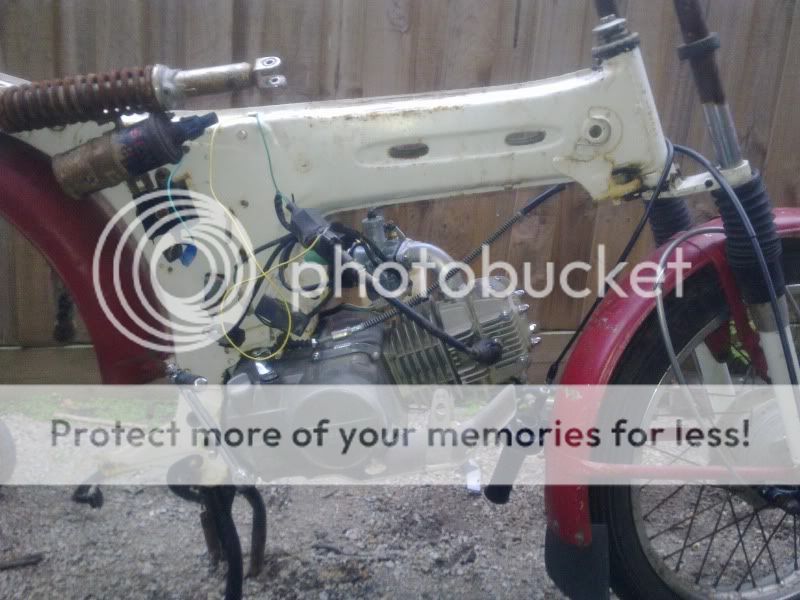
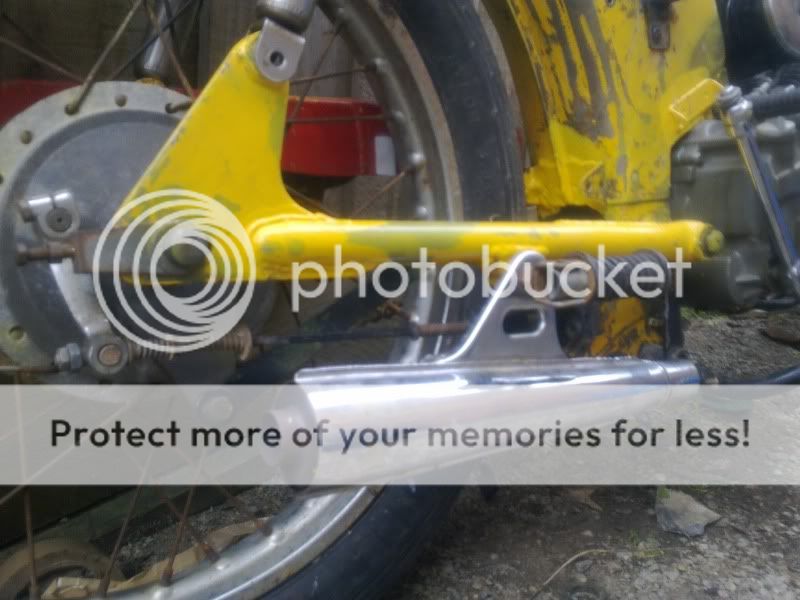
Bought a couple of Honda CT motors for $20 each, unfortunately they were in absolutely appalling condition, completely unsalveagable, so were sold off (at a small profit) to people gamer than us. The CT90 fitted beautifully but the transfer case on the CT110s (postie spec with transfer/overdrive gearbox) fouled the rear swingarm and running versions with the correct gearbox are near impossible to find over here.
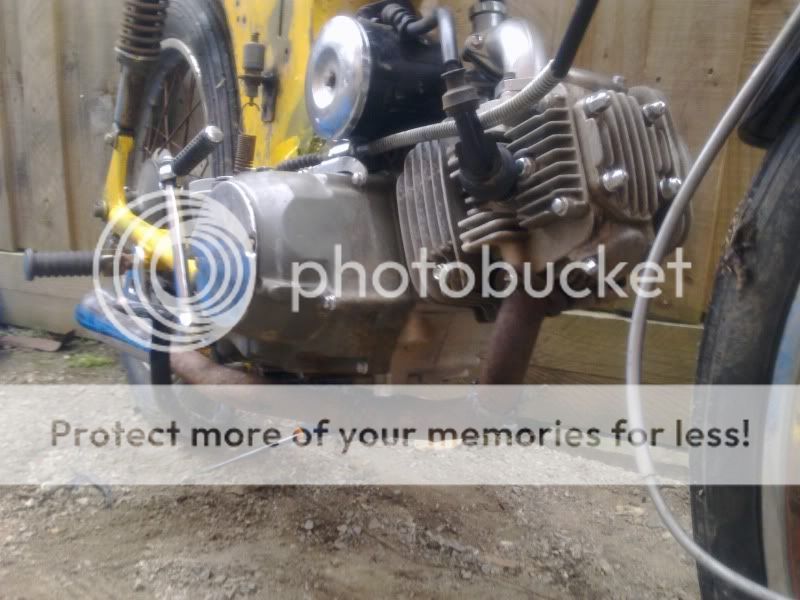
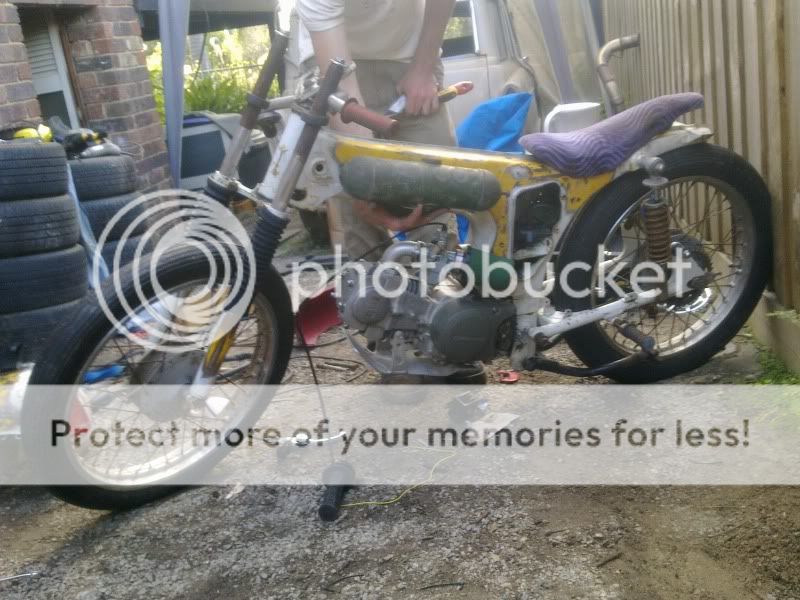
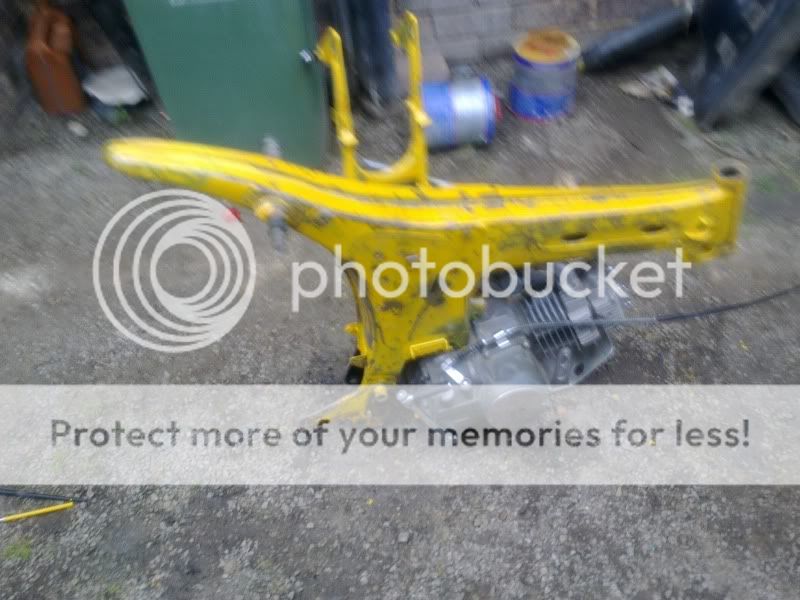
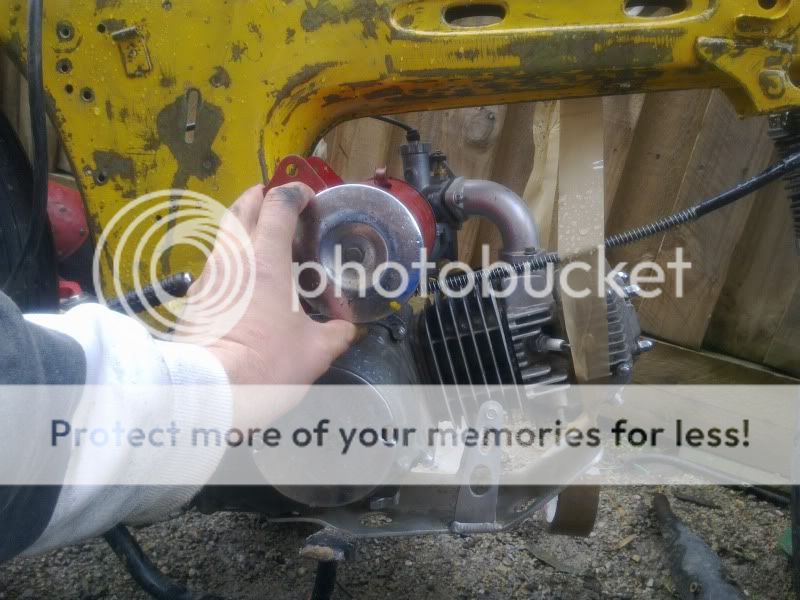
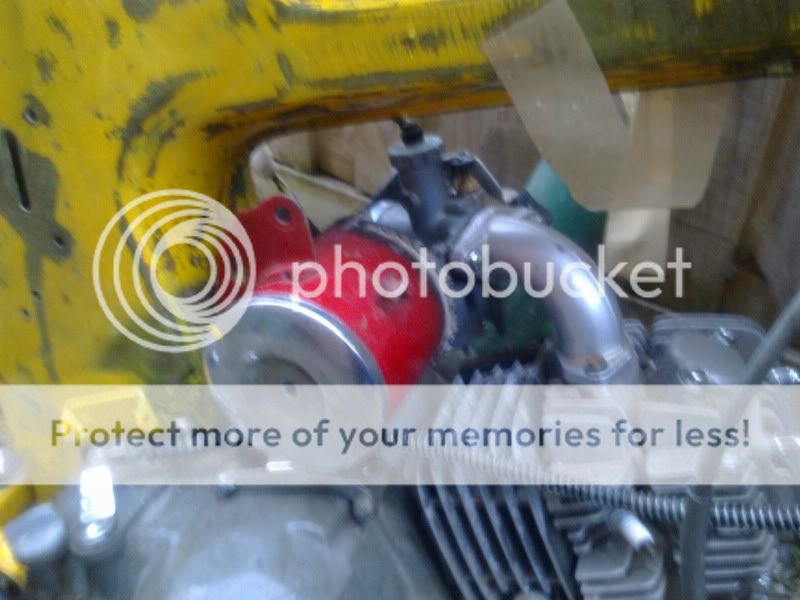
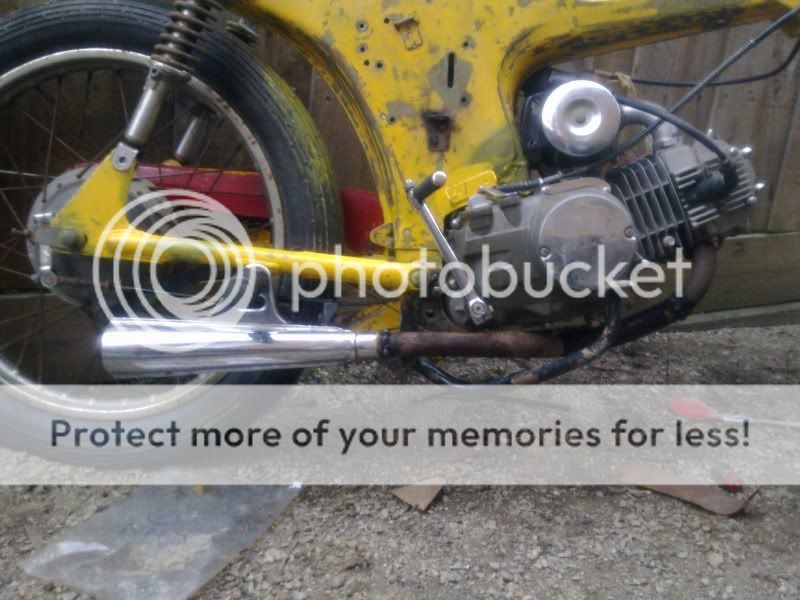
I'd heard that the chinese pitbike motors fitted up to CT's so it seemed logical to look down this path. I got a well branded runner for $100. Unfortunately the fit wasn't as clean as I'd been led to believe, and a little more metal needed to be removed from the frame, but the results are worth it.
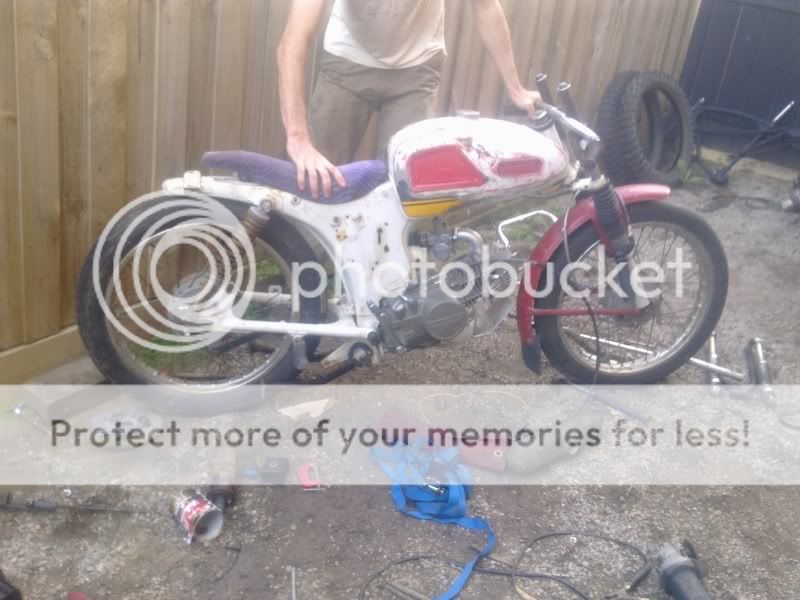
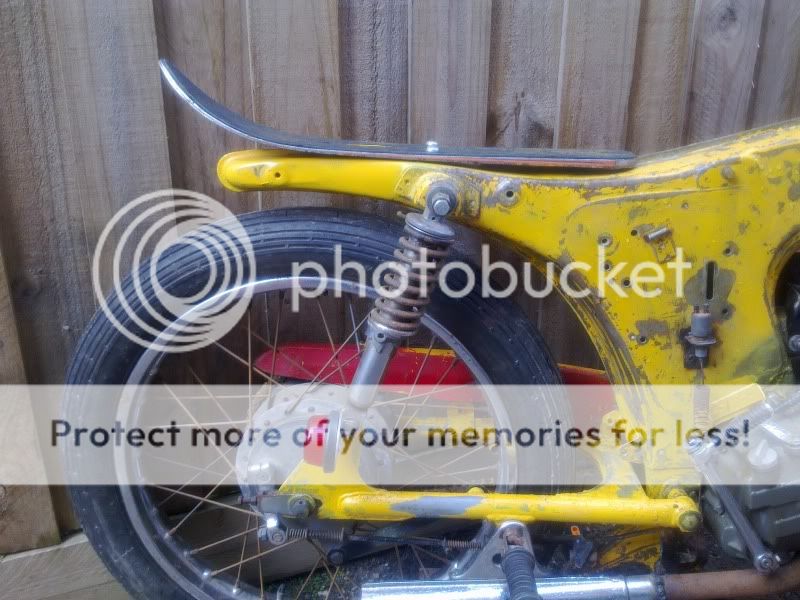
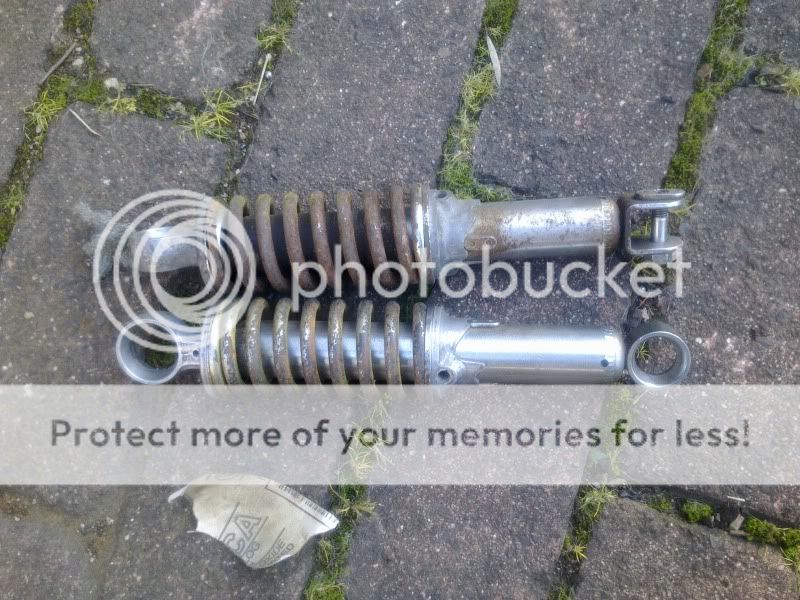
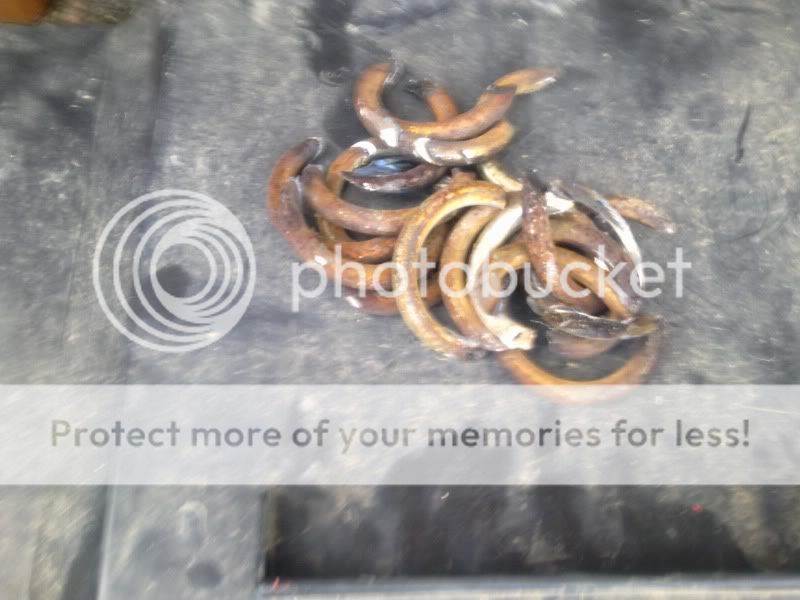
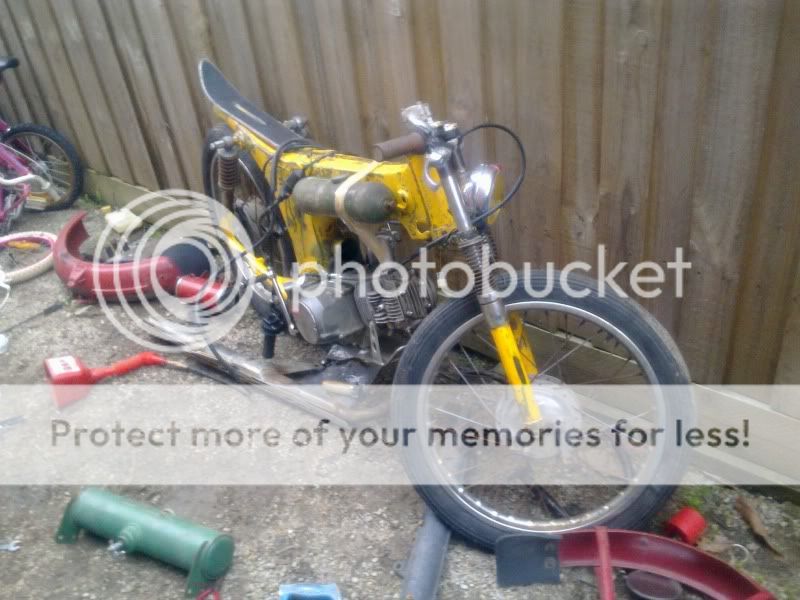
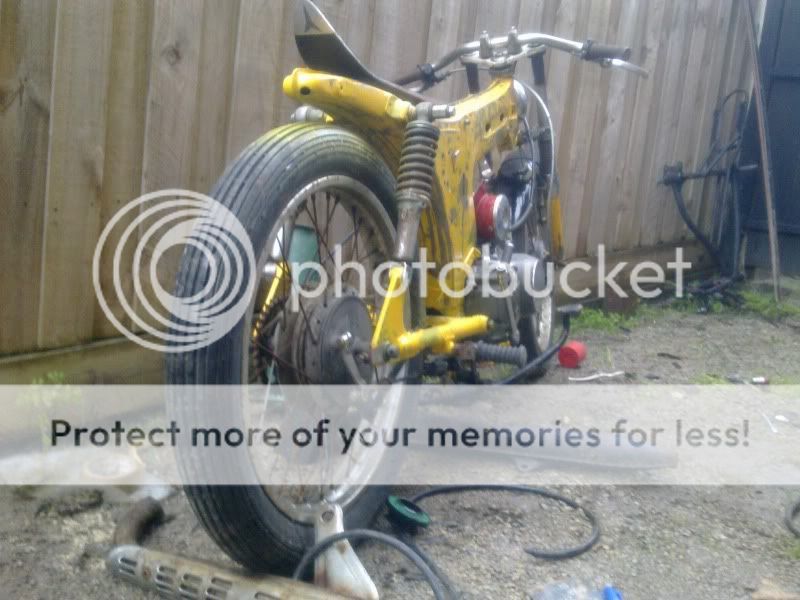
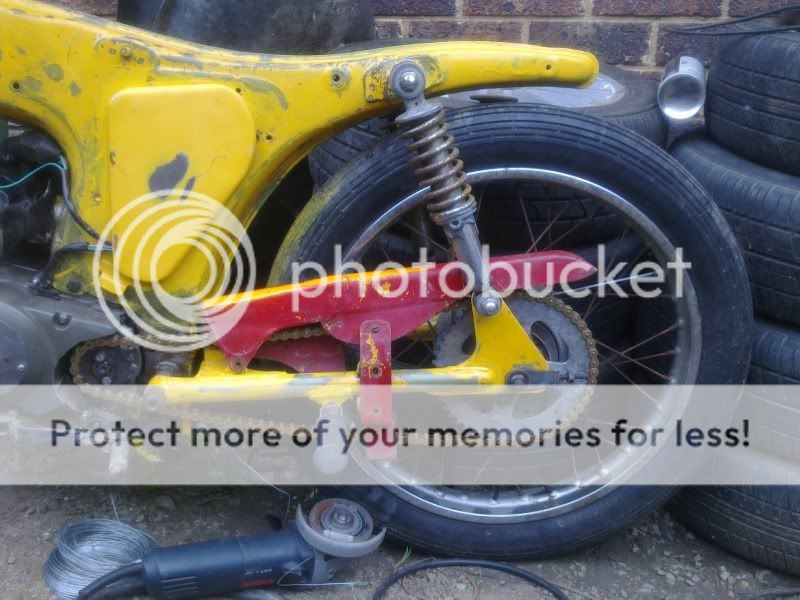
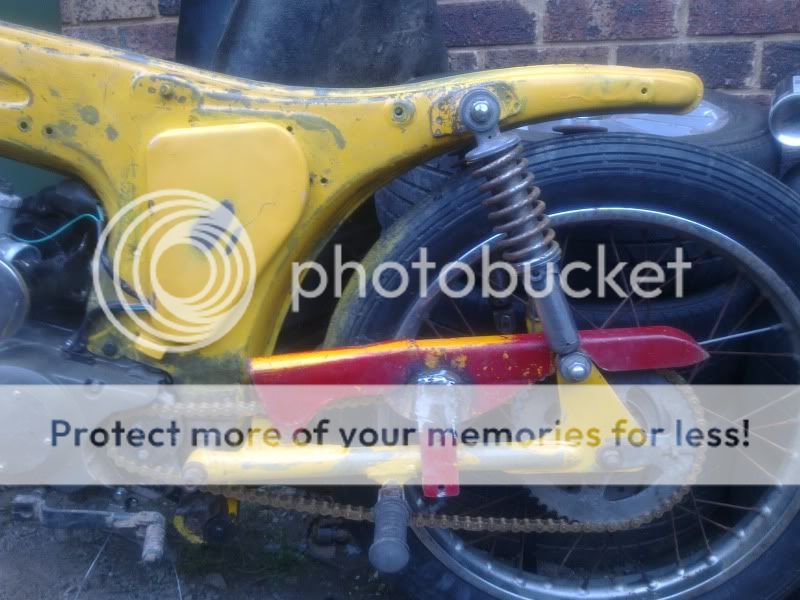
The rear springs also copped a little 'adjustment'") Basically a hard-tail in disguise
Basically a hard-tail in disguise
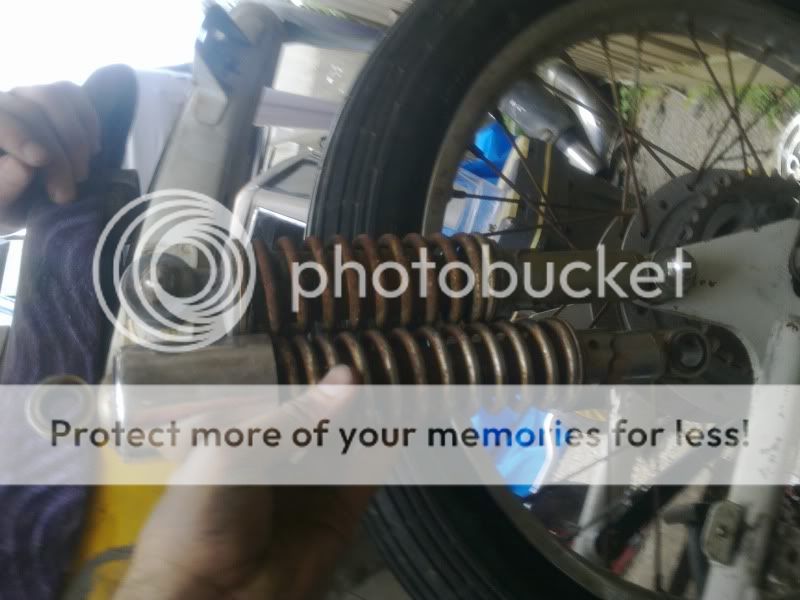
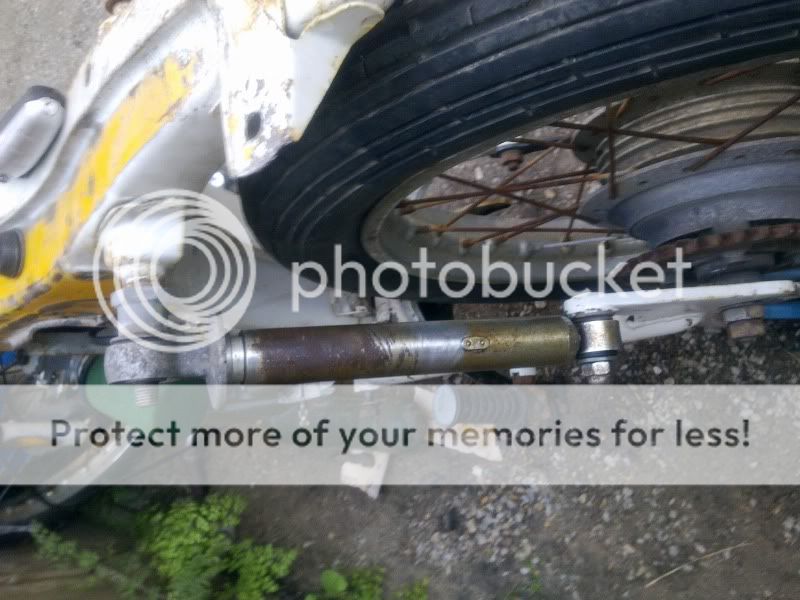
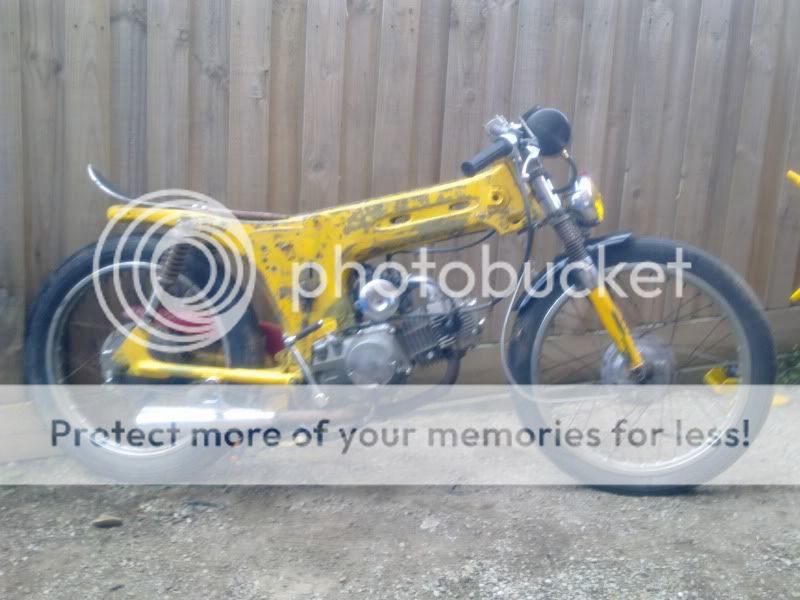
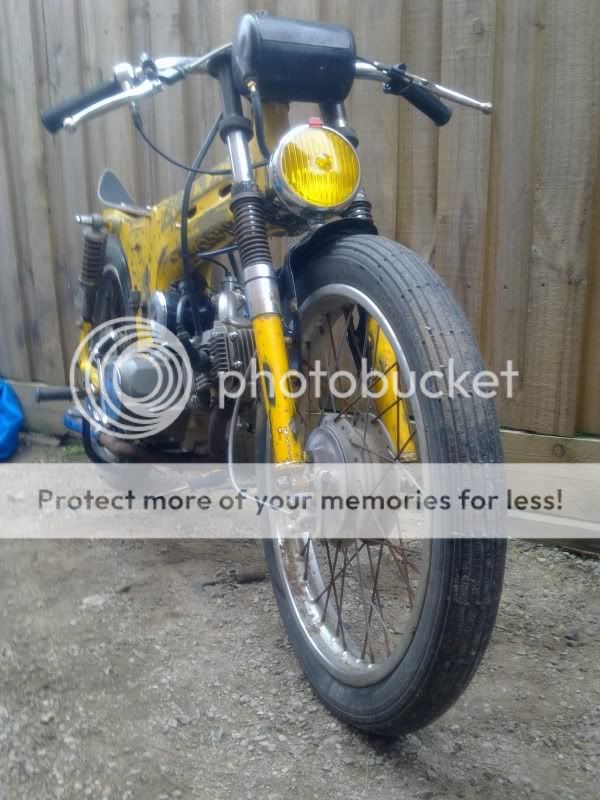
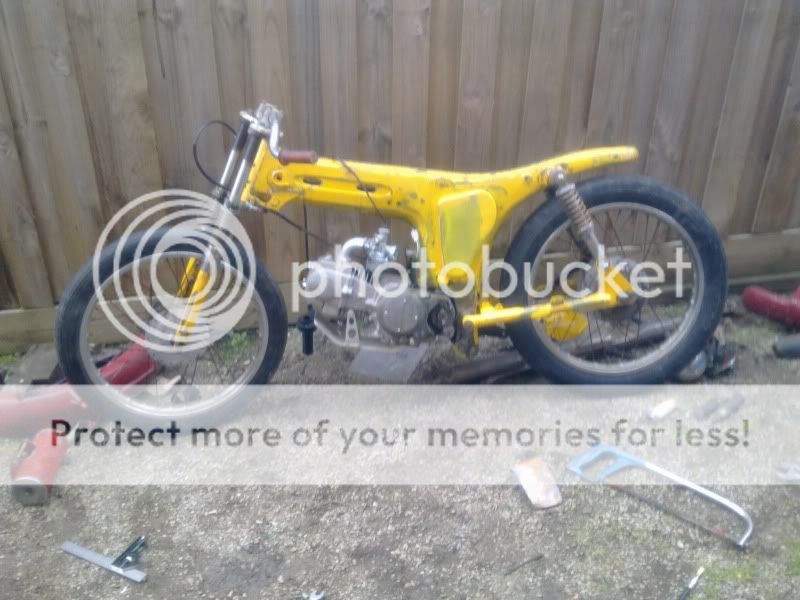
The results speak for themselves
Then it became time to develop a unique seat to suit the period racing theme. $4 did it
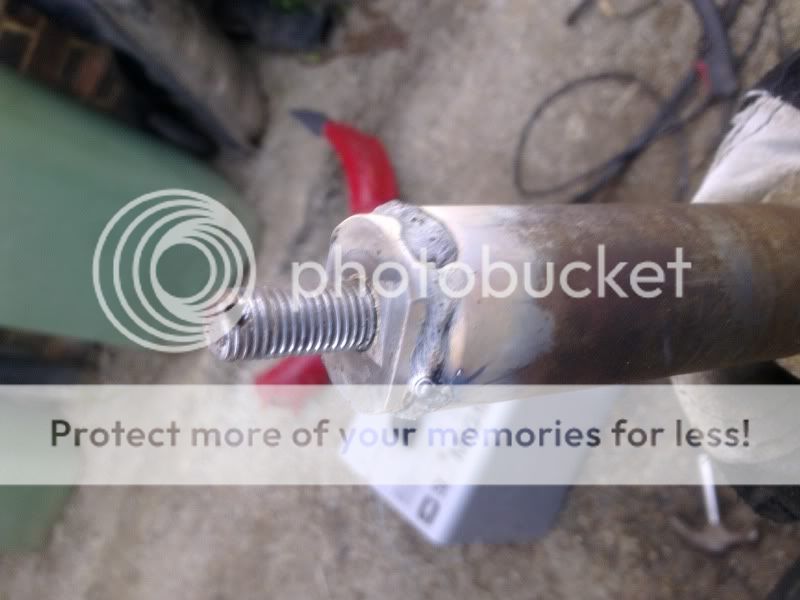
The front forks needed shortening to match with the upper triple clamp height. This was done by cutting the original tubes and re-welding in the top bolt mounts.
The result so far is fun. The intent is to strip the frame to the original yellow and bring the whole bike to a barn find salt-lake-racer
seat nearly complete thanks to a vintage leather jacket


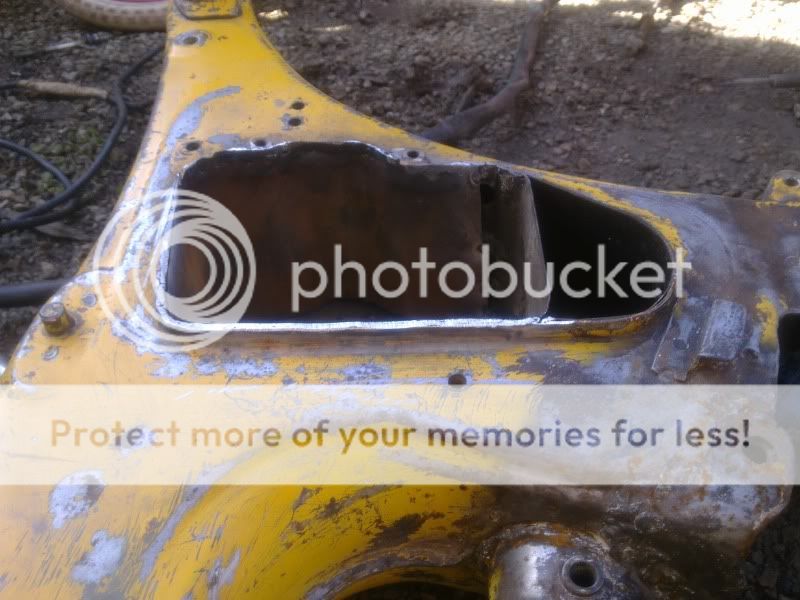
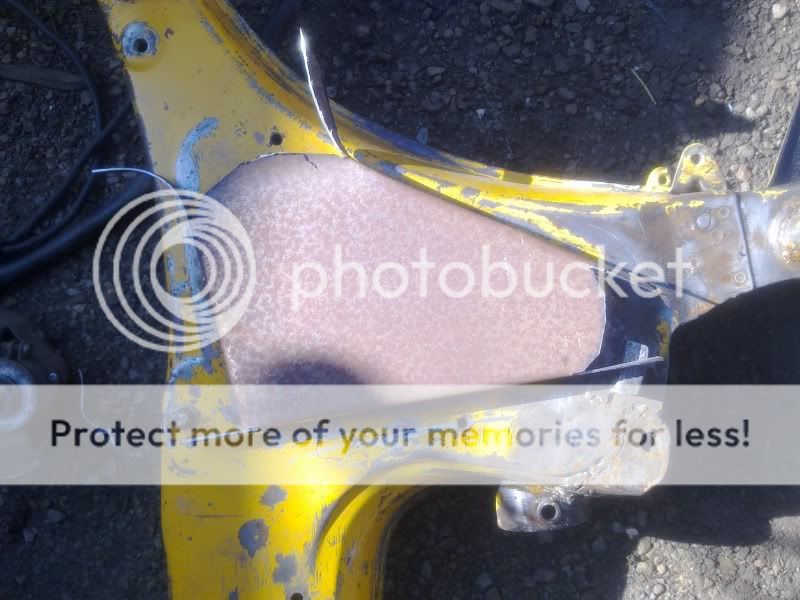
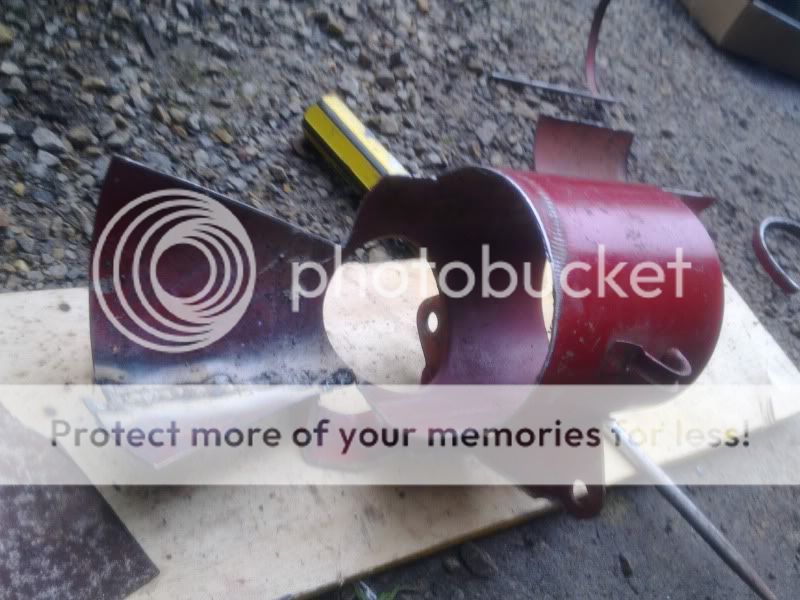
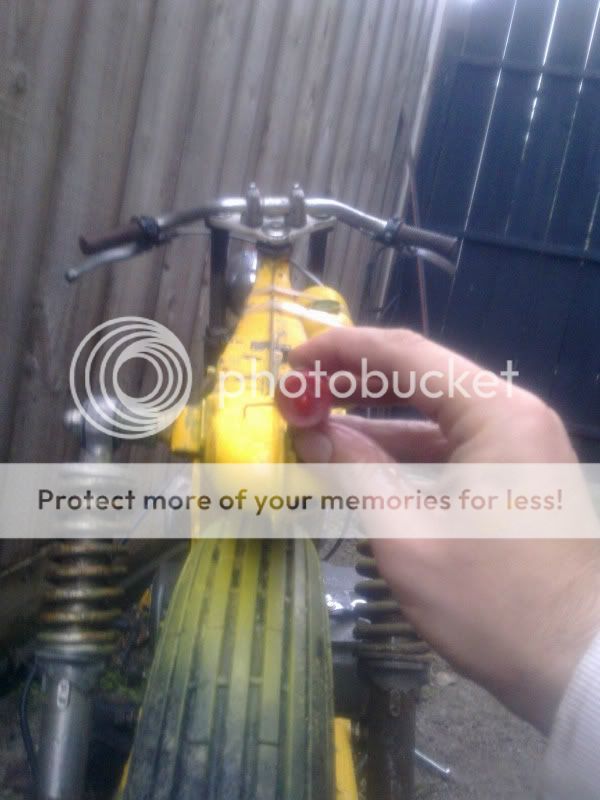
Decided to steel out the opening in the side of the frame for a little surprise to come later
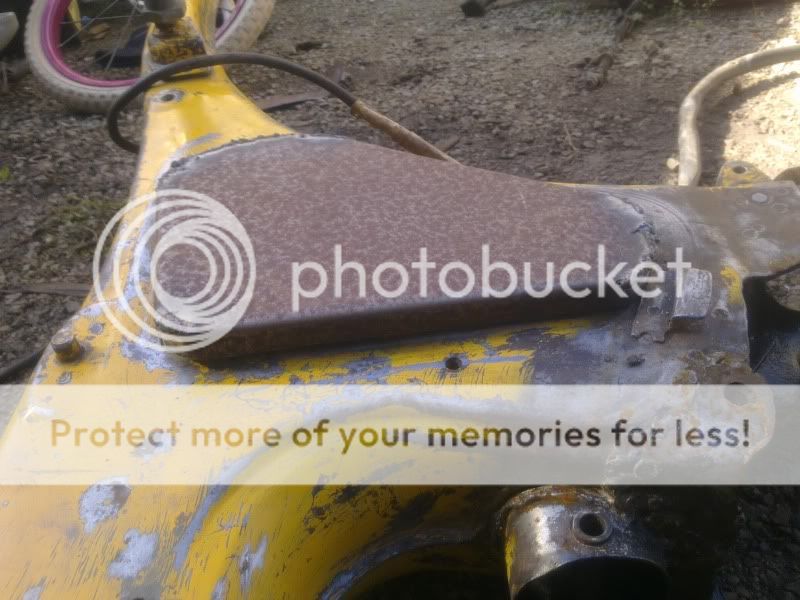
And a little lid to tidy it up

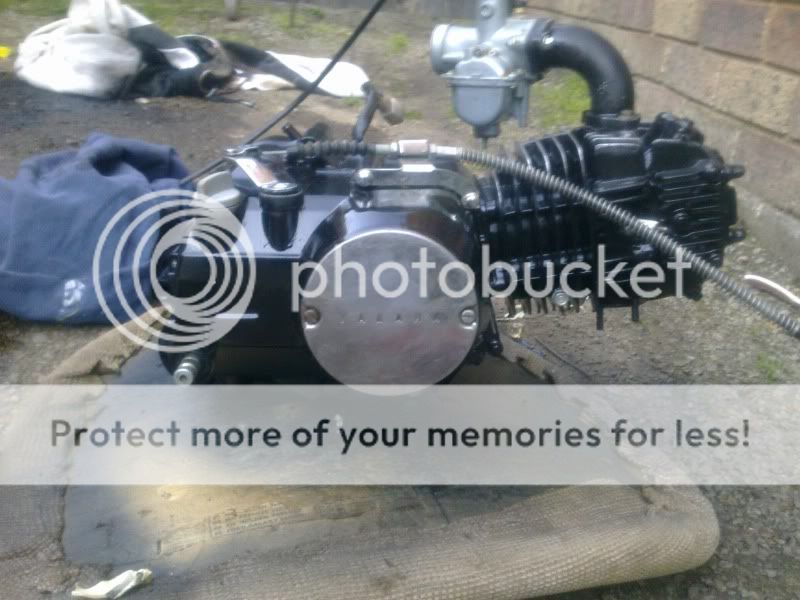
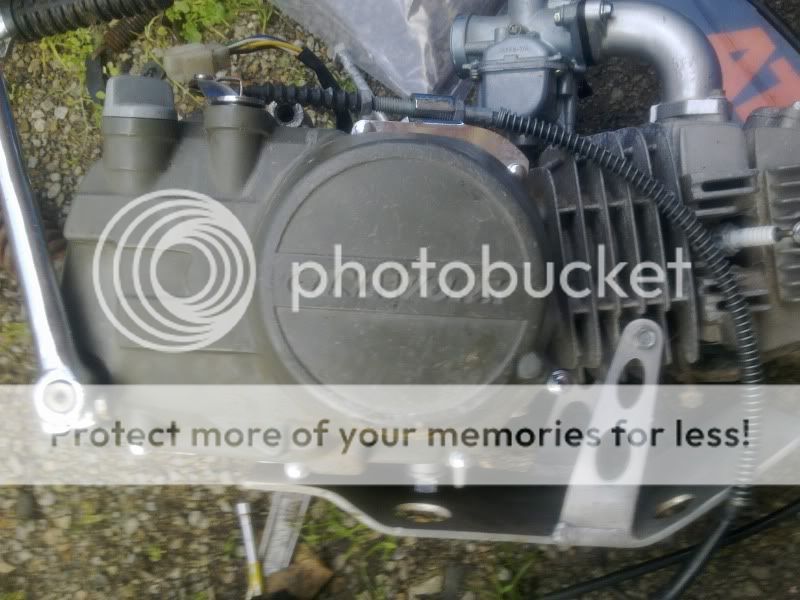
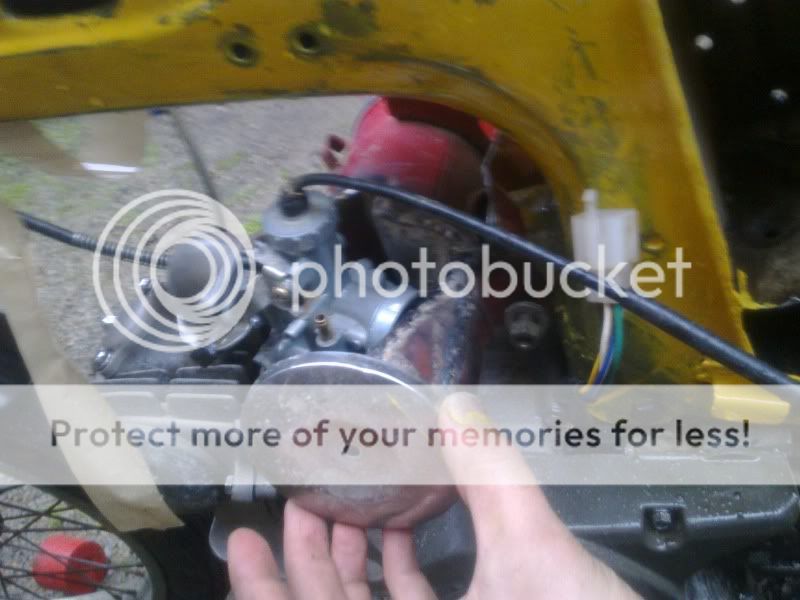
Also worked out what to do about the ugly Ciniworks logos on the motor:
Now you see them:
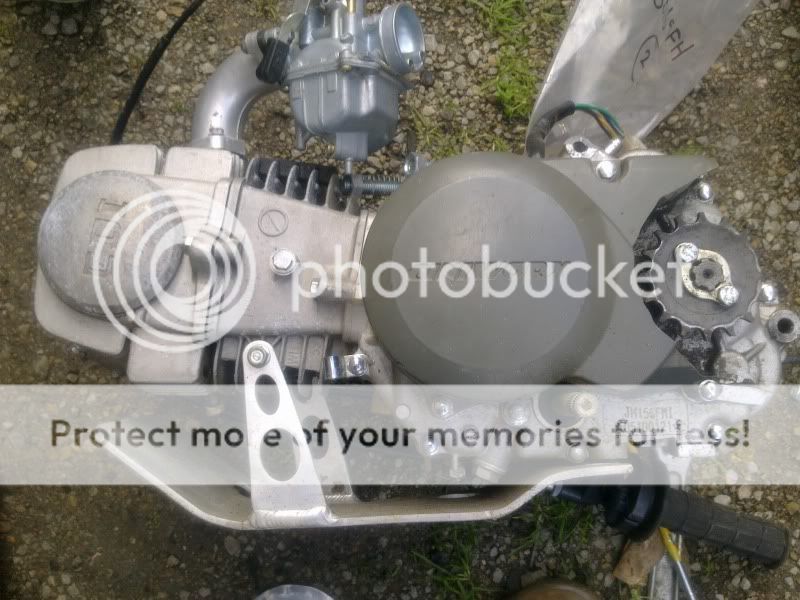
Now you don't

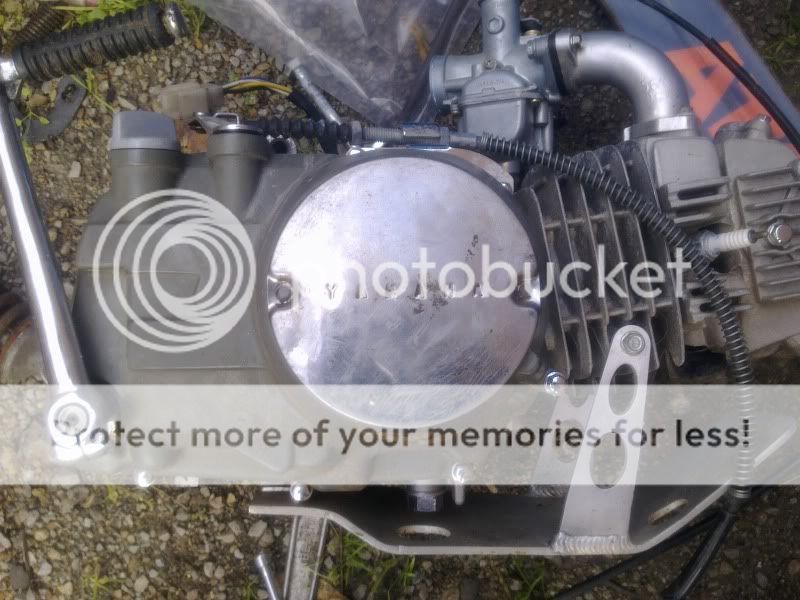
The rubbish condition yamaha motors finally offer something of value!
Thought I's start putting it back together to take stock of what needs doing:
Deciding on tank options (last one is a quick photoshop of a modified one) Thoughts?
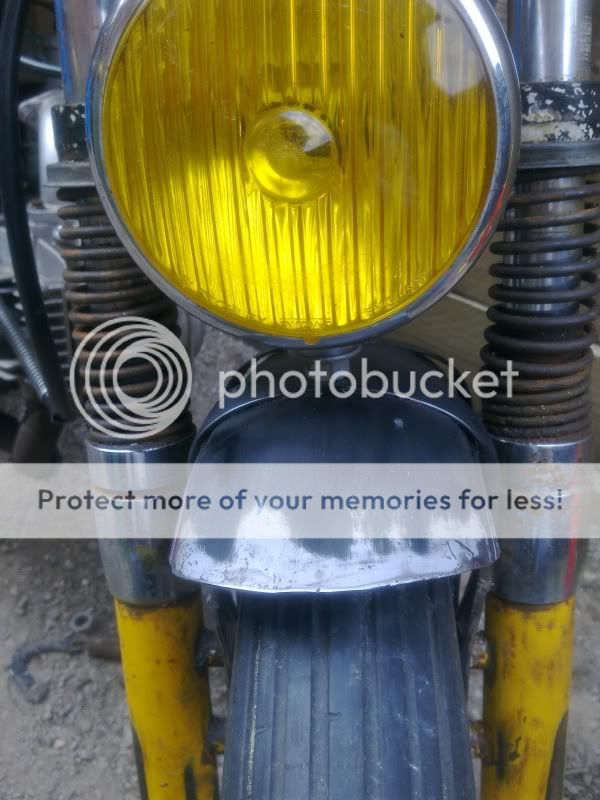
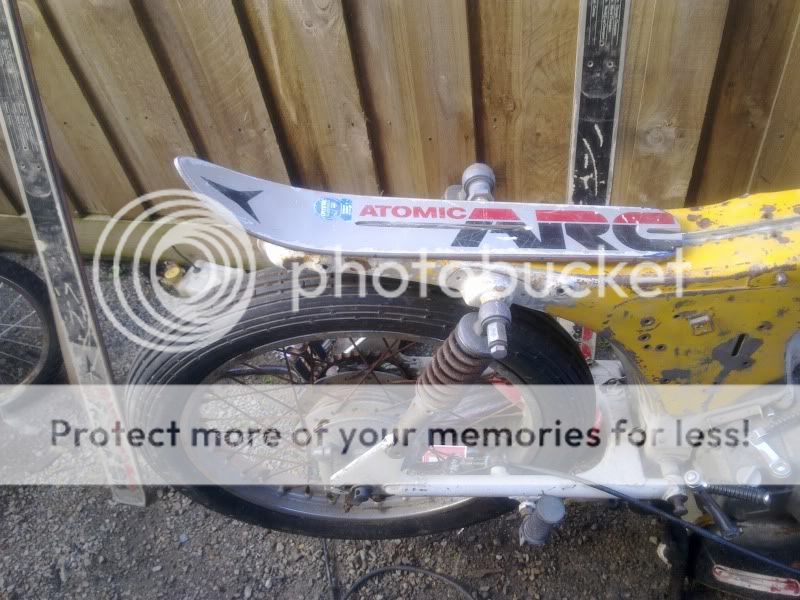
Even more progress this weekend, I felt that the front guard needed briefening:
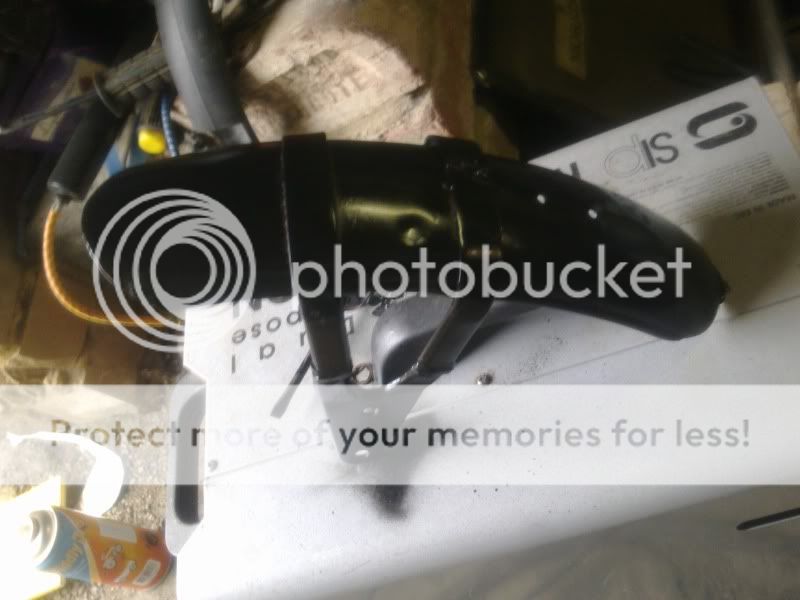
Worked well I think
Then, after much consideration of the right way to do an air filter I took to modifying the original:

And complete for the end of the day:

Some progress this afternoon after relatively little last weekend. I was tickled by someone's suggestion of a moontank style fueltank and had a bit of a play with the idea of shortening the current tank to suit this purpose, using the headlight mount to hold it:

What was intended to be a fueltank to go on the second side of the frame. Unfortunately the tank didn't come close to fitting with the other one, but was the perfect width to go across the front of the bike. A plan was hatched , some late night welding done and...

With the new tank securely welded to a bracket on the handlebars the headlight fitted nicely to the front guard with a little spacing:
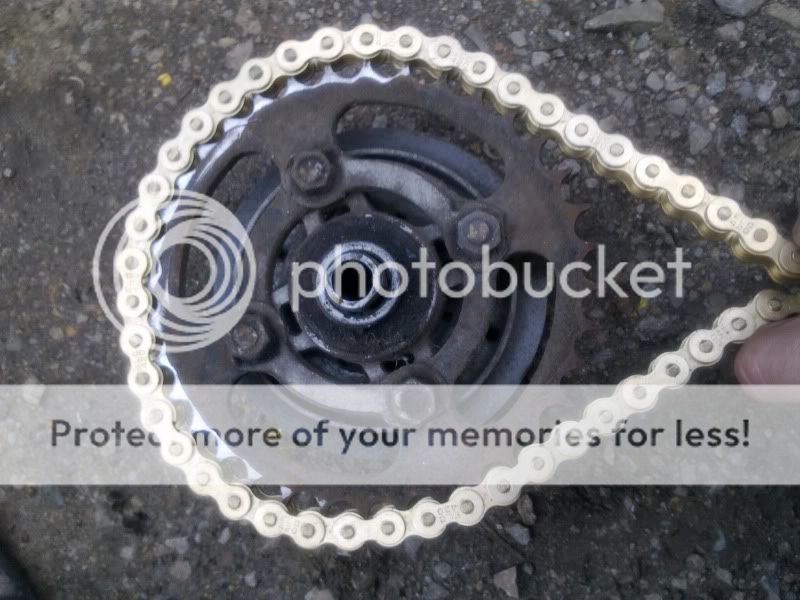
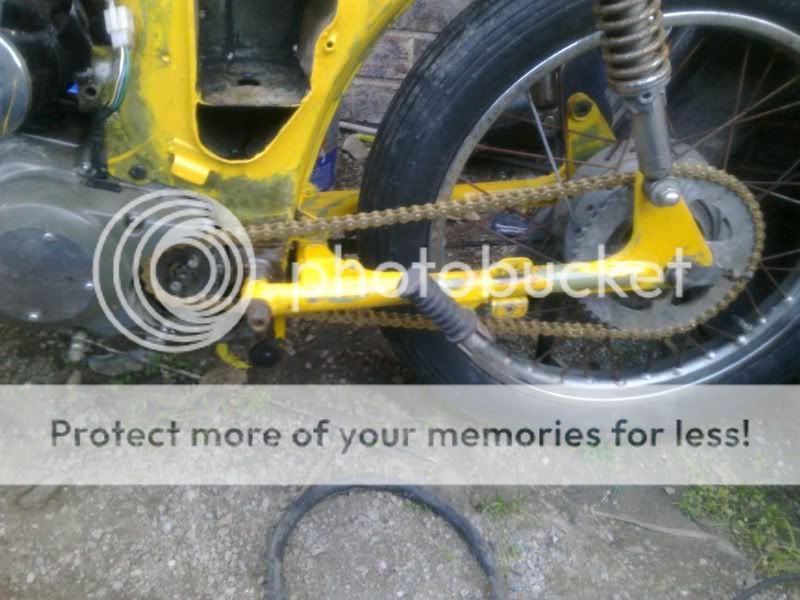
Ebay chain fitted after a change to the rear gear:
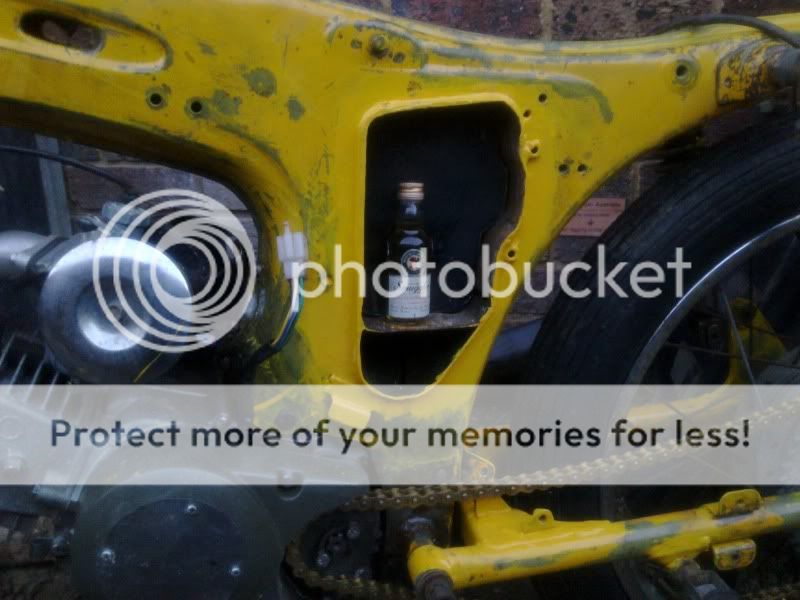
And my little surprise, a Dutch courage stash in the frame (trimming still to come)

Got a little more work done on the bike.
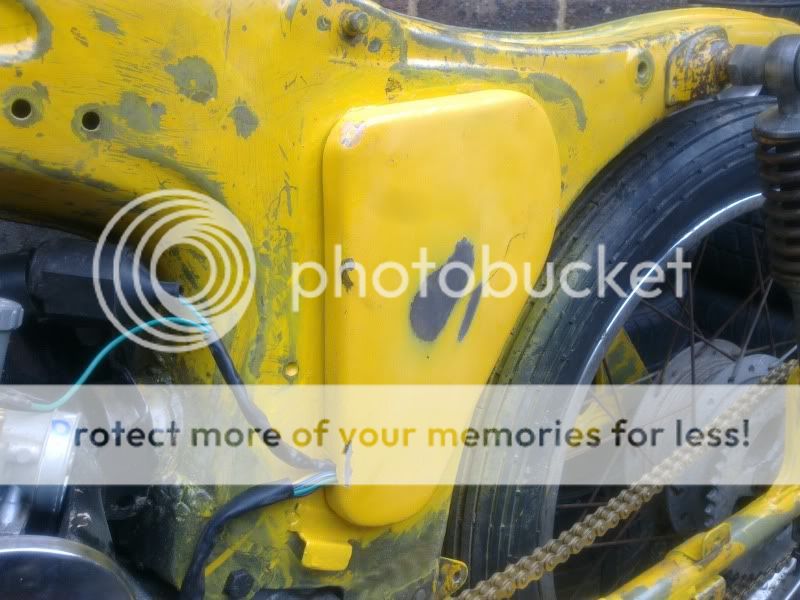
A little trimming was done to the side cover I made to allow access for wiring:
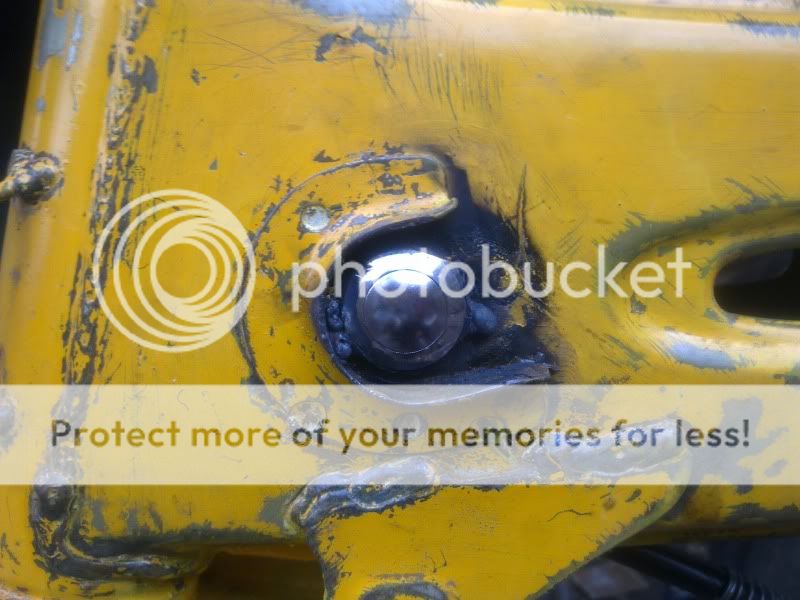
The opening for the tank mount was about the right size for a cut-out button...
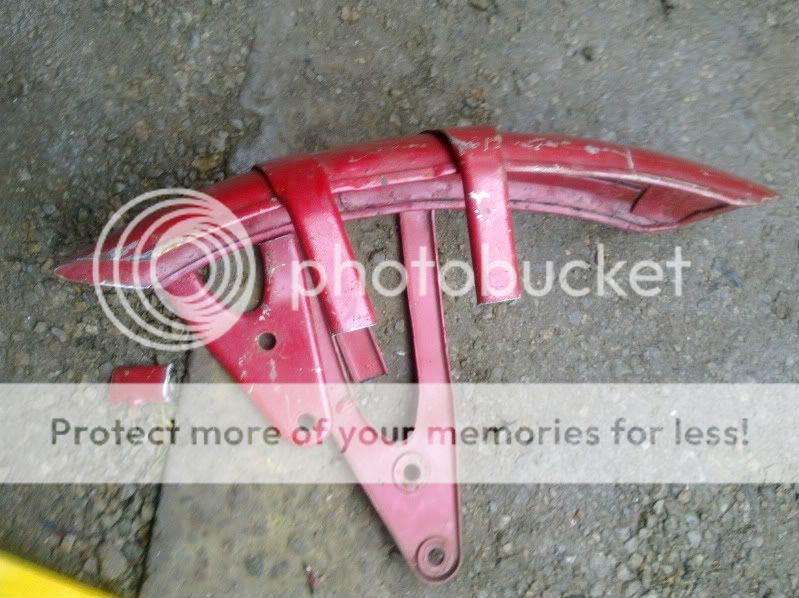
The original chain guard is so ugly it has to be kept, but needed a trim to better suit the lines of the bike:
Finally I thought I'd see how a muffler we'd modified for the scooter would look. After drilling out the mounting hole a bit I was happy with the result, so began cutting up the few scraps of exhaust I had sitting around. The end result fits around the sump plug, brake and kick start, pretty happy with that!

The other new toy my mate and I have been playing with of late, a 1967 Yamaha 100cc L2C-A. We had only intended to be working on a single bike project, but at $20 this was simply far too good to pass up.
No motor, but otherwise mostly complete and in reasonable condition, the pervious owner had some experience in amateur racing, and this was the last of his bikes that he held onto. His son couldn't tell me anything about it, but upon inspection the frame ha been modified a long time ago to accept a little more power via a Honda CT110 motor.
This is the closest image I have to how the bike arrived, the handlebars have been taken off and I have begun to lower the front, but that is it.
Suspension lowering at the front was simple and surprisingly effective, attach a ratchet strap around the triple clamps down to the front axle, loosen the clamp bolts, tighten the strap pulling the suspension into compression, tighten the triple clamps. The springs were surprisingly soft, being made for offroad use and still gives reasonable travel ;D
With the front end down we started to throw around some spare handlebars I had at home
and a $5 Wipac spotlight from a swapmeet last year
We scored this fueltank for a $5er as well at a local swapmeet for the wonderful ATCO lettering on it, having no idea what to do with it.
Tyres were swapped for $30 worth of swapmeet treads which fitted better with the race-track intentions of the bike. Couldn't get the originals off with any amount of leverage I could produce, so had to seek alternate methods
Bought a couple of Honda CT motors for $20 each, unfortunately they were in absolutely appalling condition, completely unsalveagable, so were sold off (at a small profit) to people gamer than us. The CT90 fitted beautifully but the transfer case on the CT110s (postie spec with transfer/overdrive gearbox) fouled the rear swingarm and running versions with the correct gearbox are near impossible to find over here.
I'd heard that the chinese pitbike motors fitted up to CT's so it seemed logical to look down this path. I got a well branded runner for $100. Unfortunately the fit wasn't as clean as I'd been led to believe, and a little more metal needed to be removed from the frame, but the results are worth it.
The rear springs also copped a little 'adjustment'
Basically a hard-tail in disguise
The results speak for themselves
Then it became time to develop a unique seat to suit the period racing theme. $4 did it
The front forks needed shortening to match with the upper triple clamp height. This was done by cutting the original tubes and re-welding in the top bolt mounts.
The result so far is fun. The intent is to strip the frame to the original yellow and bring the whole bike to a barn find salt-lake-racer
seat nearly complete thanks to a vintage leather jacket
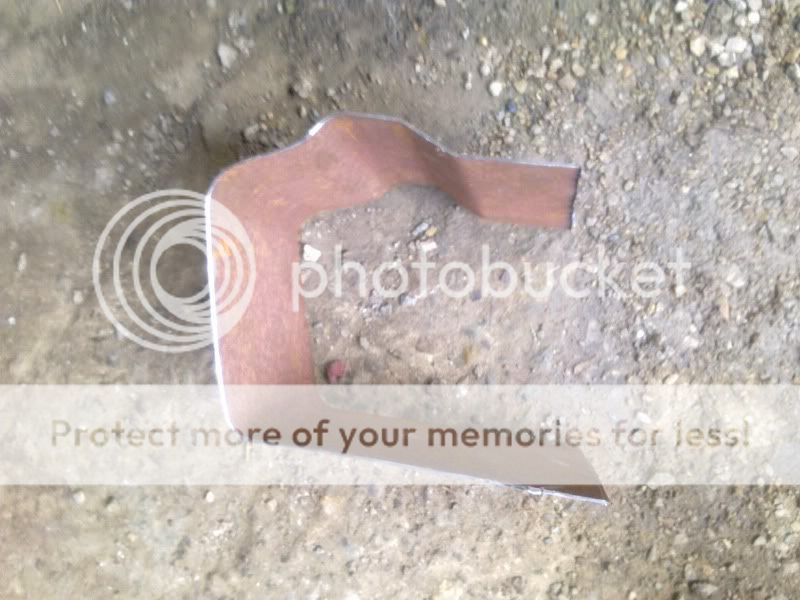
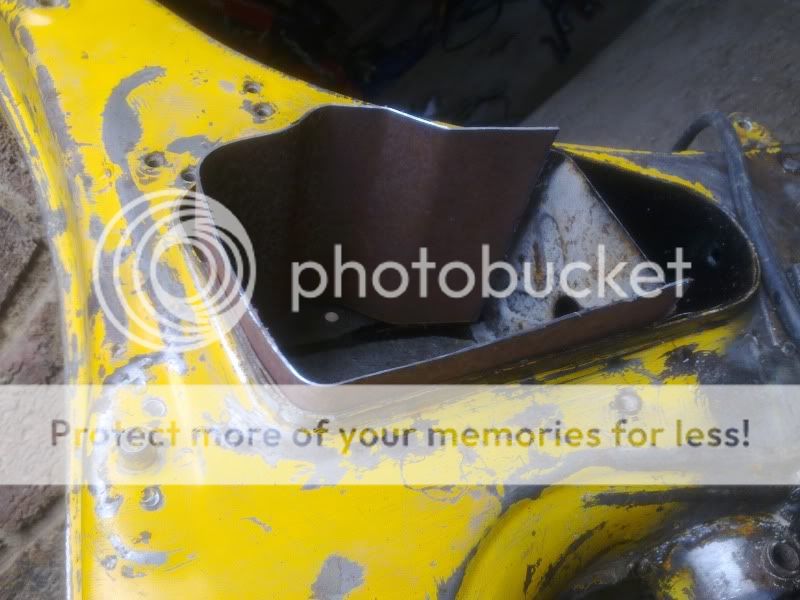
Decided to steel out the opening in the side of the frame for a little surprise to come later
And a little lid to tidy it up
Also worked out what to do about the ugly Ciniworks logos on the motor:
Now you see them:
Now you don't
The rubbish condition yamaha motors finally offer something of value!
Thought I's start putting it back together to take stock of what needs doing:
Deciding on tank options (last one is a quick photoshop of a modified one) Thoughts?
Even more progress this weekend, I felt that the front guard needed briefening:
Worked well I think
Then, after much consideration of the right way to do an air filter I took to modifying the original:
And complete for the end of the day:
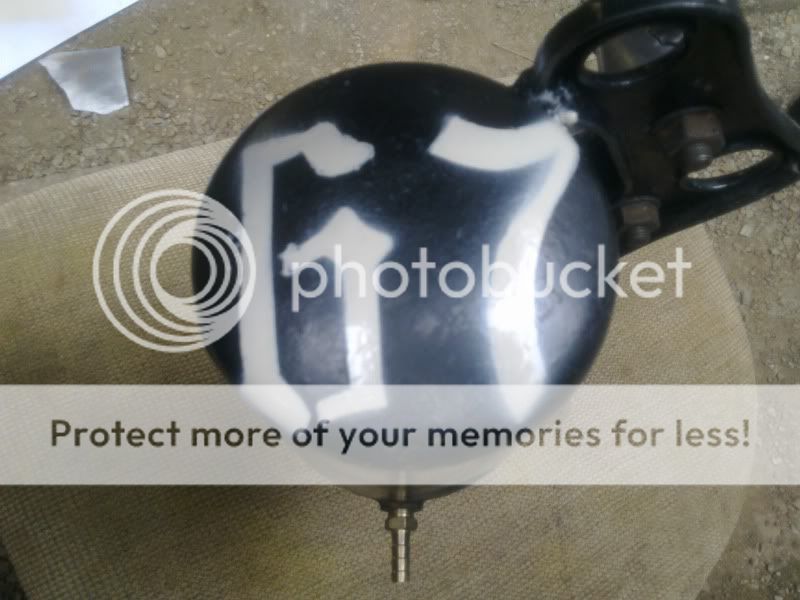
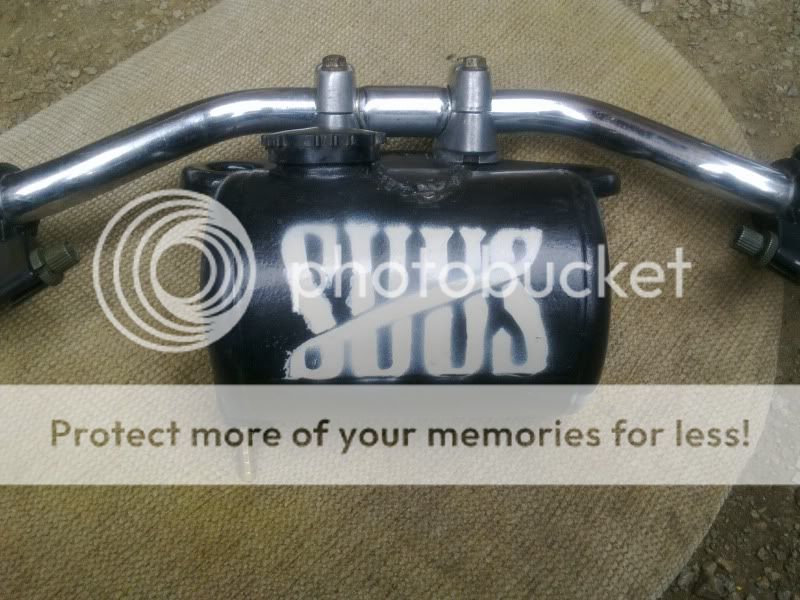
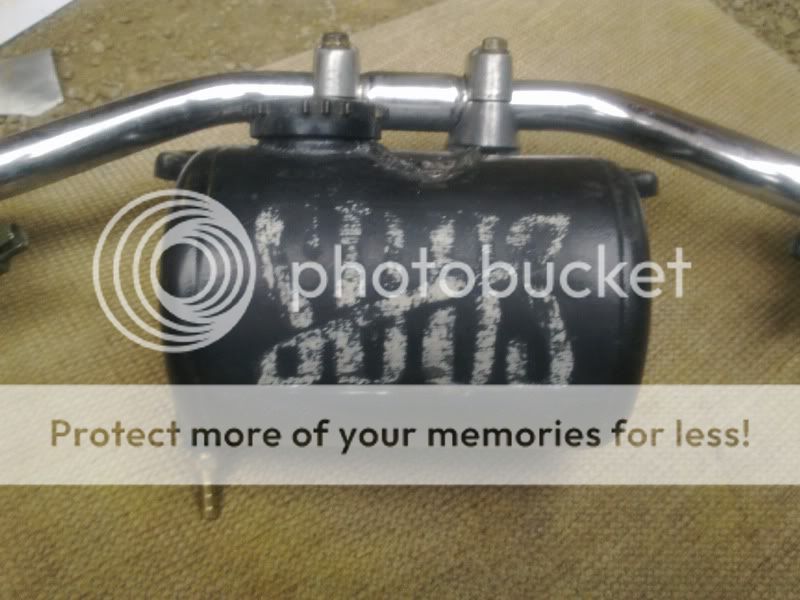
Some progress this afternoon after relatively little last weekend. I was tickled by someone's suggestion of a moontank style fueltank and had a bit of a play with the idea of shortening the current tank to suit this purpose, using the headlight mount to hold it:
What was intended to be a fueltank to go on the second side of the frame. Unfortunately the tank didn't come close to fitting with the other one, but was the perfect width to go across the front of the bike. A plan was hatched , some late night welding done and...
With the new tank securely welded to a bracket on the handlebars the headlight fitted nicely to the front guard with a little spacing:
Ebay chain fitted after a change to the rear gear:
And my little surprise, a Dutch courage stash in the frame (trimming still to come)
Got a little more work done on the bike.
A little trimming was done to the side cover I made to allow access for wiring:
The opening for the tank mount was about the right size for a cut-out button...
The original chain guard is so ugly it has to be kept, but needed a trim to better suit the lines of the bike:
Finally I thought I'd see how a muffler we'd modified for the scooter would look. After drilling out the mounting hole a bit I was happy with the result, so began cutting up the few scraps of exhaust I had sitting around. The end result fits around the sump plug, brake and kick start, pretty happy with that!