1970 VW Bus - Westfalia Resto

What year van is compatible with yours? There was a pretty rusty one nearby that maybe I can get something off it
 
irk miller said:
Have you gotten you gotten you some Cleco fasteners, too?

Not yet. I need to, though. Those will be handy for cutting panels. I like to clamp the repop piece onto the OG sheet metal and run the body saw along the cut line, it makes the seam match perfectly and the blade leaves a perfect 1/16" for butt welding.

cbrianroll said:
What year van is compatible with yours? There was a pretty rusty one nearby that maybe I can get something off it

Basically 69-72, although some things started to change in 72. I need a few little bits and pieces but the only big thing I'm still trying to track down is a rear bumper.
 
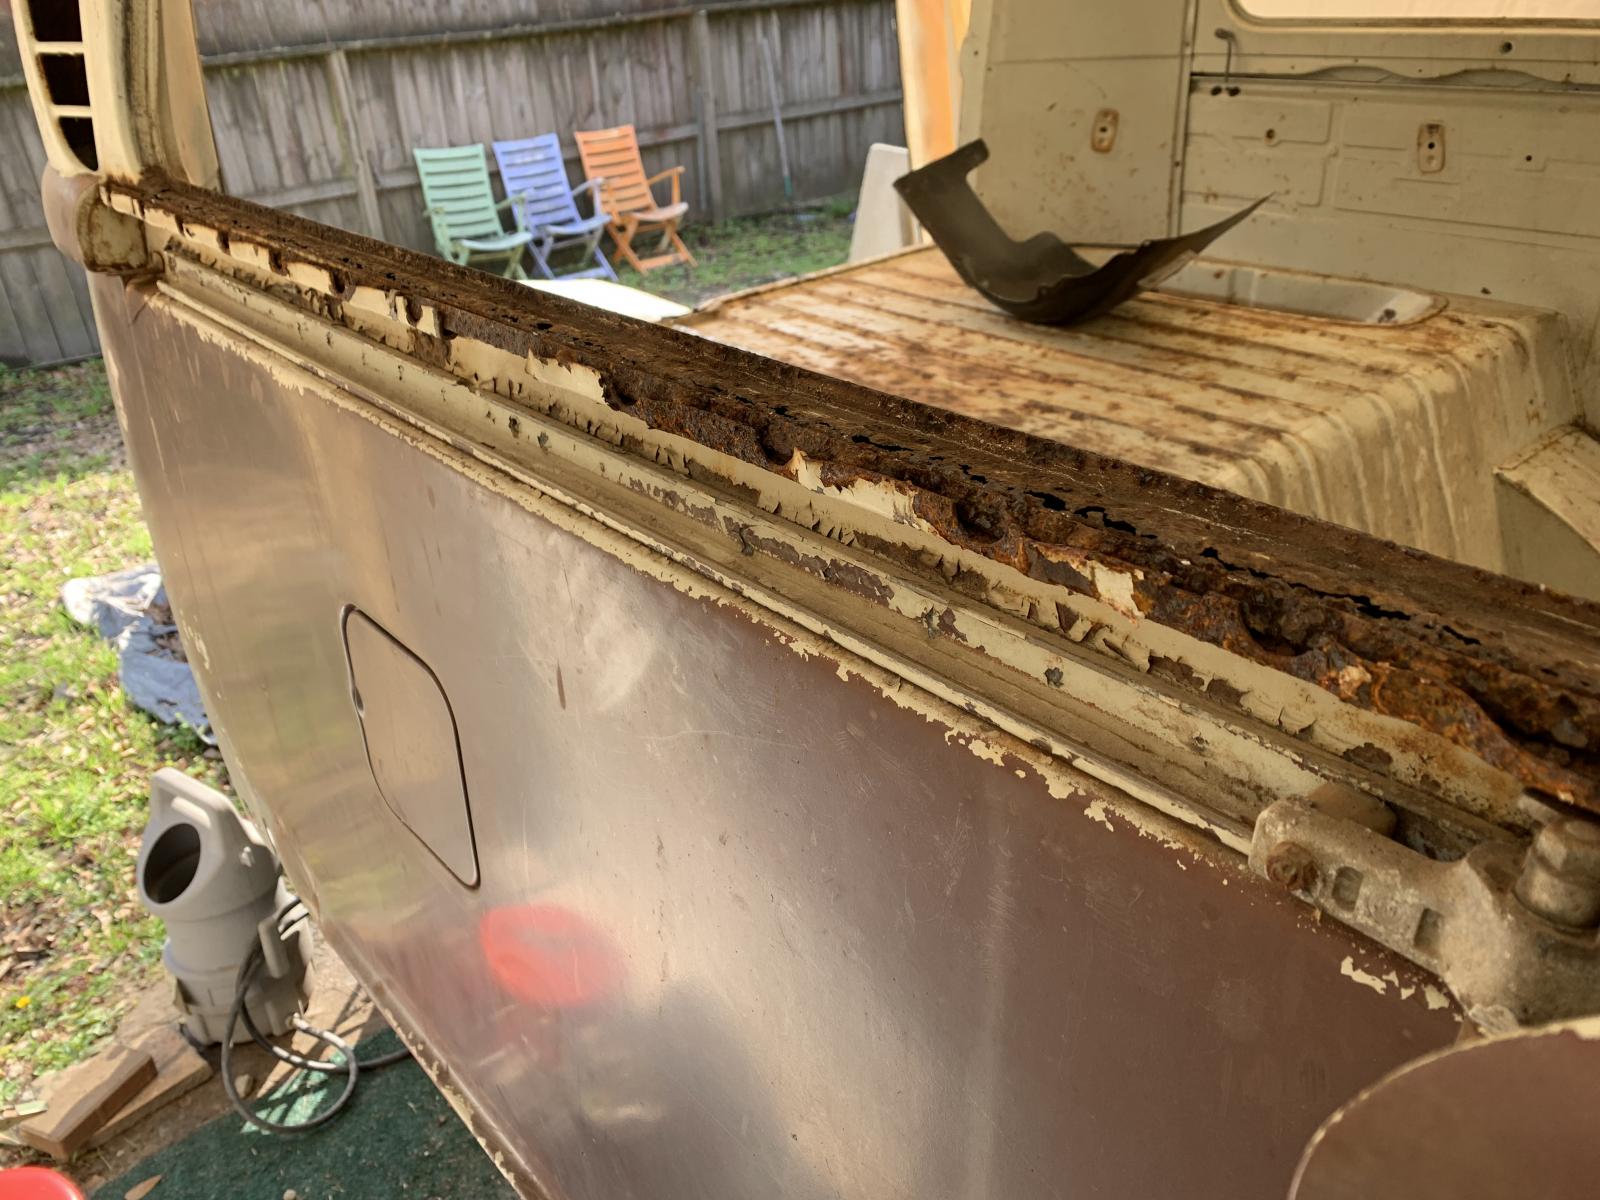
Managed to get the interior cleaned up, the rest of the Westfalia bolt on stuff removed and the slider cover/drivers side cover removed. Those covers gave me a fit, especially the slider cover as the darn retaining strip was rusted so badly it was basically fused to the window sill. The other side is pretty rough as well but definitely better than the passenger side.

I think I am going to have to drill out the spot welds and remove the retaining strip in order to fully repair the sills. Its roached pretty badly Has anyone done this before and have any pics to share?

1876819.jpg


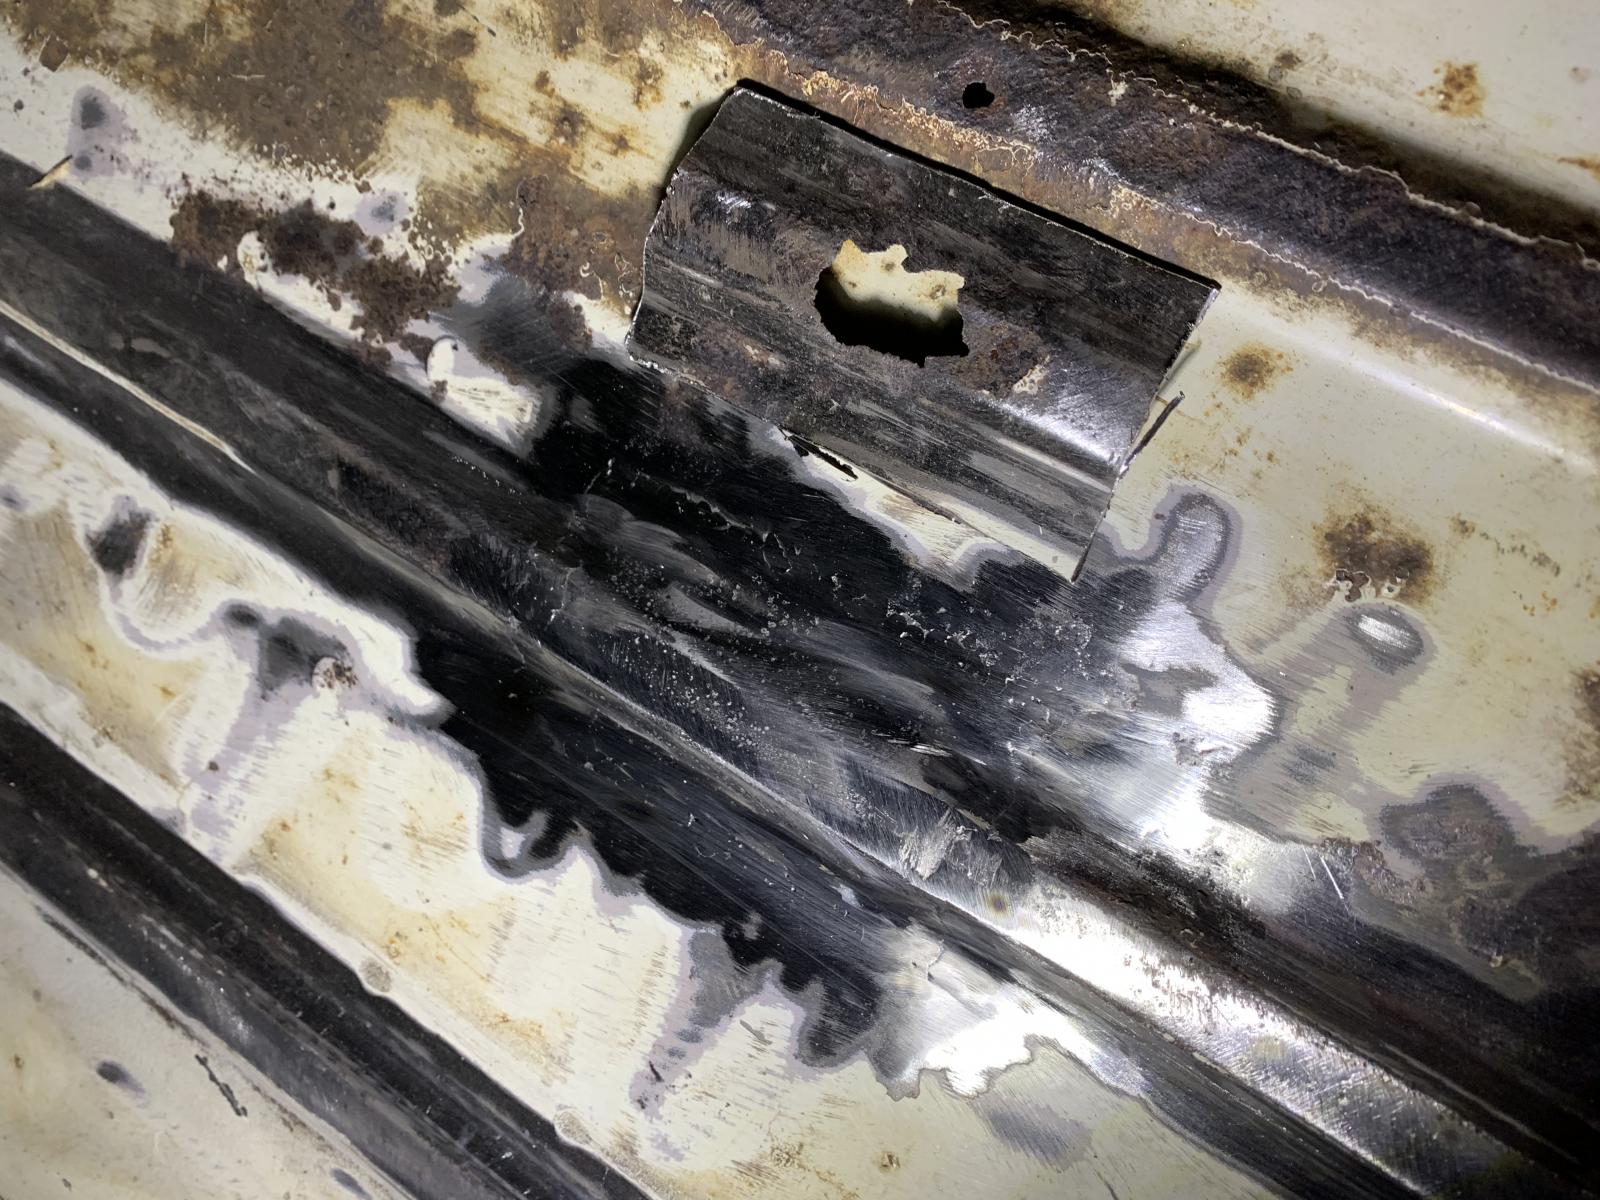
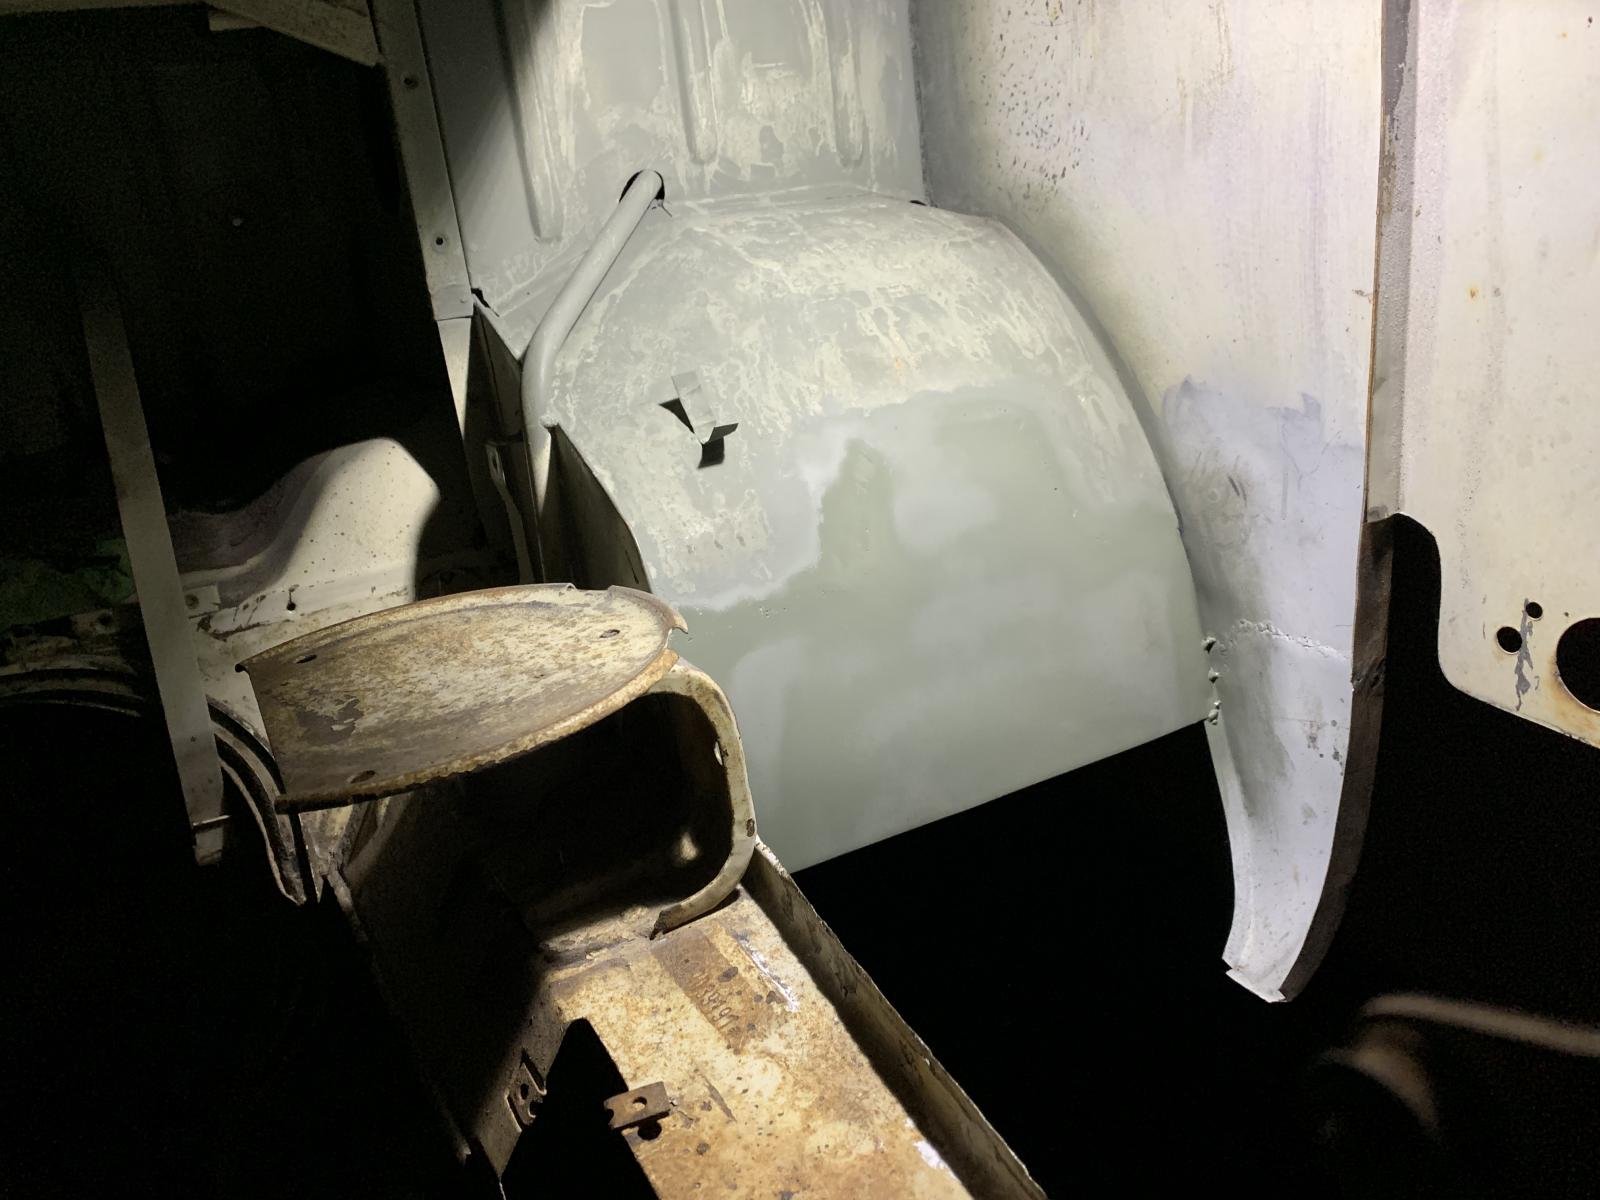
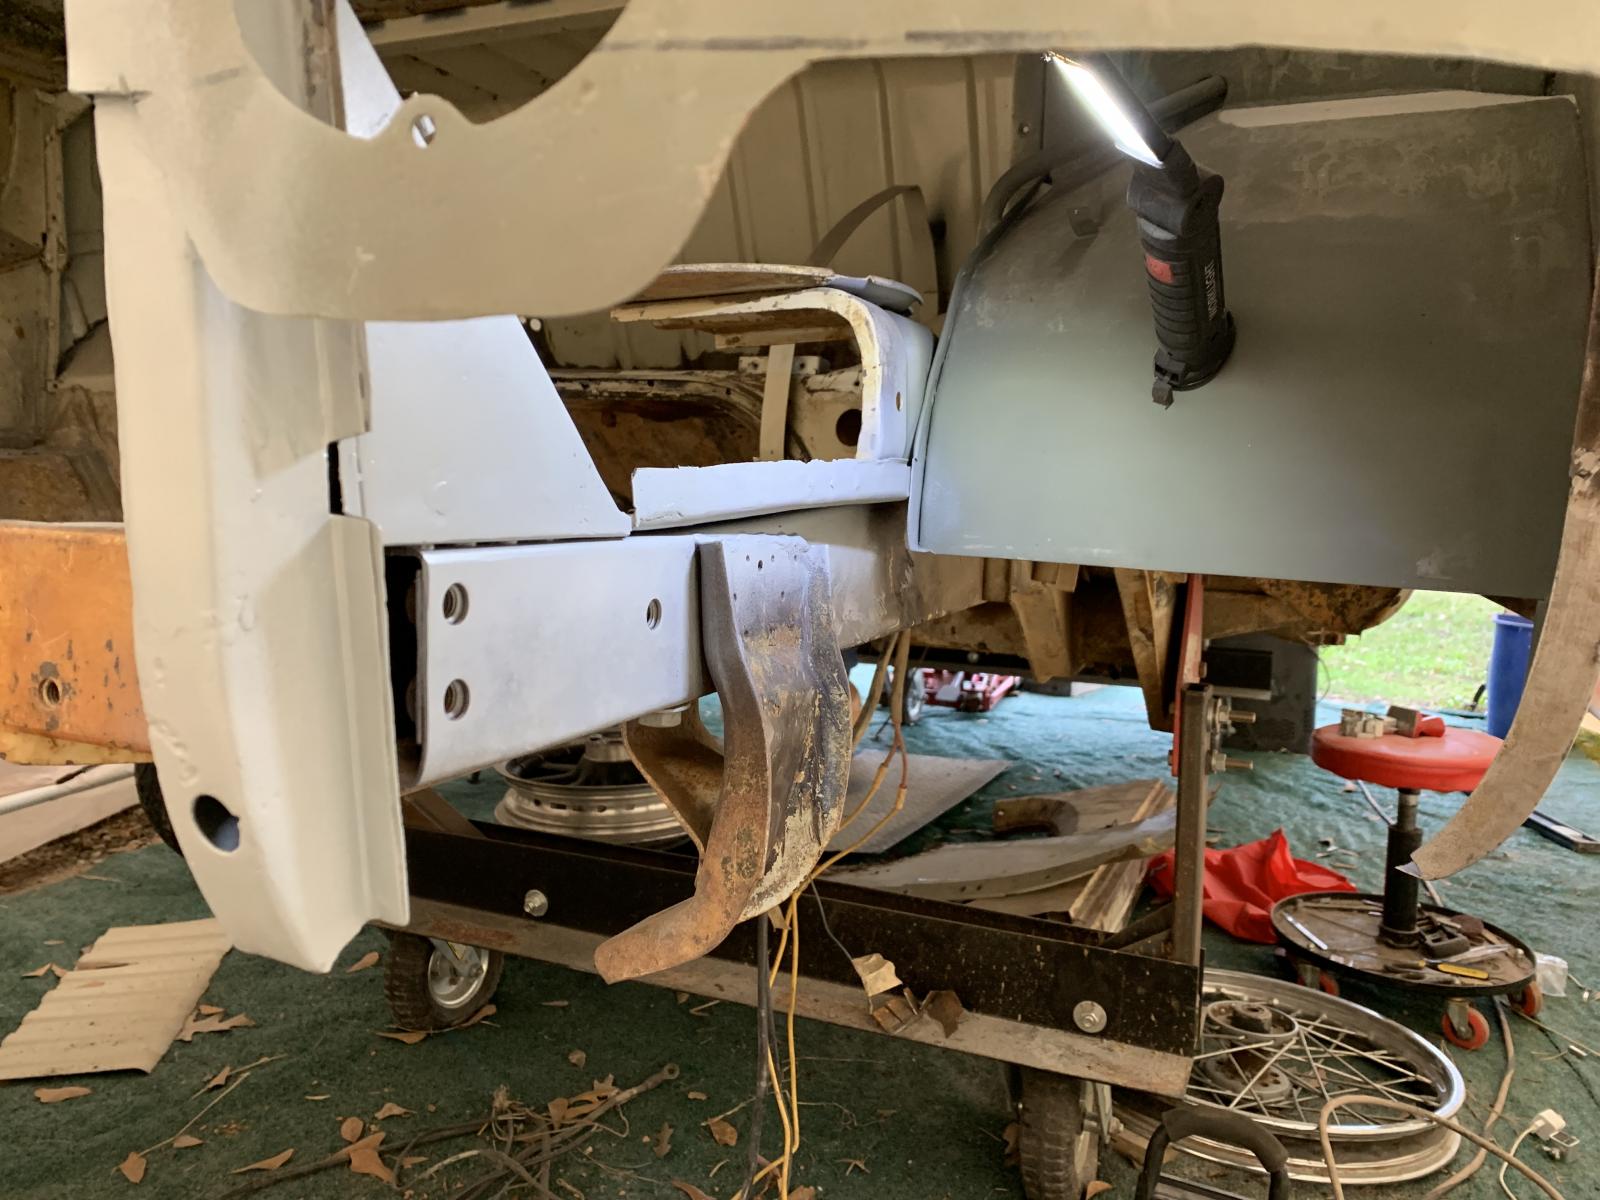
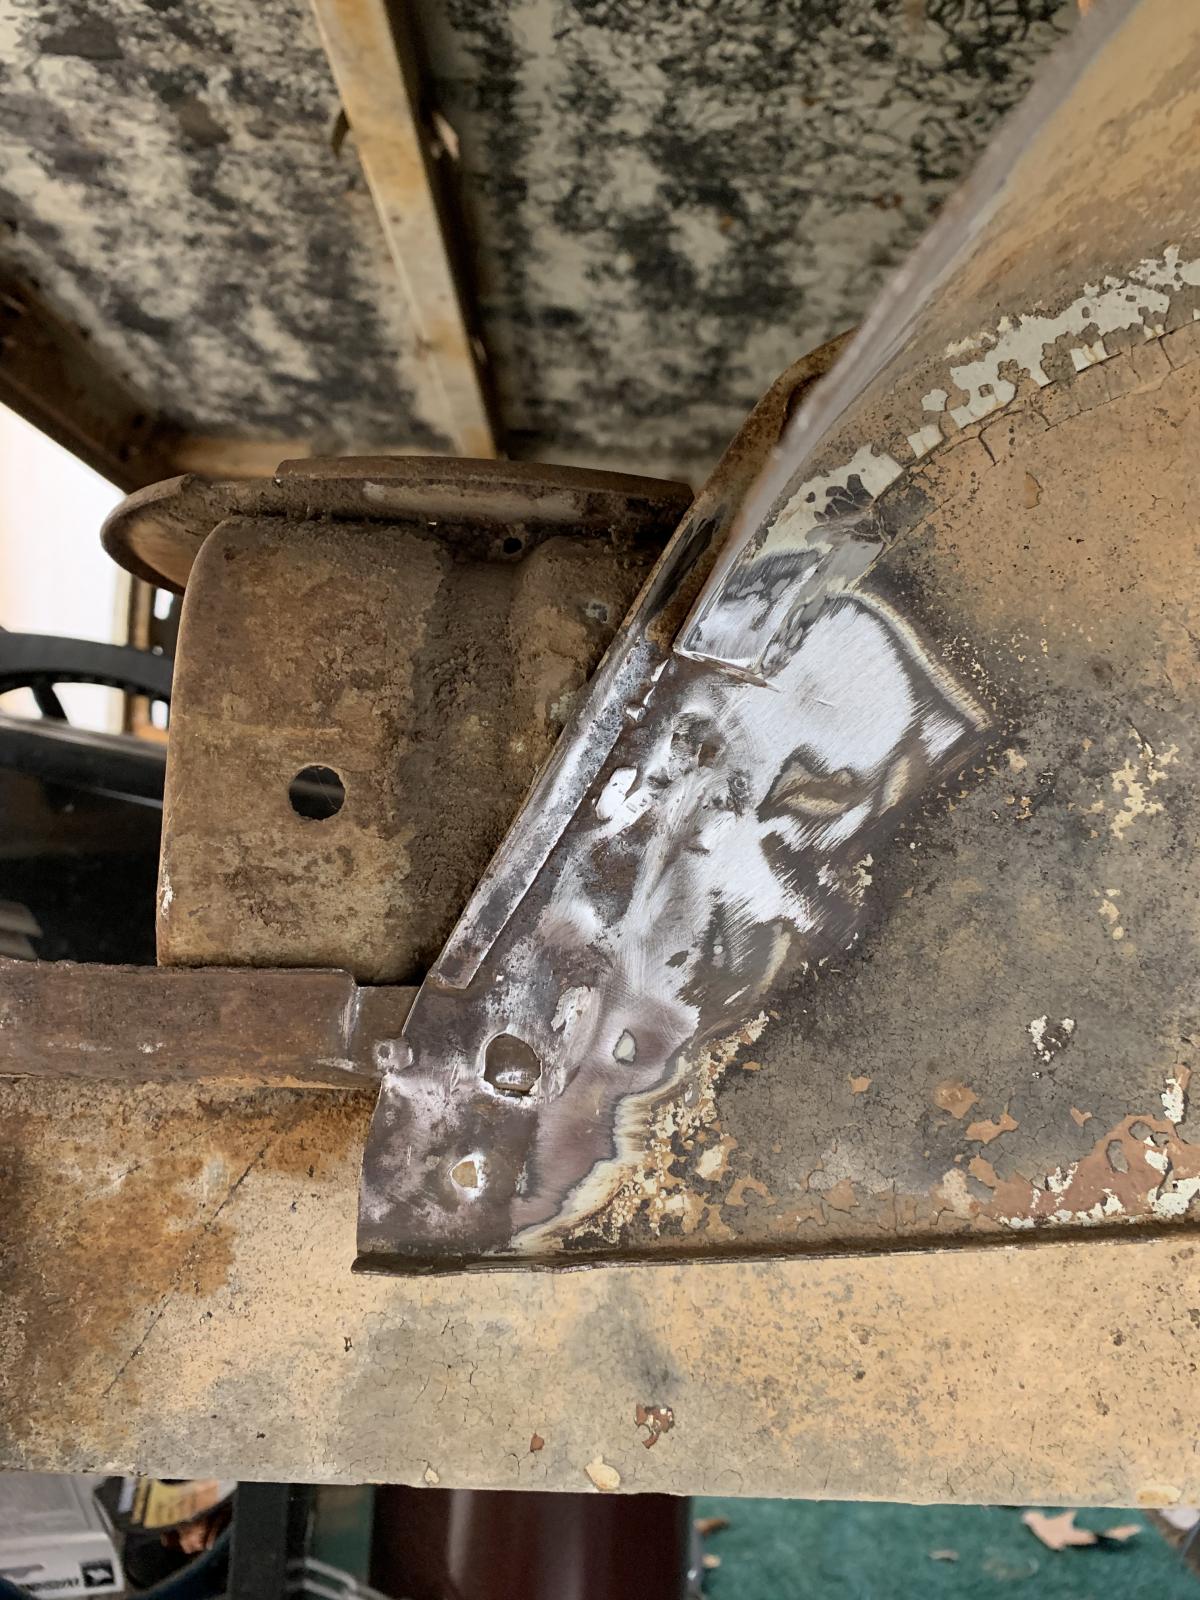
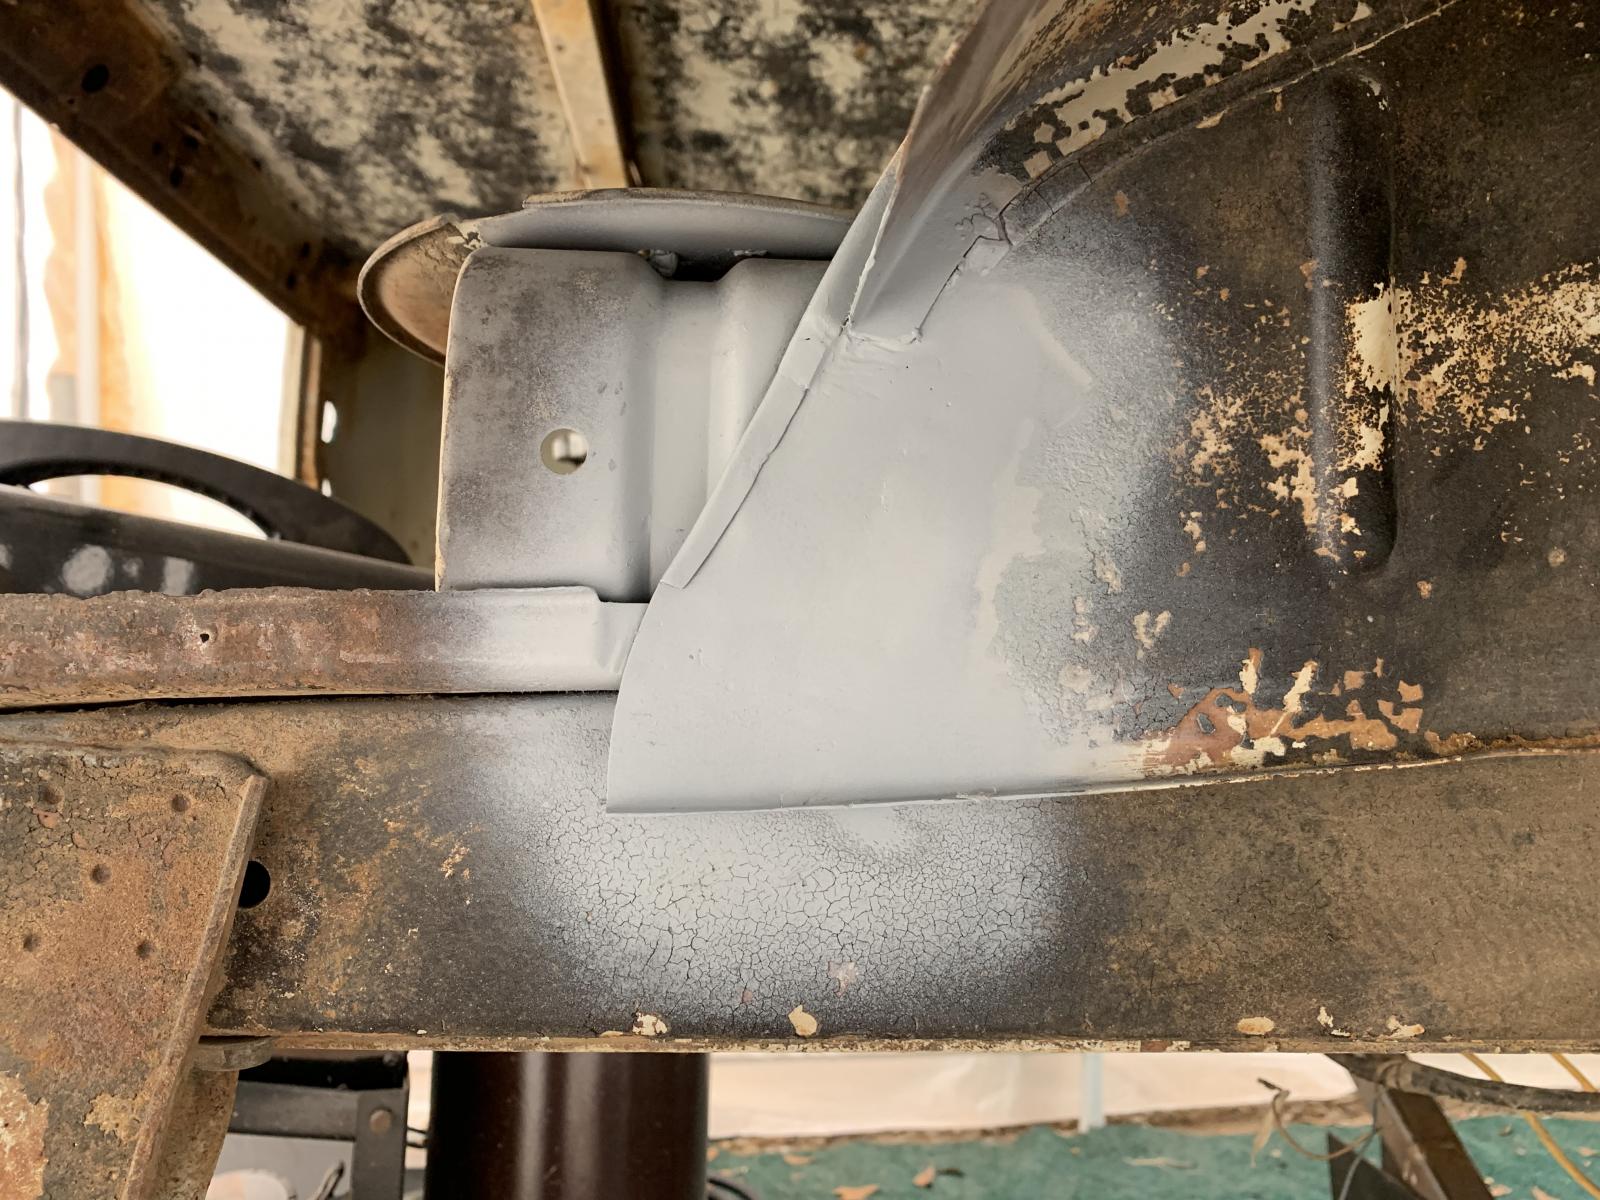
Still chipping away at the passenger side rear corner. I was going to leave it, but the inner wheel well panel was a bit rusty and mangled at the end where the wheel well attaches to it. So I cut that bit out and fabricated a small piece to replace it. If anyone sees this and needs to do the same, they plug weld the absolute crap out of this portion of the inner wheel well to the air cleaner stand. I'm talking like a 3/4" diameter weld. It was an absolute pain to get out.


1876816.jpg


1876817.jpg


1876814.jpg


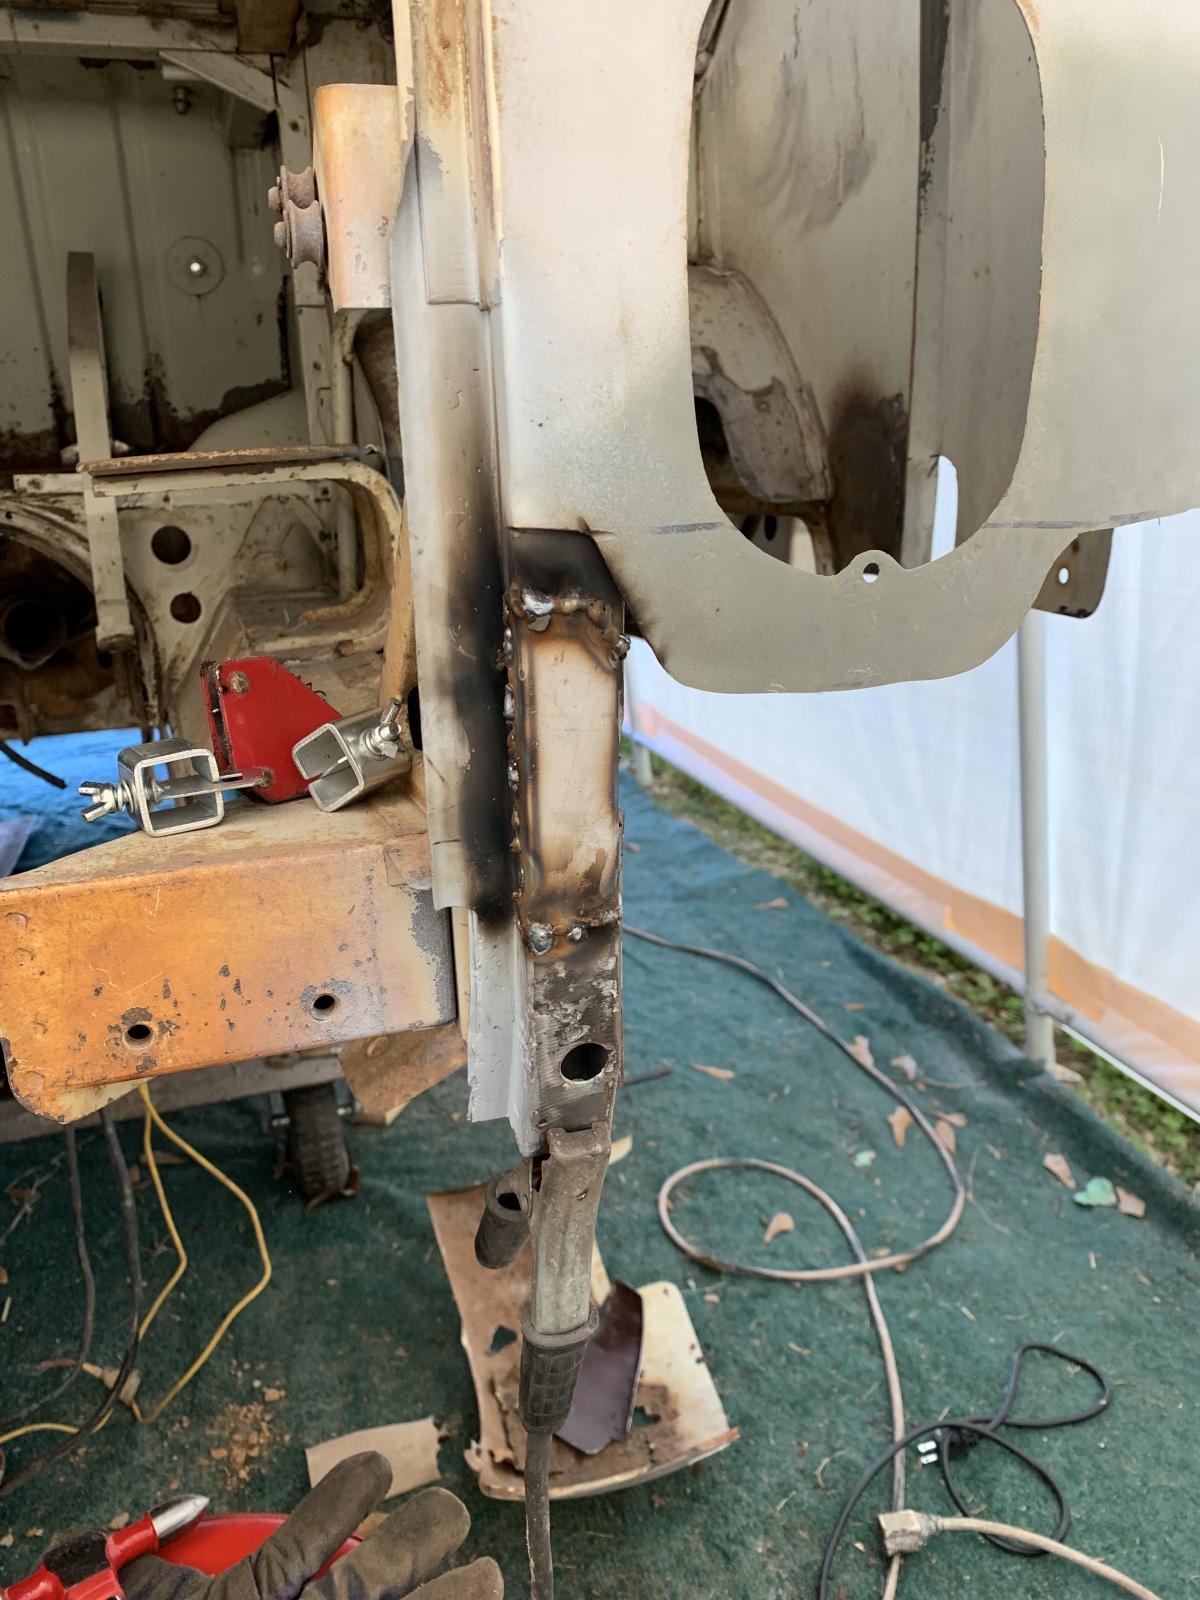
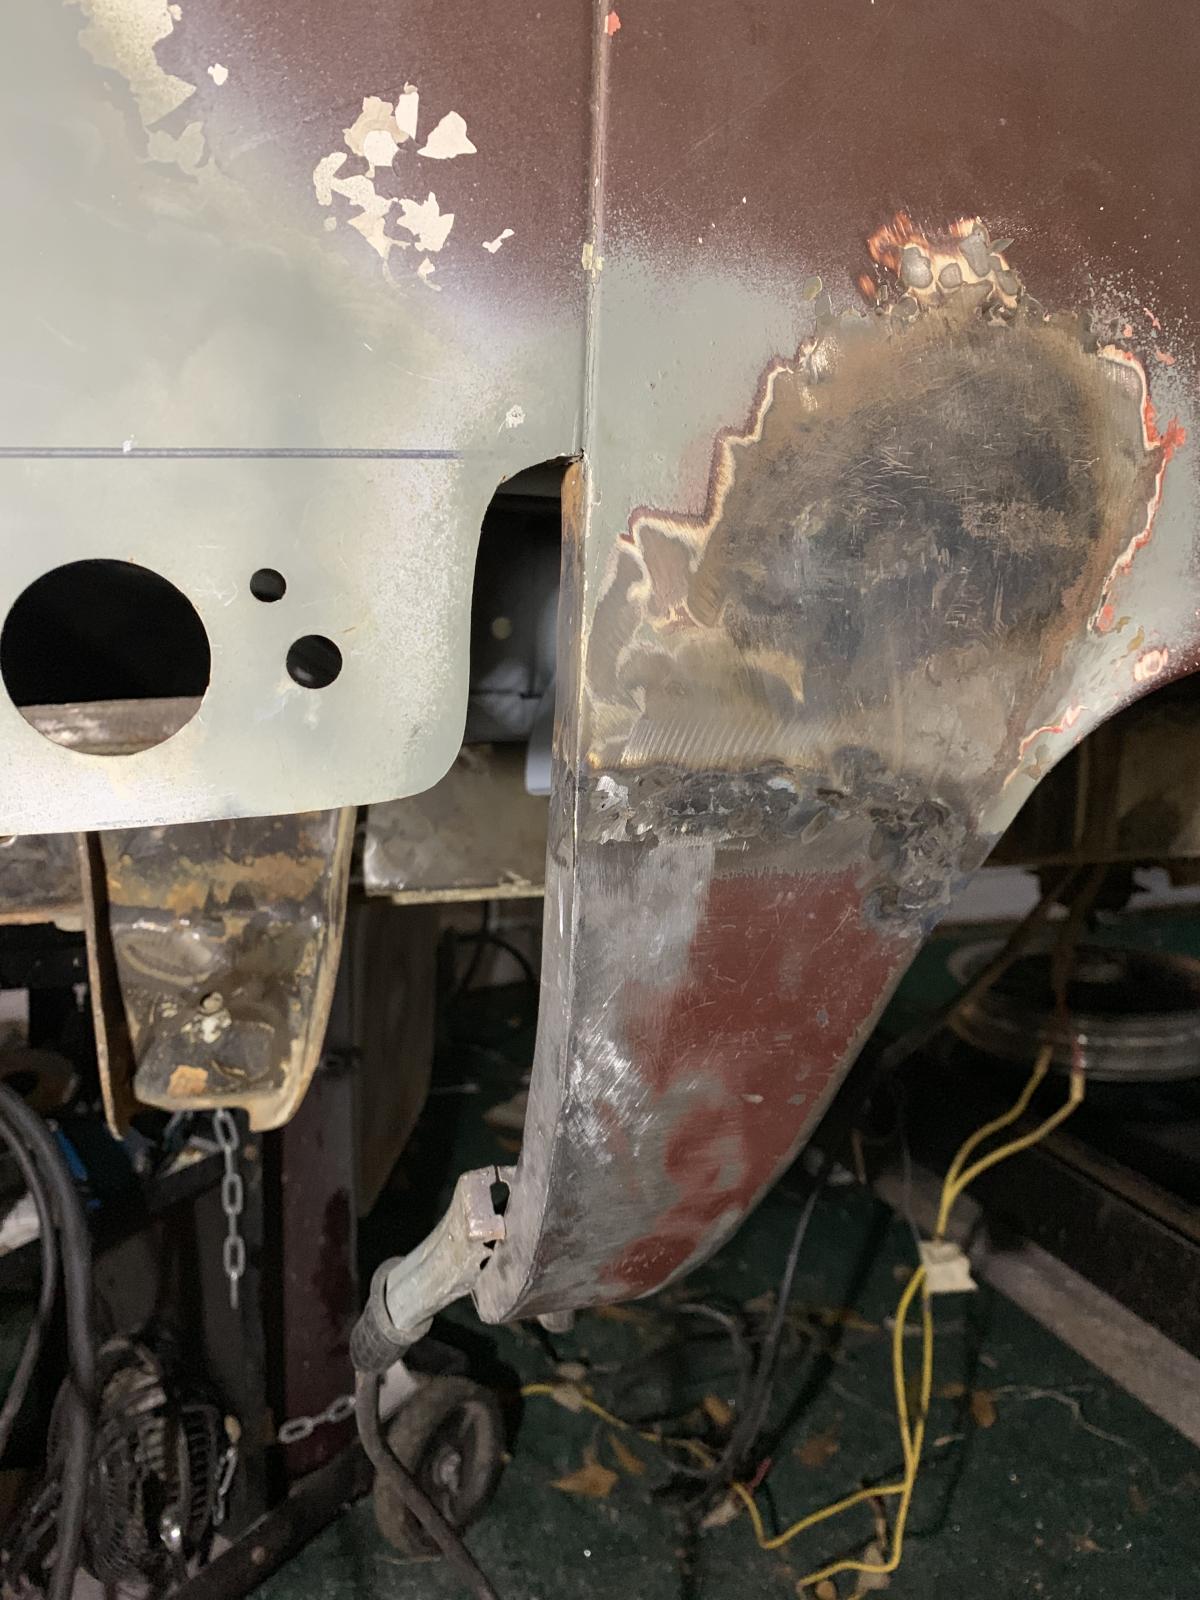
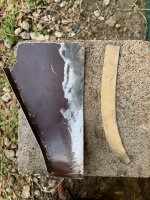
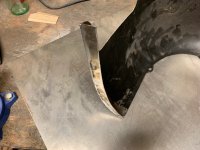
Sunday I made a repair section for the "D" pillar ( I should clarify I have no idea if this is what its actually called but I'm going with it). I dont have the tooling to stamp the raised section into my piece, so I left it out. I think its only purpose is to help with alignment when they were fitting the panels at the factory, so I didn't see the need to build a stamping die for it. Came out pretty well once its been ground down but I think I needed some more heat on this particular area. Just have a few pinholes to touch up and I'll be ready for the corner.


1876812.png


1876818.jpg


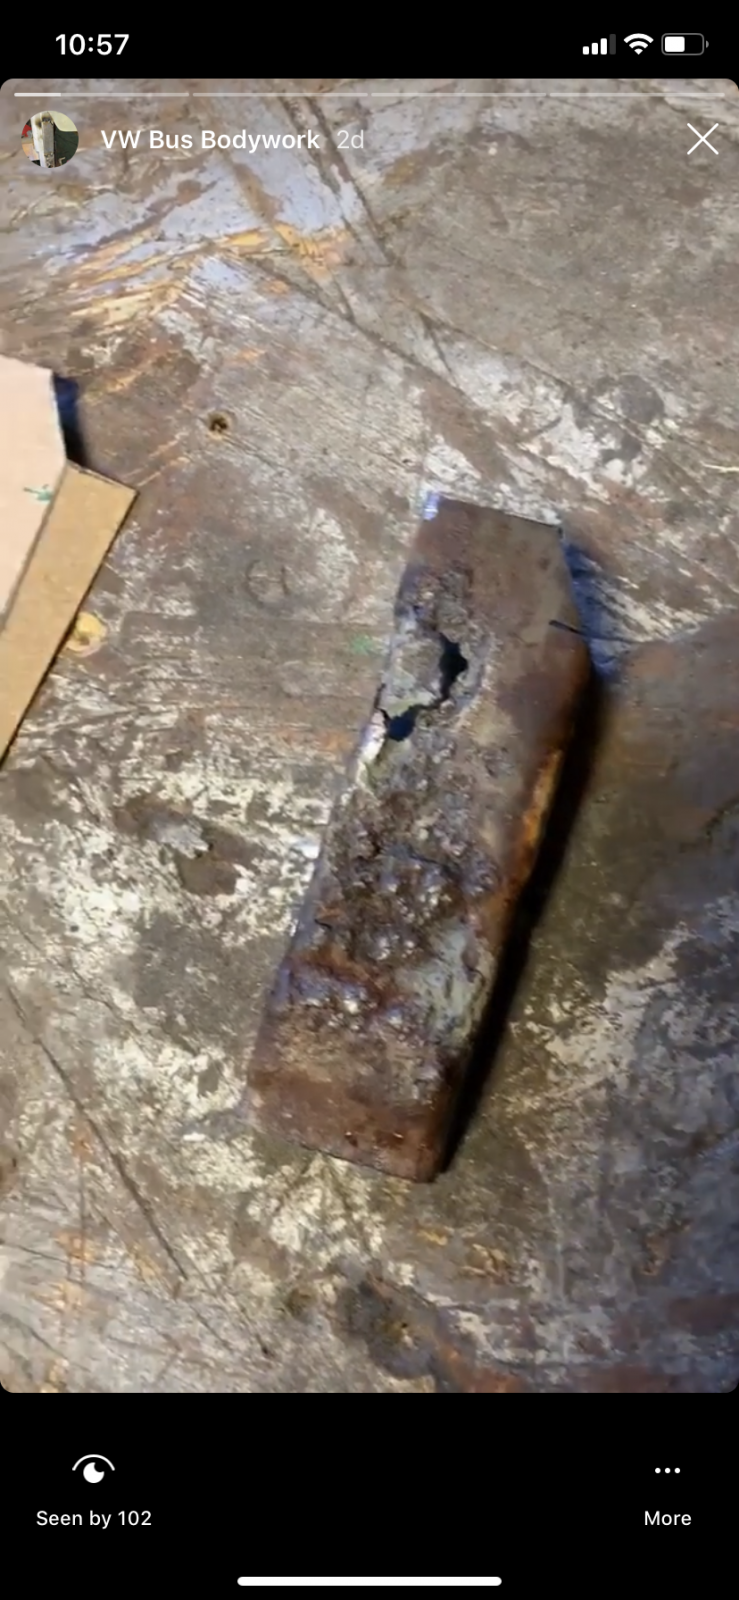
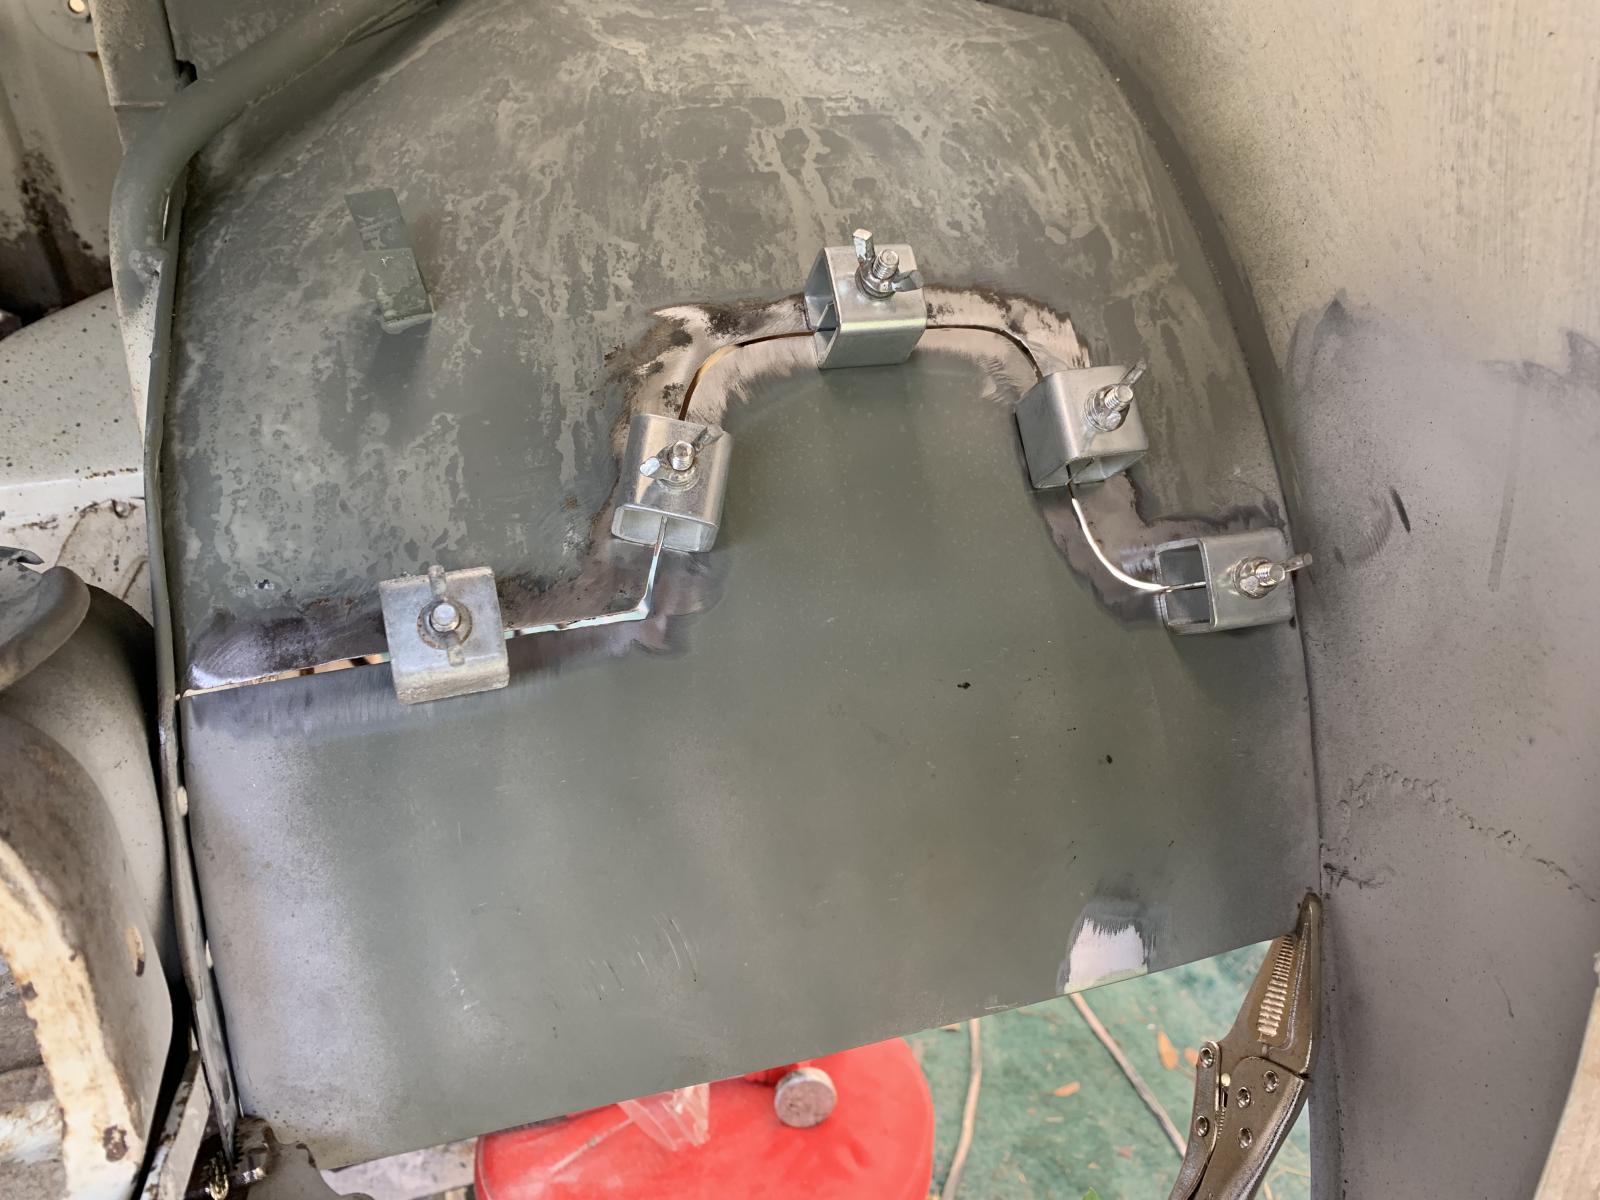
Switching gears a little, I moved to the package tray over the engine. I replaced a quarter sized rust hole on one of the ridges, and after spending the time finishing it out I decided to just look for a really dry section to replace this entire clip, rather than patching it in small sections like I originally planned to. Either way the patch came out decent and it was good practice.

1876815.jpg
 
Nice work Nick! I dig it even though it has too many wheels


Sent from my iPhone using DO THE TON
 
This is the first time you've done any panel repair and fab? This is impressive stuff man, really nicely done. Like most creative skills, done well they're made to look easy. Having bashed some metal around before I know that nothing could be further from the truth. Well done mate, doing the bus proud.
 
Thanks fellas. My goal for this project is to build a really solid driver, not a concourse restoration. I want to get rid of all the cancer and get it looking as close to original as I can.

Yeah Jim, this project is my first dive into panel work. I have done a bit of sheet metal fab in the past but this is really my first go at welding in place and doing any actual rust repair. I'm trying to get the details right so the repairs aren't noticeable but at the same time if I get too hung up on the nitty gritty then nothing gets done. So I'm trying to find a balance. And I need to work on my welds so I have less grinding to do LOL.
 
cbrianroll said:
Drove by the dead bus...it was gone.

Bummer, thanks for checking. A local VW guy has a '68 that I'm "buying" for $100 and a 12 pack of Shiner. Its mostly roached but the steering and suspension is there. These early steering boxes are hard to come by so for that spare alone its worth it.
 
Last night I cleaned up the ugly welds on that D pillar repair and filled in any spots I missed. Some of these repairs are pretty challenging to get good welds on in situ. No pics on that yet.

More time into these crappy repair panels. The rear wheel arch repair section had the wrong profile and a 3/8” too short flange for the seam when it came. I’ve already got a few hours into adjusting the wheel arch return, and I tried to weld a thin strip into the inner flange. Well I put too much heat into it and it turned into a mess, and then I discovered that the profile wasn’t exactly right.

So I cut off the botched flange altogether and hammered the profile to match the new rear quarter. Cut a couple of strips out of 20ga and welded them onto the corners. Much cleaner and should make welding the seam go a lot smoother. That notch at the bottom is actually how it looks from the factory, not crappy fitment
 

Attachments

  • IMG_0906.JPG
    IMG_0906.JPG
    2.1 MB · Views: 239
  • IMG_0909.JPG
    IMG_0909.JPG
    1.7 MB · Views: 241
  • IMG_0908.JPG
    IMG_0908.JPG
    1.5 MB · Views: 248
The past couple weeks have been a lot of prep, welding and grinding. I finally got the rear wheel arch repair section as close as possible to the correct profile. Got it welded in and ground down, I'm pretty happy with the way it came out but the profile of the lower curve on the wheel arch is still shitty. I'm going to have to cut a relief and re bend it but I'll wait until I get the rear corner in so I can align them.

1881553.jpg


Spent a little more time adjusting the wheel well repair piece I made a month or so ago. Prepped the areas around it and got it let in.

1881556.jpg


It absolutely sucked welding this piece in. I spent about 8 hours inside the wheel well/batter tray area. Welding from the wheel well side wasn't terrible as I can actually sit up in there, but squeezing in past the air cleaner stand with a welding lid on is just too tight. Anyways I got it welded up and cleaned. Still have a few porous areas on the inside that I may go back and fill or just hit with fiberglass filler.


1881555.jpg


Spent a few hours yesterday getting the frame and engine bay sheet metal prepped for the battery tray to go in . One of the spot welds on the frame gusset had rotted out a good size hole, so I drilled it out about 1/2"x3/4" and patched a piece in there. I welded up another hole on the sheet metal lip by the air cleaner and replaced a piece about 5/8" x 1-1/2" at the very end where it was pretty crusty. I need to cut a small strip for the wire clamp and replace that, the original one there for the taillight wiring had one of the arms break off when I was removing the harness.

1881554.jpg


So for any of you folks who use Ospho...I had some minor surface rust coming through the paint above my repair section on the wheel well. I wire wheeled and sanded everything down, brushed on some ospho and left it overnight. The next day it looked even worse than before I put the ospho on. Am I supposed to rinse this stuff off? The directions say to leave it on overnight and paint right over it. I'm not sure I like it at all. I hit it with some self etch to keep it from rusting anymore and the rust hasn't come through yet (which is a good sign), but you can actually see the acid through the primer. Is this normal? I'm testing this stuff out and I'm not totally convinced of its effectiveness yet.
 
Looking great man, no kidding it was hard to get into that wheel arch. A bit like playing Twister, but with consequences.
 
Try a second coat of Ospho. You're supposed to keep reapplying until it stays black. Personally, instead of forking out for Ospho I use phosphoric prep and etch, then wipe down with isopropyl alcohol before paint.
 
Back
Top Bottom