1970 VW Bus - Westfalia Resto

Thanks guys. I'm trying to keep working in one spot until its done rather than jump around like I tend to do. Its helping me not get too overwhelmed. I think that this is the most complex repair on the bus so things should roll right along once I get this area tackled.


irk miller said:
Try a second coat of Ospho. You're supposed to keep reapplying until it stays black. Personally, instead of forking out for Ospho I use phosphoric prep and etch, then wipe down with isopropyl alcohol before paint.

Thanks, I'll give that a shot. I'd heard a lot of good feedback on Ospho so I figured I'd give it a shot. I applied it on another area and it seemed to do the trick, but reacted weird in this spot. I also applied it on a cold/damp day so that may have affected it as well.
 
Not a whole ton of progress this past week but I did get the rear corner and battery tray mocked up. The battery tray fits pretty well its going to need some more adjustment before its all welded in.

Having some issues with the fitment on the rear corner repair section. This corner had been pushed in pretty bad and I did a lot of work with the hammer and dolly to get it to where it is...but I think that the OG metal still needs to be stretched out more to meet the repair section. I think the metal here is work hardened and I need to anneal it before I can stretch it some more...since it kind of stopped stretching at all while I'm hammering on dolly.
I'm still pretty novice at this stuff but learning as I go so any advice is appreciated.

I also welded up the 4-5 holes up near the belt line that they had drilled for their bondo to grip to :roll:

1882788.jpg

1882789.jpg


Last night I took a break from working on the rear corner and started cutting out the rear hatch support crossmember. This piece is stupid. Tons of spot welds along the bottom which wasn't too bad but the kicker is that the seal channel section is spot welded underneath the package tray edge lip. This was clearly not built to be taken apart :lol:

So I ended up just cutting along the seal channel so I could get a Roloc in there to clean up the paint and locate the spot welds. I'm eyeballing the location and marking them on top with a sharpie. I think I'll drill from the top right through and use plug welds to weld the repair piece in because I don't think I hate myself enough to try drilling those spot welds out from underneath! :D

I have some work to do on the inner support there so once I get the rest of the metal removed I'll clean that up and get it squared away so I can weld the replacement in.


1882787.jpg

1882786.jpg


Other than removing the original panel this repair should be pretty straightforward. And its especially nice to be able to stand up and work on the bus for once.
 
Sunday I drilled the spot welds out along the top of the decklid hinge panel, which sucked but now the majority of the panel is out. I have some work to do on the inner support panel. Ordered a pair of hinges from WW so once I get the piece tacked in place I'll fit the new decklid and make sure we're gravy.

Last night, I finally stopped overthinking the battery tray and just installed it. ;D Plug welds along the rear pillar and up by the air cleaner stand and I was able to get the spot welder in everywhere else. Finally feels like progress!


1884197.jpg

1884196.jpg
 
I haven't seen a whole lot of welding on your patch panels yet, so you may or may not have dealt with this yet. I will forewarn you, and this is not to suggest you will have the same issues, but I tried to fill the louvers on my decklid with patch panels and warped it from the heat. Granted, I was using a mig, but in all my years of building cars and bikes, I have never had something warp like that decklid warped. Not sure if it's a combo of how thin the metal is or how them stamped their stuff, or what. I'm heading to a local parts guy Friday to get me a louver-less 68 decklid to replace the my crap job.
 
irk miller said:
I haven't seen a whole lot of welding on your patch panels yet, so you may or may not have dealt with this yet. I will forewarn you, and this is not to suggest you will have the same issues, but I tried to fill the louvers on my decklid with patch panels and warped it from the heat. Granted, I was using a mig, but in all my years of building cars and bikes, I have never had something warp like that decklid warped. Not sure if it's a combo of how thin the metal is or how them stamped their stuff, or what. I'm heading to a local parts guy Friday to get me a louver-less 68 decklid to replace the my crap job.

Oh yeah, I have been going super slow with the butt welds. I'll basically do a spot every inch or inch and a half along the entire seam, wait until my last weld is cool to the touch and then repeat. It took about 3 hours to weld in that inner wheel well section. Its tedious and slow going but less of a pain than dealing the warpage later. I haven't perfected the method and still get a tiny bit of warping from time to time when I get too trigger happy with the MIG.
 
Probably 10 hours into making this panel fit. Added the flange for the decklid opening and spot welding to the D pillar. I cut it flat and curved it with the stretcher. Also put a mediocre looking "punched" hole in it to match the OG panel.


1884472.jpg


Bit more prep and it'll be ready to go in.
 
So after about 10 hours of fiddling around and making replacement pieces, I finally got the decklid hinge panel inner valance all fixed up. I ended up replacing the bottom 1-2" saving as much OG metal as I could. The pieces were a pain to fabricate without a bead roller but I made it work. Sucks to have to do it in pieces but my brake is only 18"...

I spent a little more time cutting in the clips to the replacement pieces and adding drain holes in the original positions. You can see most of the crusty ass original panel propped up. It doesn't look that bad but it was riddled with pinholes and a few holes over 1/2".


1886111.jpg


..and then slapped some POR-15 on there.

1886110.jpg


We hit a local VW show and swap meet on Saturday and I got motivated to do some cosmetic stuff. This big dent on the driver's side corner has been bugging the crap out of me. First I welded some studs and tried to slide hammer it out. The mashed in belt line really had the dent locked in, so I couldn't make any progress without cutting it out. I have some donor metal That I'm going to weld back in there once its as straight as I can get it. Having that 3" gap makes it a lot easier to get a dolly up inside the fresh air vent. Once I was able to unlock the creases on the 4 corners the dent started coming out pretty well.


1886113.jpg


Straighter and minus some belt line.

1886112.jpg
 
Man this is a great project, no small undertaking. It's the perfect counterweight to my How-Not-To-Restore-A-Bus effort years ago. Learning a lot here, enjoying watching the fruits of your labours mate.
 
With a lot of hammer and dolly work and some heat shrinking, I was able to finally get the pass side rear corner in and looking good.
 

Attachments

  • IMG_1127.JPG
    IMG_1127.JPG
    1.6 MB · Views: 210
  • IMG_1128.JPG
    IMG_1128.JPG
    1.5 MB · Views: 220
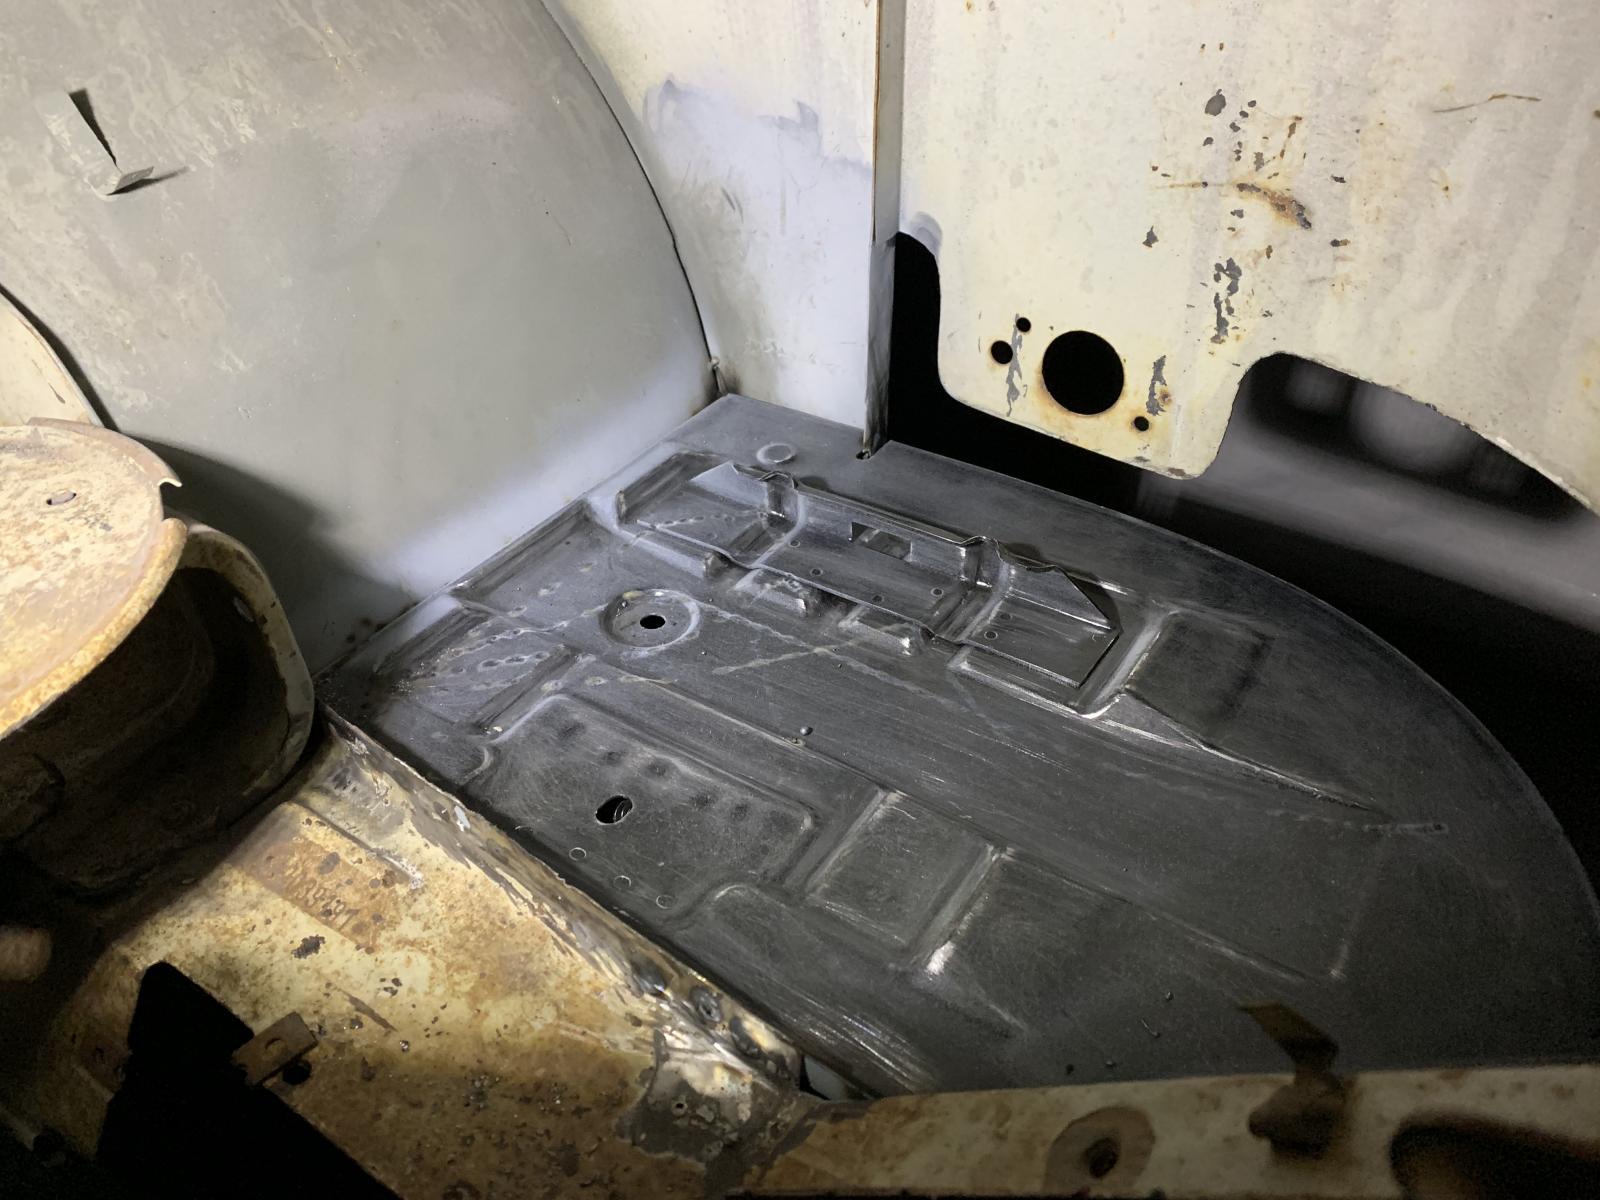
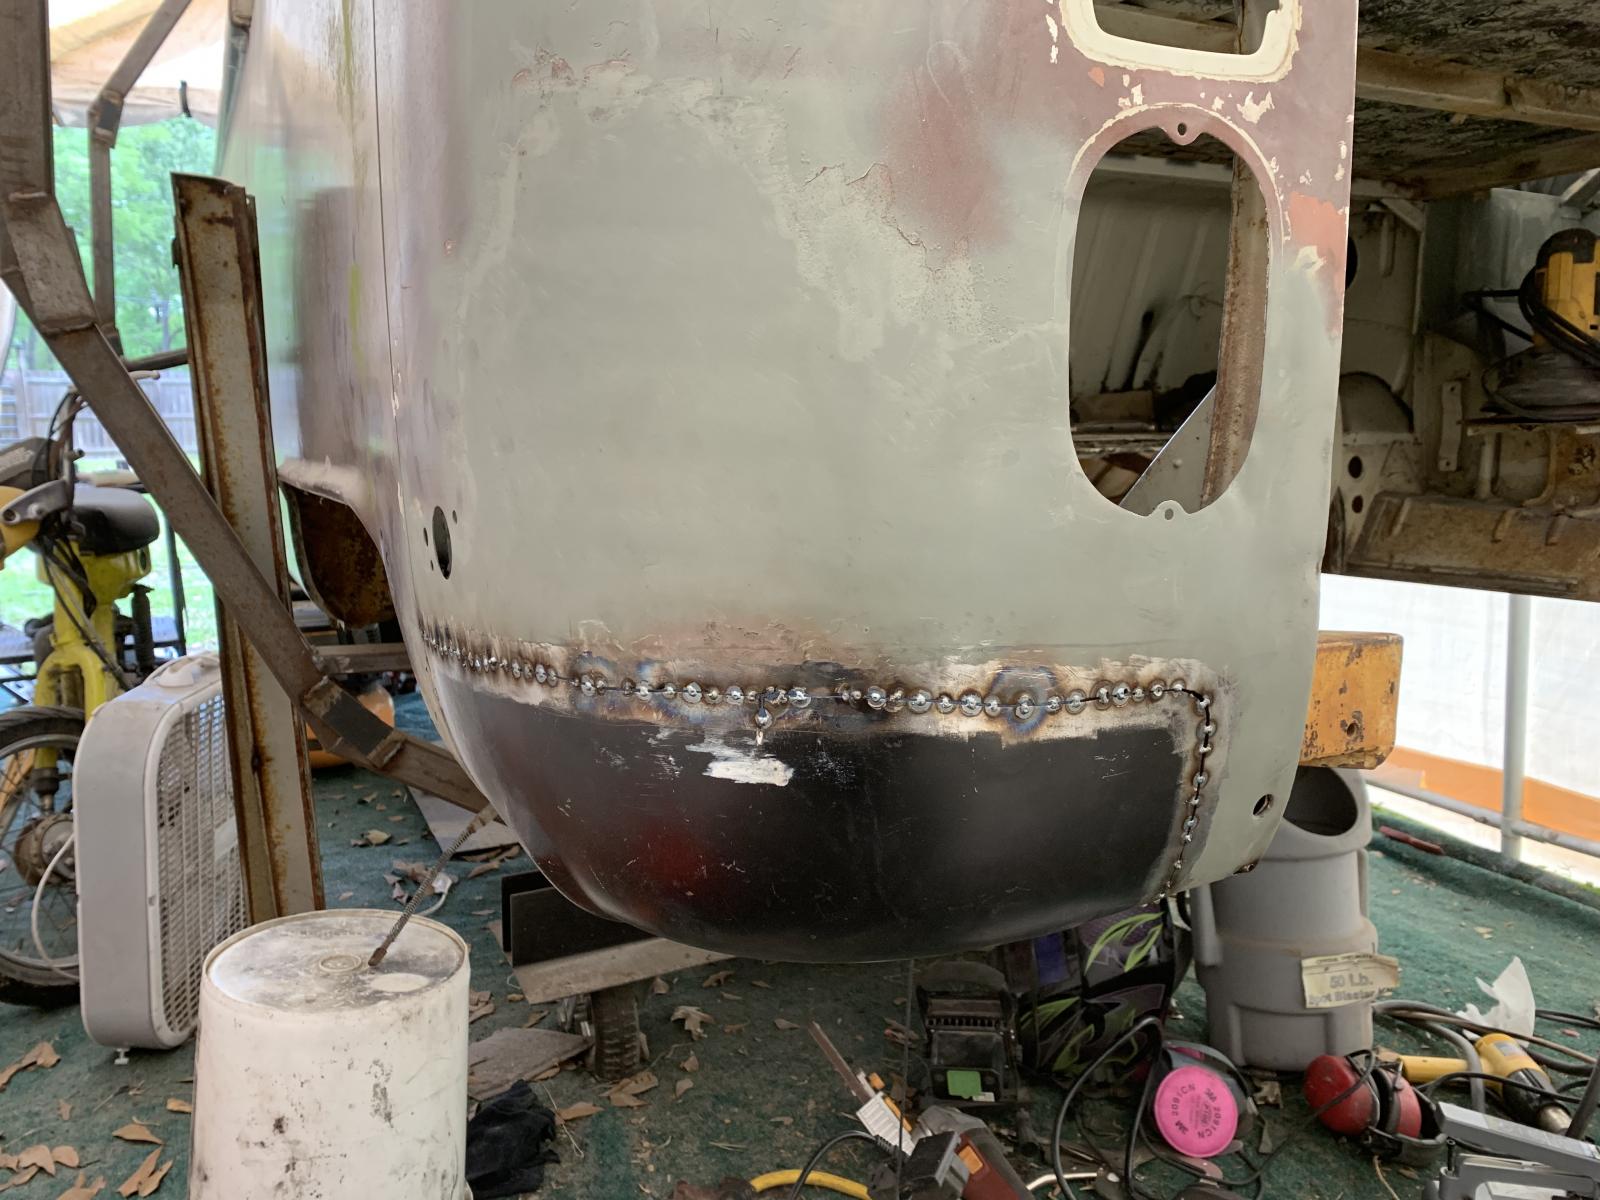
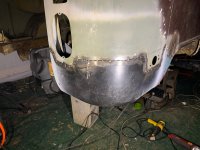
Productive week on the bus. I finished up the welding on the passenger side rear lower corner and got some Duraglas on that to seal up the weld.
1891862.jpg

1891861.jpg


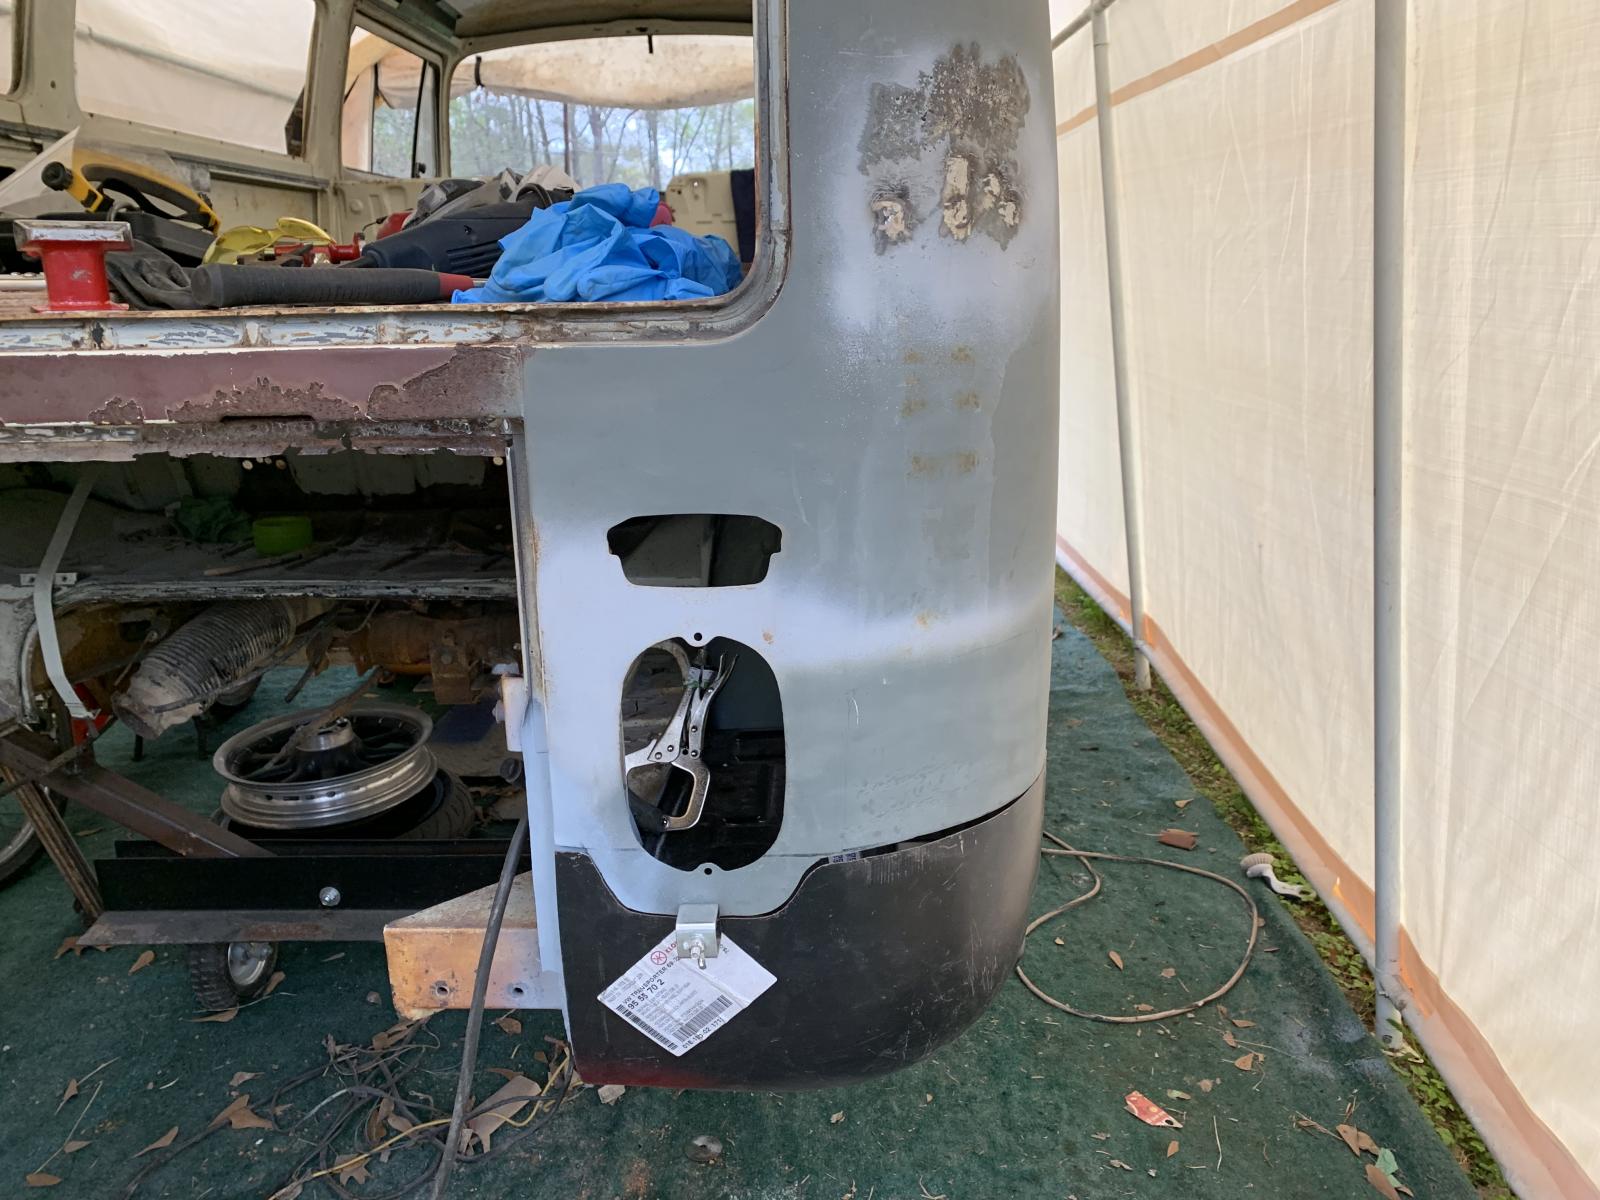
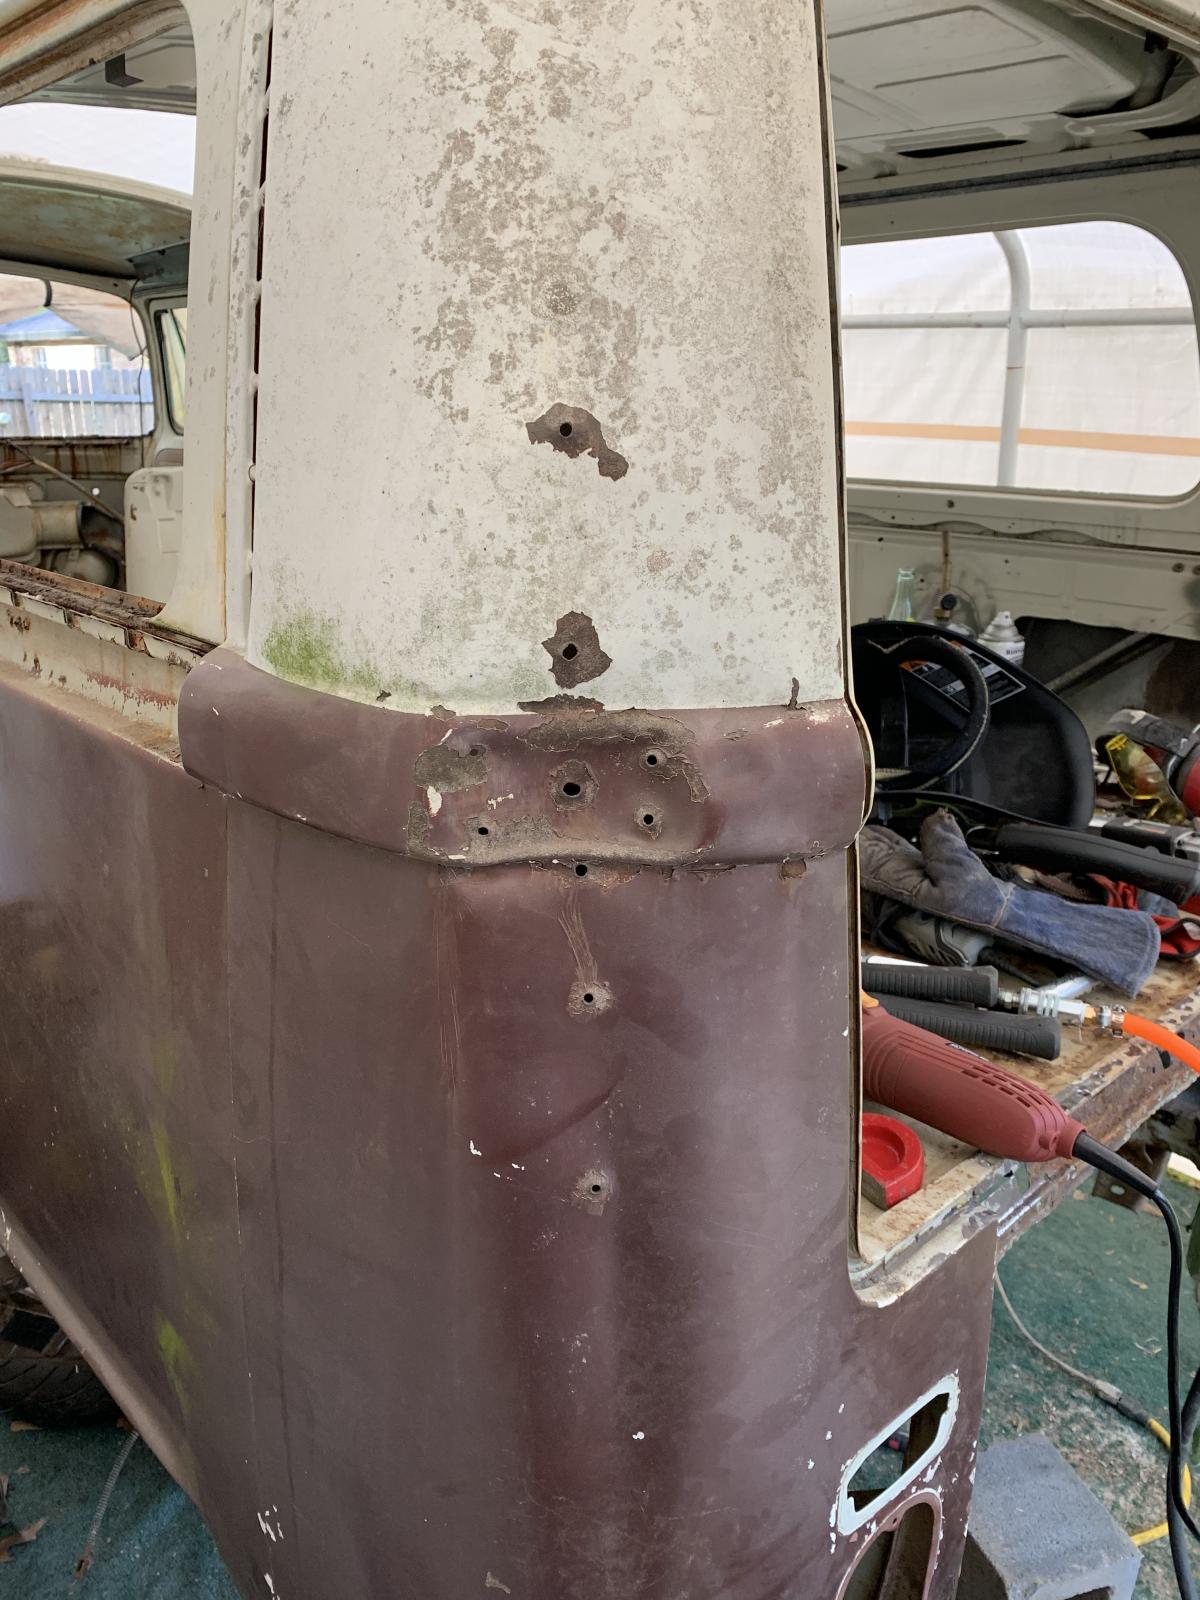
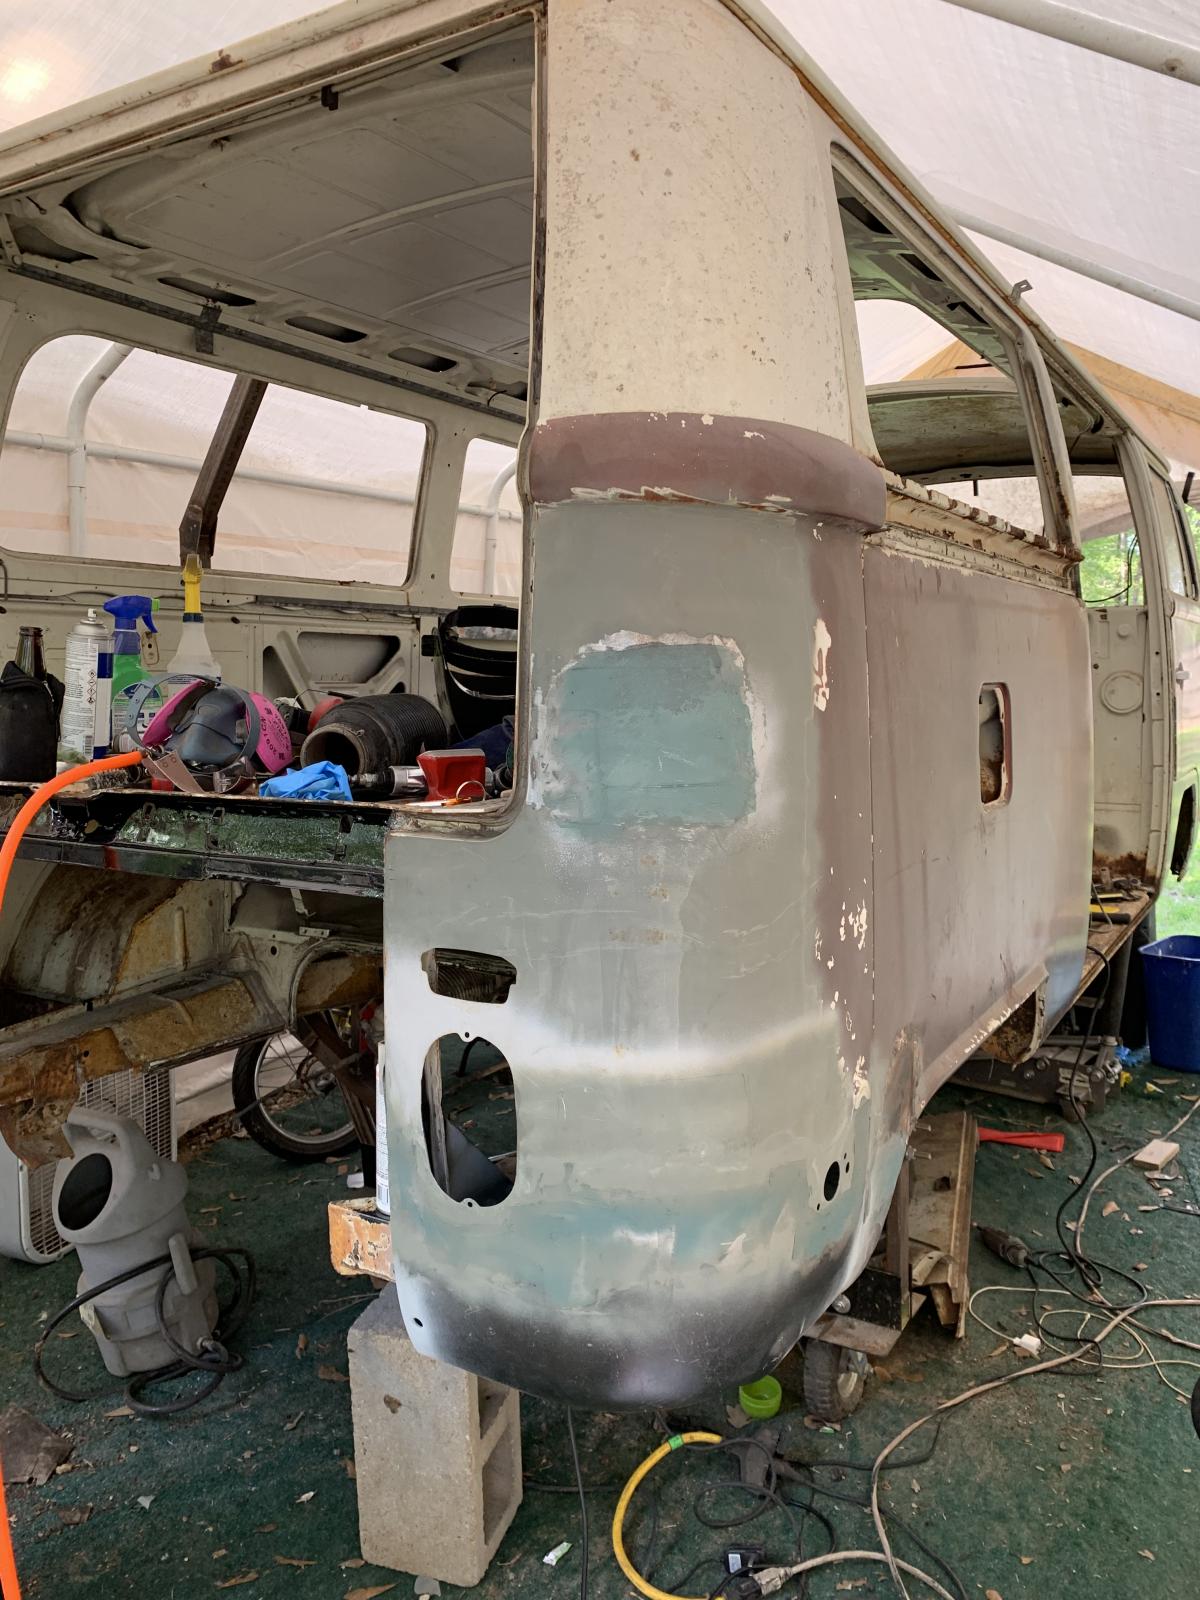
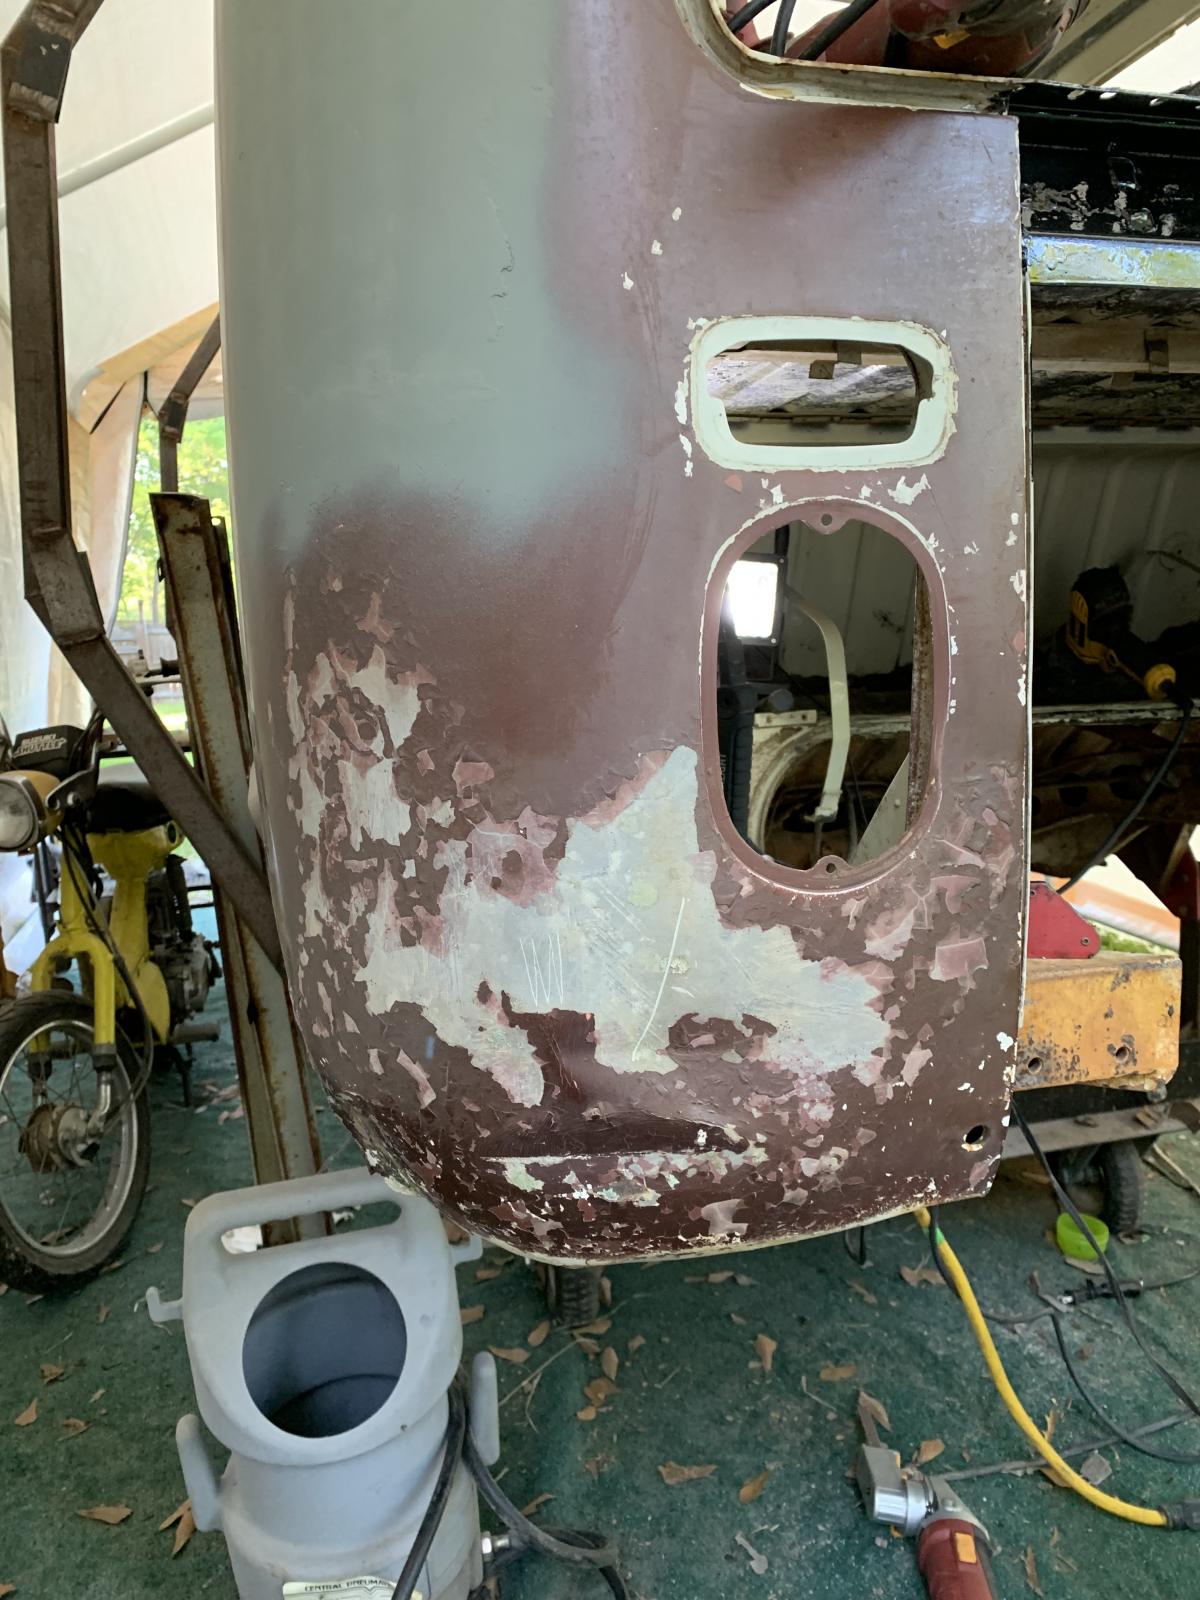
Then I turned my attention to the driver's side. This was pretty much the only area with bondo on the entire vehicle, but judging from the inside the damage didn't look too bad.

1891860.jpg


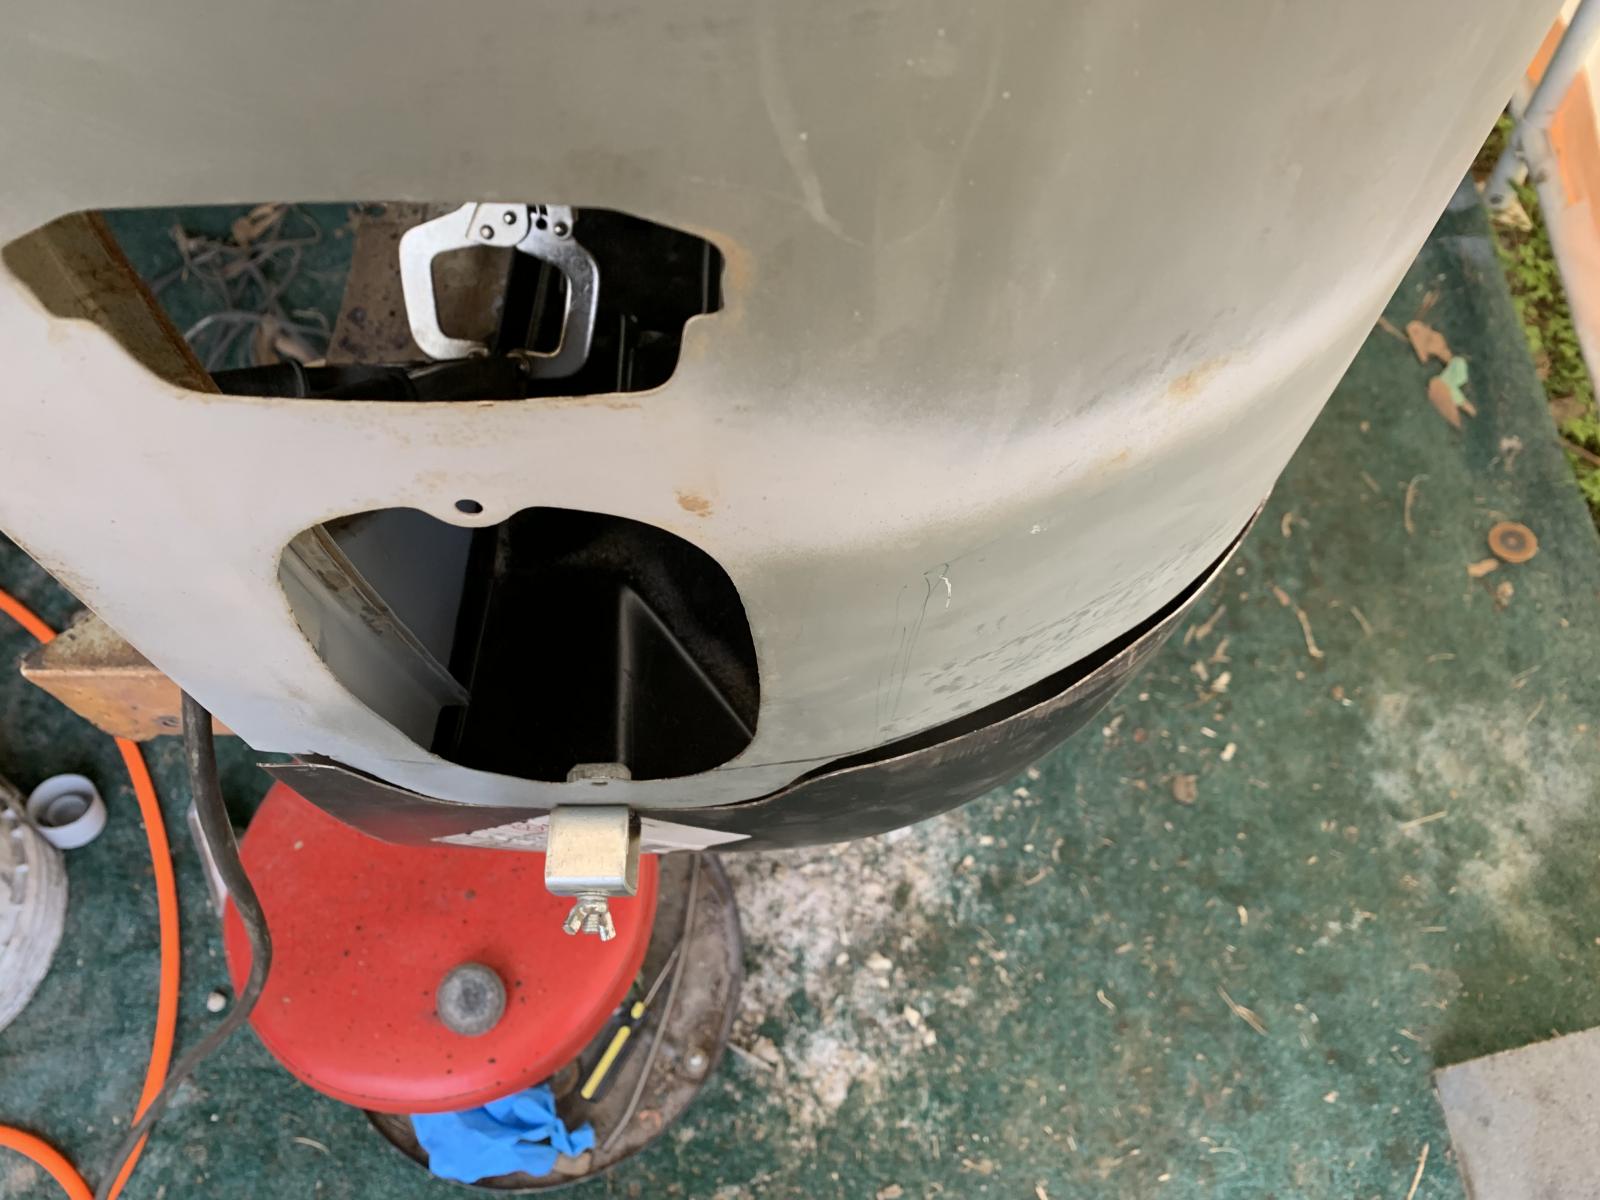
Propane torch and a 3" scraper made quick work of the plastic, then I hit it with a flap wheel to strip the remaining crap off. I had to do some work straightening the rear wheel arch corner section but I was able to keep it intact on this side.

1891859.jpg


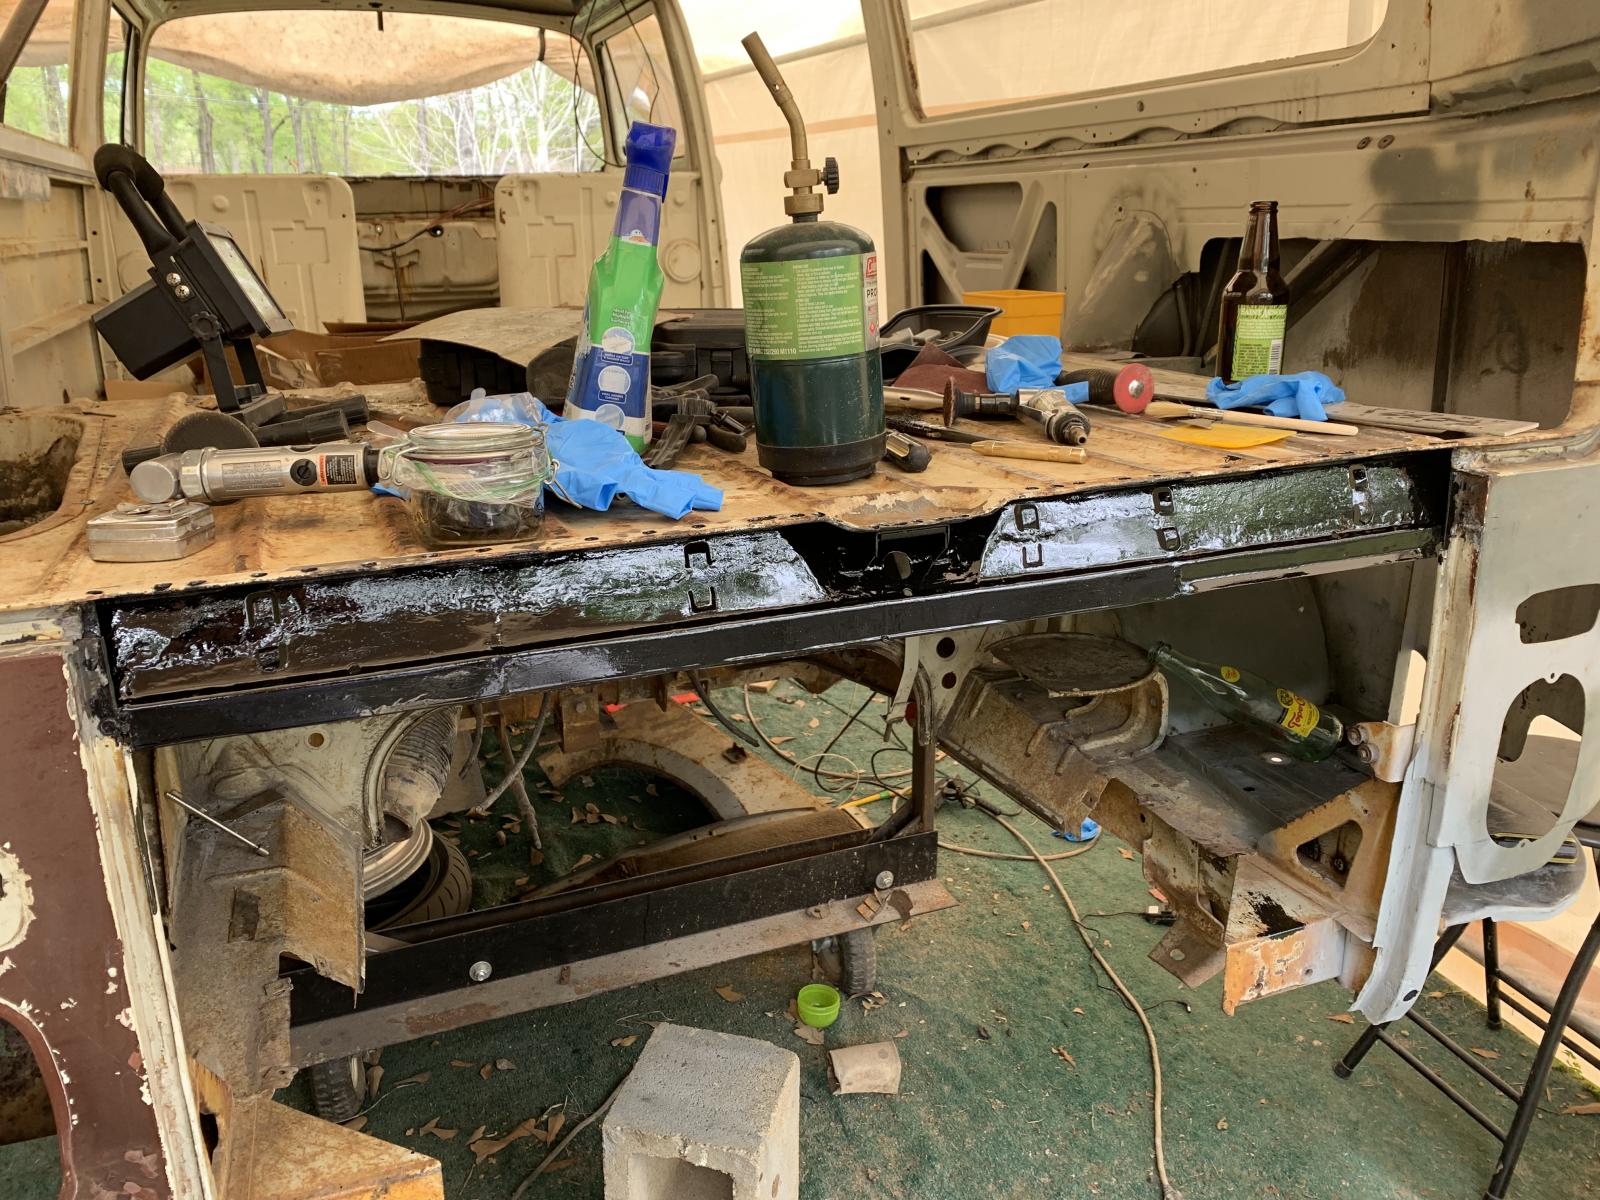
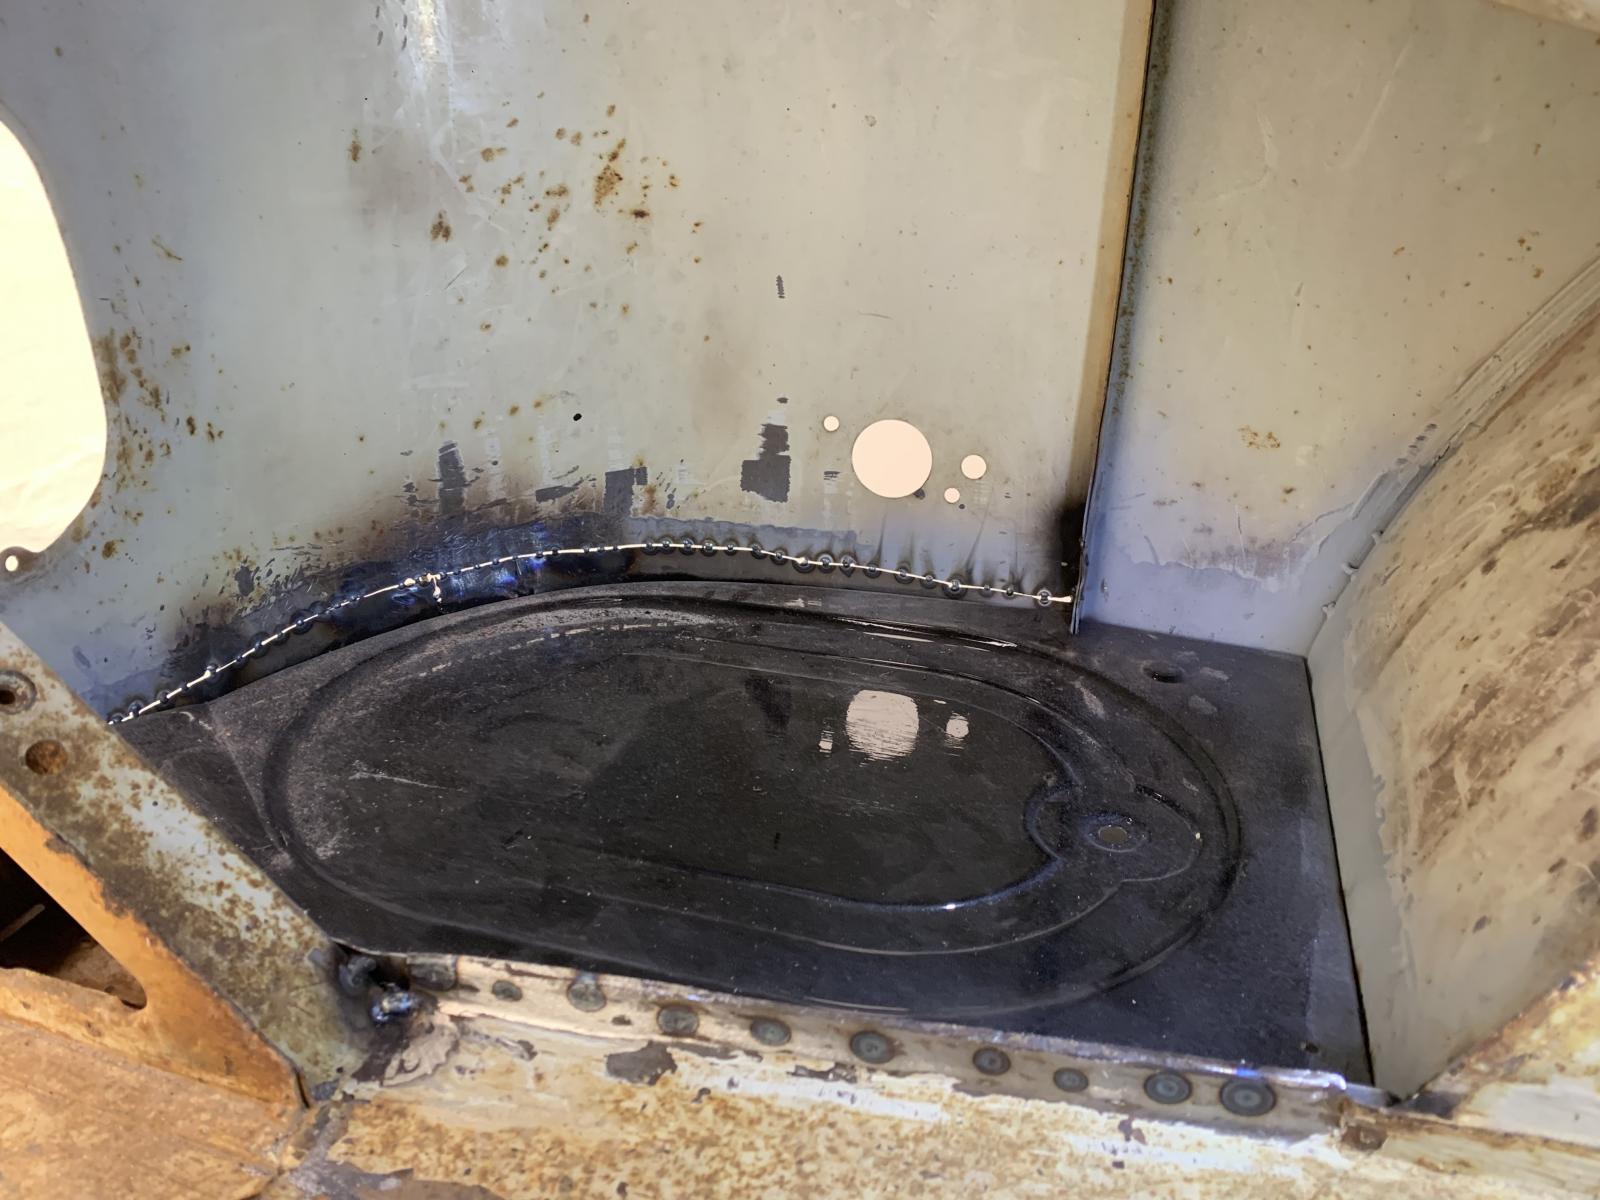
First I painted the aux battery tray and got that tacked and spot welded in place.

1891853.jpg


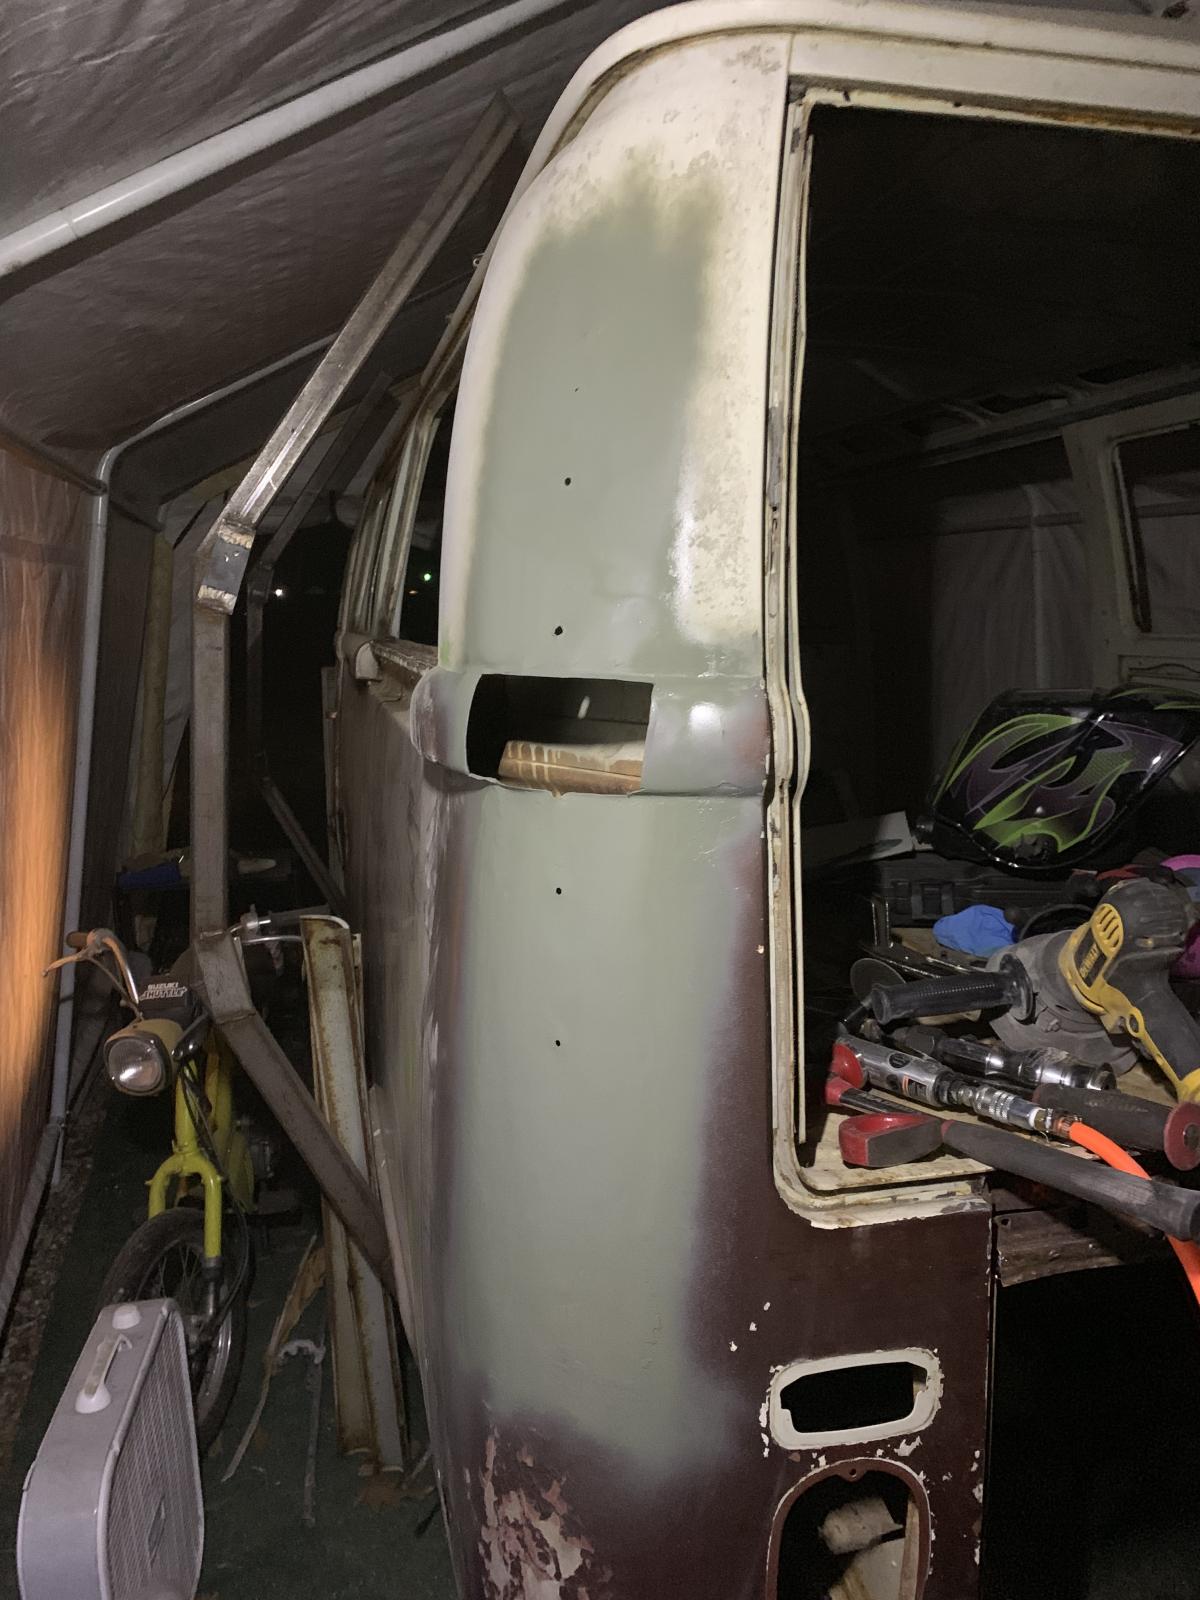
This is the method I use for cutting body panels (when I can). I'll roughly sketch out a line on the Bus to where I can see the ends of the line with my replacement panel over top. Then, I clamp the panel on in a few places and then transfer my line over to the replacement metal. I use the body saw to cut through both pieces of metal (OG and the replacement) at the same time. This leaves an identical cut line on either side of my joint, eliminating the need for adjustment afterwards.

1891858.jpg

1891855.jpg


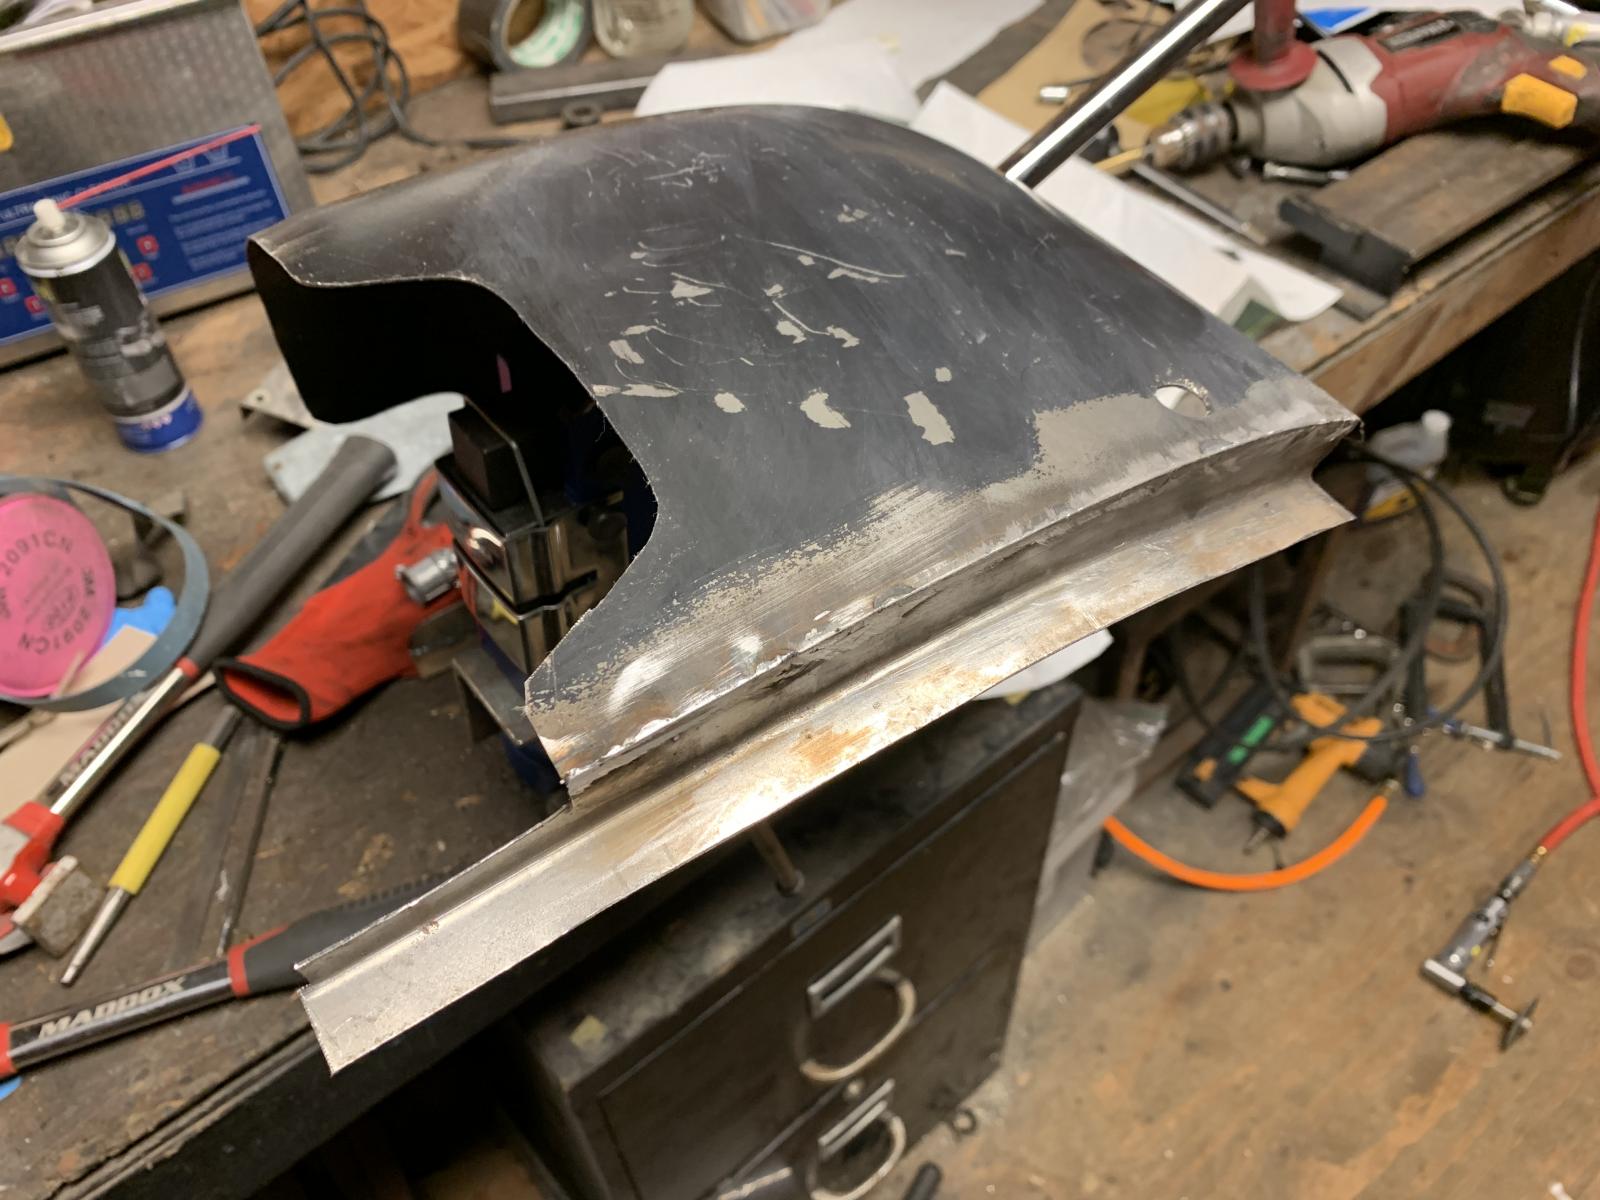
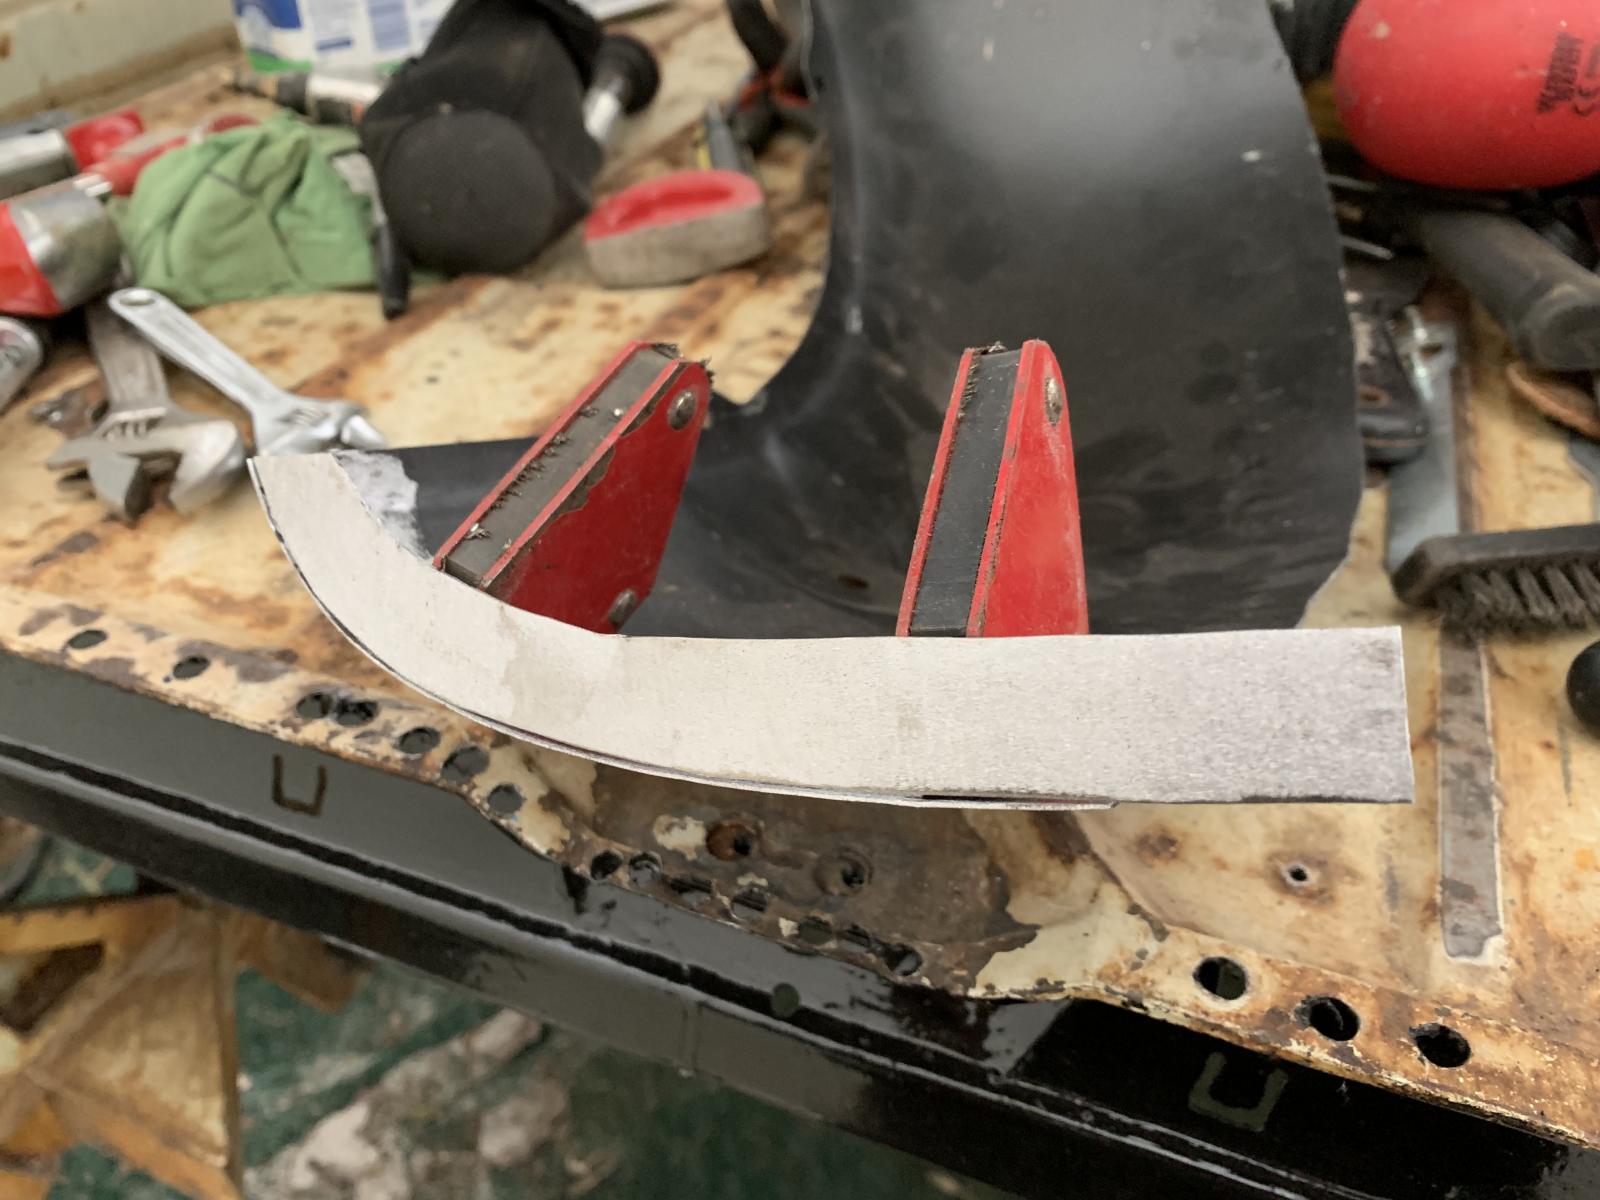
I mocked up the panel with butt welding clamps and scored a line on the inside of the panel where the flange joint needed to be. I trimmed the panel and then transferred the curve to a piece of cardboard and made a template for my flange. Cut that out of 20 ga, refined it a bit and then welded it on.

1891857.jpg


1891856.jpg


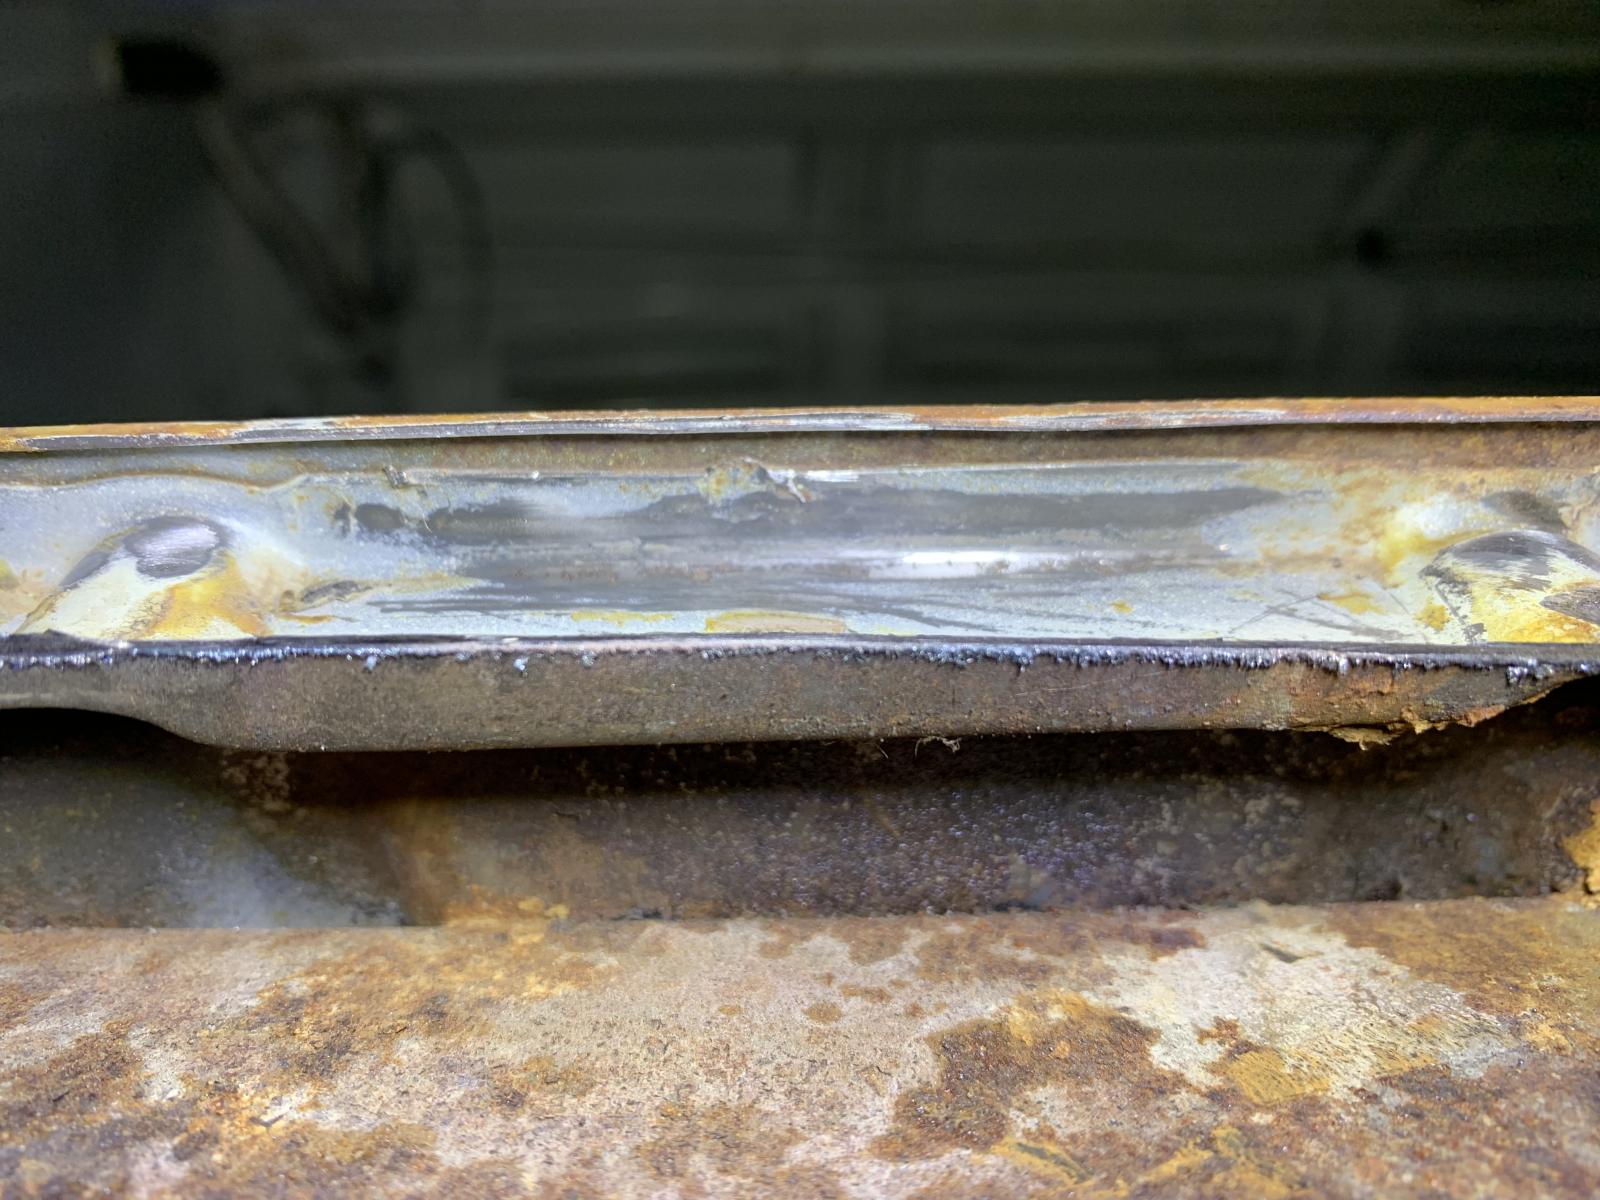
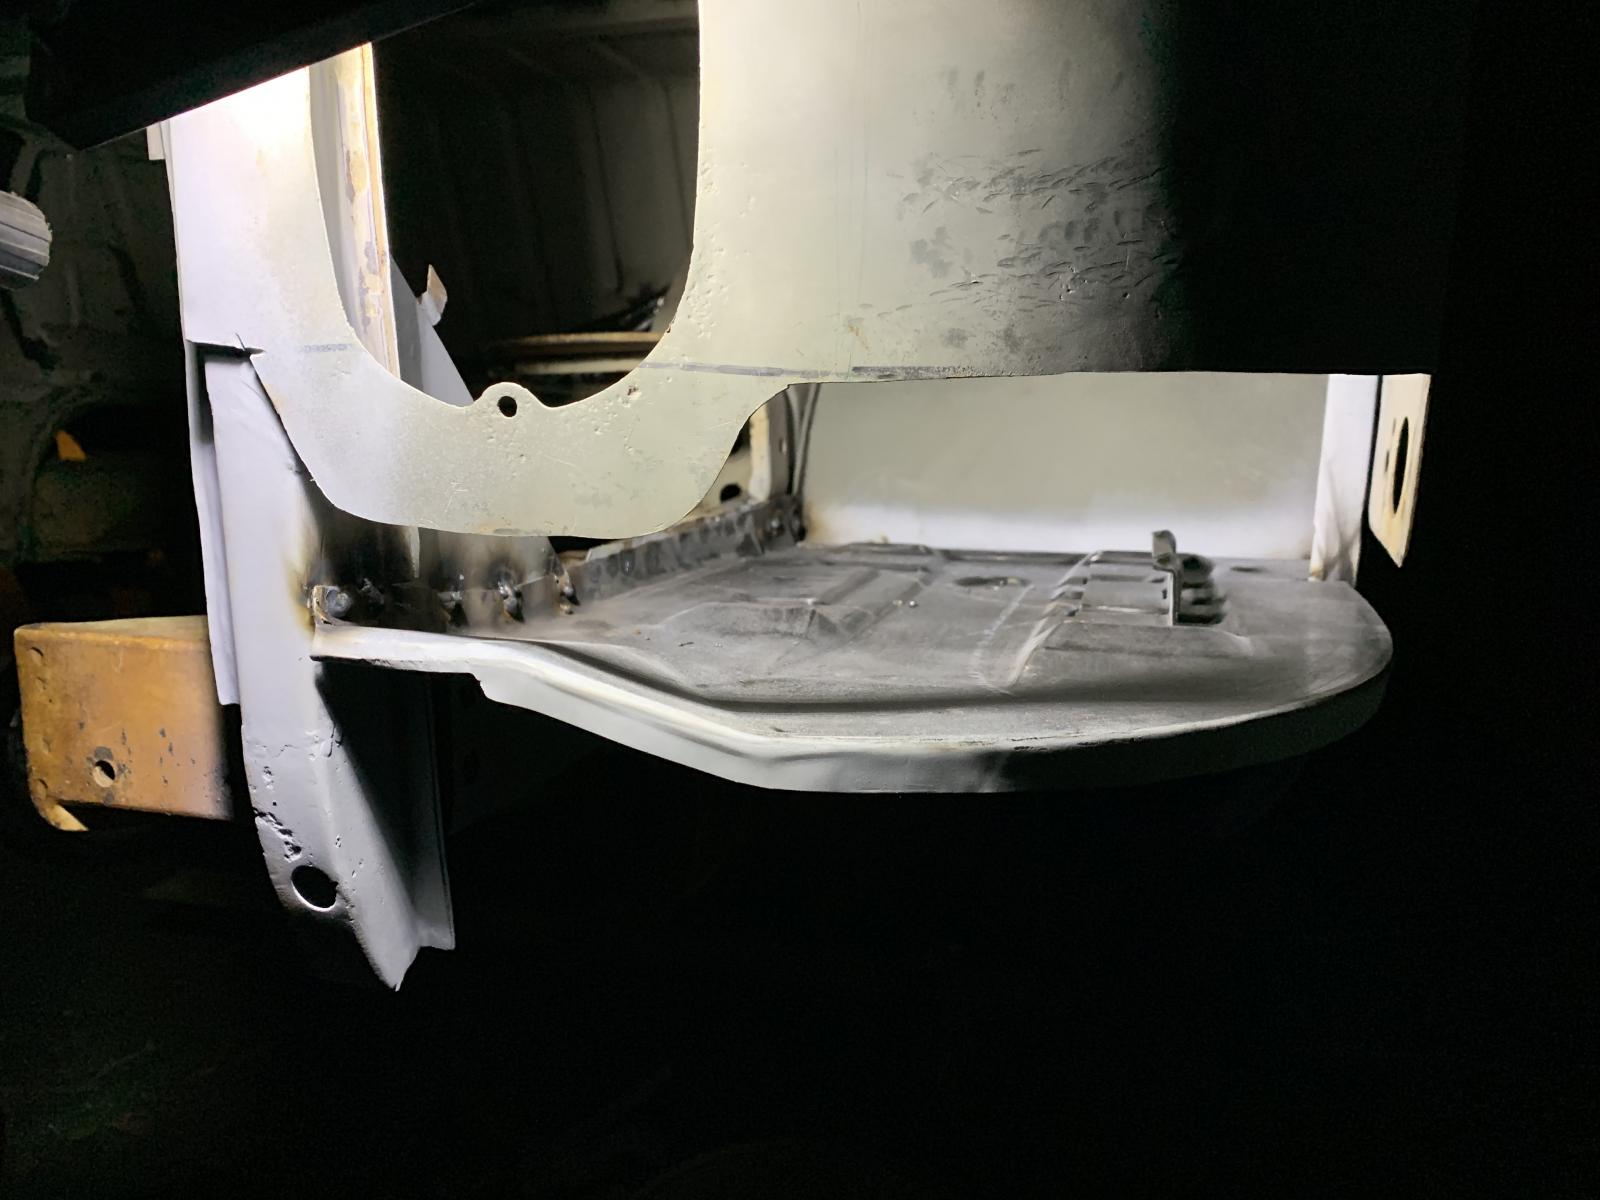
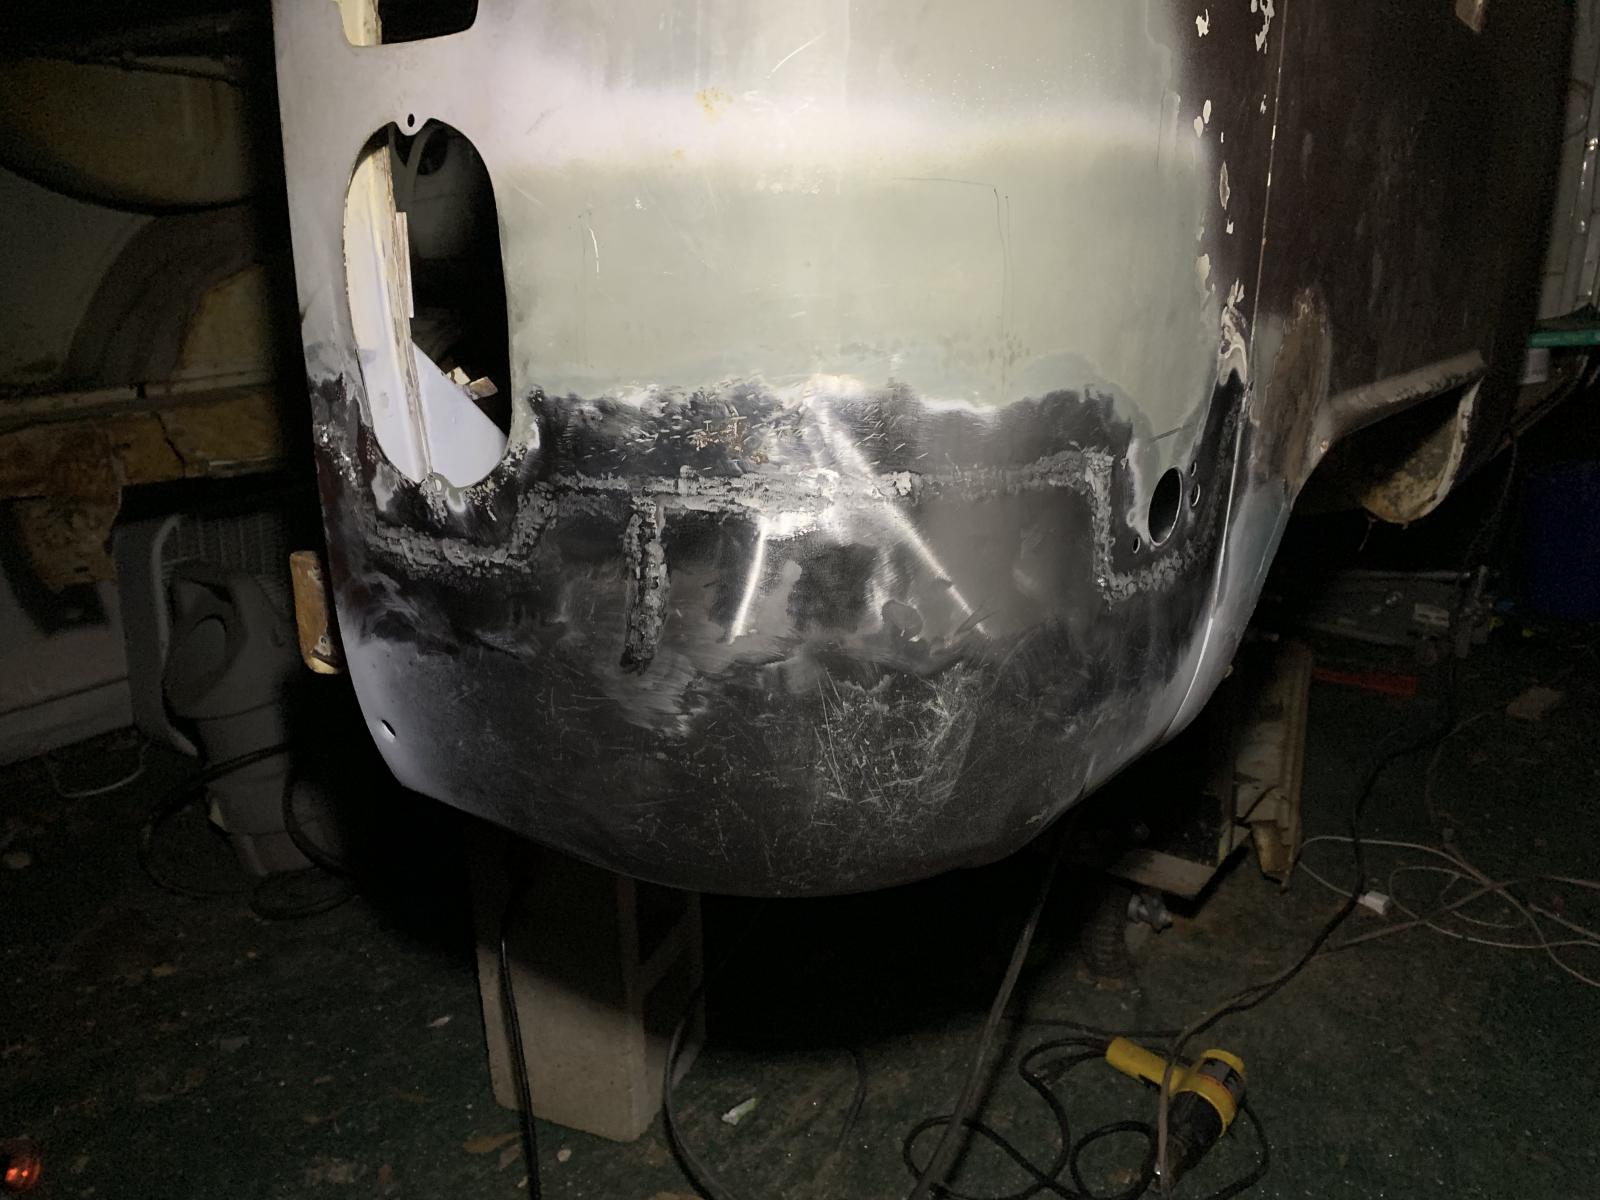
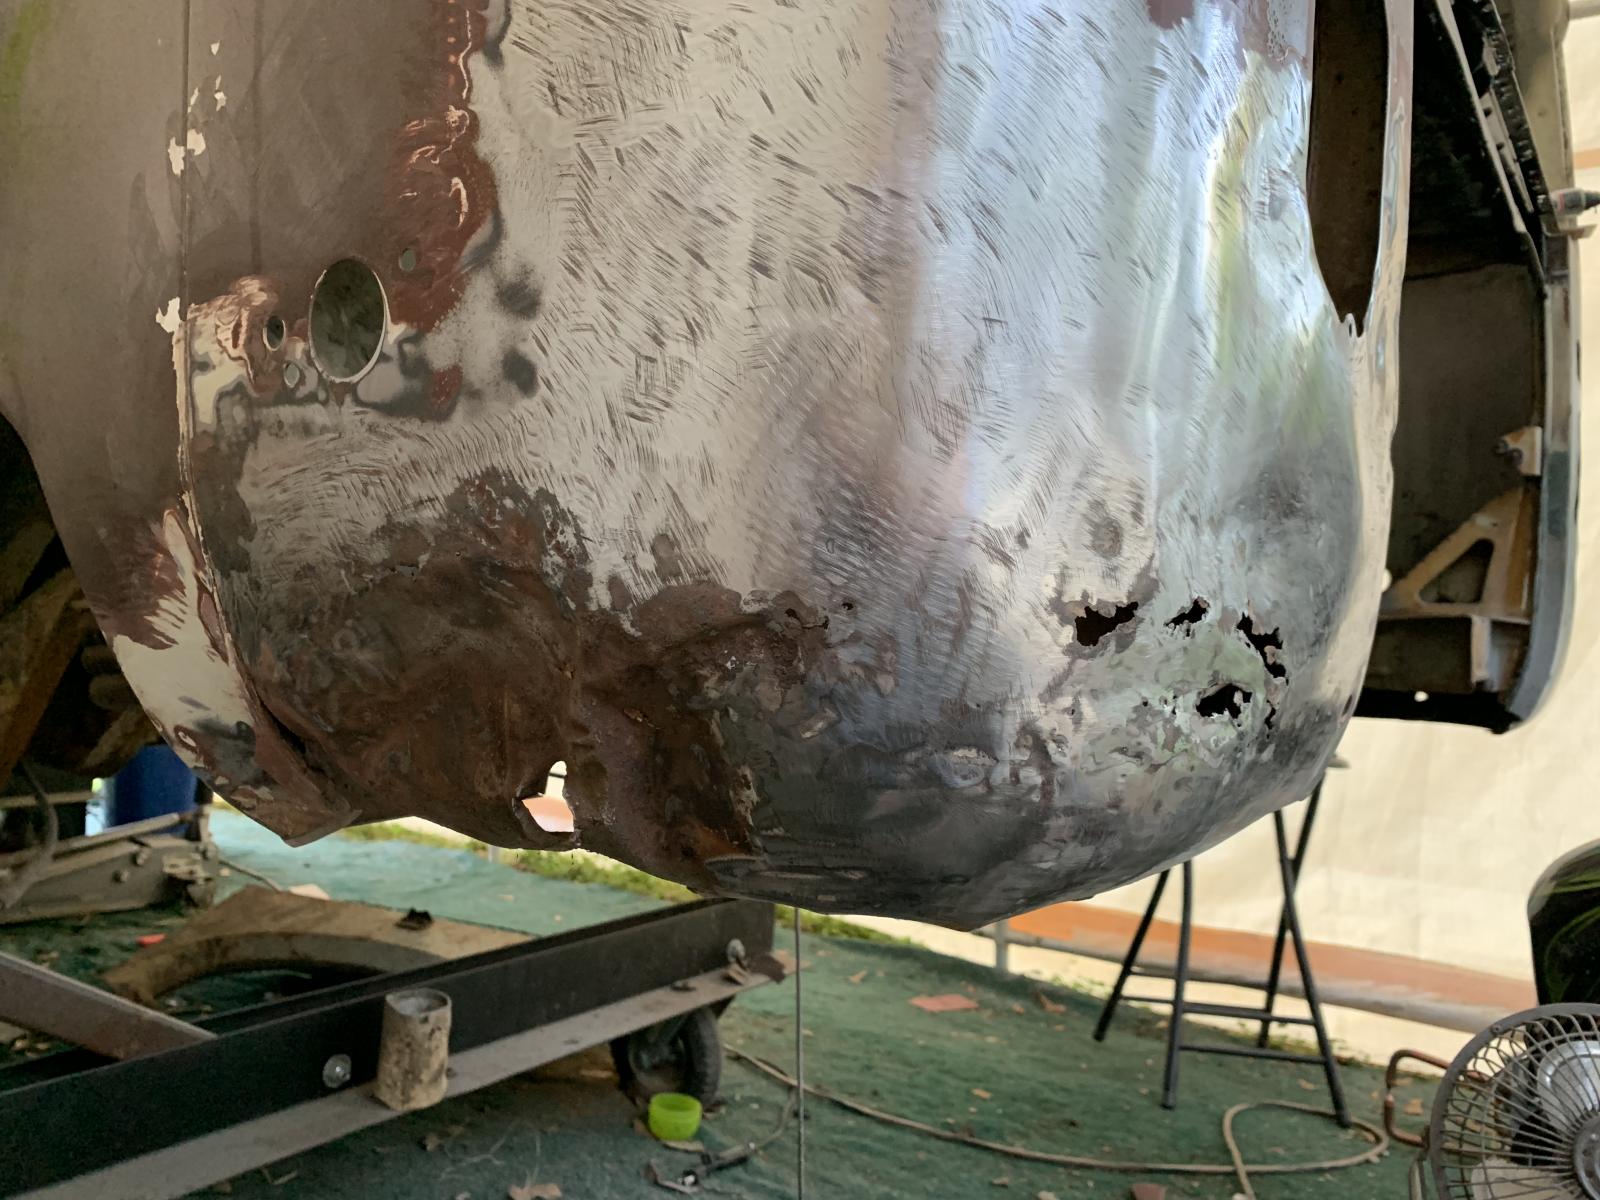
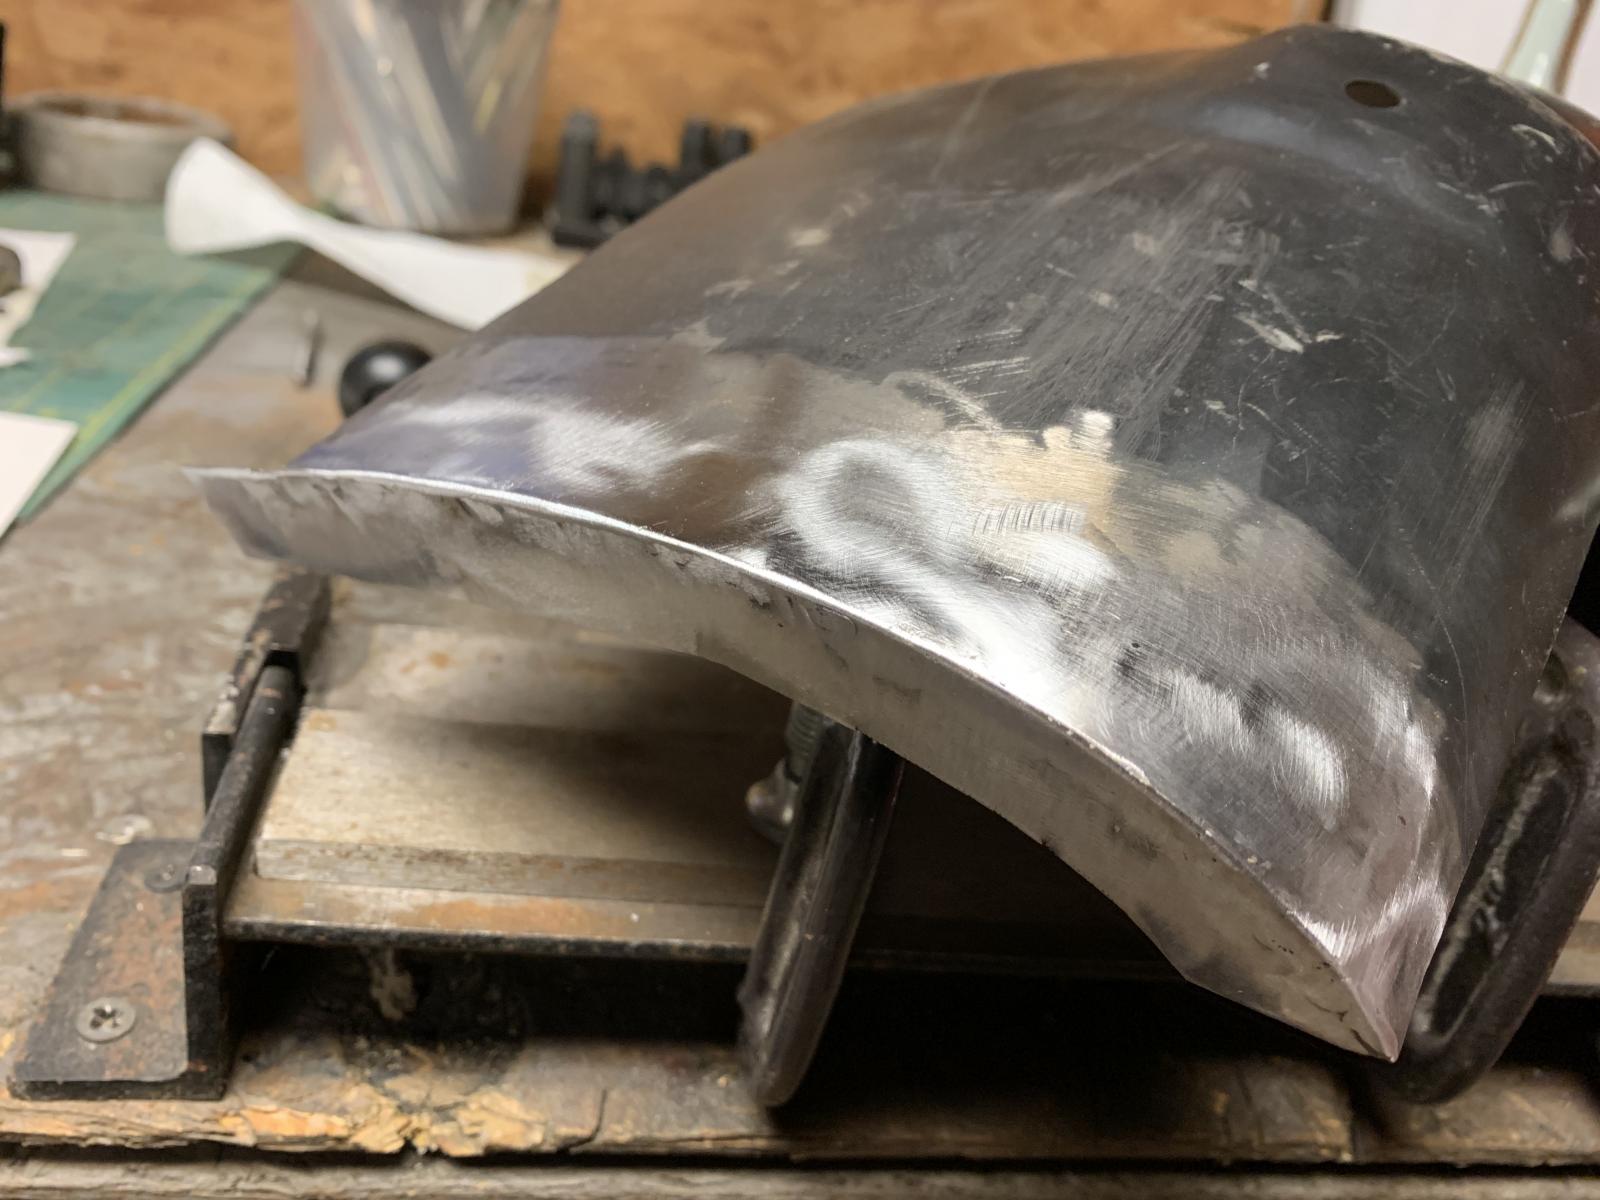
Tacked in place, I had to fight this one a bit (again) due to previous damage on the OG metal. I had to stretch out the OG metal a bit and shrink in the replacement metal to meet.
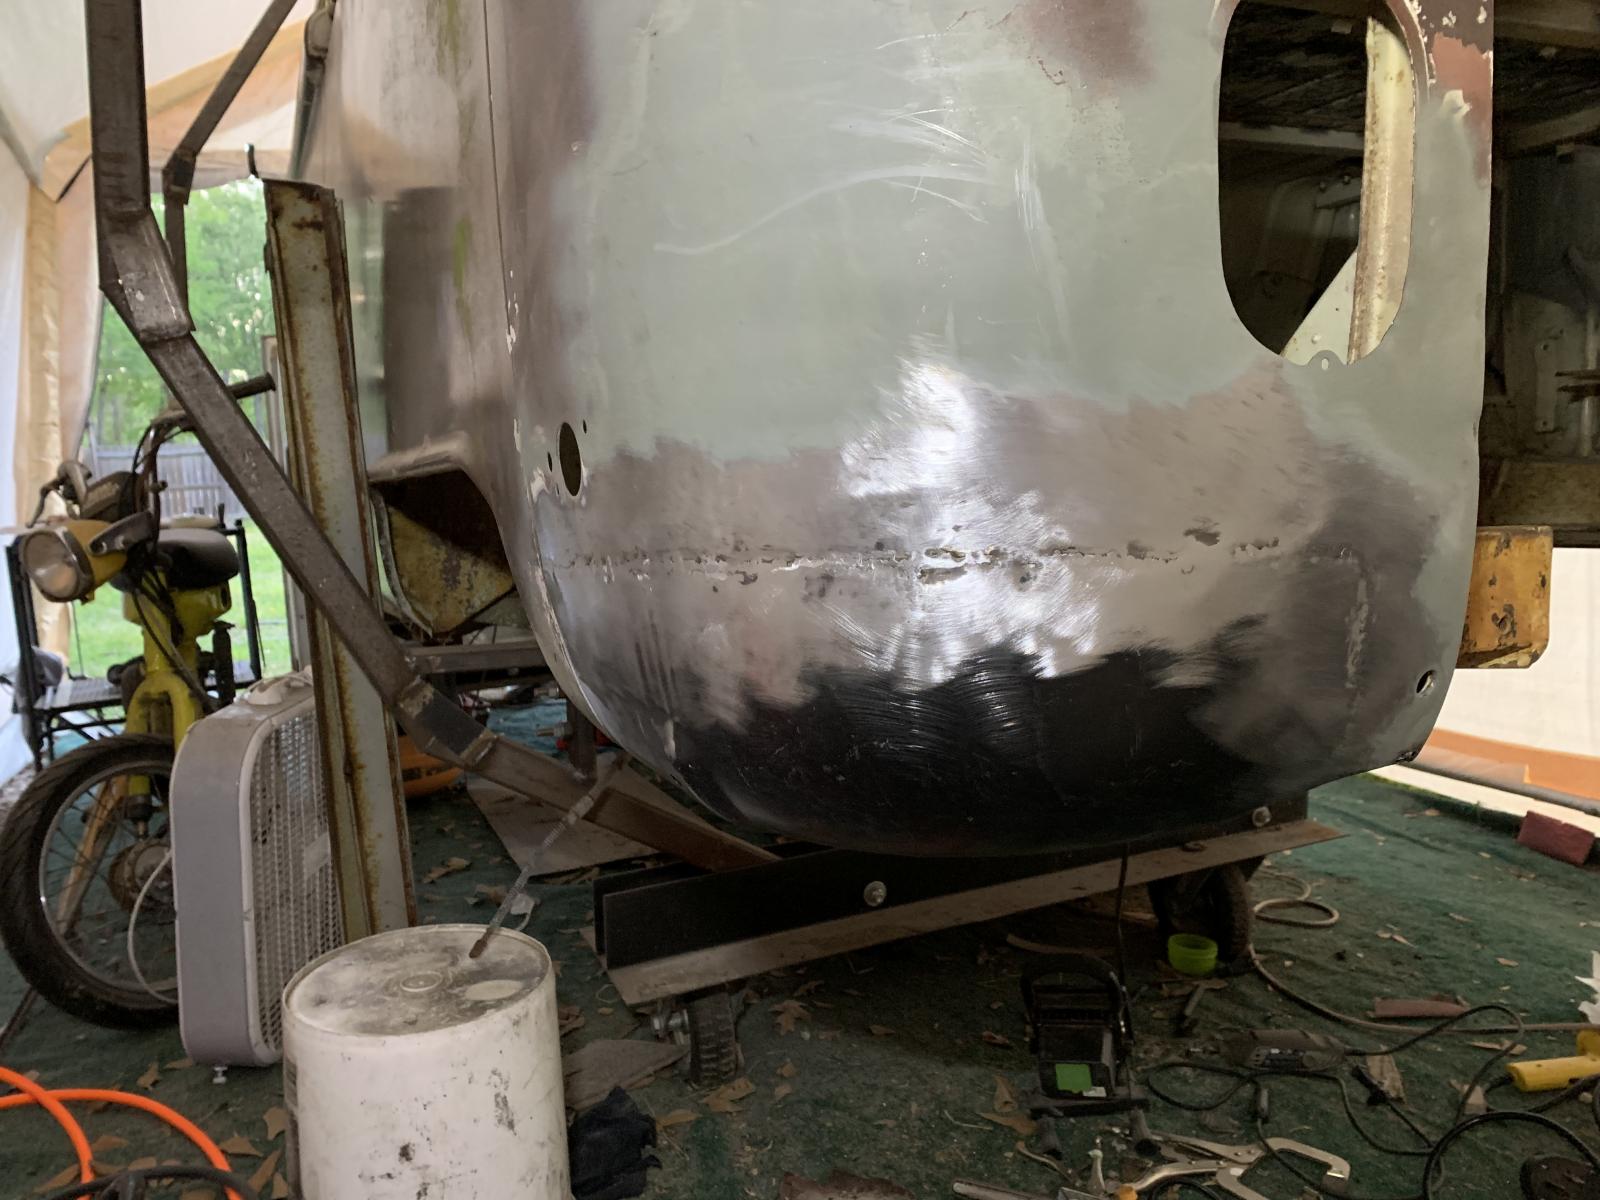
1891854.jpg


And welded up.

1891852.jpg


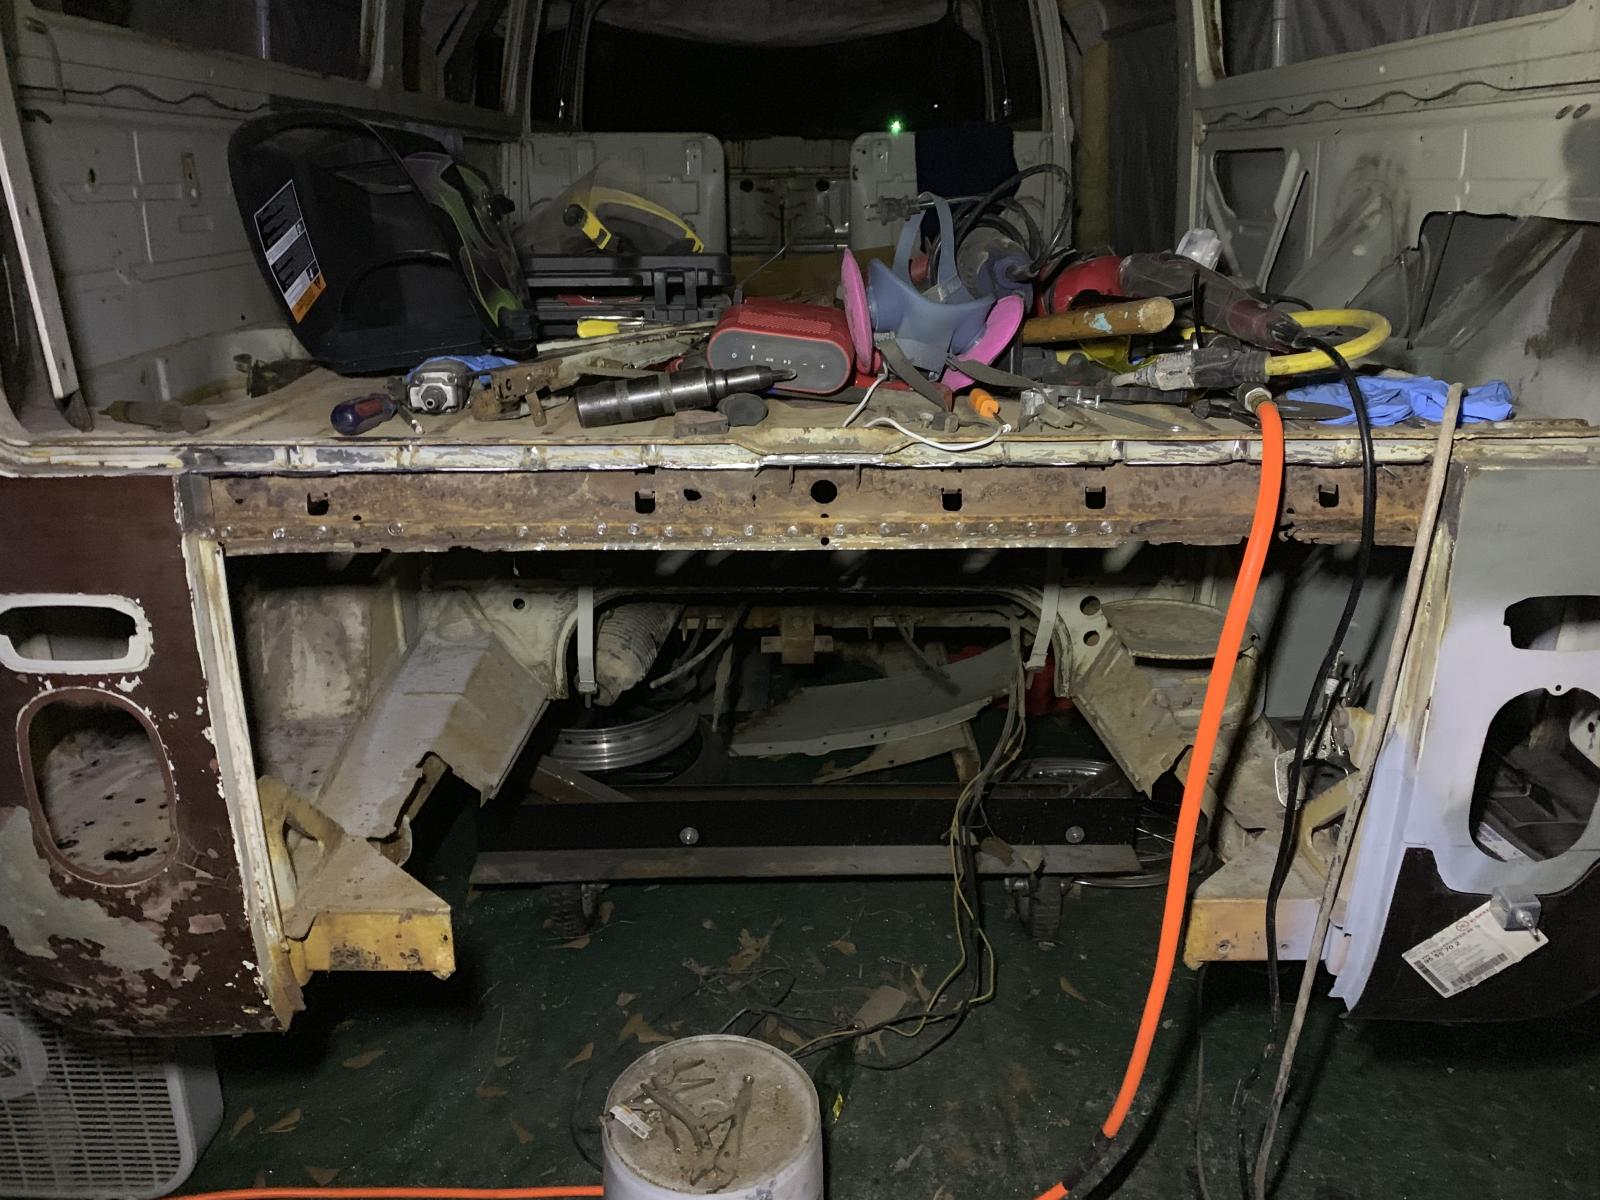
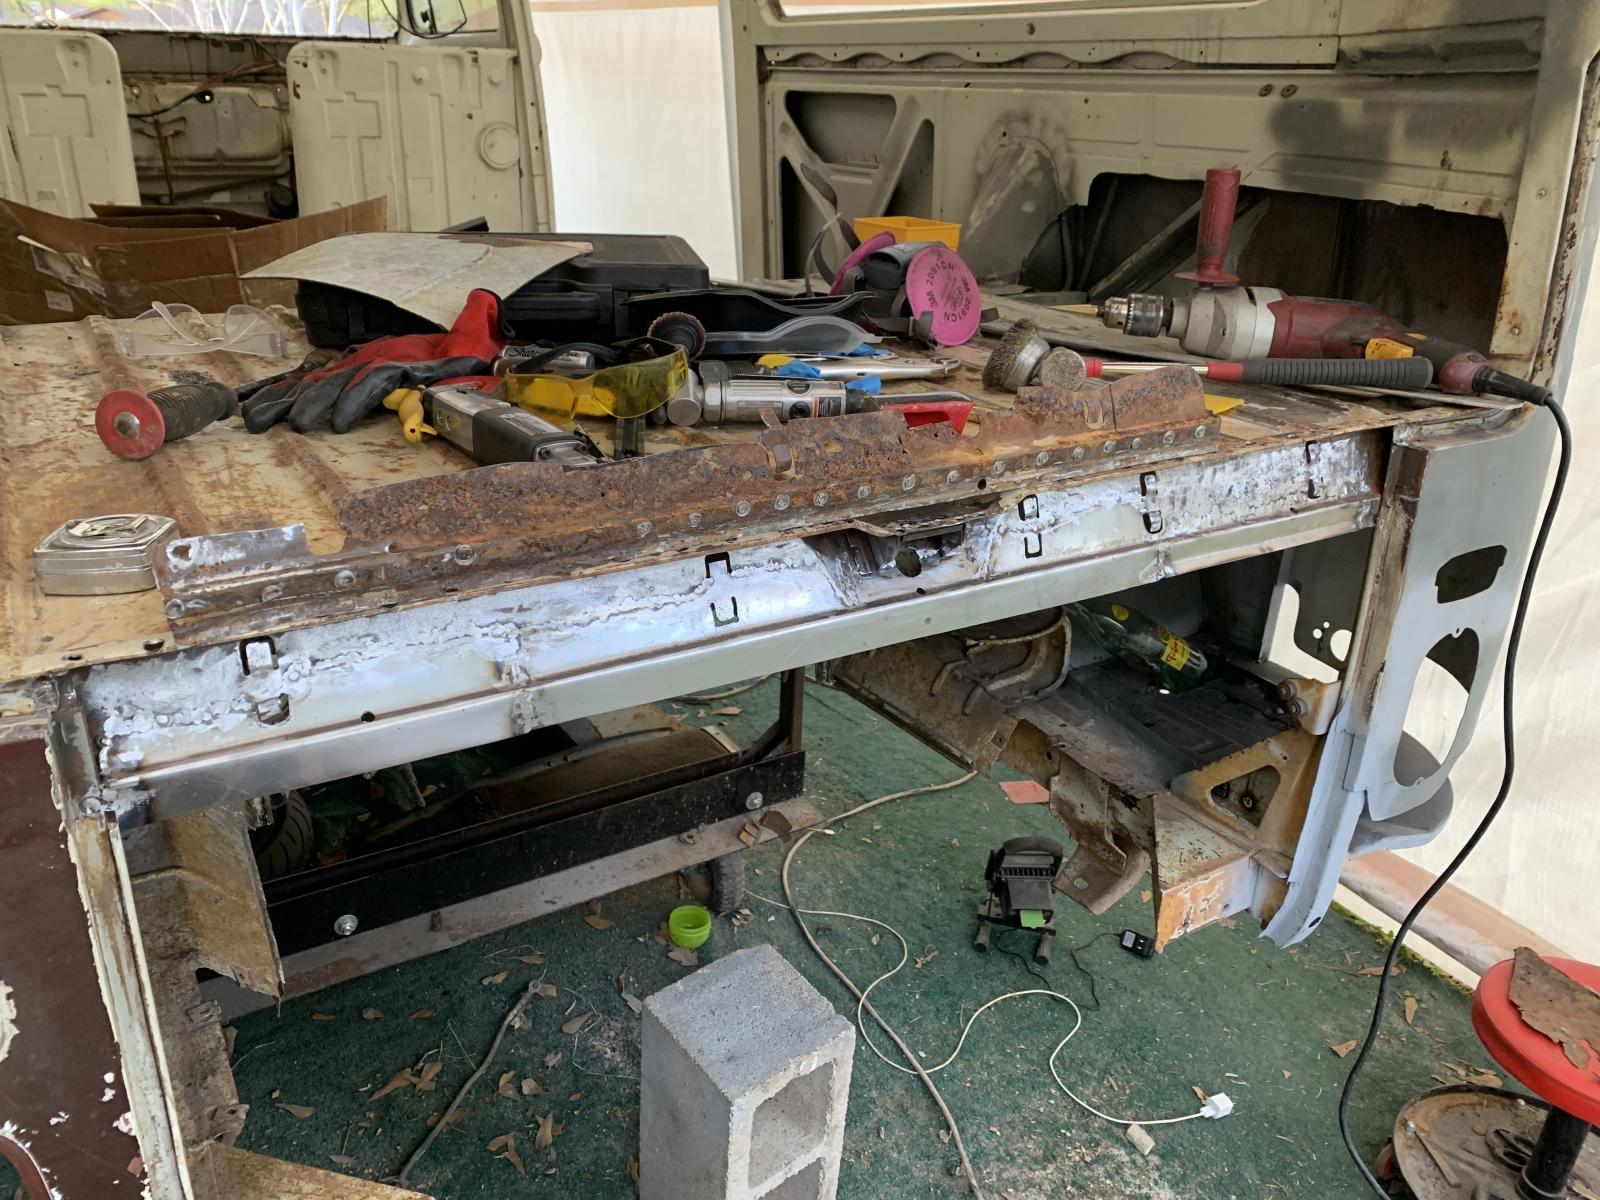
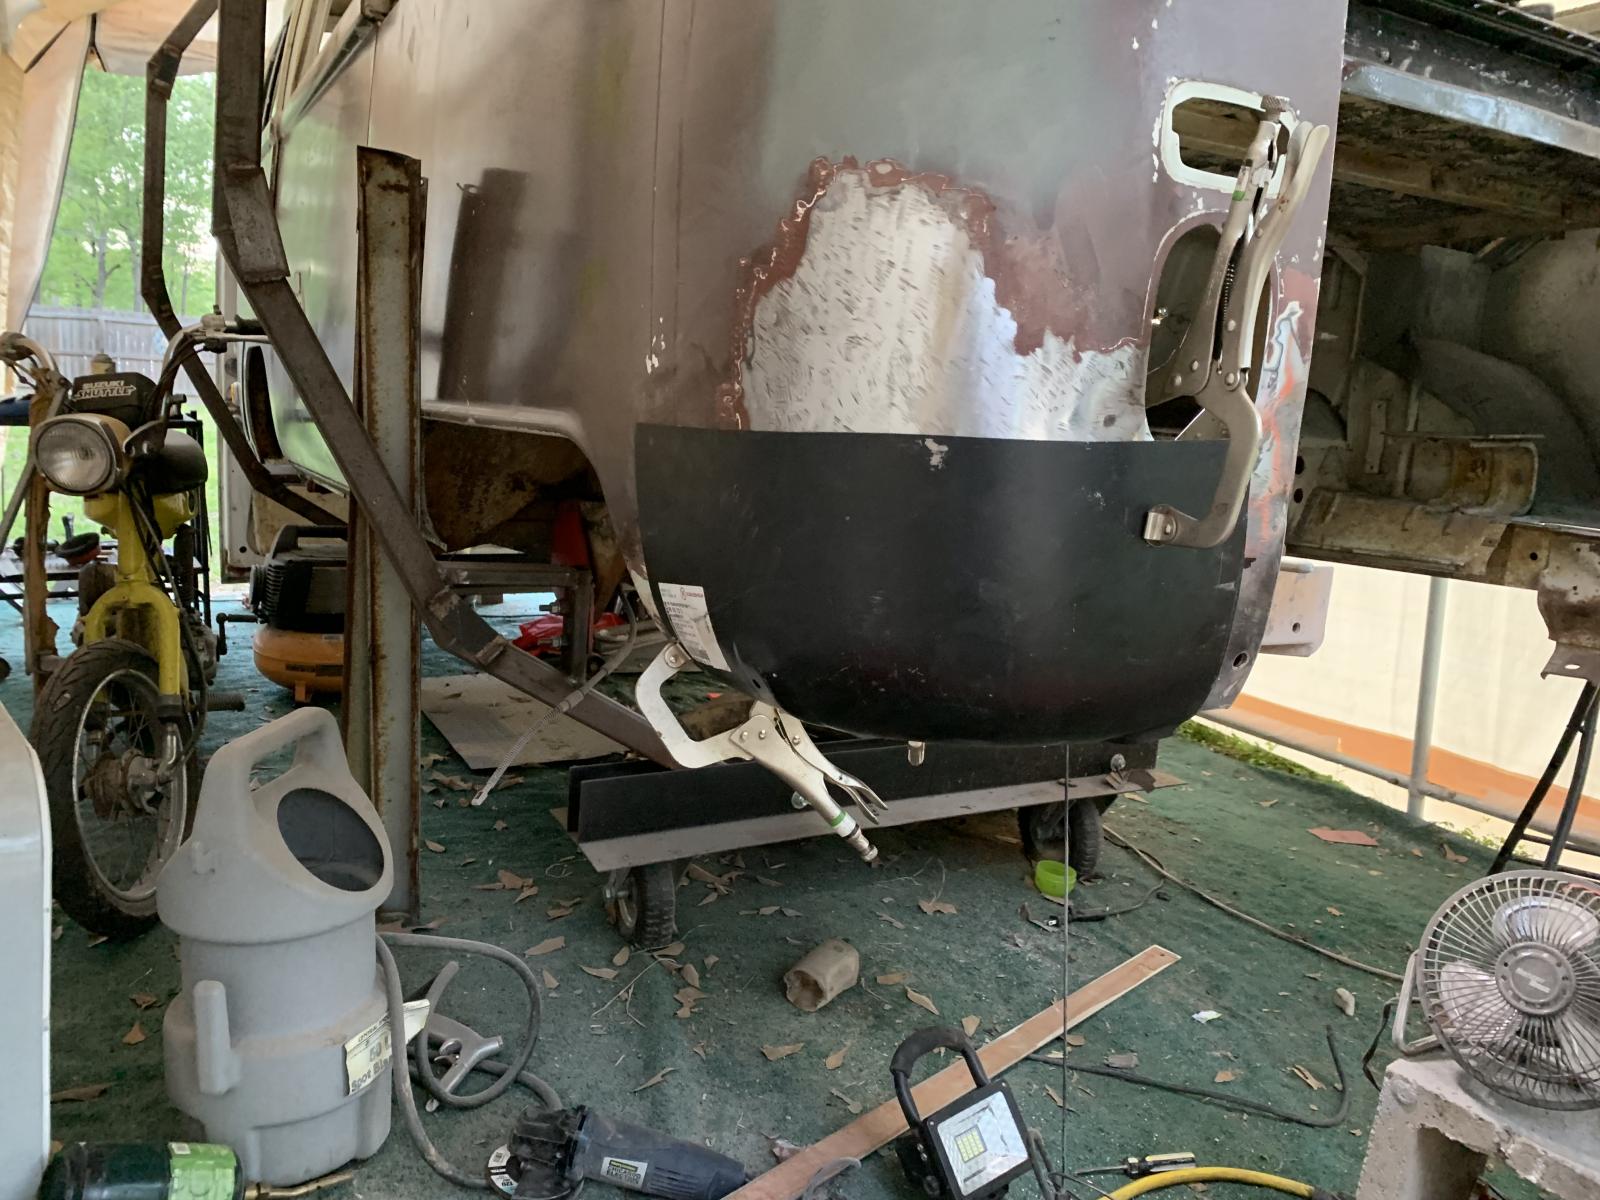
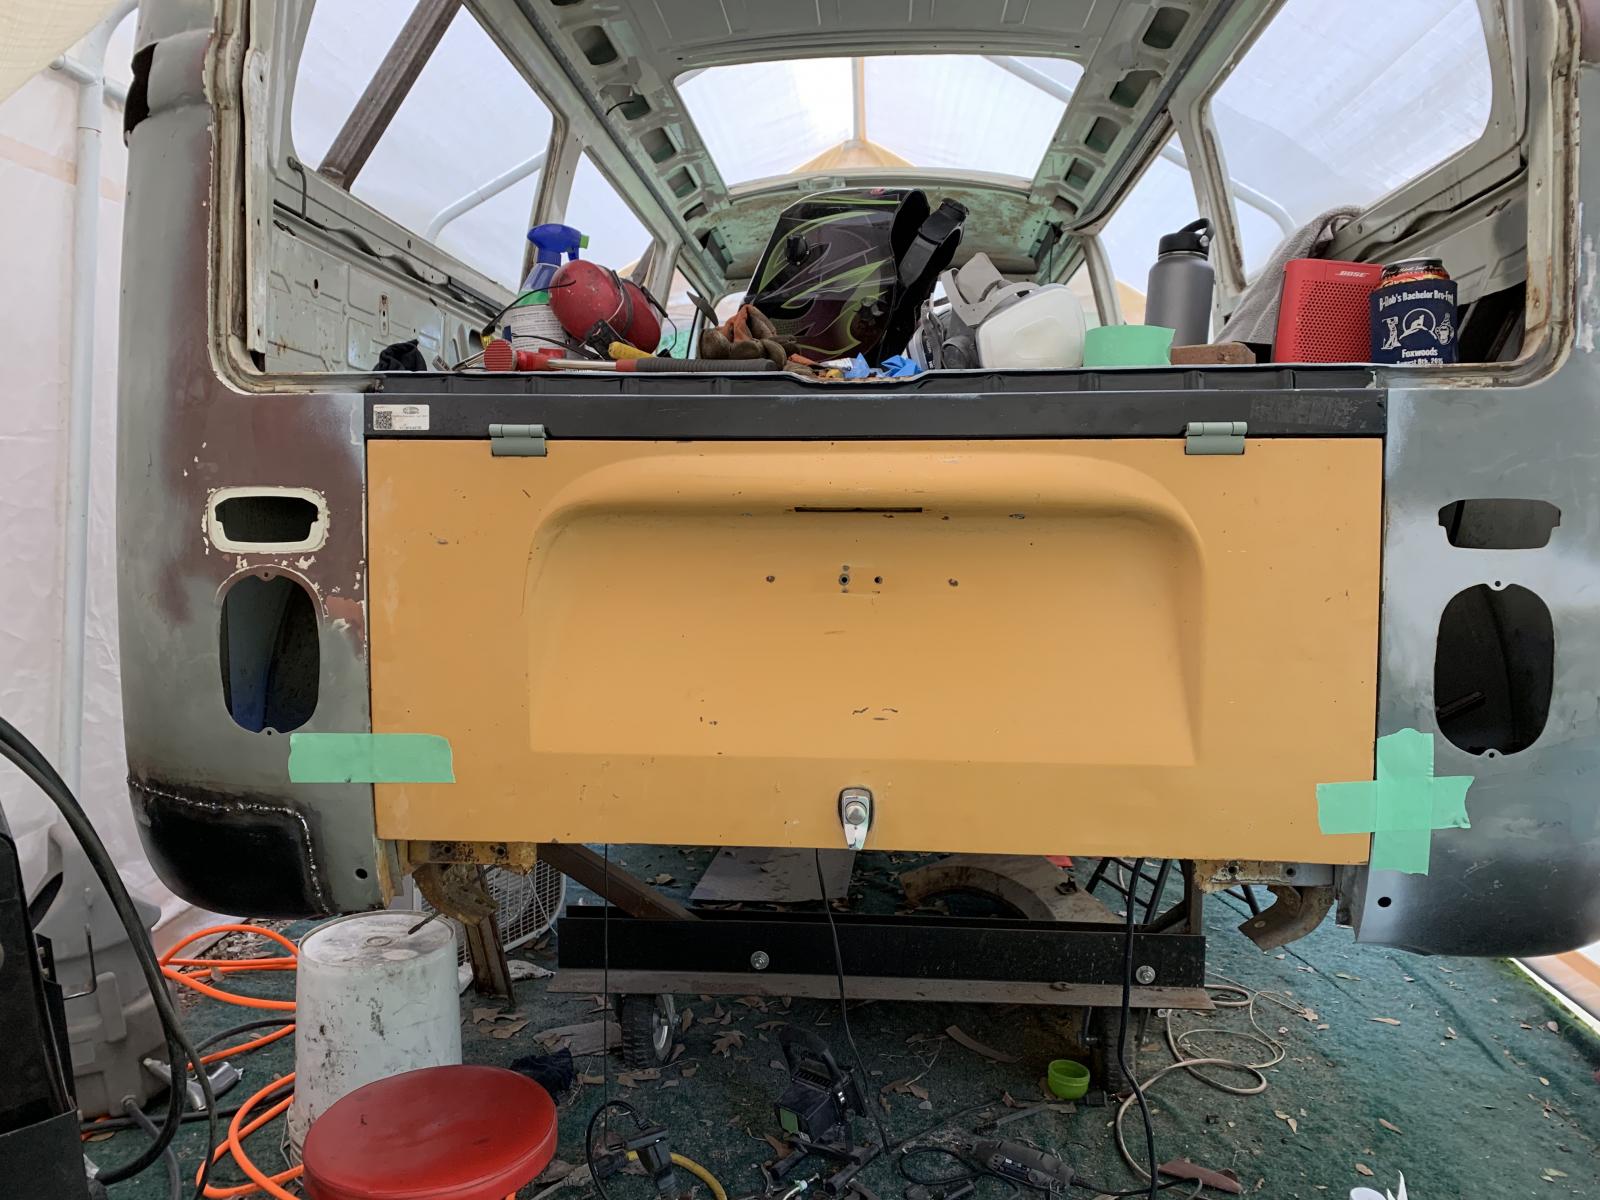
I was running out of gas for the MIG when I was finishing up the lower corner so I wanted to get the decklid hinge repair panel at least tacked in so I could mock up the decklid. I decided for times sake that I'm going to leave the upper lip and weld the new panel where I drilled out the spot welds to remove the old one. The worst part of this repair is removing the very ends of the original panel where the rear corner and its inner structure meet the decklid hinge panel.

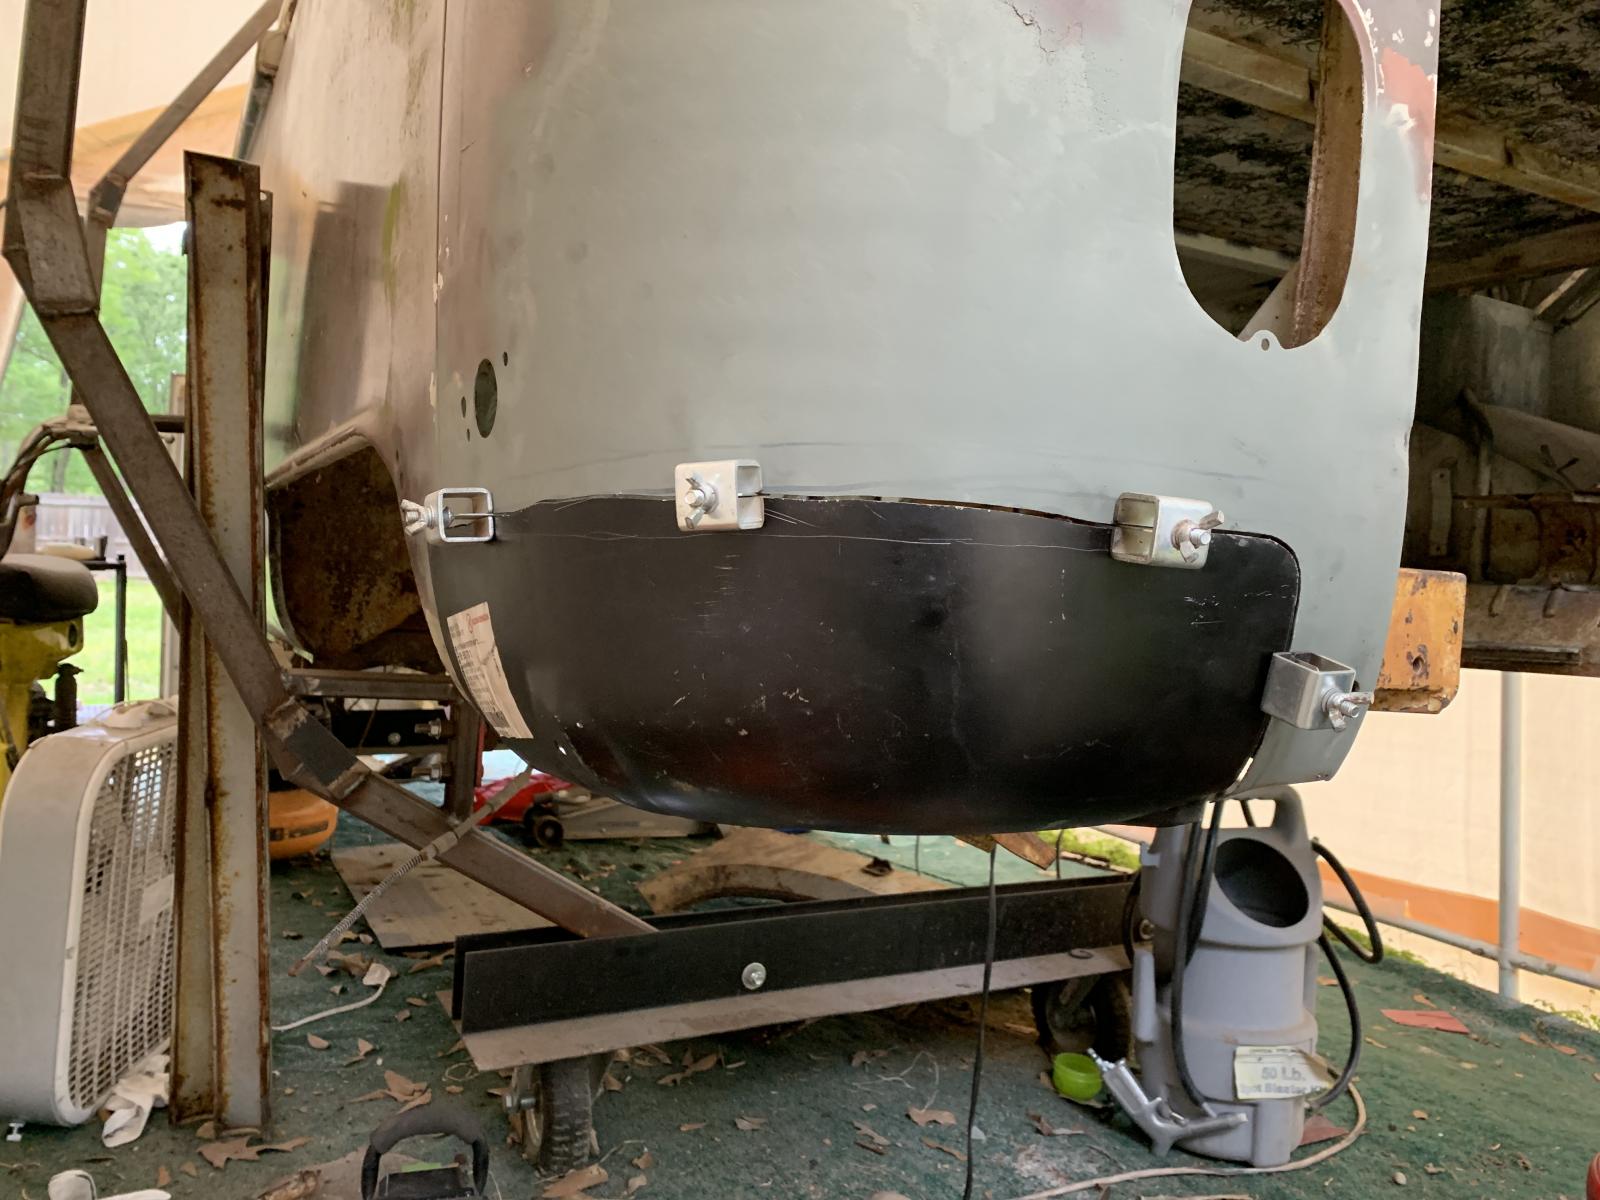
Once I got it tacked in, I threw on the donor decklid with new hinges courtesy of WW (these are super nice). Overall very happy with the gaps, this was my first fit up and I didn't adjust it one bit. The decklid is tweaked a bit and sits about 1/4" proud on the passenger side, so I will have to devise a plan to straighten it a bit before paint.

1891867.jpg


Hoping to run to Airgas and swap out the bottle this afternoon so I can keep rolling.
 
Back
Top Bottom