Follow along with the video below to see how to install our site as a web app on your home screen.
Note: This feature currently requires accessing the site using the built-in Safari browser.
We noticed you are blocking ads. DO THE TON only works with community supporters. Most are active members of the site with small businesses. Please consider disabling your ad blocking tool and checking out the businesses that help keep our site up and free.
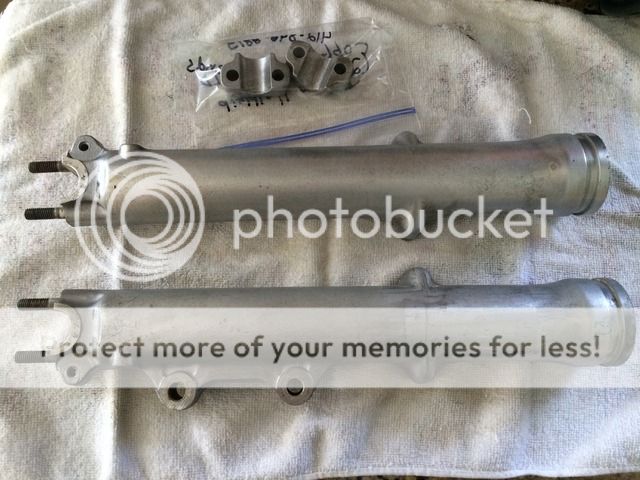
I soaked the fork lowers in a solution of simple green for a few days. Here they are scrubbed up, dried and ready to go to the powder coaters.
Met with the PC today, seemed like a knowledgeable guy. Way too many choices of black. Thought about going with a gunmetal or charcoal but ended up going with regular black. Apparently the prices quoted on their web site are for in stock colors only, custom colors can be as much as 50% more. Anyway, he had a set of lowers there he just did in black and they looked great. I also found a color called laser black cherry that is close to the original burgundy but has some subtle flake in it. Might have to pony up for that color.
Sounds like a quick turnaround, said he'd have them done next week. I need to get some more parts ready to drop off when I pick up the lowers.
Sometimes, a third colour defined as a pinstripe outlining the colour shapes can set it all off nicely. Also, serves to cover the 'join', so much slicker all round.
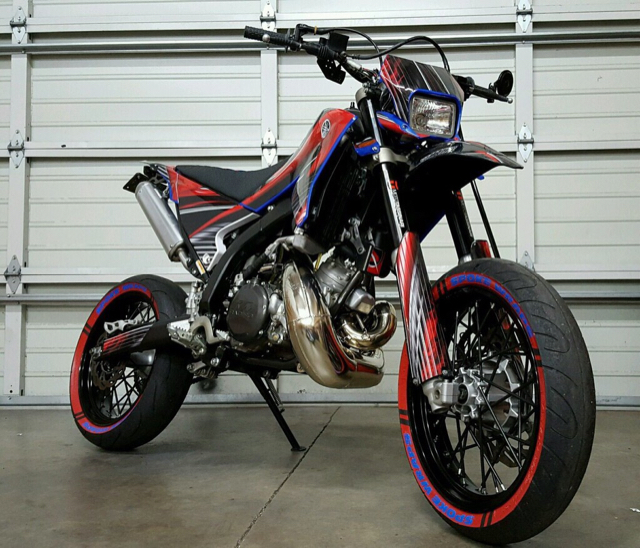
Definitely. I was thinking about a silver pinstripe to separate the colors and accent the silver bits that will be left on the bike (motor, spokes, upper forks, etc.)
Definitely. I was thinking about a silver pinstripe to separate the colors and accent the silver bits that will be left on the bike (motor, spokes, upper forks, etc.)
What did they say about masking threads/studs? I'd be tempted to mask the studs and push a rolled up blob of tape inside the threads as well. It's a pain to have to tap out the coating afterwards if they miss something out.
I had the front beam on my Beetle powdered, took a chance on what they had going through at the time....trusted to the powdercoating Gods and got myself a smart silver beam (large number of seat frames), just what I wanted.
They charge more for colours as they usually have to buy in a big sack of powder specifically for your job, whereas black is going through most of the time and they can add your pieces to the oven in a mixed job/customer batch.
I'm using in budget rattle cans.
What did they say about masking threads/studs? I'd be tempted to mask the studs and push a rolled up blob of tape inside the threads as well. It's a pain to have to tap out the coating afterwards if they miss something out.
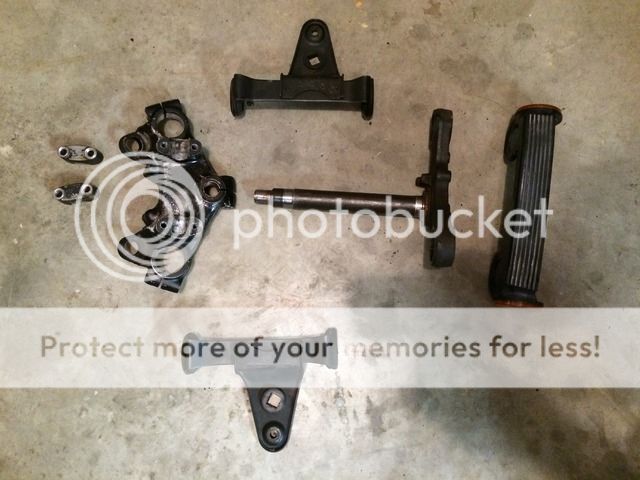
I got the triple tree apart to be cleaned for PC. Am I ok discarding the headlight mounts? They don't appear to offer any structural support to the trees. Plus I plan on adding a smaller headlight later with custom mounts. And yes, say goodbye to the plastic reflector cap.
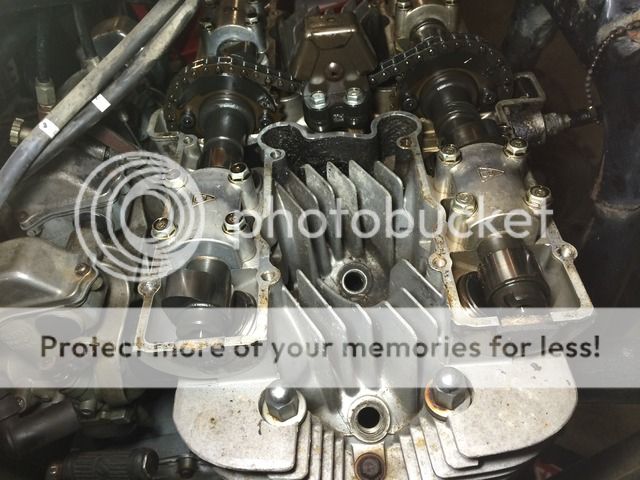
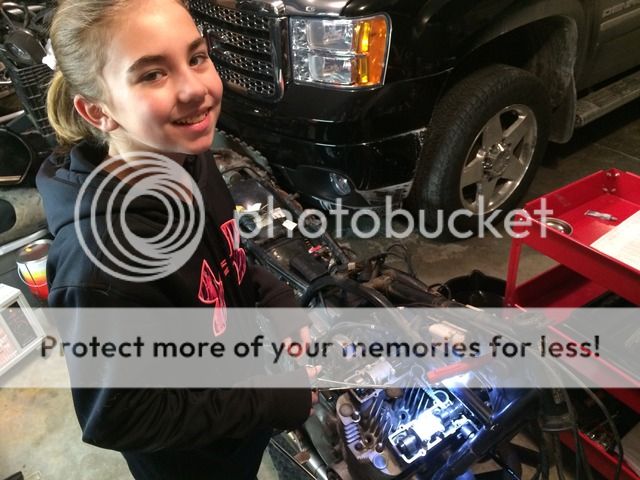
That's it for the powder coating budget until pay day so back to the engine. I pulled the covers to check the valves. Everything looked good with the exception of the valve clearances. The manual calls for clearances of 0.03 to 0.08 mm. The valves were tight. I'll have to replace some valve shims.
Only two of the eight valves were within spec, the rest are too tight. Was nice to have an assistant ready with the hemostats to pull out the shims as I lifted them. Need to do some math and figure out what shims I need to get.
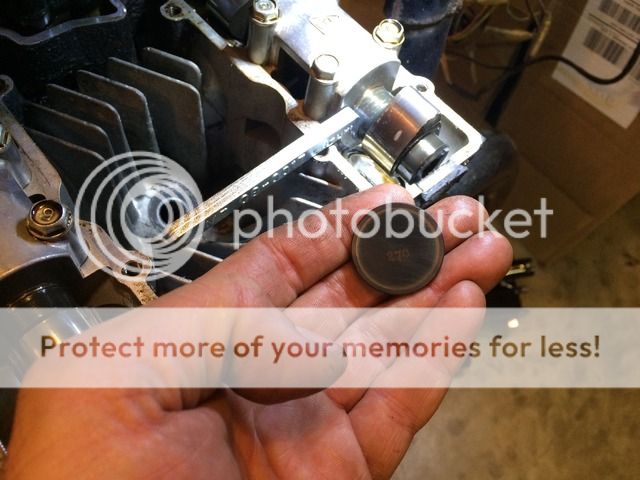
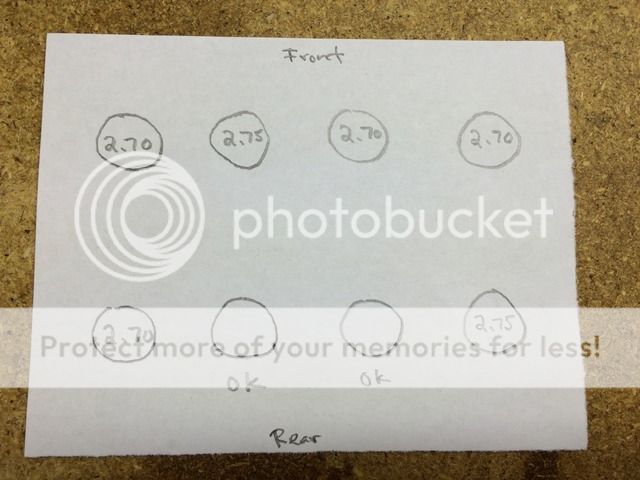
Here's what I'm working with. I tried one of the 2.70 shims where the 2.75 shims were and they were still too tight. I'd like to take advantage of the shim trade program over on the GS Resources forum. Maybe someone can help me out with the math so I know which size to request.
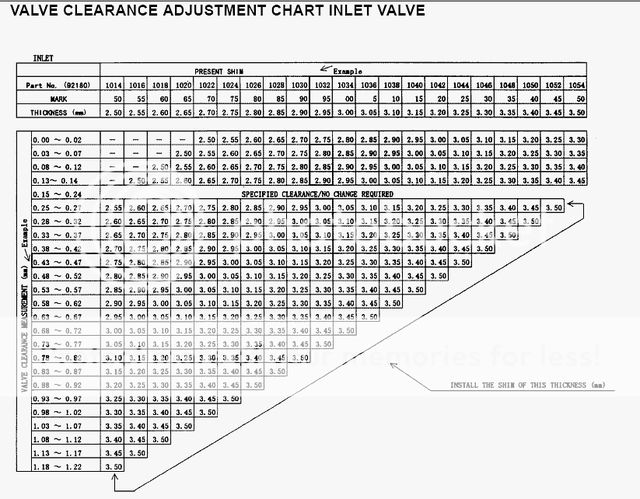
An engineer friend of mine & motorcycle guru sent me a link to this valve clearance adjustment chart. Might be of interest to anyone trying to figure out what shims to go with.
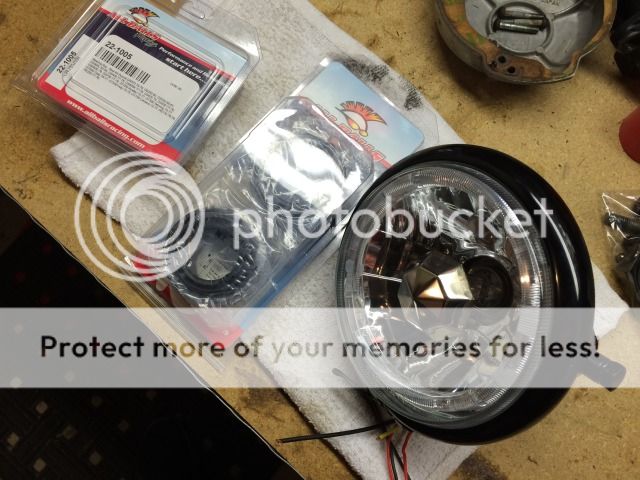
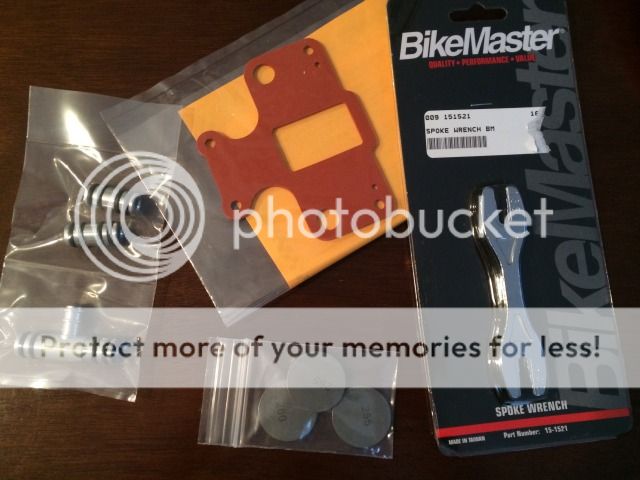
The build budget was replenished but it didn't take long to empty it. I figured I'd do some other shopping and get a few more items on the way. Gaskets for the breather cover & valve cover, aluminum fuel tee & rails for the carbs, a spoke wrench, fork oil seals, dust seals & tapered steering bearing kits from All Balls and a new 5.75" black headlight housing with a white, halo halogen headlamp from Octane lighting.
I cleaned up one of the forks and nut (top of picture) on the brass wire wheel on the bench grinder. Unfortunately, the pitting is more than just surface rust. I found a local chrome shop, waiting to hear back.
After contacting several chrome shops, I talked to one who said no problem. I have to stop by so he can see the forks before giving me a quote.
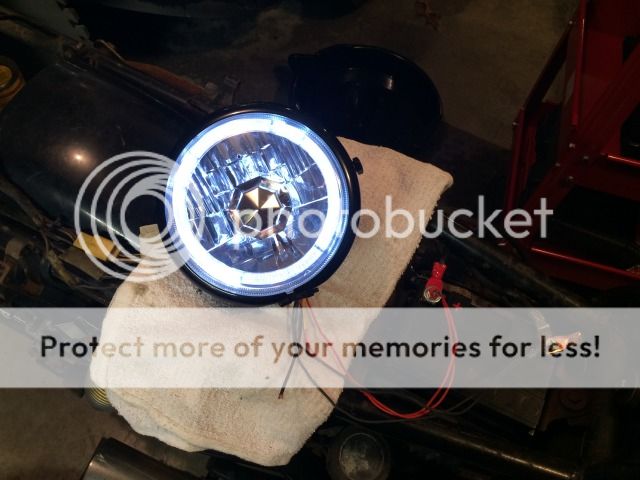
My fork seals & steering bearings showed up today along with a halo headlamp with black housing. It's a 5.75" diameter and will look way better on my minimalist front end than the big 7" stocker.
I was looking at those Halo headlights, are they DOT rated (safety standard marked?) I like the idea of the size, I was thinking of one of these or maybe the MV Brutalle with the swept back light, that looks trick as!
Cool looking light Kiwi. Yes, the Octane brand is SAE & DOT approved. I believe they come in 16 different colors. I had to buy a separate housing as it was sold as the headlight only. But that gives you the flexibility to get whatever housing & mount combo you want. Comes with standard 3 prong plug for plug and play.
More details here: http://www.amazon.com/gp/aw/d/B00MSC3BPY/ref=mp_s_a_1_10?qid=1453491683&sr=8-10&pi=AC_SX236_SY340_QL65&keywords=octane+lighting
More goodies in the mail. The snow is flying in western Pennsylvania and the meteorologists are excited to see what this winter storm does. Oh well, if we get snowed in, I have plenty of beer, coffee and motorcycle parts.
Got 6 of the 8 valve shims sorted today. The last two are still tight with the 2.55 shim, the smallest I have here. Just ordered the next four smaller size shims, that should wrap up sorting the valve shims & complete a nice set of test shims to keep on hand for the future.
Got 6 of the 8 valve shims sorted today. The last two are still tight with the 2.55 shim, the smallest I have here. Just ordered the next four smaller size shims, that should wrap up sorting the valve shims & complete a nice set of test shims to keep on hand for the future.
This site uses cookies to help personalise content, tailor your experience and to keep you logged in if you register.
By continuing to use this site, you are consenting to our use of cookies.

")