'71 CB450 hardtail- My first metric build

Chris L.

Active Member
Hello all,

I have been searching and reading many threads and posts on here and other forums. I really appreciate the great resource this forum offers. Thank you!

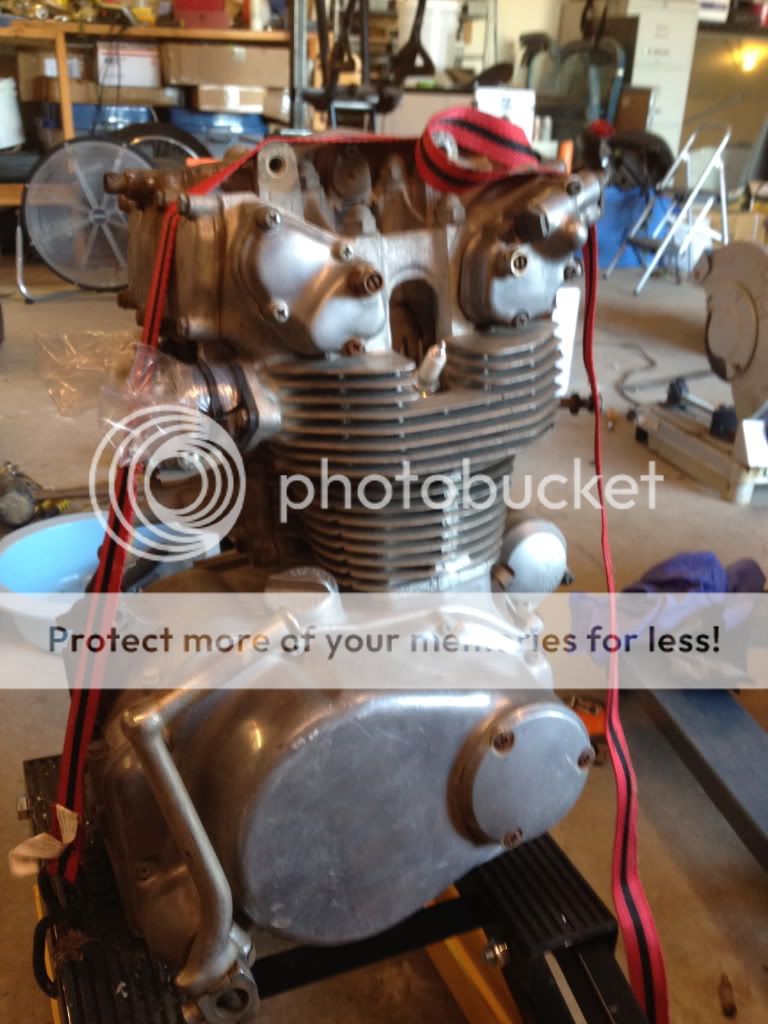
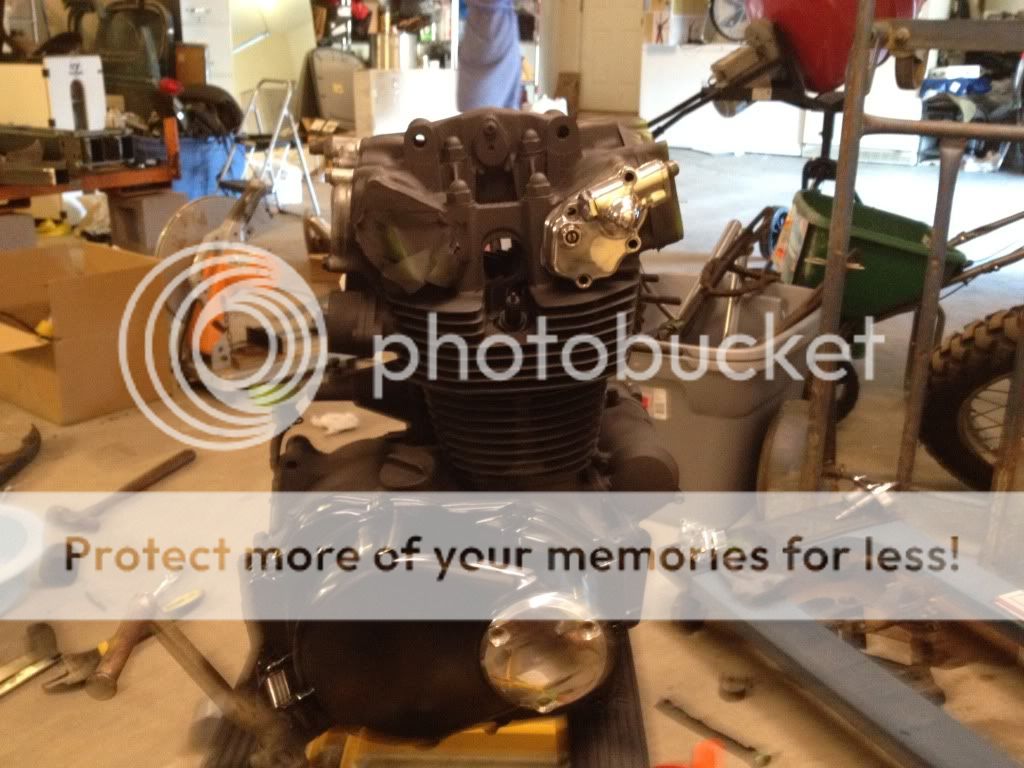
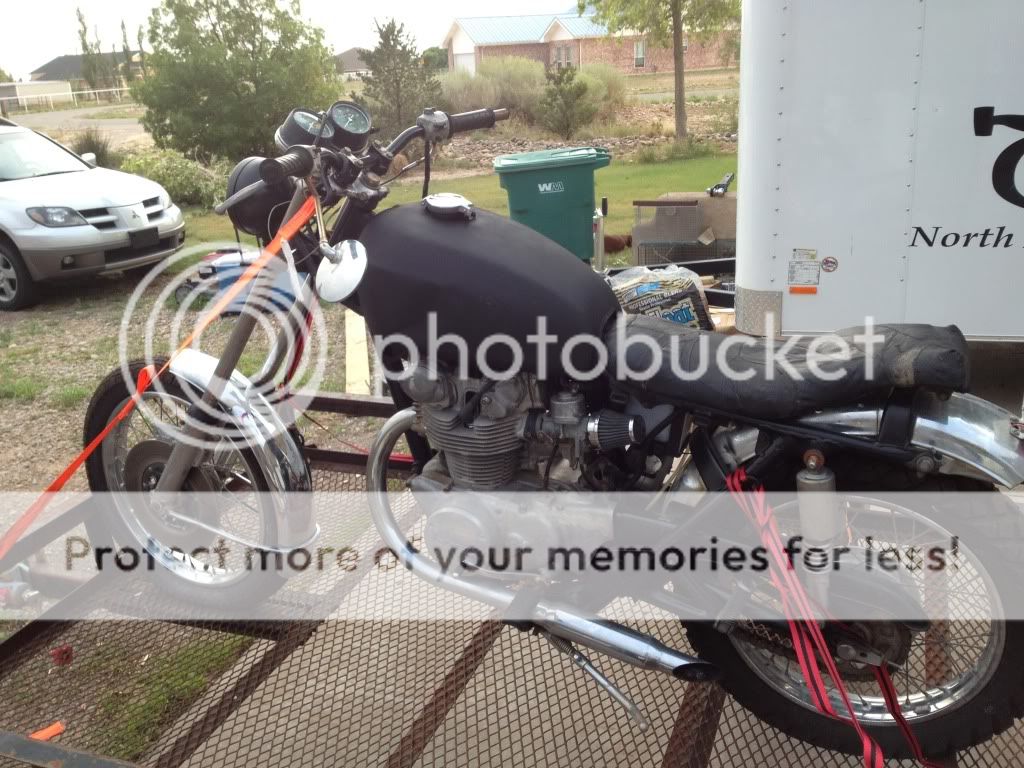
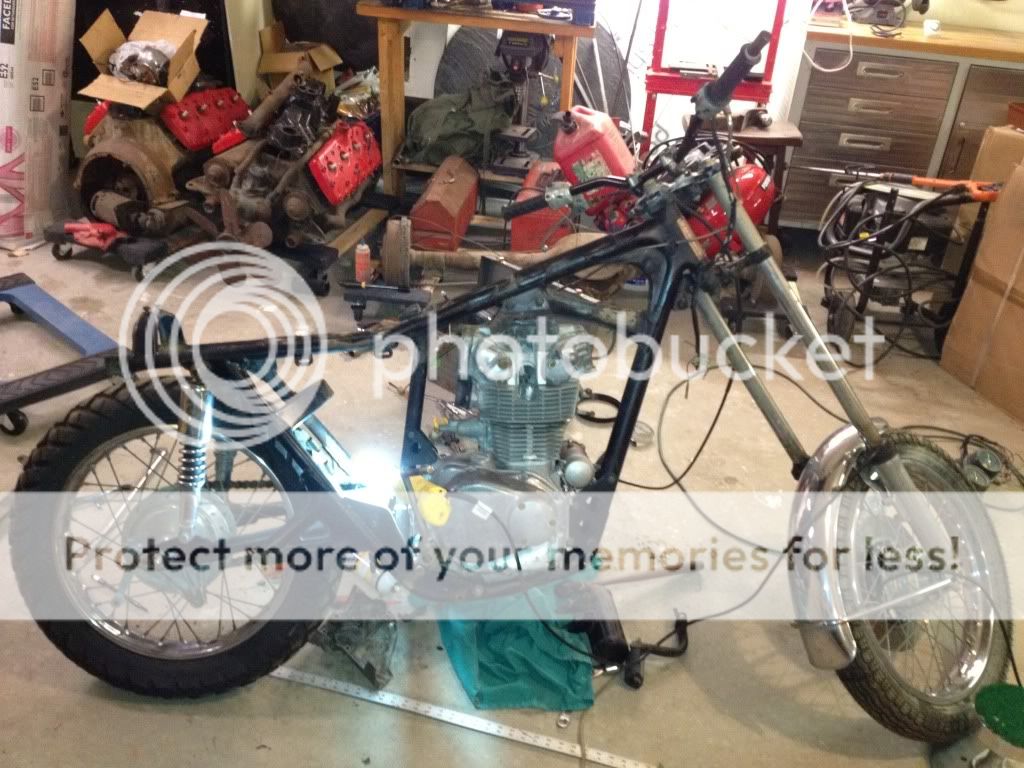
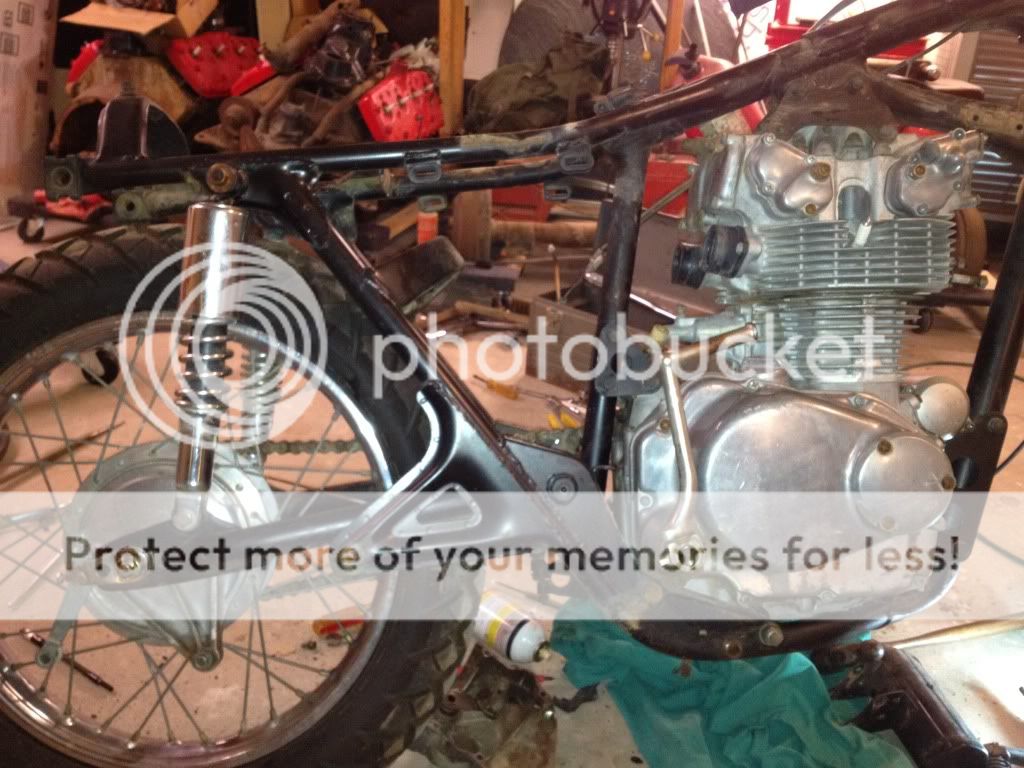
My project is a 1971 CB450 that I picked up off of craigs list for 300.00. It is titles and the guy said it ran? I tested the compression and all looks great. I have not started it yet. I probably should have done that before I started to take it apart. Oh well, I will do that on the next build.

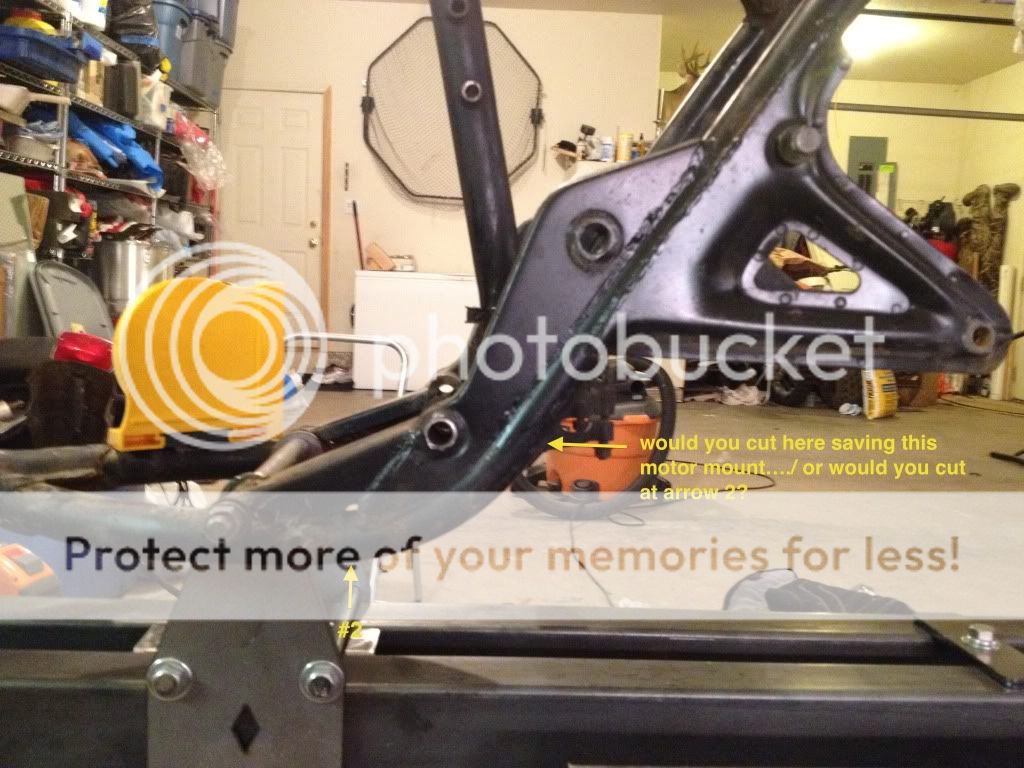
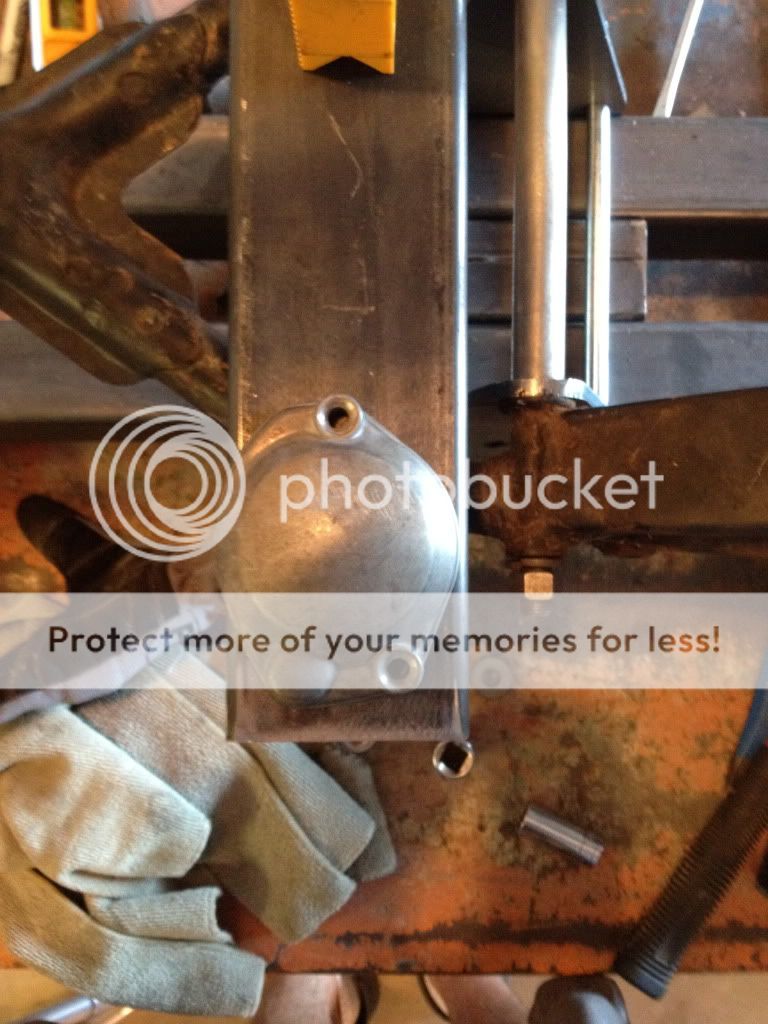
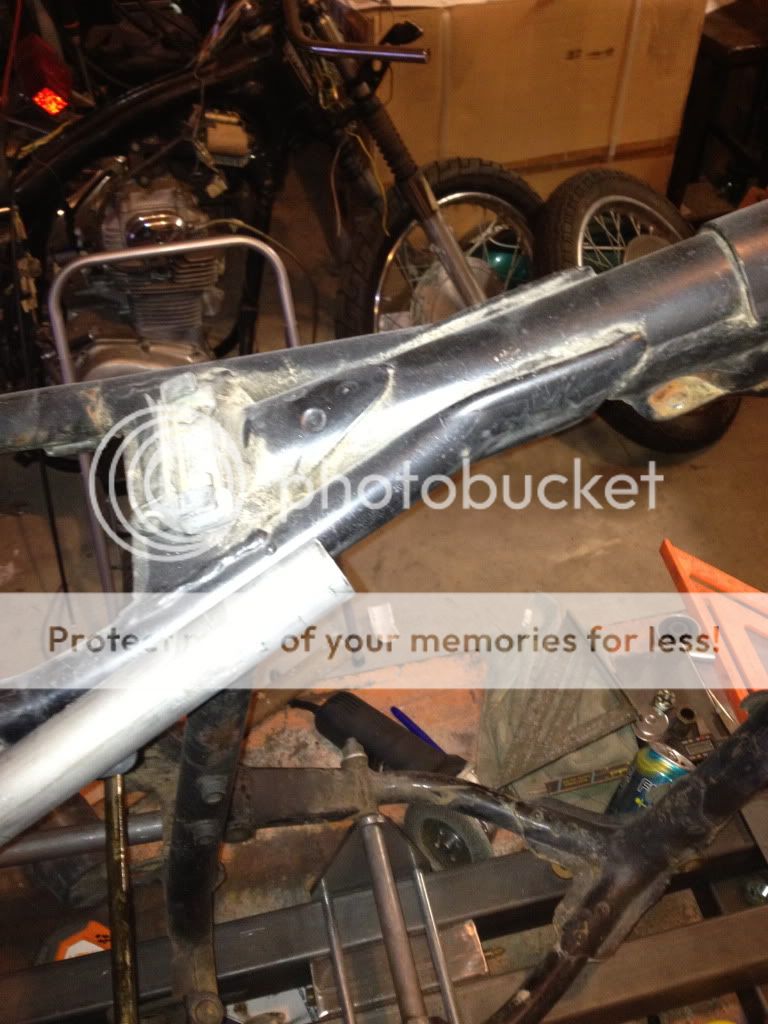
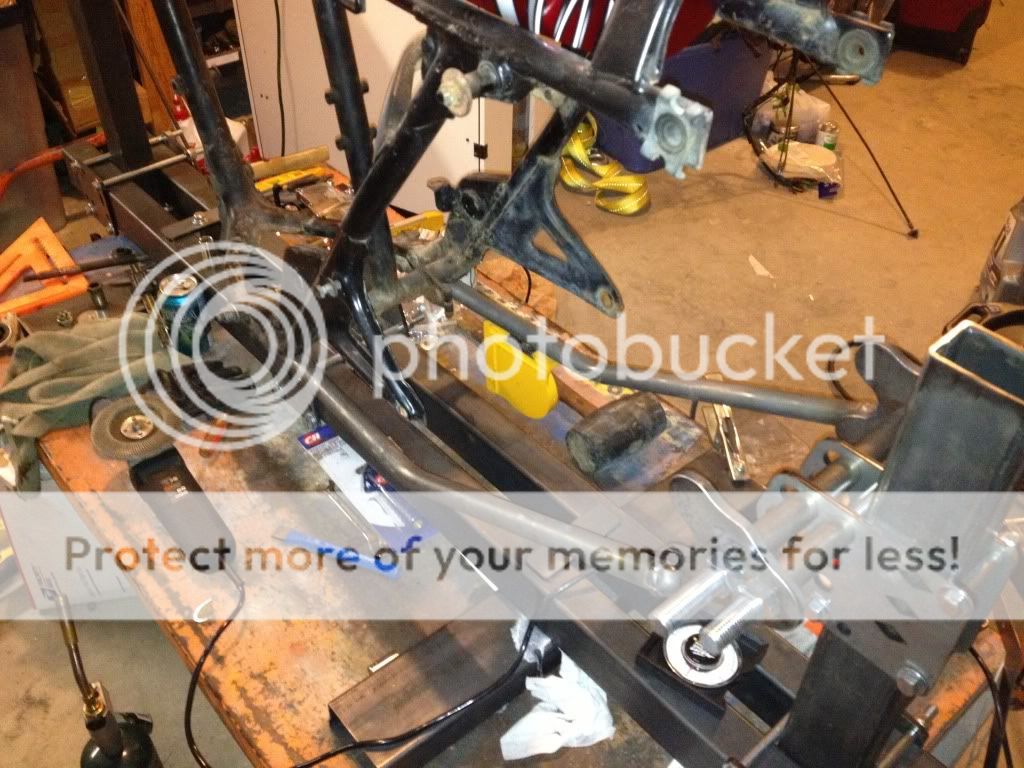
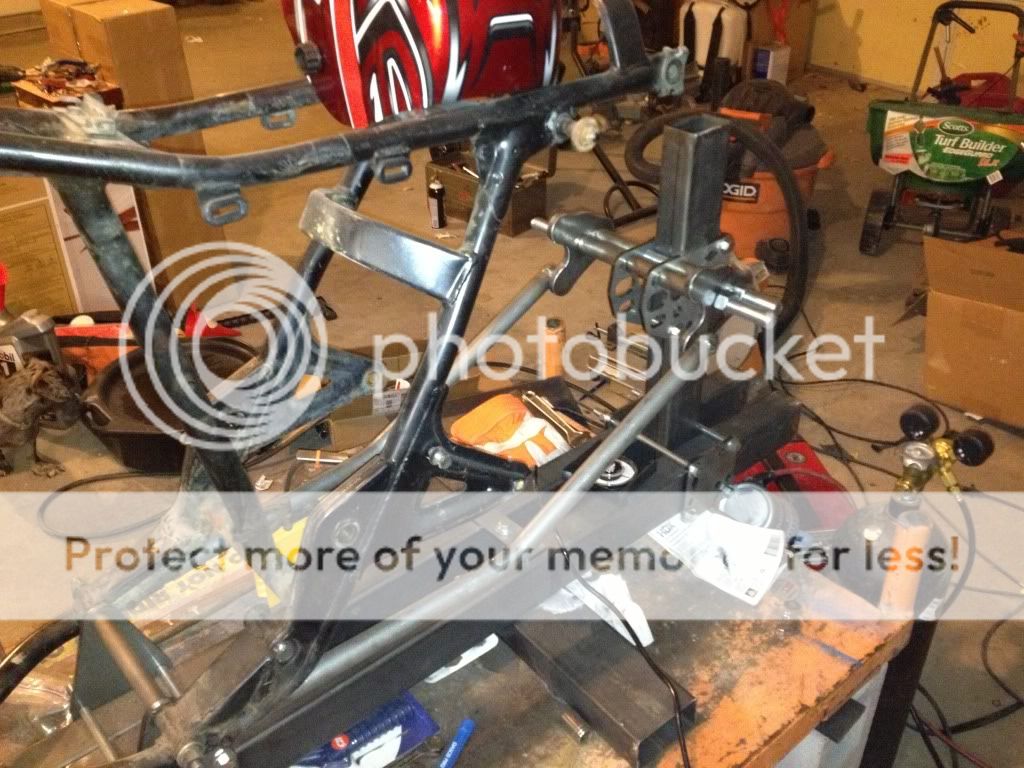
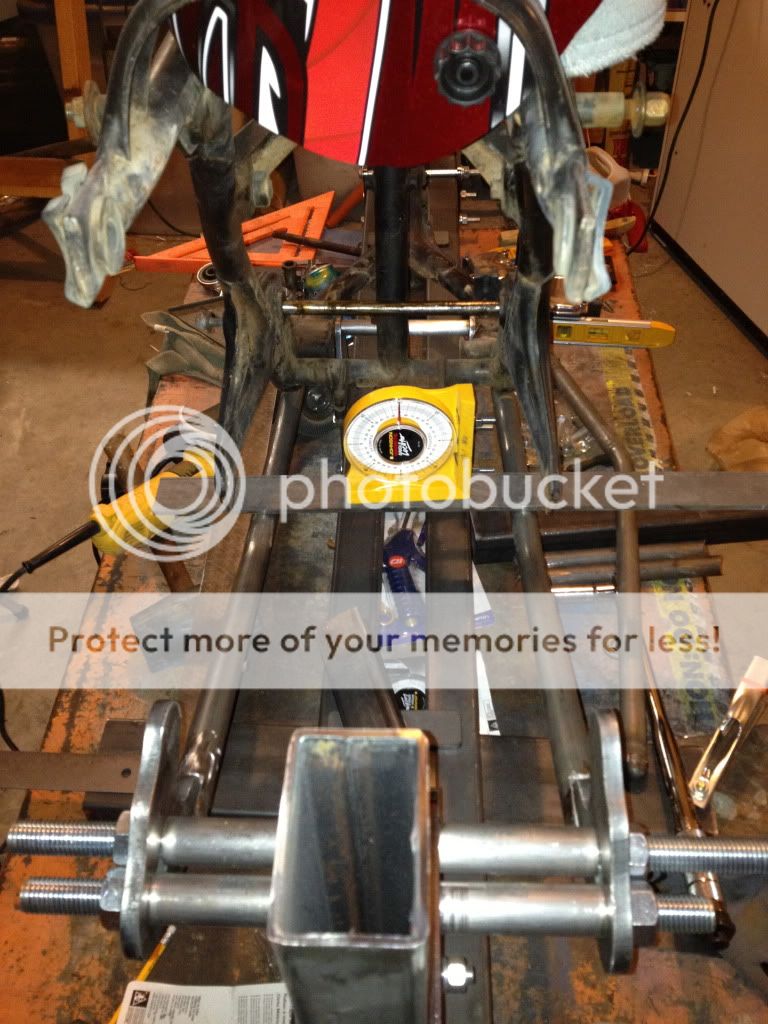
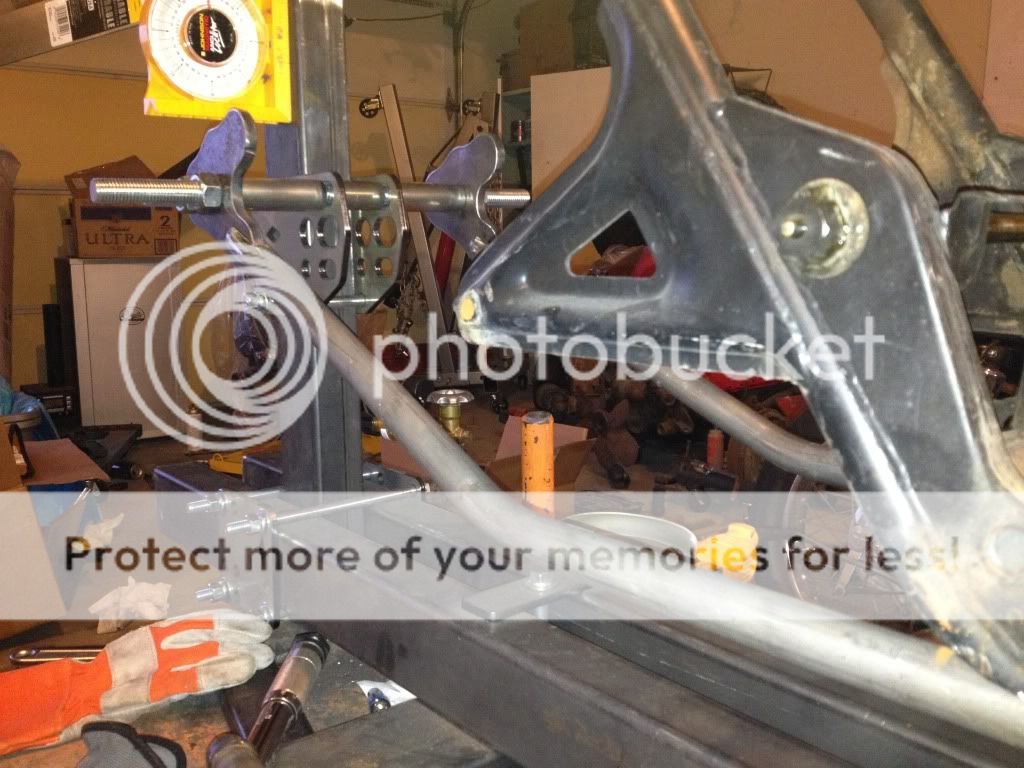
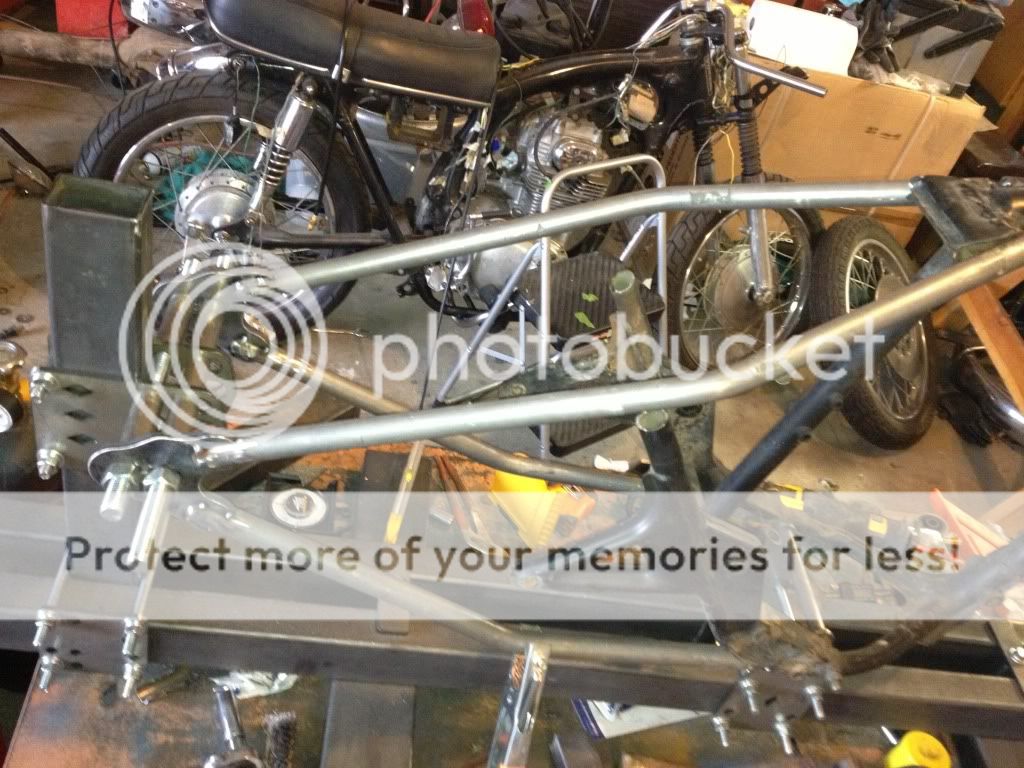
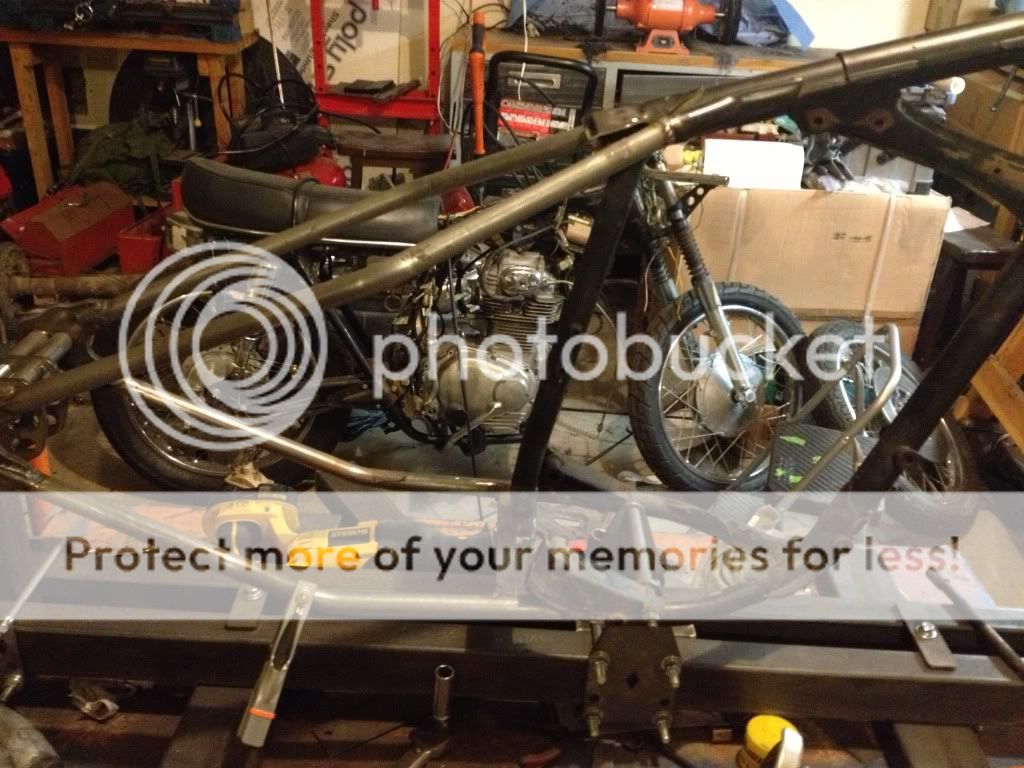
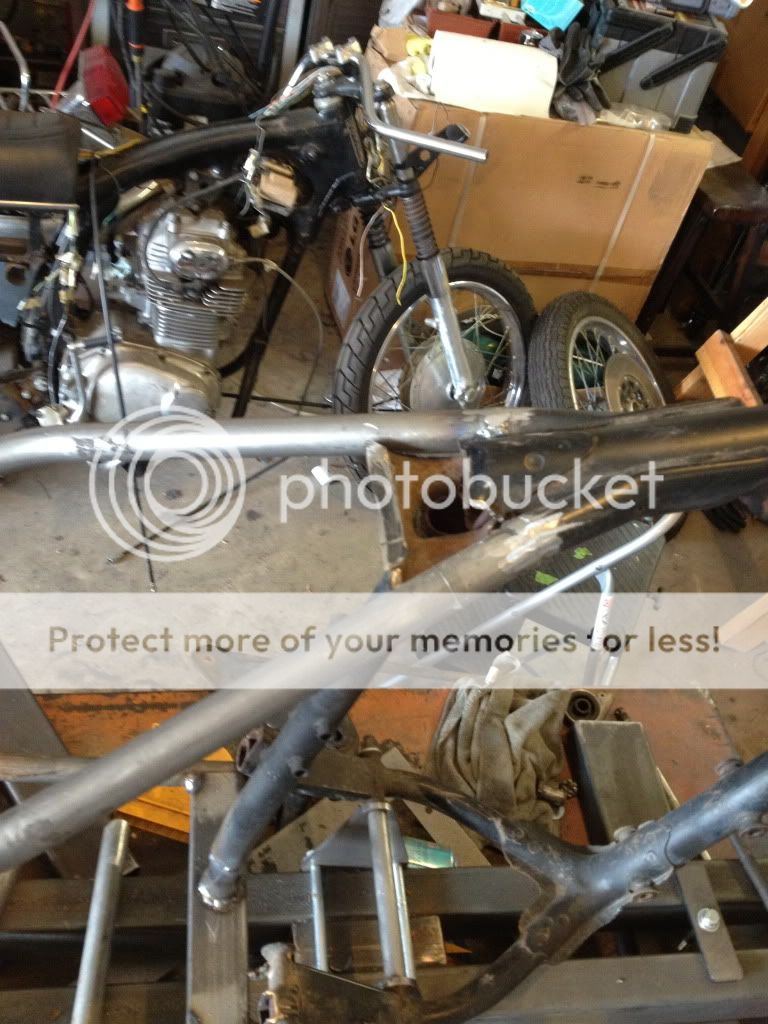
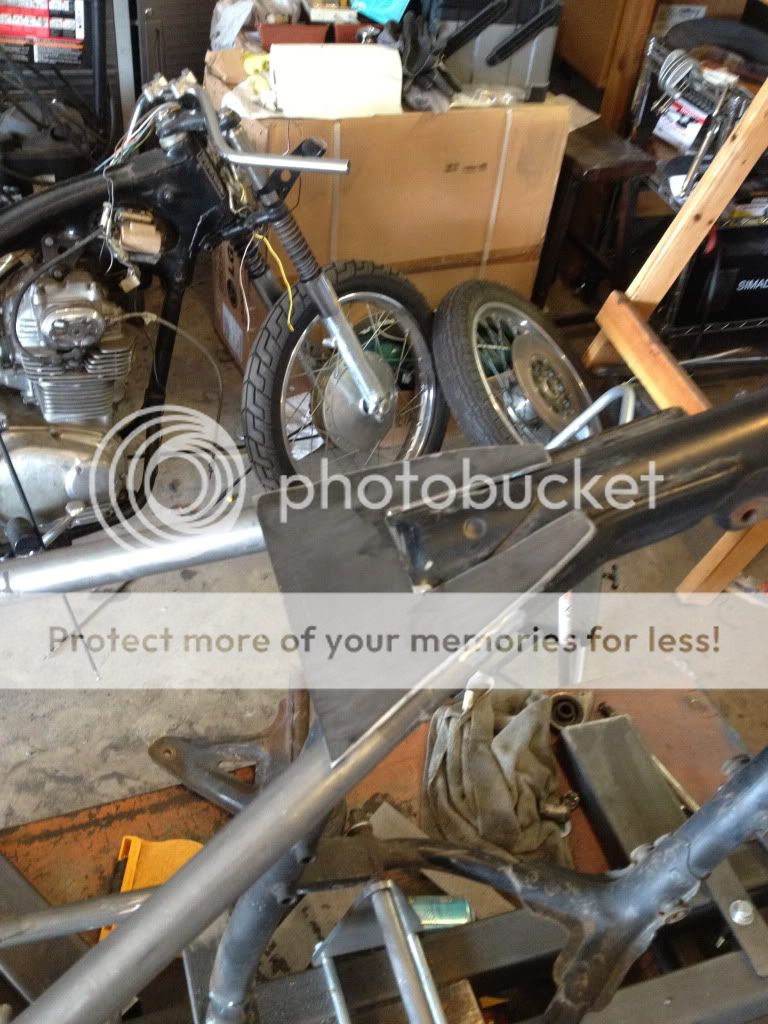
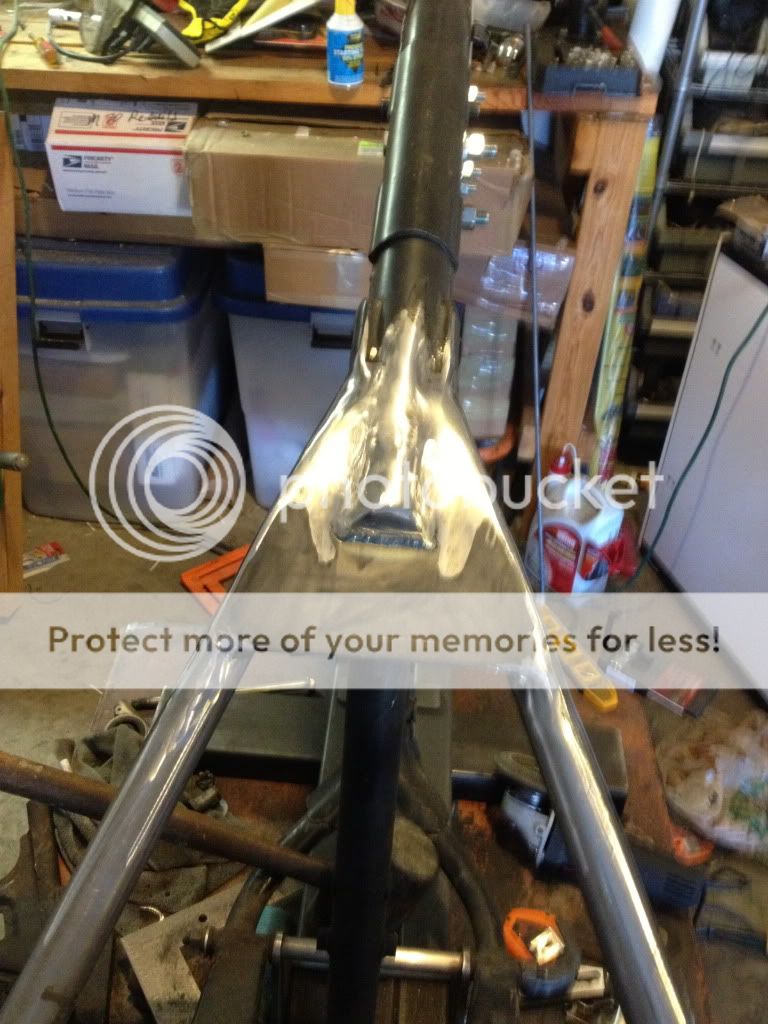
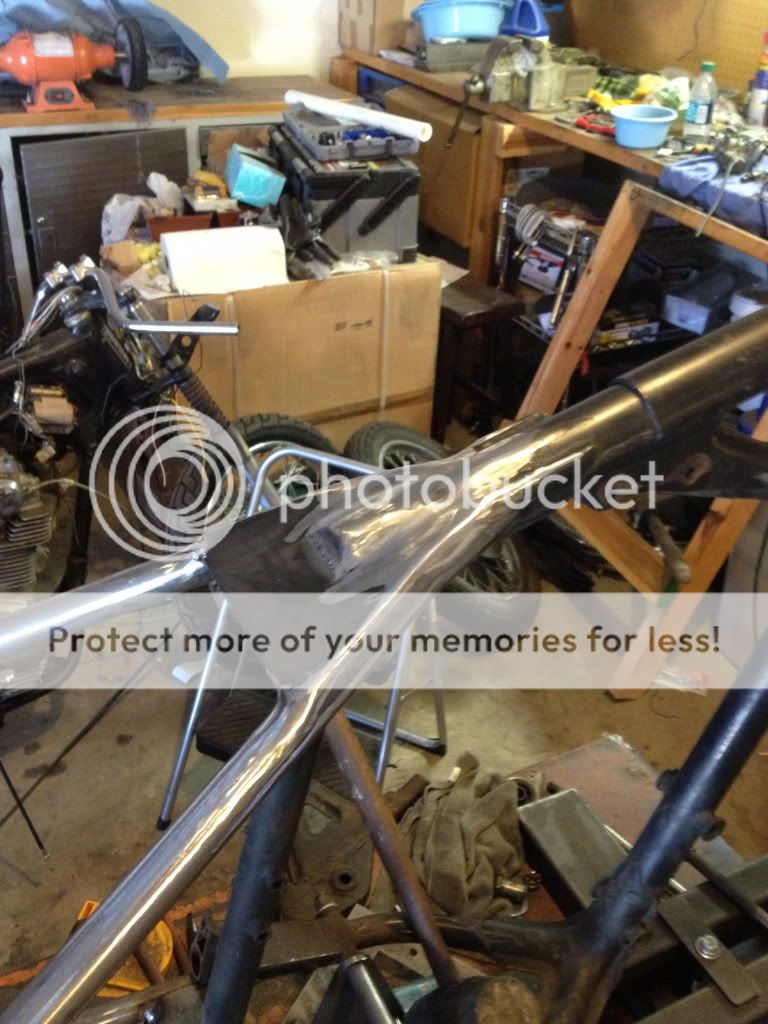
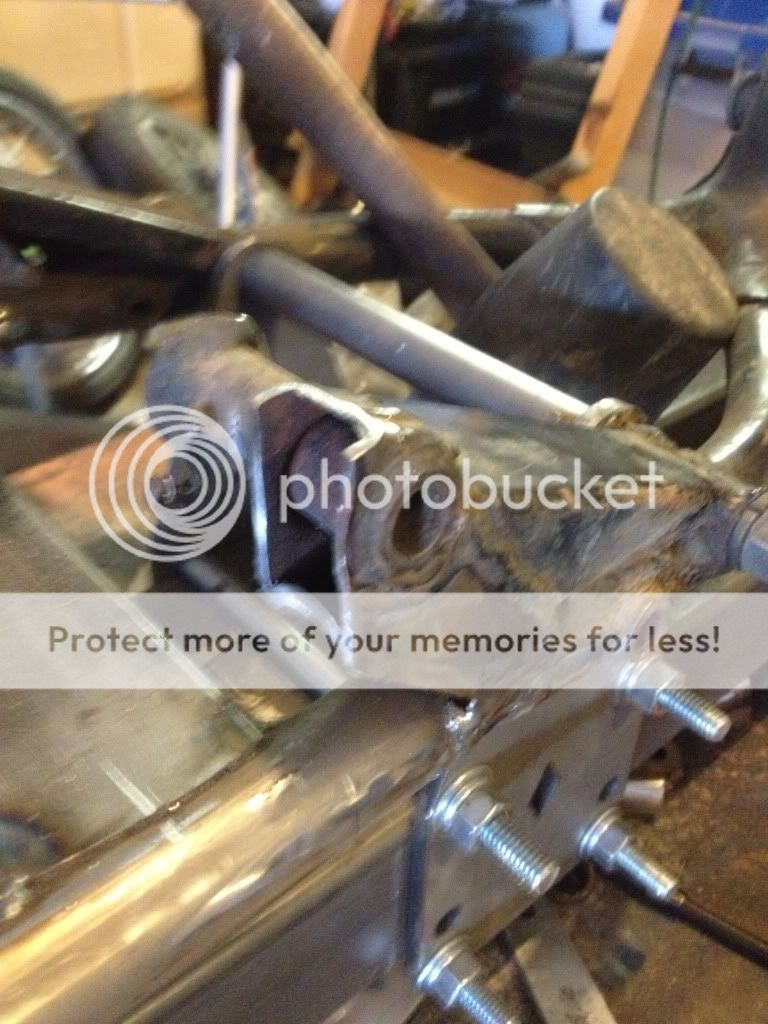
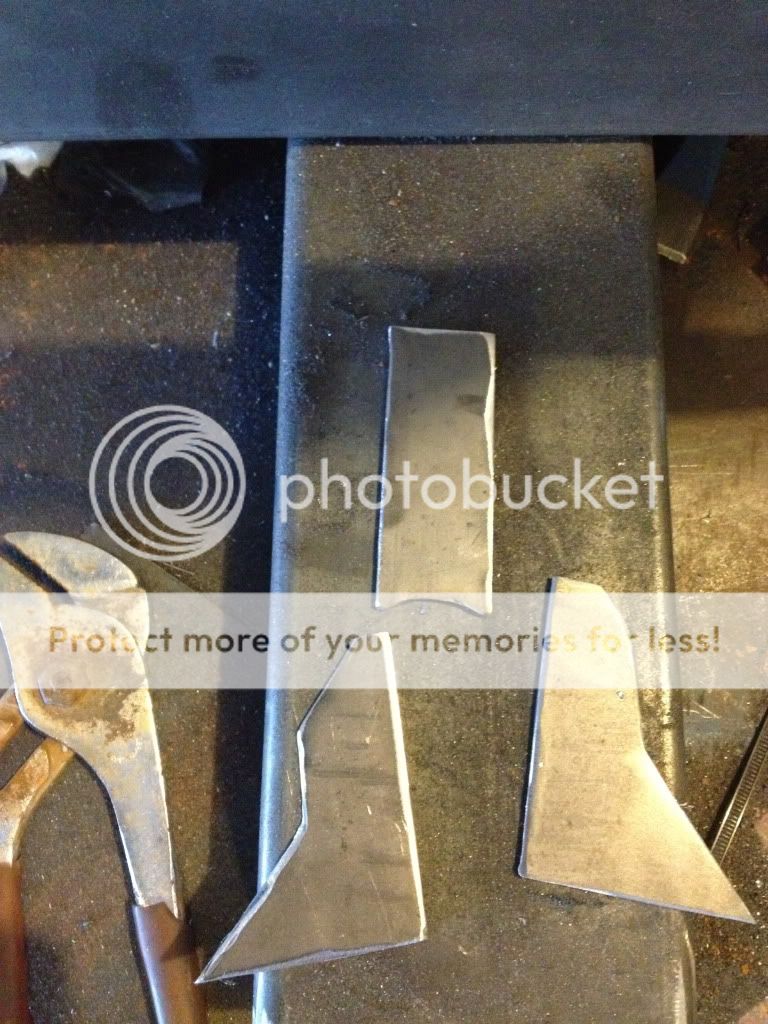
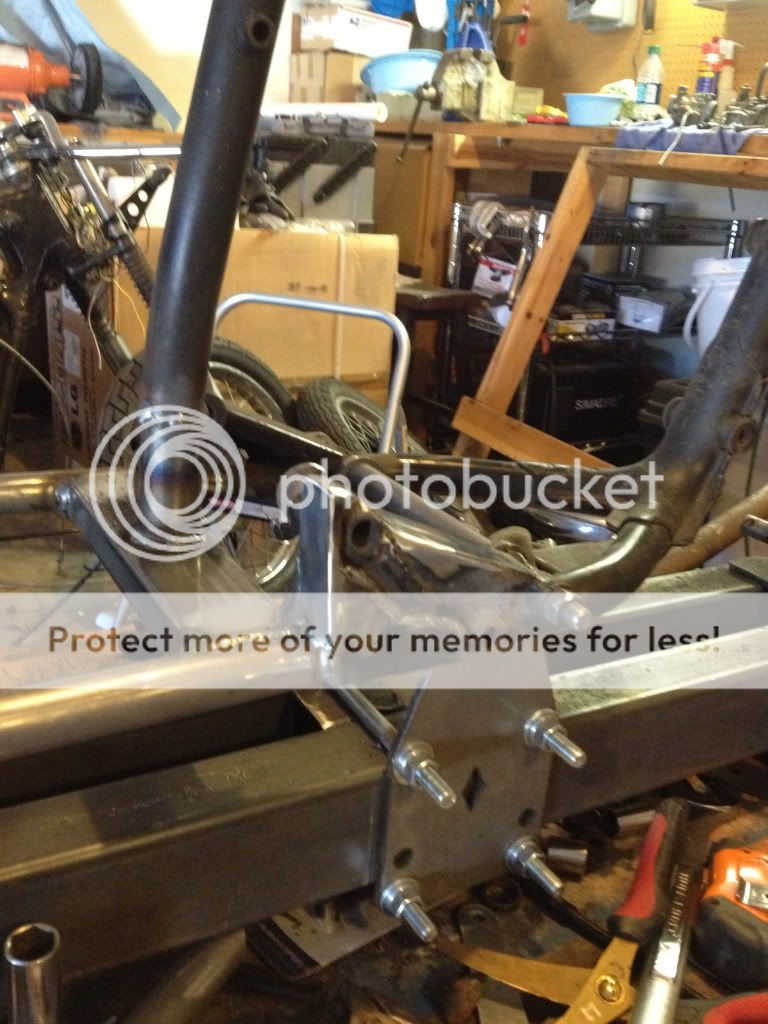
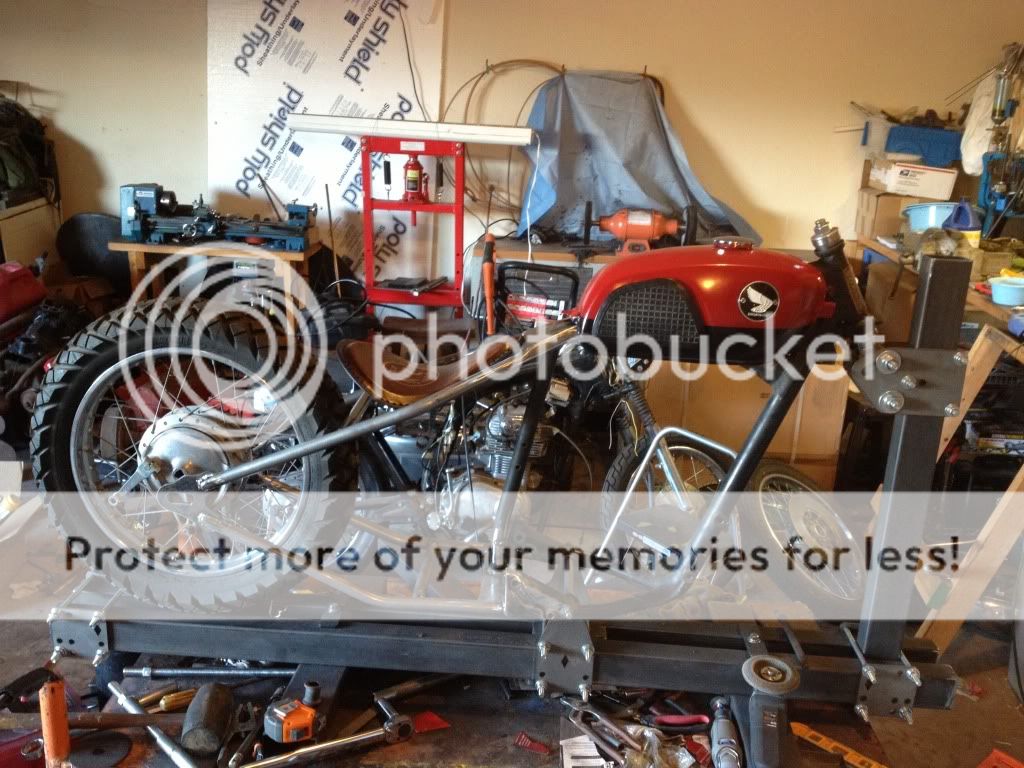
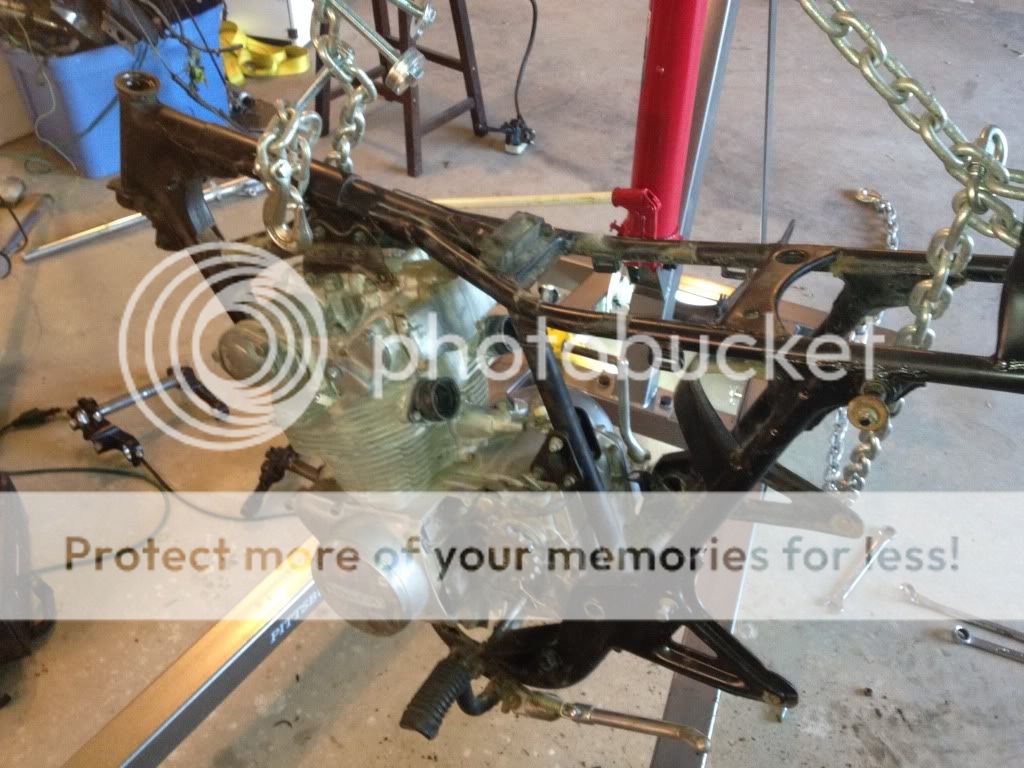
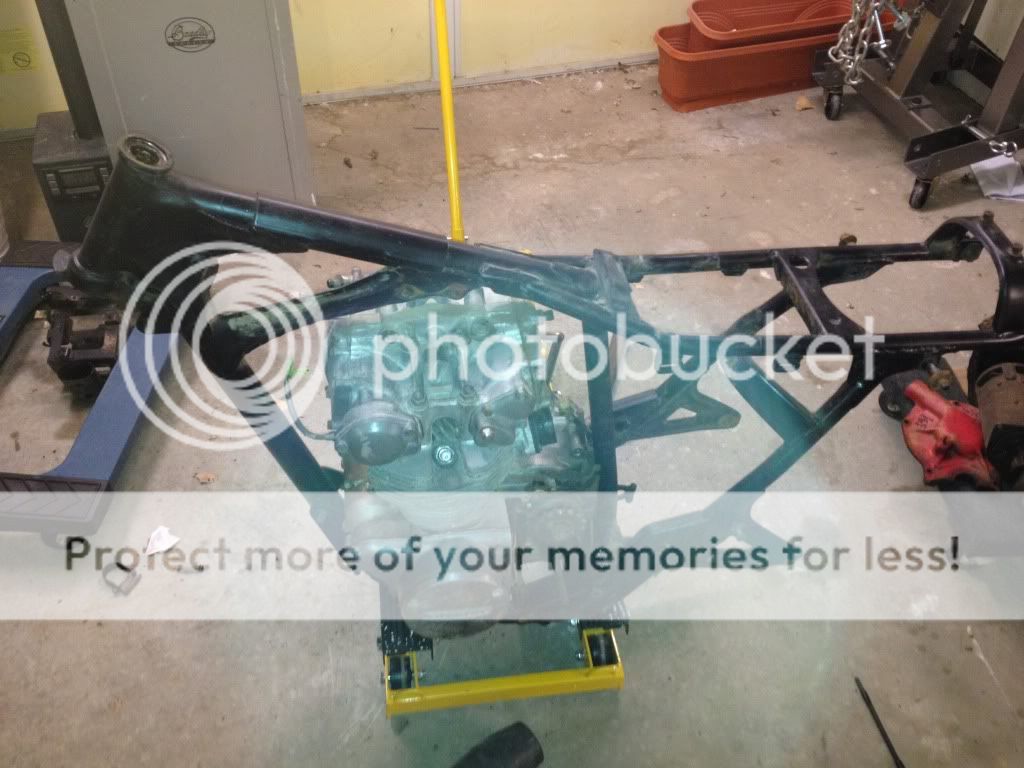
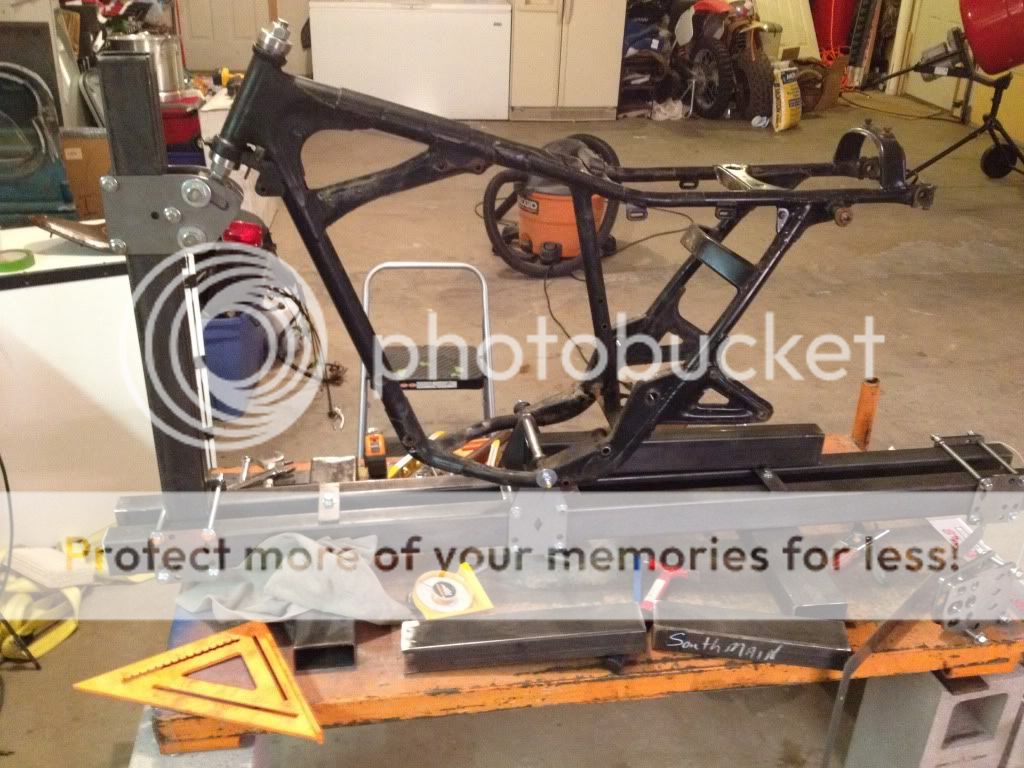
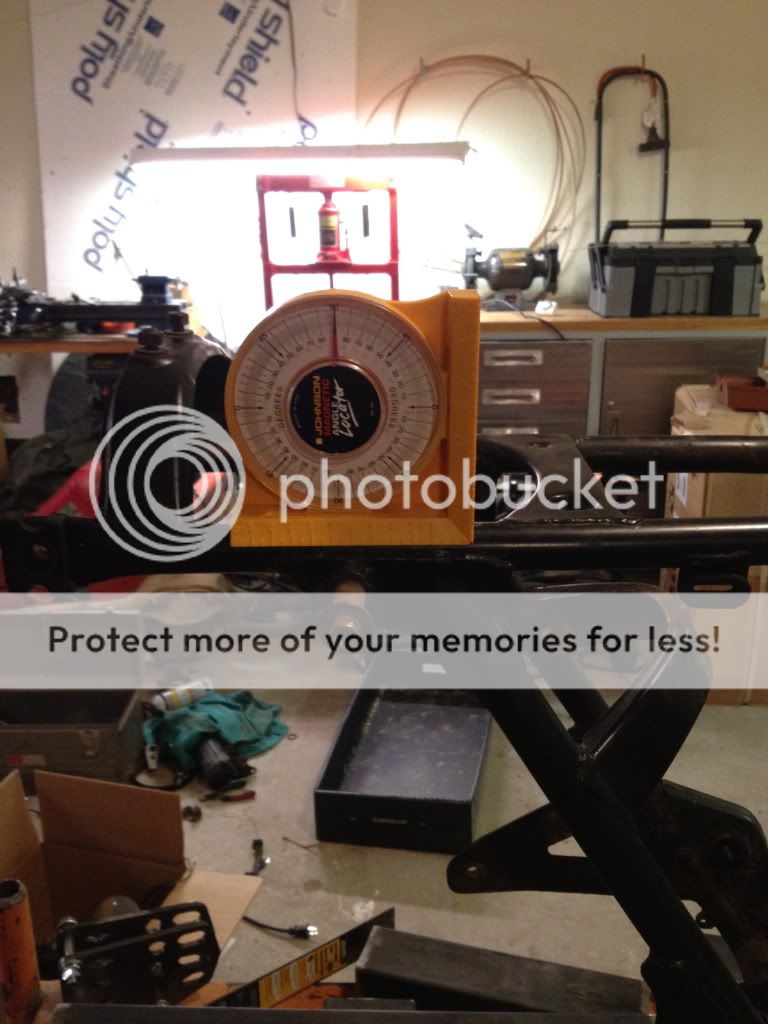
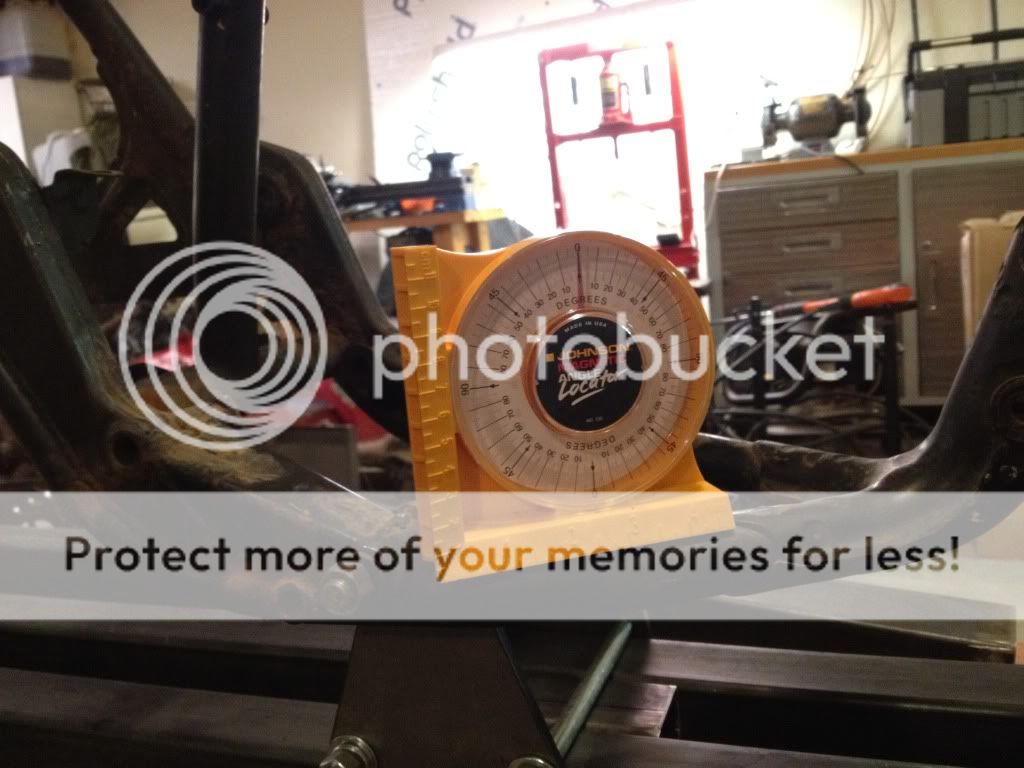
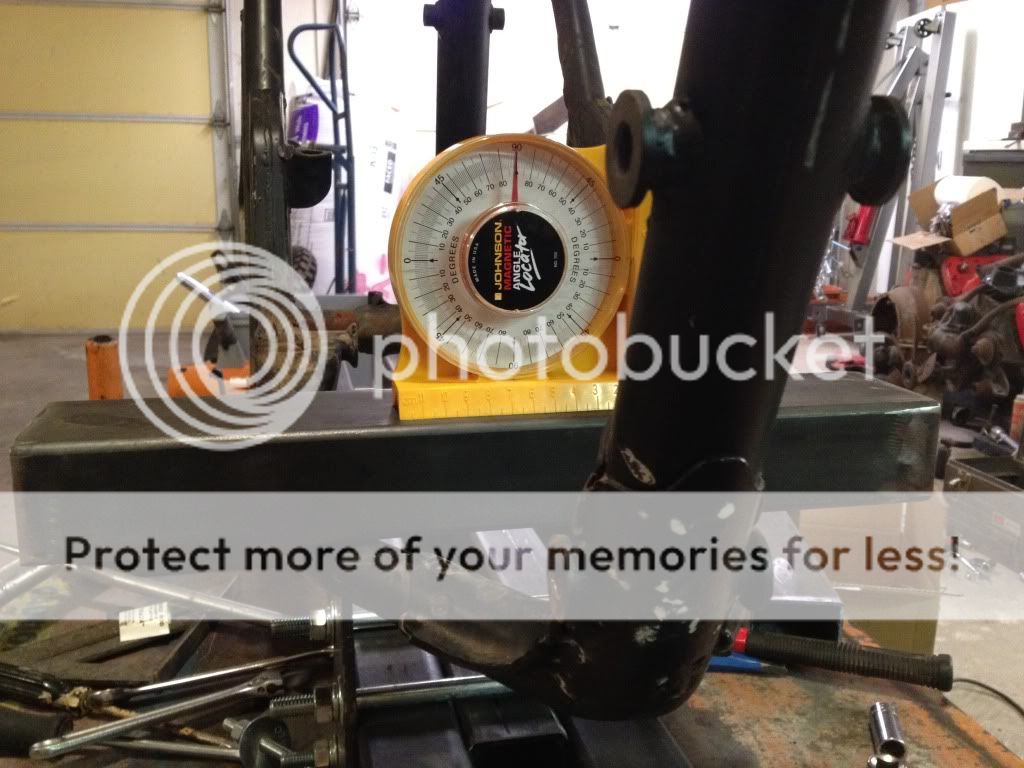
I have stripped the bike down to the frame and have in the jig. I am not sure where I should cut for the hard tail frame. I was thinking of saving the back top motor mount and tying the frame into below it? Or should I take the mount out and fab another?

Last question is I really would like to update the cb450 front end. I have seen posts about guys adding ex250 ninja front ends to these CB450's but I can not get any info on exactly how to match the original cb450 rim/hub to the ex250 axle? I know both the cb450 and the ex250 axle are the same size but I am unsure how to make the transition happen. I do have a EX250 axle coming to so I can see how it all looks before I spend the 200.00 on a ex250 front end. Any help with this would be awesome.

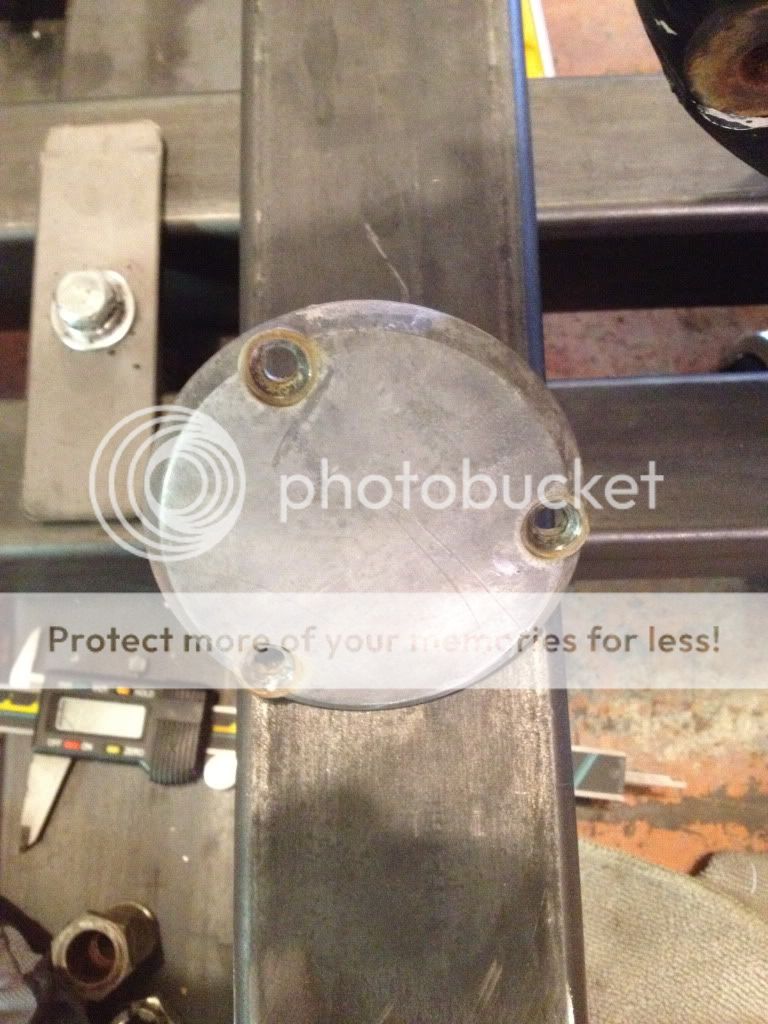
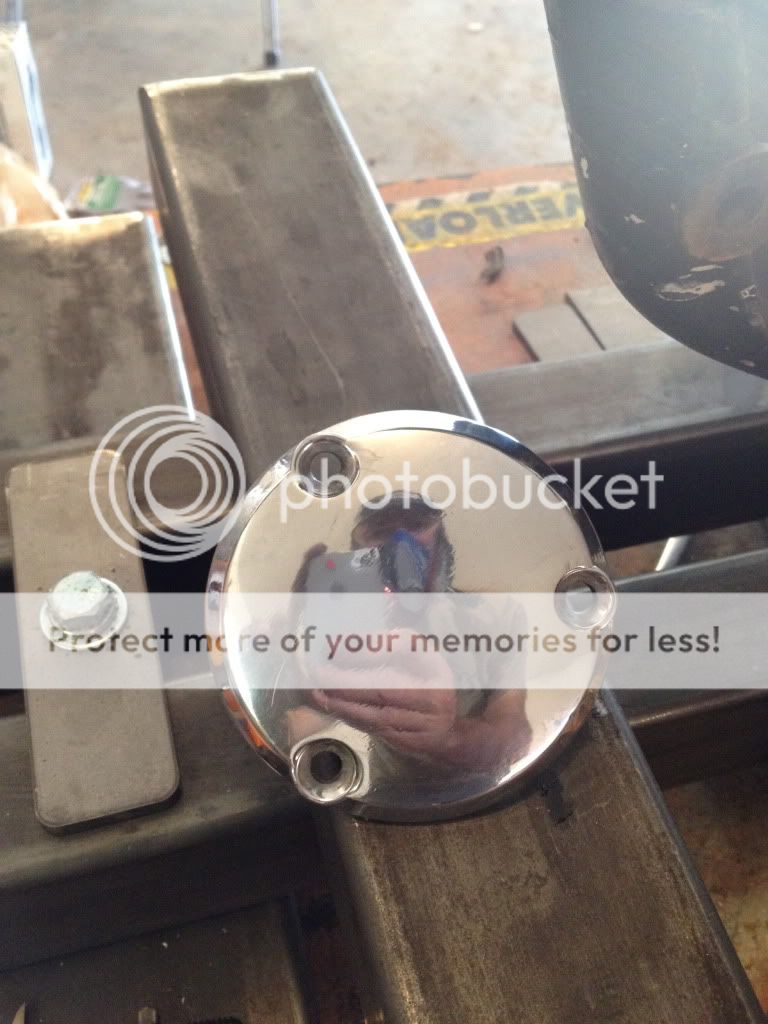
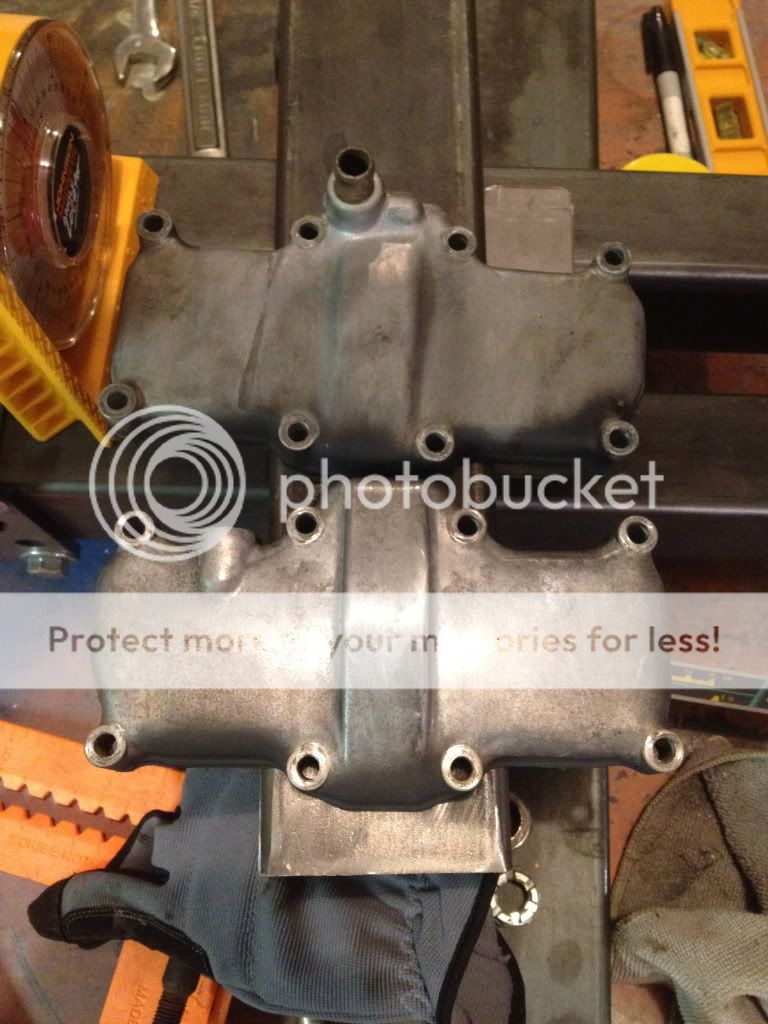
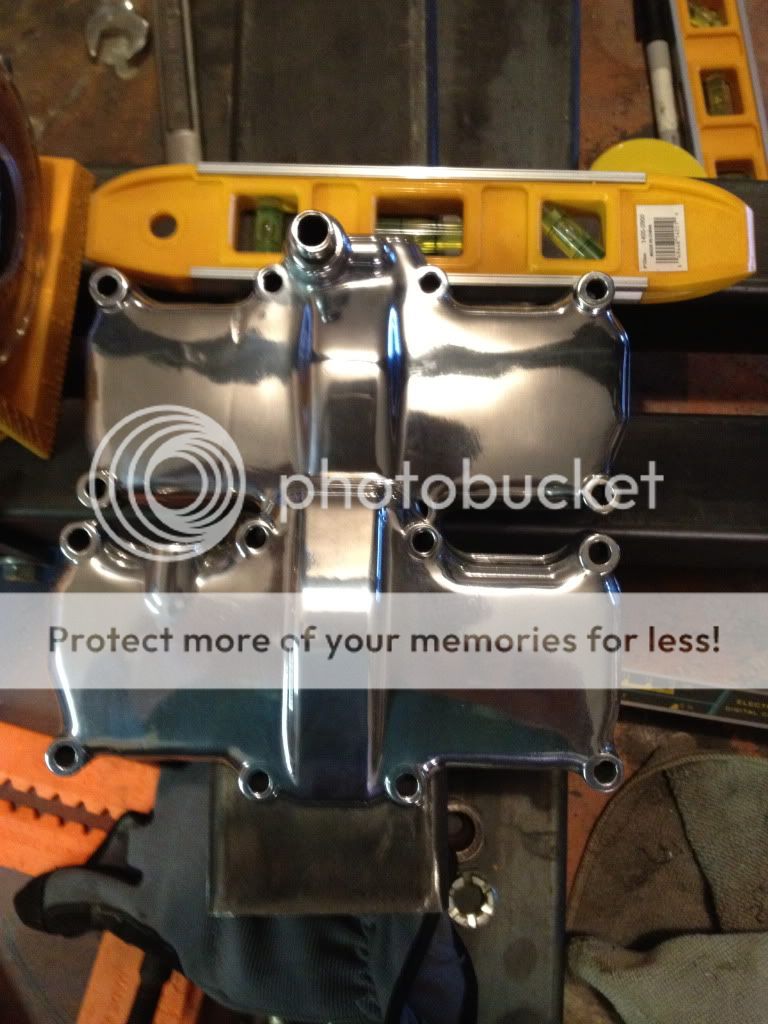
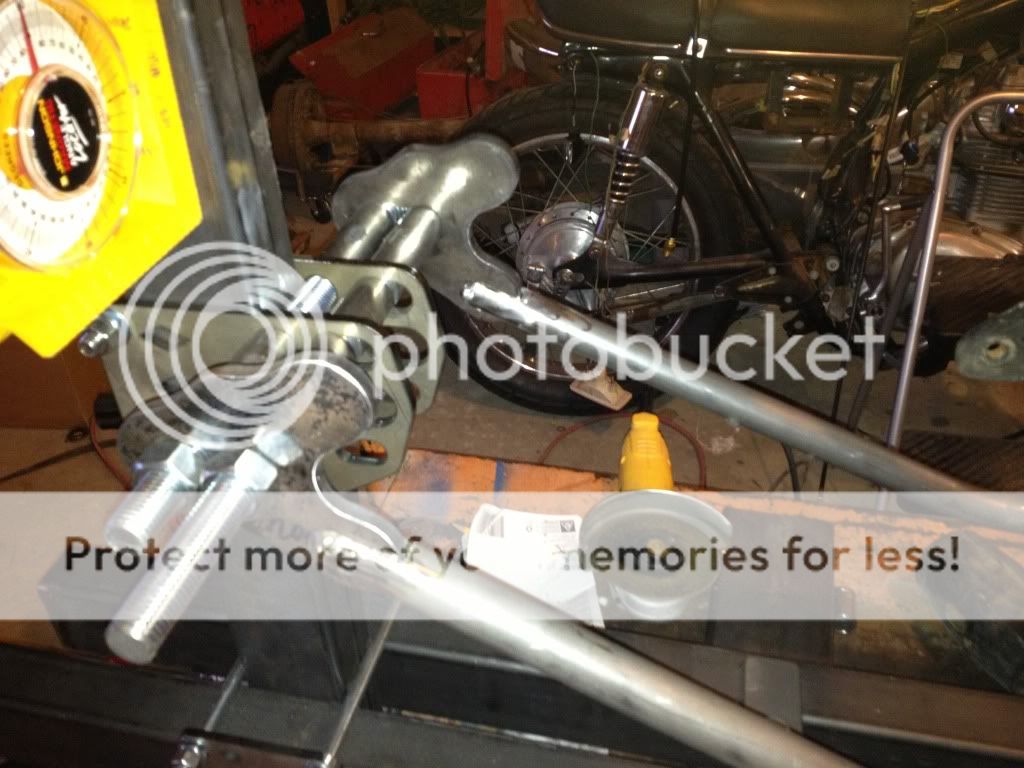
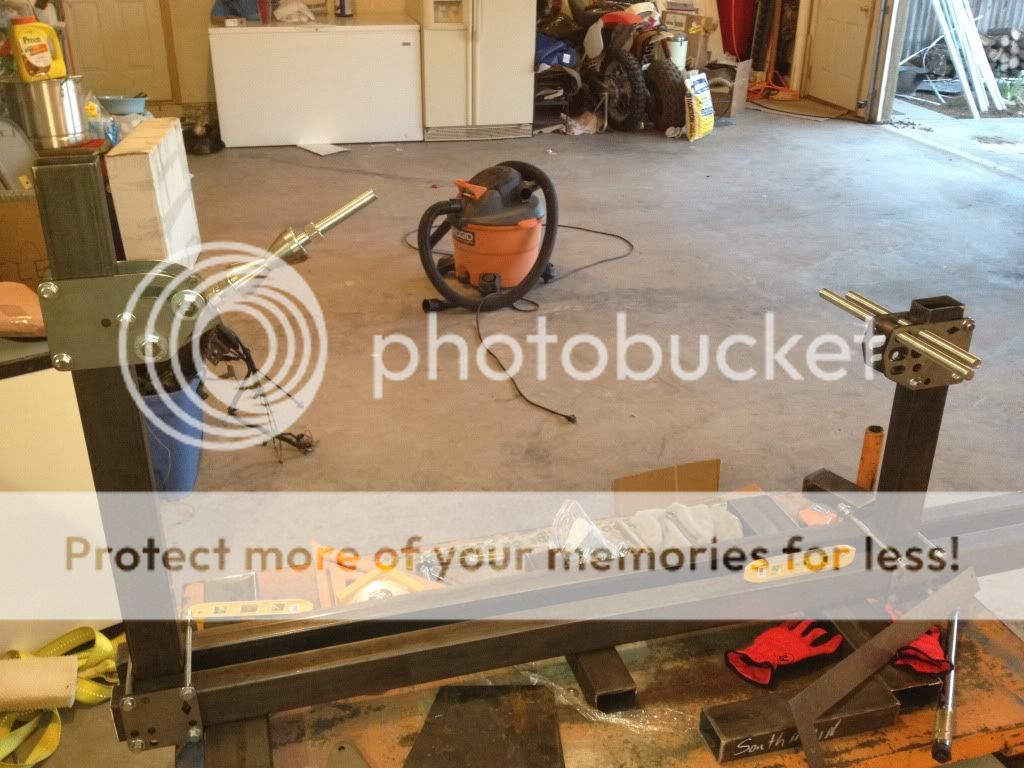
here are some pics of my progress so far. It is pic heavy so you have been warned ;)

IMG_0864-1.jpg

IMG_0878.jpg

IMG_08812.jpg

IMG_0889.jpg

IMG_0894.jpg

IMG_0893.jpg

IMG_0897.jpg

IMG_0898.jpg

IMG_0899.jpg

IMG_0903.jpg
 
i have added a pic of the lower frame where the hard tail will attach.. let me know where you guys think the best place to cut?


cut.jpg
 
basementhardtail68 said:
I would cut at arrow 2 and make a new motor mount. I think it will look better and be stronger. Nice start to the build!

Thank you for the reply. I think you are right about cutting at the #2 arrow, the lines will look much better. I was looking at a few CB450 chops and it seems that some even omit that motor mount? What are your thoughts on that? Is it needed??

I will be degreasing the motor today and painting it up.. I can't decide if I want to tackle polishing some of the parts or just painting them?
 
Some progress was made today, I got the motor fully degreased and ready for paint. I will be painting the motor flat black with satin gloss and polished aluminum accents. I also was able to polish some parts today. I have never polished aluminum before. It was a lot easier than I thought and the results are amazing. I took some before and after shots of some of the parts I polished. I will finish polishing the rest of the parts tomorrow and get the motor painted.

One problem I ran into is one of the cylinder head covers bolts is stripped. Any tips or suggestions on how to get it out? I was thinking of grinding the head of it off and pulling the over then putting some vise grips around the shaft and turning it.. any help is greatly appreciated


here are some pics of the polished parts

points cover before:

IMG_0908.jpg


points cover after :

IMG_0909.jpg


Cylinder head cover before:

IMG_0910.jpg


Cylinder head cover after:

IMG_0911.jpg
 
Chris L. said:
Thank you for the reply. I think you are right about cutting at the #2 arrow, the lines will look much better. I was looking at a few CB450 chops and it seems that some even omit that motor mount? What are your thoughts on that? Is it needed??

I will be degreasing the motor today and painting it up.. I can't decide if I want to tackle polishing some of the parts or just painting them?

You might be able to get away with getting rid of that motor mount. That motor mount is right by the drive sprocket and the kick starter though. I would think you would want maximum strength in that area. It will make the frame more rigid to have that motor mount there.

Polishing looks nice.
 
basementhardtail68 said:
You might be able to get away with getting rid of that motor mount. That motor mount is right by the drive sprocket and the kick starter though. I would think you would want maximum strength in that area. It will make the frame more rigid to have that motor mount there.

Polishing looks nice.

I think I will keep the mount, you bring up a good point about being near the kick. Thank you for pointing that out. I will have to see what I can come up with.

I am really enjoying polishing up this metal. It really makes a huge difference in the motors look. I was able to get some paint on the motor today and put a few of the polished parts on to see what it will look like. I am liking it.

A few more pictures of my progress

Before

IMG_0913.jpg


After.

IMG_0915.jpg


Before

IMG_0907.jpg


After

IMG_0920.jpg
 
Very nice! I'm usually more odd a brushed finish kind of guy, but those polished parts look great! Really pops against the motor. I assume you are using a buffing wheel on the grinder maybe a dremmel???
 
sasquach said:
Chris what are you polishing with ? It looks real good.

SloKrt said:
Very nice! I'm usually more odd a brushed finish kind of guy, but those polished parts look great! Really pops against the motor. I assume you are using a buffing wheel on the grinder maybe a dremmel???

Thanks guys for the kind words, I really appreciate your feedback. I am really happy with how all of the parts have turned out. THis is the first time I have ever polished aluminum, each part I am learning more and more how to get it to really shine.


Here is my process ( like I said I am no professional, this is just what works for me. Everything I learned from others on here, I just put together different things that work for me... )

I think one of the most important things I do is clean the parts I am working on with carb cleaner after each step, including the wet sanding. When I am changing to the next grit I clean. When I change to a different polishing compound I do the same, I clean with carb cleaner and bathroom tissue. I do not use paper towels as they scratch the surface. One of the most important things I do is clean the buffing wheels. I use a rake to do that ( see below for a link to it) When you start to see the black cake build up on the wheel you have to get it off. I also change gloves with each compind I use and I have a pair of gloves just of the sanding phase. I have a total of 3 sets of gloves I use, one pair for sanding, One pair for the brown compound and one pair for the white finishing. I take the gloves off when I am cleaning the parts with the carb cleaner so I do not contaminate the part.

My buffing equipment

- Harbor freight buffer - http://www.harborfreight.com/8-inch-buffer-40668.html
-White Stitch Polishing Wheel 8" x 1"- http://www.ebay.com/itm/180901586622?ssPageName=STRK:MEWNX:IT&_trksid=p3984.m1497.l2649#ht_500wt_922
-Swansdown Polishing Wheel 8" x 1"- http://www.ebay.com/itm/180901587752?ssPageName=STRK:MEWNX:IT&_trksid=p3984.m1497.l2649#ht_500wt_922

Buffing compounds I use:

-1lb brown tripoli- I use this on the White stitch wheel
- While finishing compund- I use this on the Swansdown Polishing Wheel

I also clean the black crap off of the wheel with a tool called buff rake http://www.ebay.com/itm/360482749459?ssPageName=STRK:MEWNX:IT&_trksid=p3984.m1497.l2649#ht_1382wt_962

My sanding sequence: ( I get all my sand paper at HD)
-First: sand is with fine emory paper ( I sand until I get all the aluminum clean with this)
-Second: 400 Grit wet sand paper
-third: 600 grit sand paper

I don't sand for along time. I just get the part to shine up and keep the sanding in the same direction. This is key to not have to work hard with the polishing wheels.

You have to make sure you go in the same direction with your sanding that you will go with your buffing wheel. Also, As I sated before, clean after each change of grit with carb cleaner.

Next is to the polishing wheel ( it is very important that you where a proper respirator, the dust created from polishing can cause cancer... that is no JOKE. HD sells one just for toxic dust)
First , I use the brown tripoli, I only put a little on the wheel. You can always add as you need it... don't over cake the wheel with it. IF you go against the wheel with the part, drag it up, this causes cutting of the metal and this is how you smooth out scratches and gouges.. When you go with the direction of the wheel this is how you get it to shine. this principle is the same for both compounds.
Once I get the part to the shine or smoothness I like with the brown tripoli I then clean with carb cleaner, don't forget remove your cloves and use soft tissue paper.

Next I go to the Swansdown Polishing Wheel and put the white compound on it, different gloves on, and this is where you get the high shine. you can still get some cutting action from this compound but not as much as with the brown. The white is mainly the coloring/shining compound. Remember go with the wheel to get it to shine bright. Be careful with this wheel! It will grab the parts out of your hand and slam them on the ground.

Don't forget to clean your wheels with the rake, it really makes a huge difference.

I hope this helps, it has really worked well for me. I do use a dremmel but only in the cracks and ridges the wheel can't. I use different wheels on the dremmel as well, treat the dremmel just like your polishing wheels. I have to say most of the polishing is done with the big wheels. I barley use the dremmel and its not needed if you don't have one. I just am anal so I use it.

Here is a pic of my latest work.. its the head covers. I really like the way they turned out. I almost just painted them but decided to try polishing them, I am glad I did polish them.

Before

IMG_0924.jpg


After

IMG_0925.jpg
 
Hey guys nothing new to post... I am waiting on the engine gaskets and my hard tail parts. Once they both come in I can get back to it.

I hope you all are having a great weekend

Chris
 
Time for an update:

I have been pretty busy so the building has been a little slow. Tonight I put work and life aside and got into the garage and made some great progress. I was able to get the bottom rails of the hard tail in, everything is square and true. It was a little more challenging that I had imagined. THe hardest part for sure was getting them level while still using a slug in the old frame. These 450 frames do not have much "flat" or level tube to work the slug into. With a little finesse I was able to still have plenty of tube for the slug on the original 450 frame and tie the bottom frame in. I still will use some gussets to for that added strength.

I will be working on the top rails the rest of the week.

one question:

1) For the top rail would you slug it into the original tube ( see picture below) or would you take all the original top frame off and weld the hard tail tube/frame right to the back bone?

IMG_1048.jpg


Here are some pictures of the bottom rail being fitted up

IMG_1044.jpg


IMG_1043.jpg


IMG_1049.jpg


IMG_1052.jpg


IMG_1051.jpg
 
Here are some updated pictures. I chopped off the back half of the original frame and welded up the top rails... I was able to tie the top rails into the original frame with some slugs and gussets ....She is almost a roller!!! WOOT WOOT. I just have to add a few more welds here and there and she is off to the powder coater.

I am trying to swap out the old forks with some 2004 ninja forks.... We will see. Its a little more involved and I may not be able to do it. I may just put the stock ones back on but I would like the updated suspension and disk caliper and break rotor from the ninja forks on the front??


Top rails in... old back frame still on

IMG_1060.jpg


Chopping the back half off

IMG_1061.jpg

IMG_1064.jpg


Working on tying in the top rails of the hard tail to the original frame

IMG_1065.jpg

IMG_1066.jpg

IMG_1067.jpg

IMG_1068.jpg


Closing in the bottom engine mount and gusseting the lower hard tail frame rails

IMG_1070.jpg


Plates/gussets for the engine mount

IMG_1069.jpg


All boxed in

IMG_1071.jpg


She's starting to look like a motorcycle again

IMG_1073.jpg


IMG_1072.jpg
 
Starting to come together nicely. Once I get a good welder and build a frame gig, I'll be taking a stab ar building my own hardtail too. What tires are those? Look like the ones I'm using on my 350.

Keep up the good work, I like where this is heading!
 
Looks good, man. You look like you're man handling that flapper disk like Excalibur.
 
SloKrt said:
Starting to come together nicely. Once I get a good welder and build a frame gig, I'll be taking a stab ar building my own hardtail too. What tires are those? Look like the ones I'm using on my 350.

Keep up the good work, I like where this is heading!

Hey Slo, Sorry for the late Reply. I had missed you post.

Thanks for the compliments. Its coming along slowly. I have a couple of other tanks I will try on it to see what looks best.

Yeah man get a Jig for sure. I was back and forth on it until I realized I am not good enough to do it without one. It wasn't near as expensive in the grand scheme of what the hospital bills would cost me if I was not square or the frame was out. Plus I figured I could sell it for near what I have into it if I ever decided to sell it. It was worth the piece of mind when I finally get her on the road.

THe tires are the ones that came on the bike when I bought it. I will be switching the front and rear out. I would like some whitewall but they suckers are expensive.

Please post some pics of your build when you start. It is worth it and its a lot of fun


sxecafe said:
Looks good, man. You look like you're man handling that flapper disk like Excalibur.

LOL, man I am a flapper ninja! I have been using the hell out of that thing to shape that neck of the backbone. It came out well.

Thanks for the kind words.

Its good to see that people are following my build I will keep updating it.
 
..... :eek: Everytime I look at the pictures of my build it reminds me how I need to clean my shop!!! NAH I work better in that mess ;)
 
Coming along nicely! Any updates?

I like the plate you added to the connection of the hardtail and downtube. I was actuall thinking of doing something similar on mone... Now that I see how it looks finished, I think I'll add that to mine.
 
Back
Top Bottom