81 CM400T brat build

dannyrds

New Member
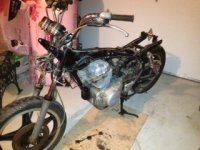
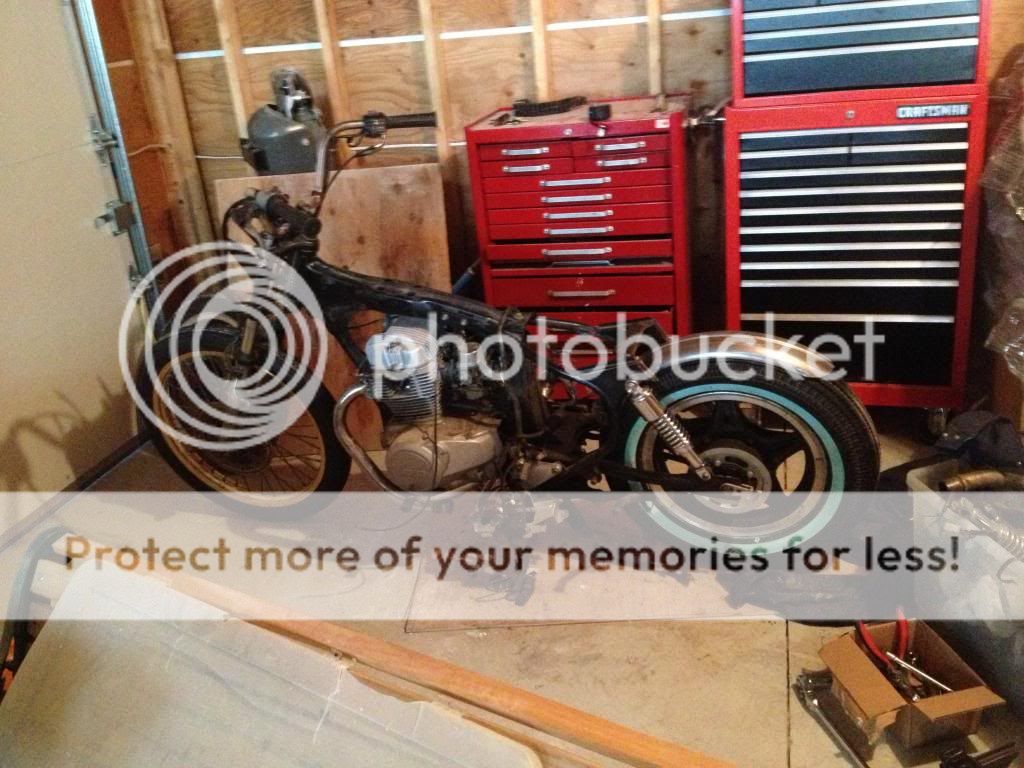
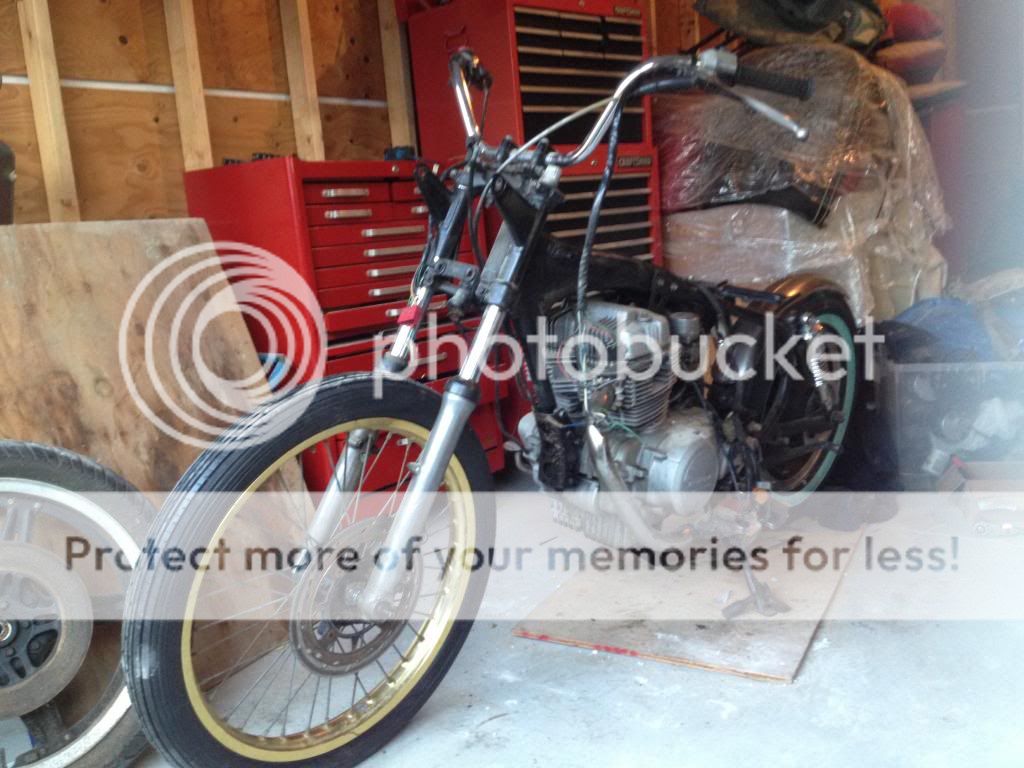
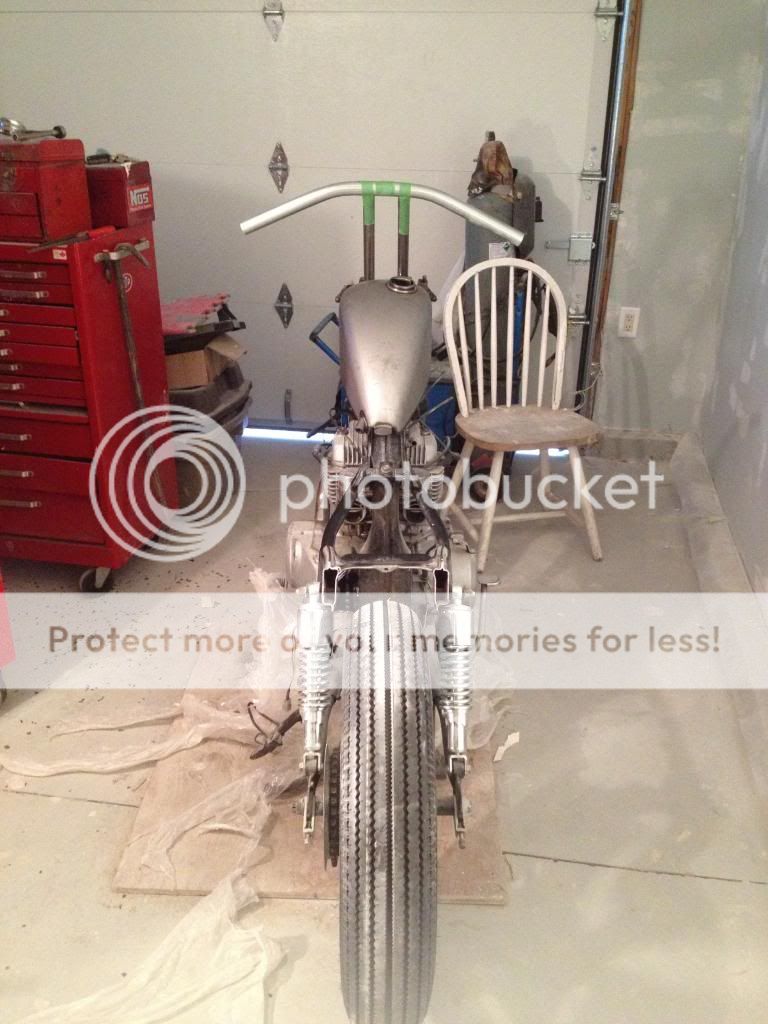
hello, new to the site and the riding world, just bought an 81 CM400T, so far i have spent my time getting it running and stripping it down a bit. Now im ready to take the plunge and get started on the build, the plan:

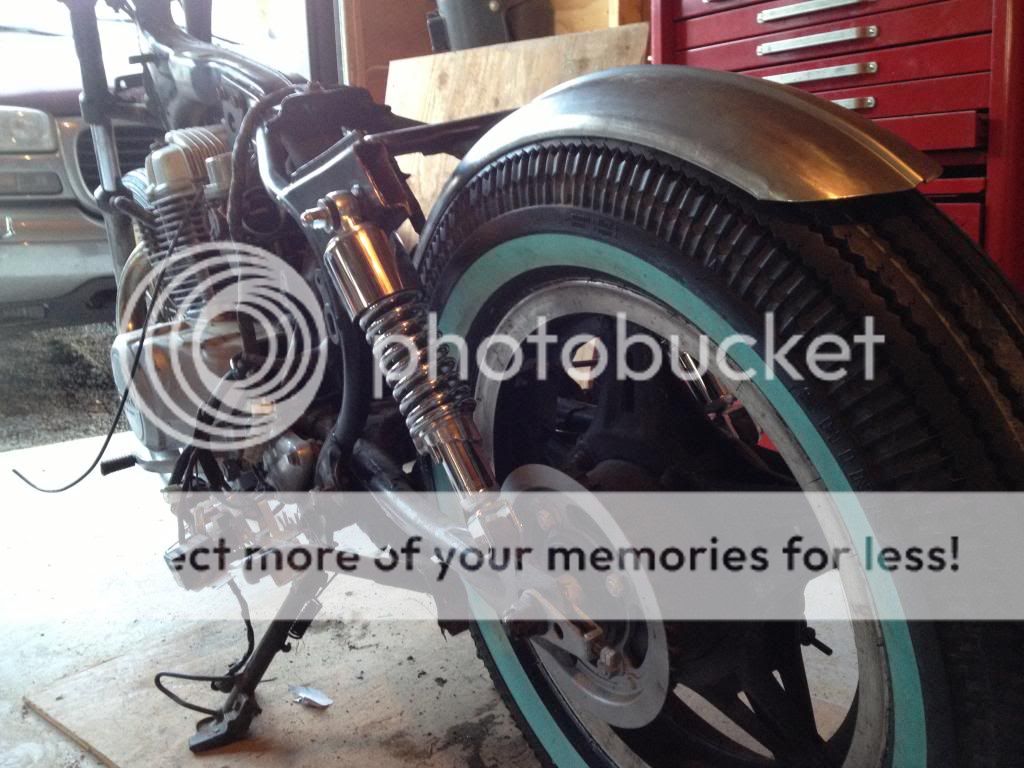
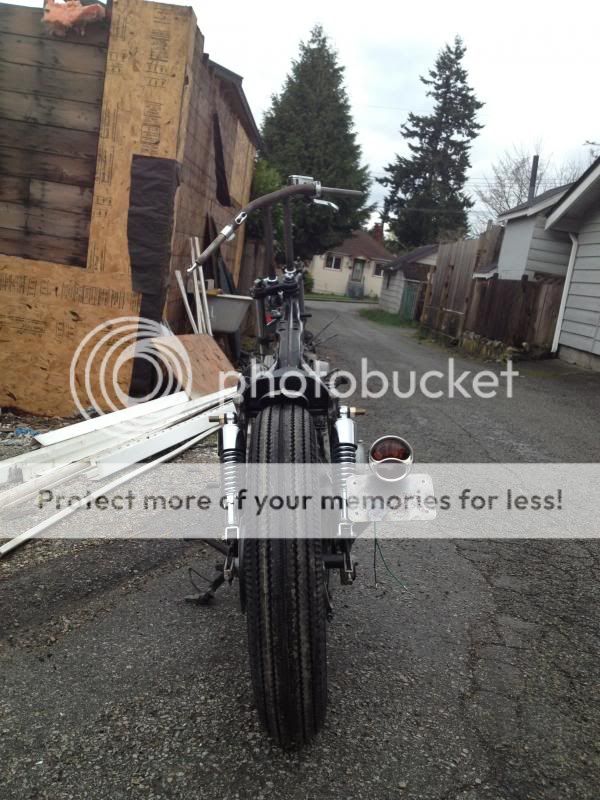
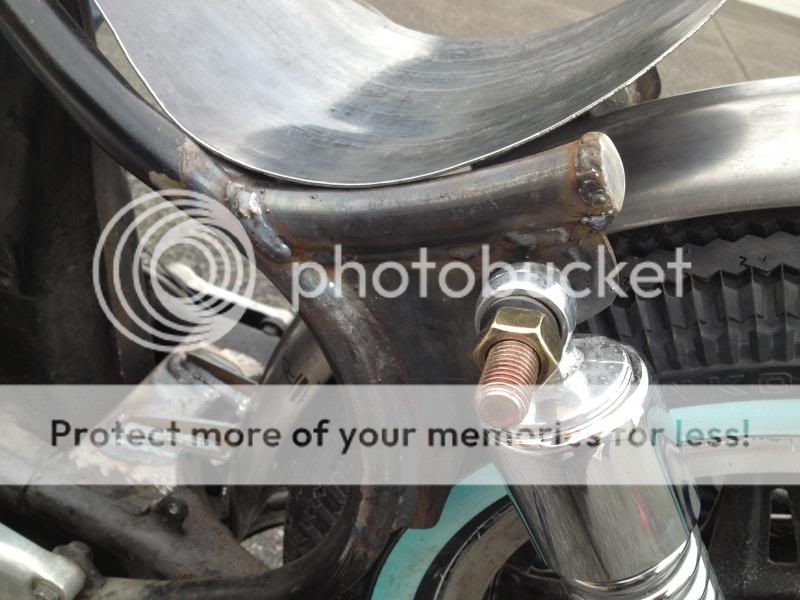
-shorty rear shocks with rear frame rails curved upwards towards shock mount ala: typical bratstyle
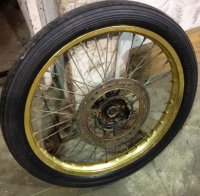
-16" rear shinko 270 whitewall (old firestone look) on 16" wire wheel
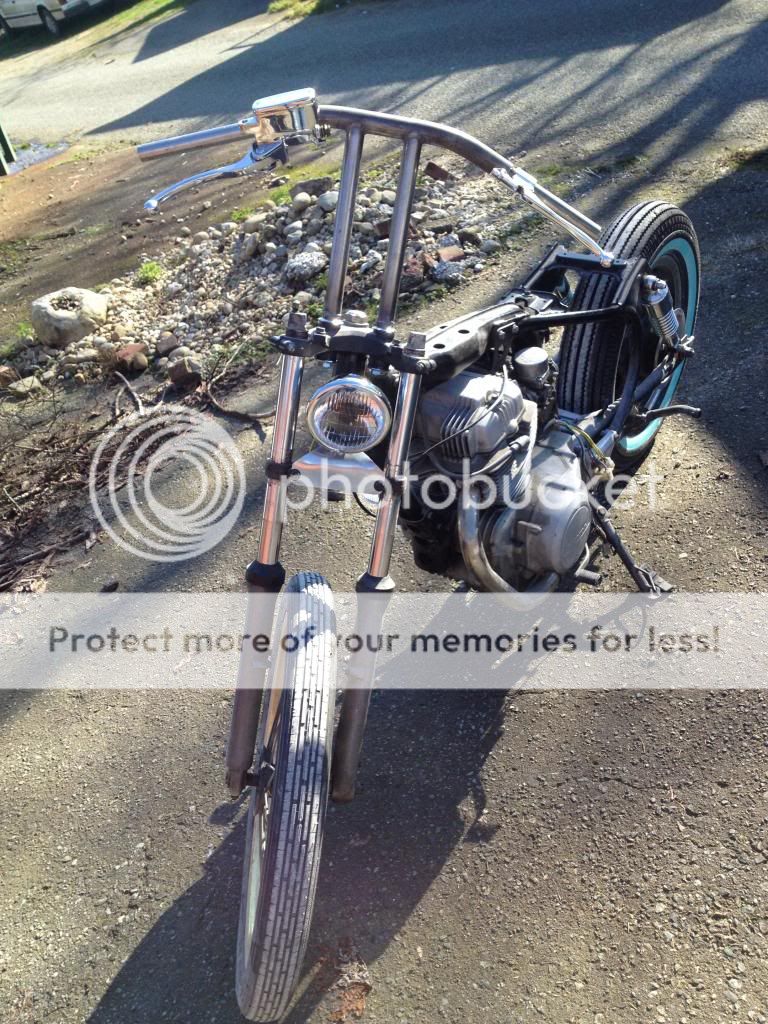
-21" avon speedmaster on 21" wire wheel
- narrow ribbed rear fender
-narrowed and frisco mounted sportster tank
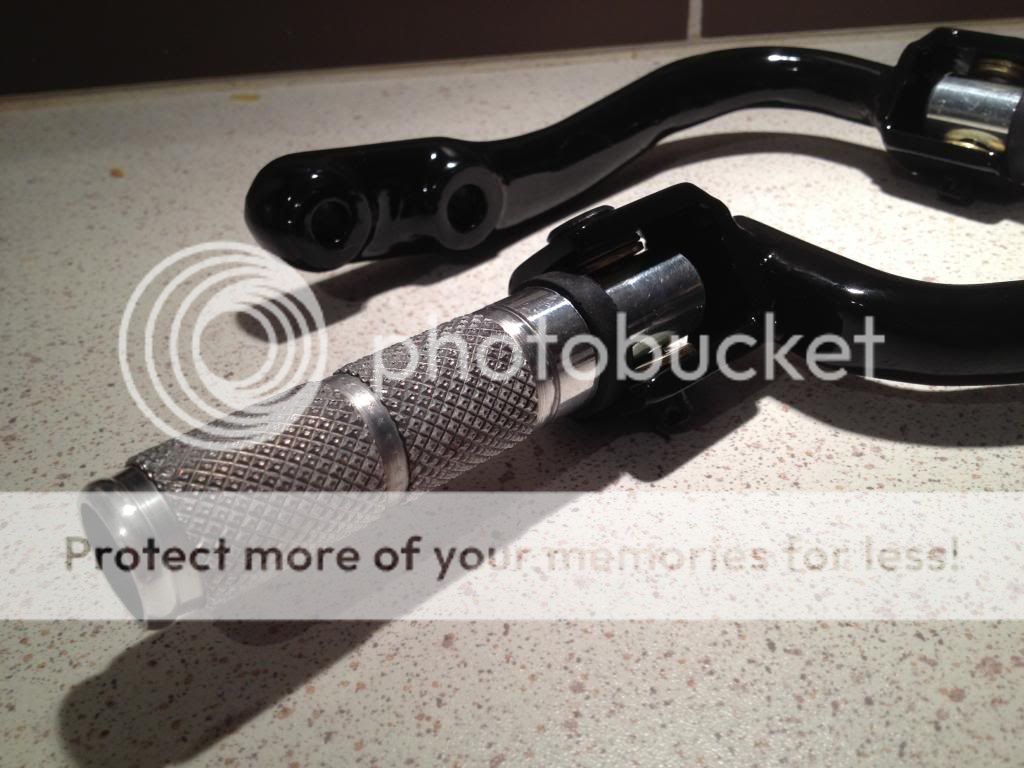
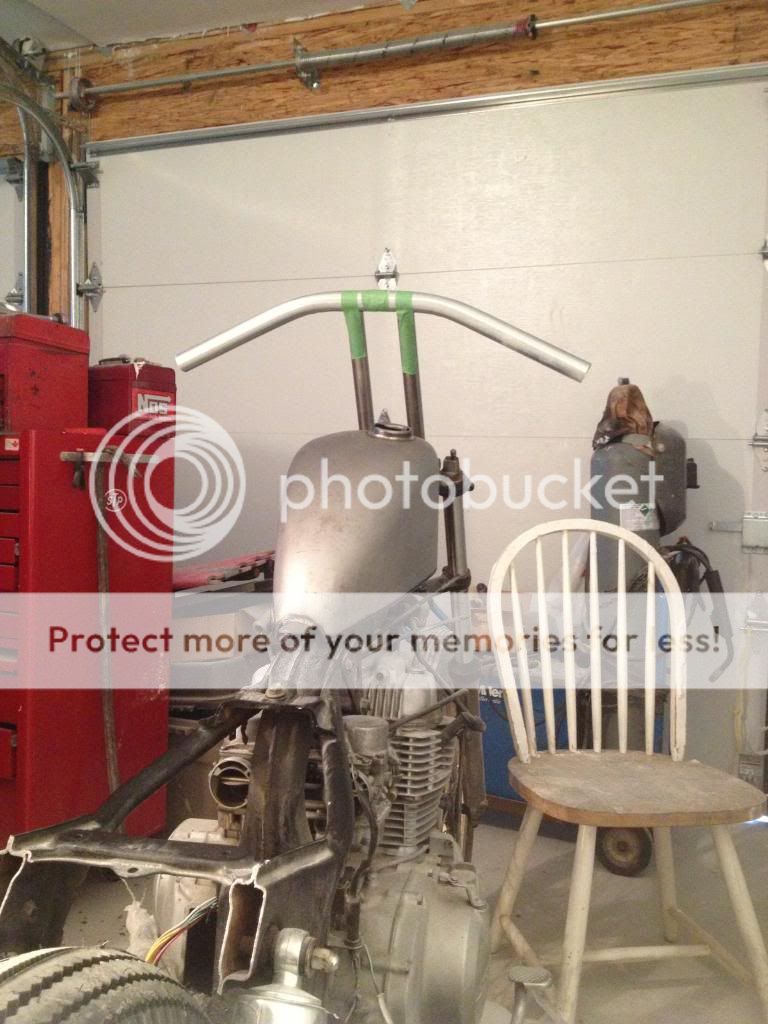
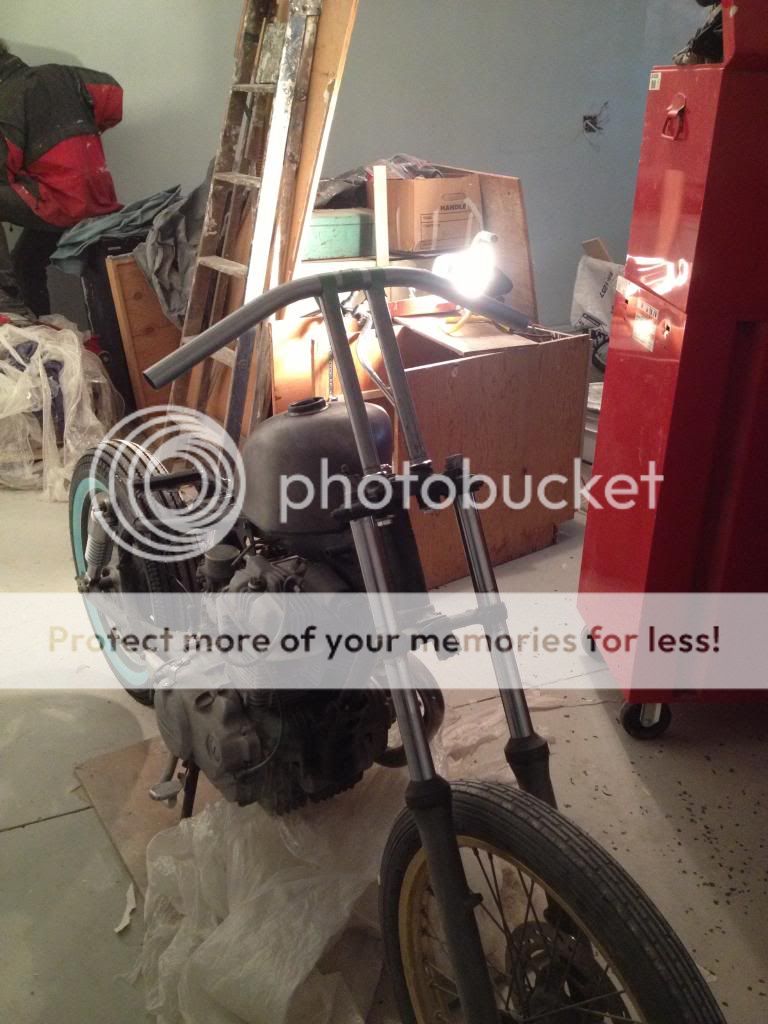
-set of narrow (22" or so) t bars, turned down 20 degrees or so at the grips
-5 1/2" bates headlight
-32 ford "stop" tail light
-chinese aluminum master cylinder
-car style ignition switch

i have all these parts so far (tires no wheels) and am getting ready to get my hands dirty. i have all the parts figured out for the basic rolling chassis and stance that i am after, but i am getting stumped on some of the harder to find stuff. here is what i am looking for details on:

7/8" dual cable throttle - is it a push/pull style? i cant find info anywhere
front and rear wheel axle sizes - i would like to keep the front disc so i need a different brand wheel
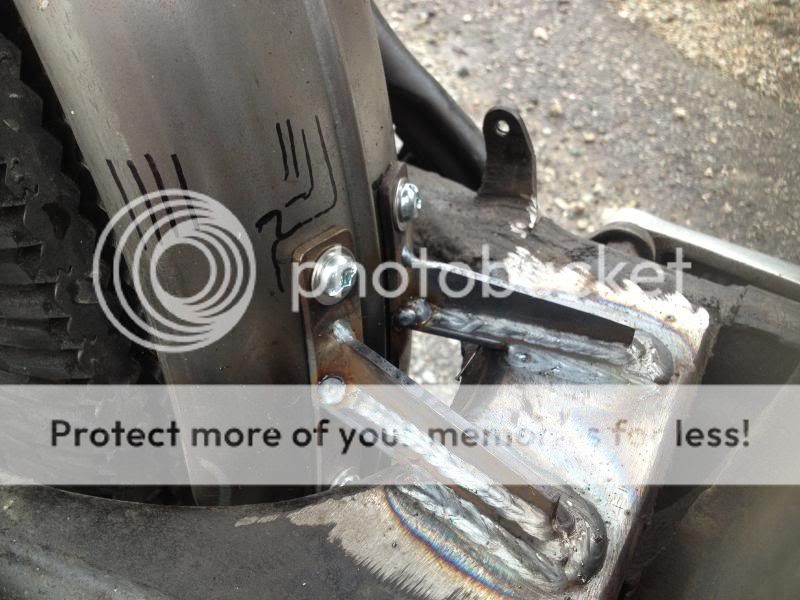
when i change the rear frame section to the curved style tubes do i need to brace them back together somehow?
 
Hey Dan, sound like a great project. Do you have any pics? As far as your questions, the dual cable throttles (as far as I have seen) are a push/pull system. I personally do not have one on my rig but my buddy's is like that. And for grafting the rear loop to the rear of the frame, I just bent a smaller piece of tube and welded it in between where your butt joints are going to be. I also welded a cross brace so that I could mount my seat. Mine has worked like a champ. Hope that helps.
Brat017.jpg
 
Thanks for the info, I will get that throttle ordered up, I am kinda building
More of a narrow Frisco style bobber mixed with a soft tail bratstyle look.
I will probably brace the frame ahead of the shock bolts and leave the rear parts separated
And hide the brace under the seat, I will get som pics when I can
 
a couple of shitty pics from last night
 

Attachments

  • honda rear torn.JPG
    honda rear torn.JPG
    45.8 KB · Views: 1,807
  • honda torn.JPG
    honda torn.JPG
    44.4 KB · Views: 1,863
hi bloke, i got a cm 250 with the twin throttle cables i just removed the pull close cable. i havent had any big rides like that but running in shed seams fine as it has a heavy throttle return spring!
 
thanks for the info, there seems to be quite a few push pull setups available, i will probably just buy one of those. hopefully my cables and sleeves will be the right length, fingers crossed.

does anyone know if the tank must be higher than the carbs so it will gravity feed? will a fitting on the bottom of the oil tank ie: 2-4" lower than the carbs be too low? i am planning on using a round oil tank as auxillary gas tank, the sportster tank i bought is only 2.1gal. if i could connect the two tanks in series that would be alot easier than pumping it back into the fuel tank. i was planning on using one of those priming bulbs off an outboard motor and a 3 way valve to pump it back
 
I've got a CM400 also and eliminated the pull cable as well. I dont think you'll have the volume to push the gas up into the carbs if the fuel level is below the fuel input.

hillbilly said:
hi bloke, i got a cm 250 with the twin throttle cables i just removed the pull close cable. i havent had any big rides like that but running in shed seams fine as it has a heavy throttle return spring!
 
So the push cable is just a return cable, I assumed
It pushed on the opposite side of the throttle arm to help
Open the carbs, I think I will just run the one cable in that case.
I figured the tank would be too low, thanks for that info
 
Dont discount your vision just yet, you can always find a small electric fuel pump to help move things along!


dannyrds said:
So the push cable is just a return cable, I assumed
It pushed on the opposite side of the throttle arm to help
Open the carbs, I think I will just run the one cable in that case.
I figured the tank would be too low, thanks for that info
 
I'm definitely going to have both tanks, I thought about using a priming bulb from an out board motor as a manual pump. They have a one way check valve so it won't run back between squeezes of the bulb, and I can use a brass 3 way selector valve to connect carb and both tanks, and just fill thru the oil fill neck. Although, maybe a fuel pump and check valve would be easier, I'll get it mocked up and decide then
 
Love the direction you are headed sir. That black bike is sick, looks good with the Sportster tank on it.
 
Picked up a dirt bike wheel locally and mounted my Avon speed master
 

Attachments

  • image.jpg
    image.jpg
    506 KB · Views: 338
  • image.jpg
    image.jpg
    506 KB · Views: 356
  • image.jpg
    image.jpg
    506 KB · Views: 325
I also recieved some stepped bungs I ordered from bungking.com and went to the local metal store, I picked up some 1" to go over the bungs to create the risers, and some 1 1/8 for the top bar as well as some 7/8 to sleeve into the 1 1/8" for all my bar controls. I also ordered up a switch box for the bars to hold 2 micro switchs, on for signals and other for high beam and horn.
 

Attachments

  • image.jpg
    image.jpg
    470.5 KB · Views: 293
heres a pic of the mocked up handlebars, top tube is electrical conduit, easier to work with to get a good template for final piece

IMG_0642_zpsd111d4b8.jpg

IMG_0643_zps03eda434.jpg

IMG_0646_zps4f1b75e0.jpg
 
more work done, welded up all the rear frame mods, mounted the fender, trimmed and mounted the seat pan, made a battery box and cut it into the round oil tank i am using to house all me electronics, if im lucky there may be room left in there for wallet/phone/keys as well, or tools, who knows. need to mount the oil tank to the frame and grind off unused bungs, as well as cut a hatch into the top of the tank for access. next up is the fuel tank, using a stock sportster tank, 10 3/4" wide at the front and 8" wide or so at the back, going to cut a wide patch out of the center and put the two halves back together, hopefully ending up with about 5 1/2" wide at back and 7" wide at front. not much left after that, which is good i need to get it torn down soon if im gonna be riding it this summer.

IMG_0868_zps00069818.jpg

IMG_0870_zps7794fcb2.jpg

IMG_0866_zps6c7b76f1.jpg

IMG_0914_zps14f4fbc6.jpg

IMG_0880_zpsbaefb9fb.jpg
 
Awesome build, I like the head light bracket, I still need to figure something out for the headlight I am thinking of ordering. Are the shocks the 11" shortys from DCC ?
 
Back
Top Bottom