We noticed you are blocking ads. DO THE TON only works with community supporters. Most are active members of the site with small businesses. Please consider disabling your ad blocking tool and checking out the businesses that help keep our site up and free.
You are using an out of date browser. It may not display this or other websites correctly.
You should upgrade or use an alternative browser.
You should upgrade or use an alternative browser.
Hollywoodmx's XV920 Tracker - Quick Build
- Thread starter HollywoodMX
- Start date
wynand2000
Active Member
Looking good!
HollywoodMX
Coast to Coast
Djfob said:You weren't kidding when you said quick build, looks like you'll be ready to ride in no time. Weather is getting better in the yyc.
I now know why these pro builders like to work on the same bikes. Makes lifer easier. Ya i need it done by may 15th if I can. Save some final touches and graphics.
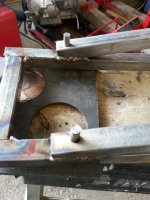
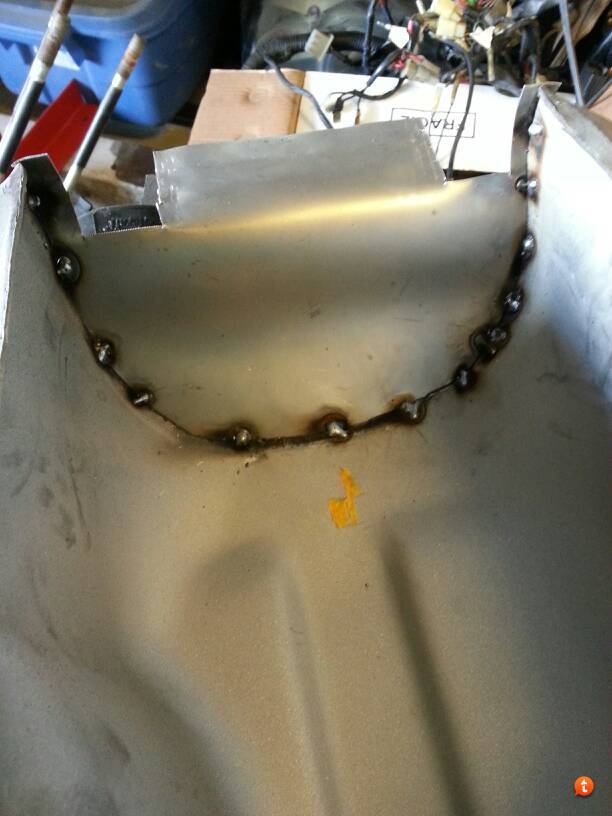
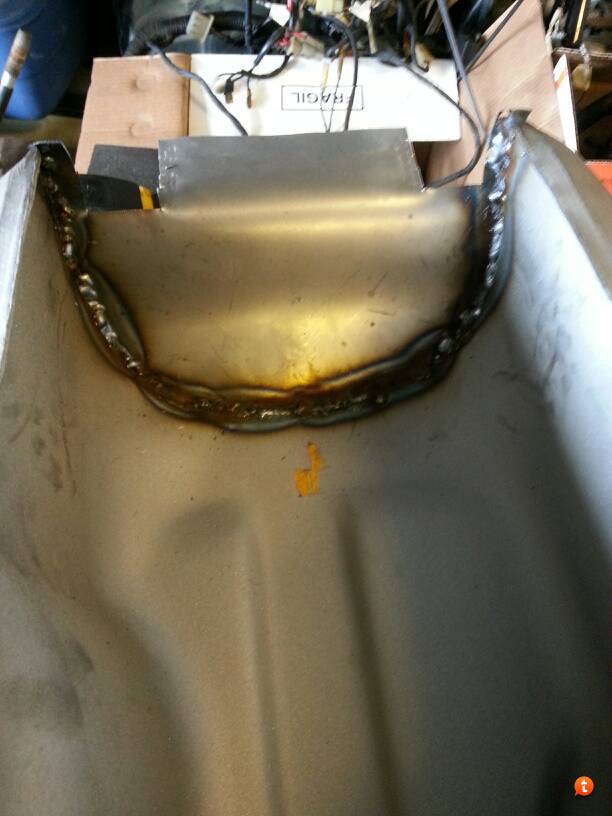
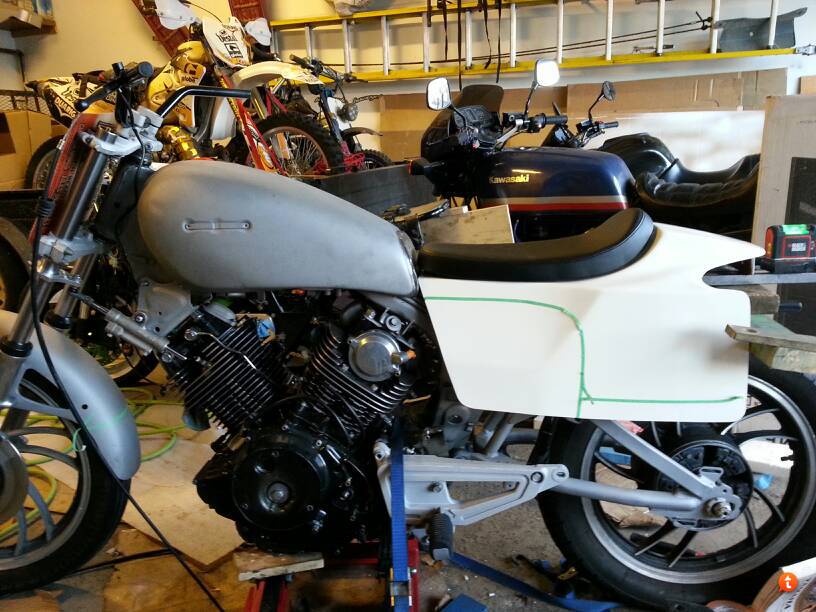
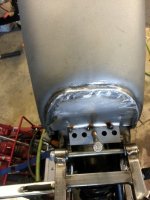
Cleaned up the tank which will also double as a mount.
HollywoodMX
Coast to Coast
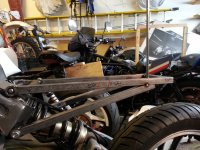
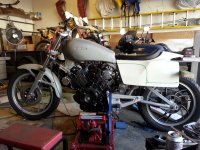
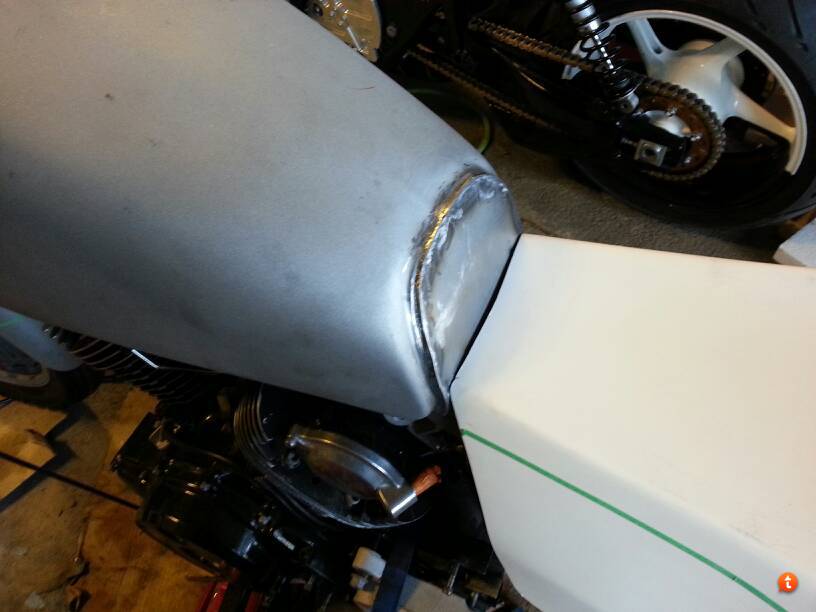
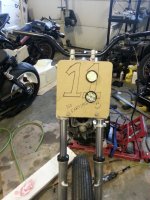
The hardest part of the subframe done. Getting the first frame tabs welded for the two poles and being true and level. This is why the measuring is so important. So the last pic the level is nice and green and the front of the seat is nice and flush t the tank. ")
wynand2000
Active Member
Nicely done with the tabs and tank, on my tank I bended over all the welds towards the tunnel first before welding.
This makes it possible to use less putty to smoothen , but I guess you could even let the seam like this?
This makes it possible to use less putty to smoothen , but I guess you could even let the seam like this?
HollywoodMX
Coast to Coast
wynand2000 said:Nicely done with the tabs and tank, on my tank I bended over all the welds towards the tunnel first before welding.
This makes it possible to use less putty to smoothen , but I guess you could even let the seam like this?
Thanks man. Ya i needed the extra length of the tank welds to meet up to the seat properly. The longer the tank the lower the seat will be and this bike is being designed for a slightly lower seat height than average if I can help it.
I have bondo and long hair fiberglass putty. Which would be better to smooth out the tank transition. I was thinking of using the the long hair to fill the big gaps then bondo to get it smooth.
HollywoodMX
Coast to Coast
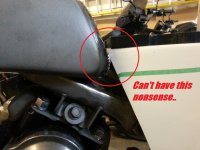
There goes the neighborhood!
wynand2000
Active Member
You`re taking a sprint ! ......impressed!
wfo speedracer
Been Around the Block
dualero said:Why did you made that last cut on the frame? Cool fast build, keep it going!
DH900sl
I am wondering this as well, I have seen it on a couple of builds here now ?
I am looking at a couple of 920's in Flawed duh next week and planning a similar build.
HollywoodMX
Coast to Coast
I have made the new flanges but waiting to finish them before posting. I would have more progress but dealing with unfortunate tank restoration issue on my gpz.
Why did I cut the frame there? You will see.
Why did I cut the frame there? You will see.
HollywoodMX
Coast to Coast
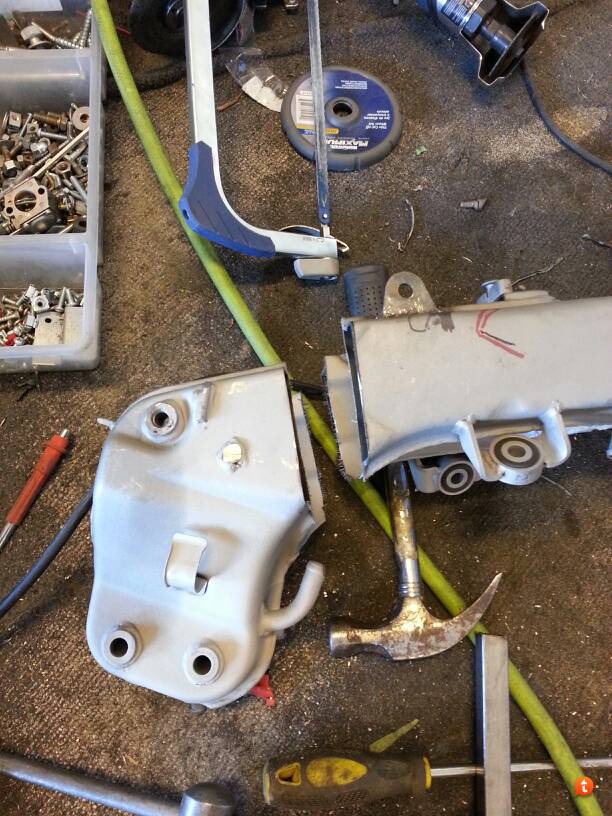
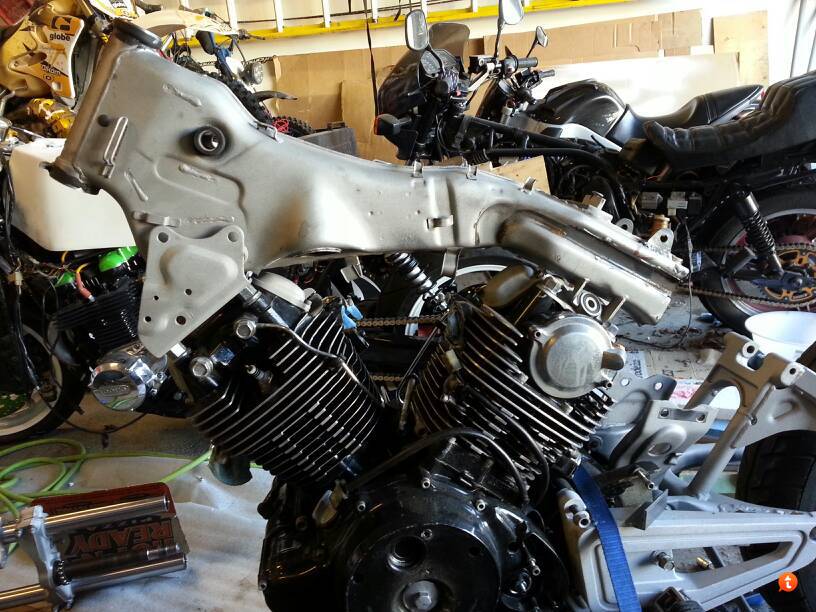
Frame welds all reinforced and now blended. I also reinforced the shock mount in the frame. Between the two bikes. 6 hours of weld blending.

wynand2000
Active Member
Neat job.......8 hours.ppppppffff
HollywoodMX
Coast to Coast
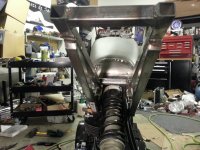
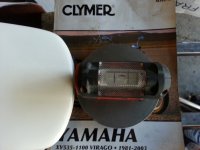
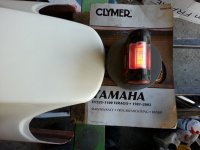
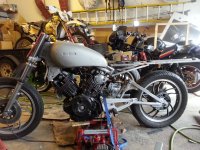
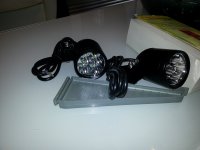
Cree headlights finally arrived. Sub frame all square an stage one built. In my first attempt at the sub frame i was 2mm off so I cut and redid the welding to make it 100% square.
Attachments

HollywoodMX
Coast to Coast
HollywoodMX
Coast to Coast
HollywoodMX
Coast to Coast
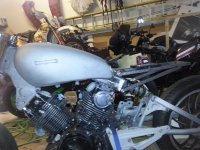
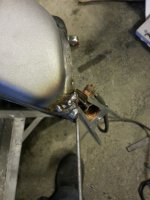
I am very picky about tank and seat lines so I cant handle when stuff isnt linear.
I would be a faster builder if I was picky about certain things. I lose a lot of hours on these kinds of things.
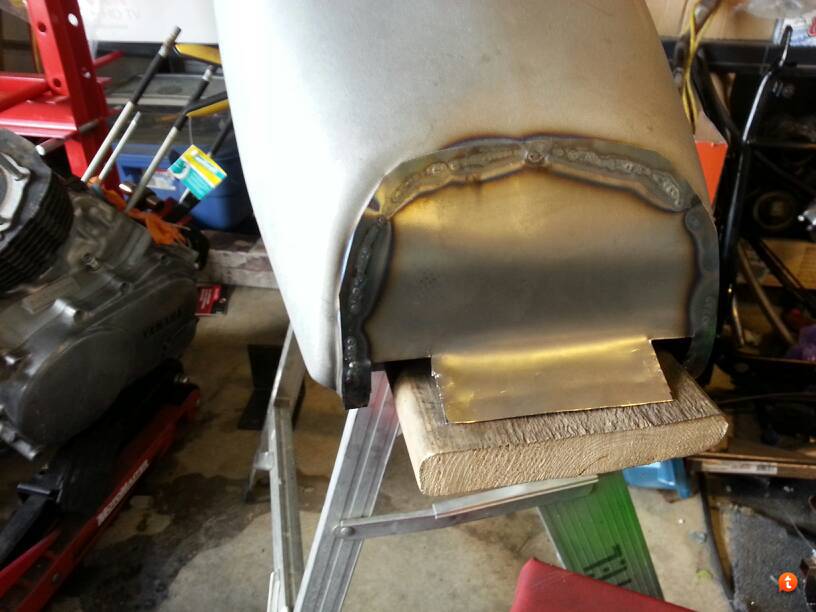
Anyways watch the magic happen. The end of the tank will be cleaned up with body filler so I didn't bother to clean the welds too much, but you get the idea.
I would be a faster builder if I was picky about certain things. I lose a lot of hours on these kinds of things.
Anyways watch the magic happen. The end of the tank will be cleaned up with body filler so I didn't bother to clean the welds too much, but you get the idea.
Attachments
HollywoodMX
Coast to Coast
Still more today.. wholeee shieeet. 8) ;D
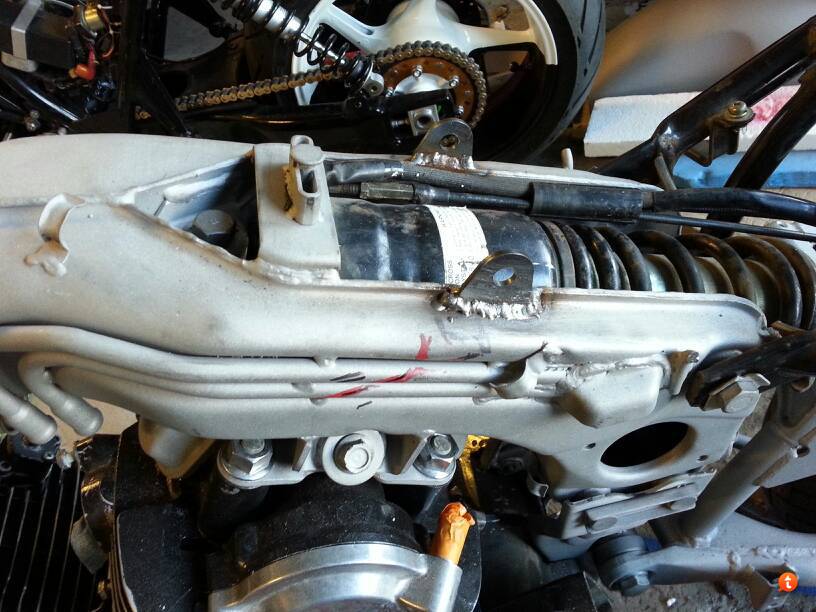
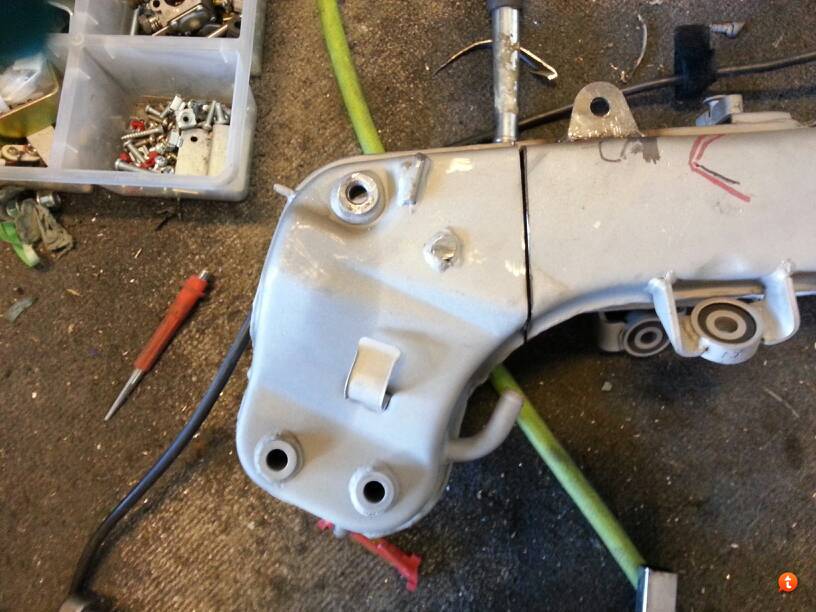
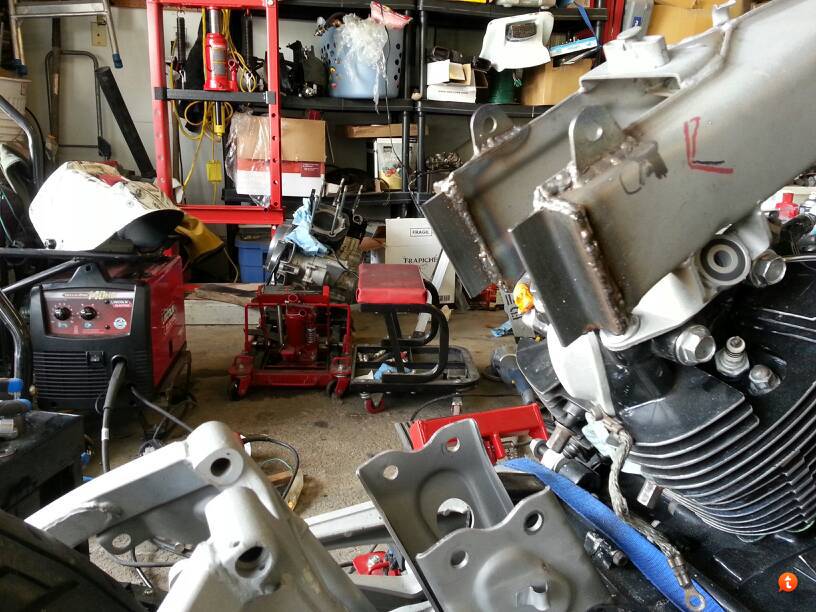
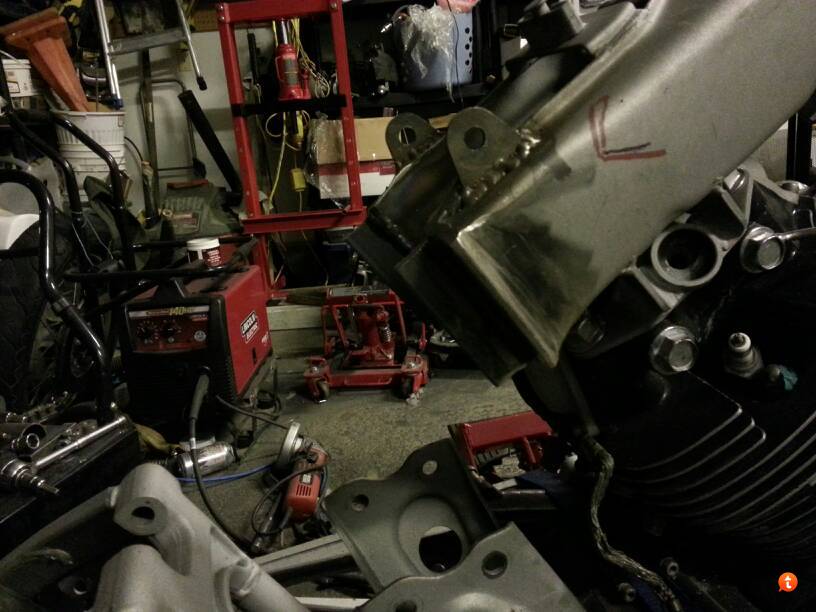
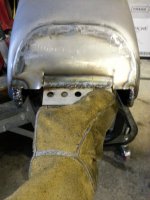
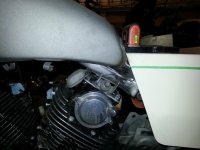
Ok so this sub frame is a little different than my last so I had to re-enforce it differently. Plus the lower beam angle is less steep so another reason to re-enforce it.
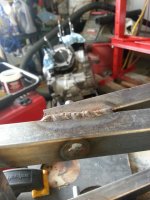
I drilled a whole through both beams. slid solid rod through it. Welded the tops and bottoms, then hid the welds. I also from the back opening I also welded the rod to all the walls inside, then proceeded to fill the holes with solid welds. Then I I again hid the welds and made a nice transition.
Am I going to far with some of this work??? Do people appreciate that level of detail??.. I'm not sure anyone will ever see those cleaned up welds..lol. :-\
Ok so this sub frame is a little different than my last so I had to re-enforce it differently. Plus the lower beam angle is less steep so another reason to re-enforce it.
I drilled a whole through both beams. slid solid rod through it. Welded the tops and bottoms, then hid the welds. I also from the back opening I also welded the rod to all the walls inside, then proceeded to fill the holes with solid welds. Then I I again hid the welds and made a nice transition.
Am I going to far with some of this work??? Do people appreciate that level of detail??.. I'm not sure anyone will ever see those cleaned up welds..lol. :-\