Hello this is my first post here. Love all the info that is available. I am going for a tracker brat style bike it doesnt really fit anywhere but since the tracker was my inspiration here it is.
Well this all started with a guitar. I was selling my guitar last week and got a call from a guy that had stuff to
trade. One of the things he had was a cb750. I went and took a look at it. I had to have it. So a
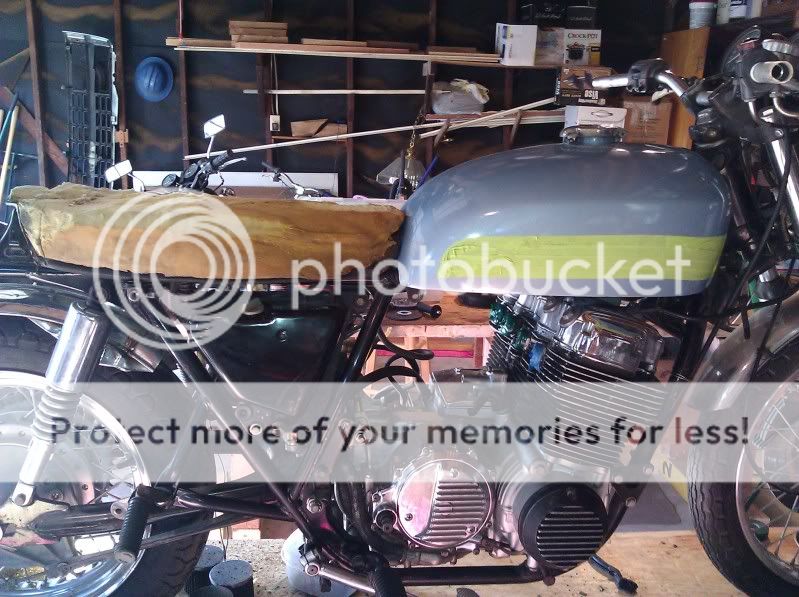
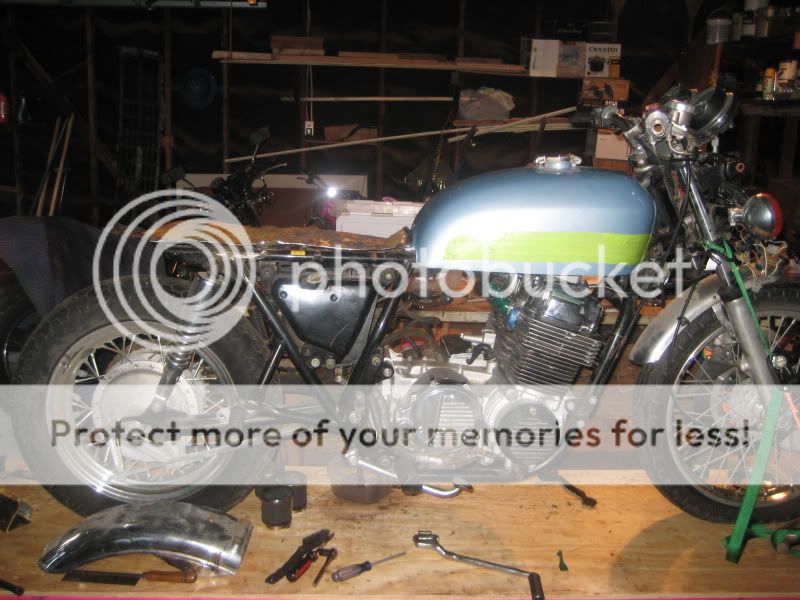
trade was made. the PO had told me it was a 78 with a 75 engine. It turned out to be a 73 frame with a 76 750f engine.
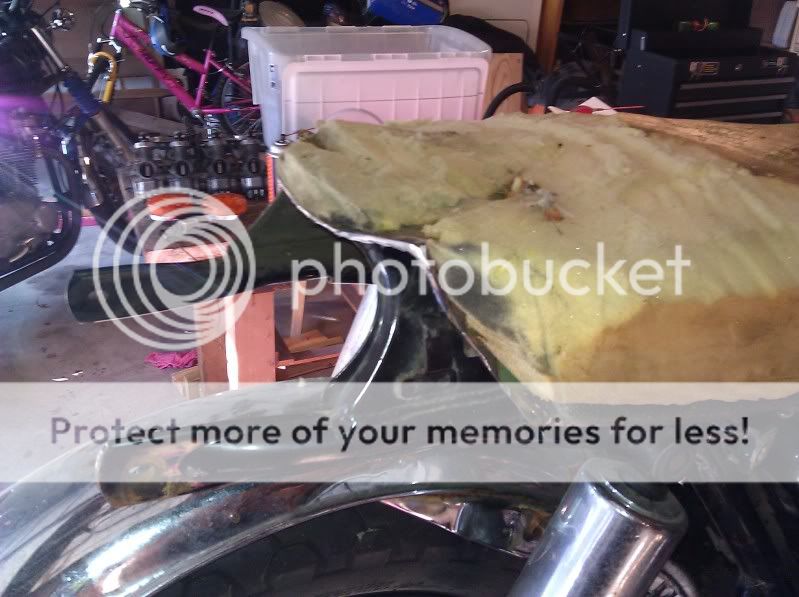
Also the seat that was on there was not the correct seat.
Anyway I had been wanting to do a bratstyle bike. I was gonna do it with my 78 kawasaki kz750 but the damn thing vibrates too much.
So my brother will be buying that one when I am done with this.
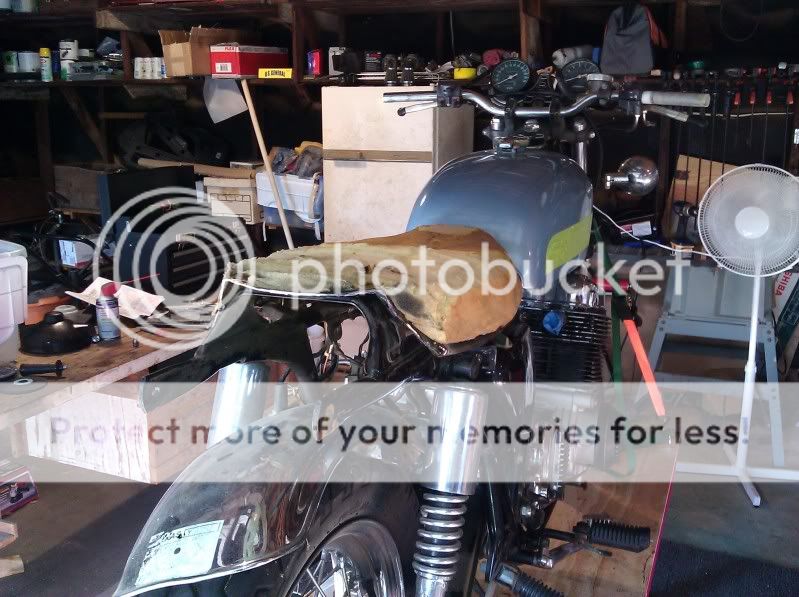
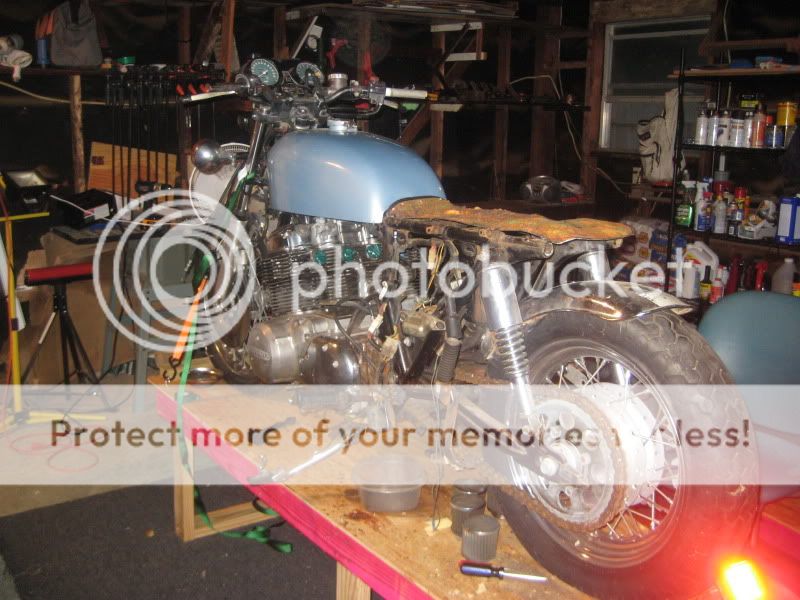
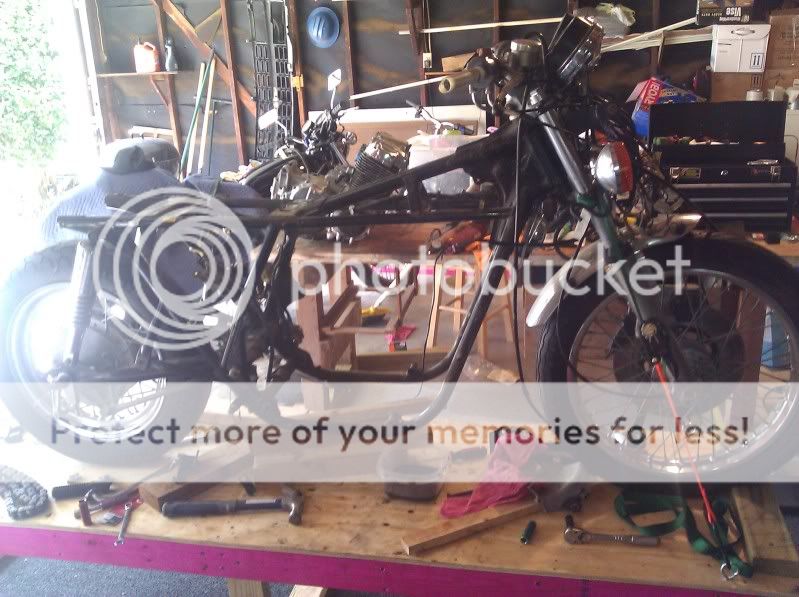
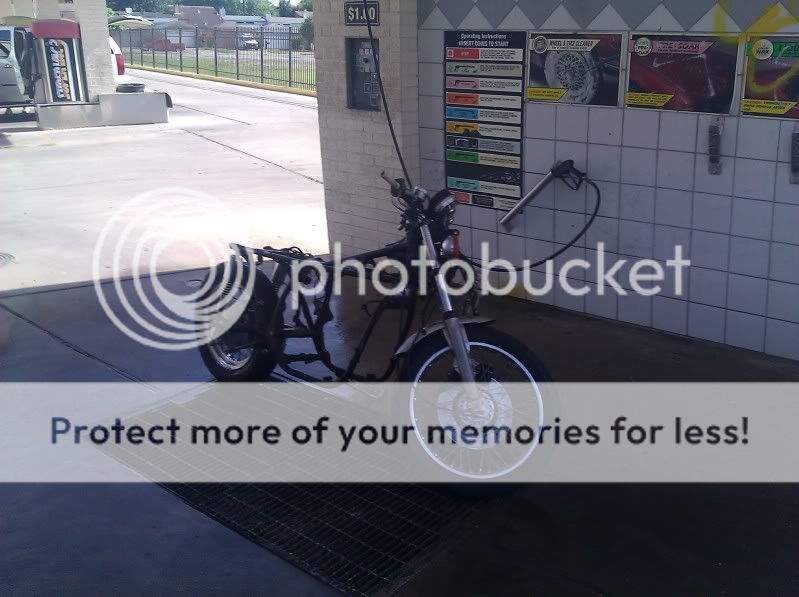
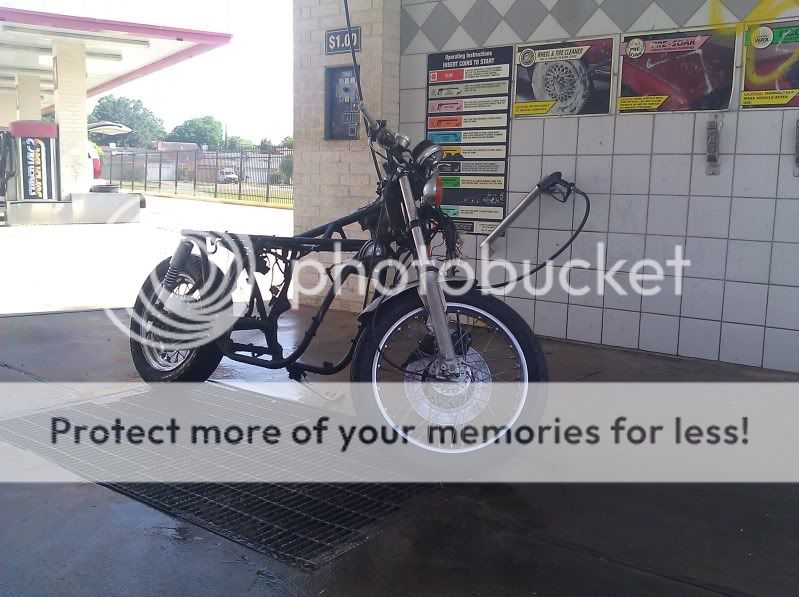
I am about 3 days into the build. So far the things that have been done are:
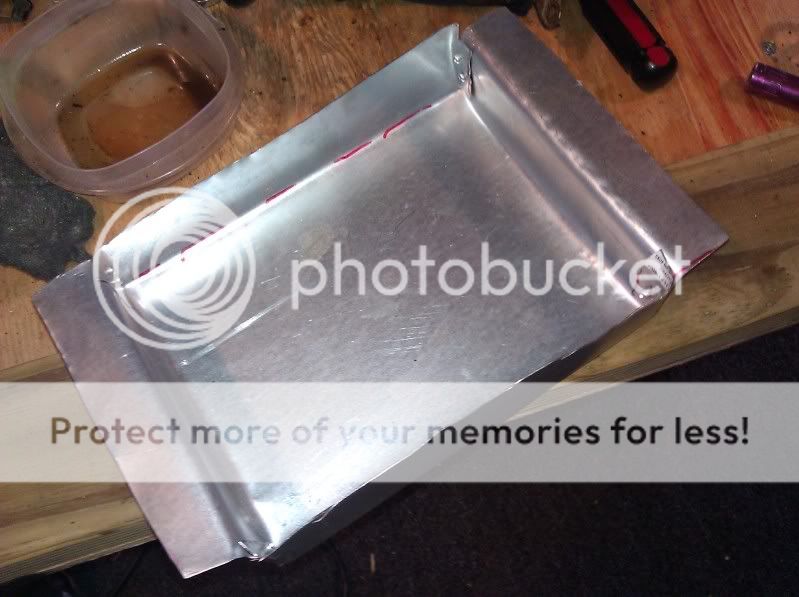
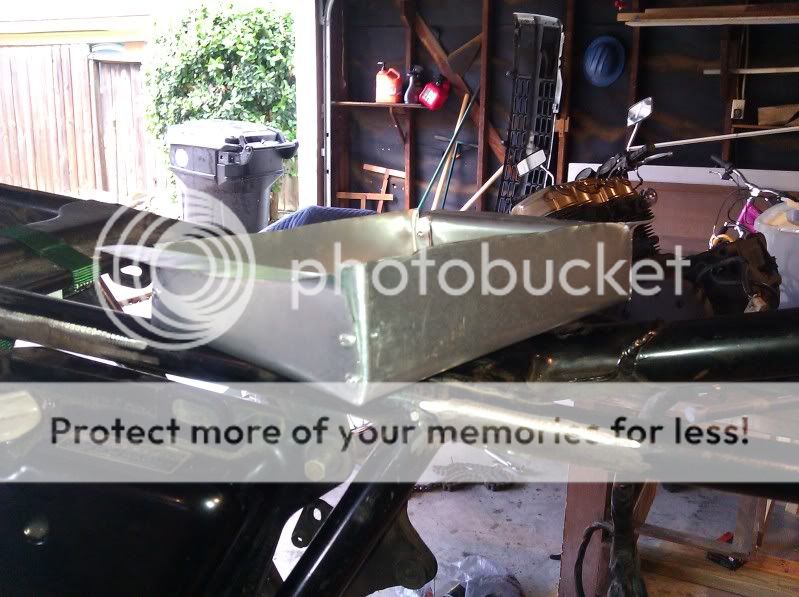
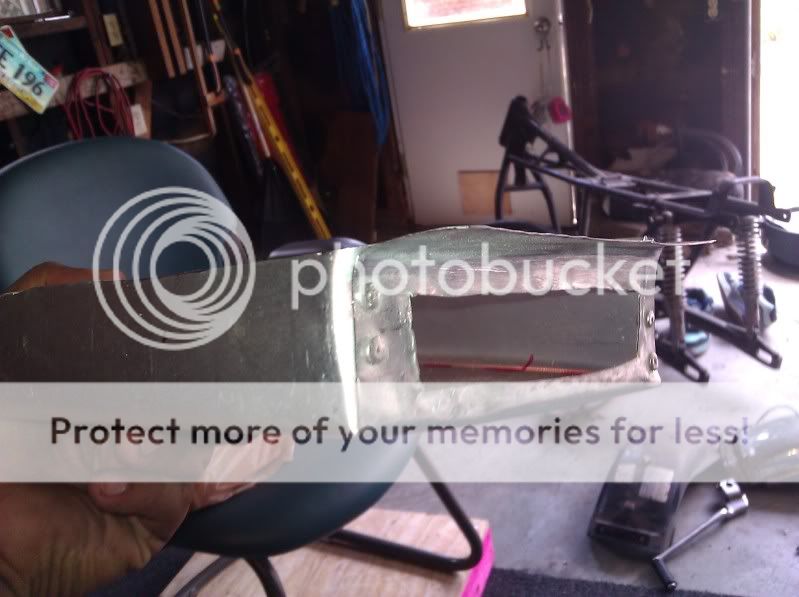
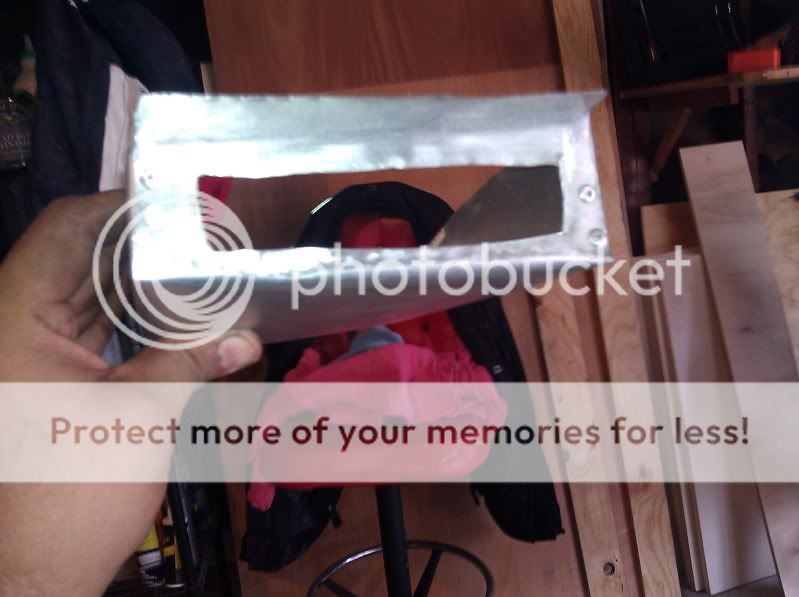
seat pan made
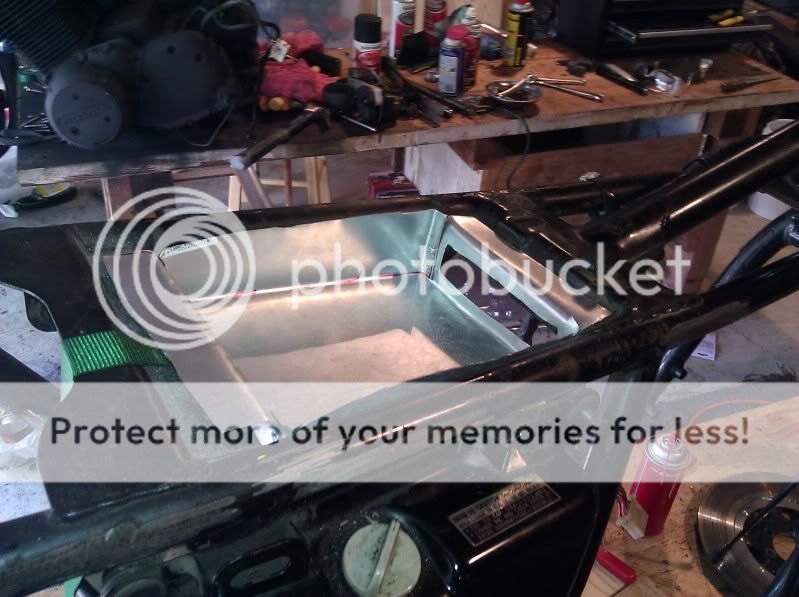
foam sorta fit
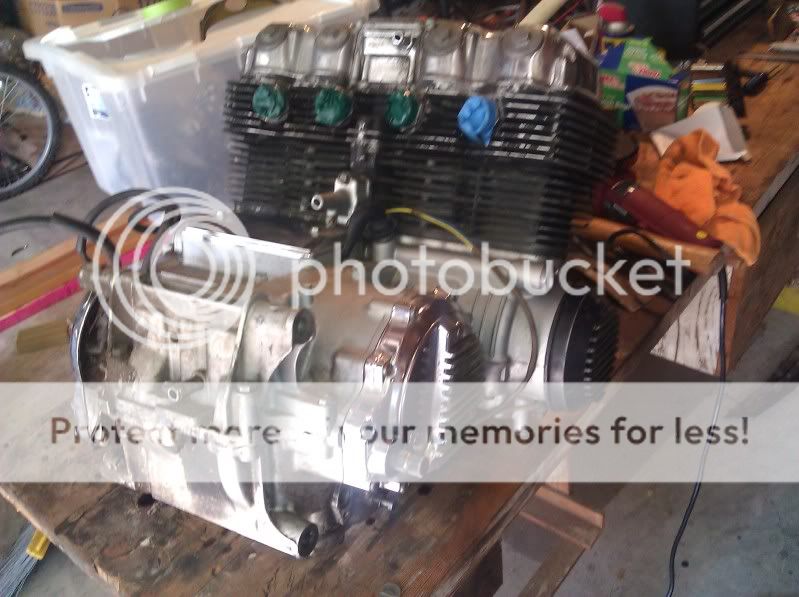
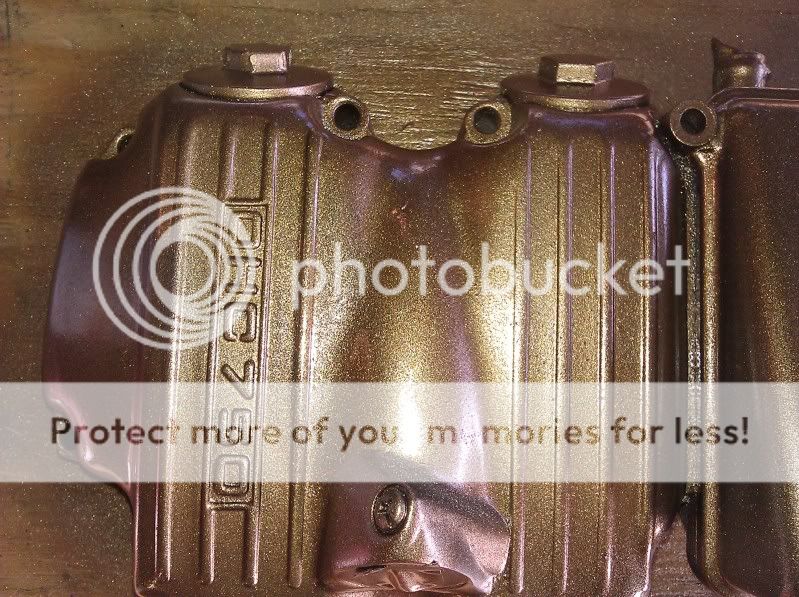
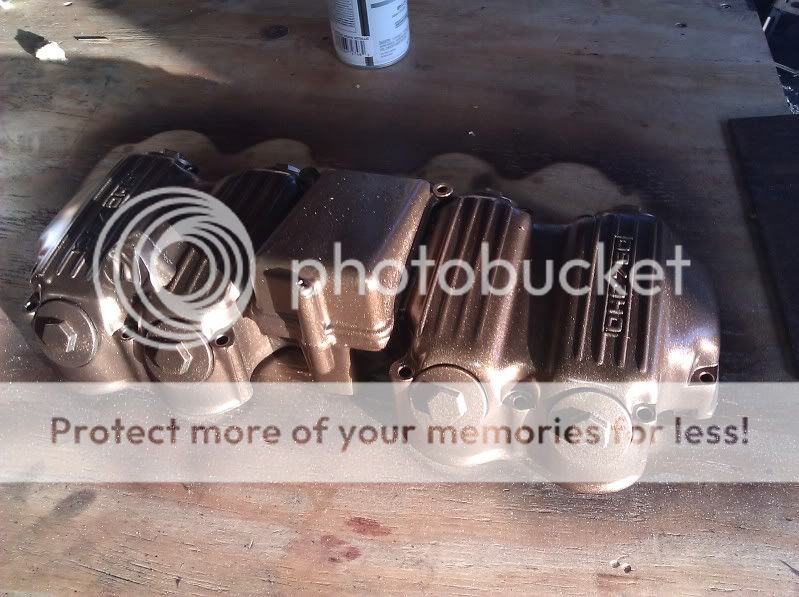
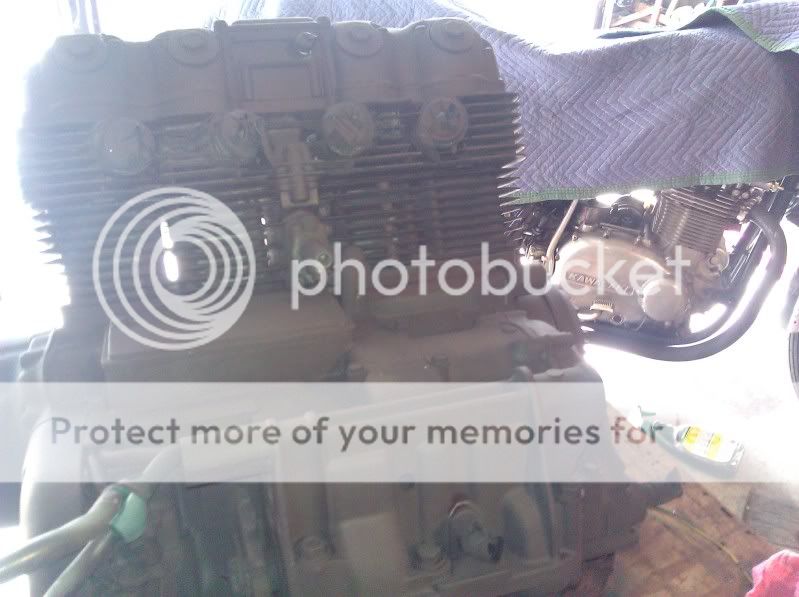
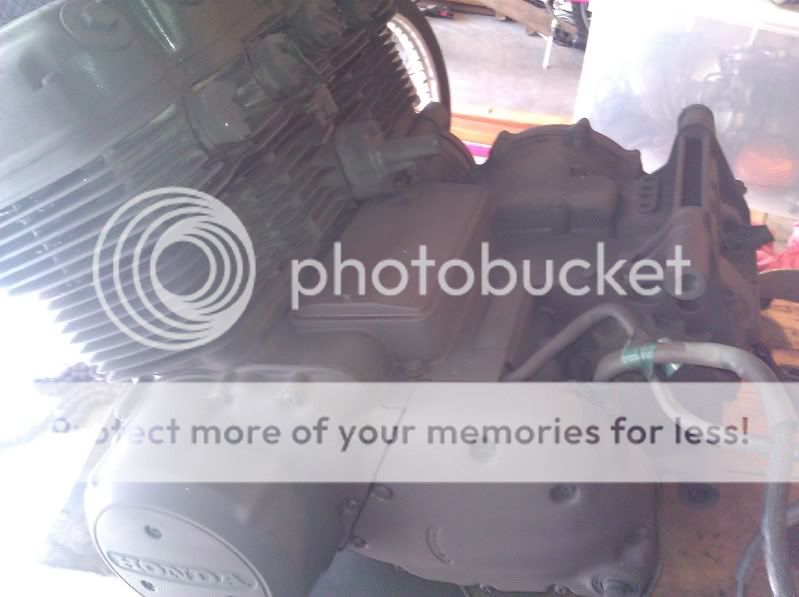
engine removed
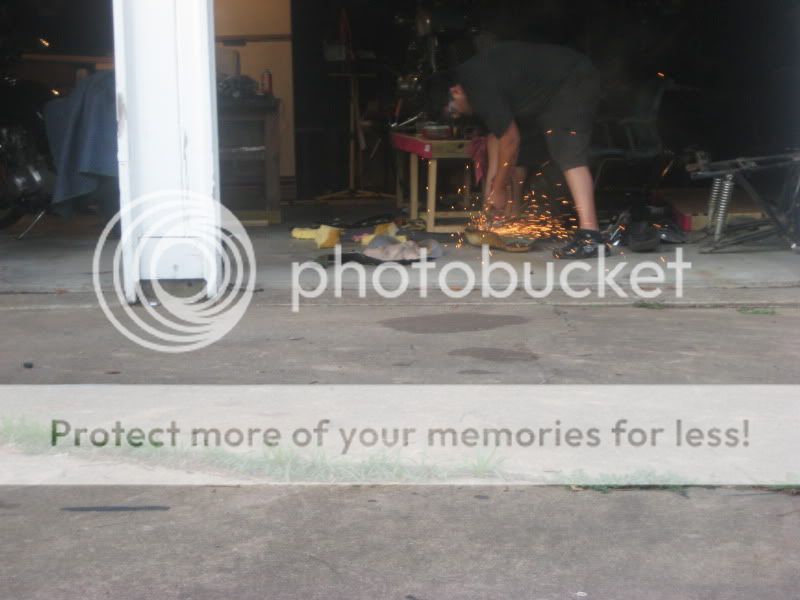
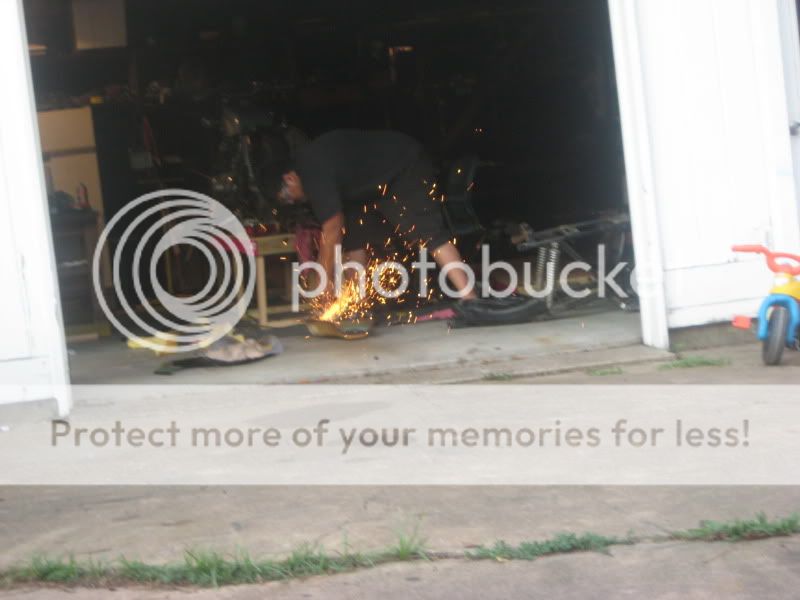
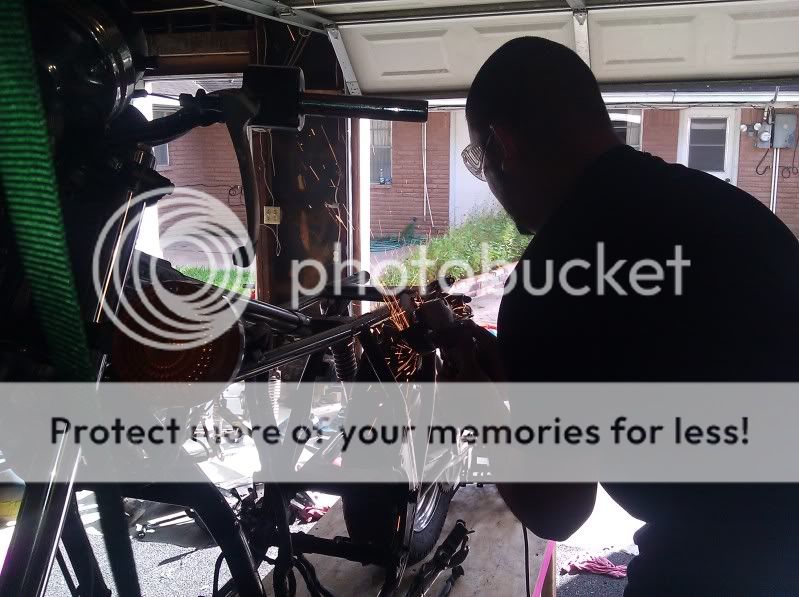
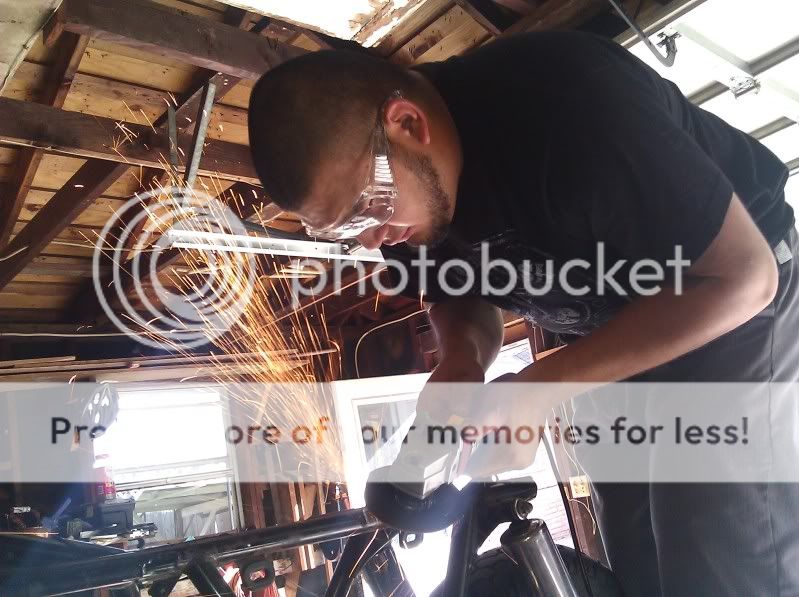
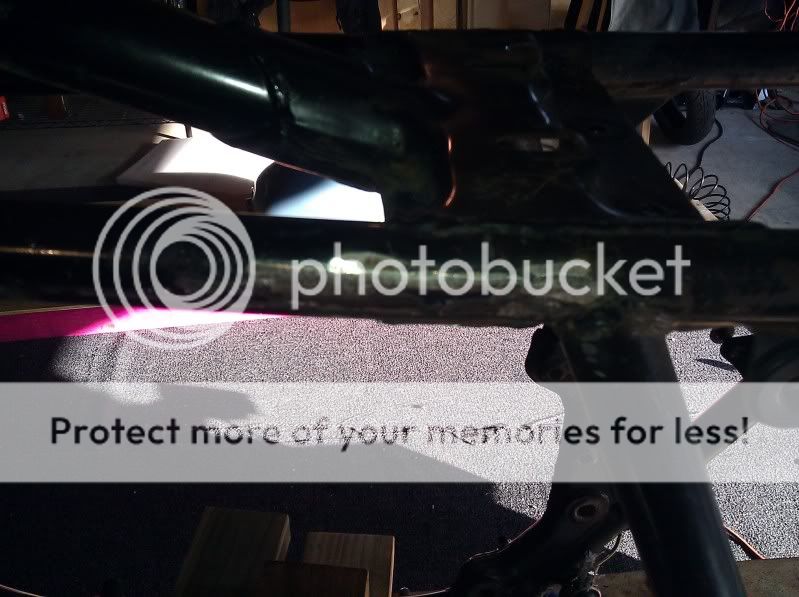
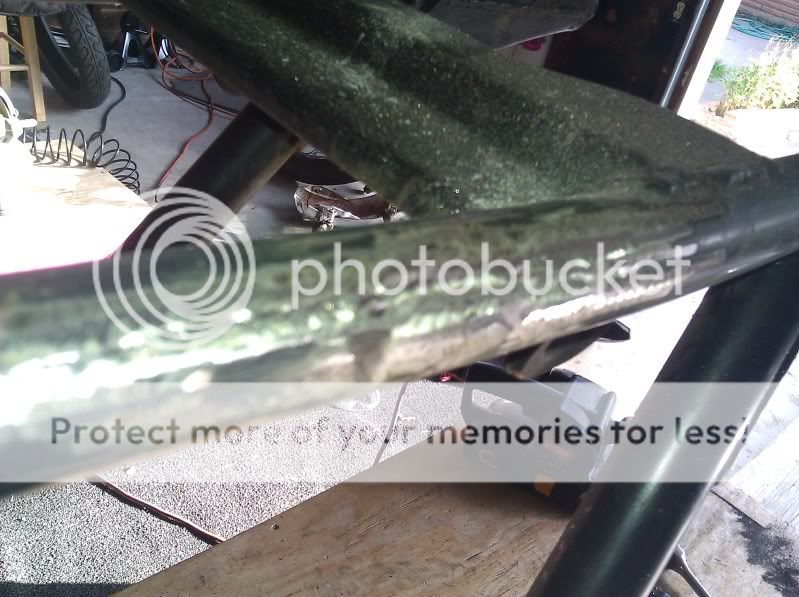
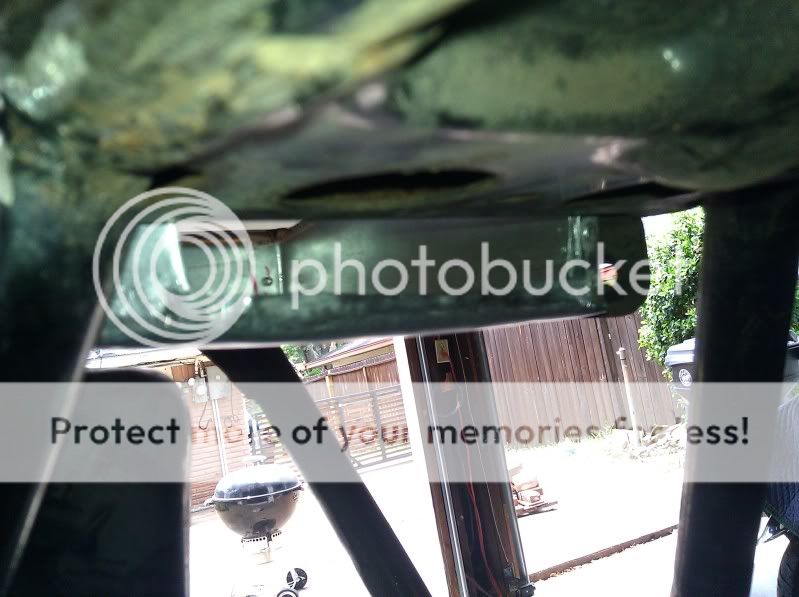
frame detabbed and ground down.
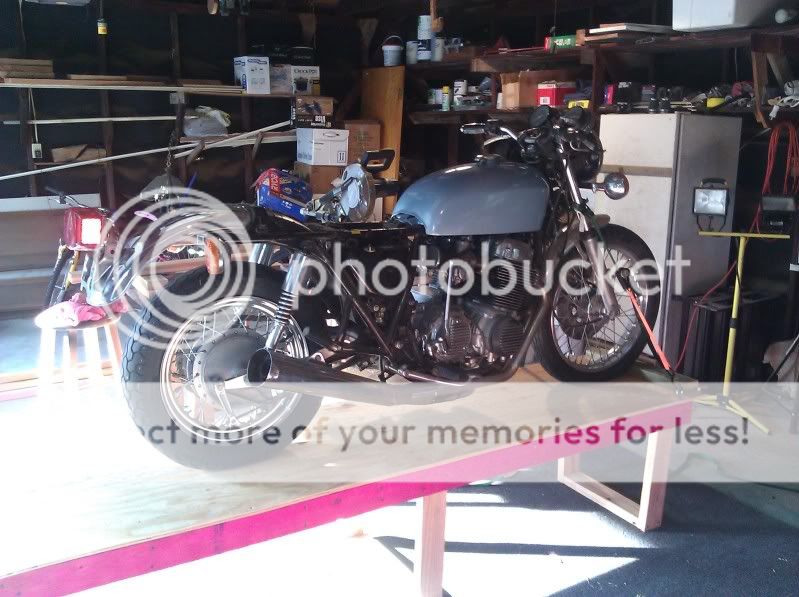
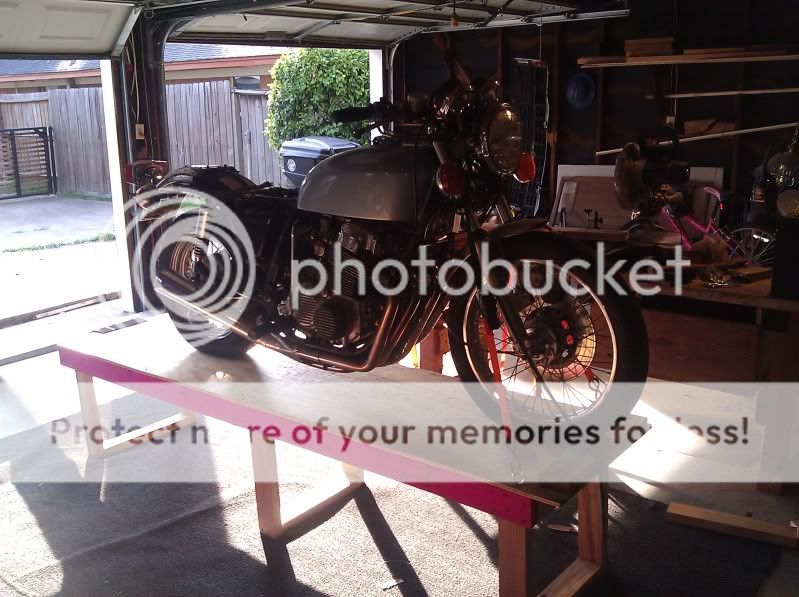
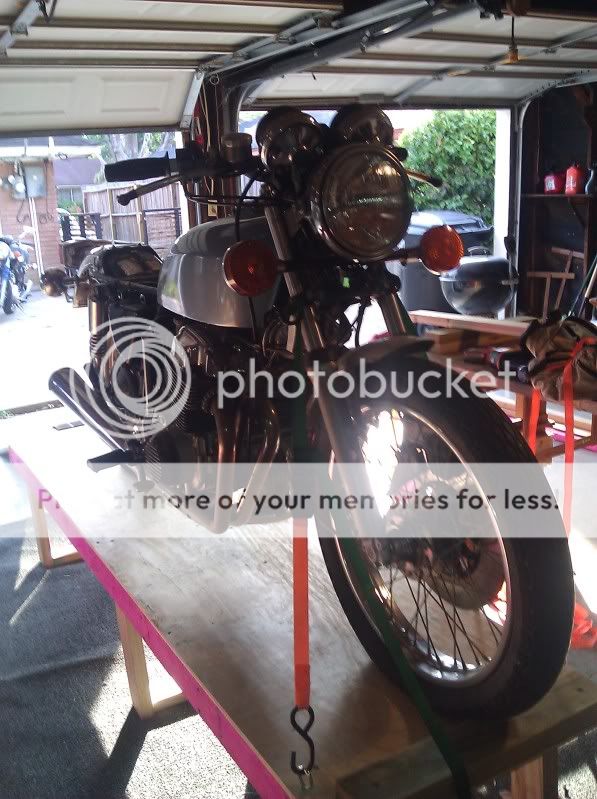
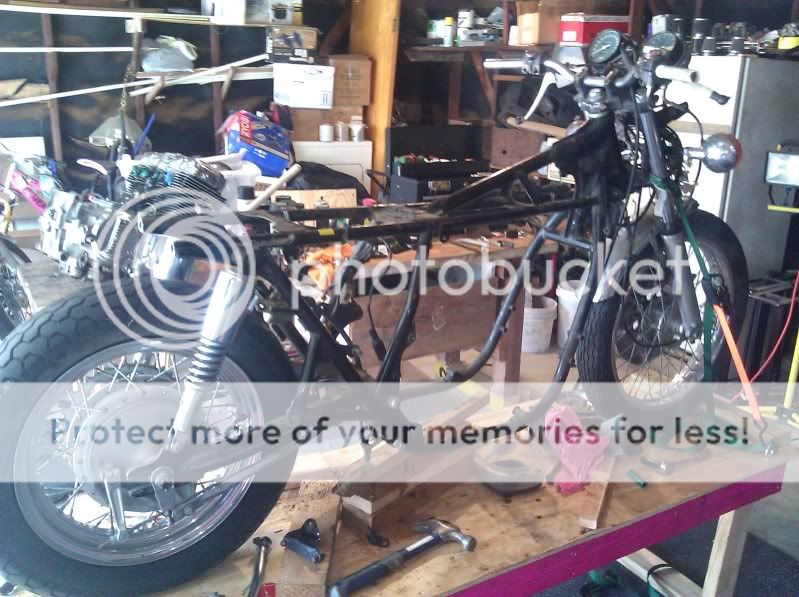
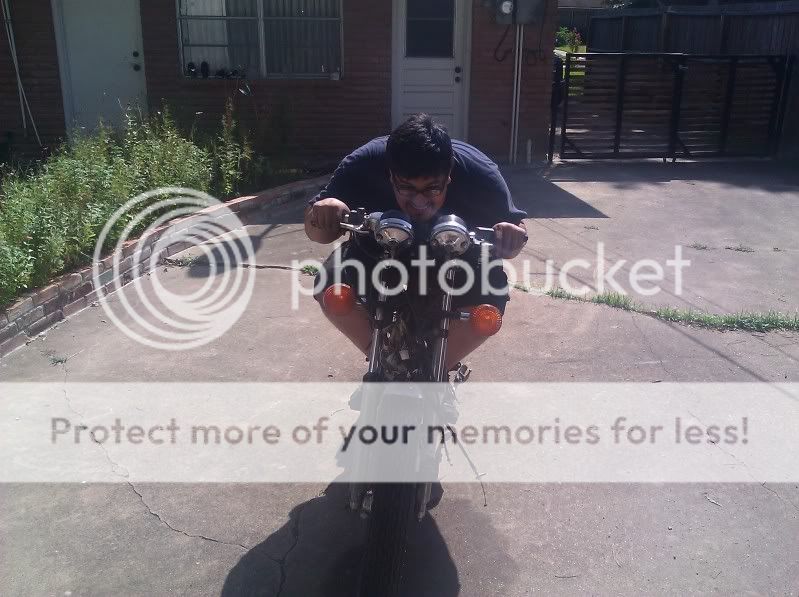
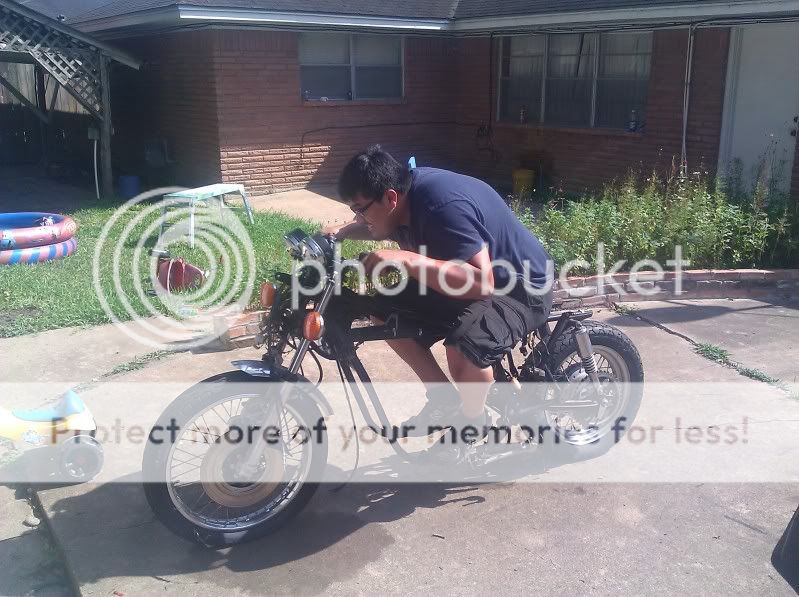
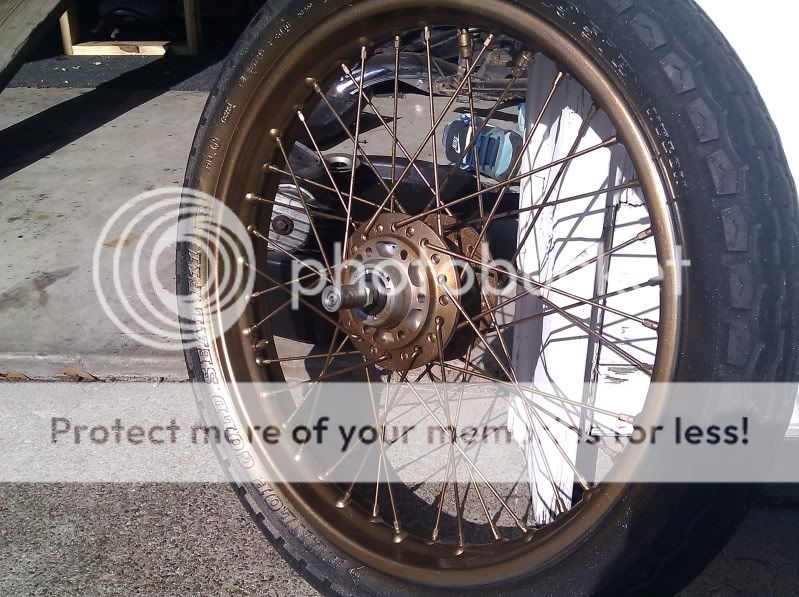
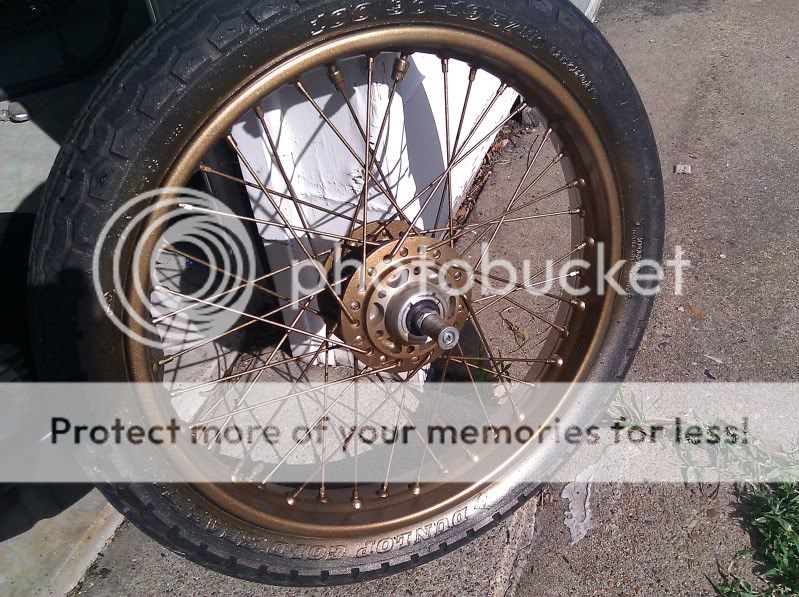
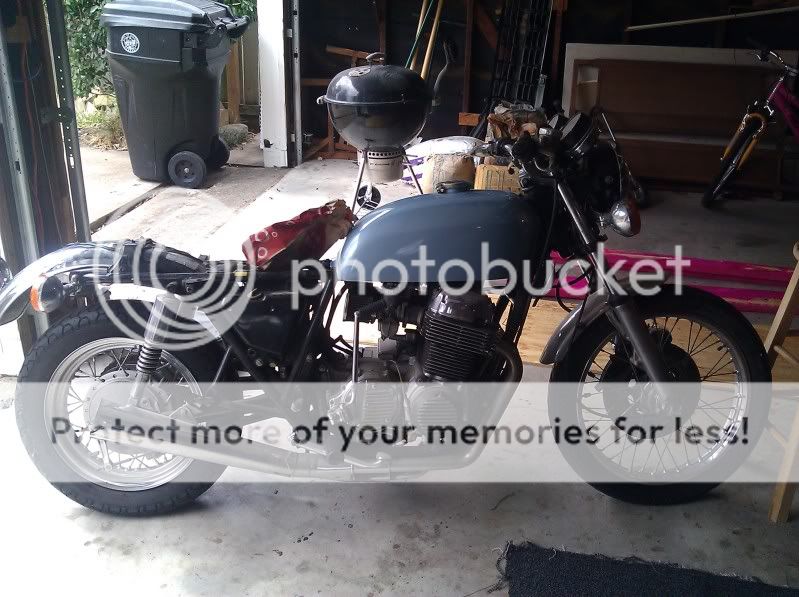
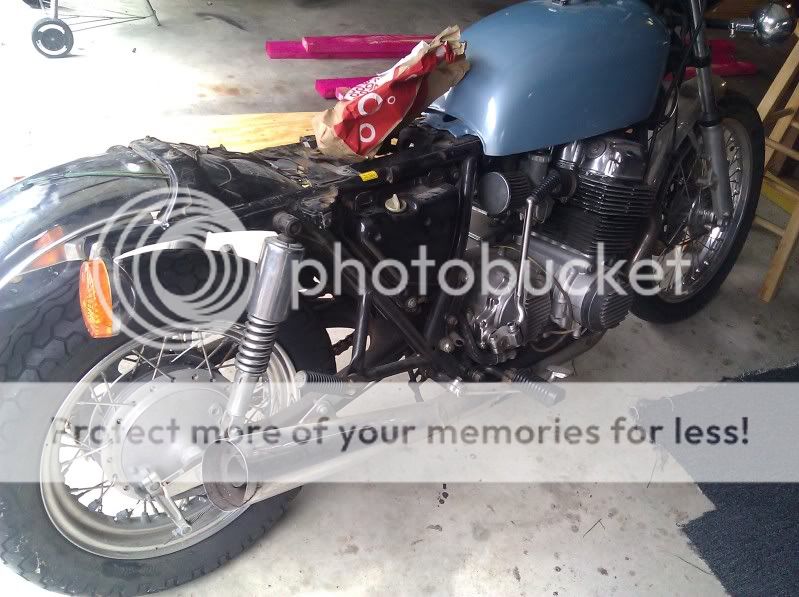
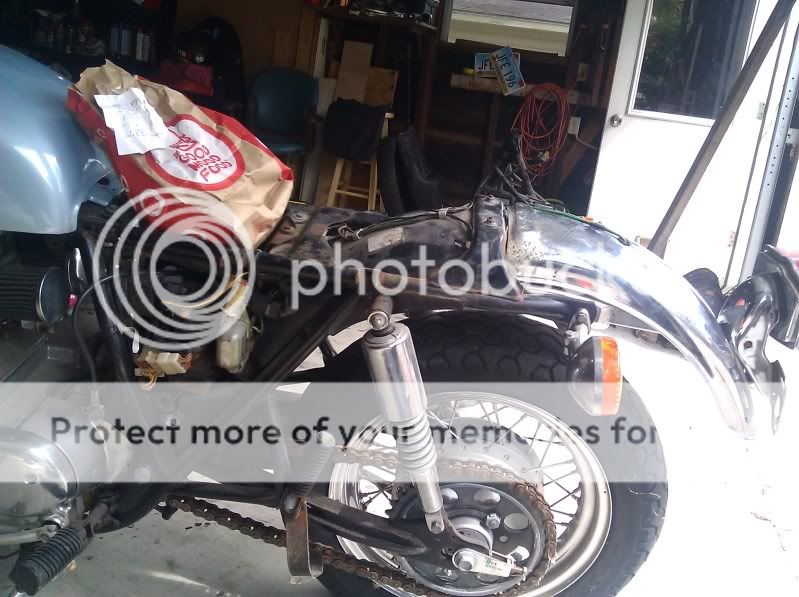
As I got her.
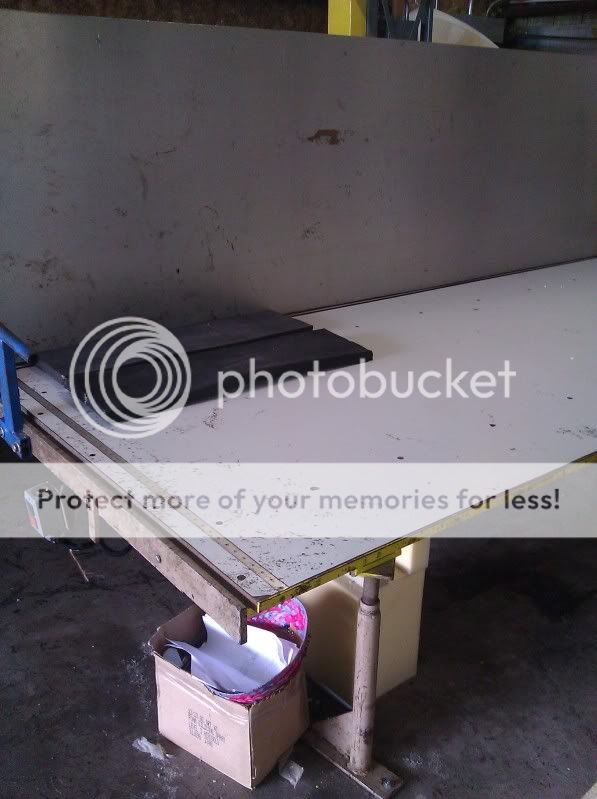
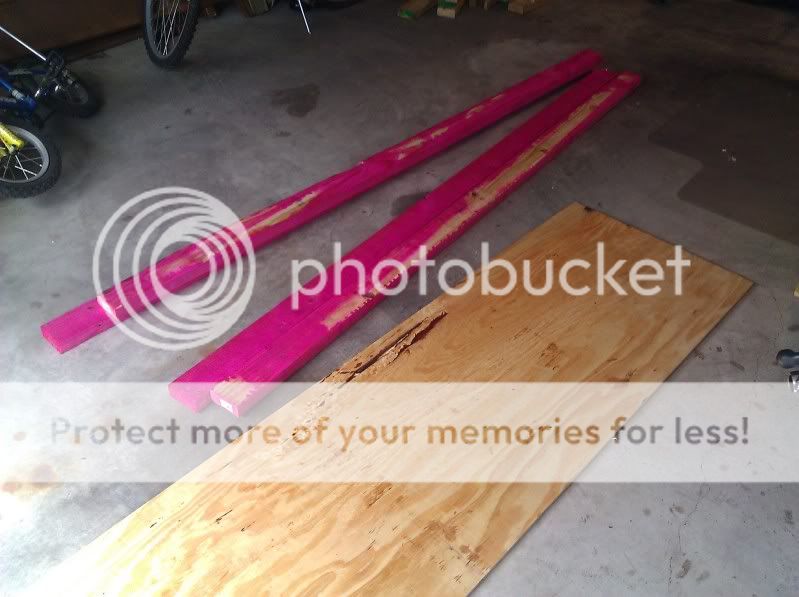
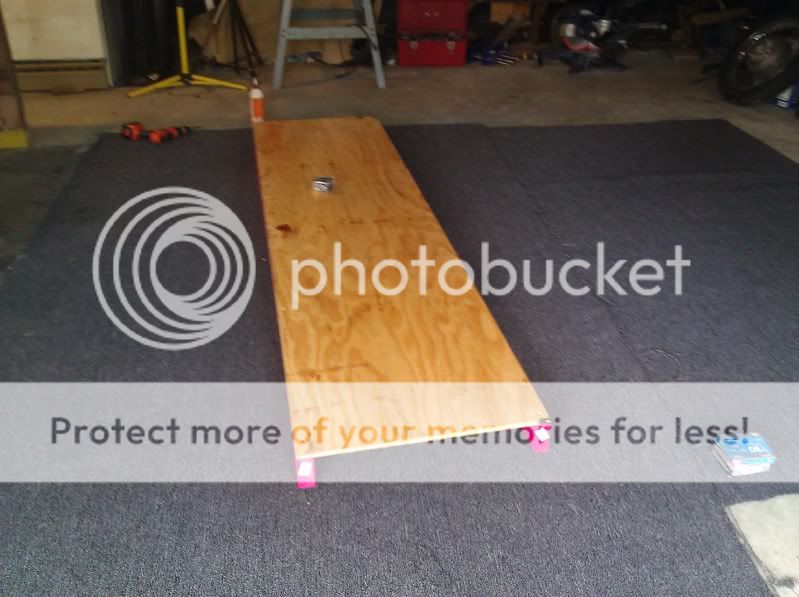
First things first, build a platform so I dont have to be bent over or laying on the ground.
Well this all started with a guitar. I was selling my guitar last week and got a call from a guy that had stuff to
trade. One of the things he had was a cb750. I went and took a look at it. I had to have it. So a
trade was made. the PO had told me it was a 78 with a 75 engine. It turned out to be a 73 frame with a 76 750f engine.
Also the seat that was on there was not the correct seat.
Anyway I had been wanting to do a bratstyle bike. I was gonna do it with my 78 kawasaki kz750 but the damn thing vibrates too much.
So my brother will be buying that one when I am done with this.
I am about 3 days into the build. So far the things that have been done are:
seat pan made
foam sorta fit
engine removed
frame detabbed and ground down.
As I got her.
First things first, build a platform so I dont have to be bent over or laying on the ground.