Follow along with the video below to see how to install our site as a web app on your home screen.
Note: This feature currently requires accessing the site using the built-in Safari browser.
We noticed you are blocking ads. DO THE TON only works with community supporters. Most are active members of the site with small businesses. Please consider disabling your ad blocking tool and checking out the businesses that help keep our site up and free.
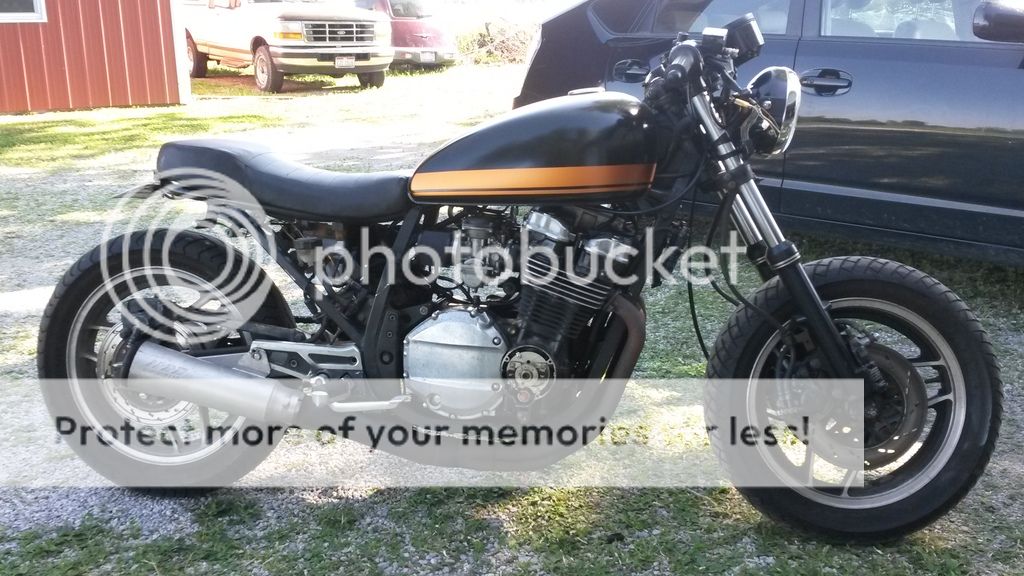
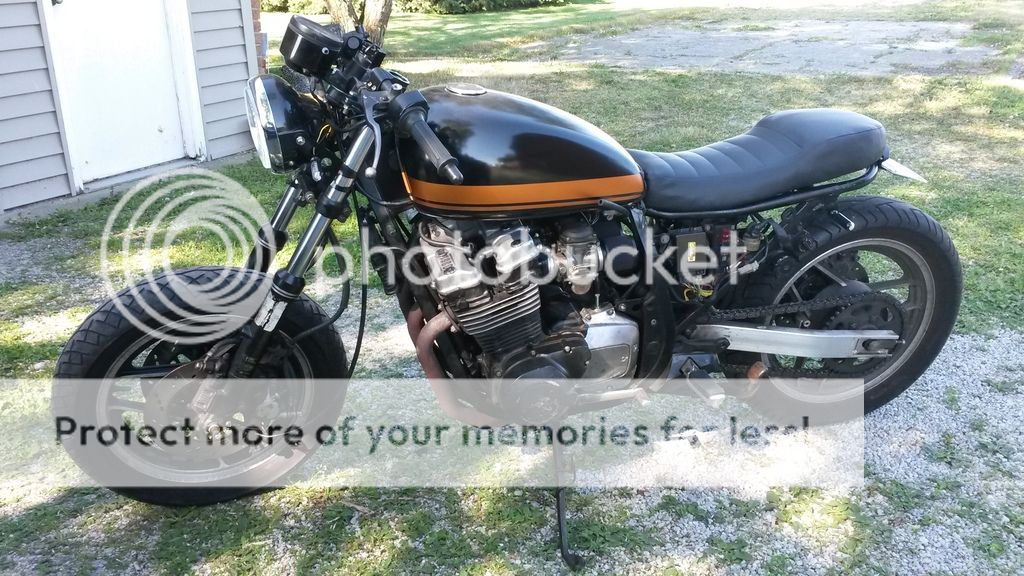
Rather than continue to wonder which tanks might fit this bike I took the tank off of my GS750L to see how close it was. It looks a whole lot better, but there's no way it would work. Tank ears aren't even close to where they would need to be and the front of the tank sits too high, the stock tank is swept back much more to give clearance for the triple which is much lower than the L model. Because the front of the tank can't be pushed up far enough the rear of the tank sticks so far past the rear mounting location that the seat could never work as I've made it. The look is so much better, but there's no way I'd try to get an L tank to fit. Well, I've eliminated one tank as a possibility...
I've been thinking about side cover ideas and instead of starting with a blank foam piece I figured I'd grab the stock cover and start cutting it down to something that might pass for a base that I could glass over to finish it up....I'm not a huge fan. I could glass it so that I would have a finished 90degree rounded over edge on all sides, but I don't like the contour in the center and some of the other lines. It will at least give me a place to start with the foam.
I'll definitely follow the curve of the seat on the top edge, but I'm not sure what to do about the bottom...I don't like the flat there so I'll have to figure something out.
I decided I didn't like the stock side cover at all so it was time to work with the foam...I traced at least a basic shape outside the edge of the stock one I cut up just to have a place to start
I sliced it down the middle so each piece was about an inch thick
With the band saw, electric knife, flap disk, and hand sanding I finally got to this...it's not the most creative but I think it might work well enough
Laid it out on the next piece to get the other side started
taped up the molds and got the glass cut up...I figure 3 layers is enough for side covers
waxed up the molds well so the glass will come off fairly well and screwed them to something that'll give me some way to lay it up
I had some issues with the resin jelling up way too fast for me to lay it on as thick as I wanted, so I'll have to pick up another quart and give it a good smooth finish coat of resin that I can sand smooth. We'll see how they look tomorrow.
How does masking tape work as far as release goes? Did you use a release wax?
If you can get some fairing filler to add to your mix for the top coat it makes finishing a breeze. Its basically as sandable as bondo but way stronger. Be sure to sand down all the glossy bits for a top coat of epoxy over cured epoxy.
foam molds came out pretty well...not sure they could be used again though...the "finished" side would need quite a bit of smoothing out
One trimmed down, one to go...fits pretty nicely
Mirrored set... Now I need to figure out if I should use the stock mounting or if I should try to figure something else out. The stock mounting uses something similar to automotive interior body panel clips and are installed from the outside, so these covers would have holes in them with the heads of the clips exposed. I'm not sure I like that idea at all but I'd still like something that doesn't require tools to get the covers off. I may have to create a little cove on the back of these so a clip can slide into place from behind. I've still got quite a bit of sanding to do before I hit it with one more coat of resin to smooth things out.
I had to do quite a bit of body work on the side covers but they're getting pretty close to straight
Then it was on to cutting off and filling the brackets on the tank. I cut them off, ground it down, and sanded the area to be filled with 220 hoping to get good adhesion with the filler. I put it on fairly heavy and then cut it back while still not fully cured with a rasp to at least get it close while still soft
After sanding it down and needed a bit more filler to take care of a few low spots I was able to get some primer on it before blocking it out some more. Looks like I could be getting ready for paint here fairly soon...maybe once this tropical humidity drops off some
This site uses cookies to help personalise content, tailor your experience and to keep you logged in if you register.
By continuing to use this site, you are consenting to our use of cookies.