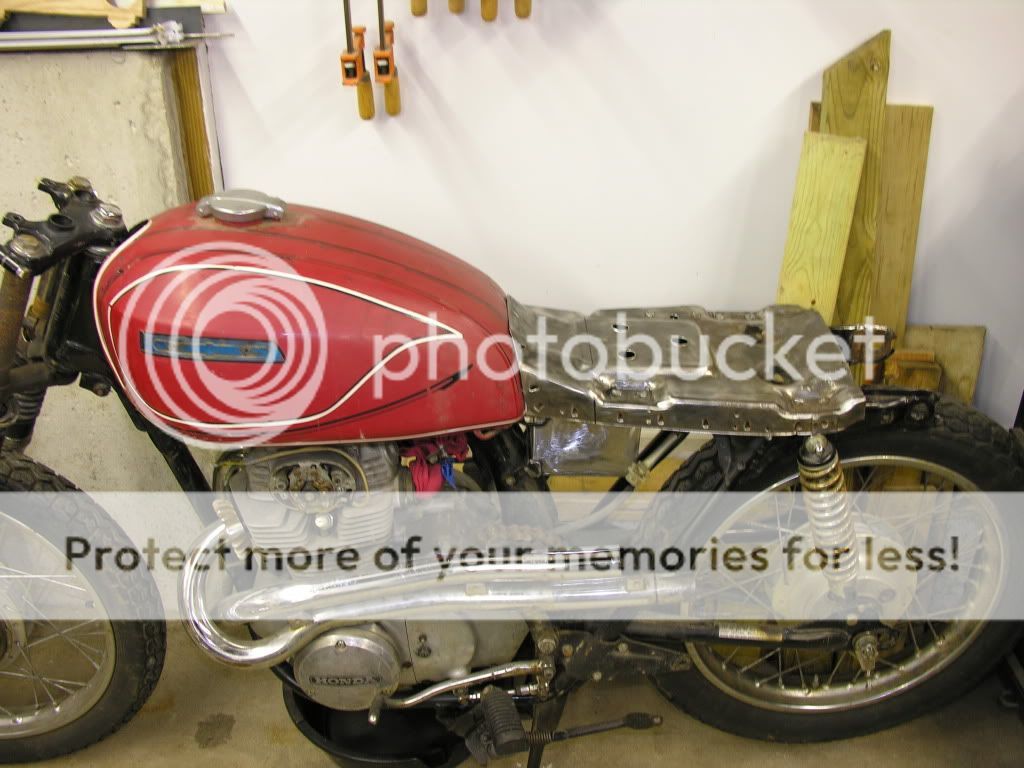
Re: 72 CL350 Build - This is my first so be gentle
Finally had some time to work on the bike to get it running.
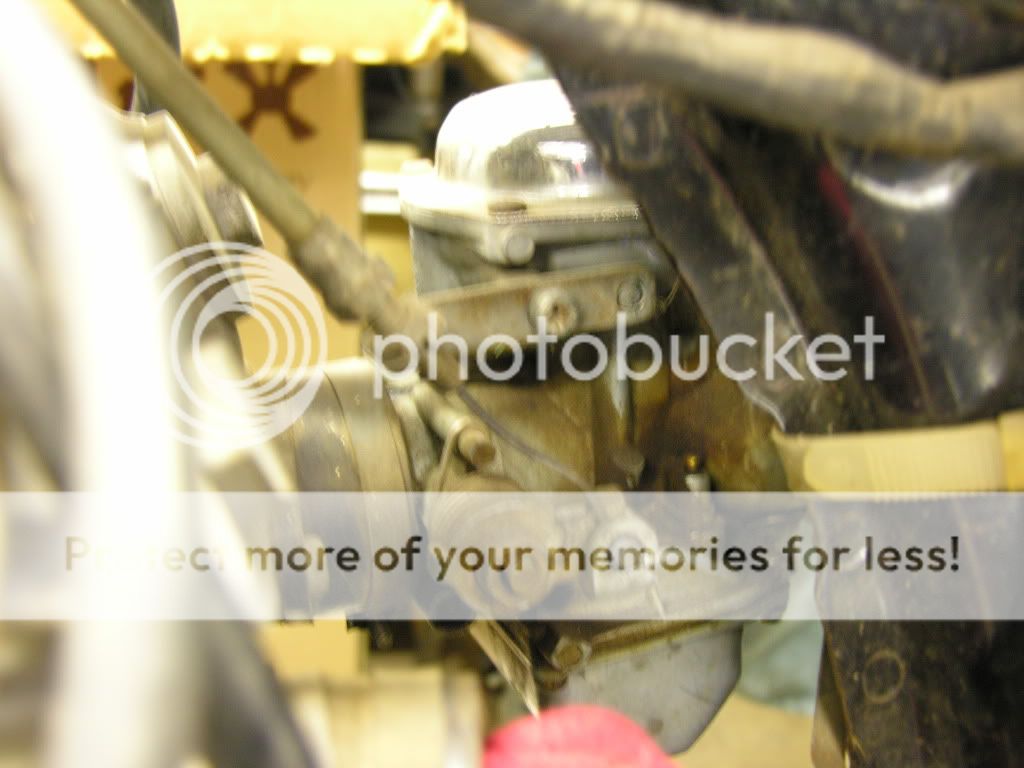
I have been able to take the carbs apart and glad that I did. They cleaned up great, but I notice something that may cause some issues. Here are some befores and afters and of course my cause for concern.
Before:
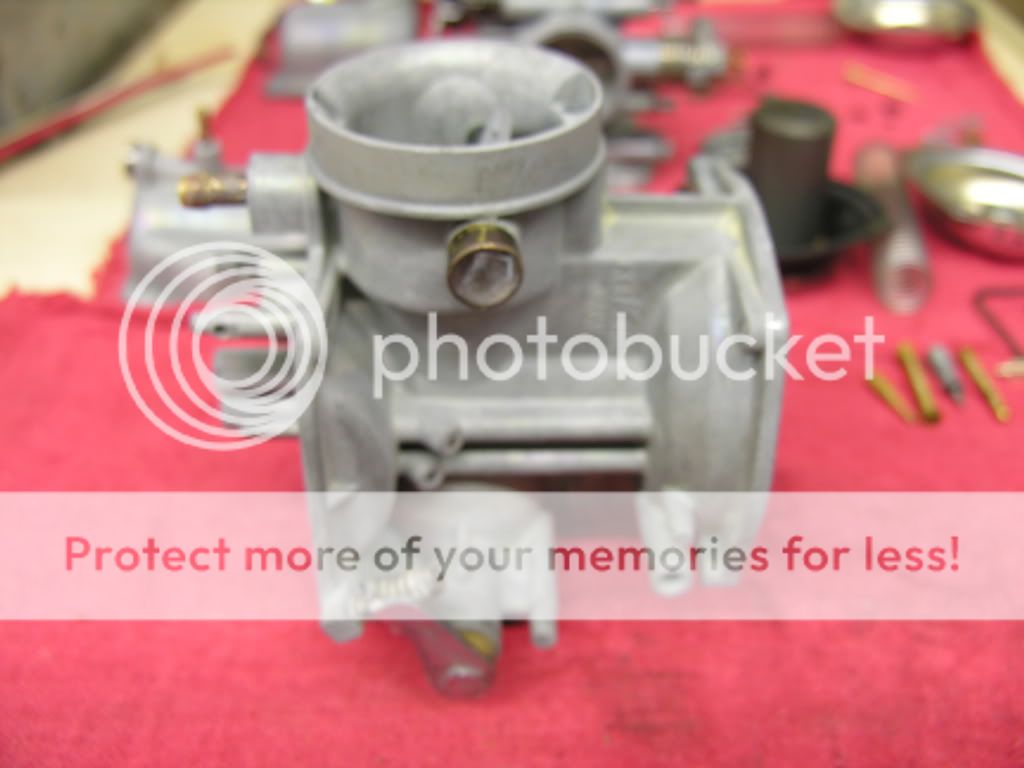
After:
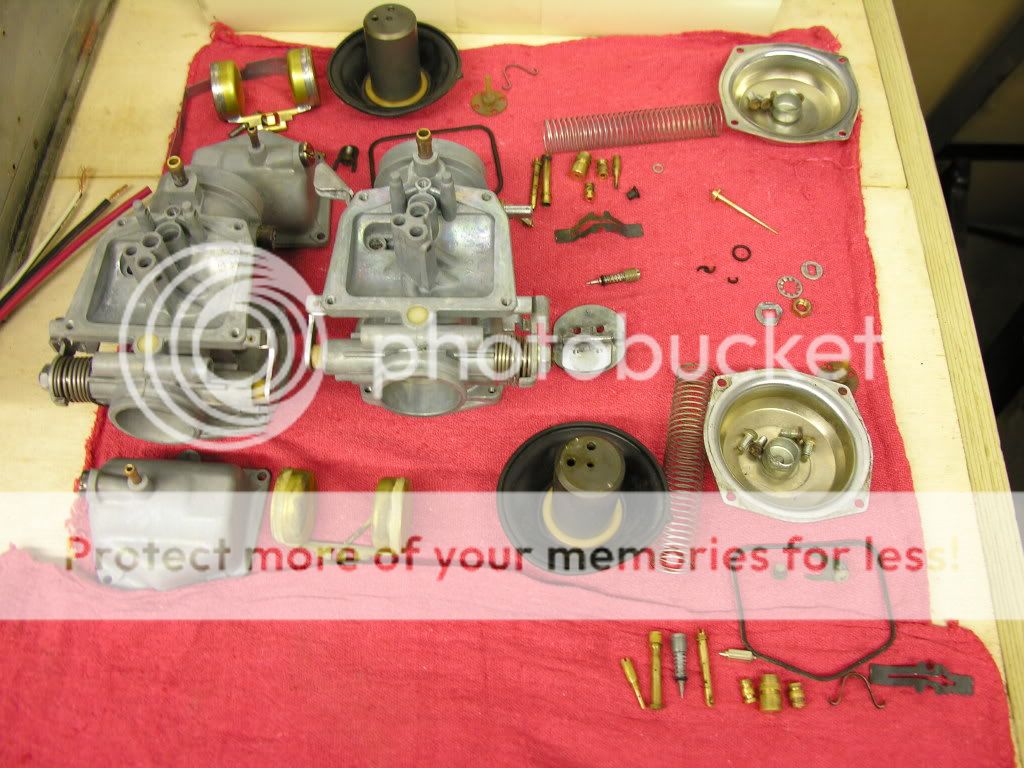
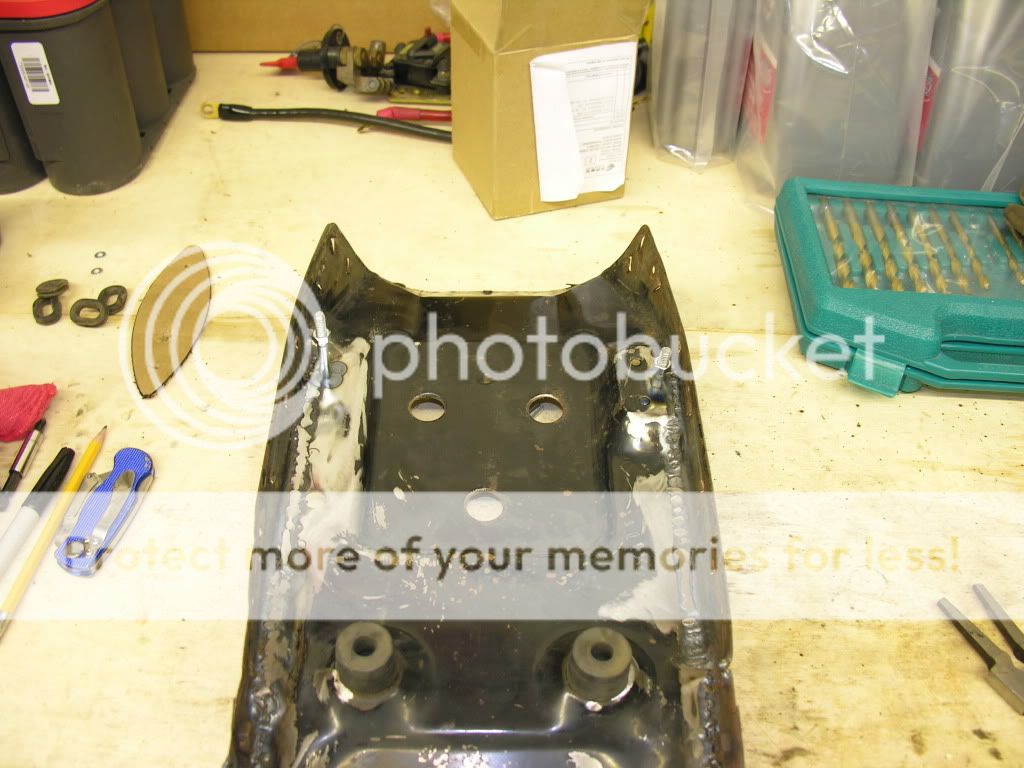
Some complete dissasembly pics:
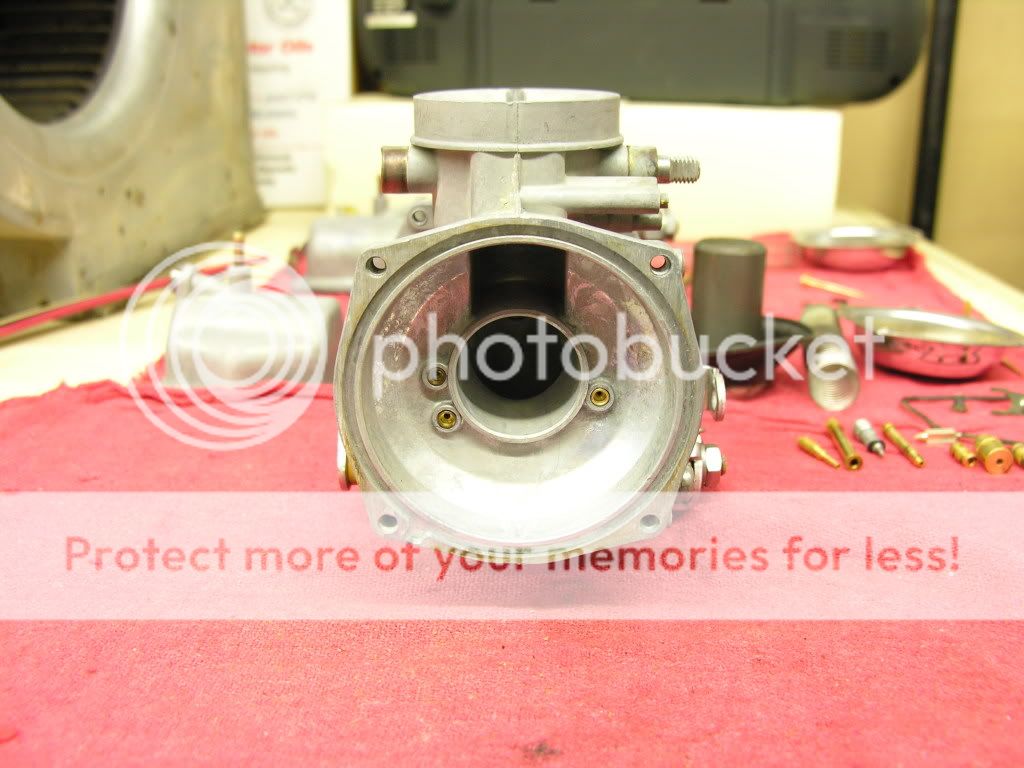
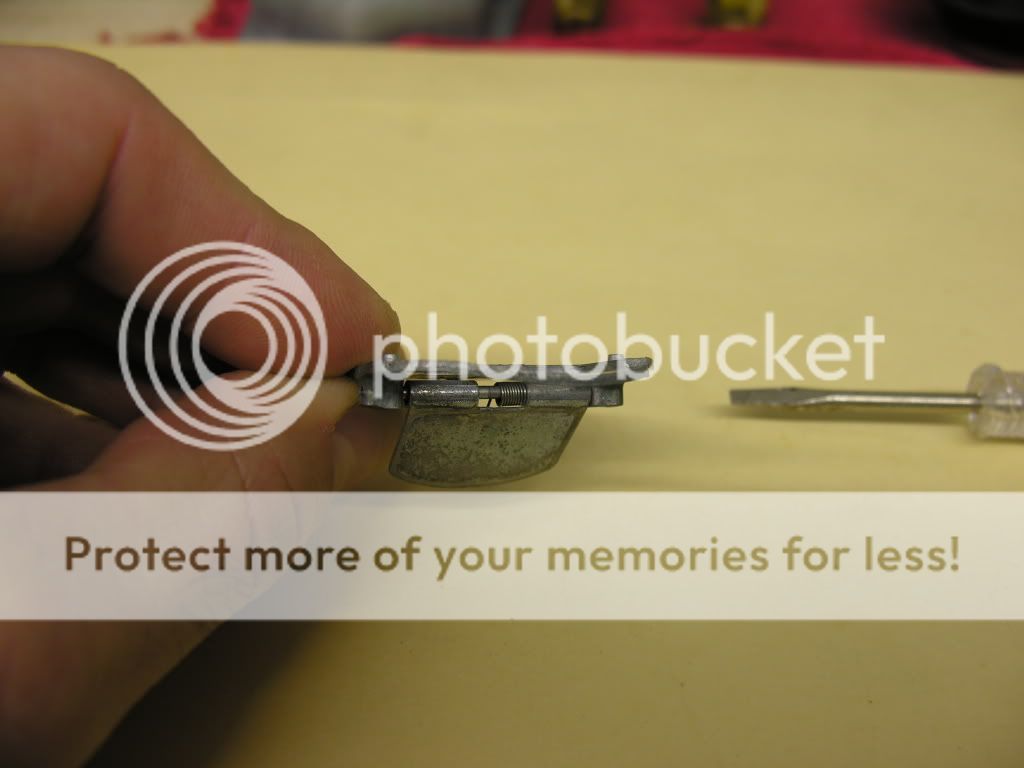
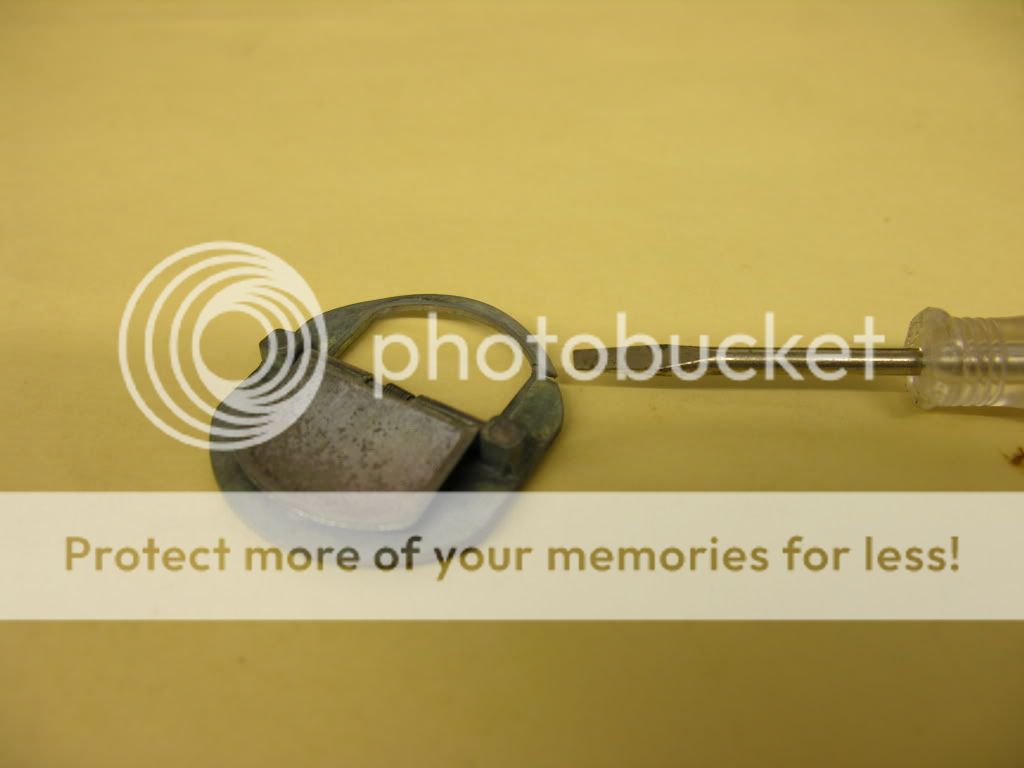
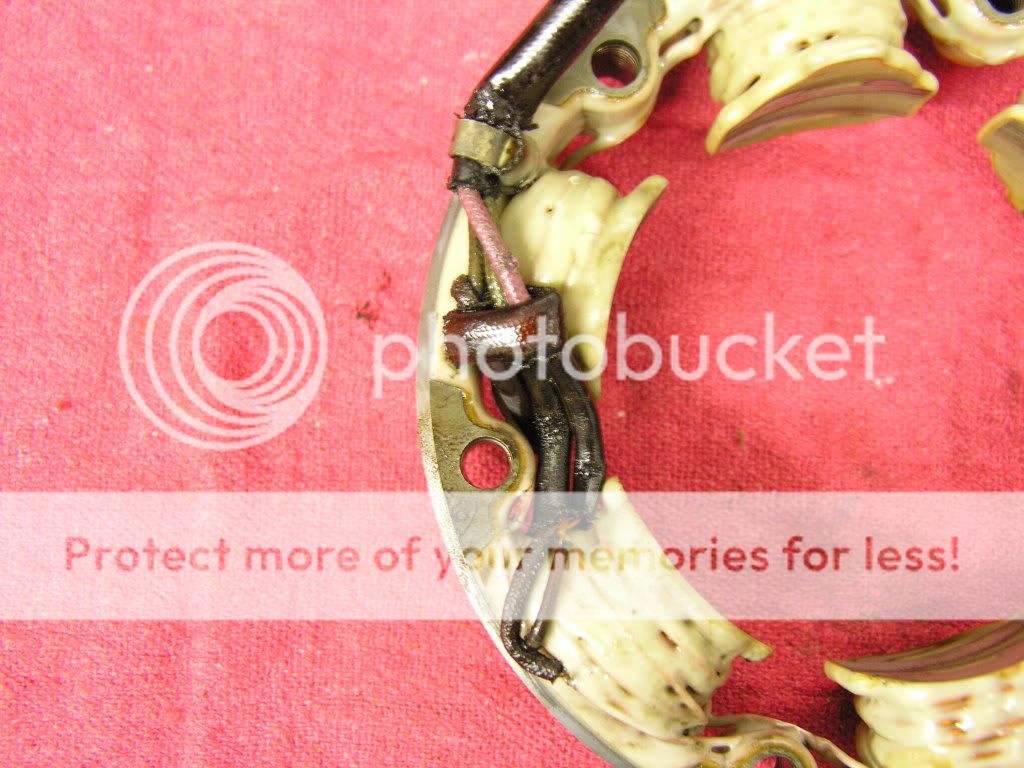
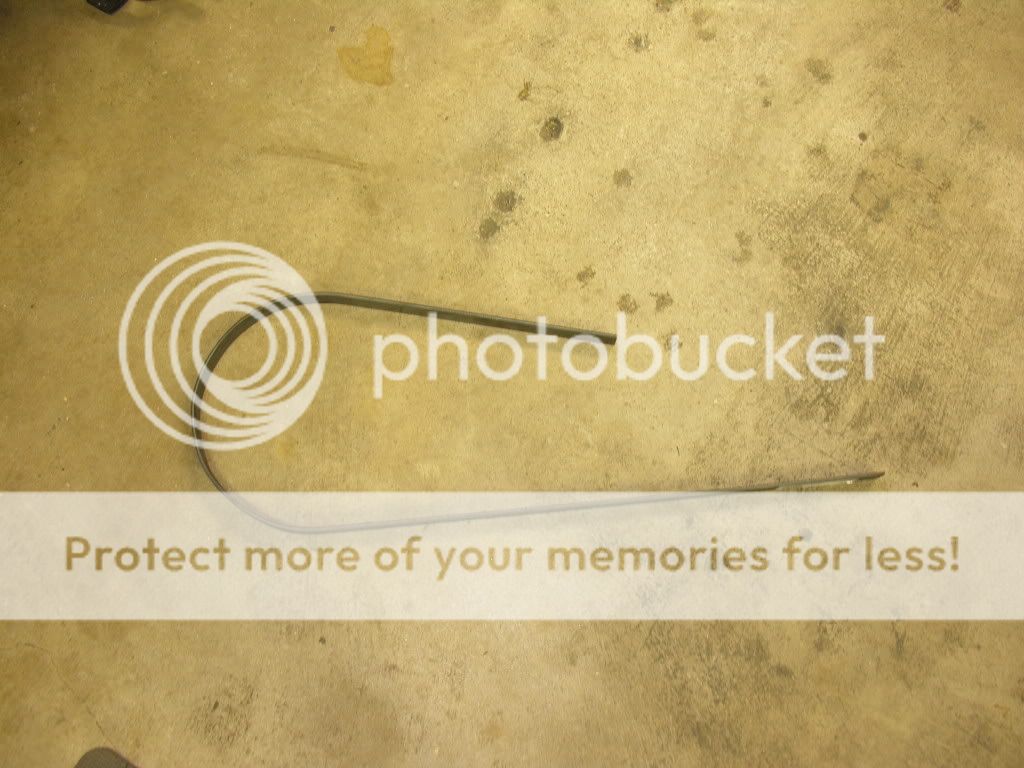
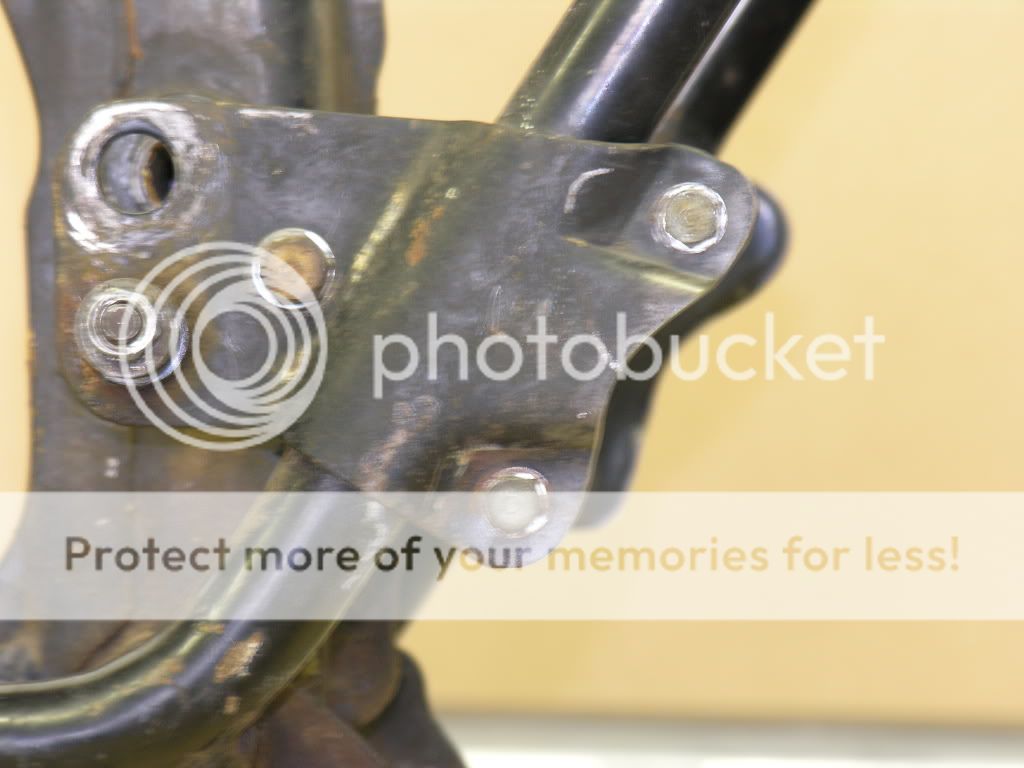
Here is my problem. When I took the carb out of the cleaner, I wondered why it didn't move very freely. Here is why:
I don't think I can repair this, so the hunt for a new carb to canabalize is in process. Kinda a bummer, but what do you expect from something 38 years old.
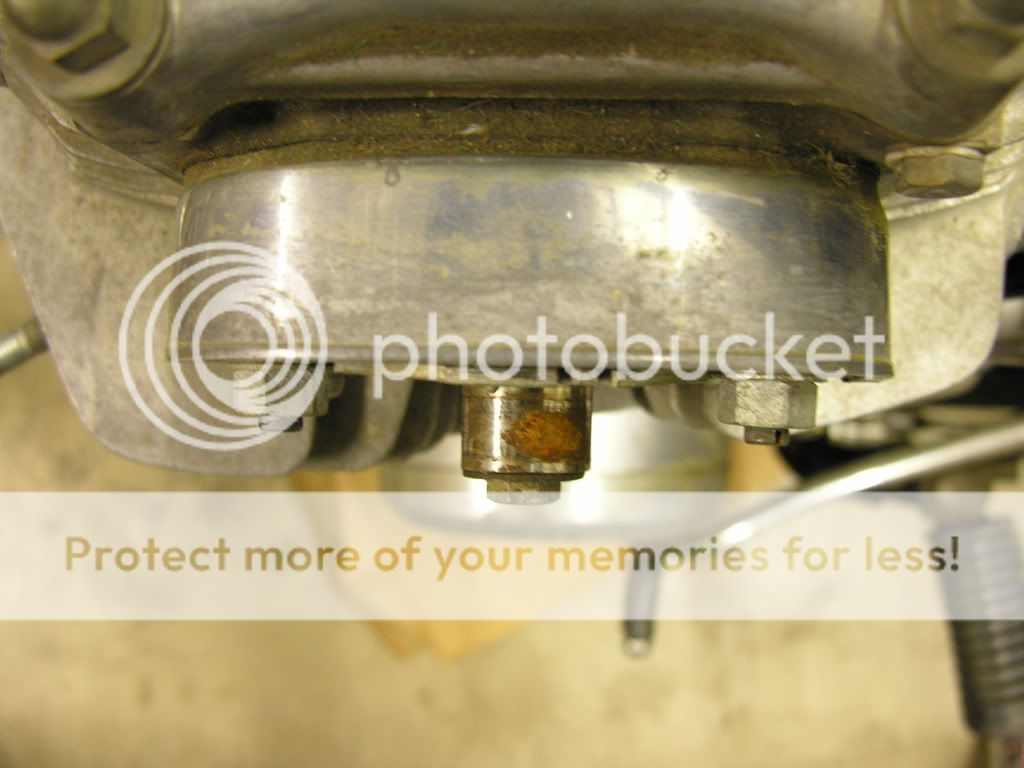
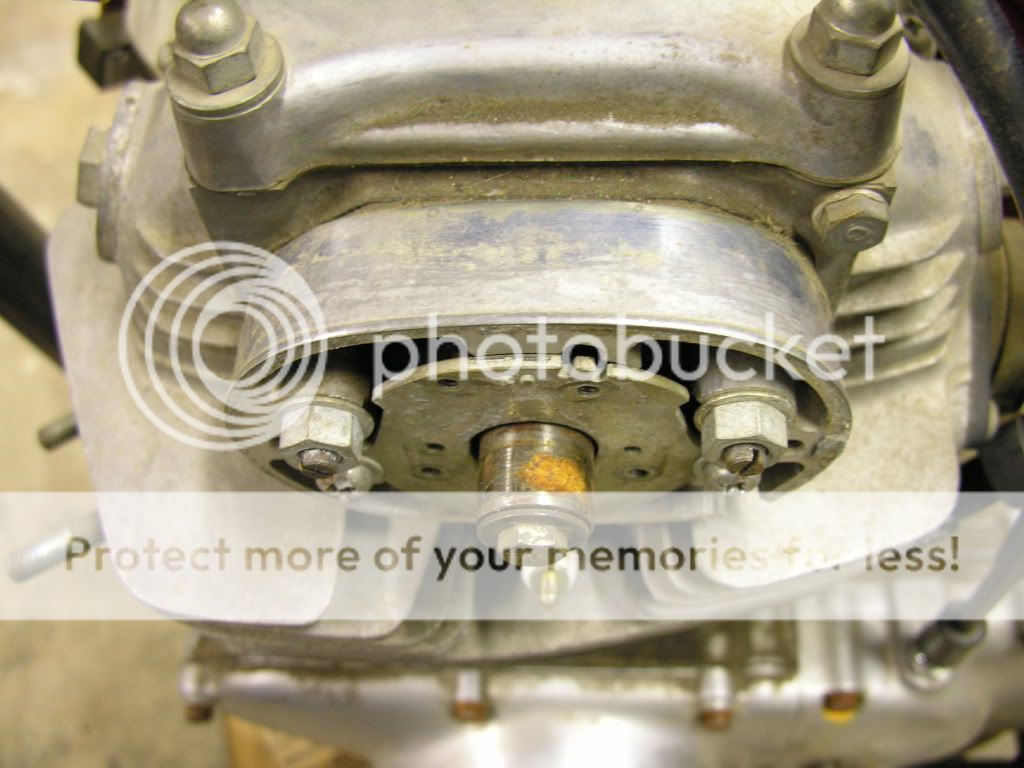
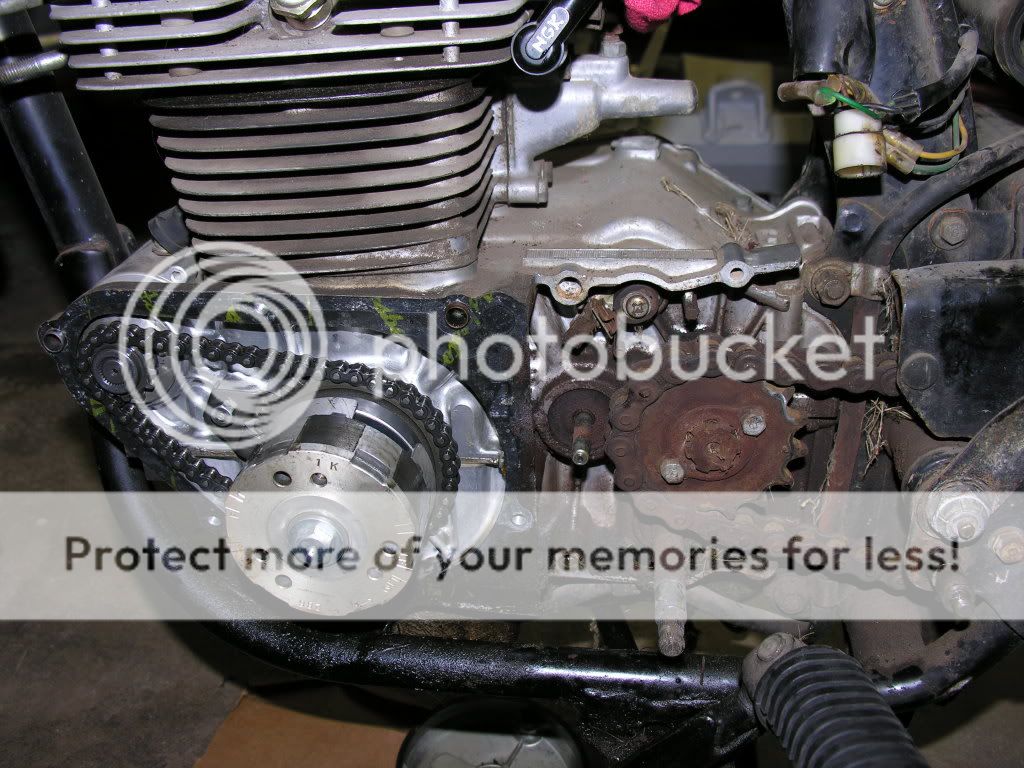
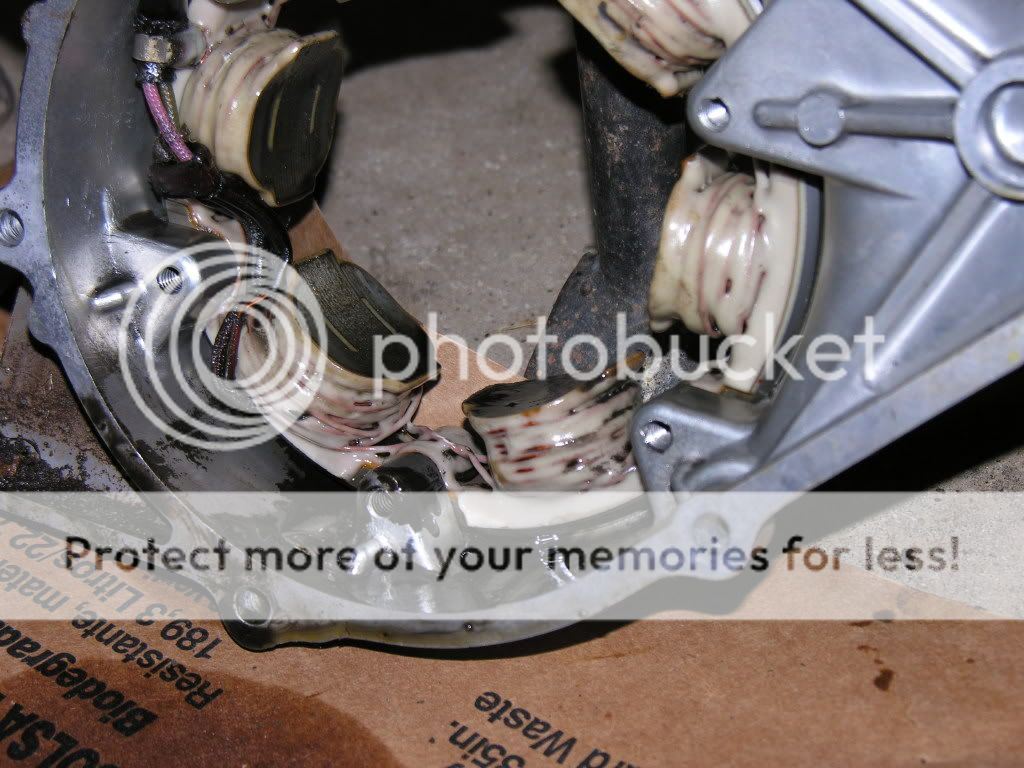
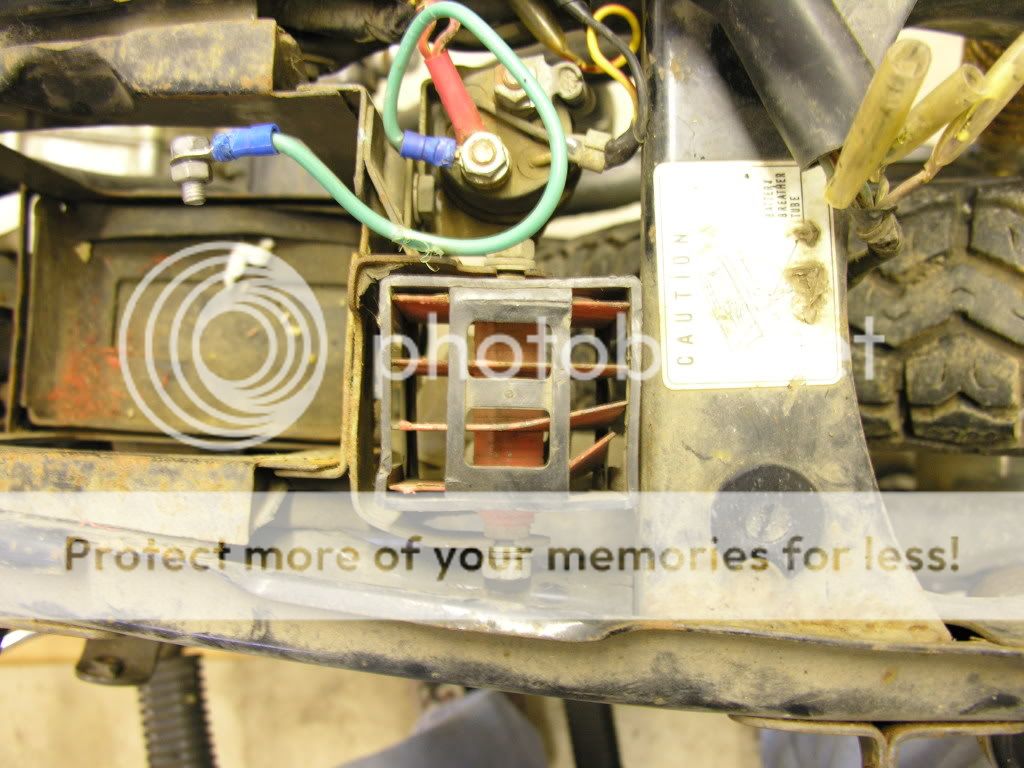
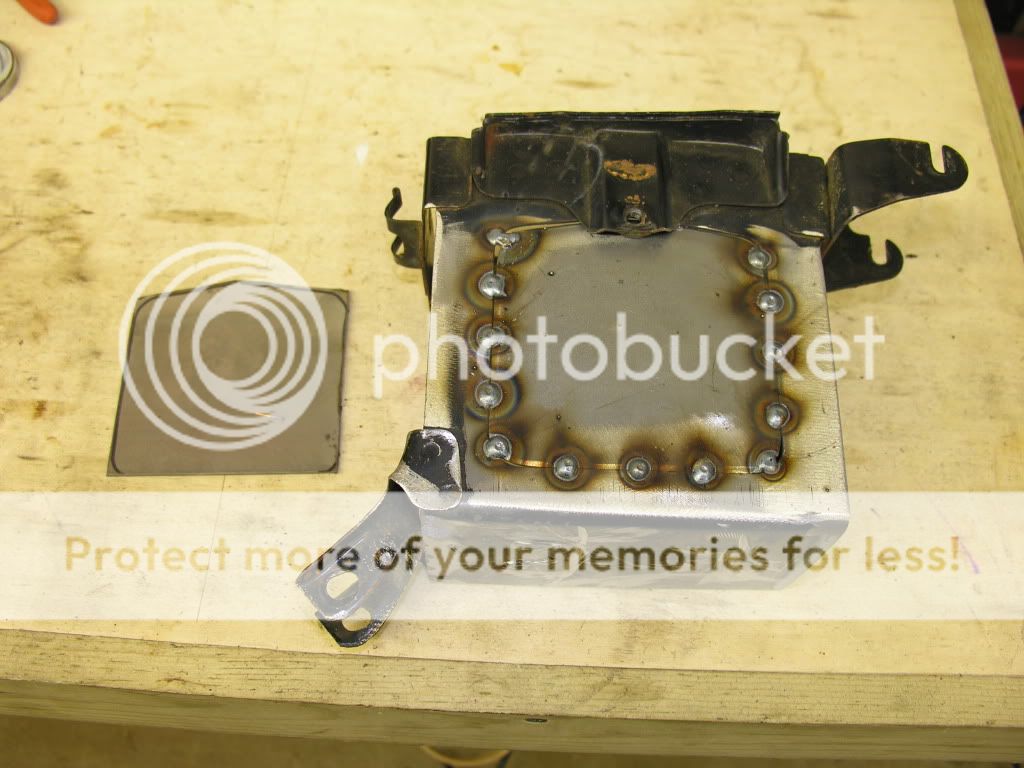
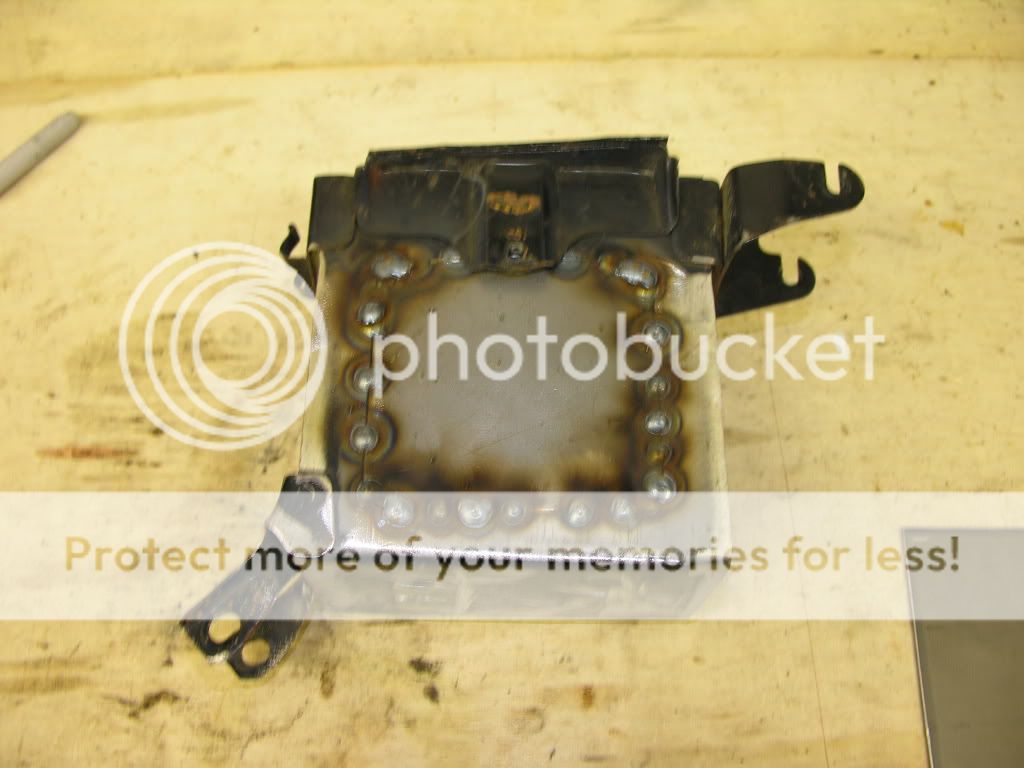
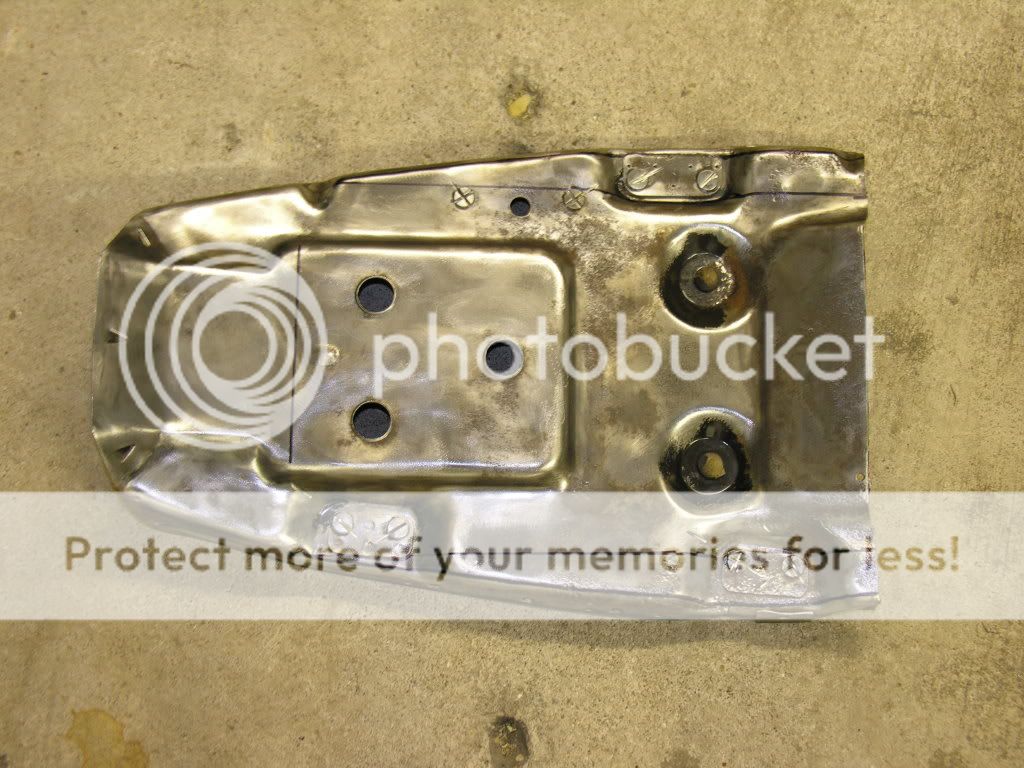
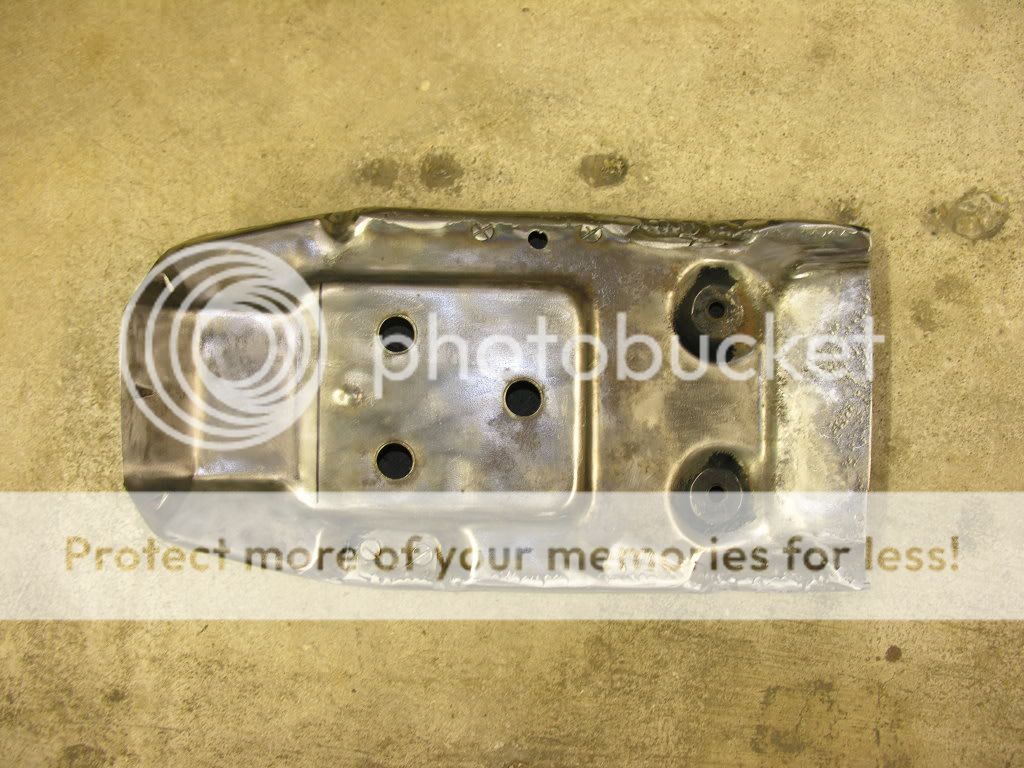
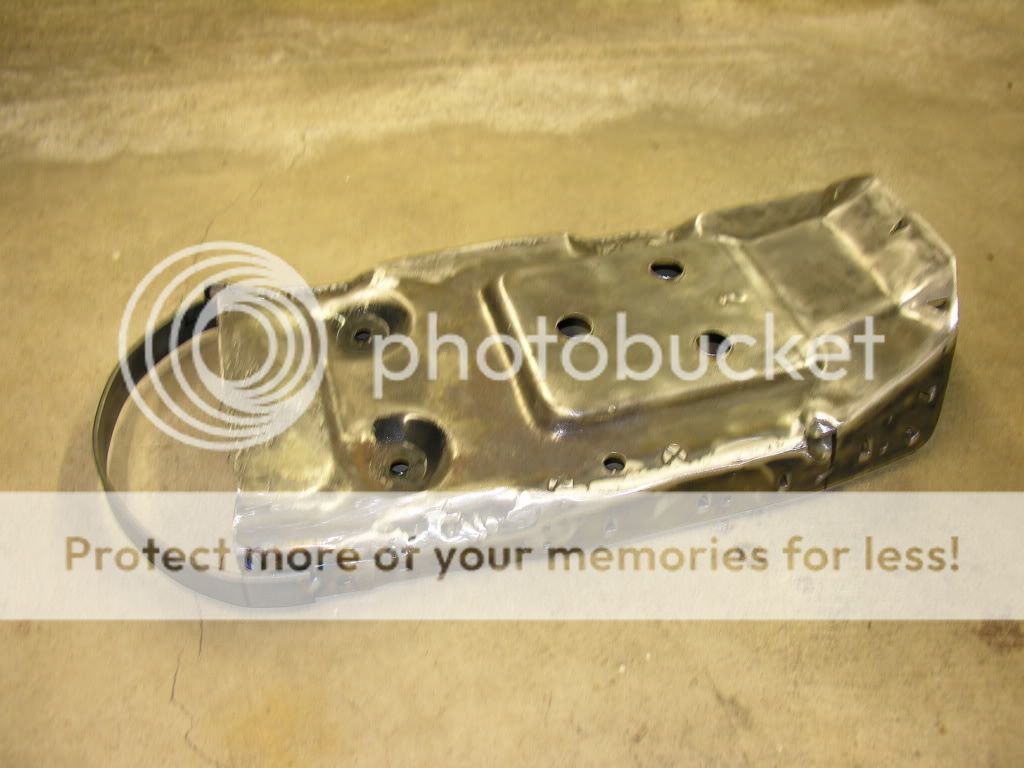
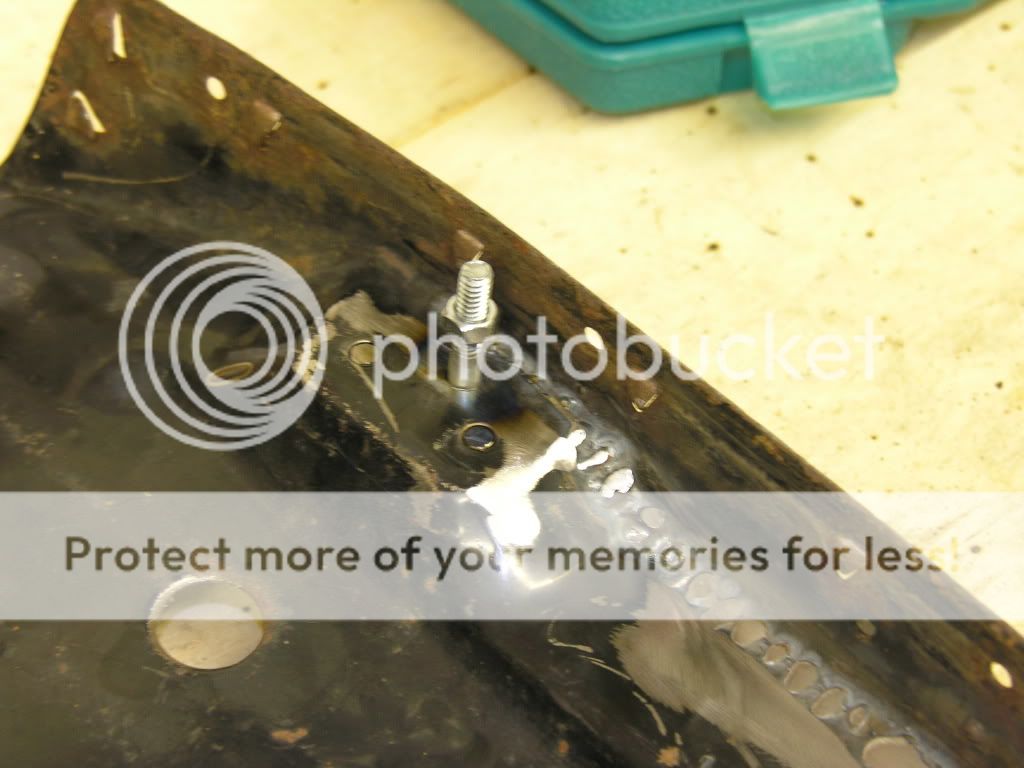
I also ran into another issue when I started to remove the points in preperation for new ones. I thought something was up when I noticed the screws looked like someone tried to get them out and didn't have an impact screwdriver. Once I got them removed I noticed this:
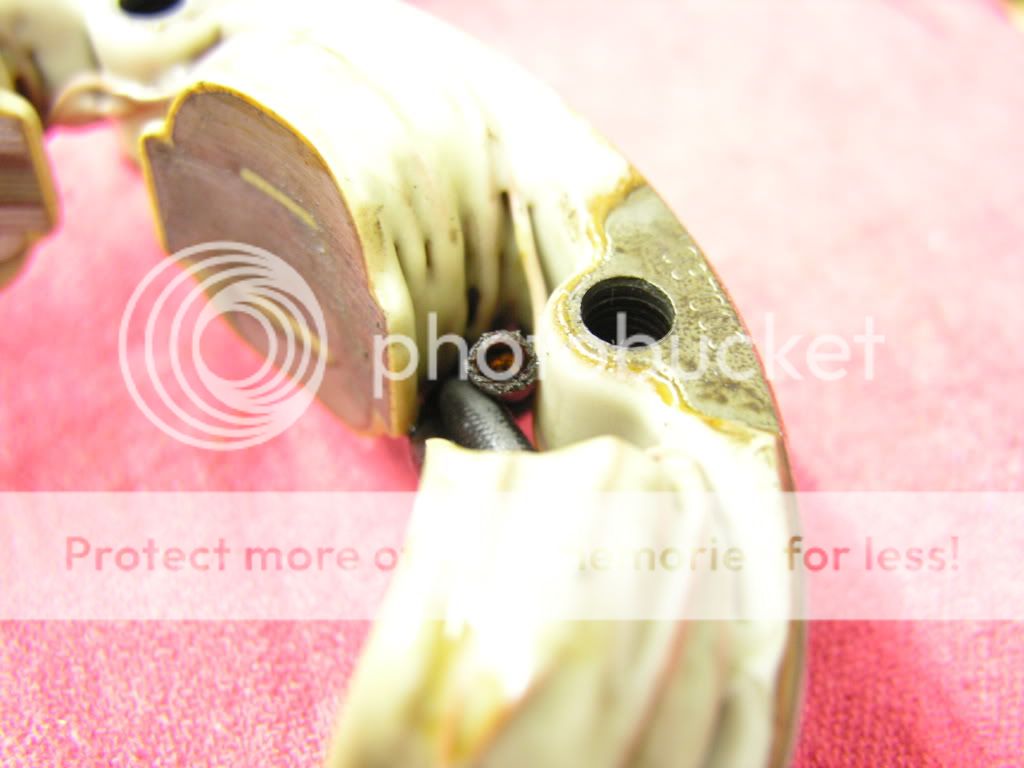
I'm not sure if they sell this piece seperatley or if I have to find a used one on eBay. Any suggestions on this would be great. I'm sure this could be why the previous owner was having problems getting it started. I looks like they tried to give it a tune up, but they didn't really know what they were doing.
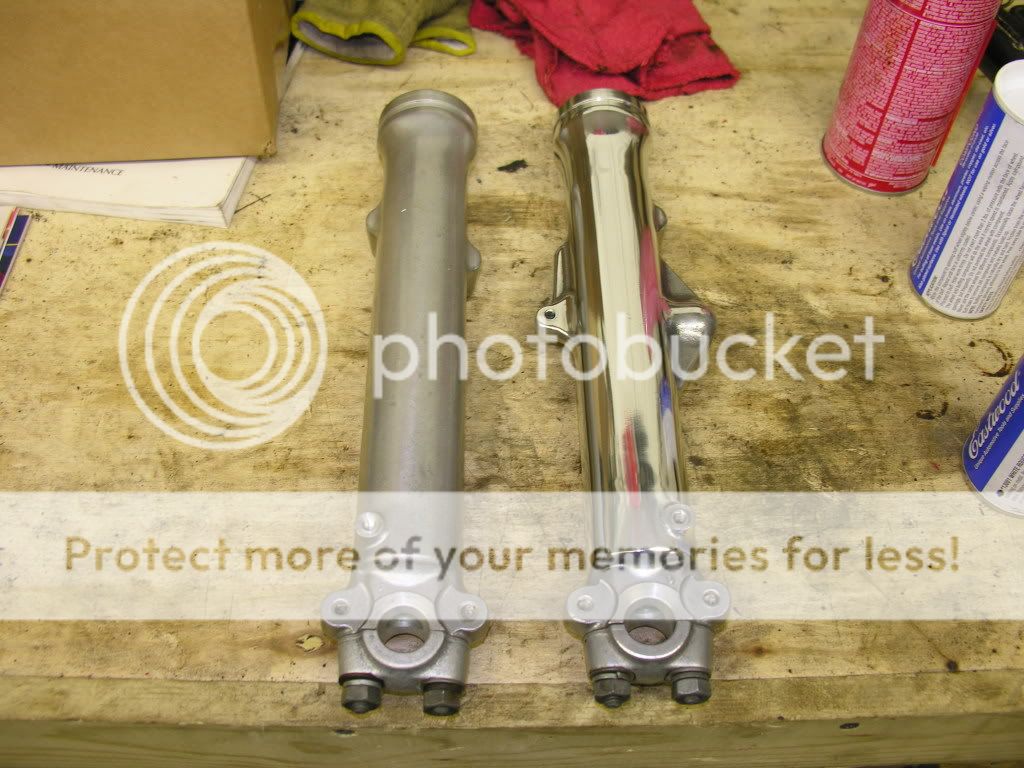
In the meantime I have ordered my replacement parts from DCC and I have so say these guys are great. Herm has been really responsive to my emails. I won't have the parts till mid next week as the carb rebuild kits are on backorder. Oh well, it gives me time to think about the style I want to go with. I have been researching many different styles for what I want to do. I really gained alot of information and ideas from Spidermans build and like the idea of some polished parts with painted parts. Alot of good ideas have come from this site, so props go out to all who have contributed to my ideas.
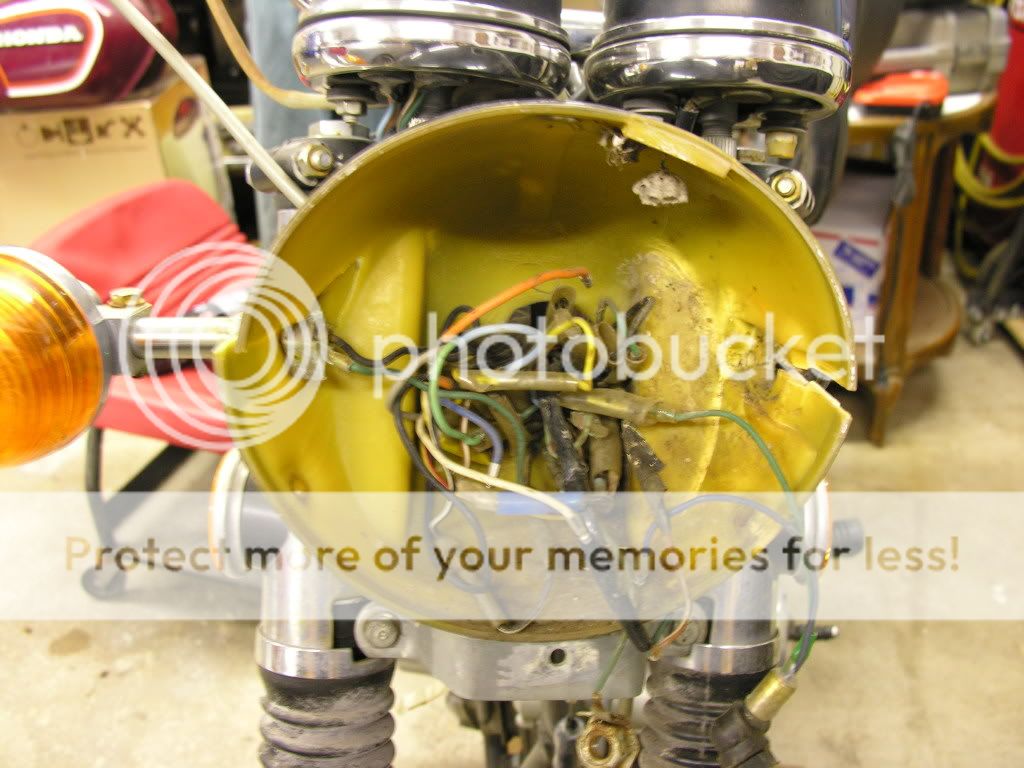
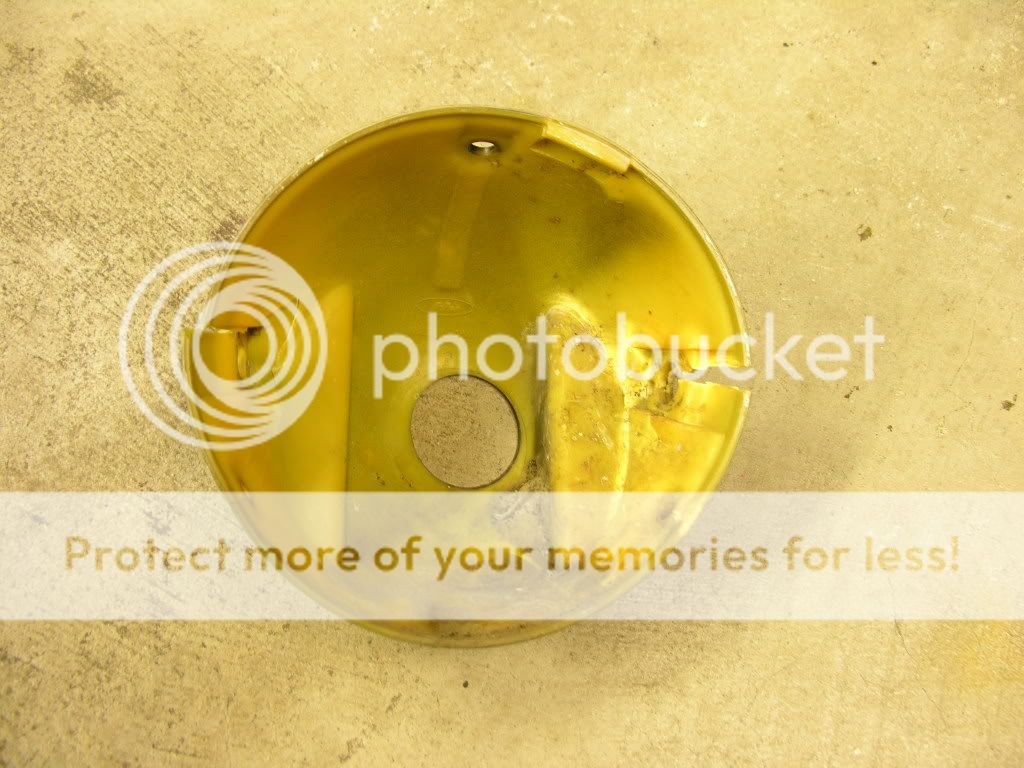
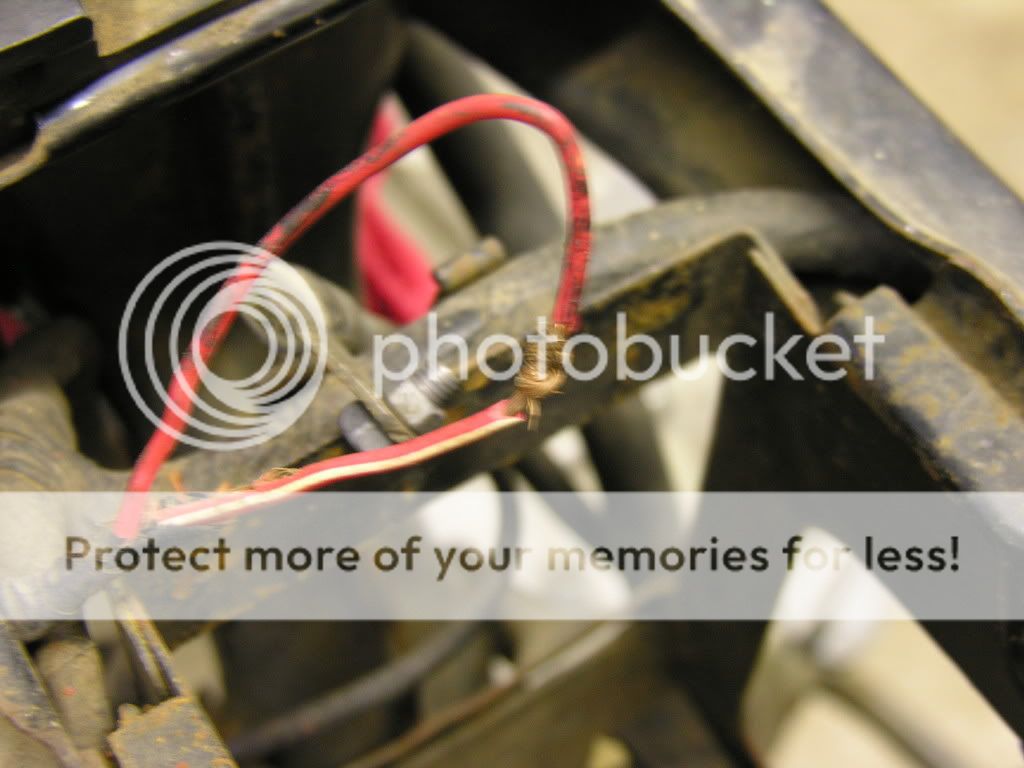
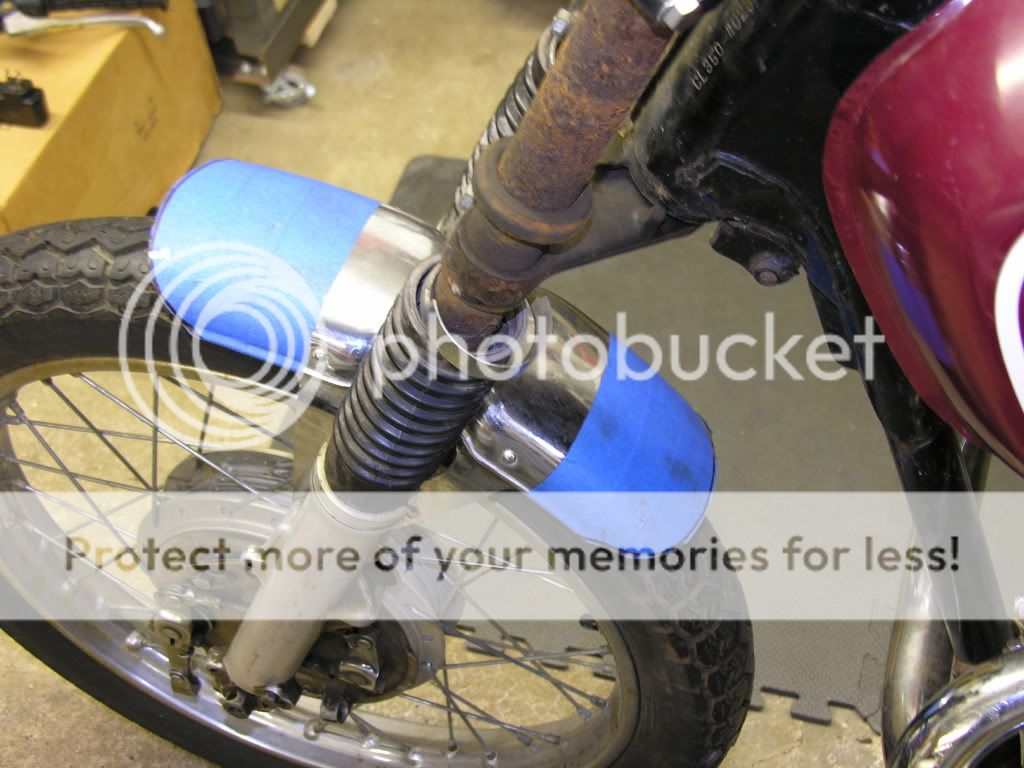
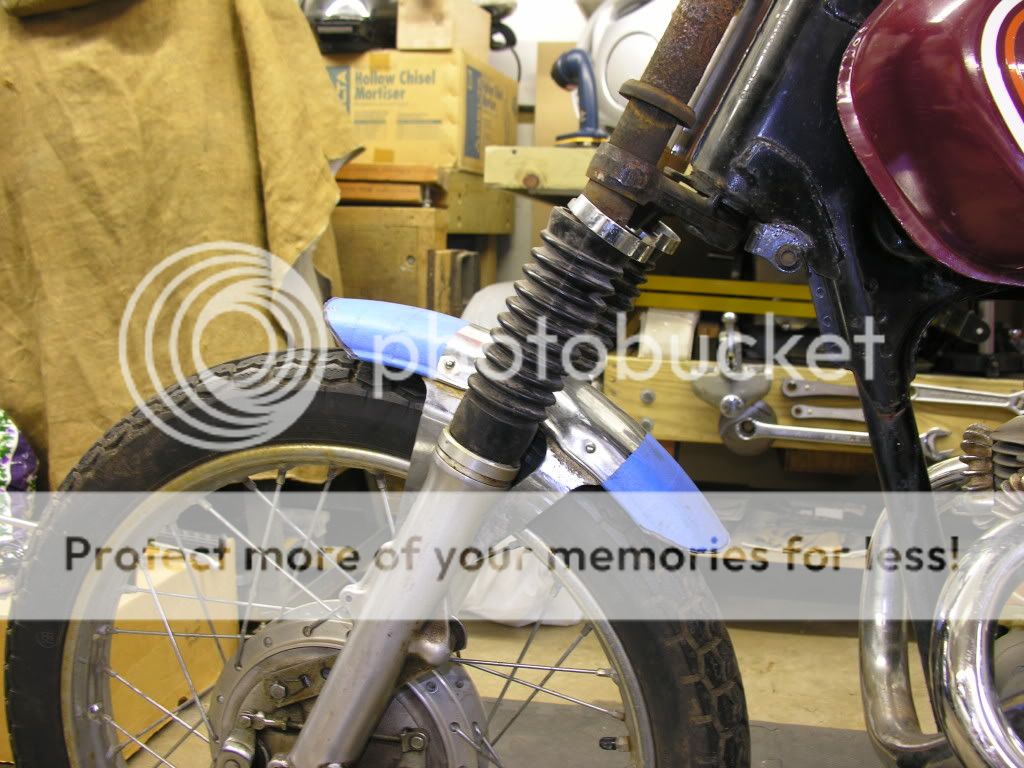
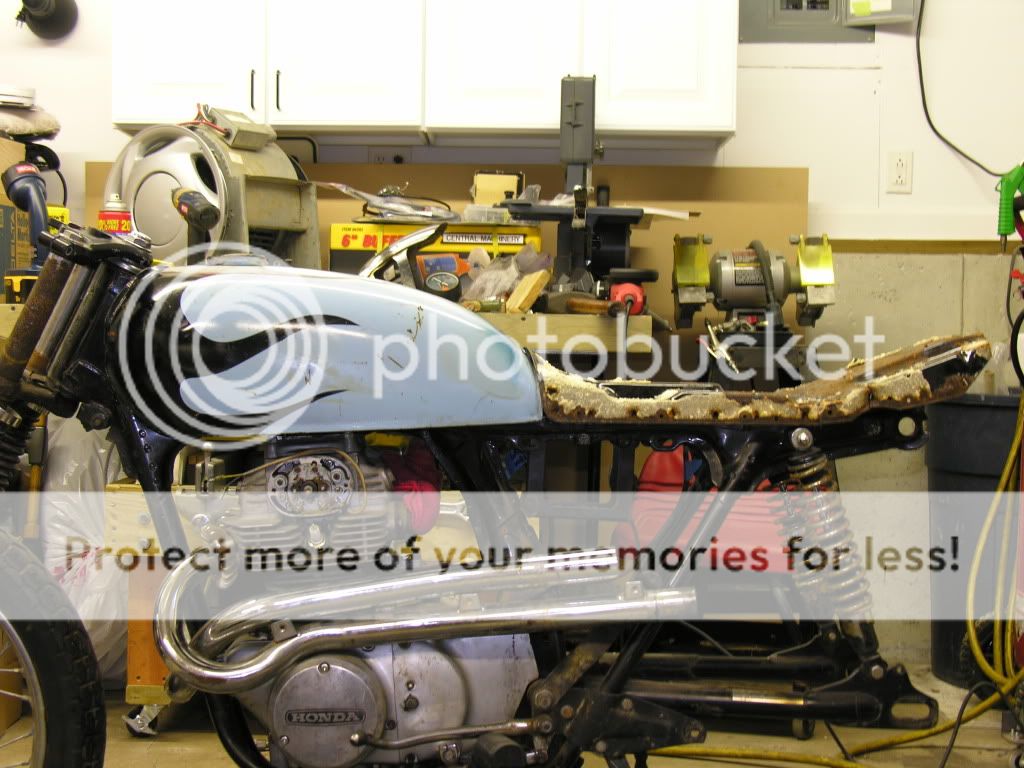
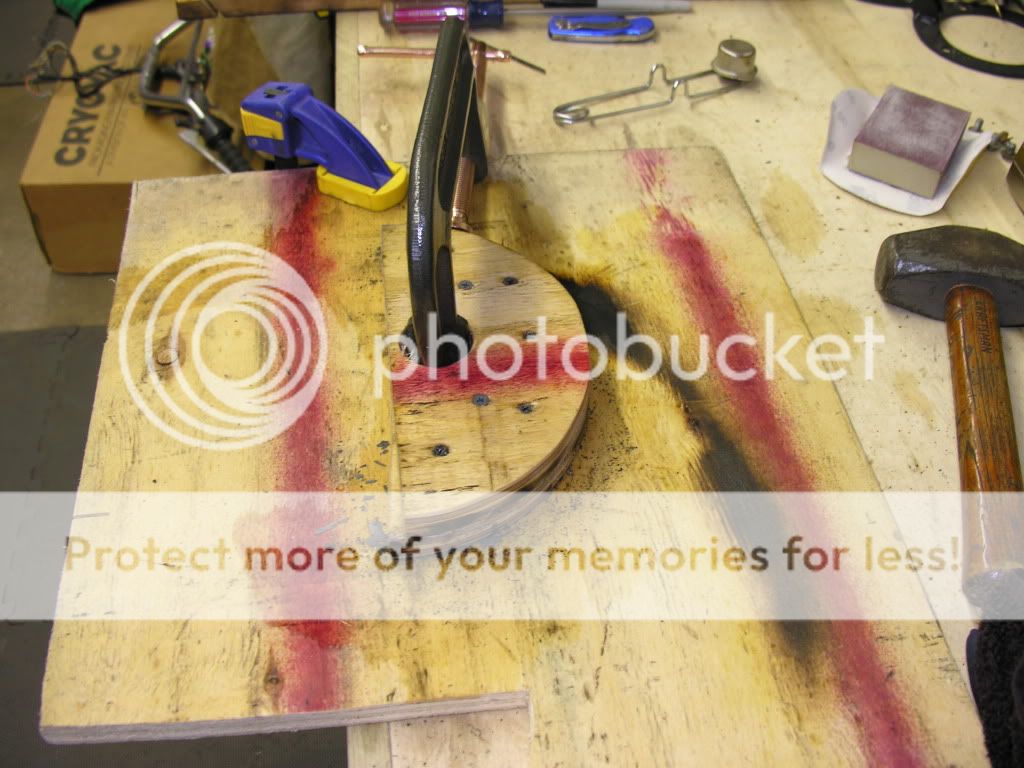
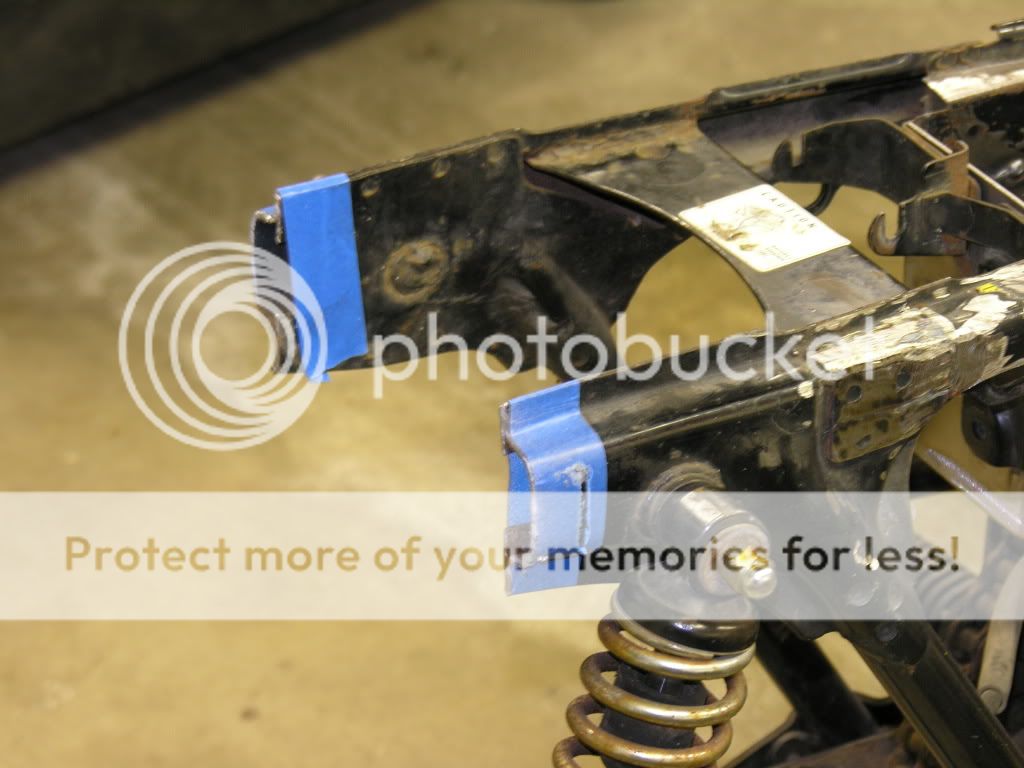
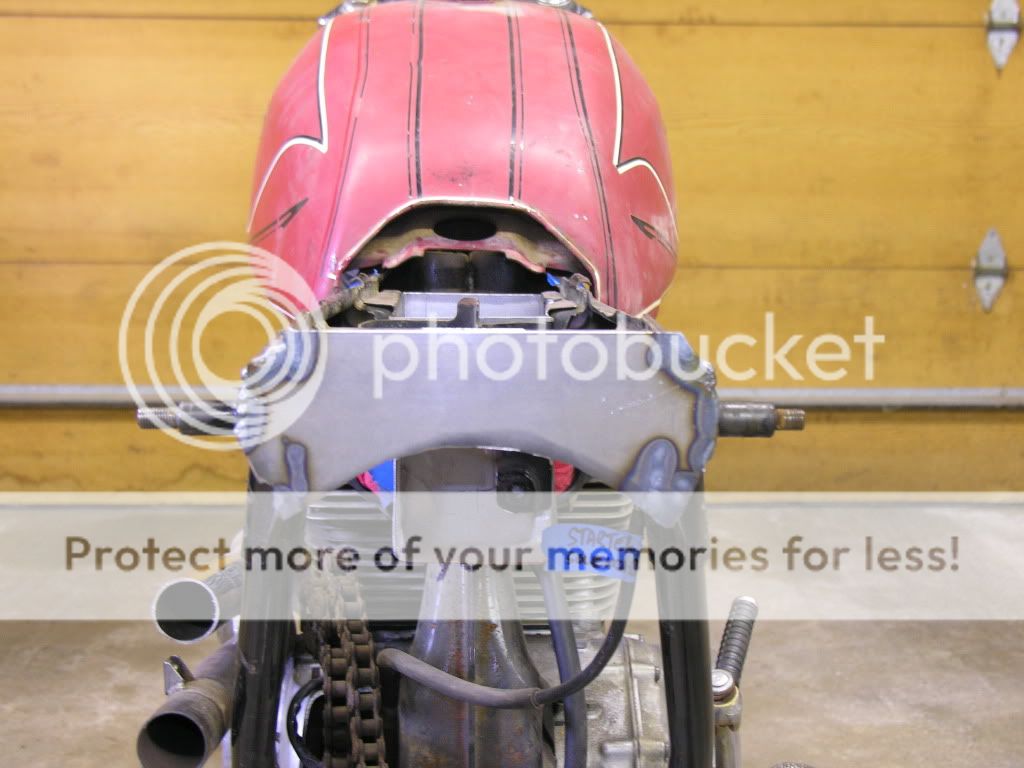
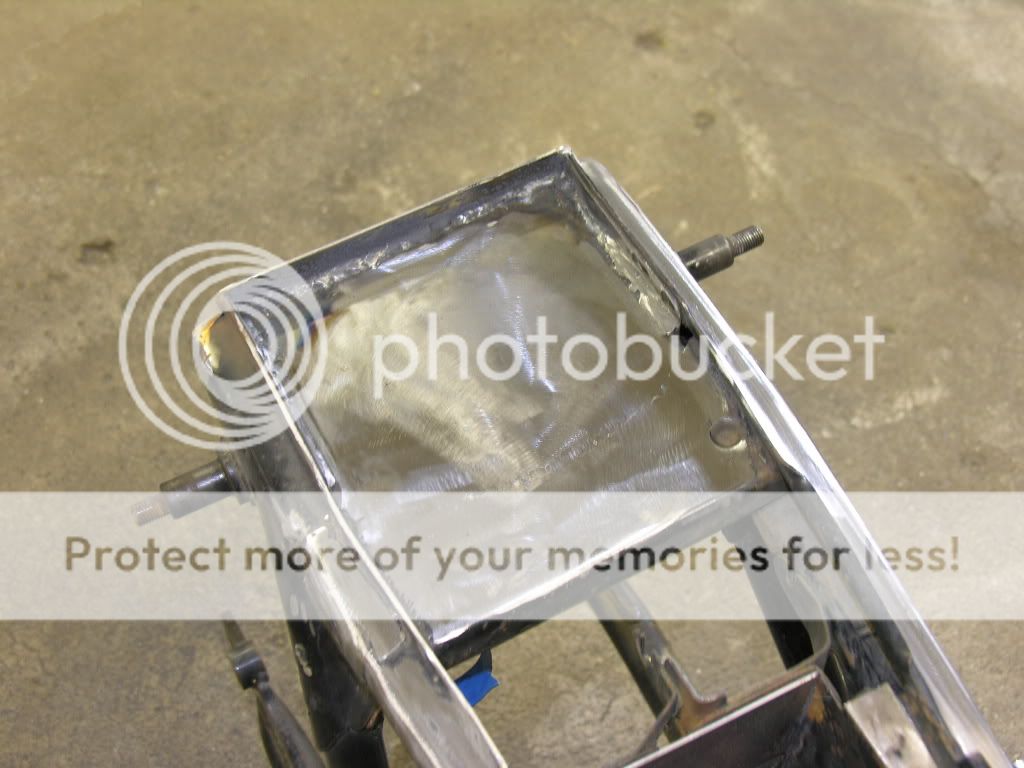
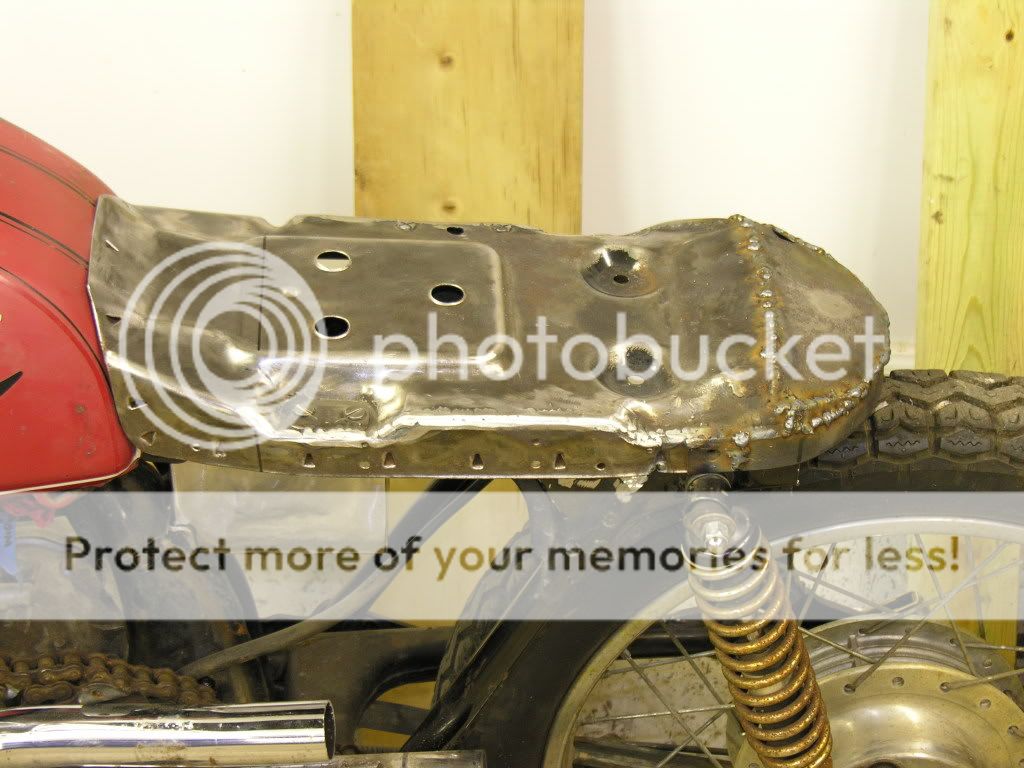
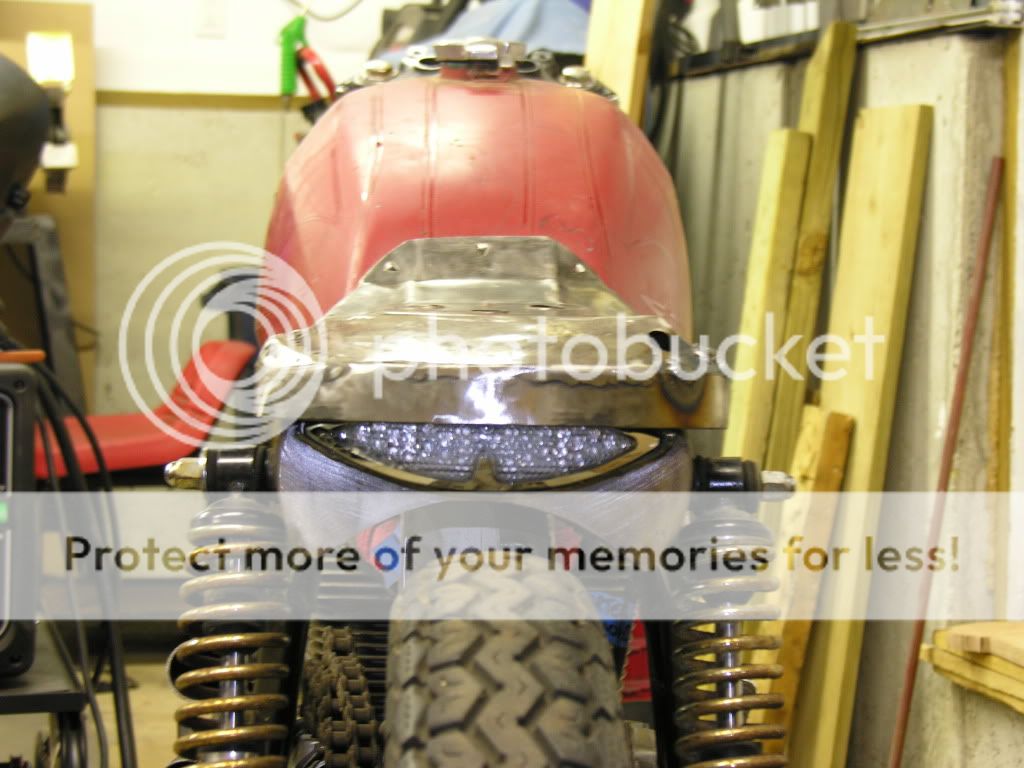
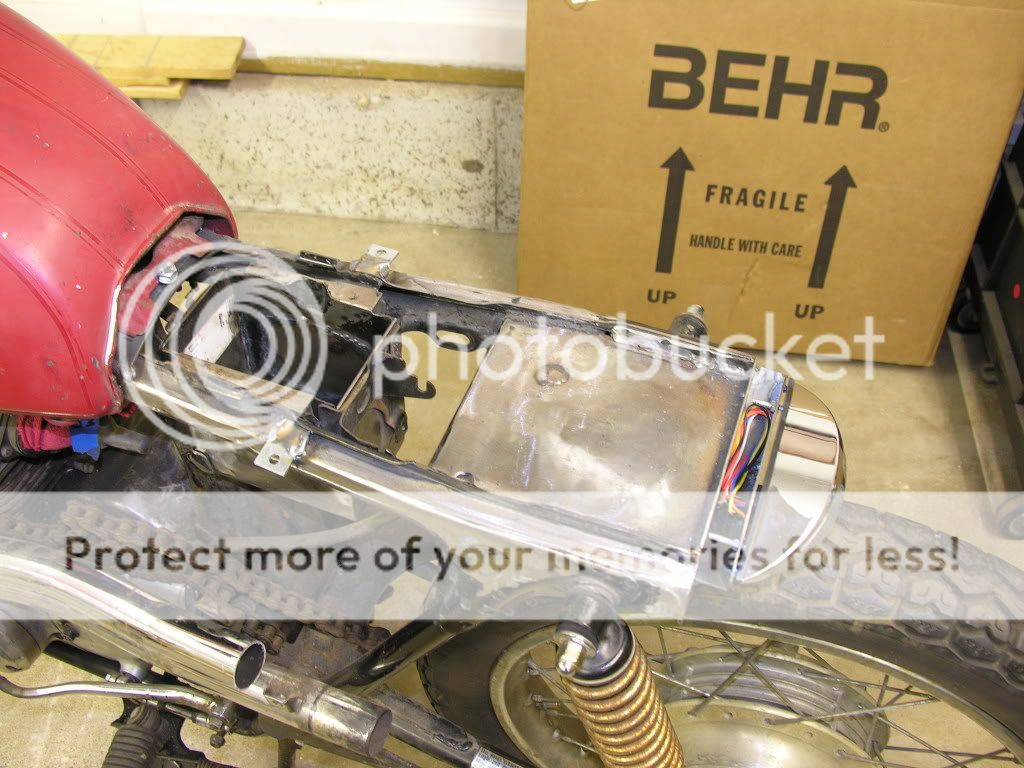
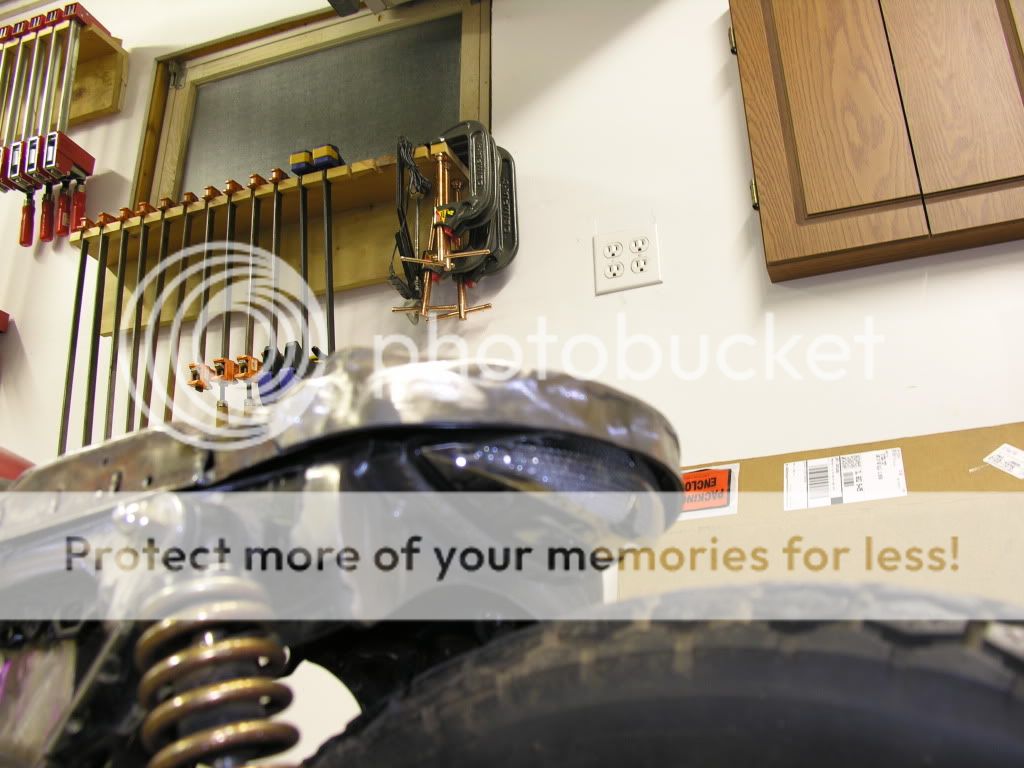
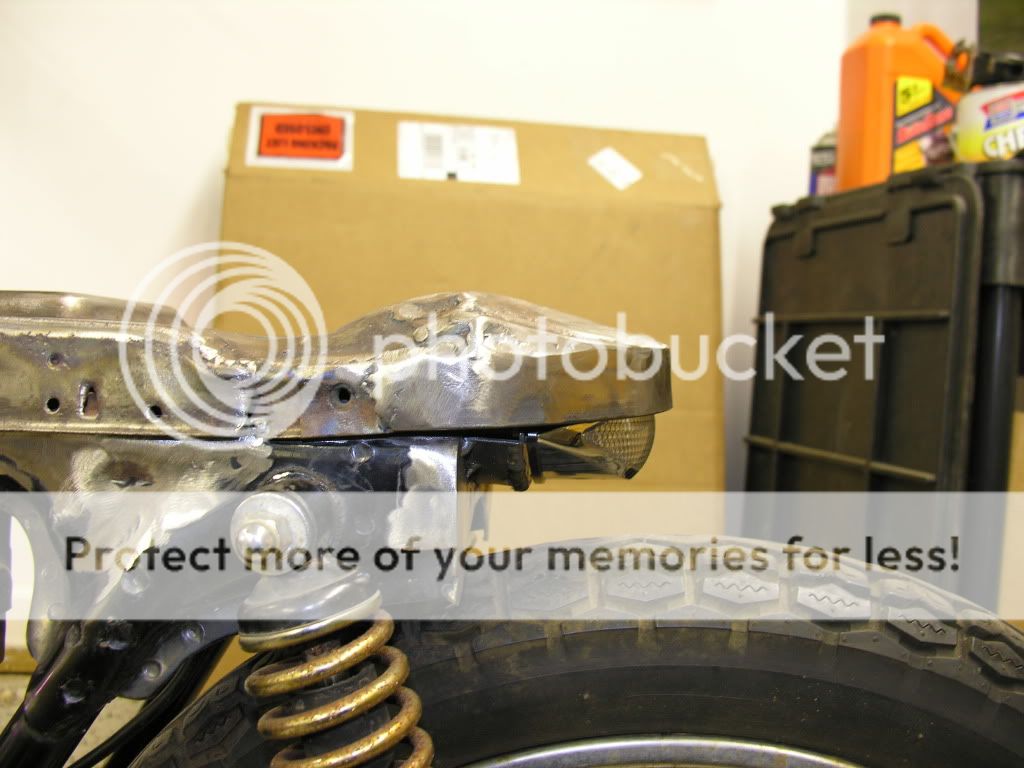
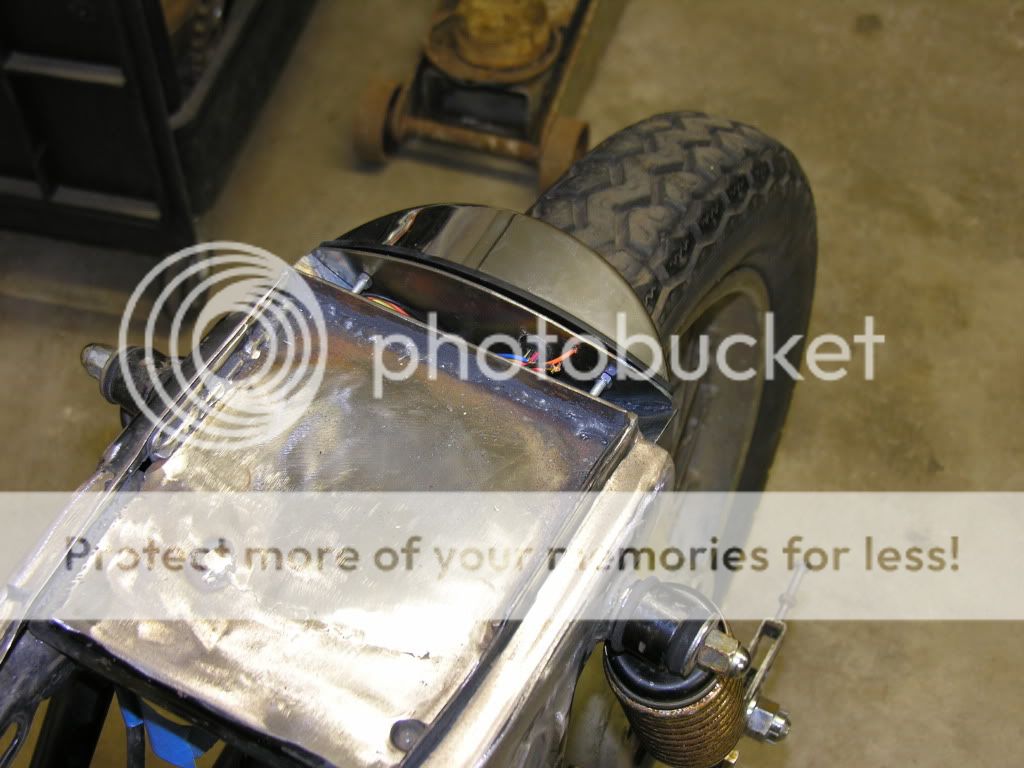
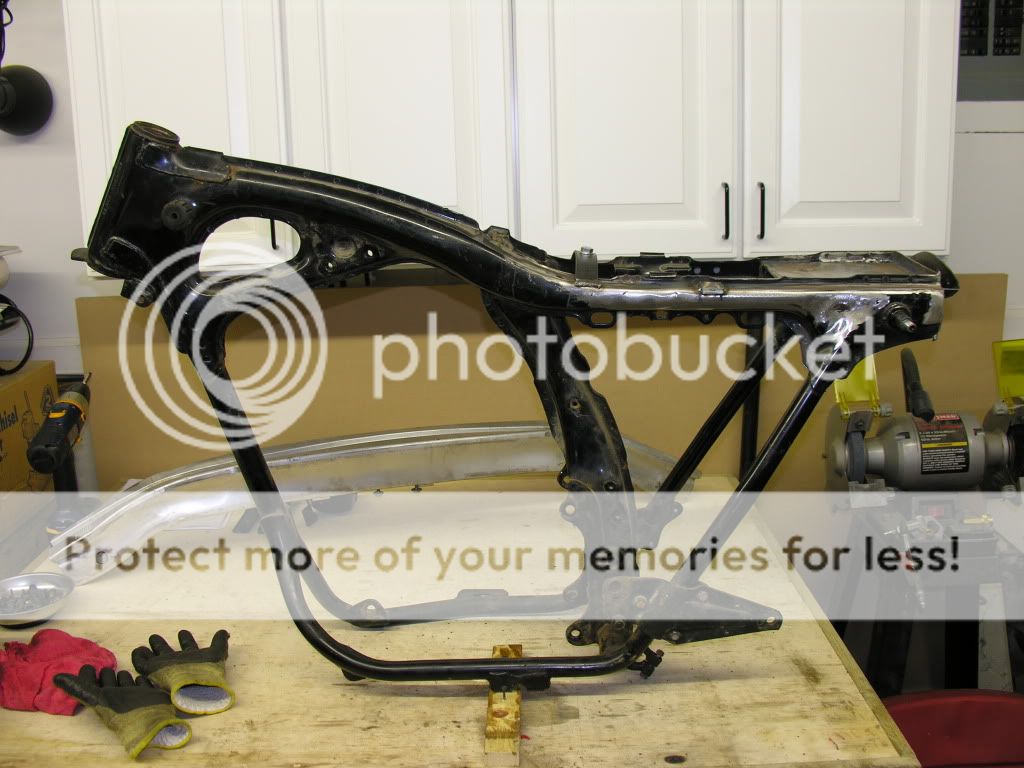
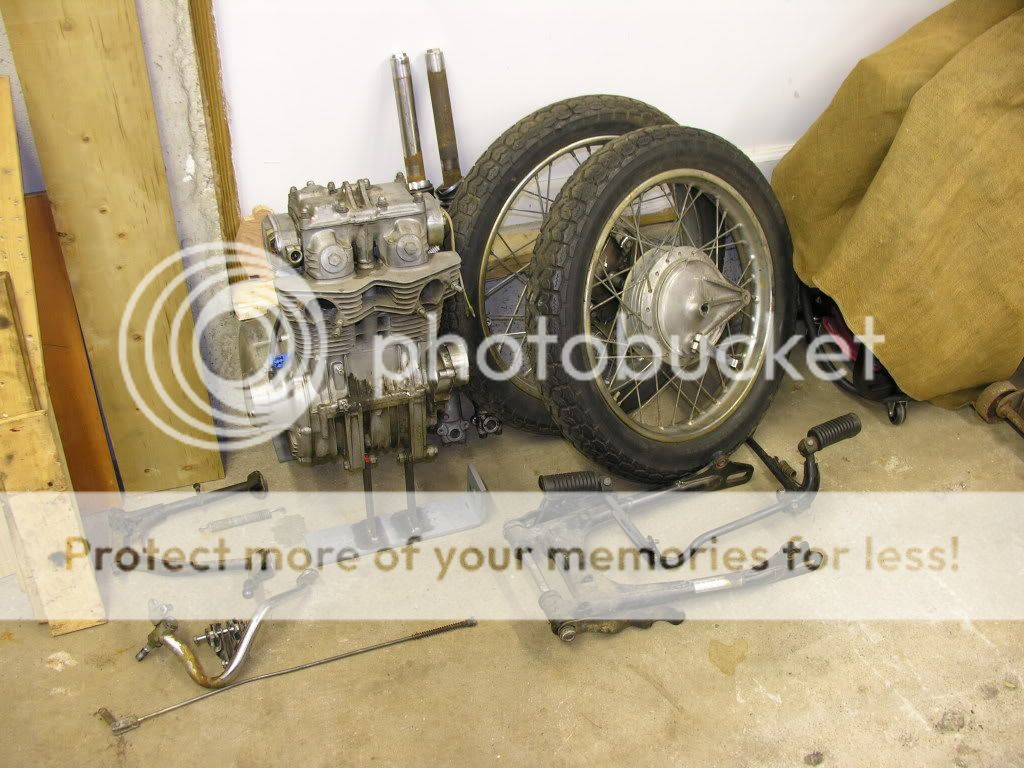
I think since I'm waiting on parts, I will start to tear a few more things off that I know I won't be using and maybe start on my seat build. I did tear off the light tonight as it looks totally unfixable.
Gotta run. Anyone got any ideas or suggestions please let me know. More to come later. Thanks for reading.