CB360 Cafe Project

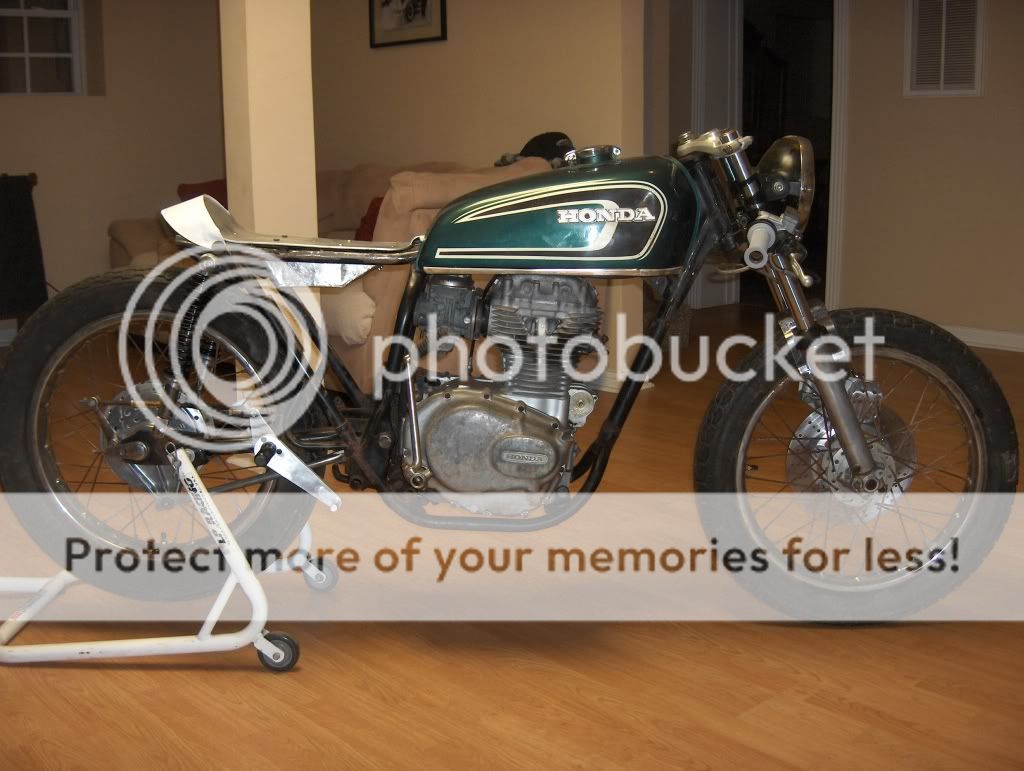
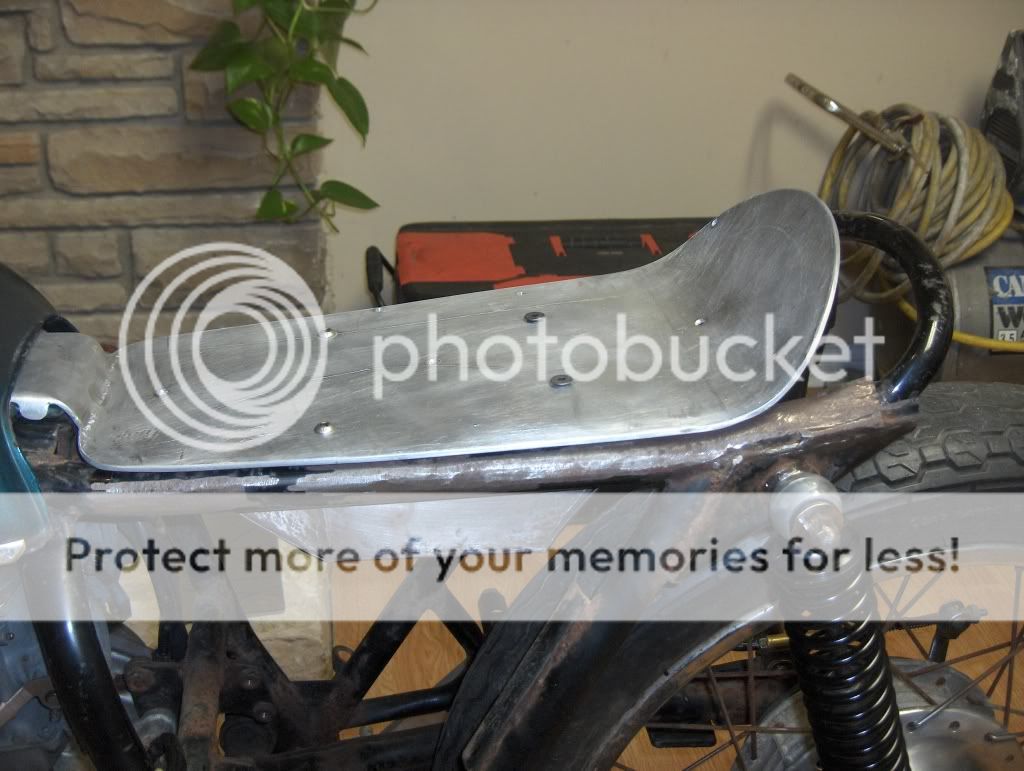
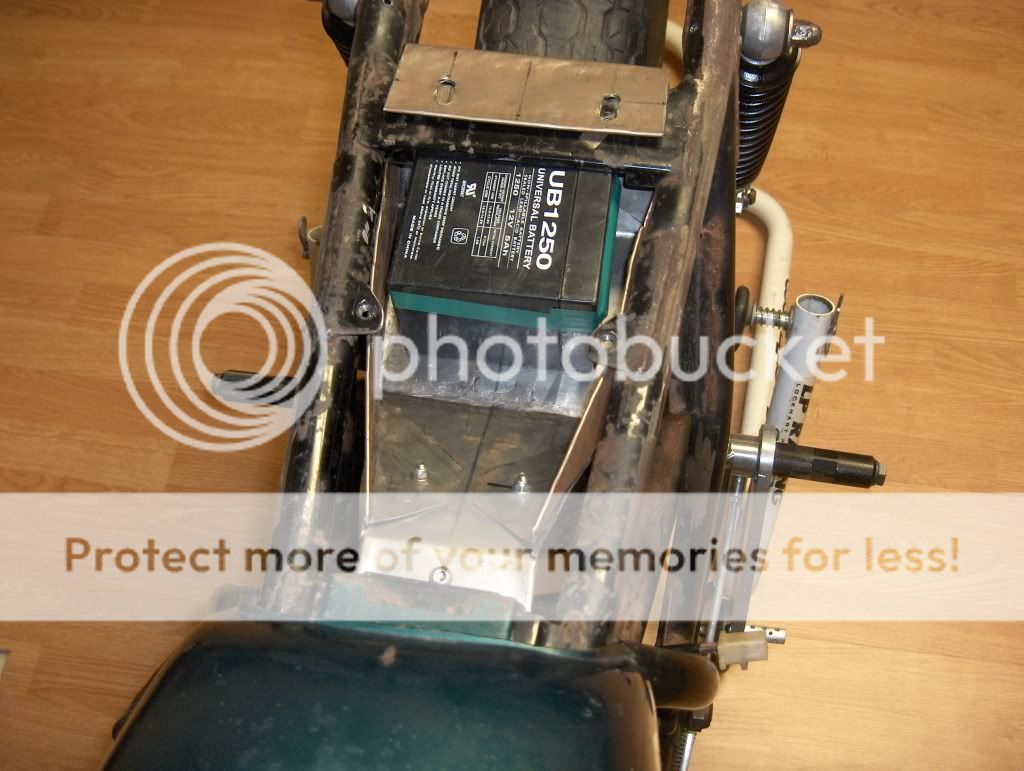
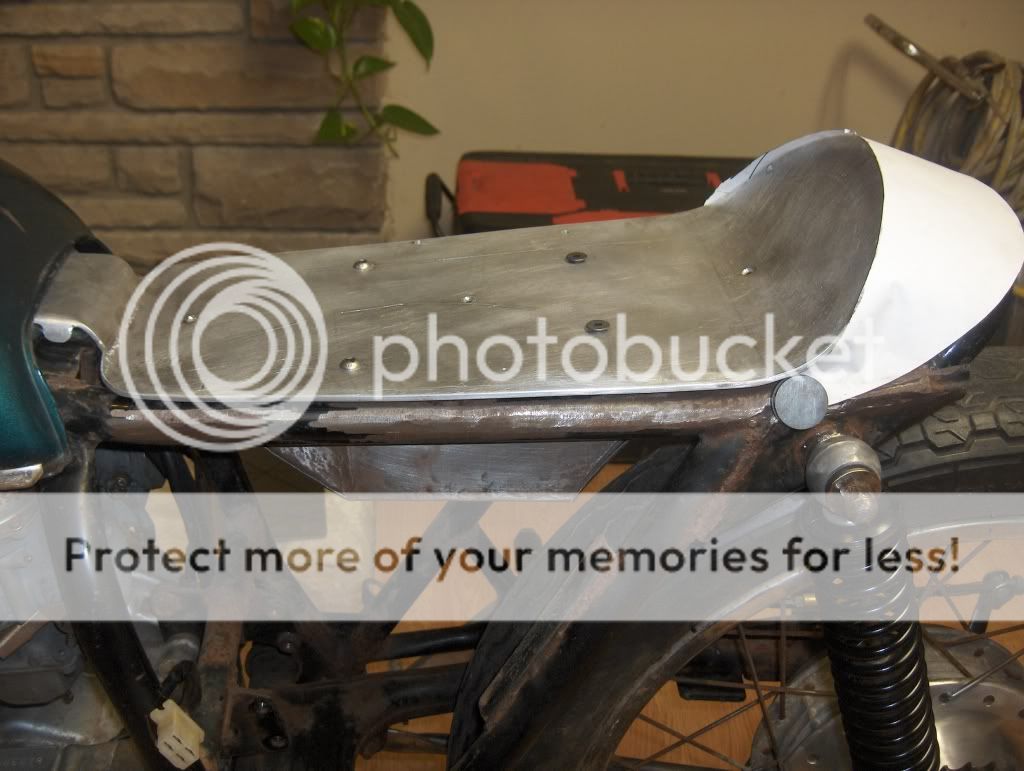
Ok. Made some progress this week...


Cleaned my pipes up.


HPIM2189.jpg


I picked up some VHT Flame Proof paint to cover these, then wrap them. I'll have to wait until this weekend to paint, because it's been snowing like crazy down here in KY. Reminds me of home. The greatest state in the midwest, Michigan!


HPIM2190.jpg


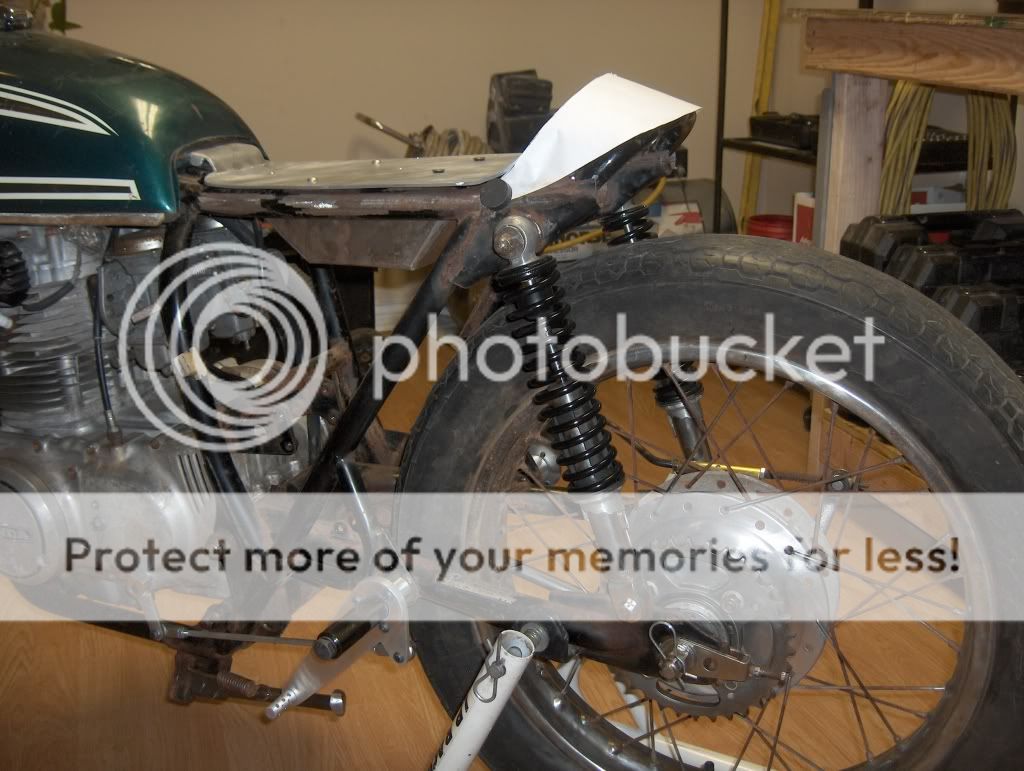
Finally got my rearsets done, too.


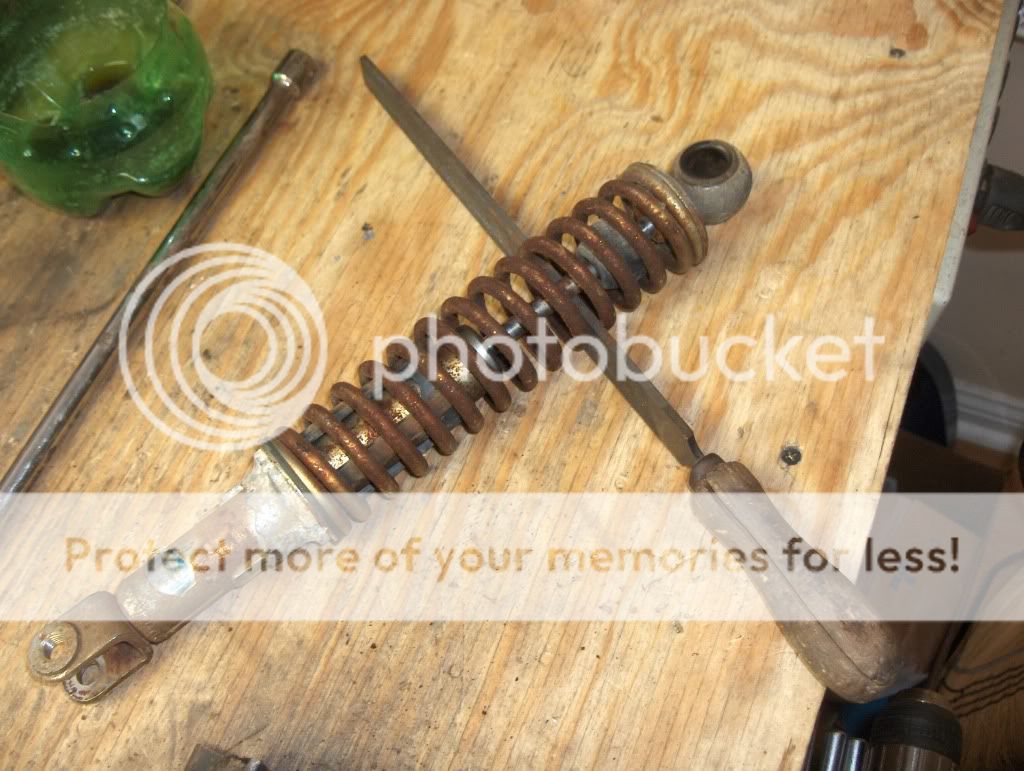
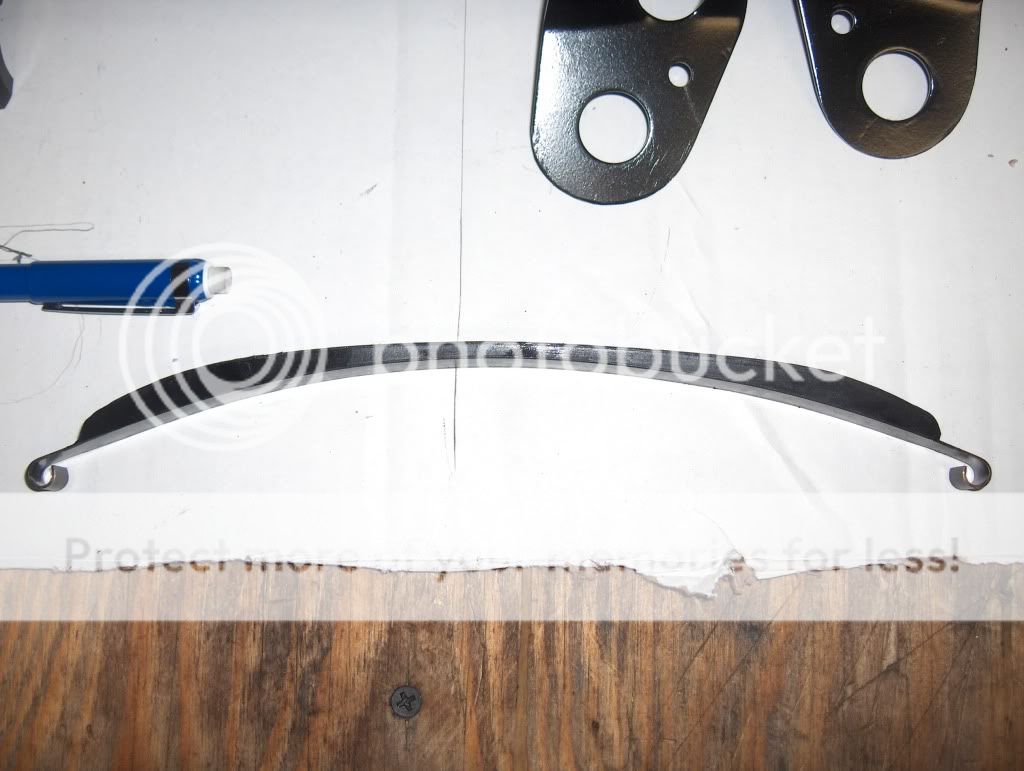
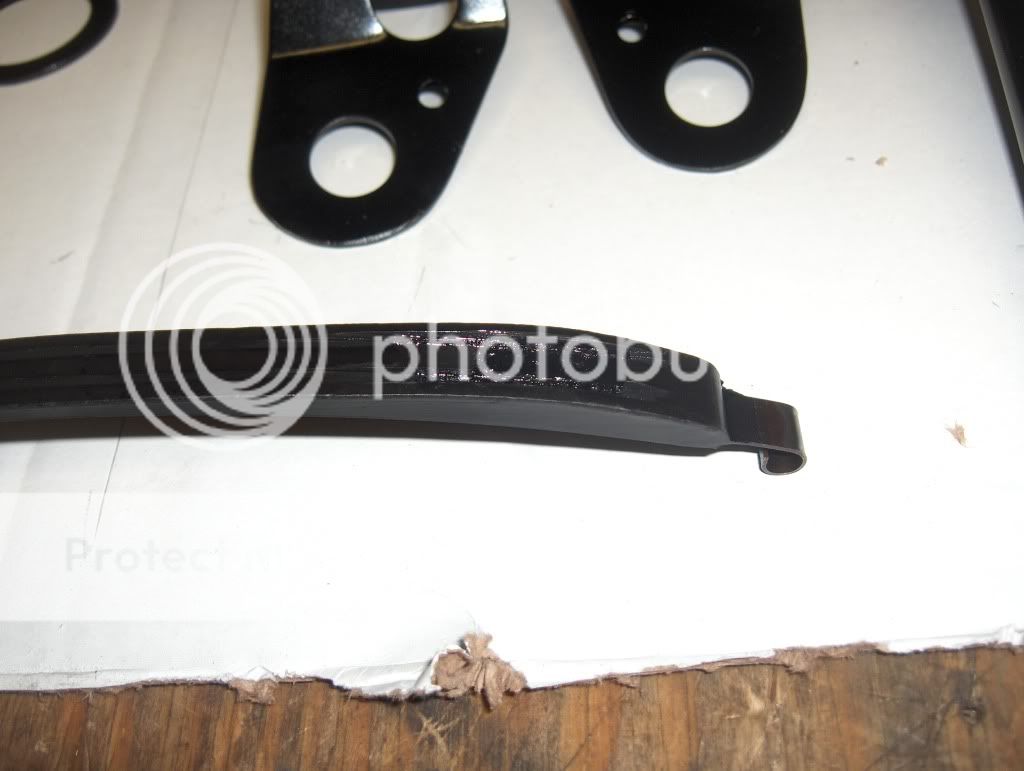
Bent up my brake rod....


HPIM2198.jpg


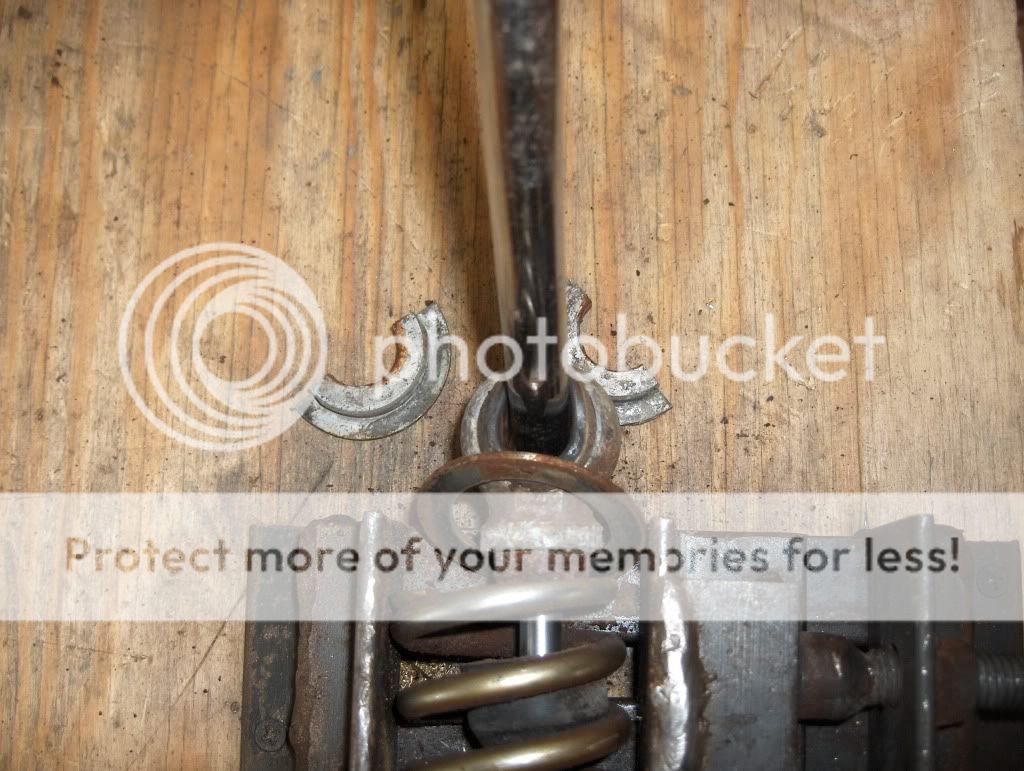
I was really excited to finish them up on Monday night when I realized a flaw in my design. I'll be honest the rigidity, or lack there of, of the brake arm never even crossed my mind. The joint between the eye rodend and the clevis just drooped, pullng my lever way back/up.


HPIM2202.jpg


So, I stared at it for few minutes and quickly came up with a solution....


HPIM2215.jpg


Well, I can't take all of the credit, I had some help...


HPIM2208.jpg


HPIM2219.jpg


HPIM2222.jpg


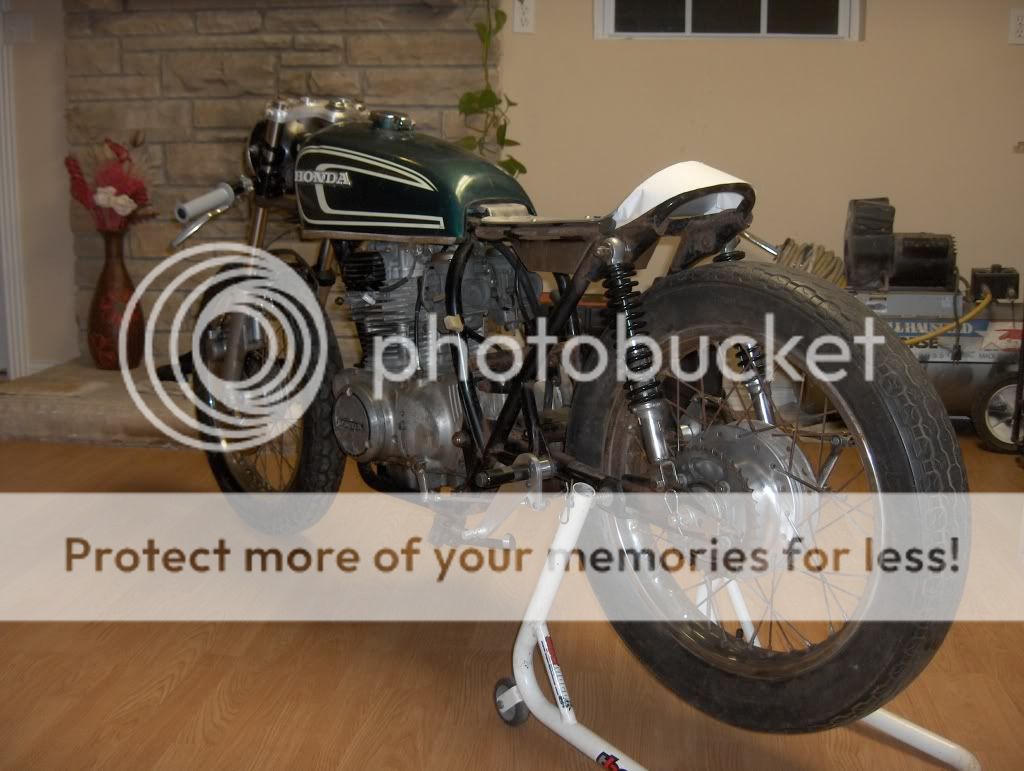
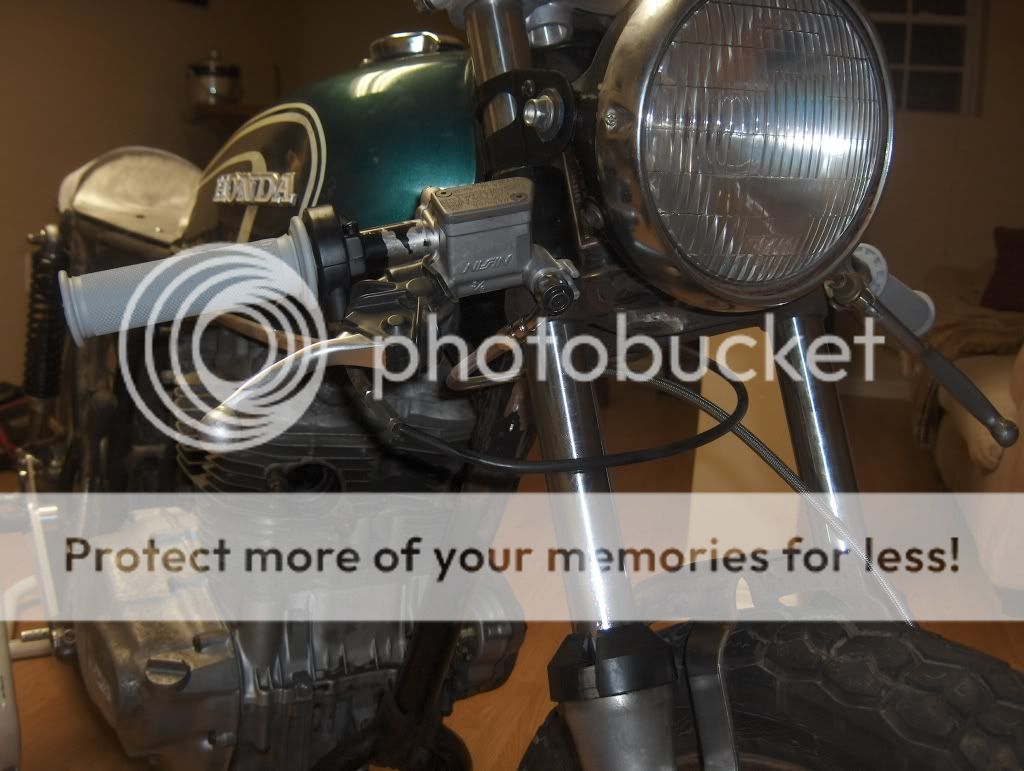
Here's how the brake side of the bike is looking now. I threw the pipes on just to get them off of the floor. Also, got the 4-fiddy MC on there with the new throttle from DCC.


HPIM2220.jpg


HPIM2221.jpg


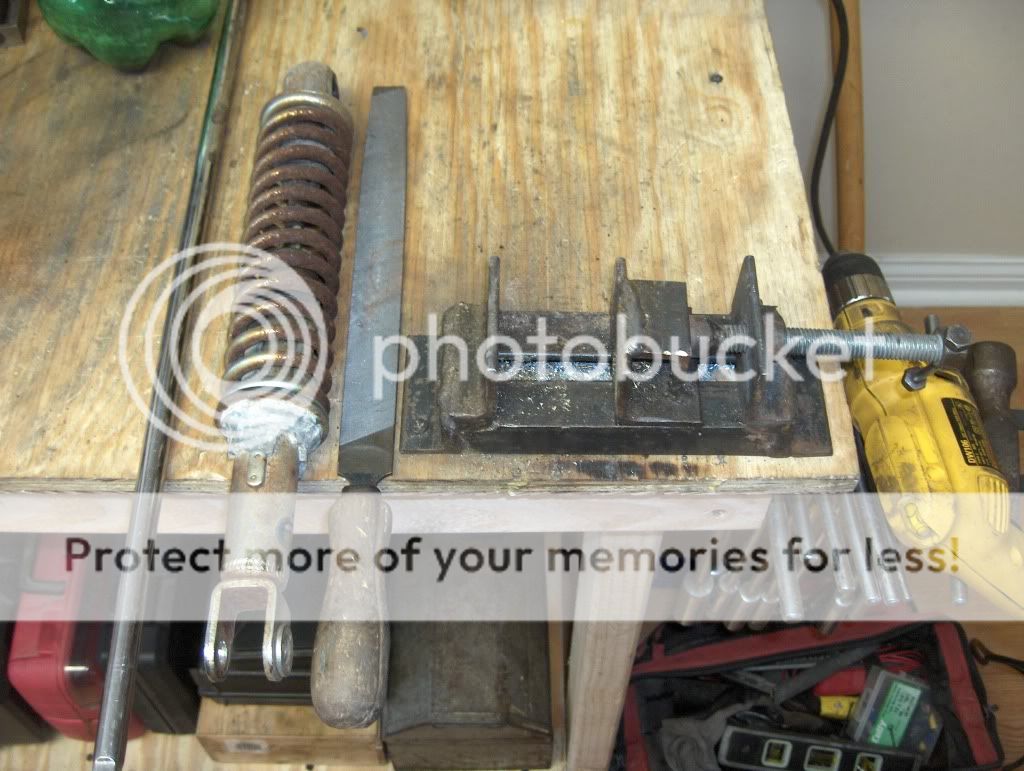
BTW, I though I'd show some of you the vice I've been working with. Haha. I made this back in high shool in my Vo-Tech welding class 10 years ago! I honestly never thought I use this, but for some reason kept it around. Like I said, I'm kind of on a budget right now, throwing a wedding for my fiance (because I sure as hell don't give a sh!t about it). Desperate times call for desperate measures, I guess! Lol.


HPIM2199.jpg
 
BTW, the rearsets work great. I thought about adding a return spring on the lever, but the brake shoe springs pull it back pretty well. I still may do it, just for piece of mind. Also, I can feel a little flex when I push hard on the brakes. Most of it is coming from the linkage back to the hub. I guess your going to get that with the "Z" bend, like I have. There is a little bit coming from the lever up to my toe. It's definitely minimal. It'll give me something to look at once the build is done and I'm bored.
 
The bike is looking good, I also like that vice you made. It got some gears turning in my head now.
 
I wanted to clean my springs up, but didn't have a spring compressor. So, I this is what I did. I used a long 3/8" drive socket extension (anything that will fit in the hole)....(that's what she said).... Anyway, to retain the spring, use something flat that will fit through the spring to compress against. I used a file.


HPIM2226.jpg


HPIM2227.jpg


Just pry against the vice.....


HPIM2228.jpg


The retainers fall right out....


HPIM2230.jpg
 
I was a little concerned about the releasing the pressure on the spring after the retainers were out, but there was nowhere near enough compression left in it to do any damage.

I wire wheeled them and painted 'em, along with some other stuff. Waiting for the paint to cure now, I'll post some pics when they are reassembled.
 
Re: CB360 Cafe Project *Tension Slipper Pics*

I also just couldn't wait any longer to get my hands inside the engine. After reading so much about the cam chain tension slippers I had to take a look at mine. There weren't any punch marks on the engine VIN plate, so I was unsure which version of the slipper I had in there. I am not completely sure what year the bike is yet, because I'm still waiting on the the title from the PO (my aunt, btw).


So I've been waiting to see what was inside, because the bike has not been ran since right around the time I was born, 28 years ago. It had a Michigan '79 plate on it, with '83 tags. My aunt said she started it up once since then, but I think that is false. Also, she says it ran great when she put it away too.


I was happy to see that the cam and cam journals were in excellent shape (I tried to get some pix, but they came out terrible). The only flaw I see is on the lobes of the cam and the rocker arms. There is a little bit of protrusion on a couple of the lobes, not sure if it's corrosion from not moving for years. I wonder this, because there is matching pitting on the rocker arms.


HPIM2240.jpg


I think I'm going to take this stuff to the local auto machine shop and see if they can clean it up. I though about trying to lightly sand the lobes, but I am really scared of altering the finish.


Any suggestions?
 
I was relieved to see that the the tension slipper is the updated version. This leads me to believe that my bike is a '76. It was a little chewed up on the one end, but overall in good shape considering. I'm going to look for a new one in the meantime.


HPIM2235.jpg


HPIM2239.jpg
 
I'm wondering how you would normally install this back in the engine? I see there is a special tool "push rod tool" that screws into the tensioner down below. Apparently you can pull on it to relieve the pressure on the slipper. Does anyone use this tool, or know what size/pitch thread is on it?

I installed it last night by just pushing it back down. Just wondering if there's and easier/alternative way?
 
Re: CB360 Cafe Project *Shop Pics*

Glad this place is a rental! It looks like this or worse on a regular basis. Of course, I do a full clean up every night to keep my indoor shop rights.


HPIM2245.jpg


I got some more stuff done this week. Made seat pan, made a battery box, cleaned up the tail section of my frame some, ordered a bunch of goodies to finish up my controls. I'll post some pics when I get it put back together.
 
Re: CB360 Cafe Project *Shop Pics*

Ok. Another update.


It's starting to look like a bike.....


Upload.jpg


HPIM2258.jpg


HPIM2260.jpg


More.....
 
Re: CB360 Cafe Project *Shop Pics*

All the controls are done, finally. Got some new brake pads up front, Renthal grips (gotta love fresh grips), and Russell steel braided line/fittings. Brakes are bled and work great.


1.jpg


I painted the clip ons, but obviously didn't do a very good job. When I'm ready to go to the powder coater, I'll through those in.
 
Re: CB360 Cafe Project *Shop Pics*

I made up a seat out of some scrap aluminum I had laying around. I'm really happy with how it came out, I'm definitely going to use it. I ordered some 3/4" neoprene to pad it.


HPIM2274.jpg


Fabbed up a battery box too. It's ugly, I know, but it was really my first time working with sheet metal. I obviously got a little hammer happy. Anyway, I'm just now learning the sheet metal tool in SolidWorks. So, I think I'm going to make a template up and give it another shot. This time in aluminum.


HPIM2278.jpg


The plus side is that it fits perfectly and I like my design. Just have to make it look presentable.


HPIM2272.jpg


I have a paper template behind the seat for the cowl. A recent interest of mine has been metal shaping, so I though it would be a good goal to try and pound it out of sheet metal. I don't expect it to turn a piece out that I will actually use, but I'm definitely gonna pound the sh!t out of some metal trying.


HPIM2256.jpg
 
Re: CB360 Cafe Project *Shop Pics*

Now that I have all of the controls done and out of the way, it's finally time to crack open the engine. I don't have any extreme plans for it. Just want it reliable. So, probably new piston/rings, hone/bore, cam chain, tension slipper guide (if I can ever find one, been looking), and a good solid cleaning.

I do want to get the engine cleaned up really well to. I really like the looks of that vapor blasting, but to ship every part of my engine, then pay for the service....could get too pricey for me. I'm gonna look around locally for some bead blasting or something else. Any recommendations on media?
 
Re: CB360 Cafe Project *Update Pics 2/24/11*

Does anyone have a good recommendation on engine degreaser/cleaner? Should I go with something like Simple Green, or an engine degreaser out of a can?
 
Re: CB360 Cafe Project *Update Pics 2/24/11*

If your going to do it in the house, I would stay away from the stuff in the can, it can stink pretty bad.
 
Re: CB360 Cafe Project *Update Pics 2/24/11*

I'll be working outside. Would the stuff in the can be better in that case?
 
Re: CB360 Cafe Project *Update Pics 2/24/11*

I used the spray foam degreaser and it worked so so. then I bought the cheap stuff from walmart so you know how that shit goes. I used the HELL out of some simple green, works great really doesn't stink and won't eat the finsih off anything so you can soak stuff in it. Get the gallon jug (or 2) and a cheap spray bottle and go to town. There is stuff called Purple power, I think, that will do the job but read the label because the stuff is caustic and will eat paint and stickers and shiny finishes. And your skin.

CAN plugg all the holes, and take the sucker to the car wash and blast the crap out of it. ;D
 
Re: CB360 Cafe Project *Update Pics 2/24/11*

Yeah, I really would like to hit it with some pressure. I'll try the simple green, I've heard enough people say good things about it.

Any suggestions on cleaning between the fins? Or better off just having it sand/bead blasted?
 
Re: CB360 Cafe Project *Update Pics 2/24/11*

Since you are taking the engine apart, you could get a mortar mixing tub and use Kerosene.

I am sure there are better ways, but I like using Kerosene, I have it in my parts washer and it works pretty good.
 
Back
Top Bottom